Samosa


Samosa
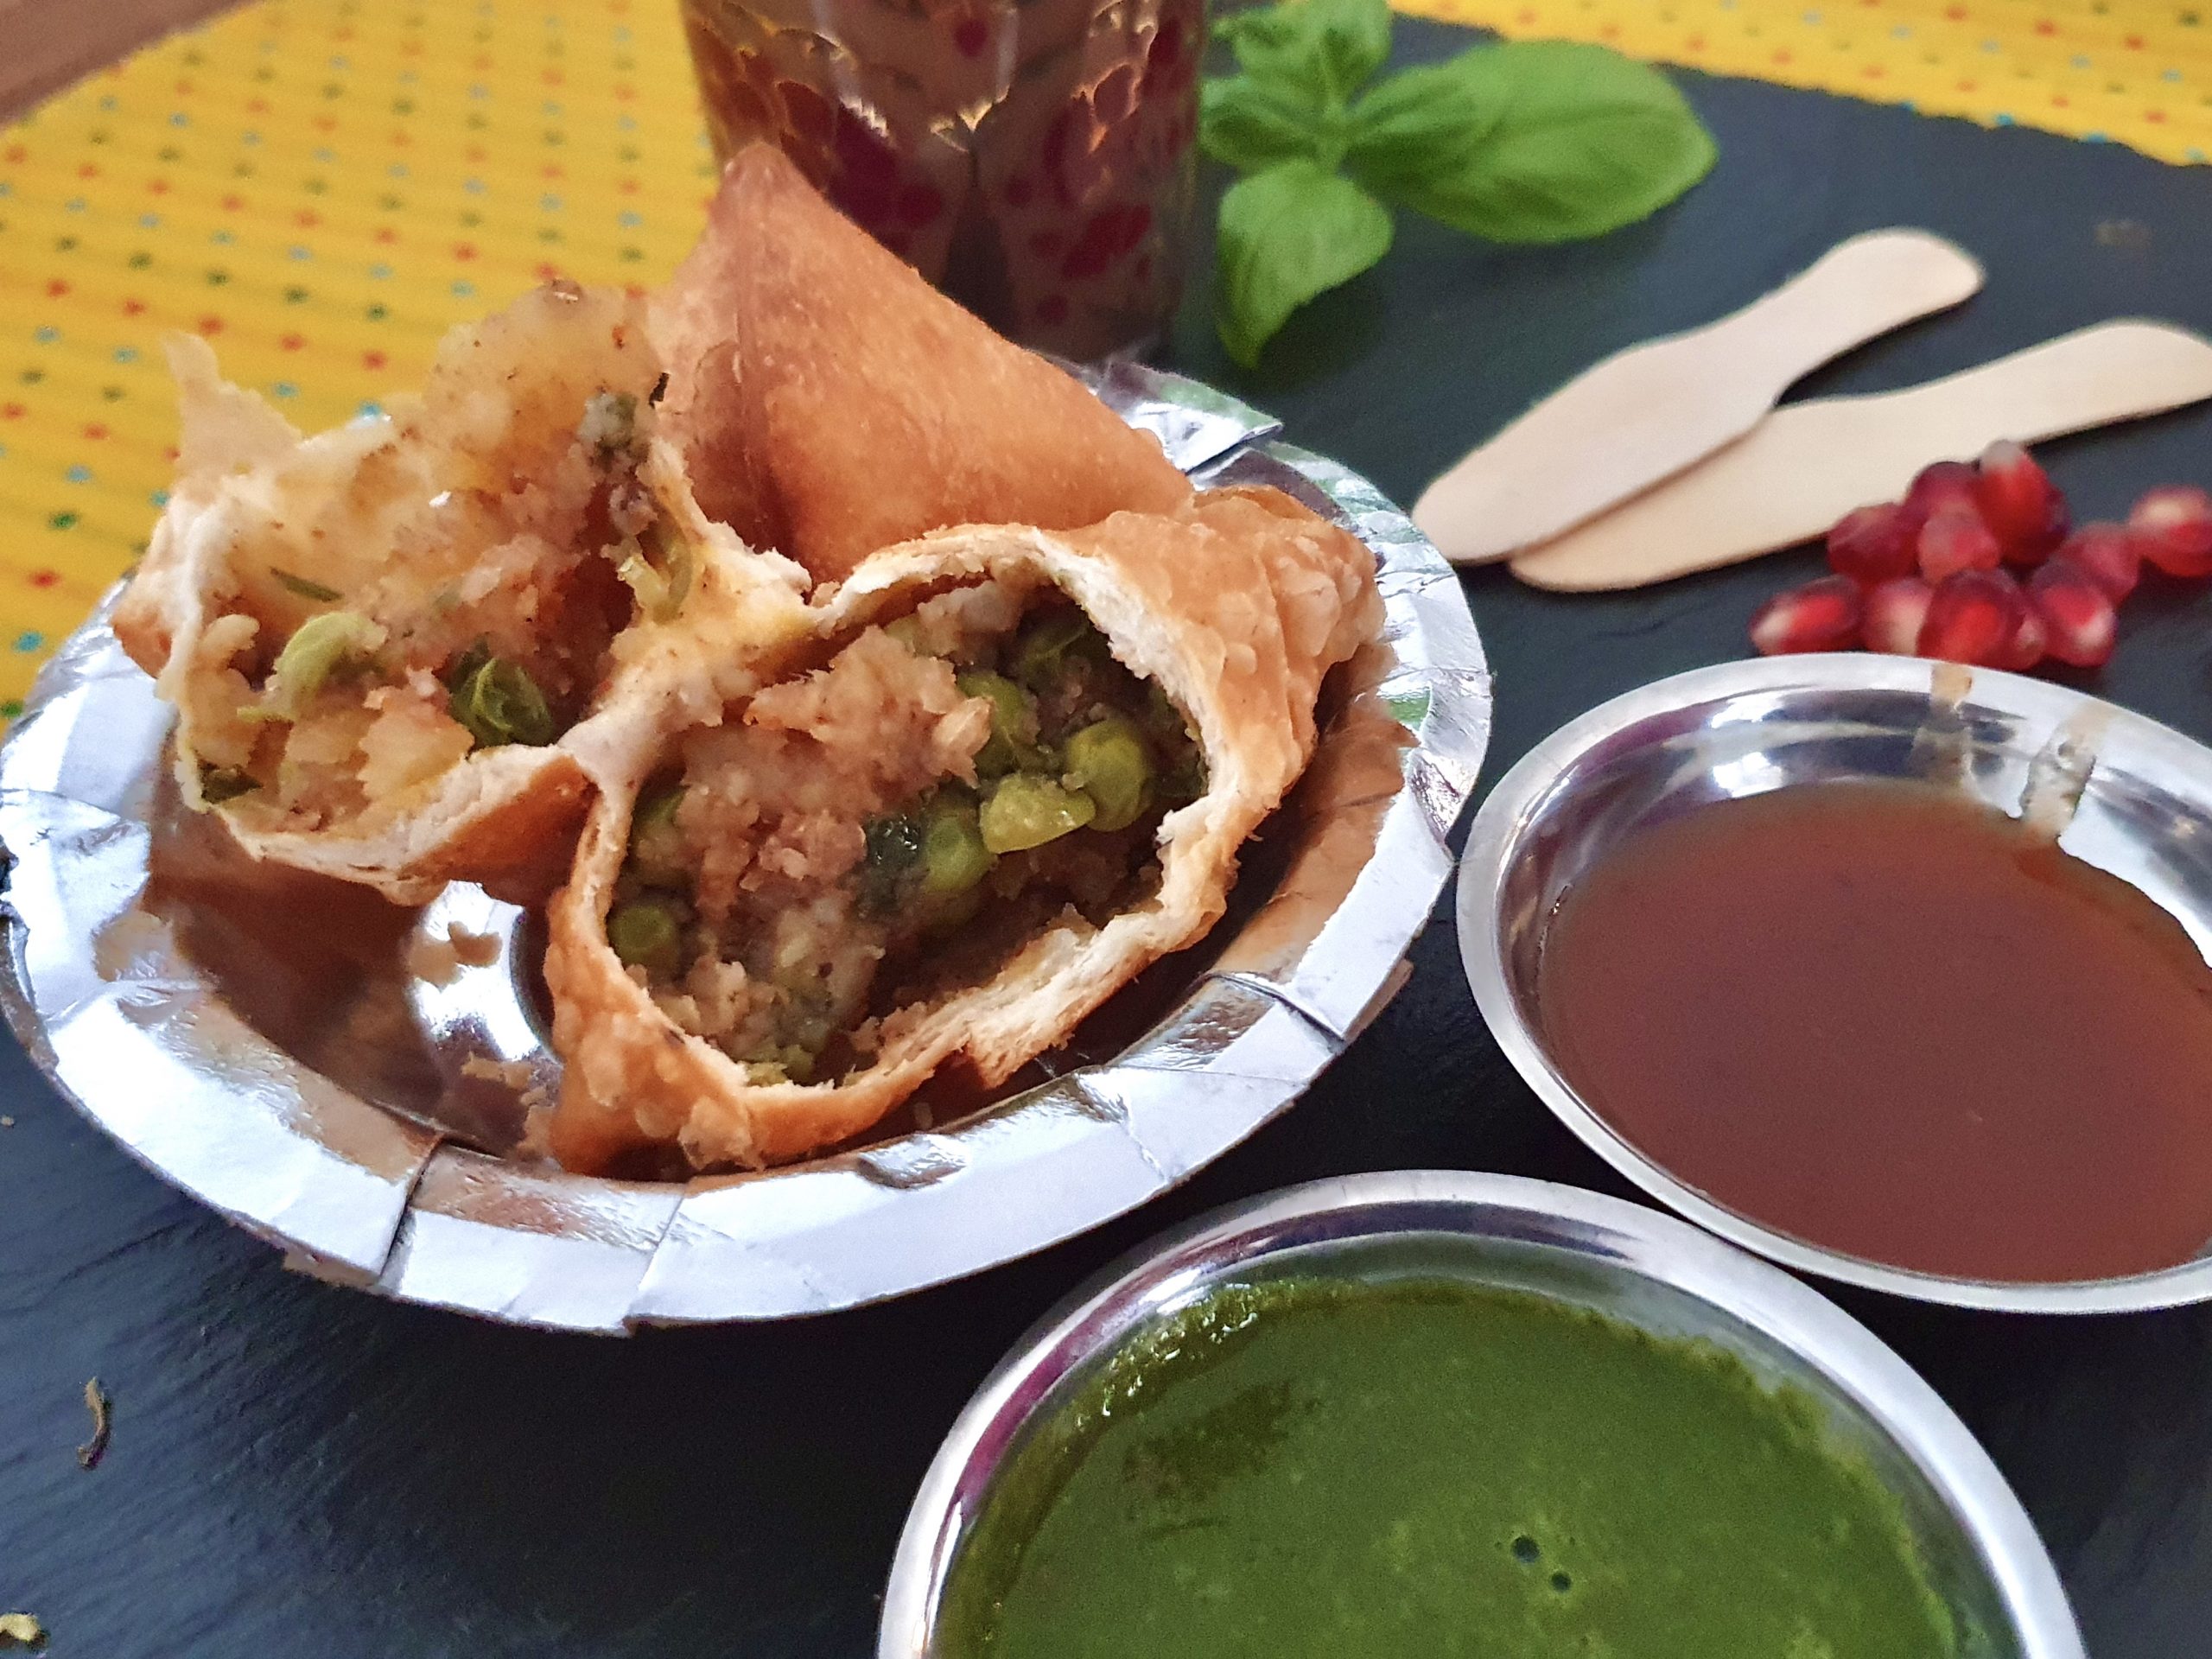
Samosa is a classic and popular Indian snack traditionally stuffed with spiced potato peas filling.
The triangular shaped flaky pastry filled with spicy potato is a popular snack not only in India but in several countries of the world. Now a days you can get different stuffing in the samosa’s like paneer, chicken, lamb, and even mixed vegetables to name a few.
I do feel nothing can beat the traditional stuffing of potatoes and peas (aloo and matar) in the flaky pastry. Samosas are so common in North India that you can literally buy samosa and chai at every other street corner with some chutney. I remember going shopping with my bhabie (sister-in-law) and we would always eat something while shopping. It was usually chat or samosa. There was a popular sweets shop called Krishna sweets where I lived. Their samosas were to die for! Crispy, flaky and melt in the mouth pastry with spicy ‘aloo matar’ (potatoes and peas) ki filling served with mint coriander chutney and Tamarind chutney.
When I came to the UK 18 years ago, I was quite surprised to find the samosas made with filo pastry here as I had never seen those in India. I am quite a traditionalist when it comes to samosas and I do not think anything can beat the flaky crispy pastry that you get at every street corner in India. In the recent years it has been heart-warming to see the flaky crispy pastry in samosa as we get in India in more and more restaurants.
I must admit that the samosa recipe might look complicated when you read it. Let me assure you that it looks more complicated on paper but quite easy to make if you plan your time. I always boil the potatoes one day in advance or night before in microwave and that makes everything easy the next day. This is one of the treats that you should make for special occasions or over a weekend when you want to have some fun in the kitchen.
There are four key stages to making samosas:
- Making the filling
- Making the pastry
- Filling the samosa
- Frying
Samosa is a comfort street food for many Indians. If you love samosa then other recipes worth trying are Easy Paneer Pakora, Onion Bhajia, Khasta Moong Dal Kachori, Dubki Wale Aloo, Jalebi and Gulab Jamun to name a few.
Ingredients
For the pastry
2 cups plain flour (maida)
5 tablespoons oil/ghee
1 teaspoon salt
½ teaspoon carom seeds (ajwain)
5-6 tablespoons of cold water to knead the dough
Filling
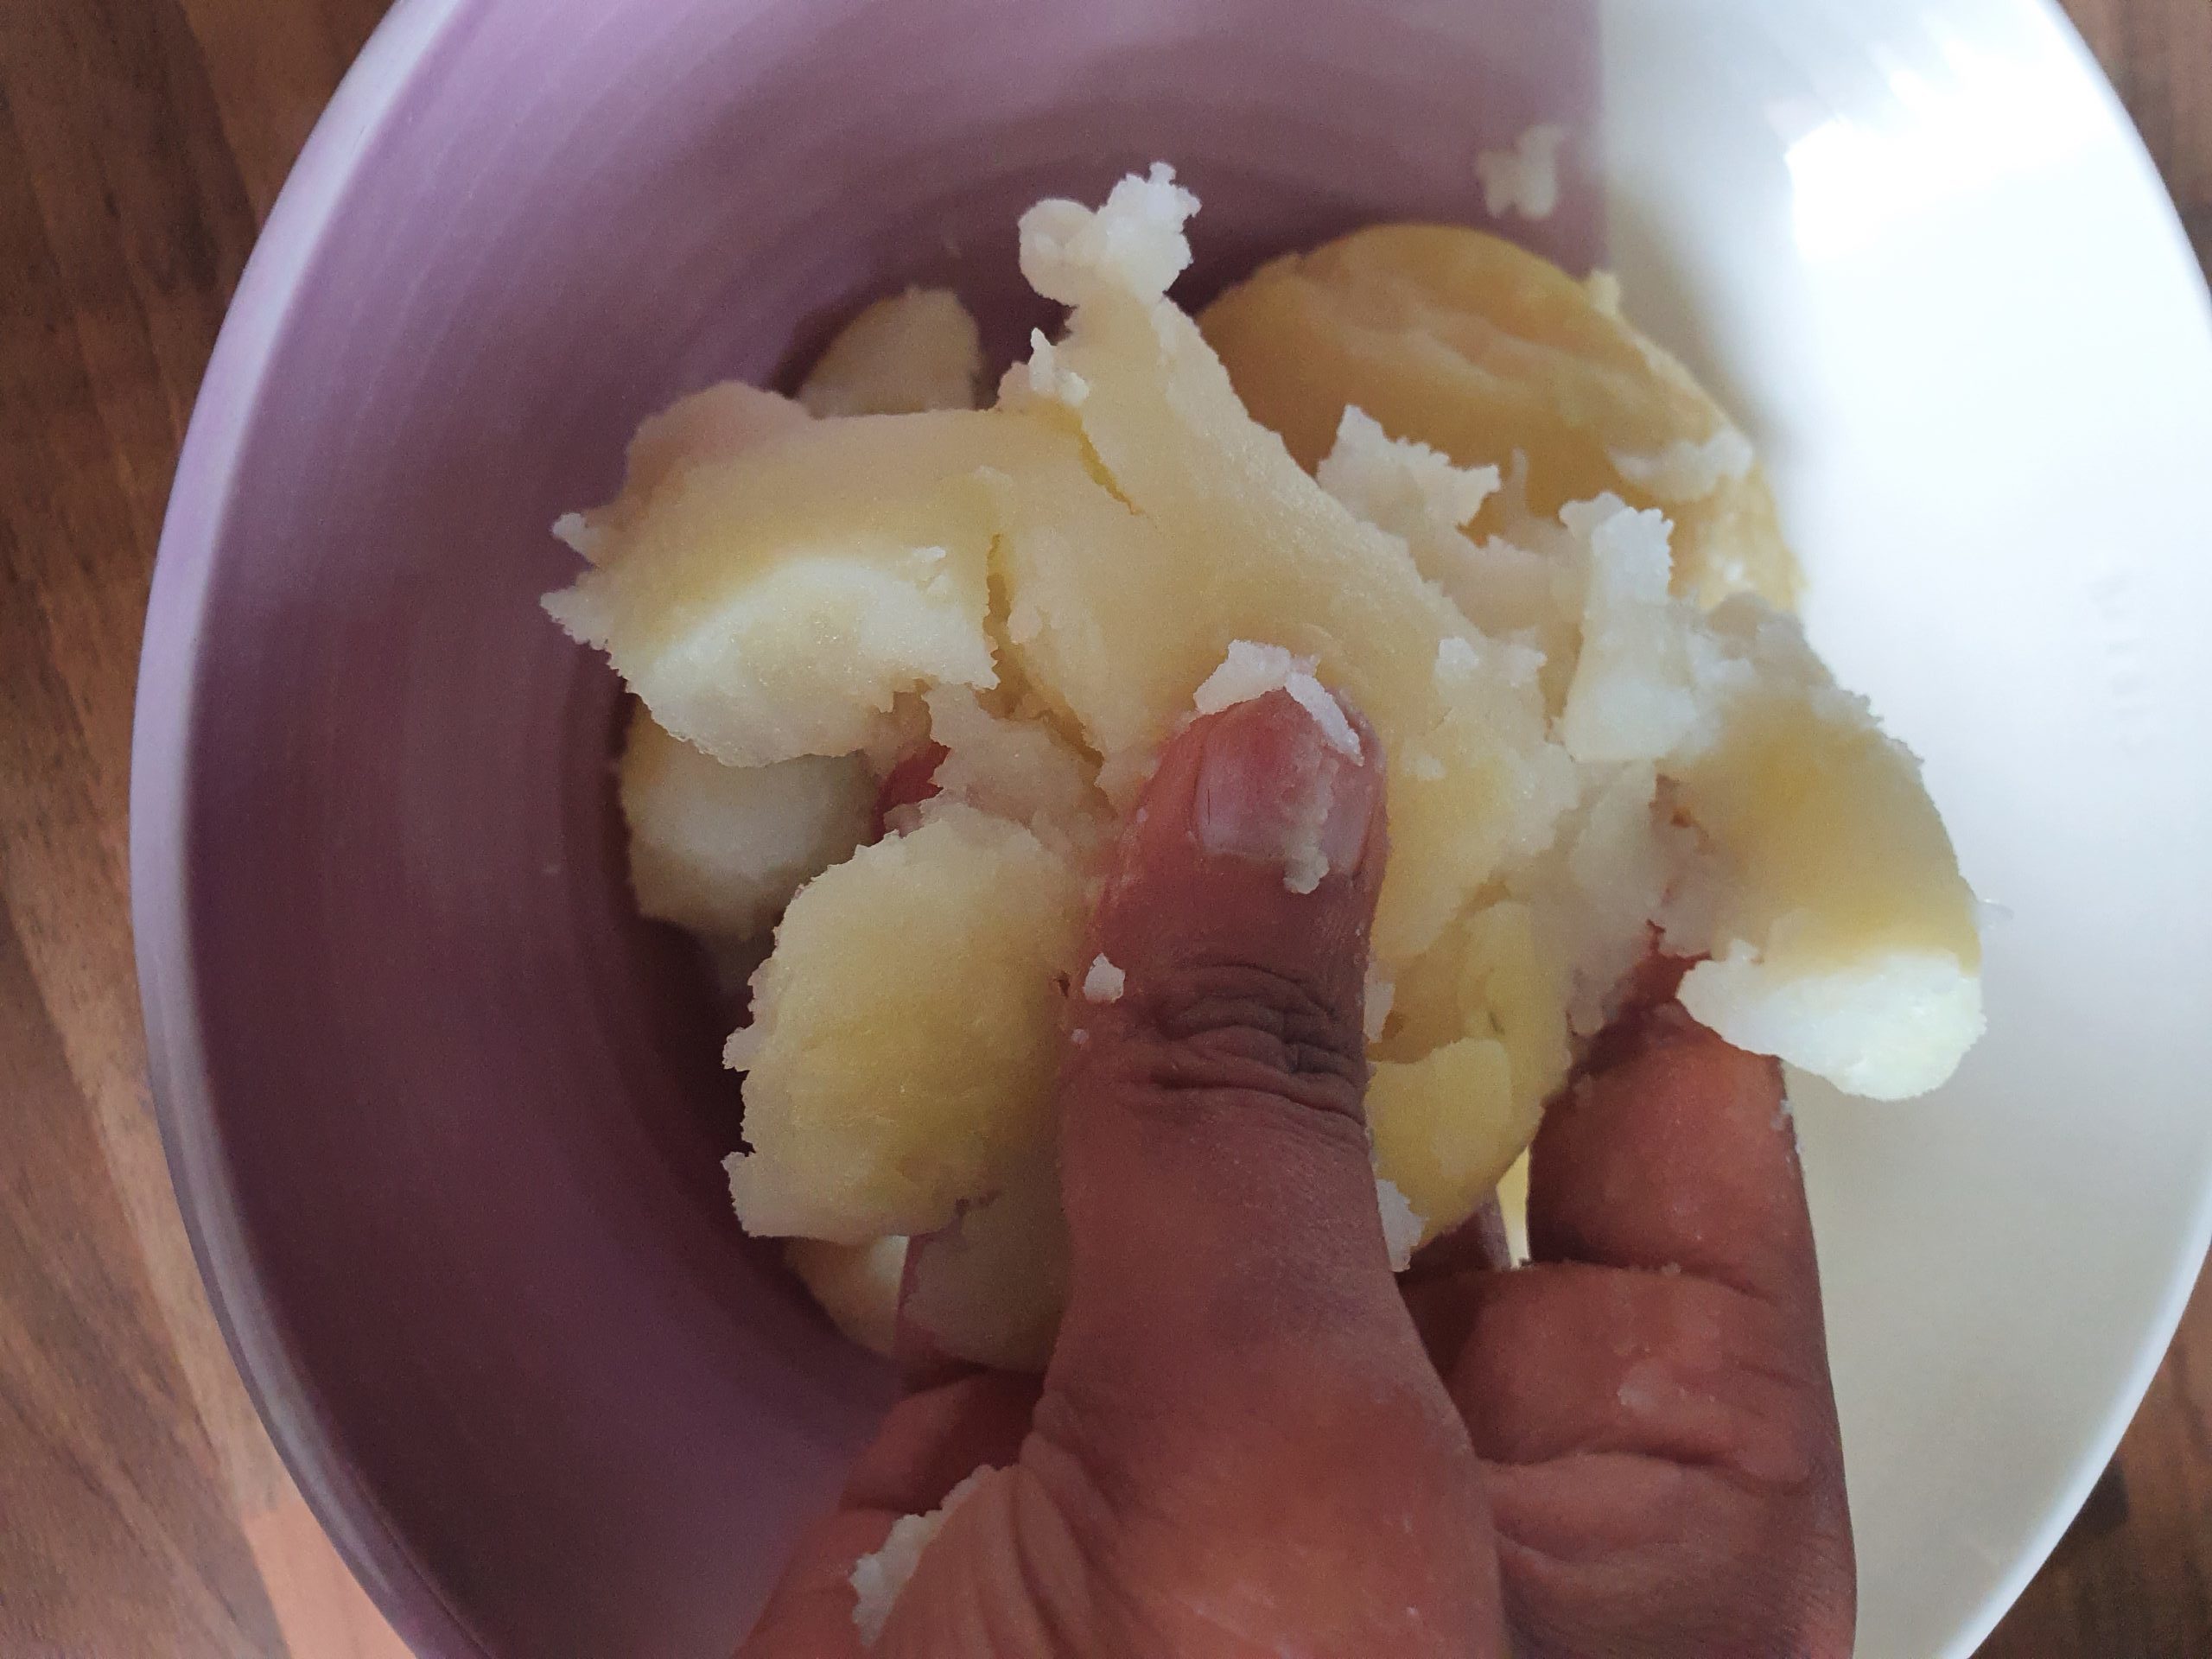
4 boiled potatoes
½ cup of boiled peas
1-inch grated ginger
1-2 finely chopped green chillie
2 teaspoons oil
pinch of asafoetida (hing)
1 teaspoon salt (to taste)
1 teaspoon red chillie powder
1 teaspoon crushed coriander seeds (optional)
1 teaspoon cumin seeds (jeera)
½ teaspoon mango powder
½ teaspoon garam masala
2 tablespoons finely chopped coriander
Oil for frying
Directions

Making pastry
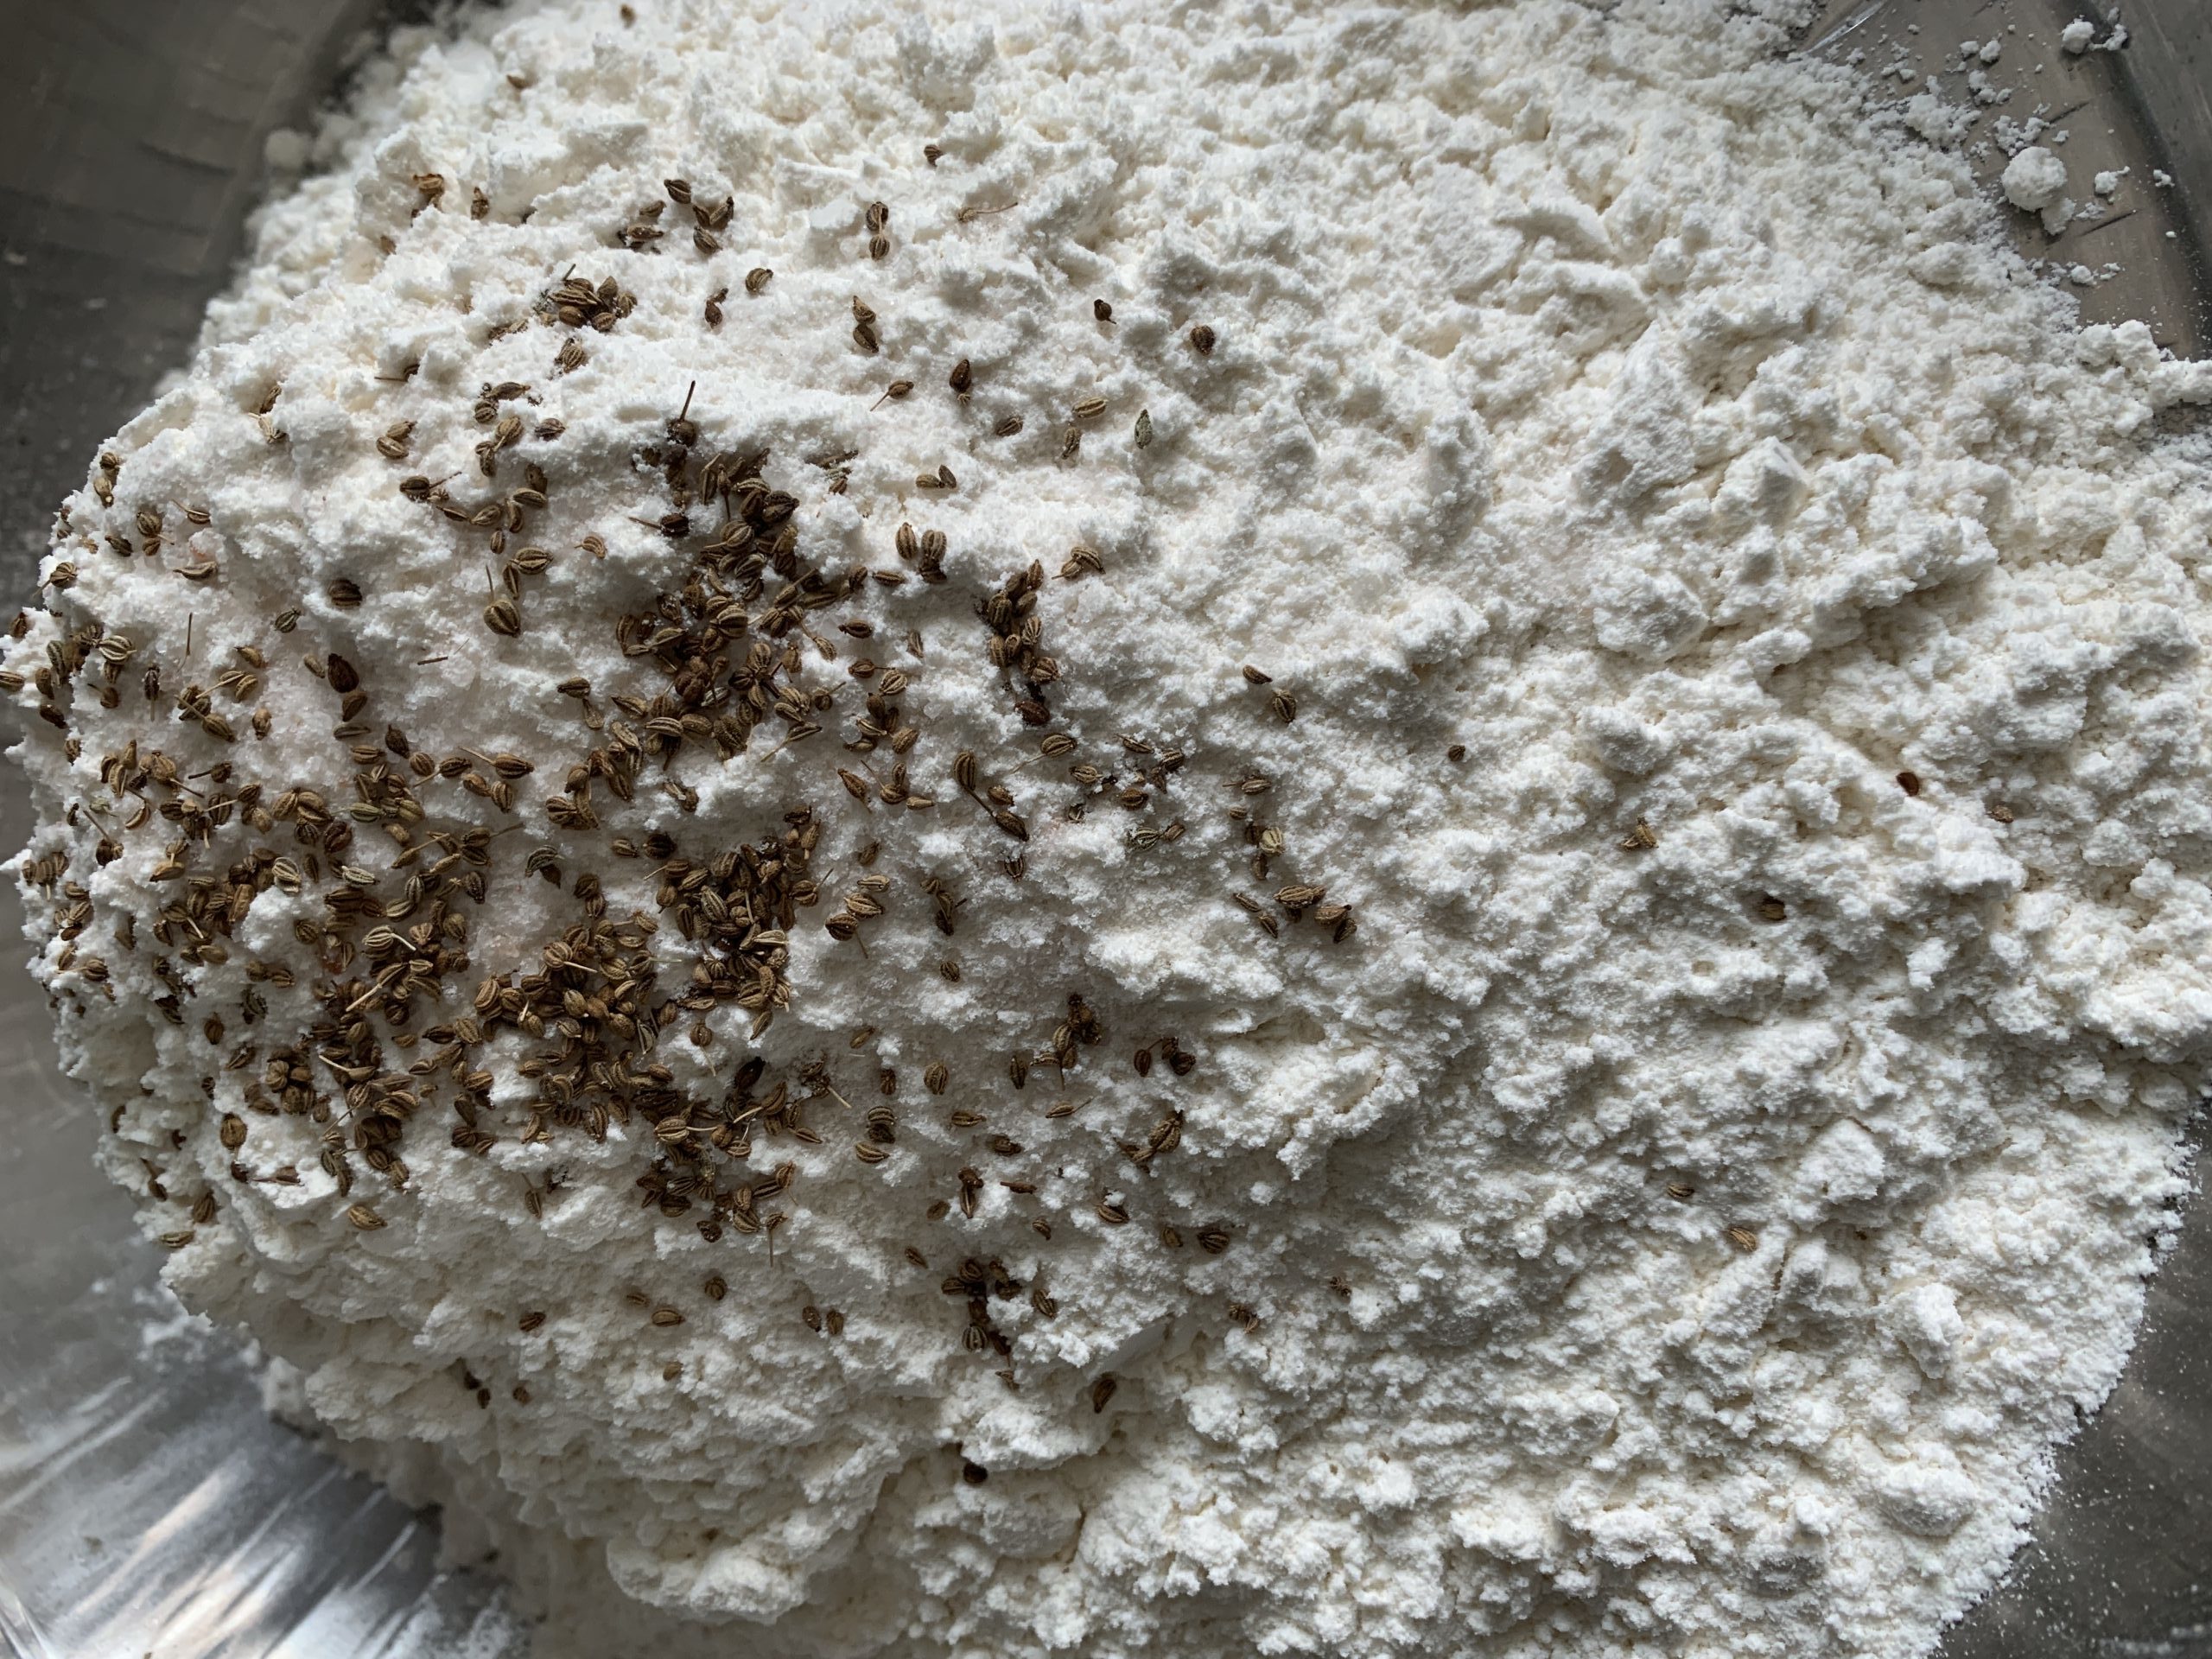
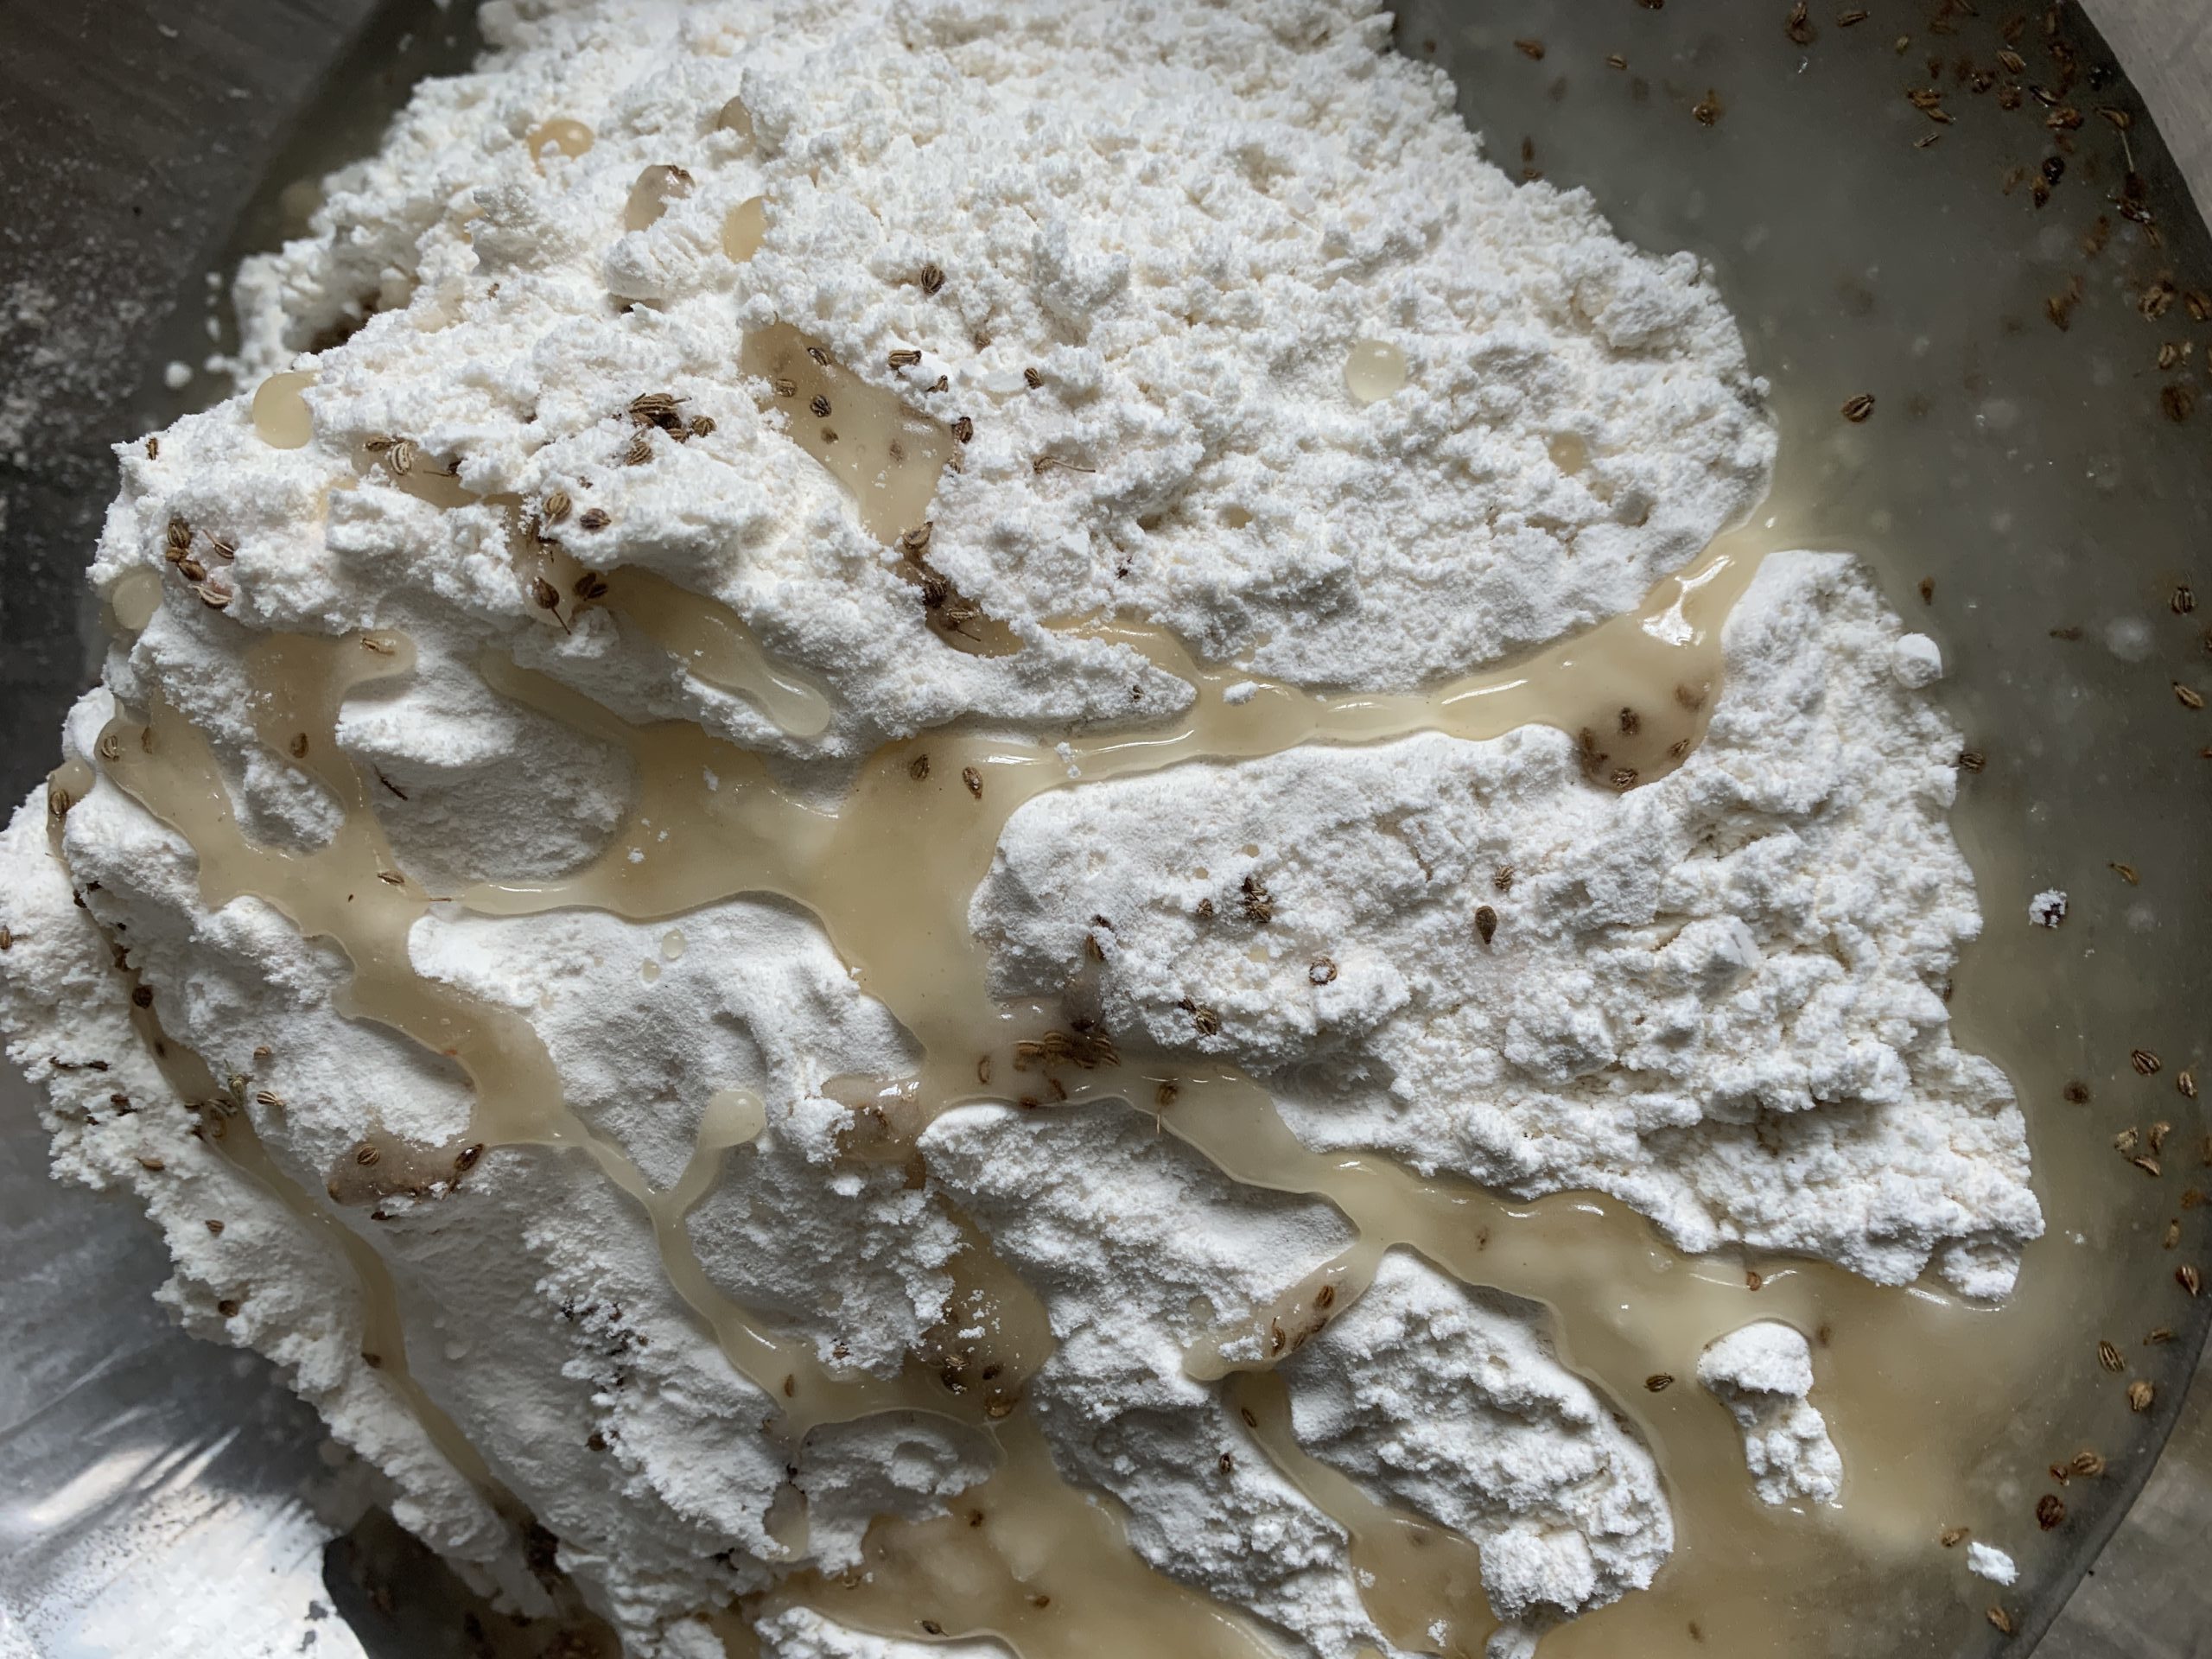
Place flour, oil, salt and carom seeds in a bowl and rub the mixture together. With your fingertips rub the mixture together till it resembles bread crumb (around 3-4 minutes).
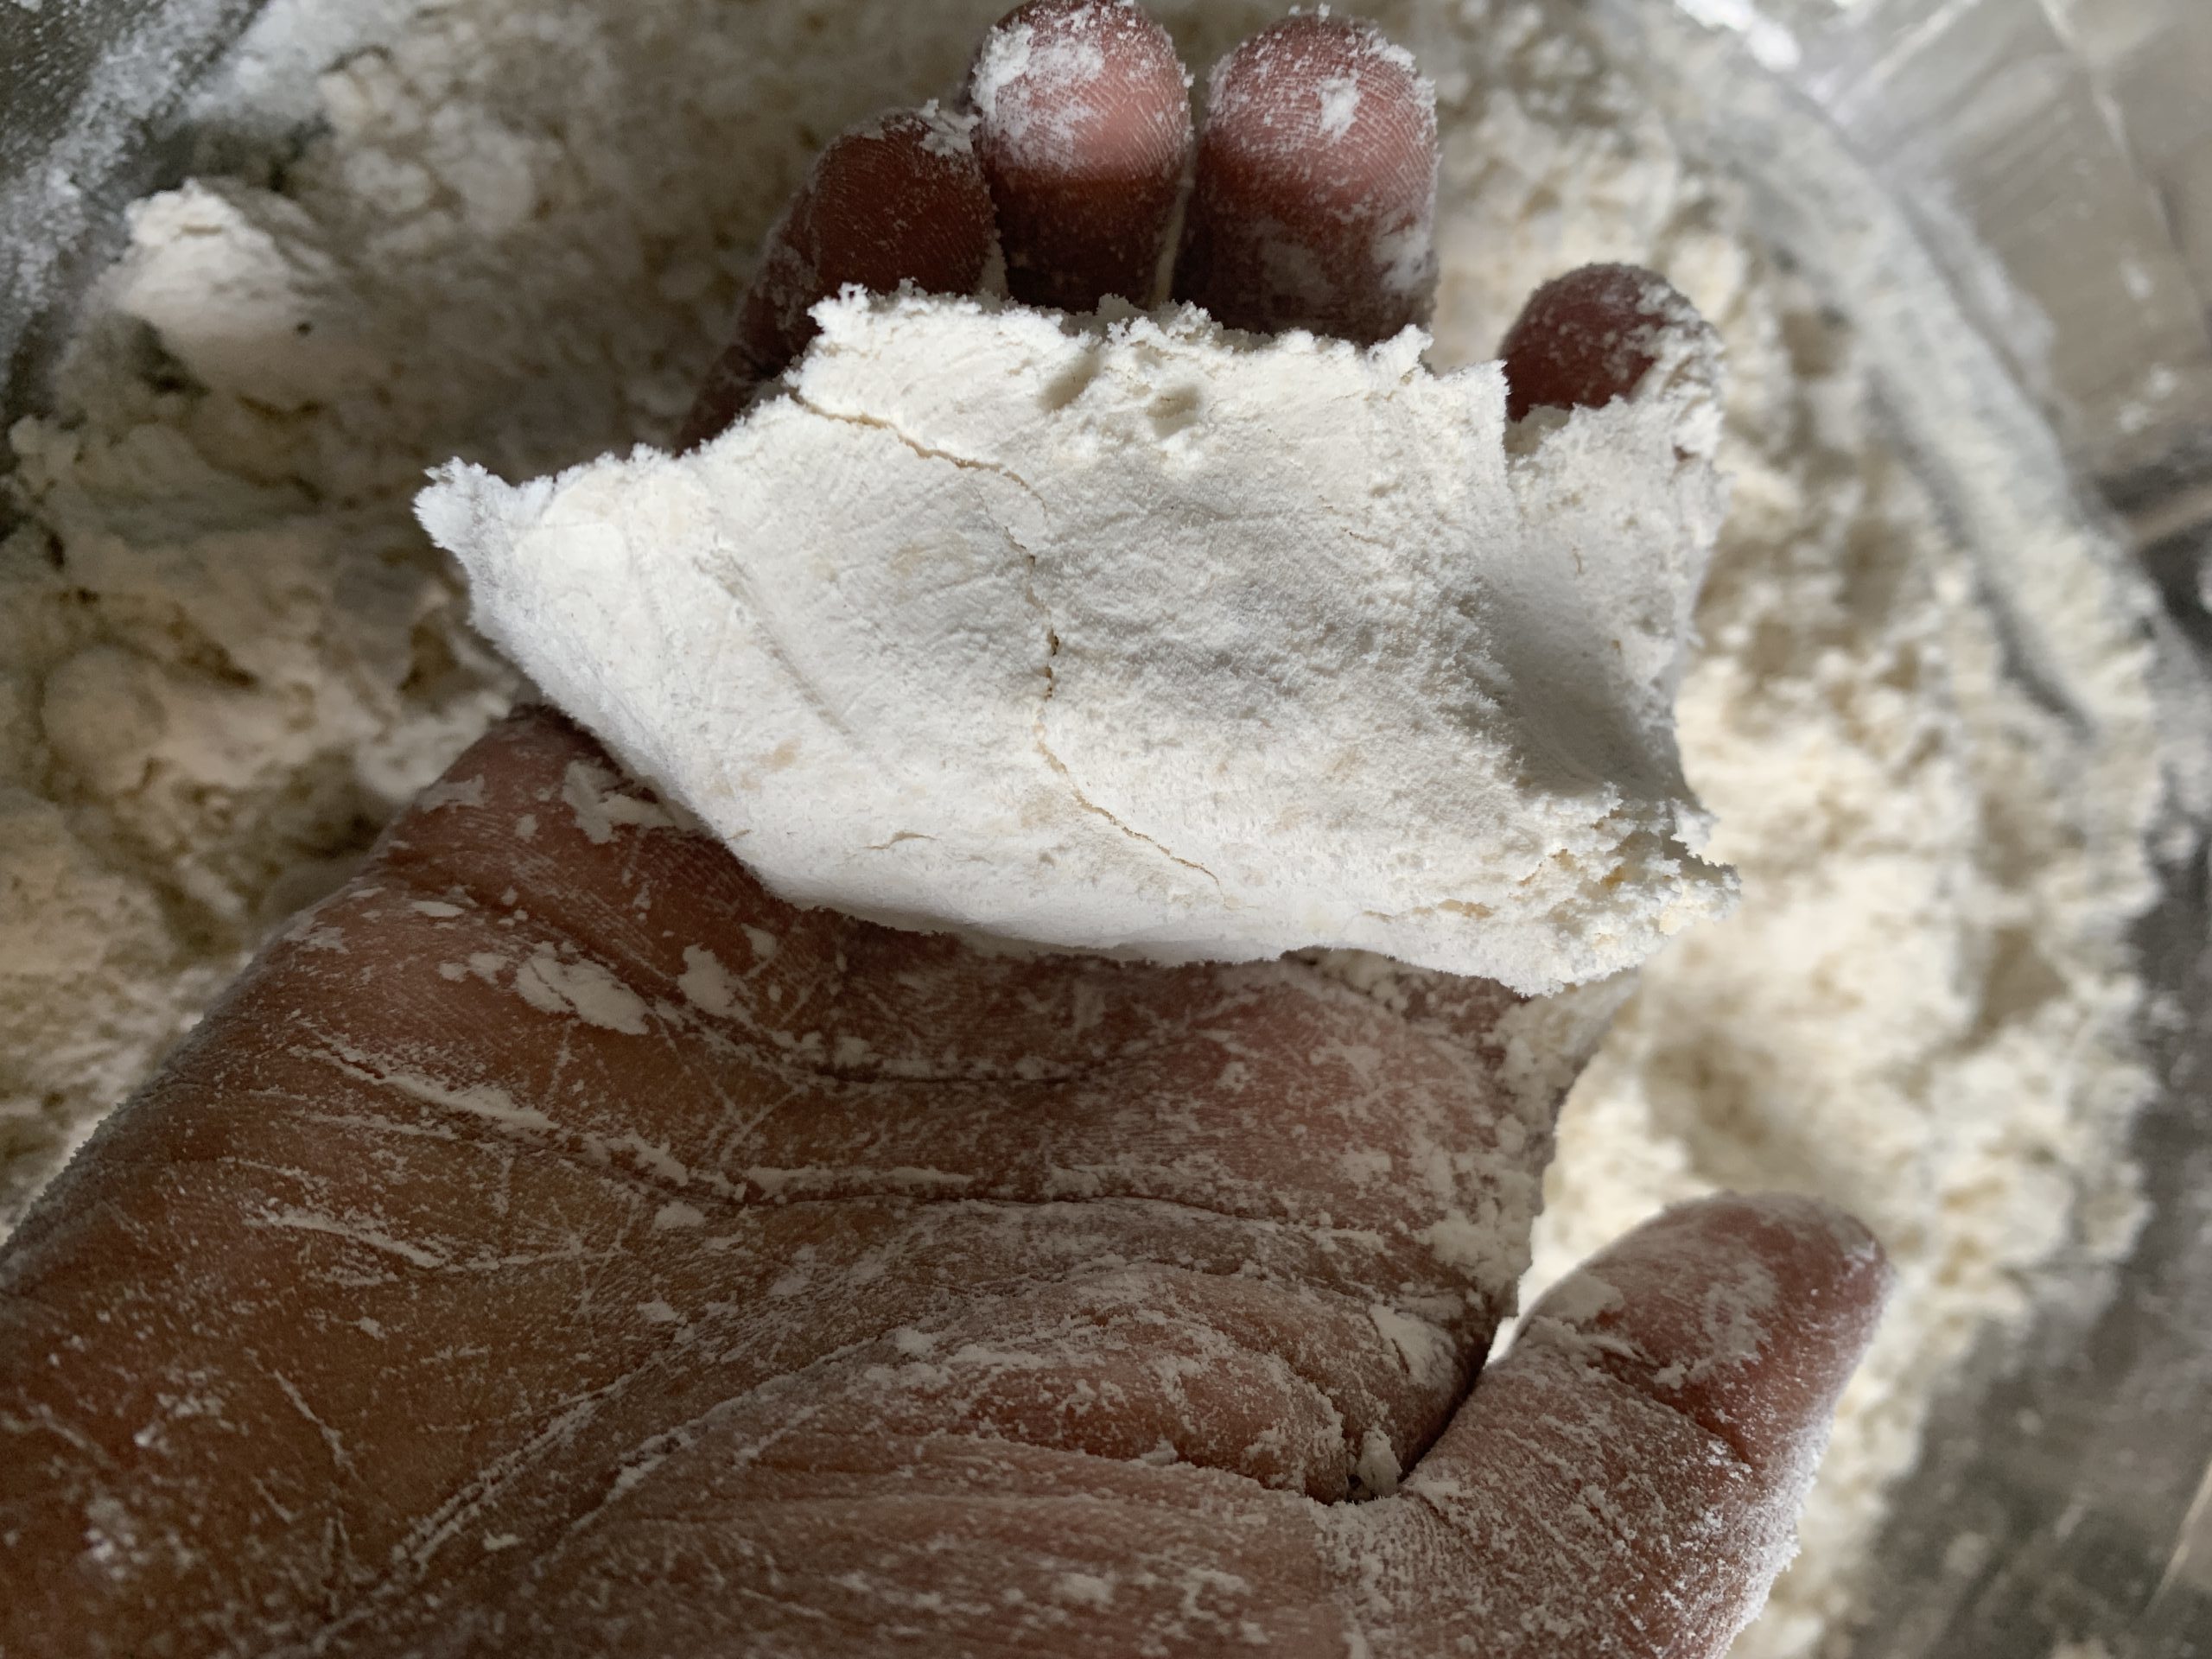
Press some flour in your palm and it should form a shape (and not crumble) which means oil is enough and well incorporated.
Using your hand begin to sprinkle in a little water at a time to bring the dough together.
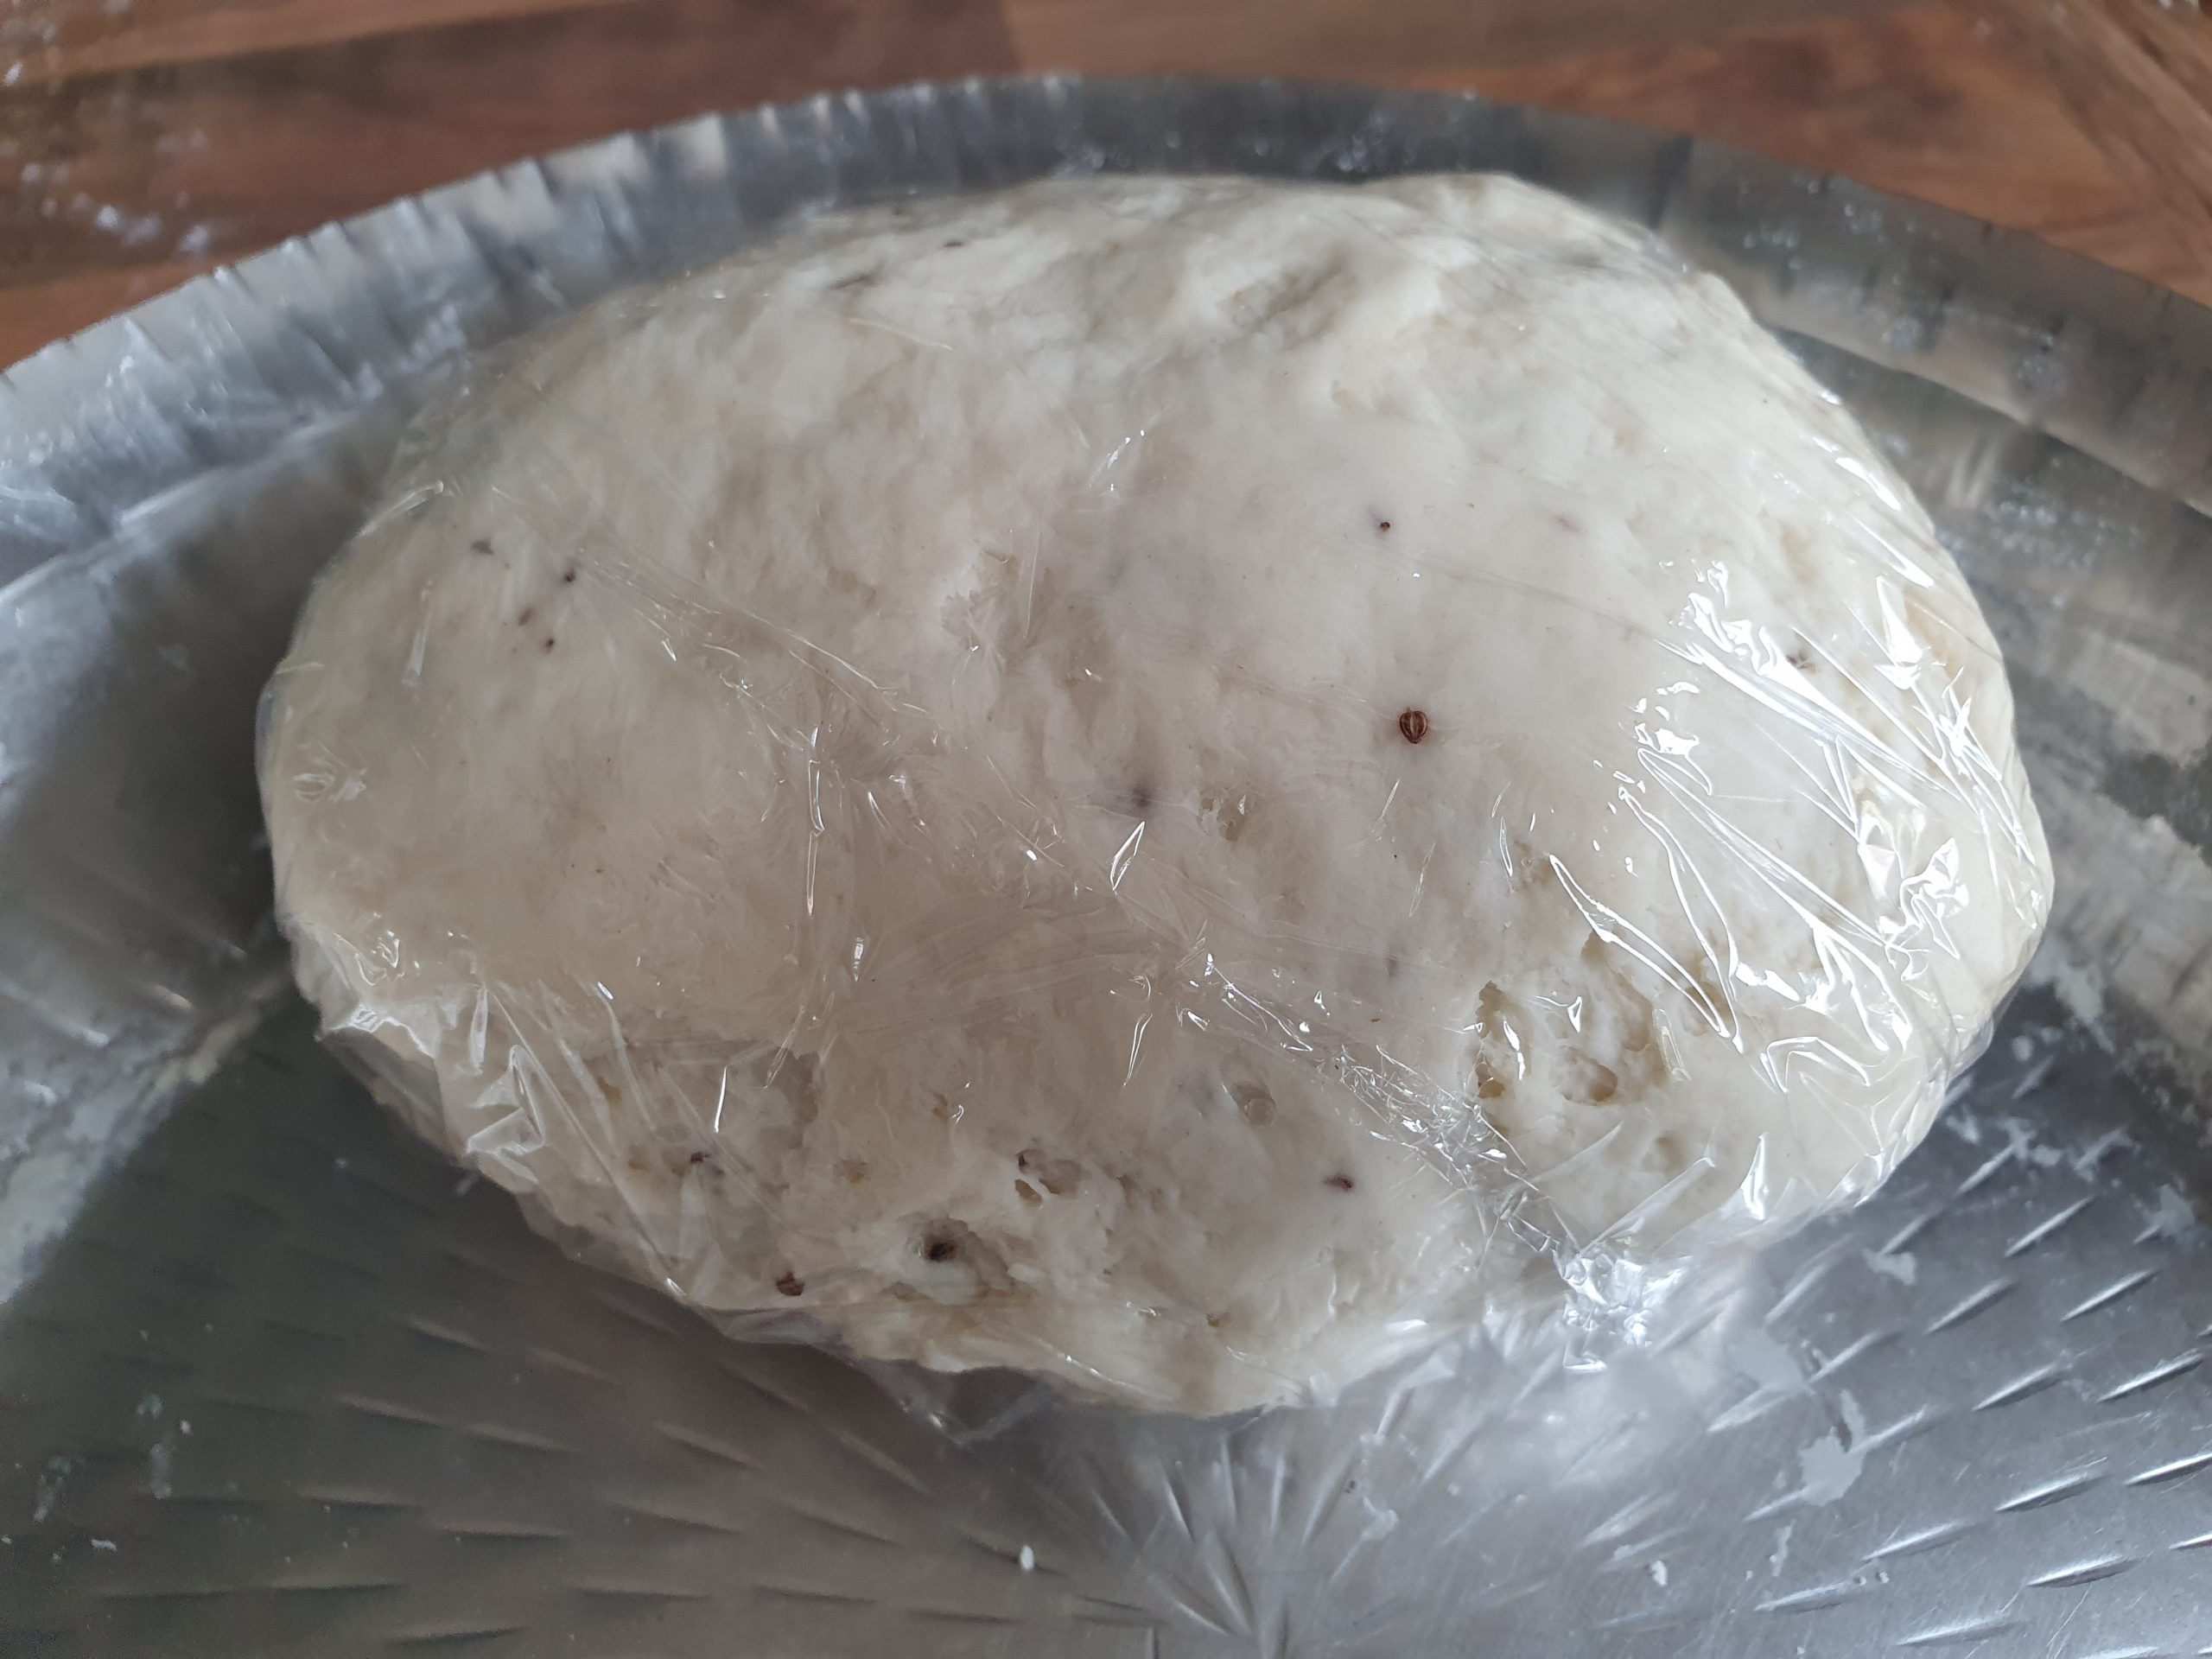
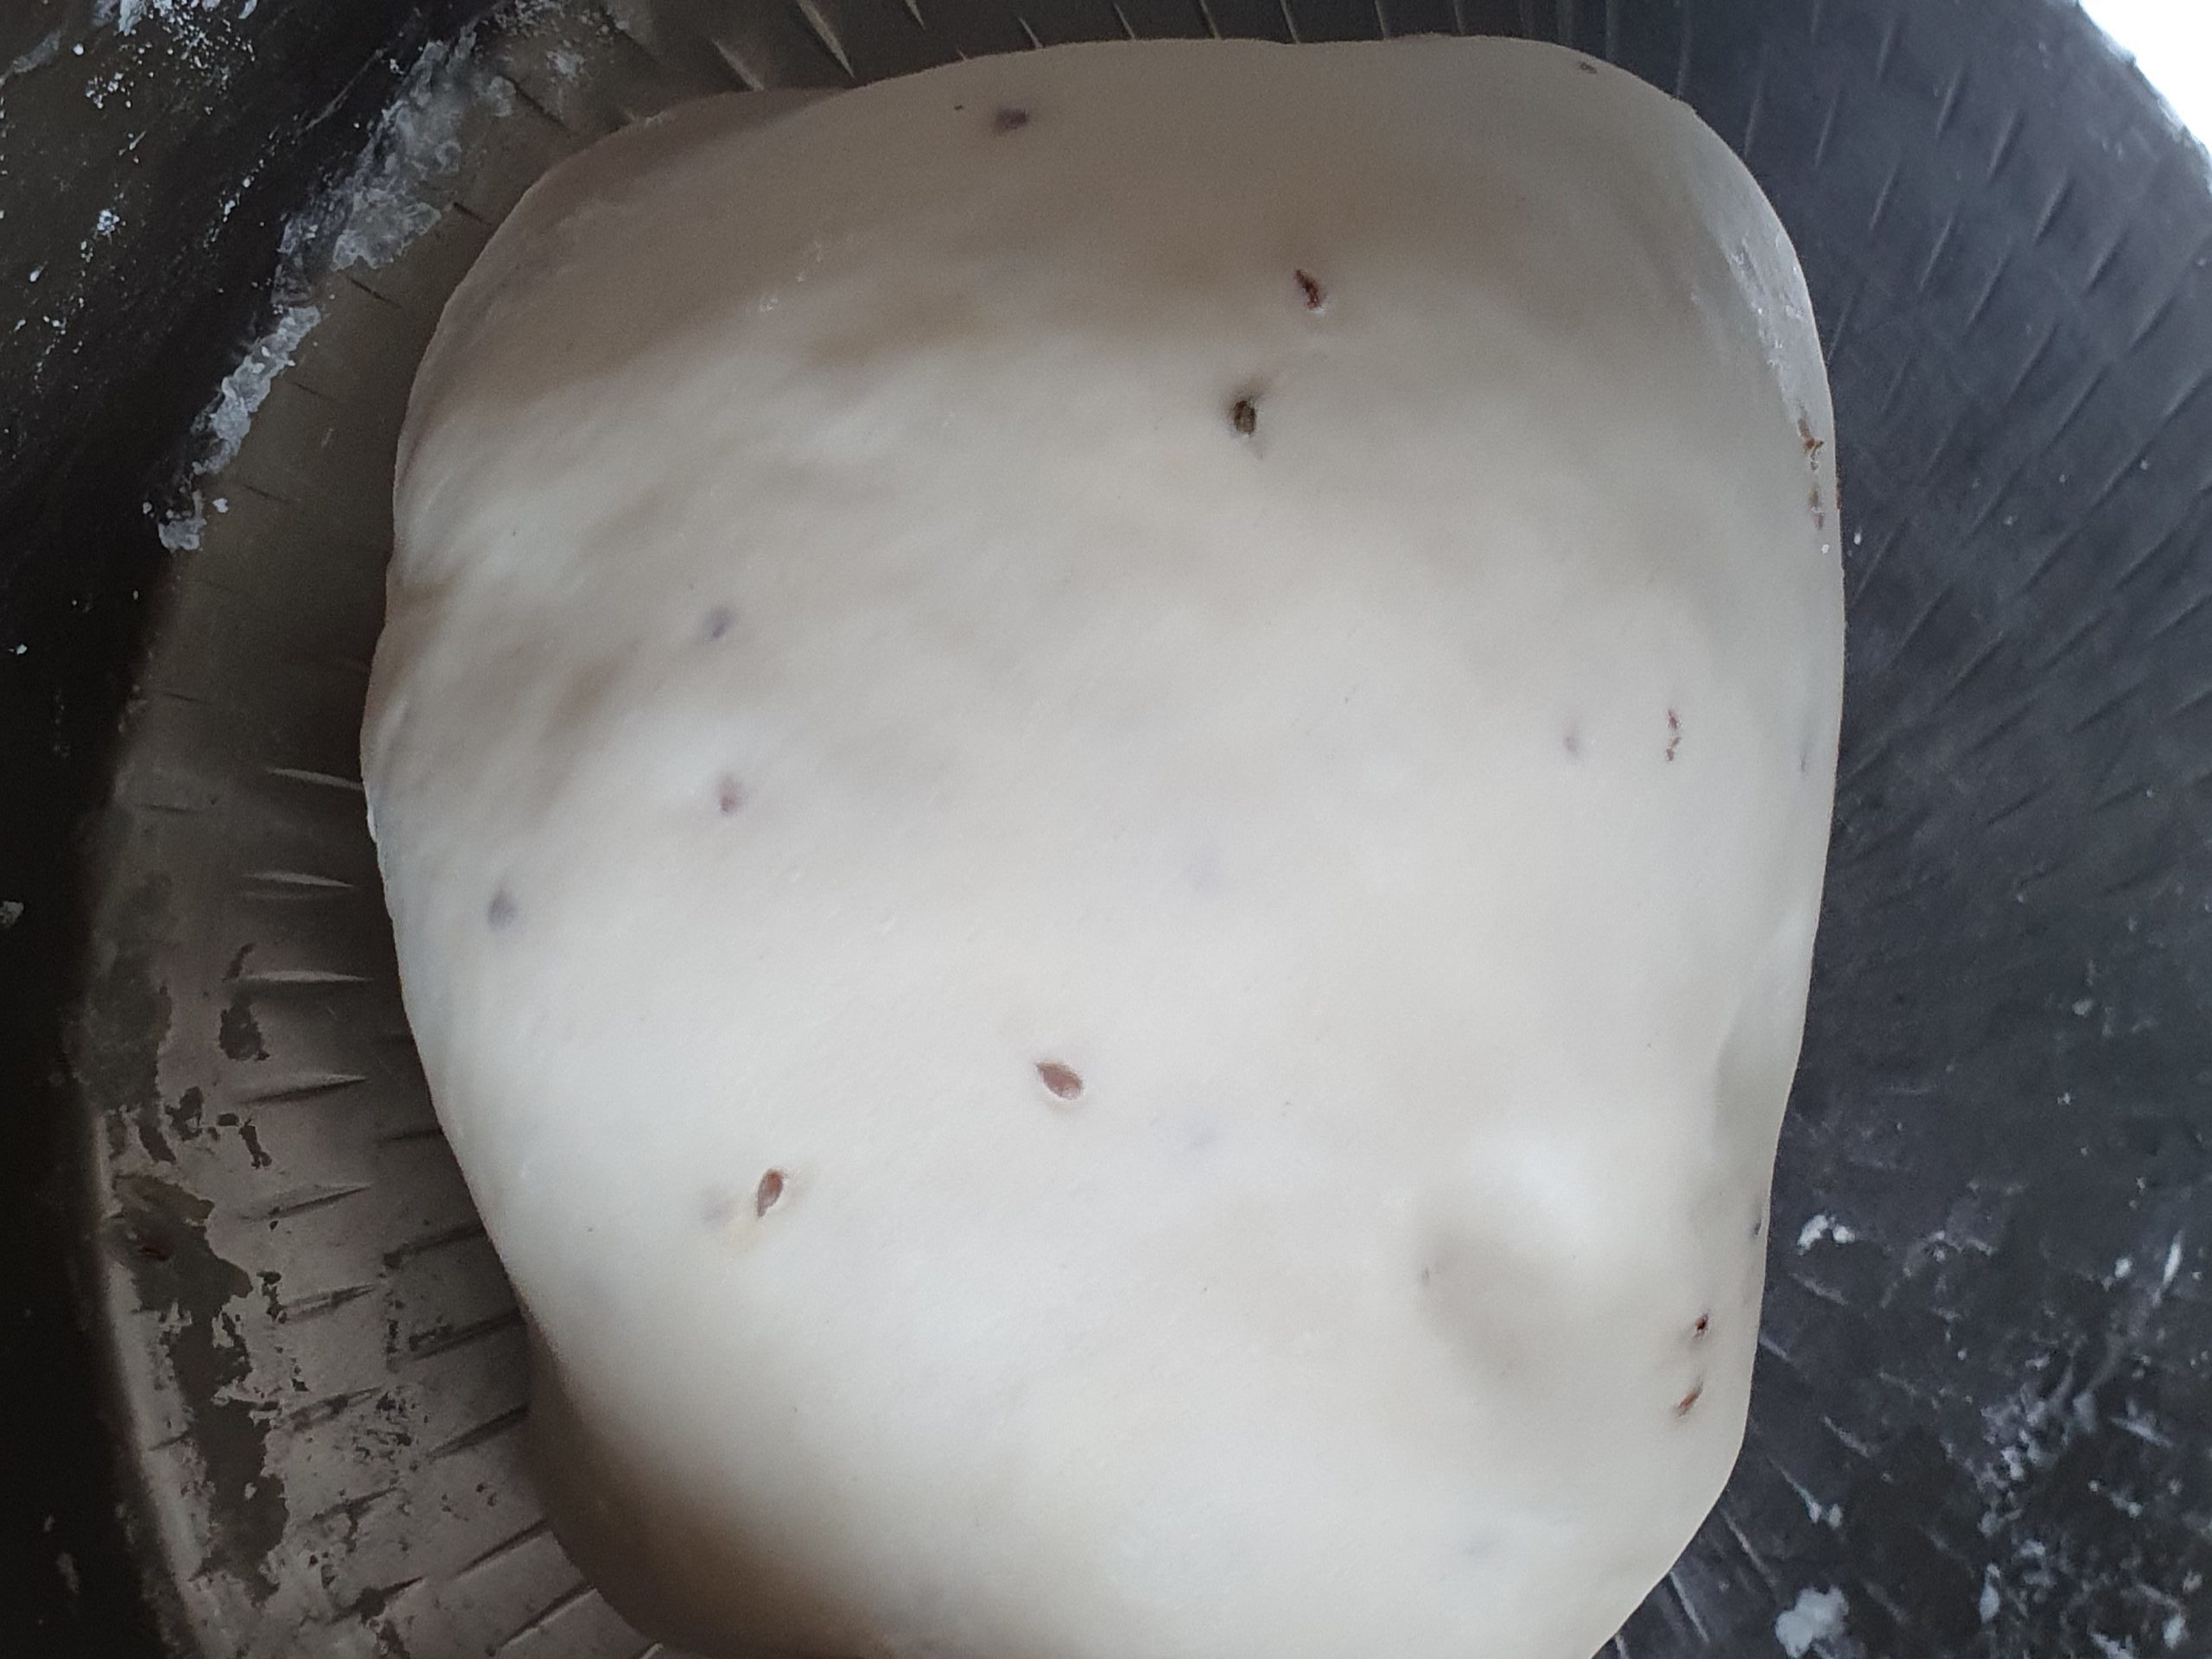
Continue to add the water slowly until the dough comes together. The dough should be stiff and hard.
Cover and set aside for at least 30 minutes. While the dough is resting, start working on the filling.

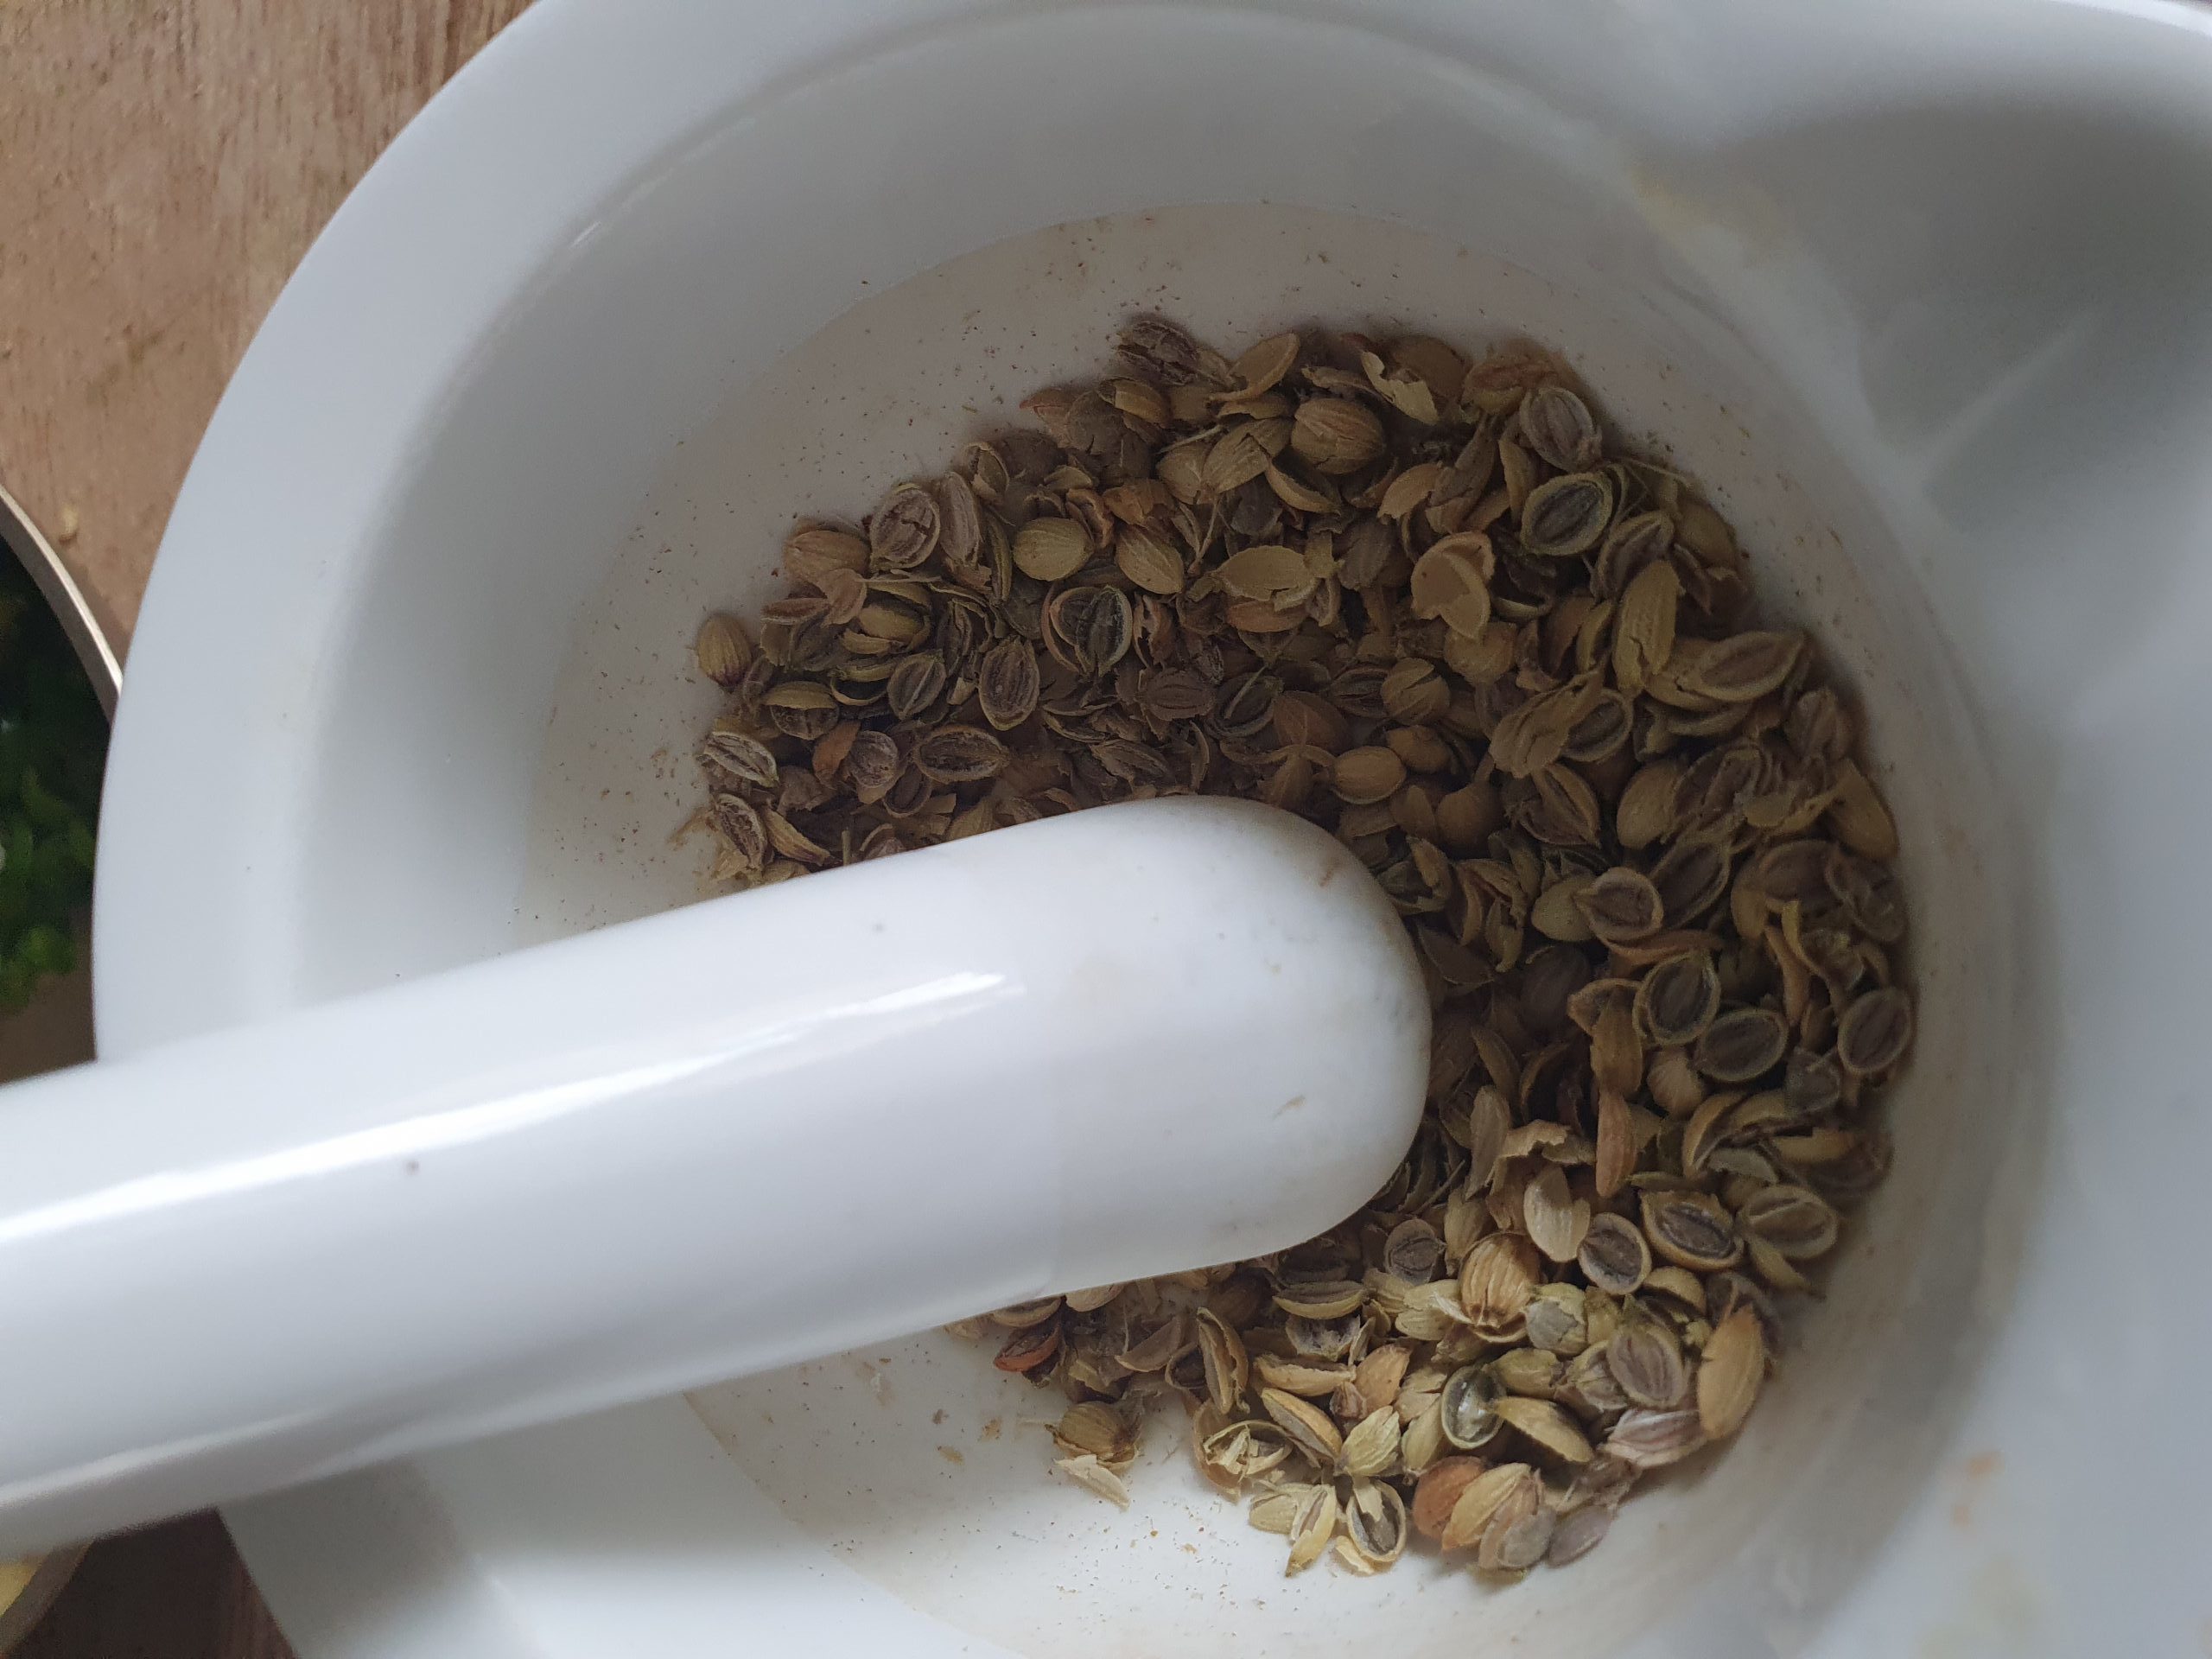
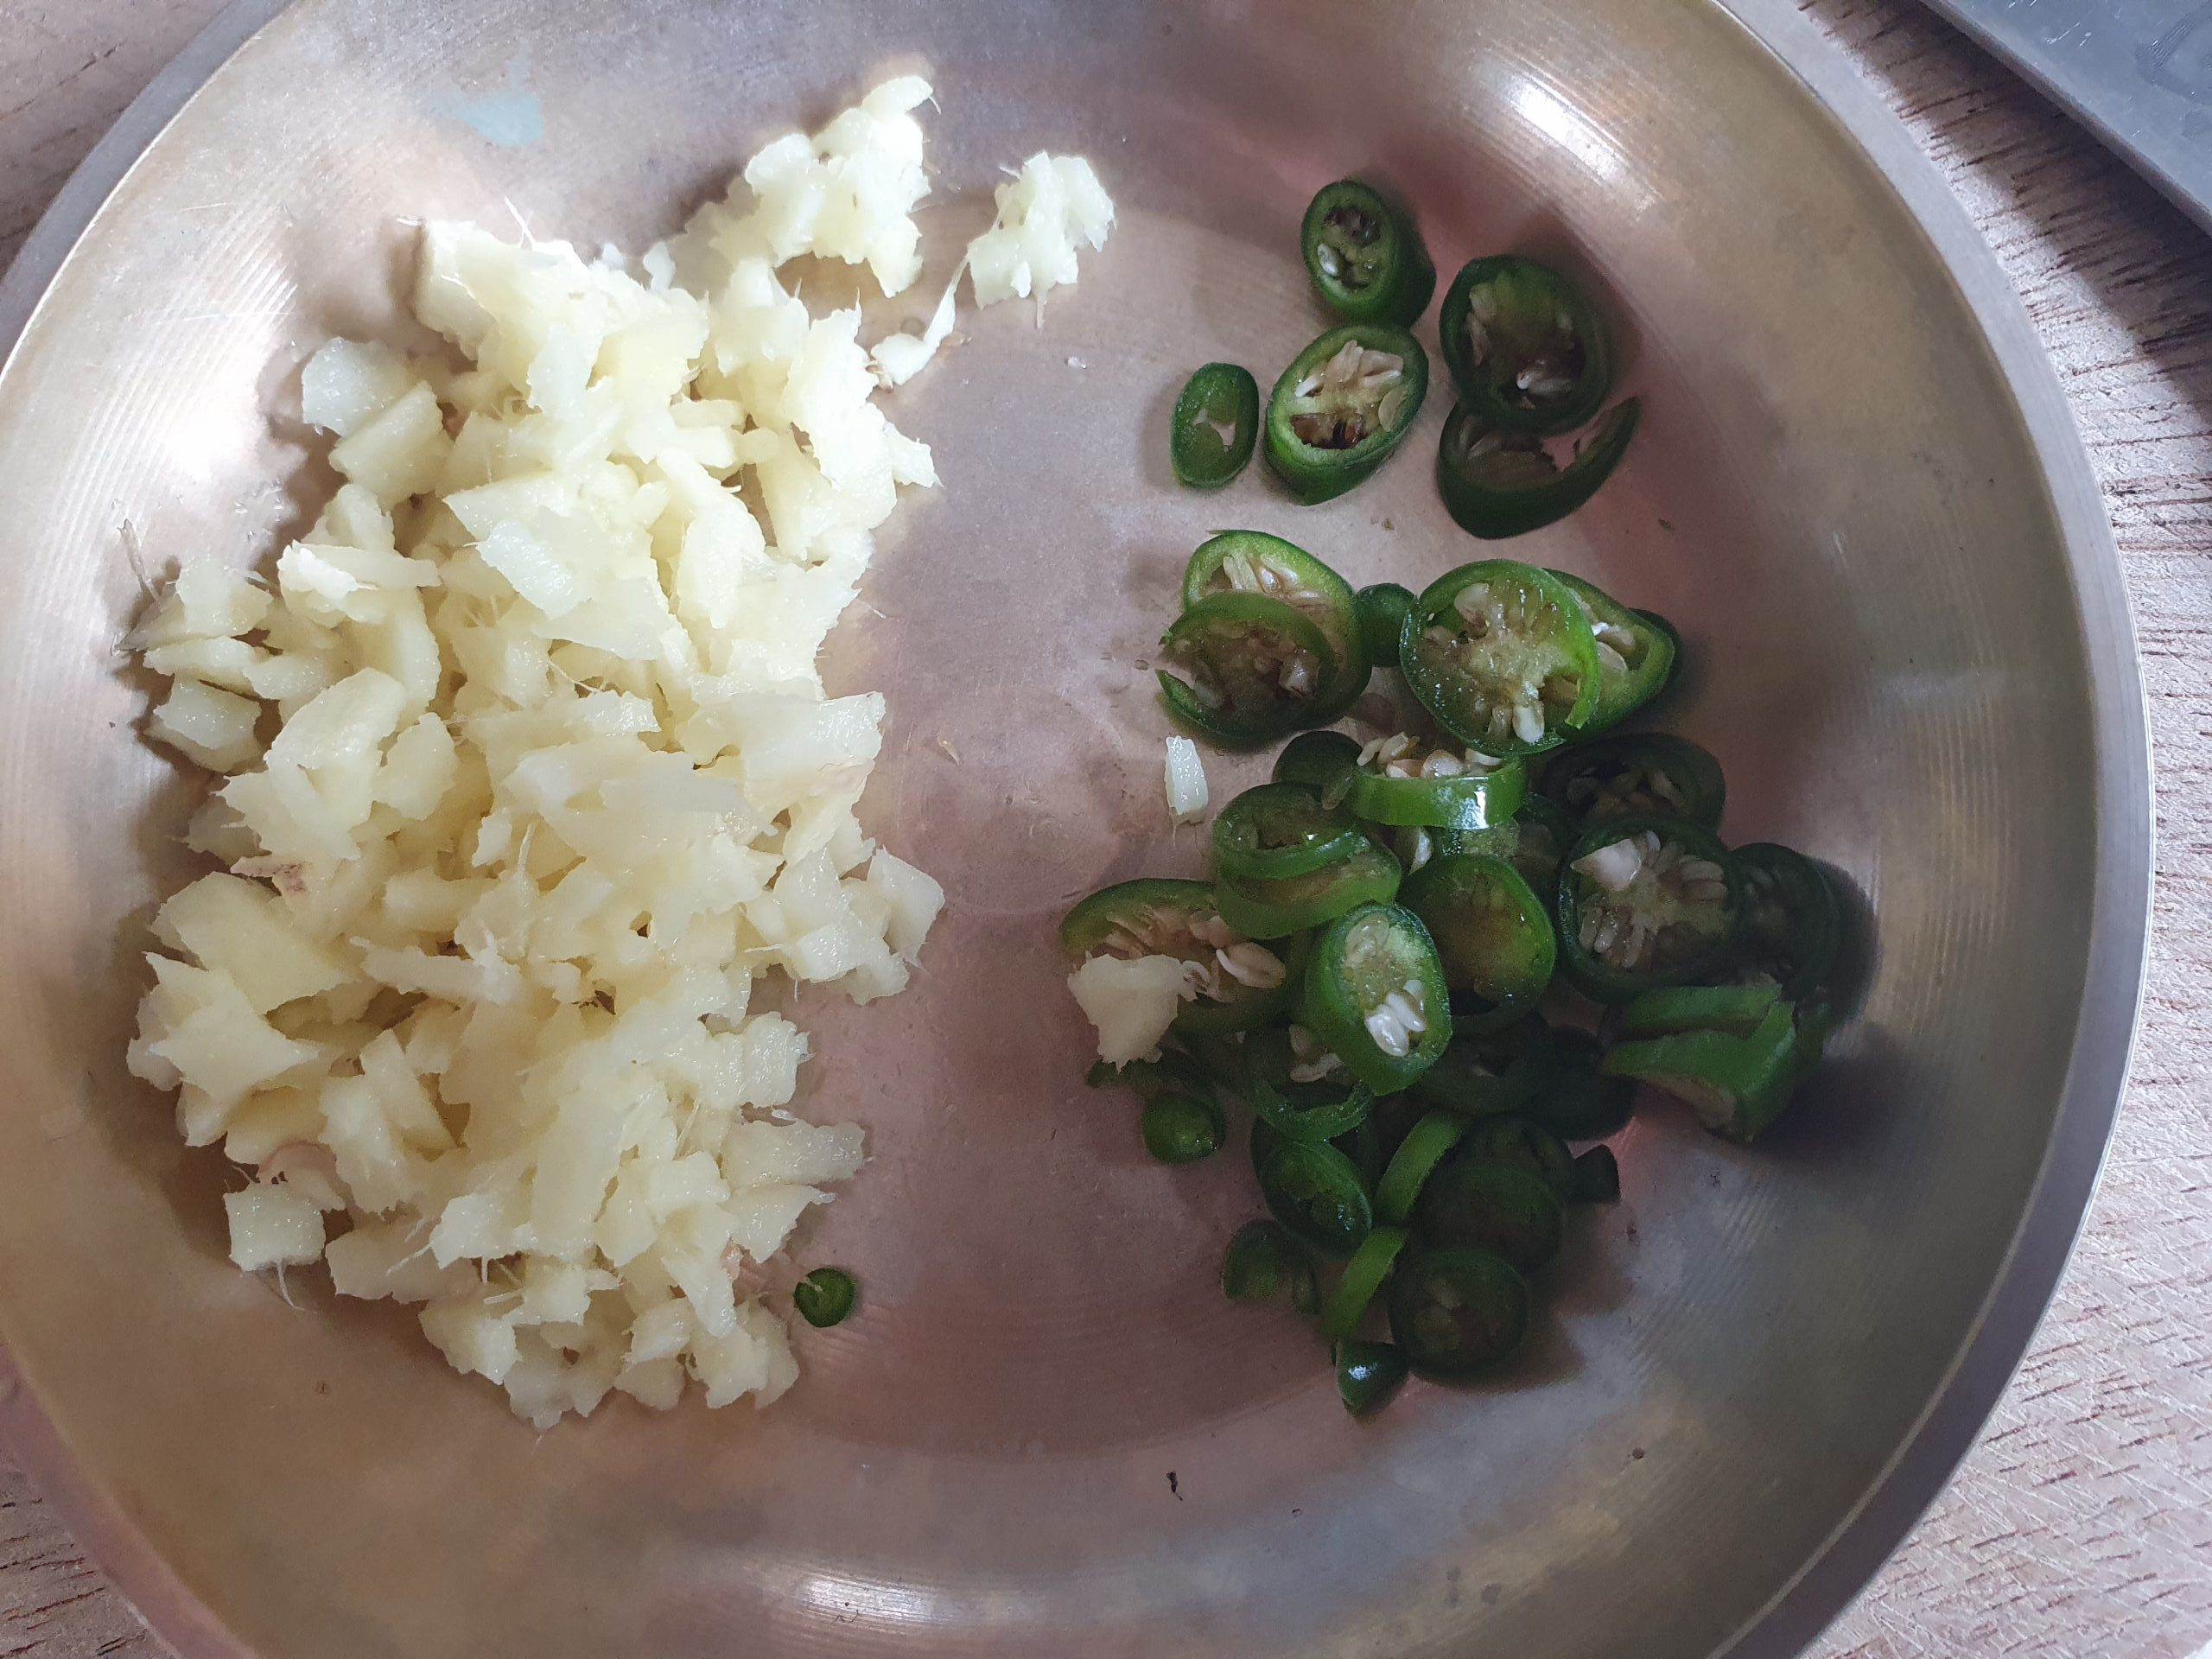

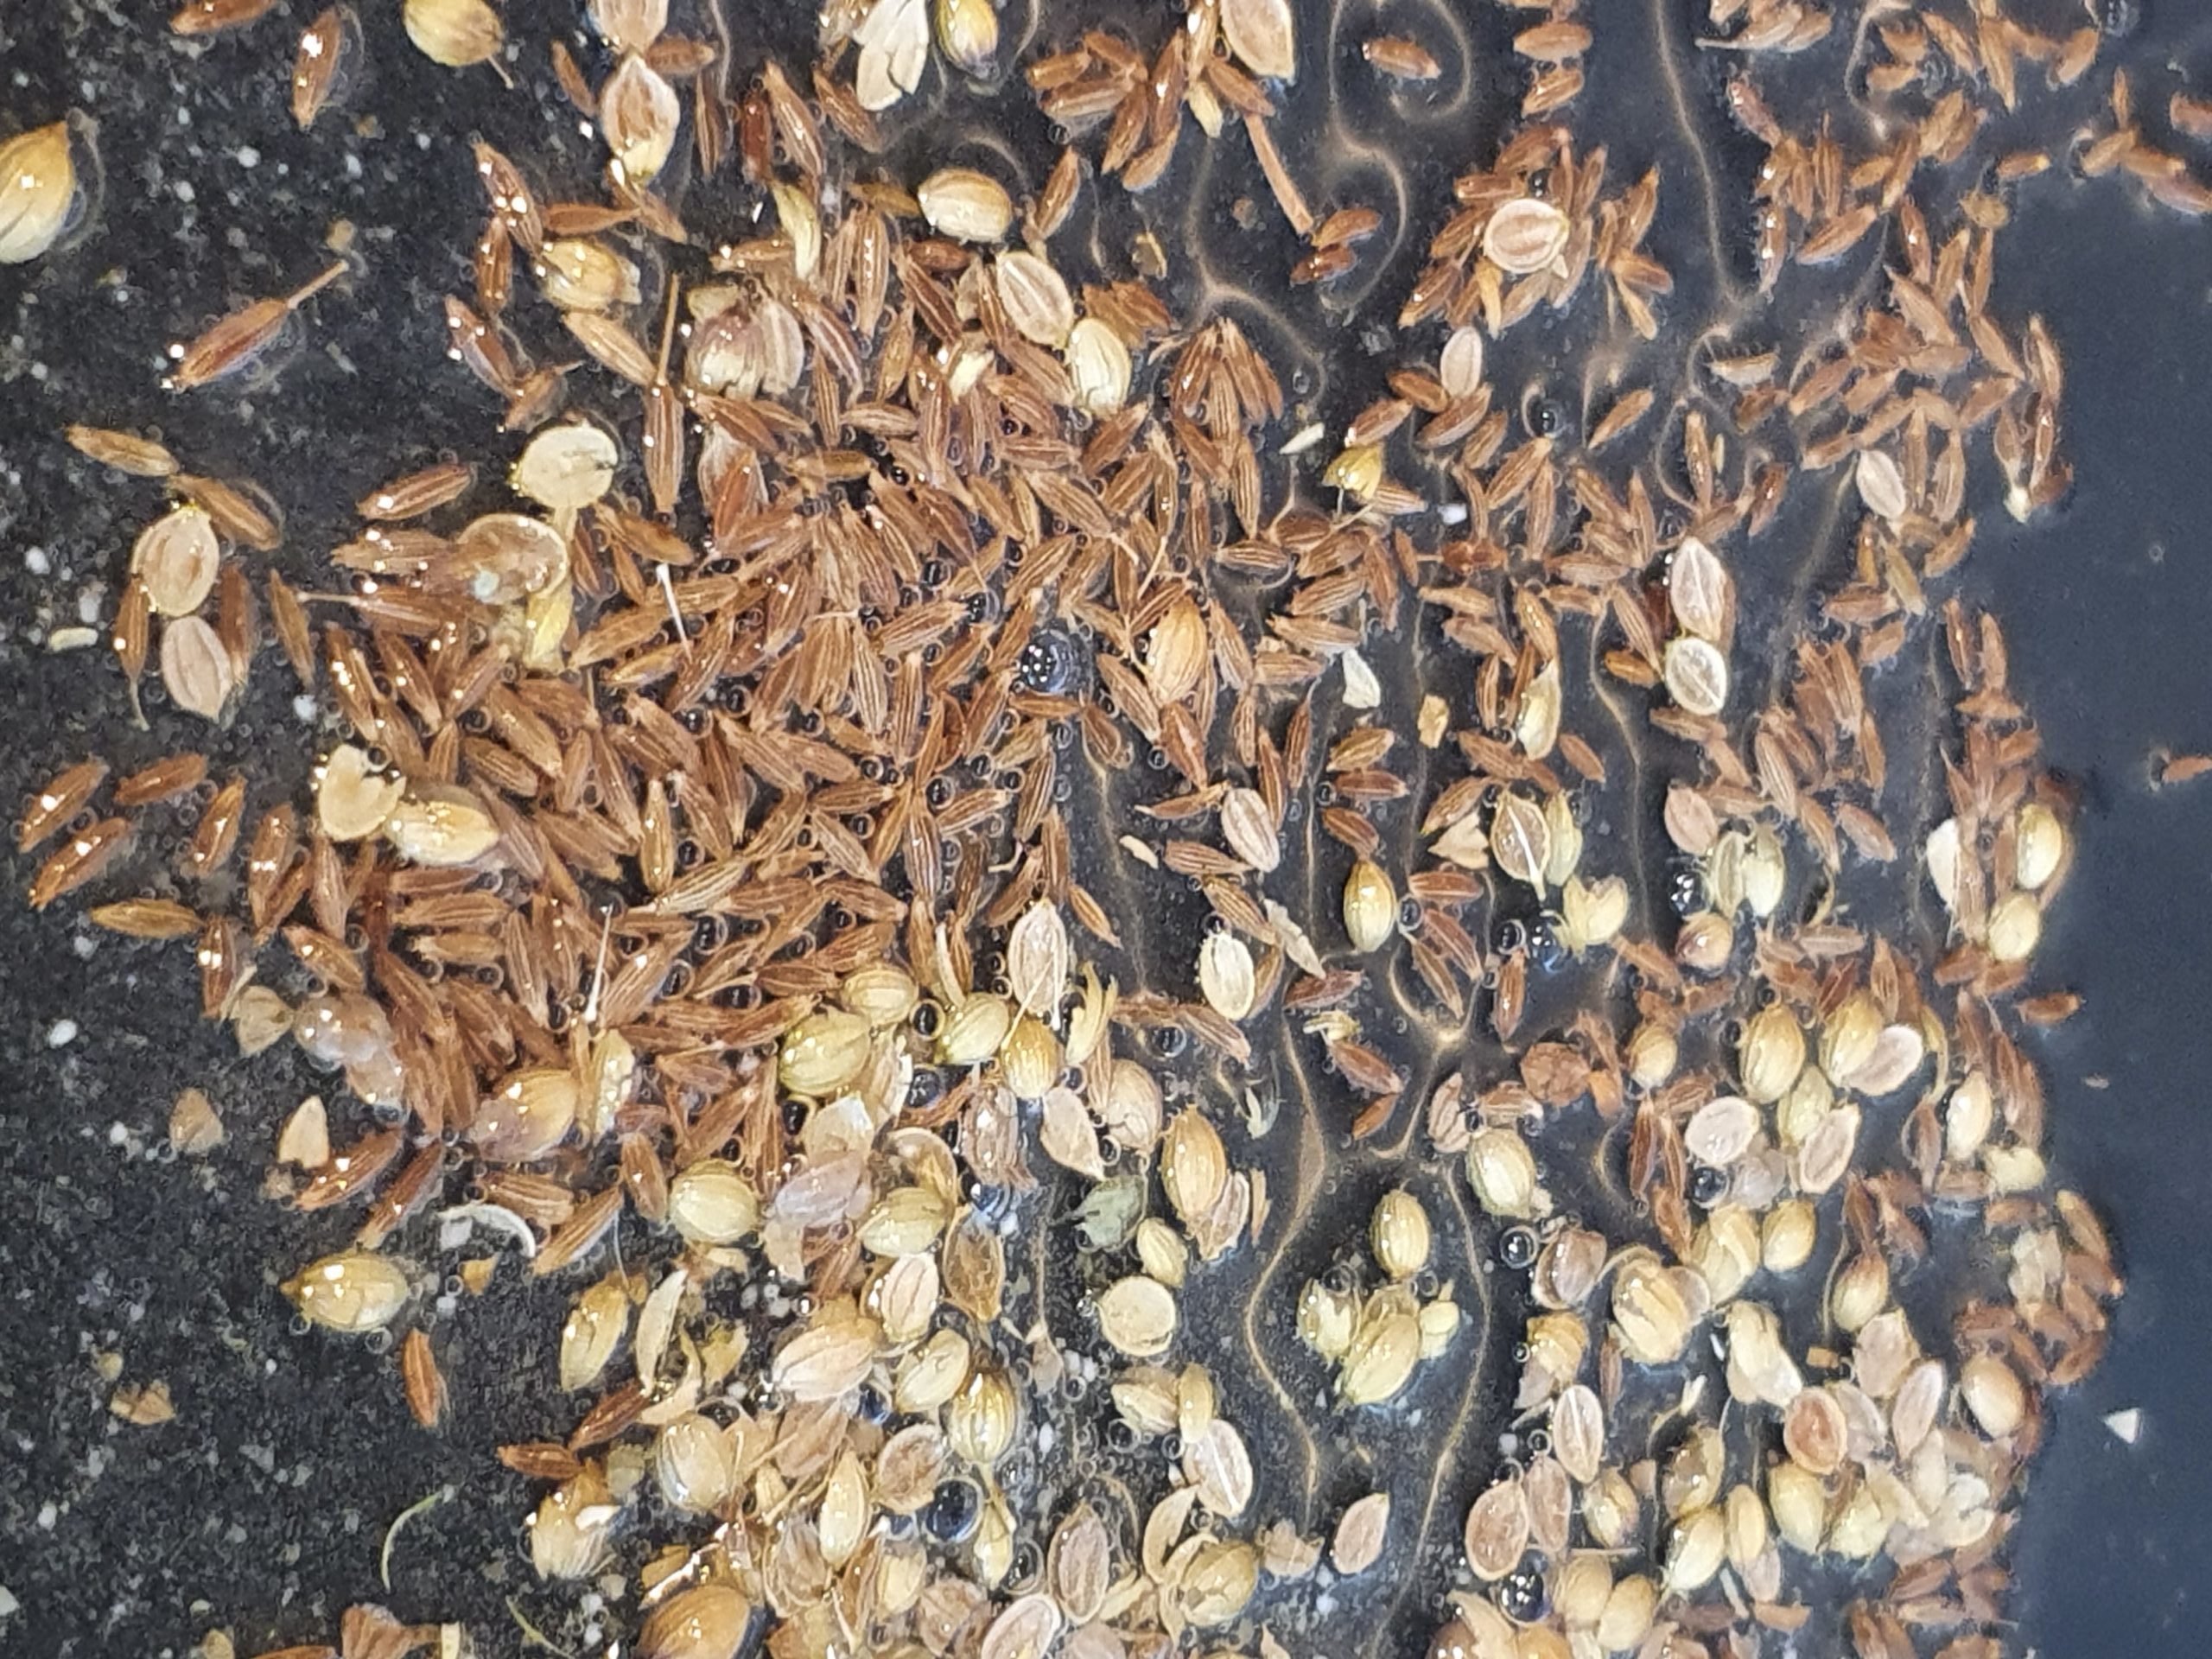

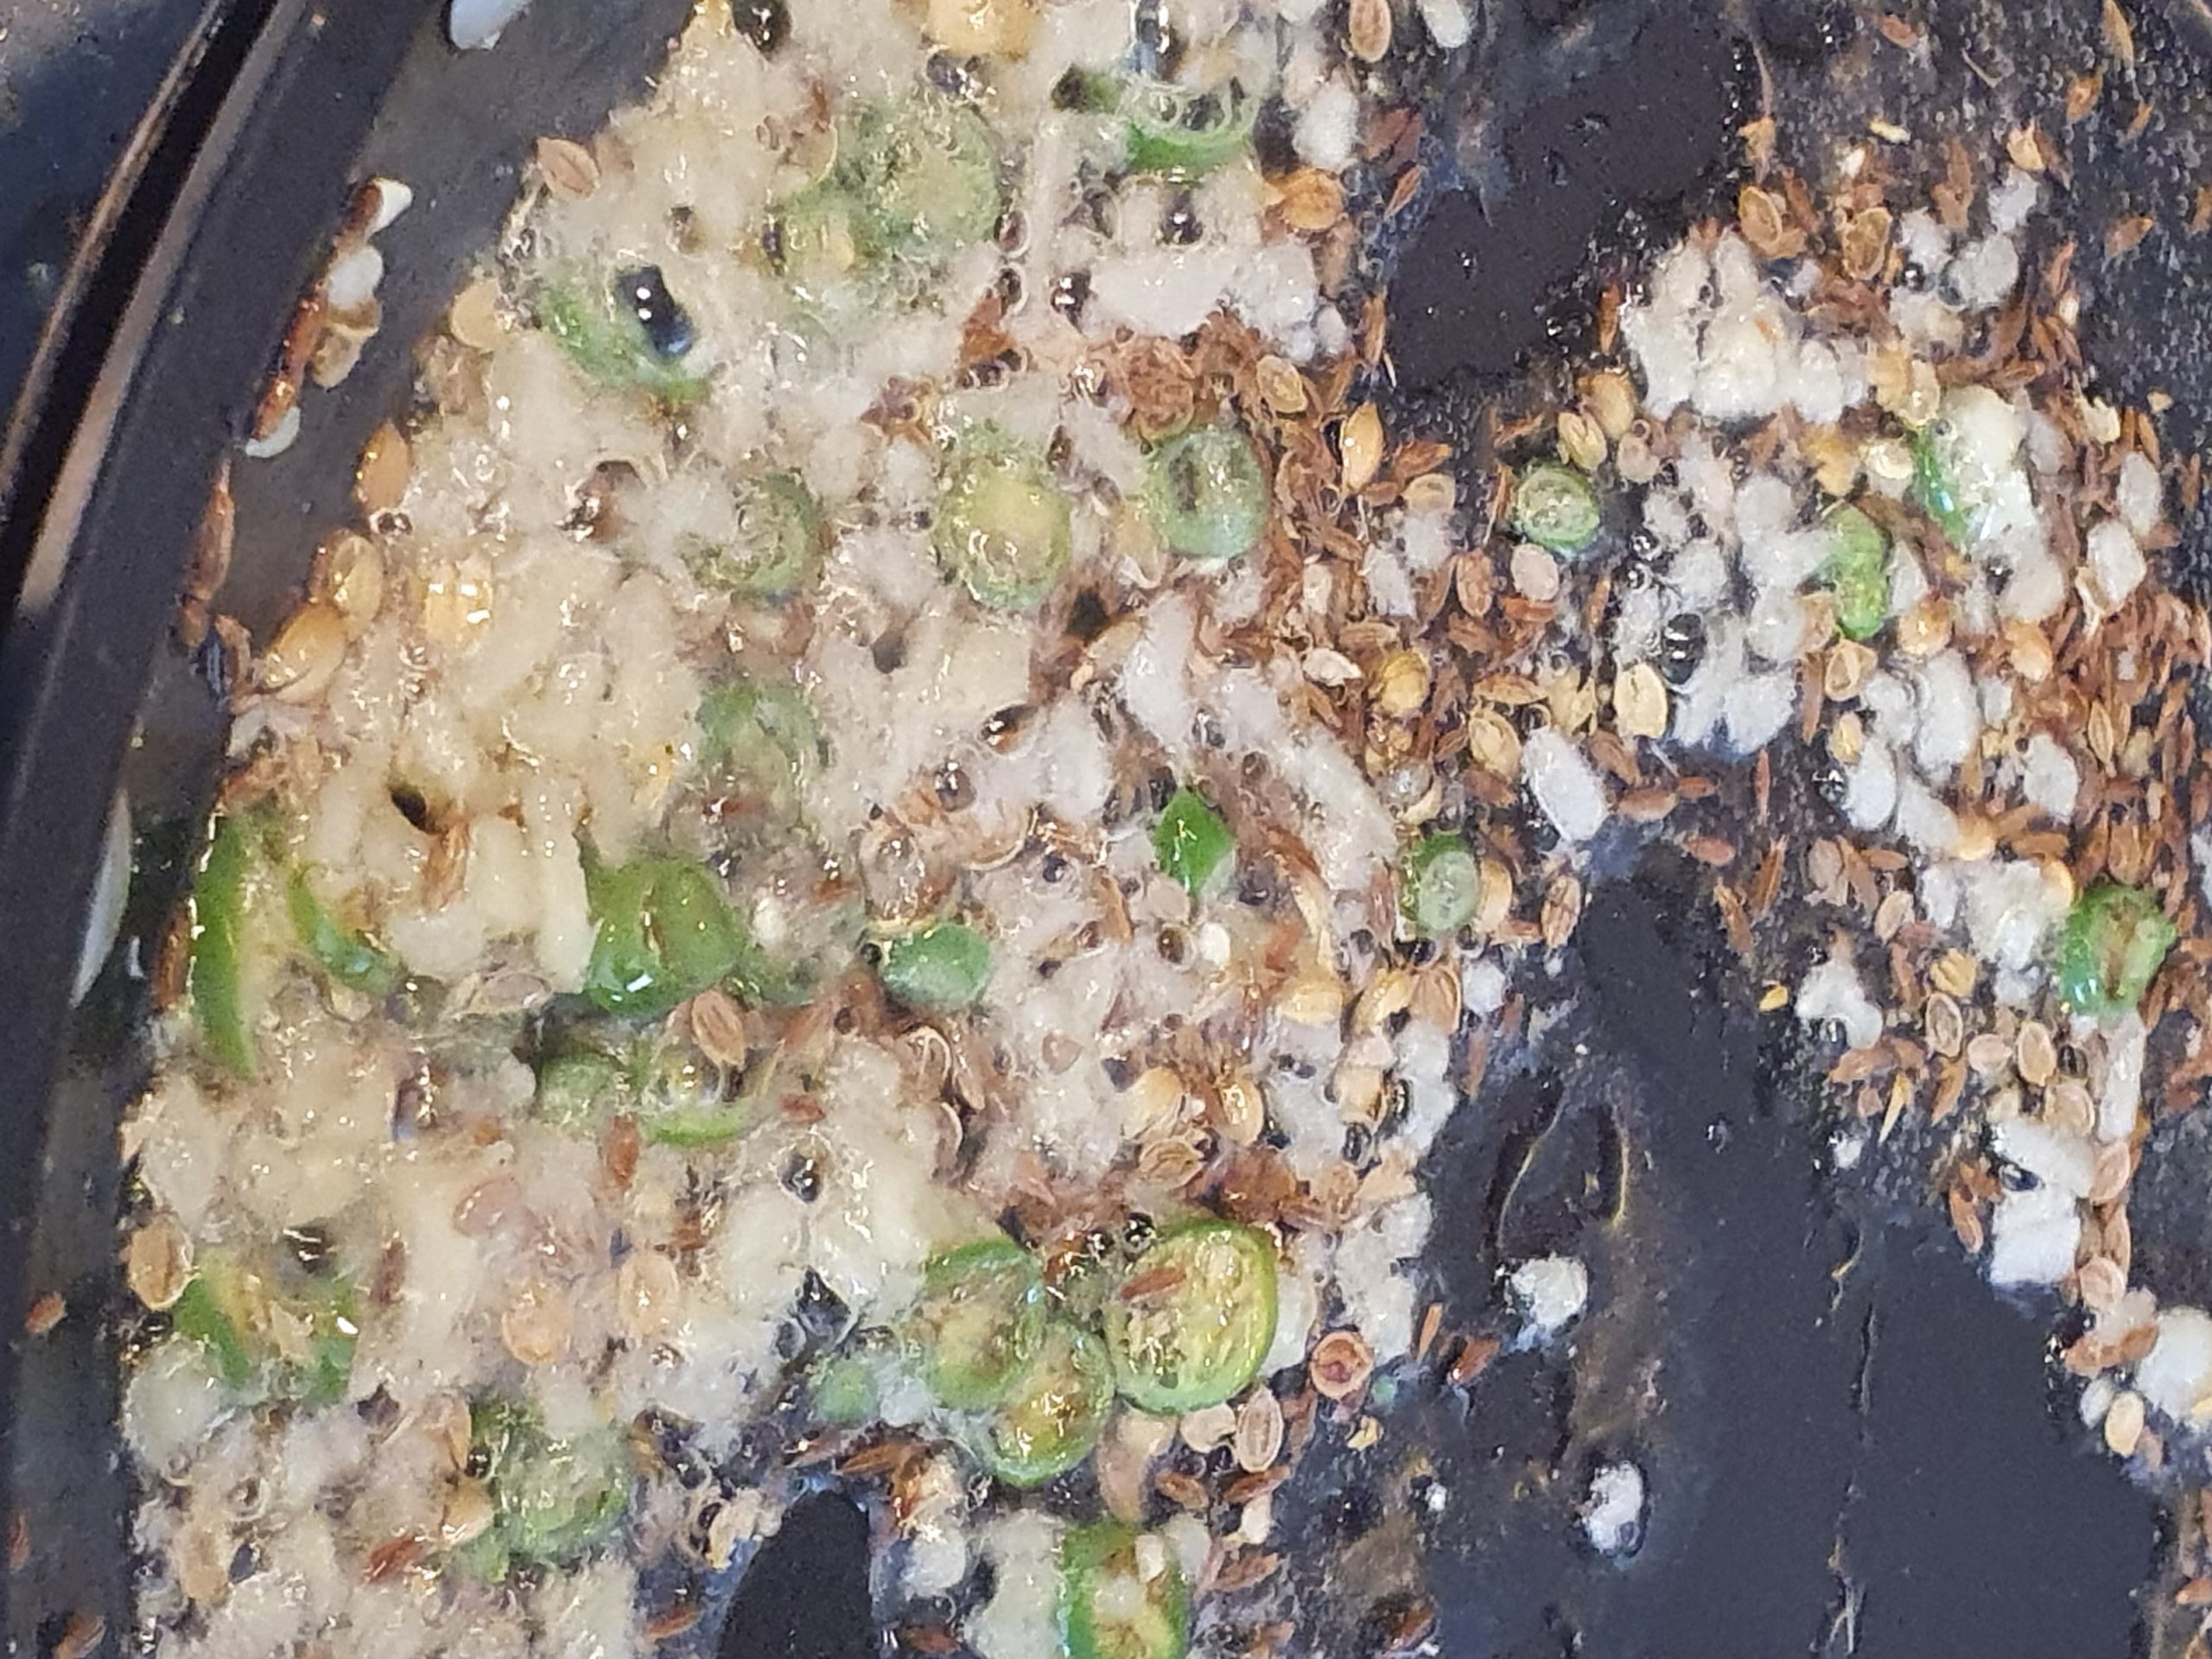
Heat oil in a pan and add cumin seeds, coriander seeds (slightly crush them in pestle and mortar) and asafoetida. When it begins to sizzle add the ginger and chillies and sauté for a minute to infuse the oil.
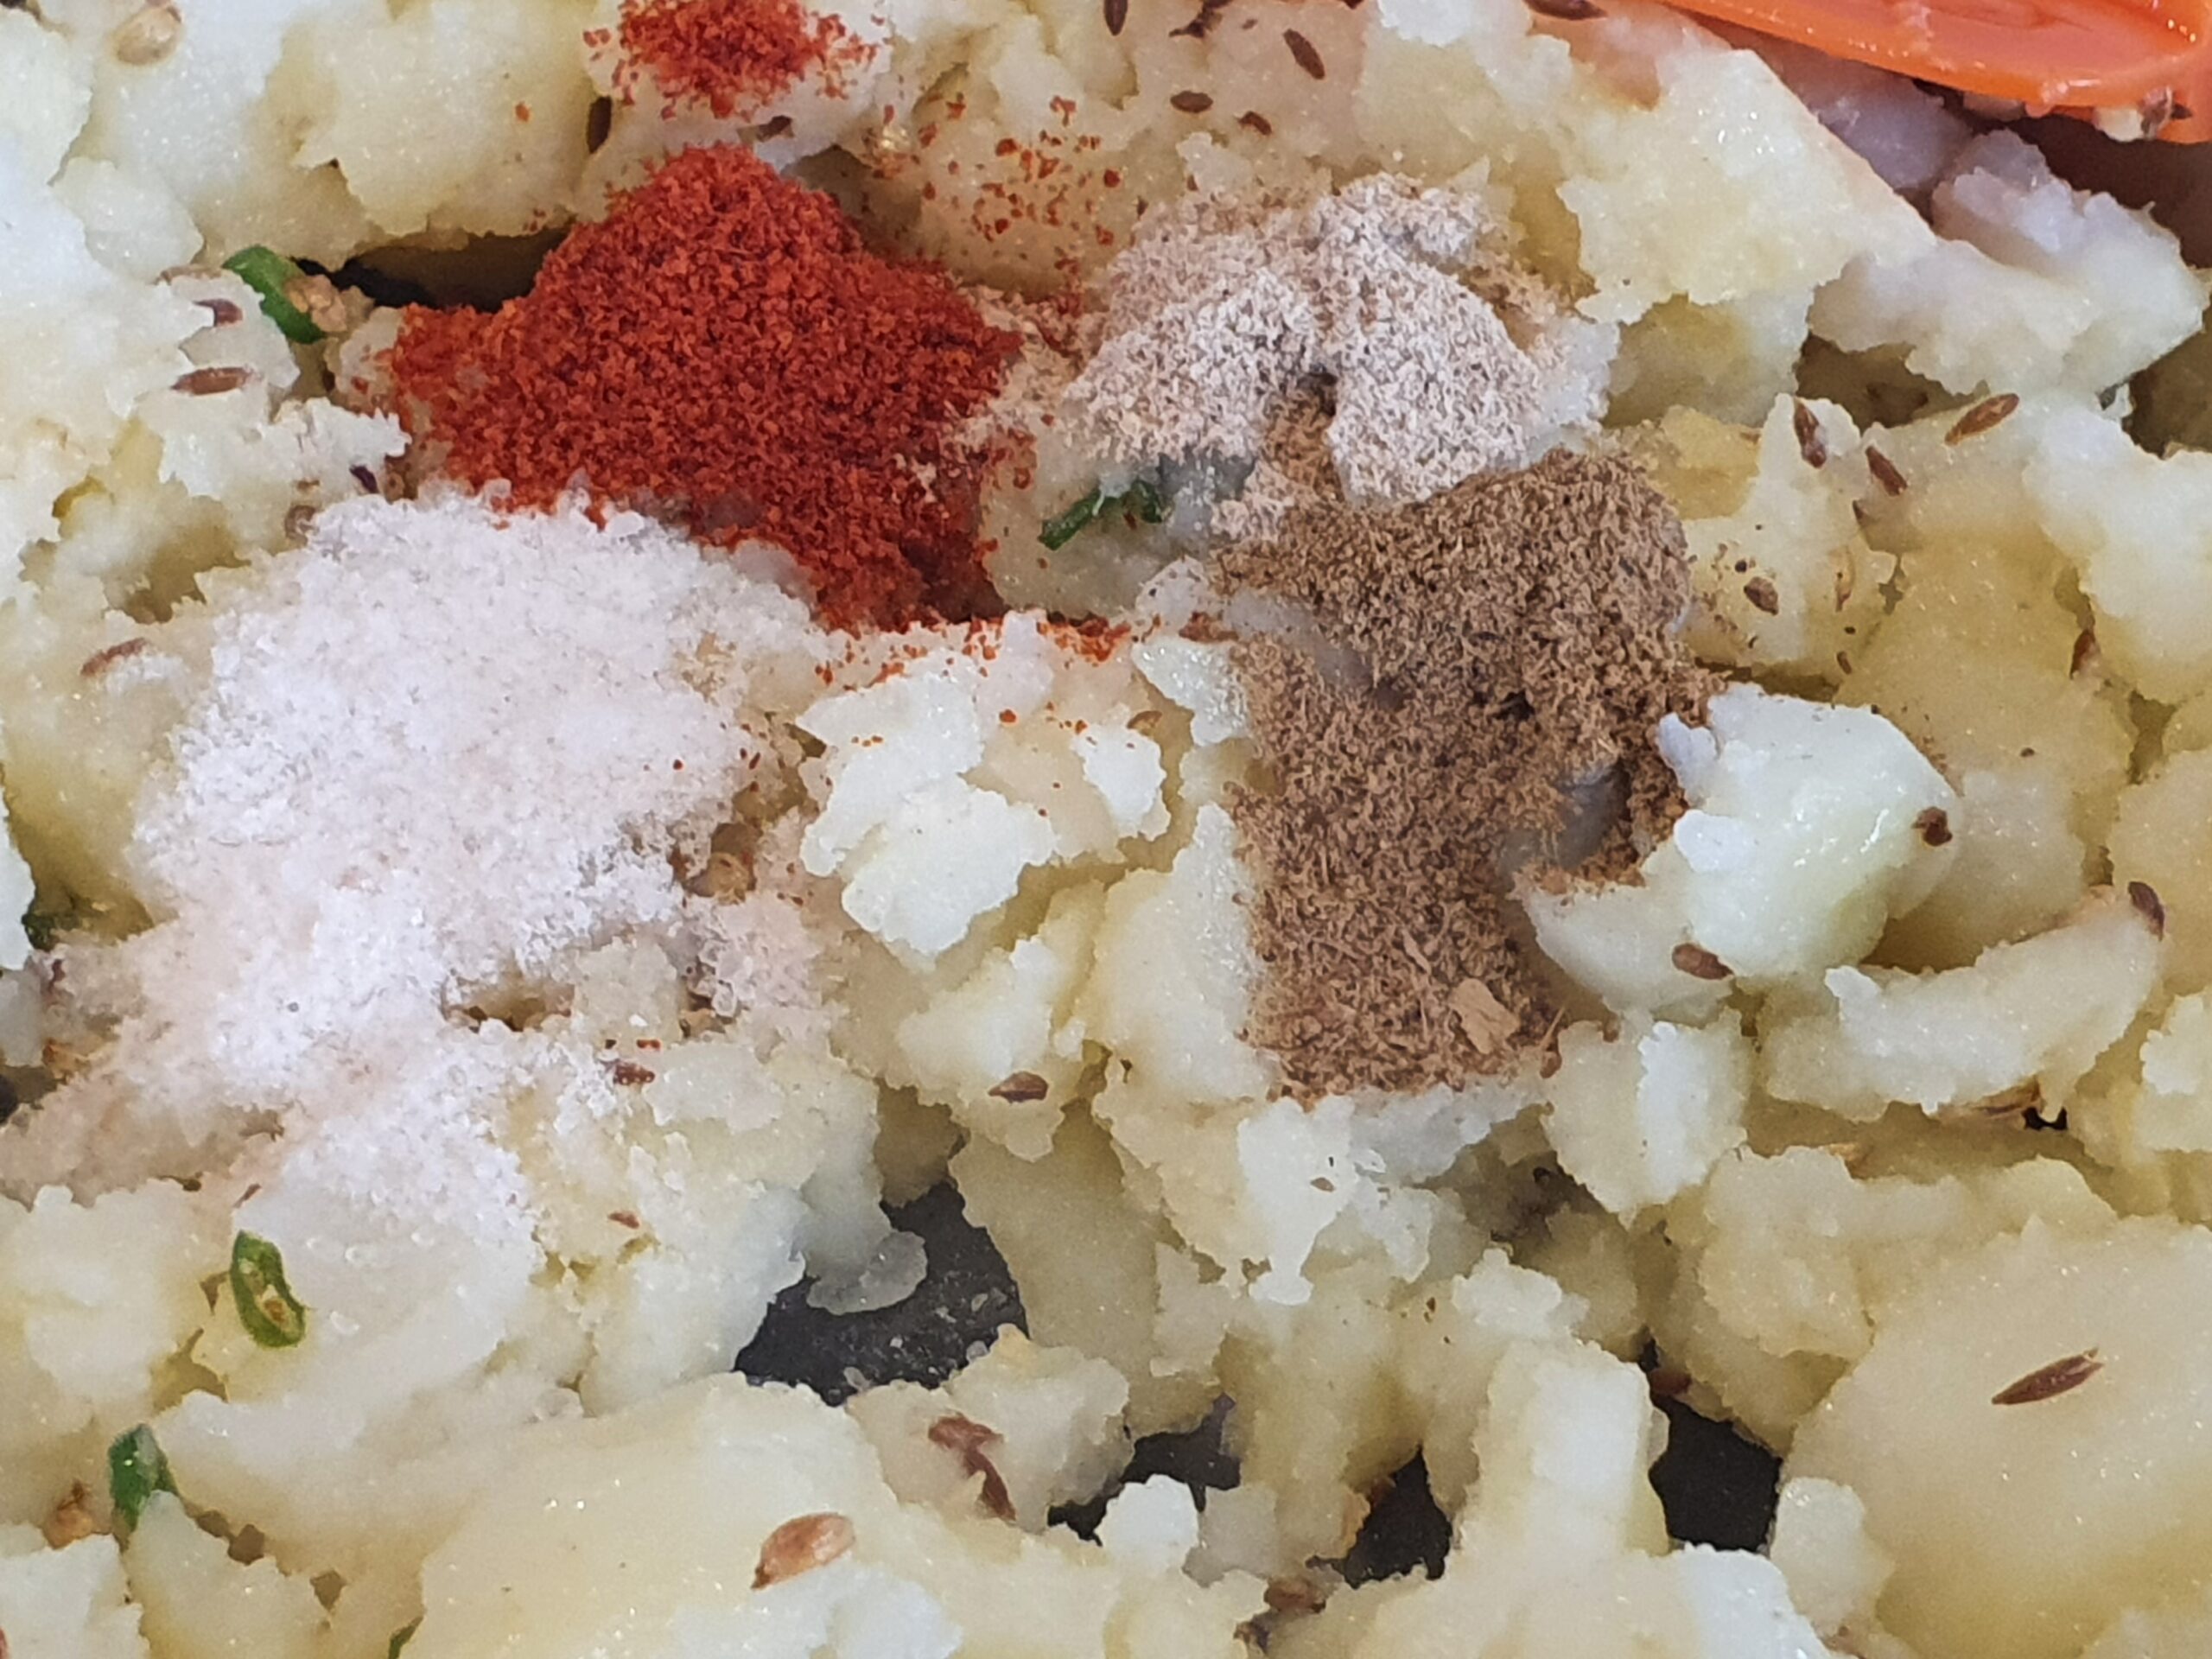
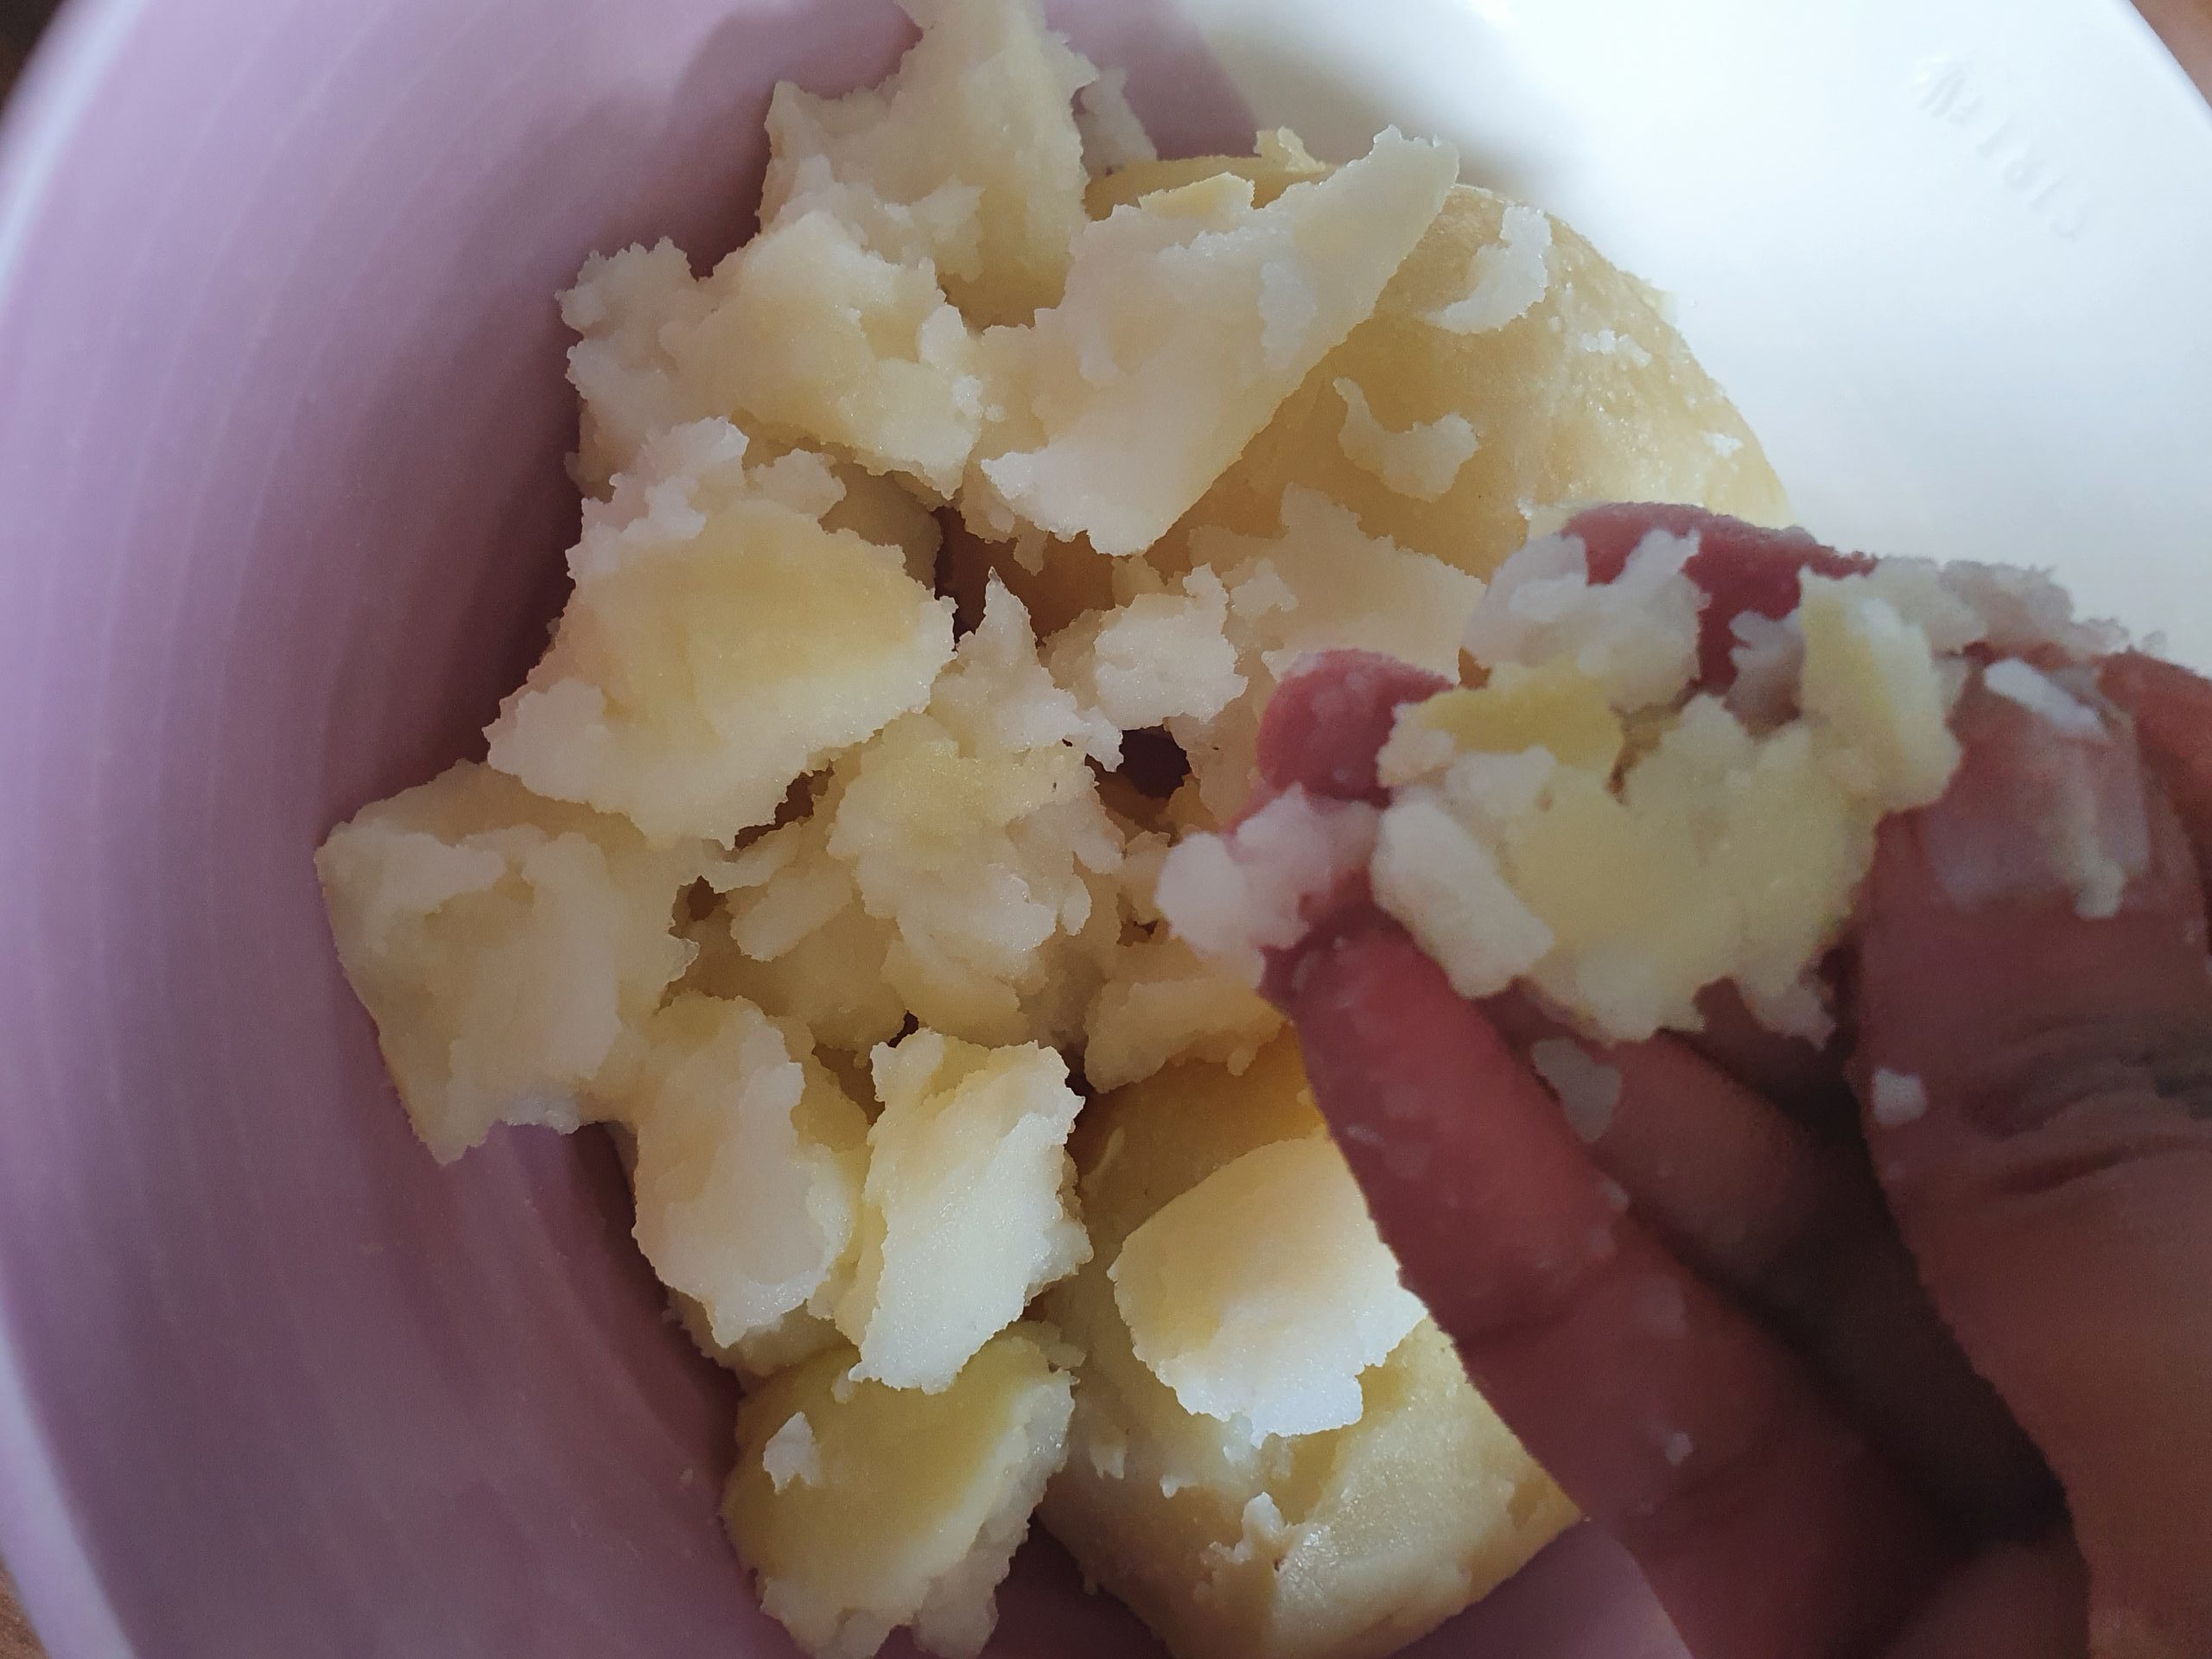
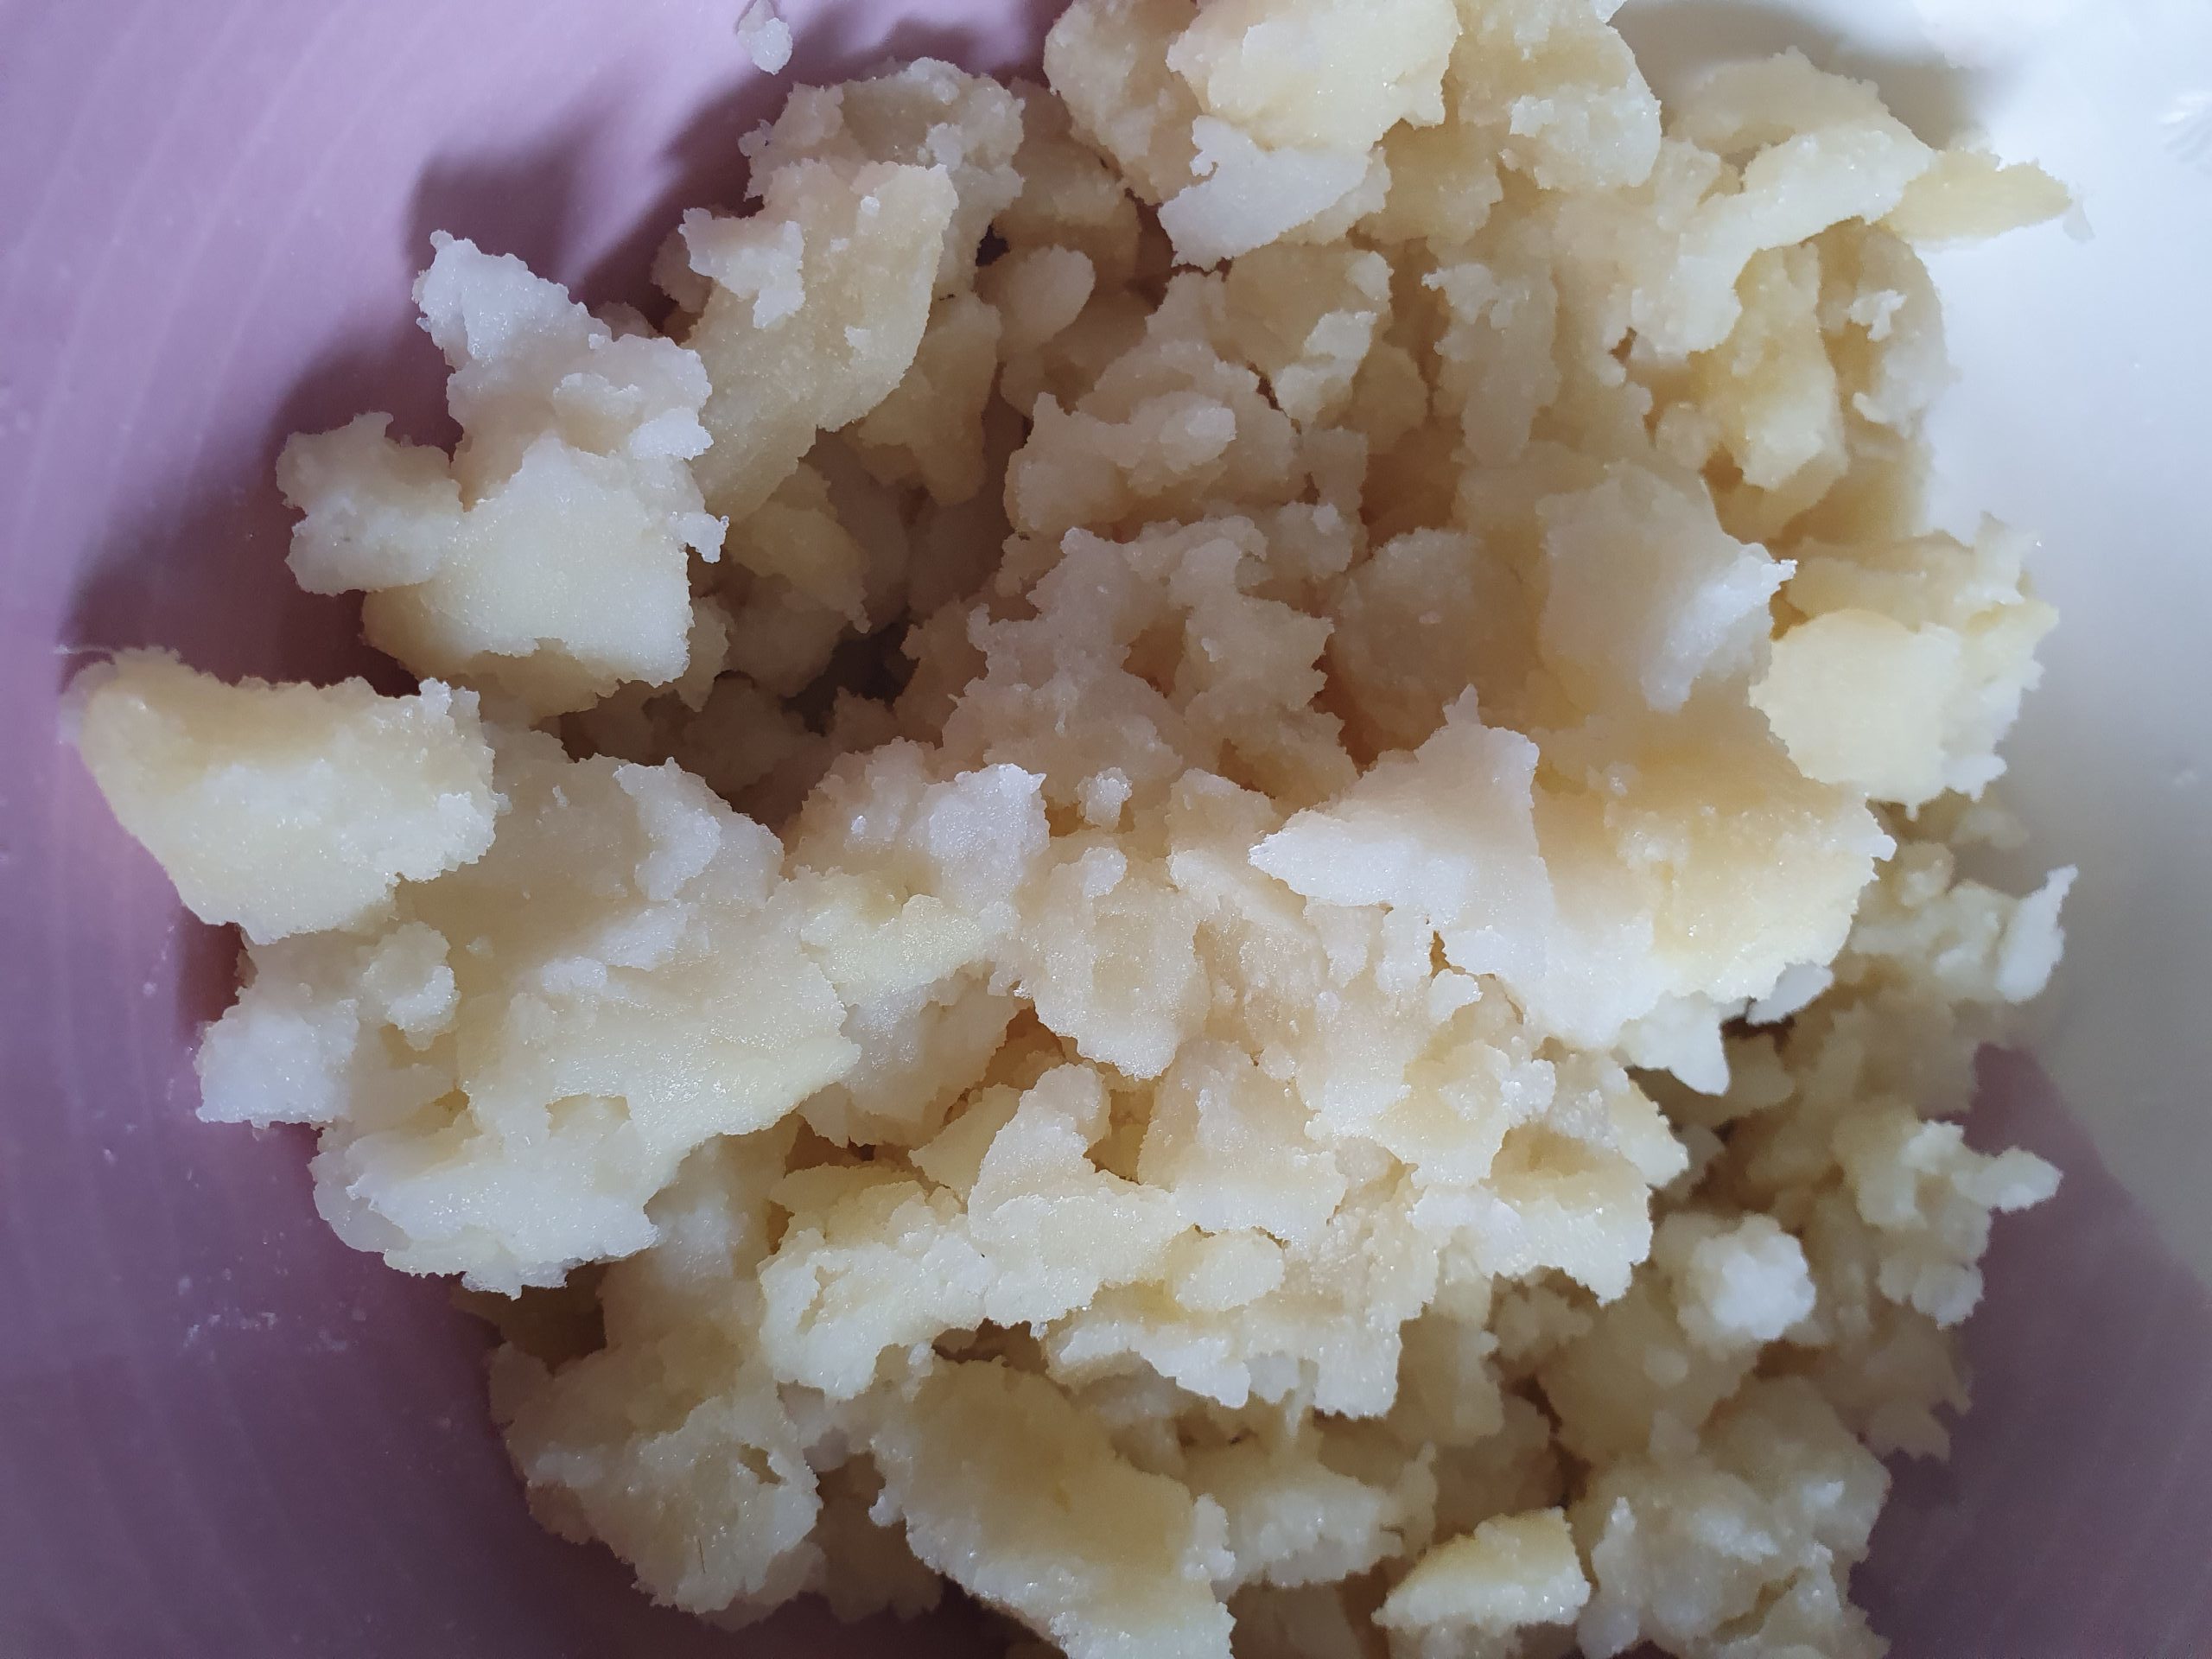
Crush the potatoes roughly with your hands into small pieces. (or if you prefer you can chop them).
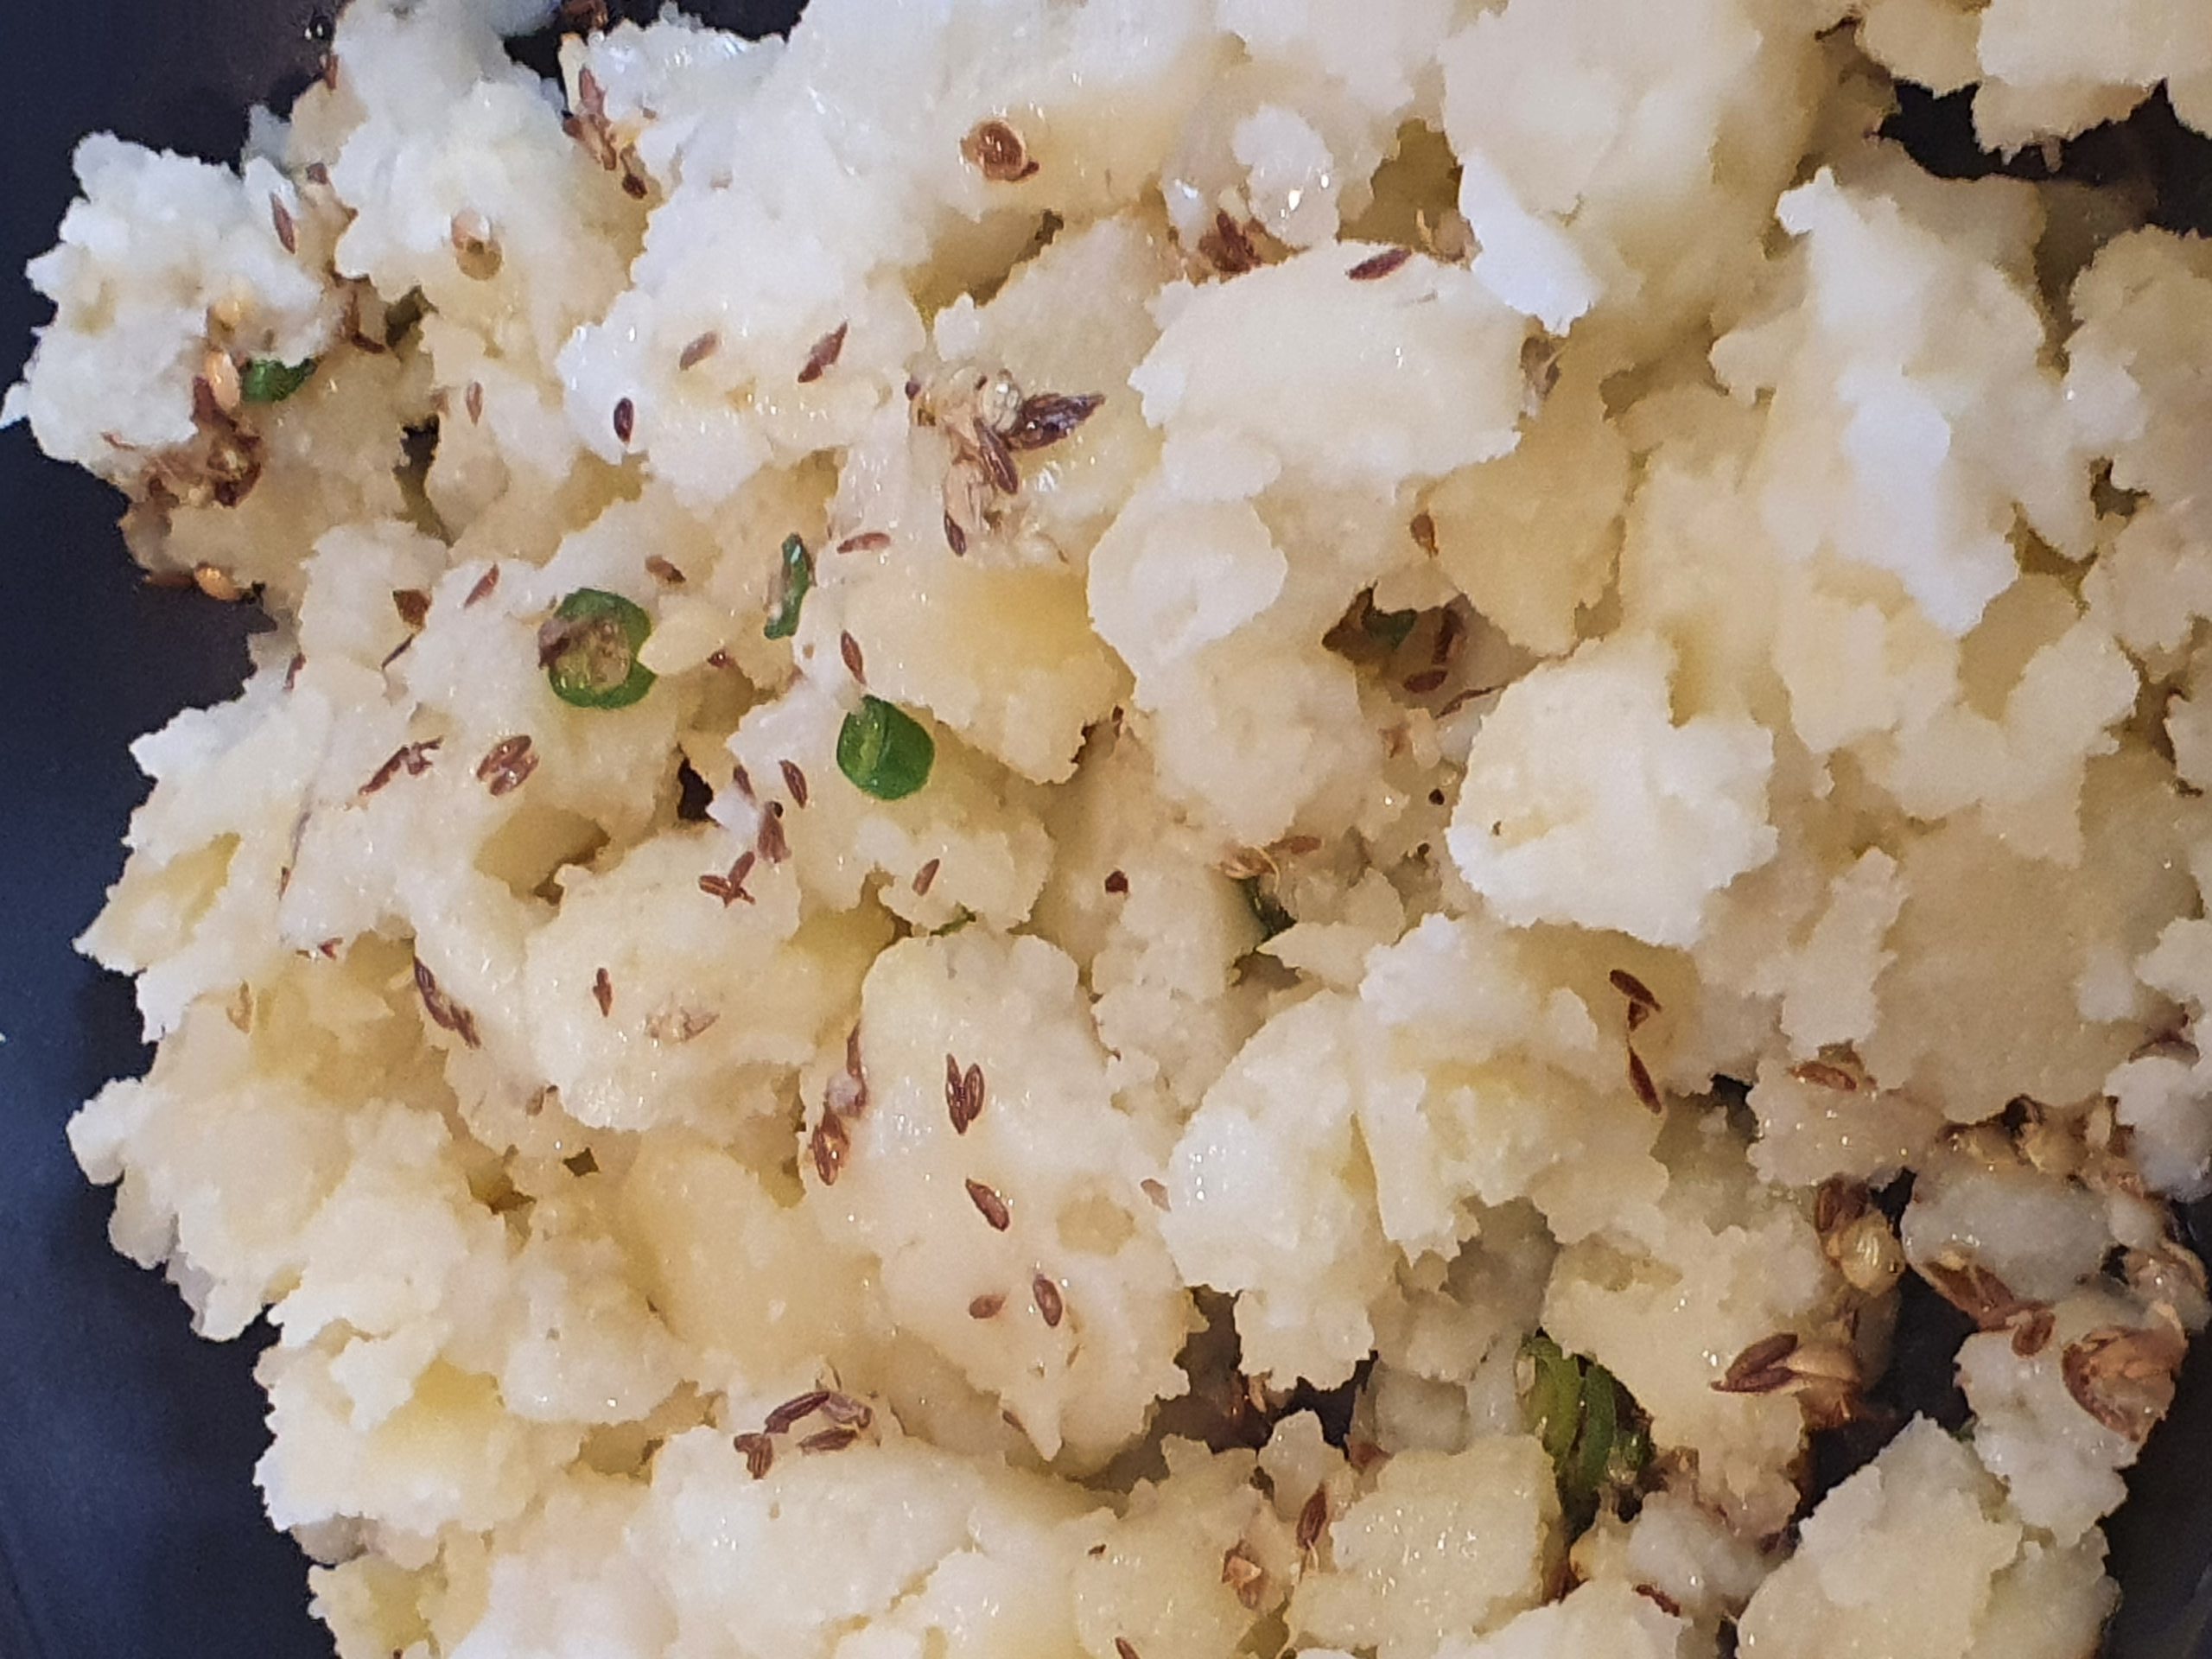


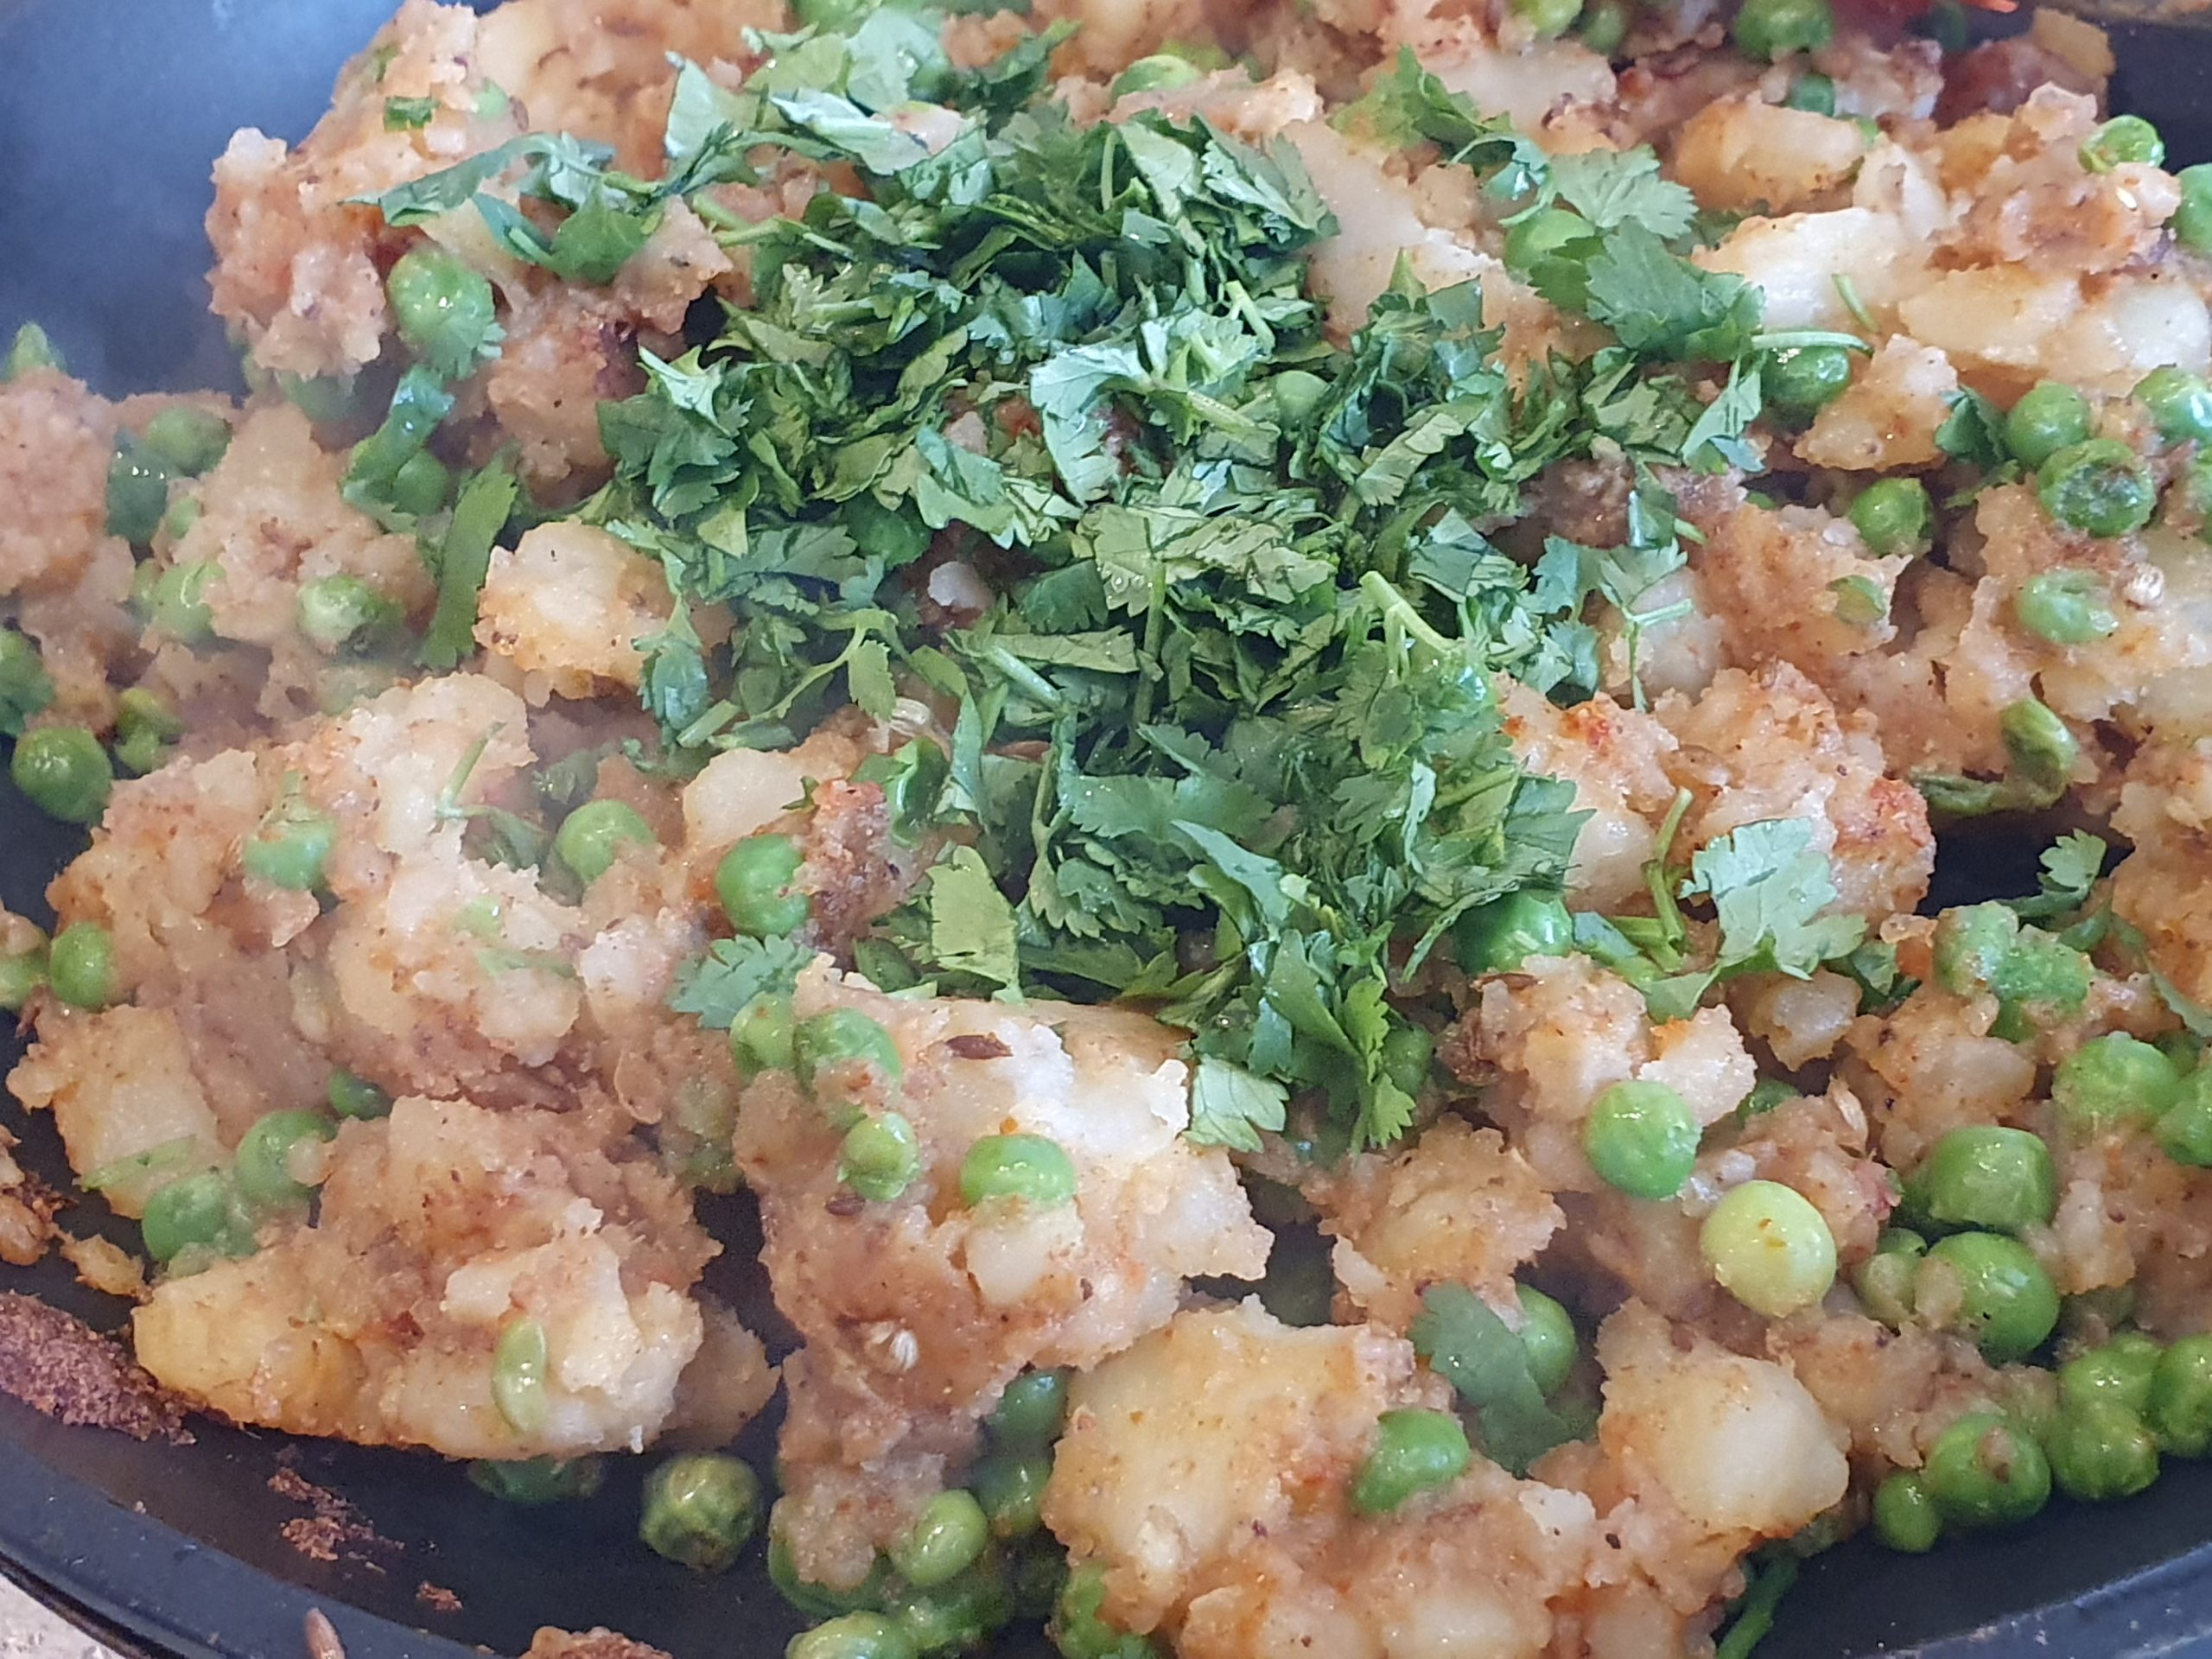

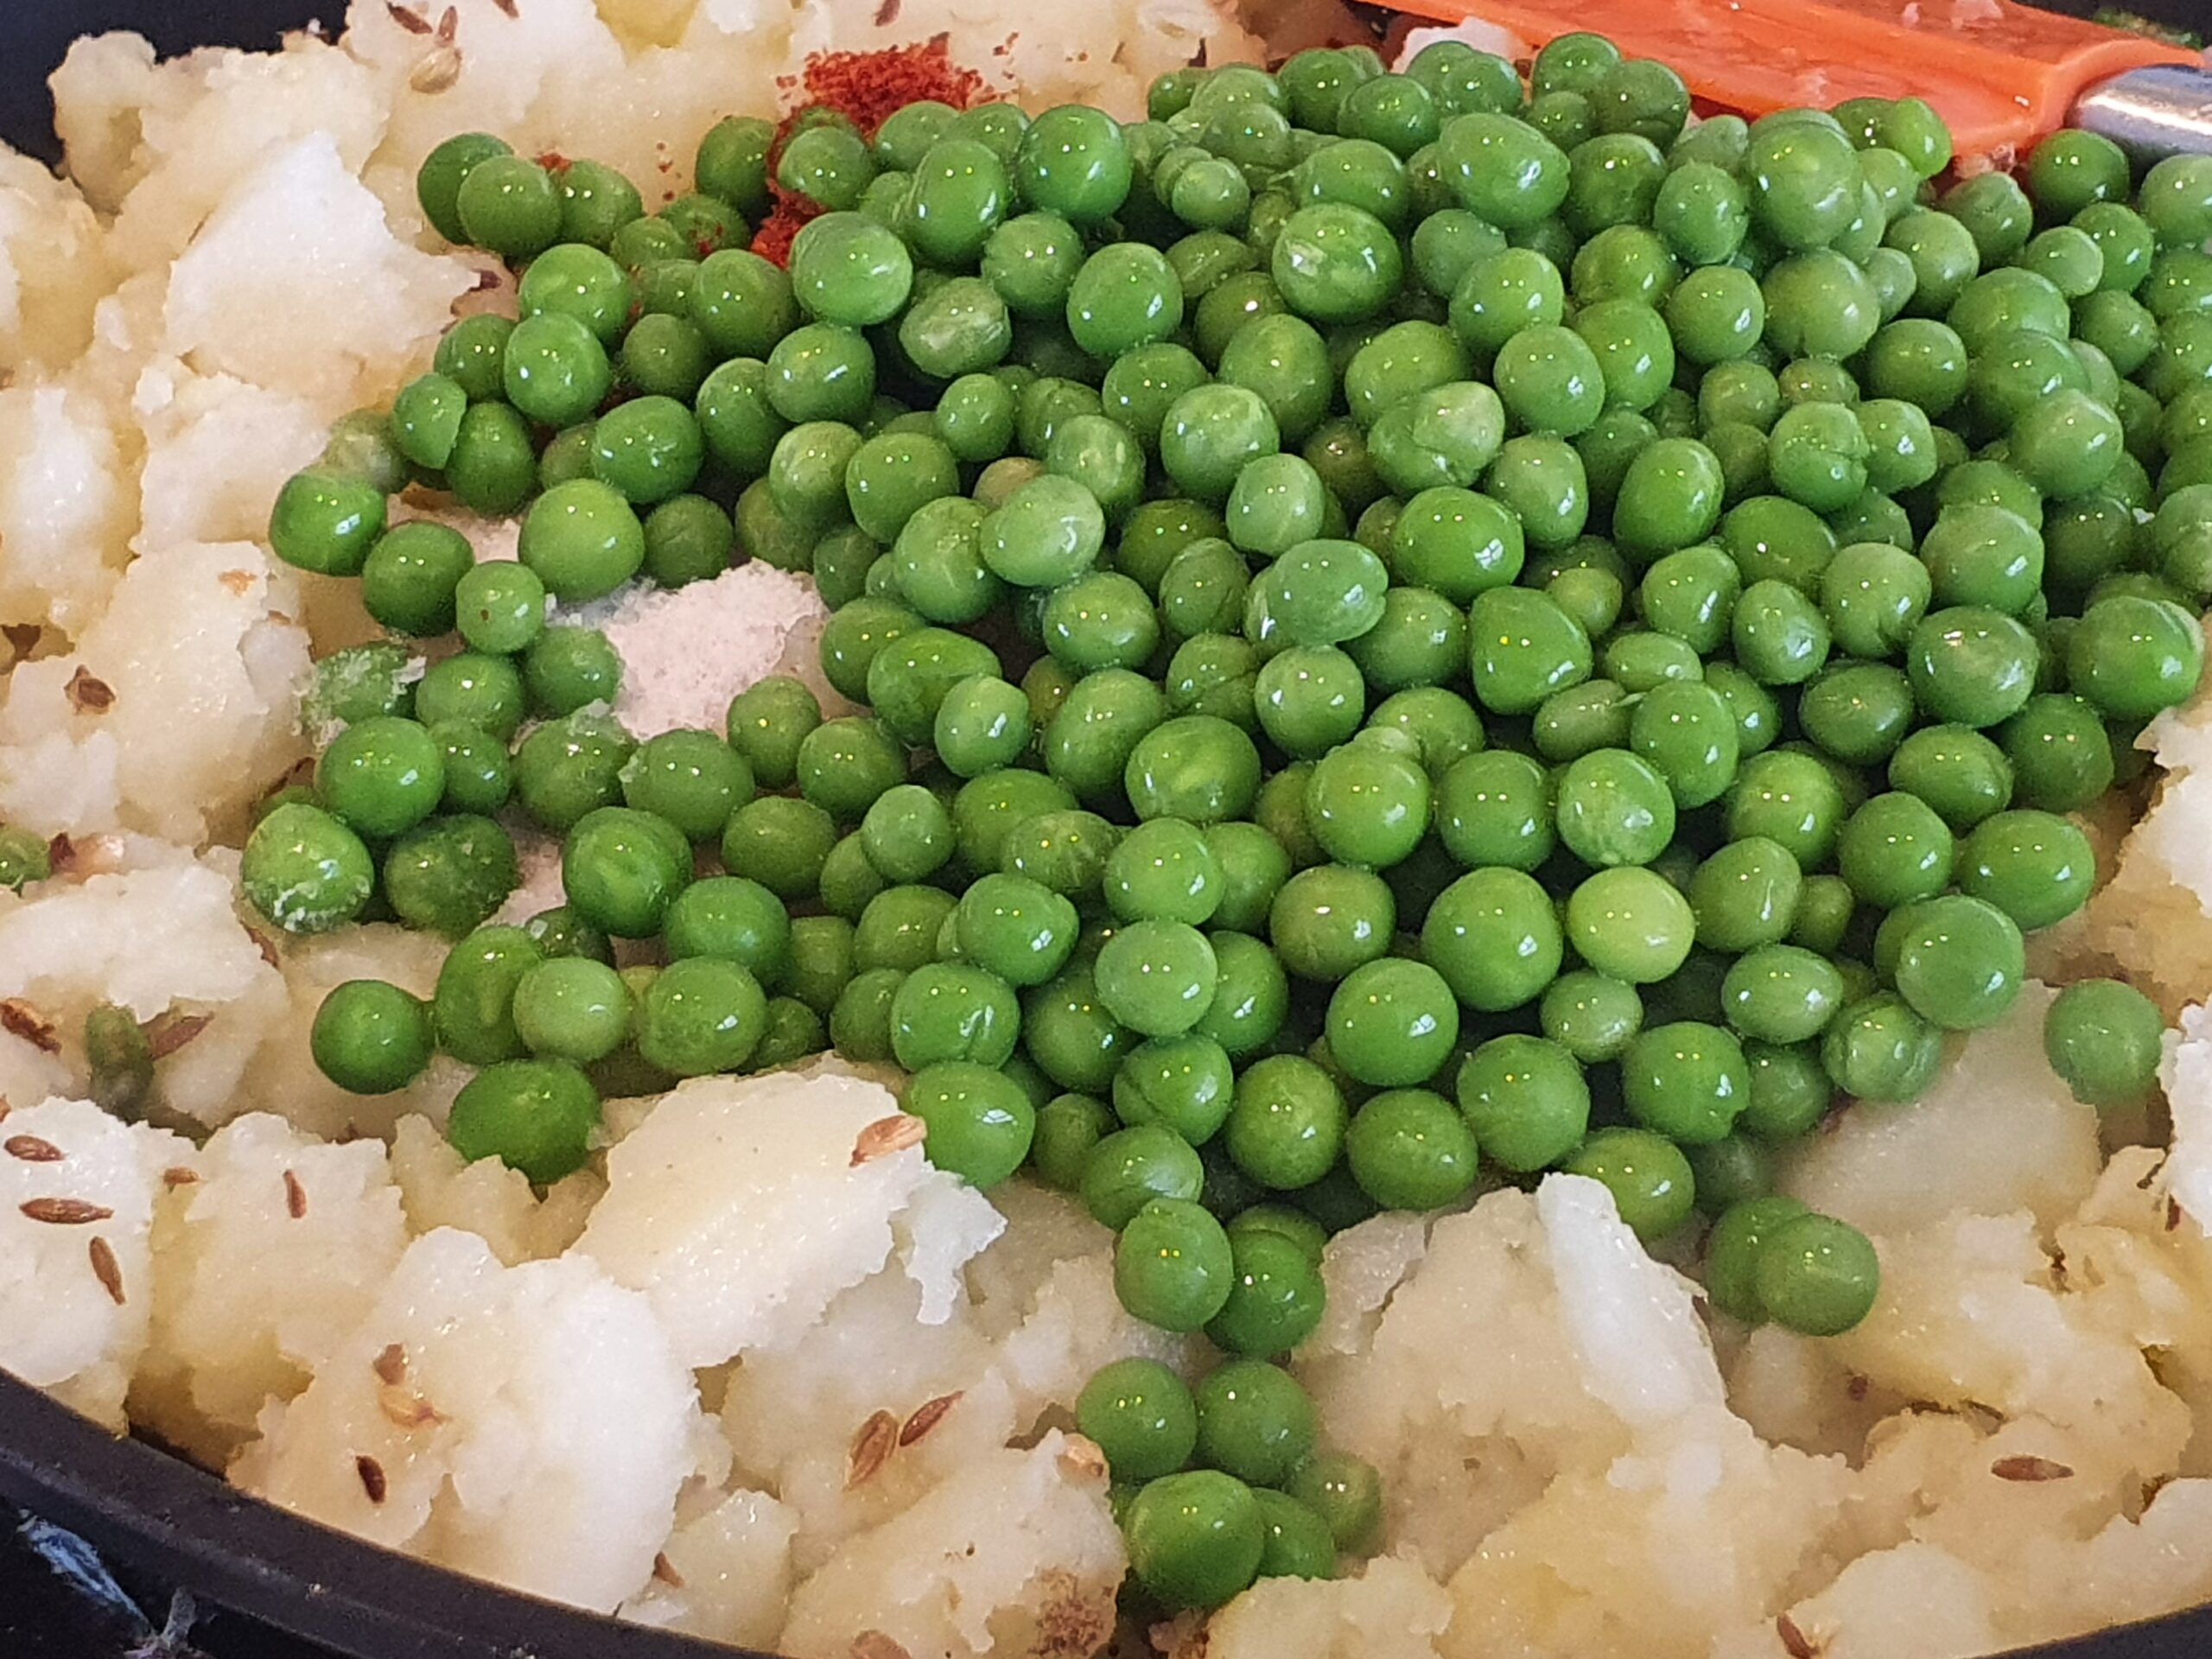
Add the red chillie powder, salt, garam masala, mango powder, potatoes and boiled peas and mix well.
Cook the mixture for 4-5 minutes and then add finely chopped coriander.
Set aside to cool it all down as it needs to cool down completely before we start making the samosas.
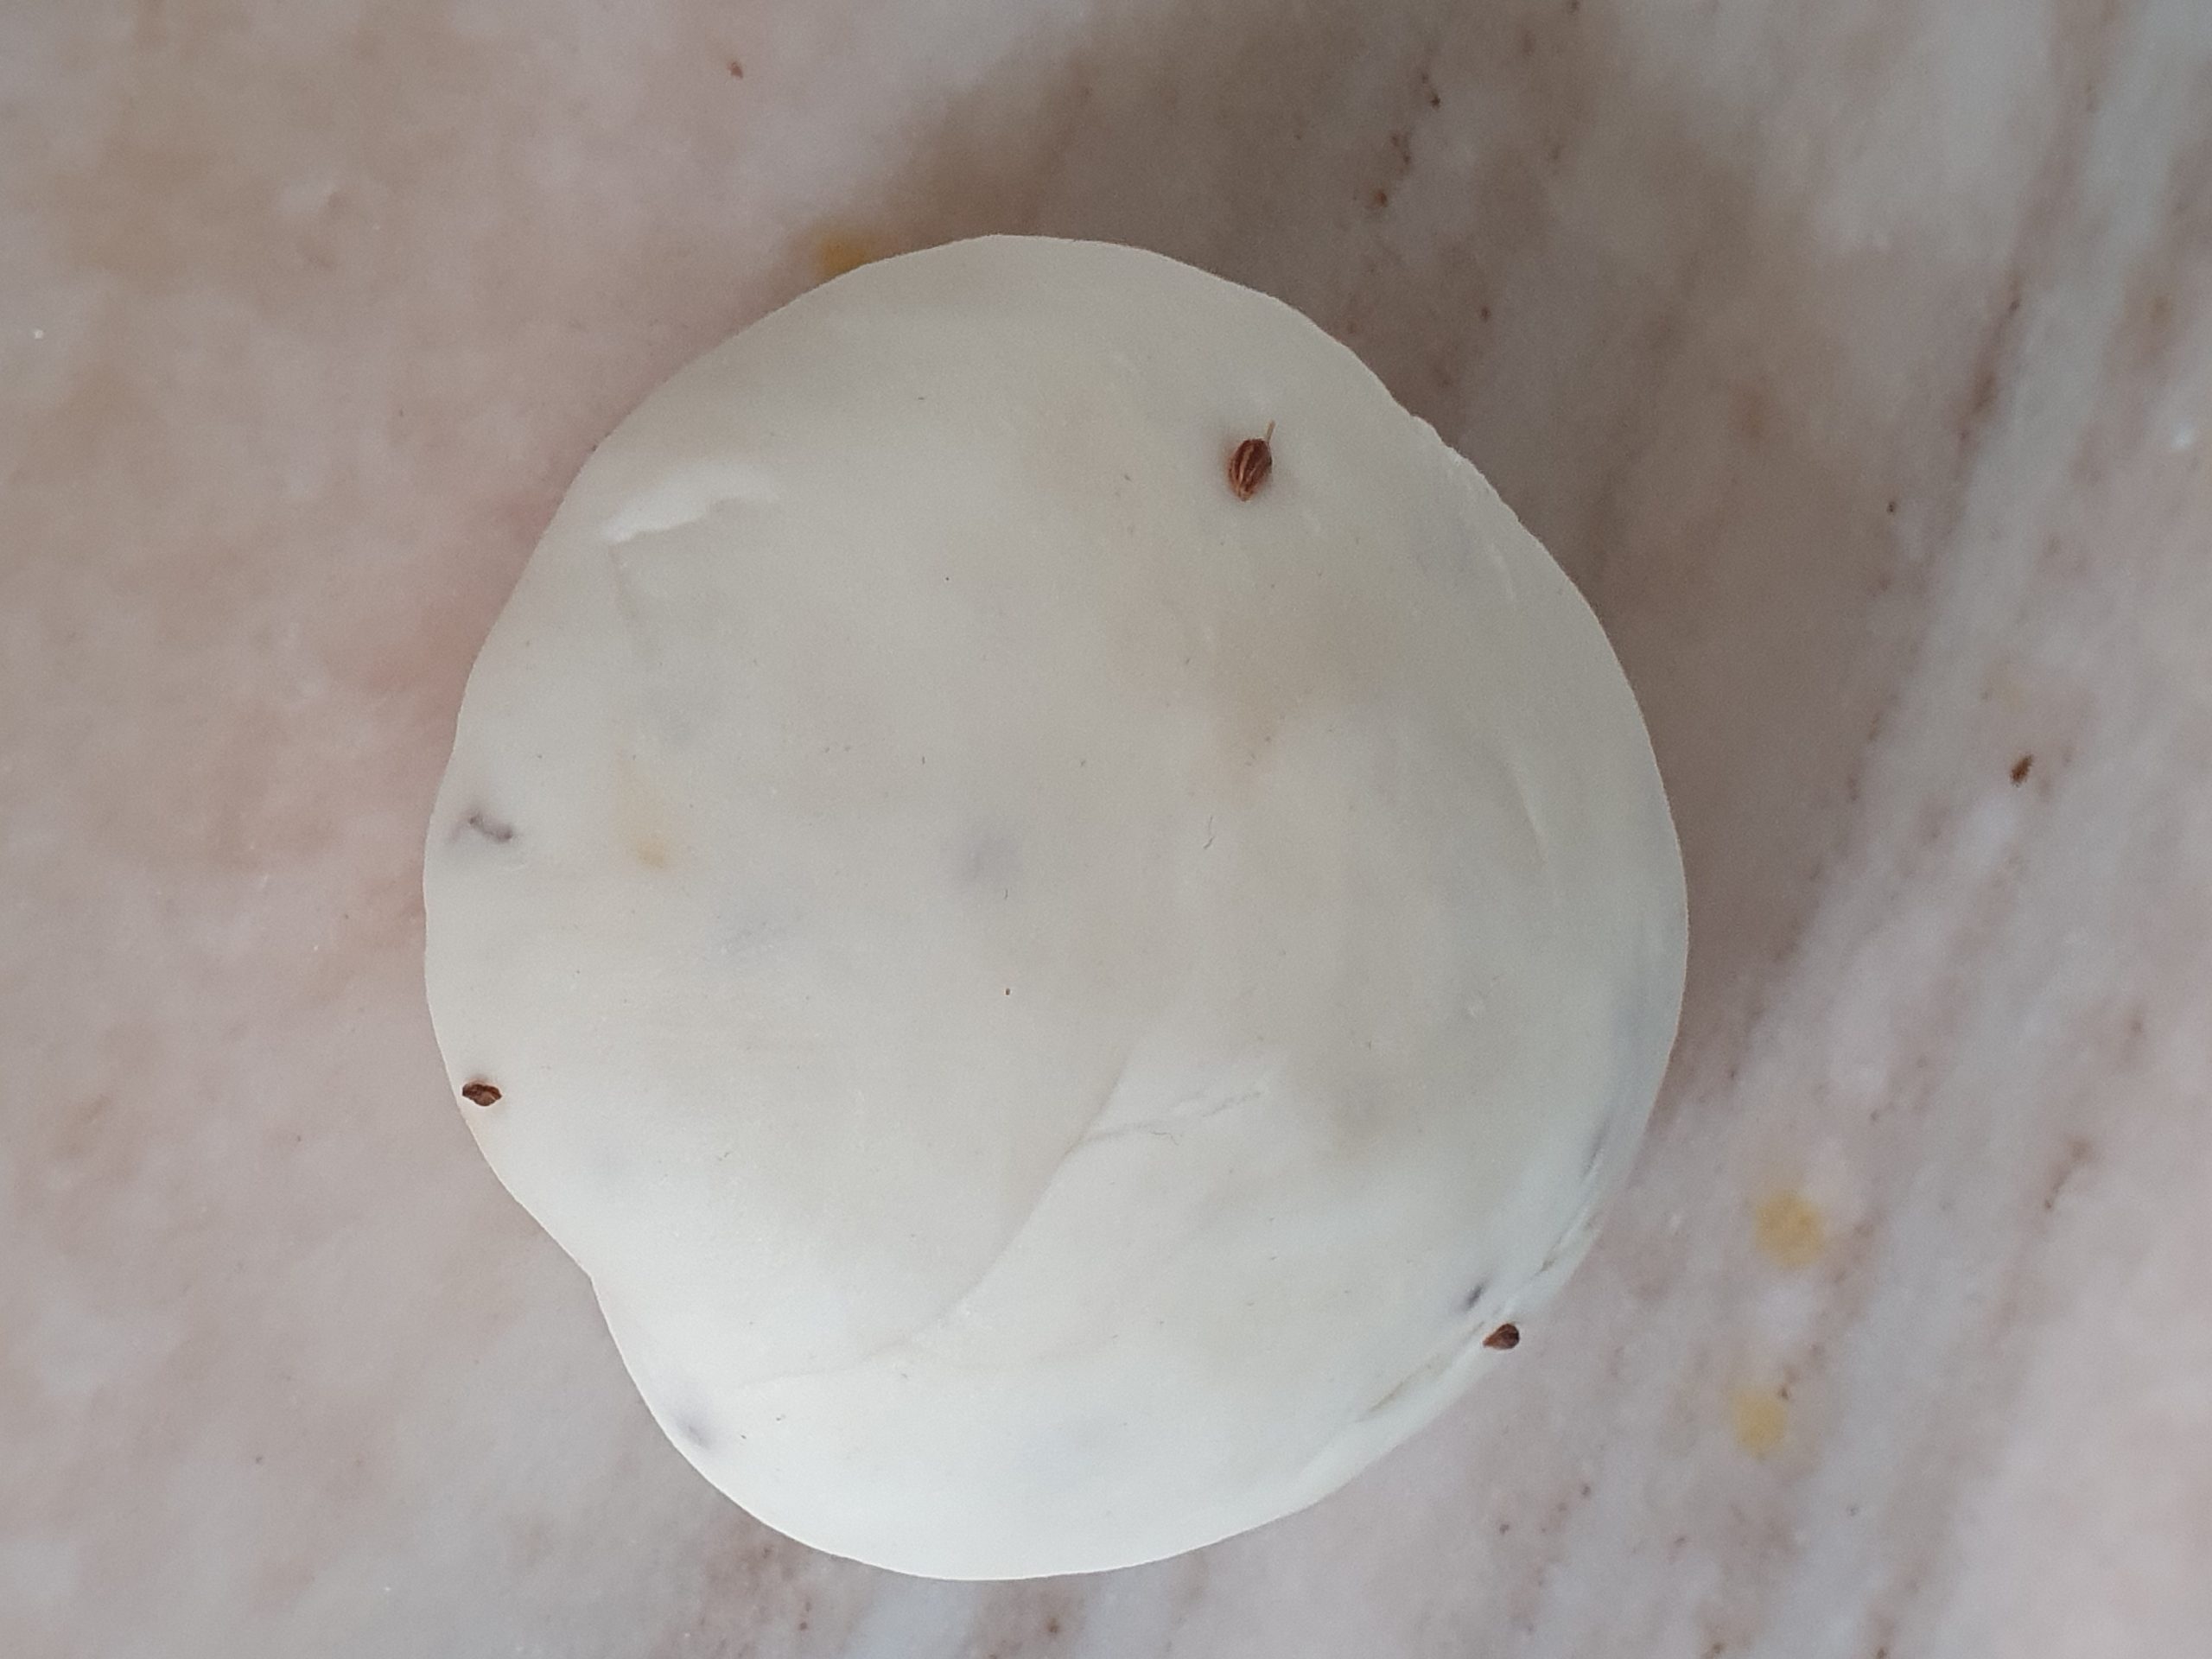
Once the dough has rested for at least 30 minutes give it a quick knead. Next divide the dough into 7-8 equal parts of around 60-65 grams each.
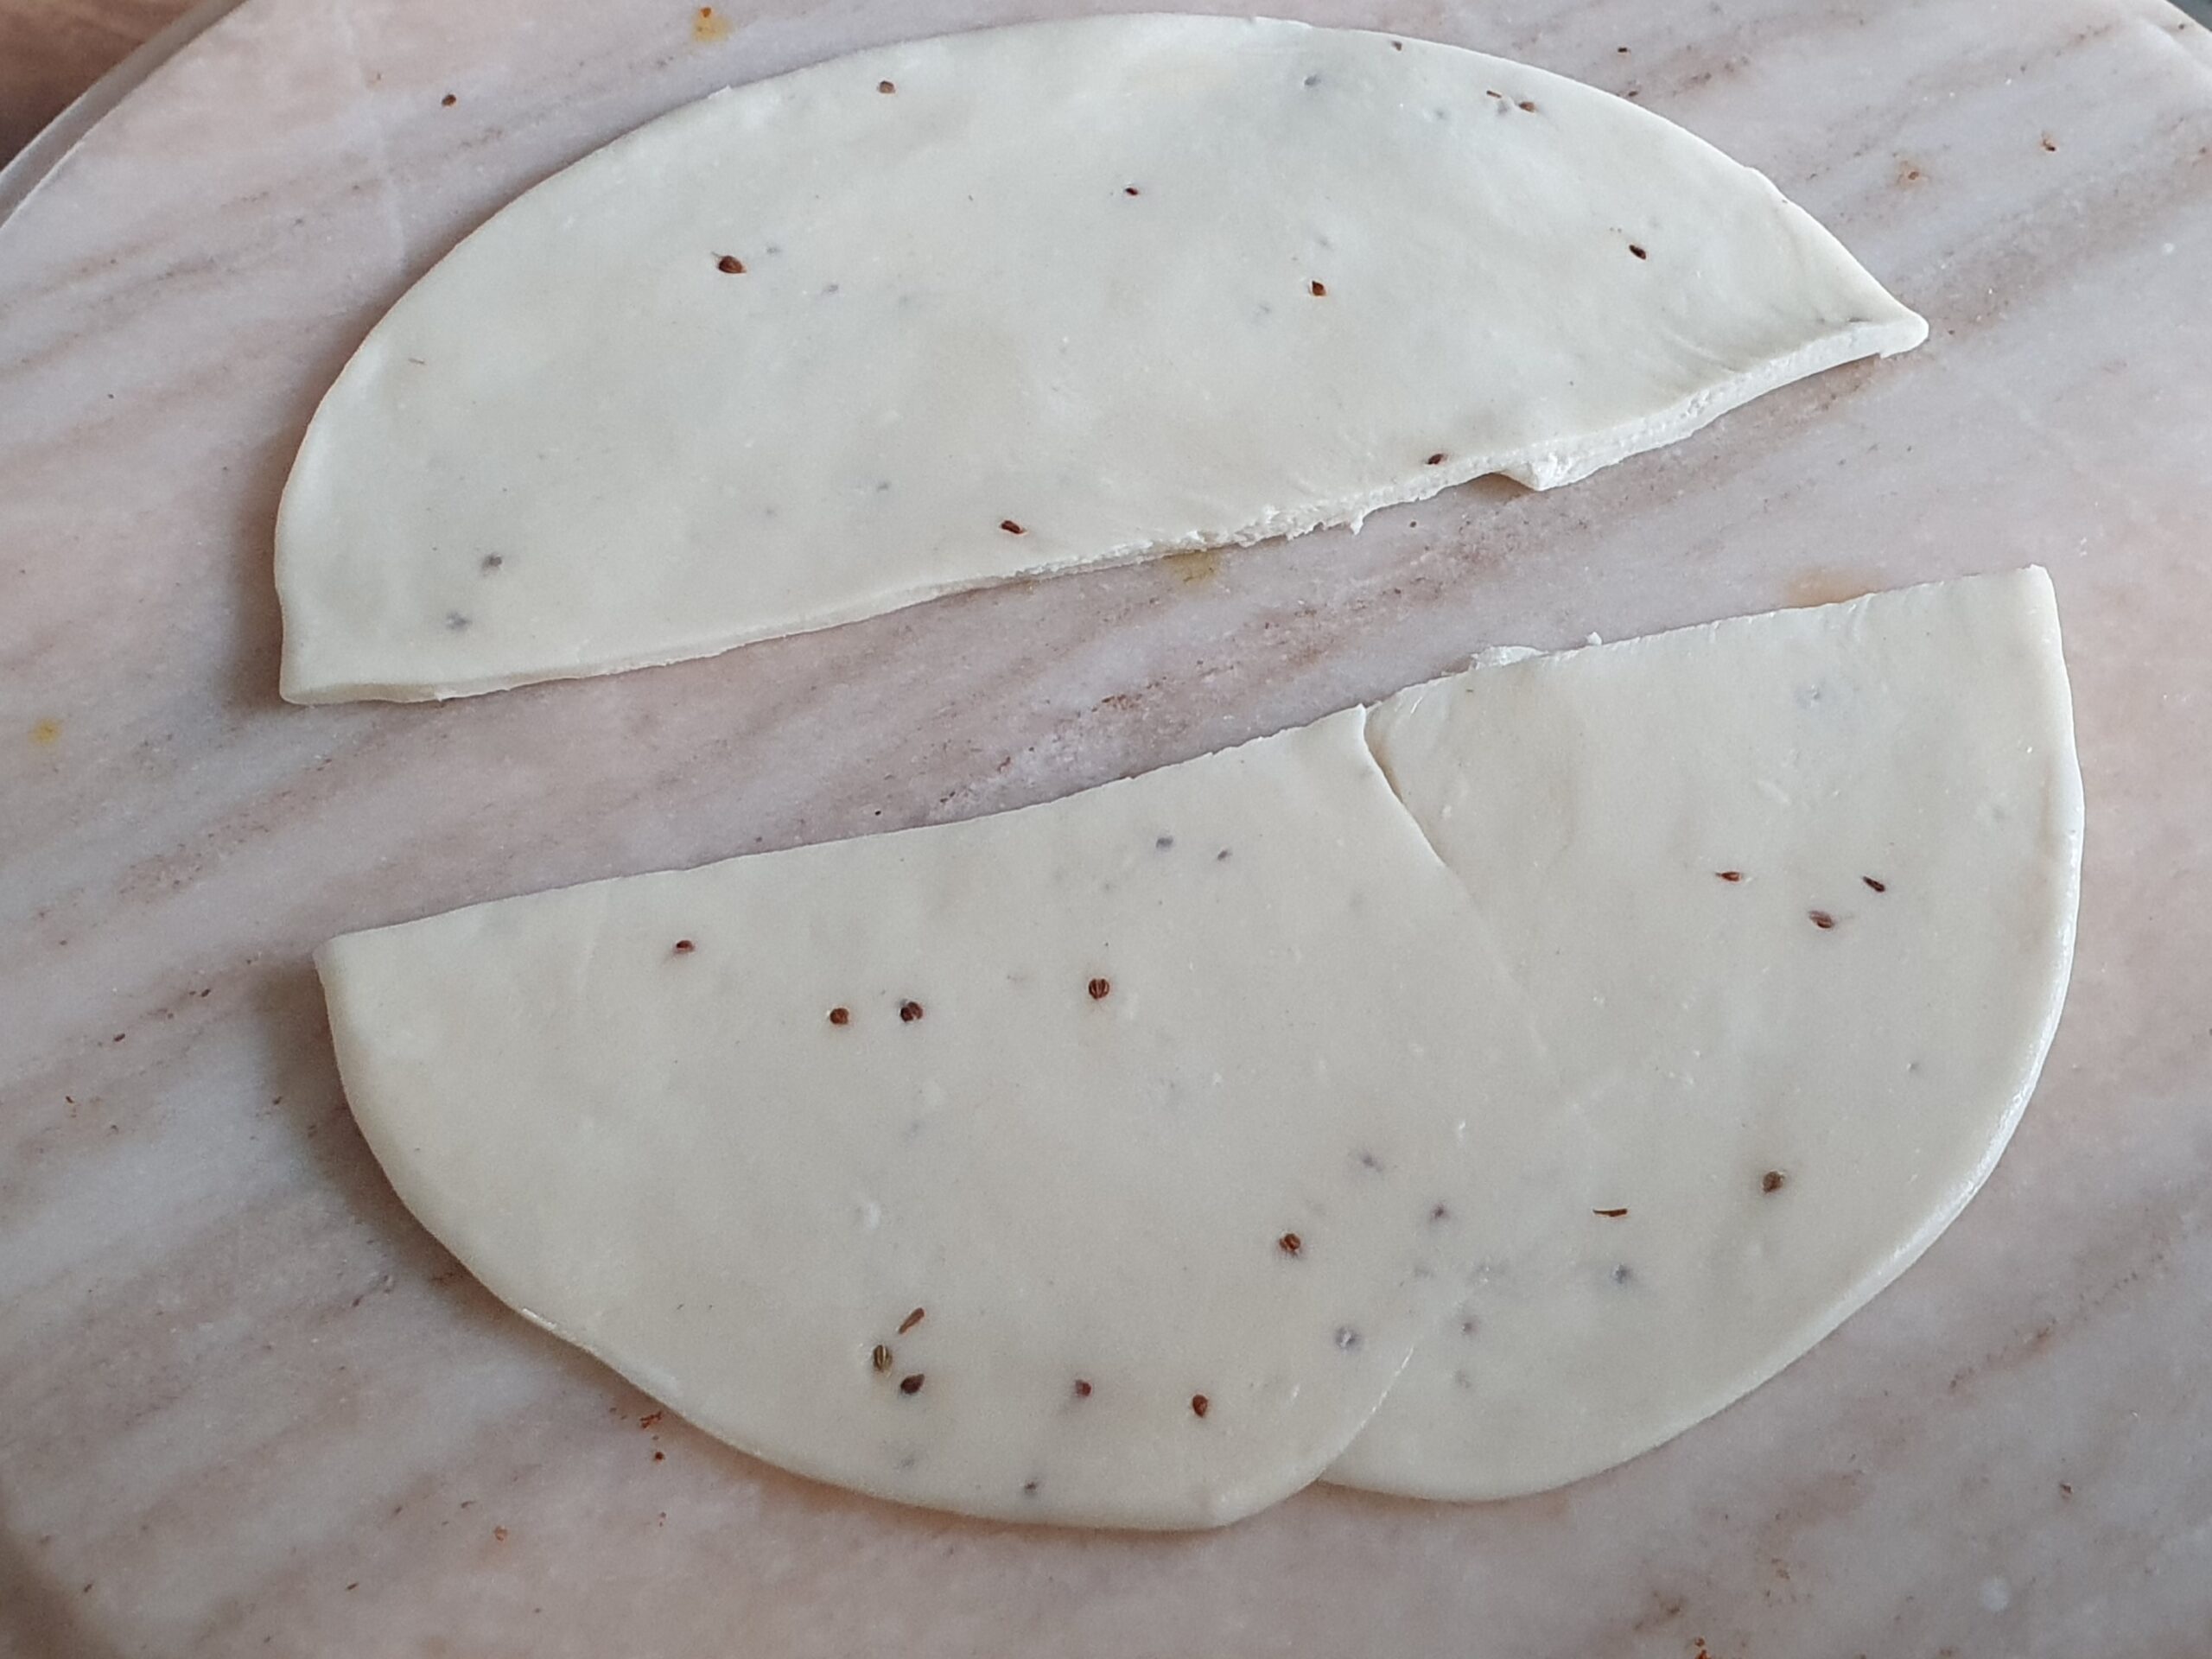
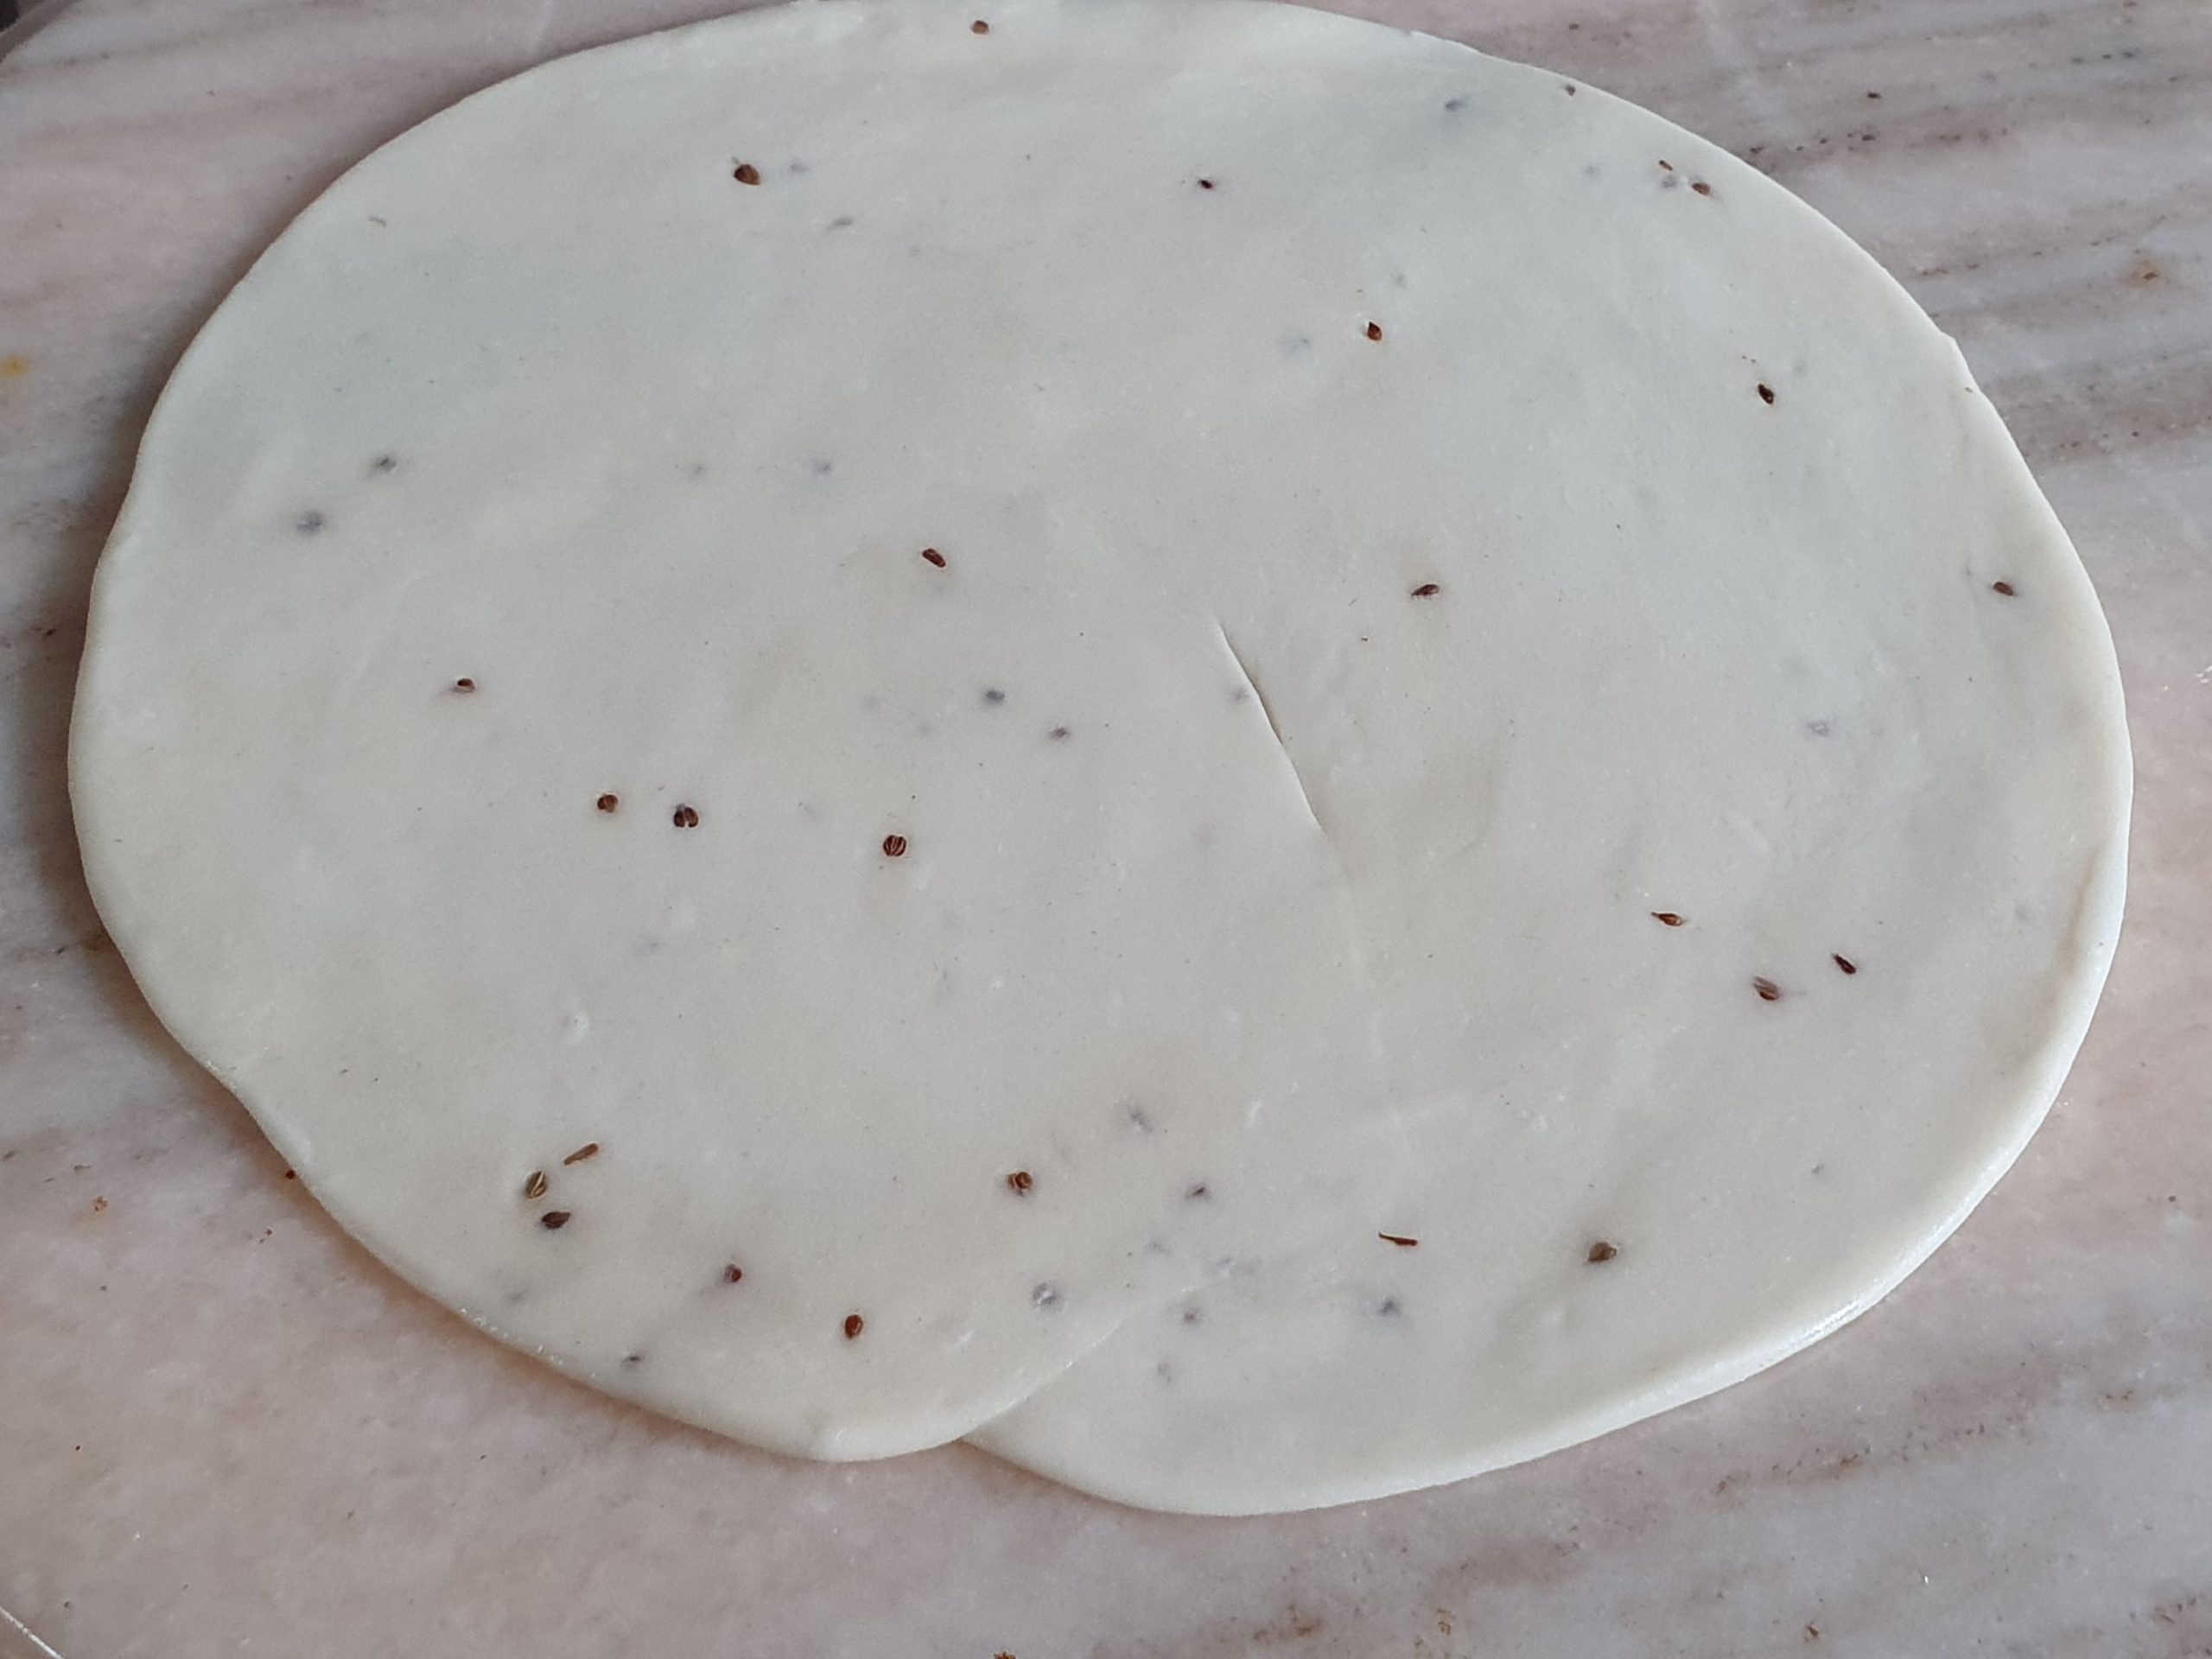
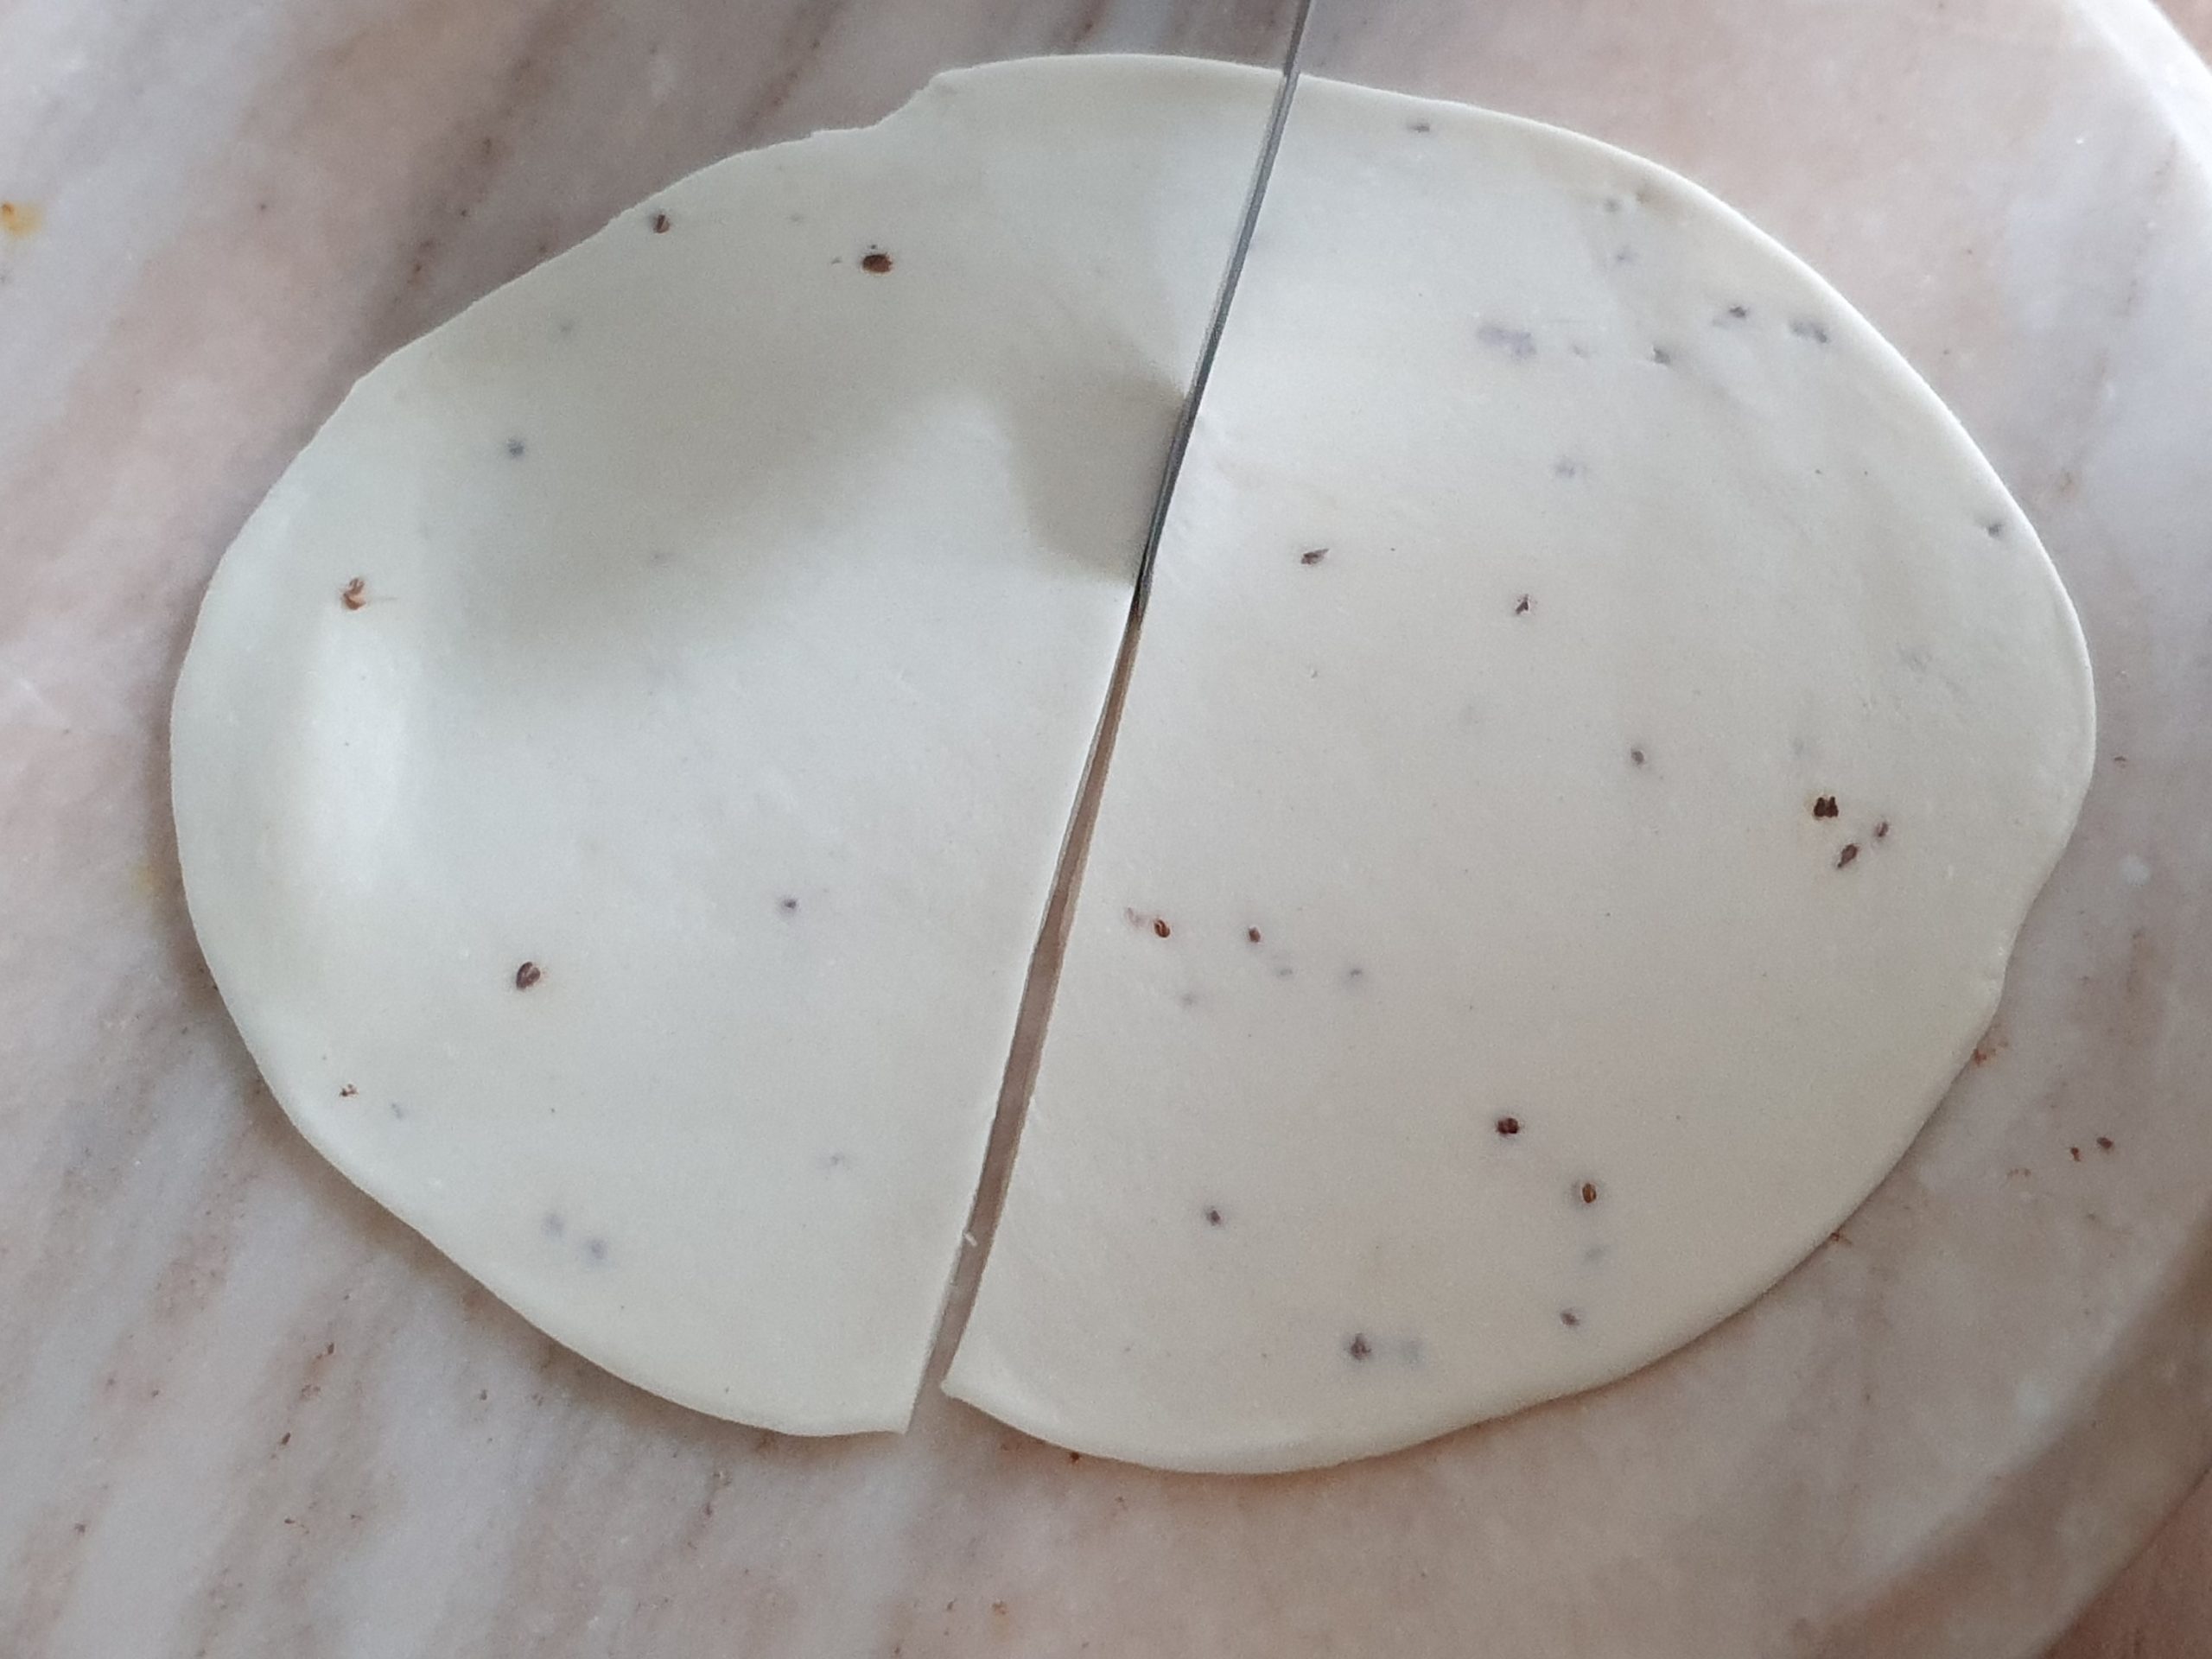
Flatten and roll out with a rolling pin to create a disc the size of a side plate (6-7 inch around 1-1.5mm thick). Dip the ball in little oil before rolling or grease the rolling pin and that should make it easy to roll the dough.
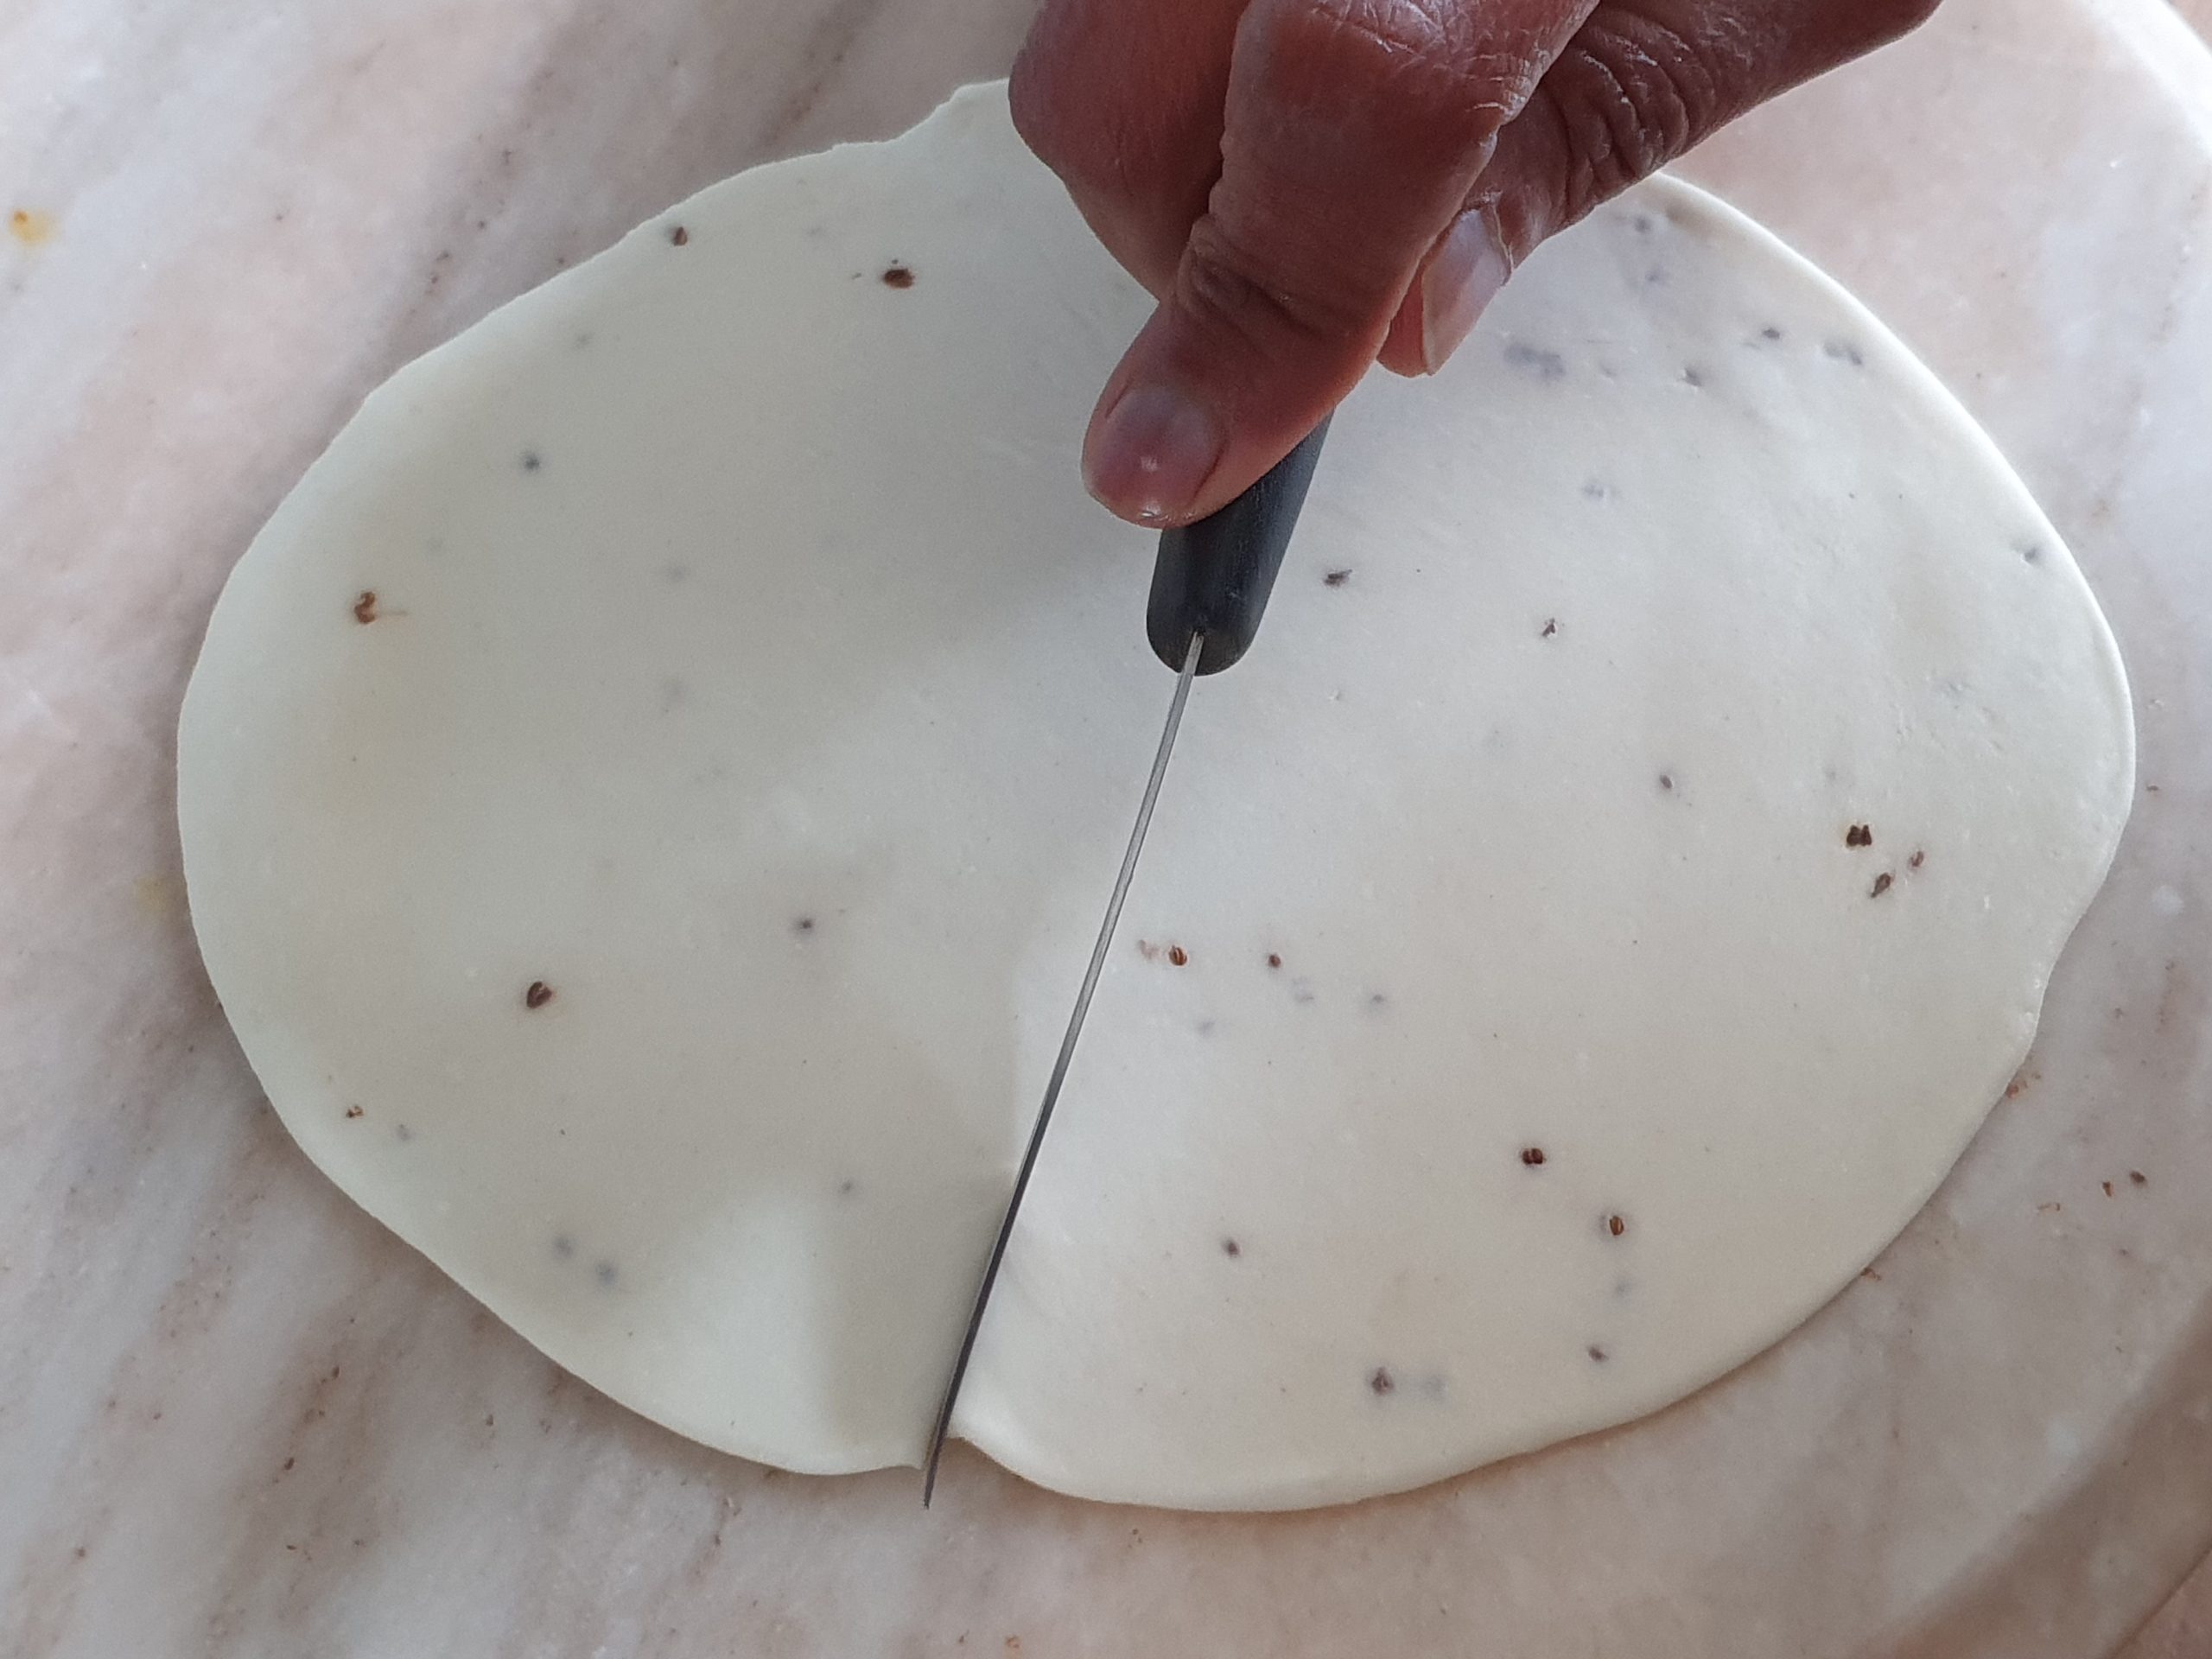
Using a knife slice the disc in half so you are left with 2 semi-circles.
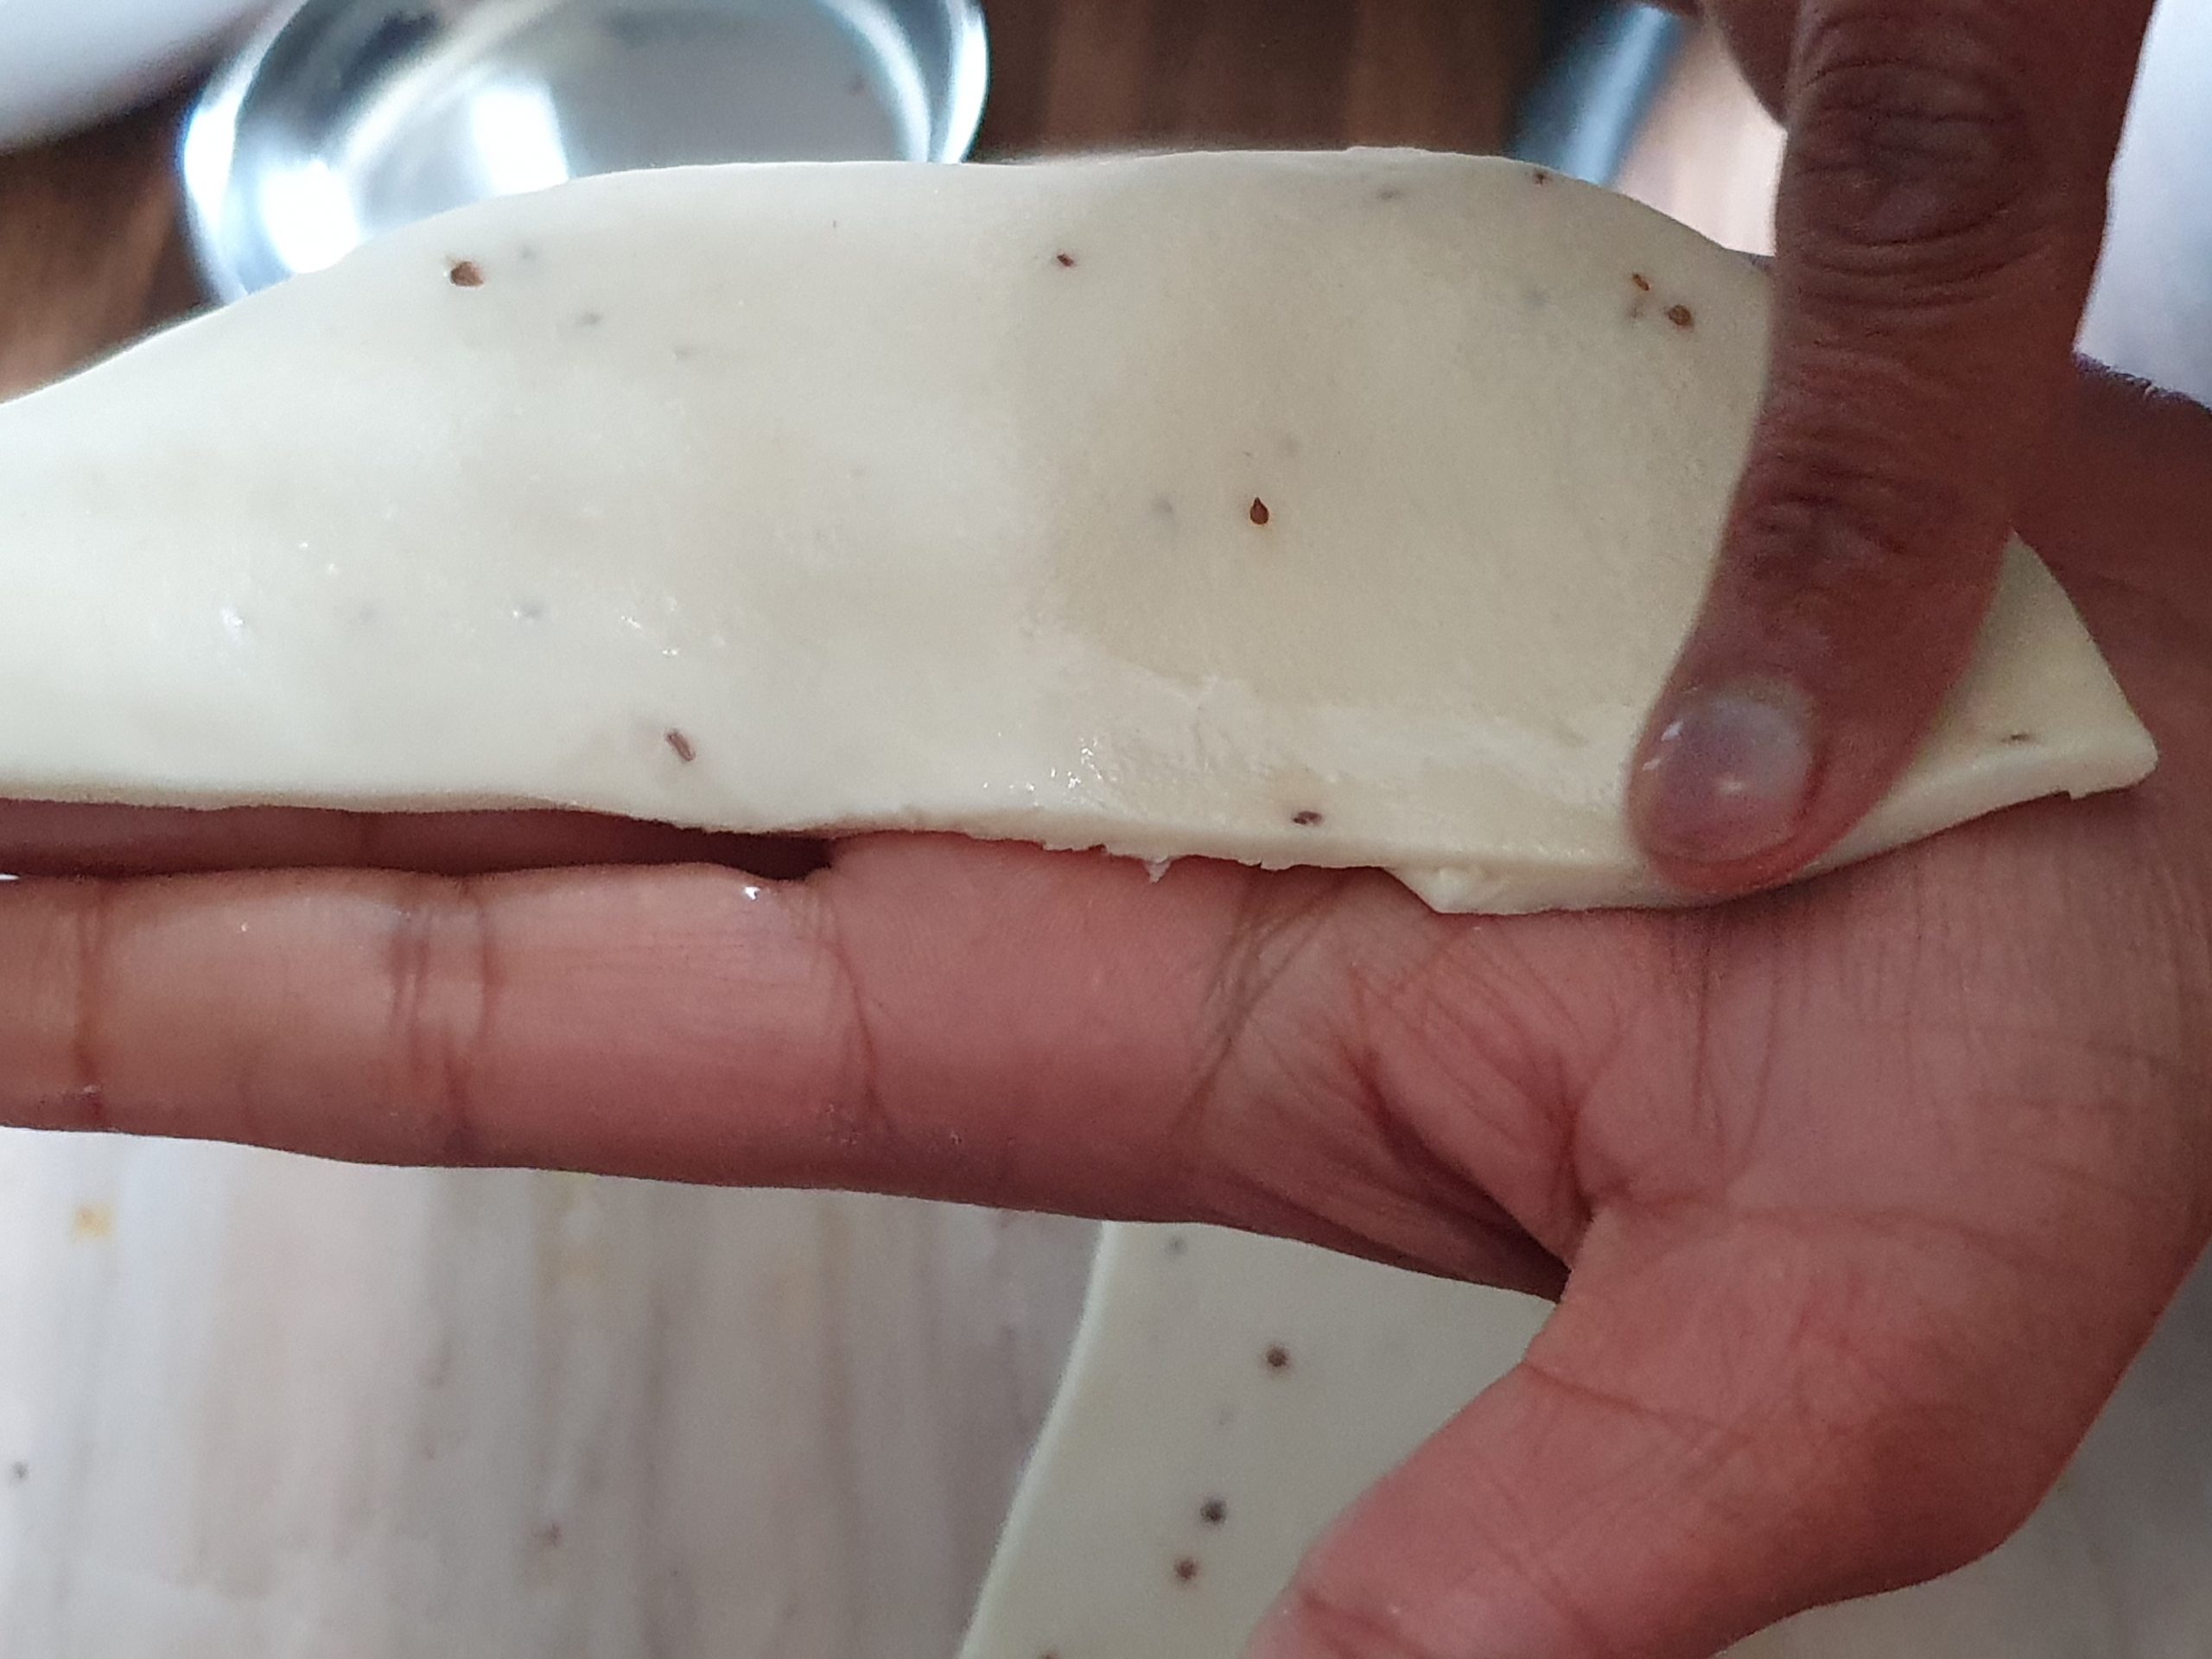
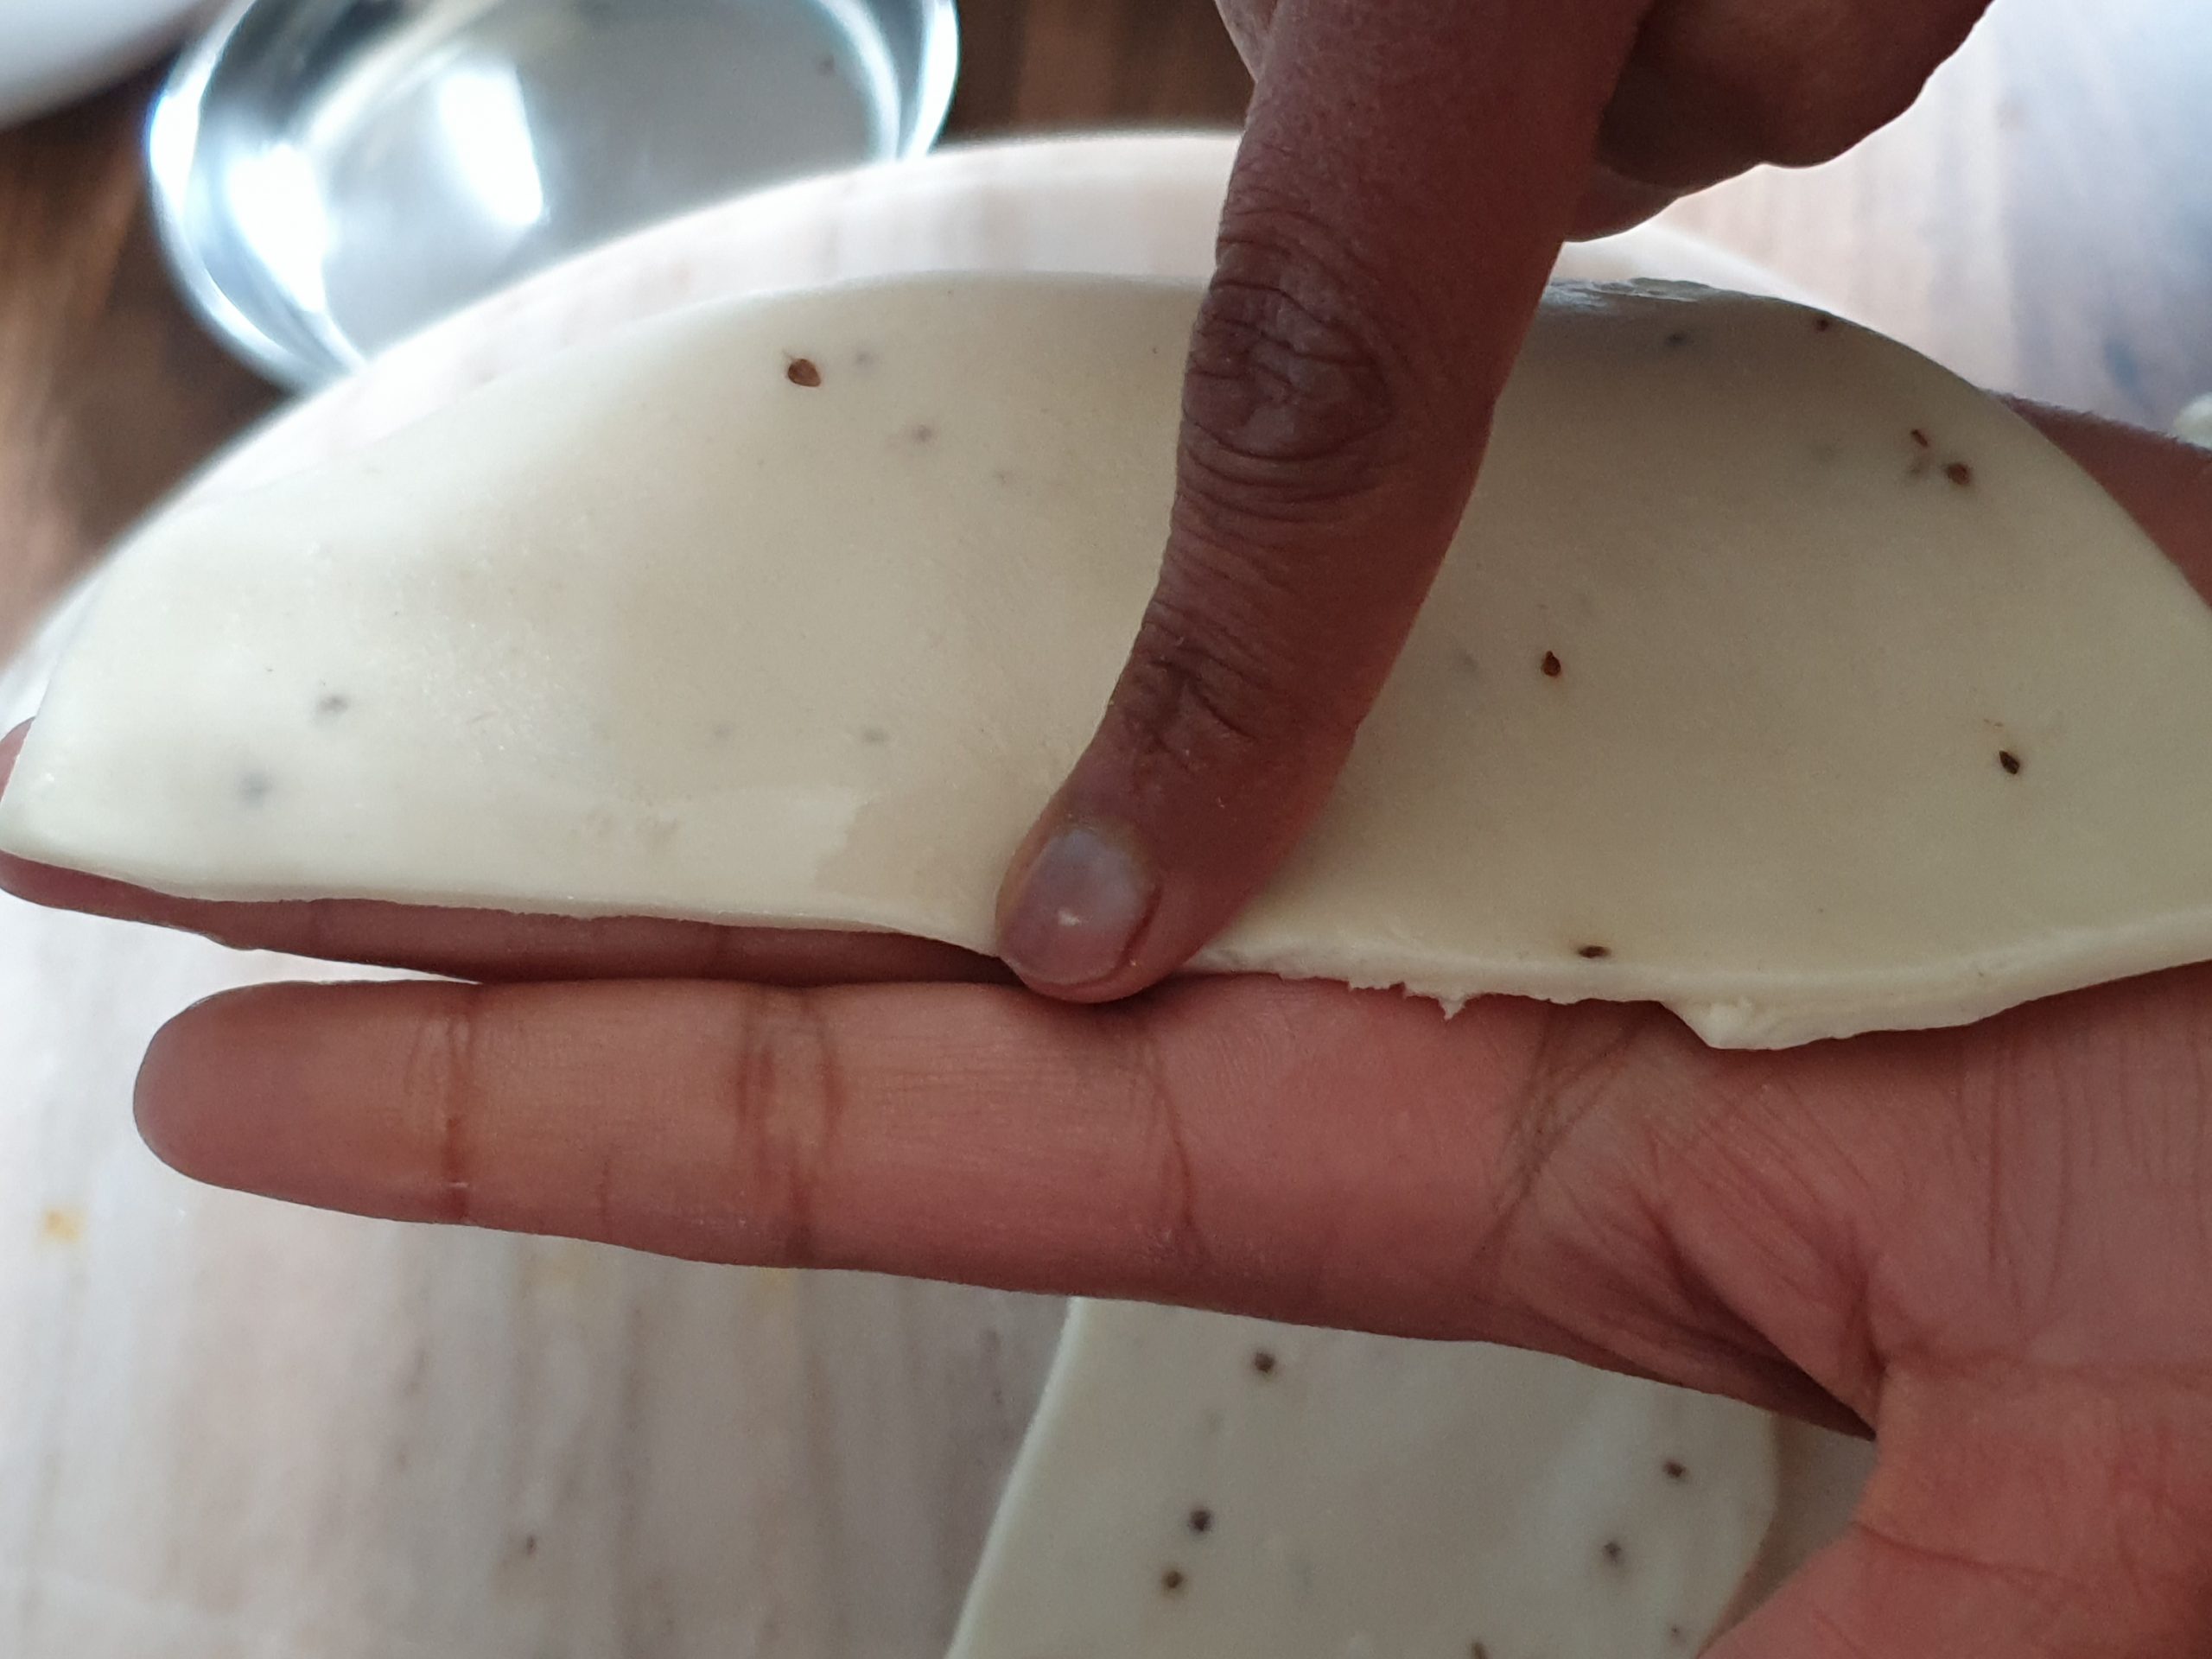
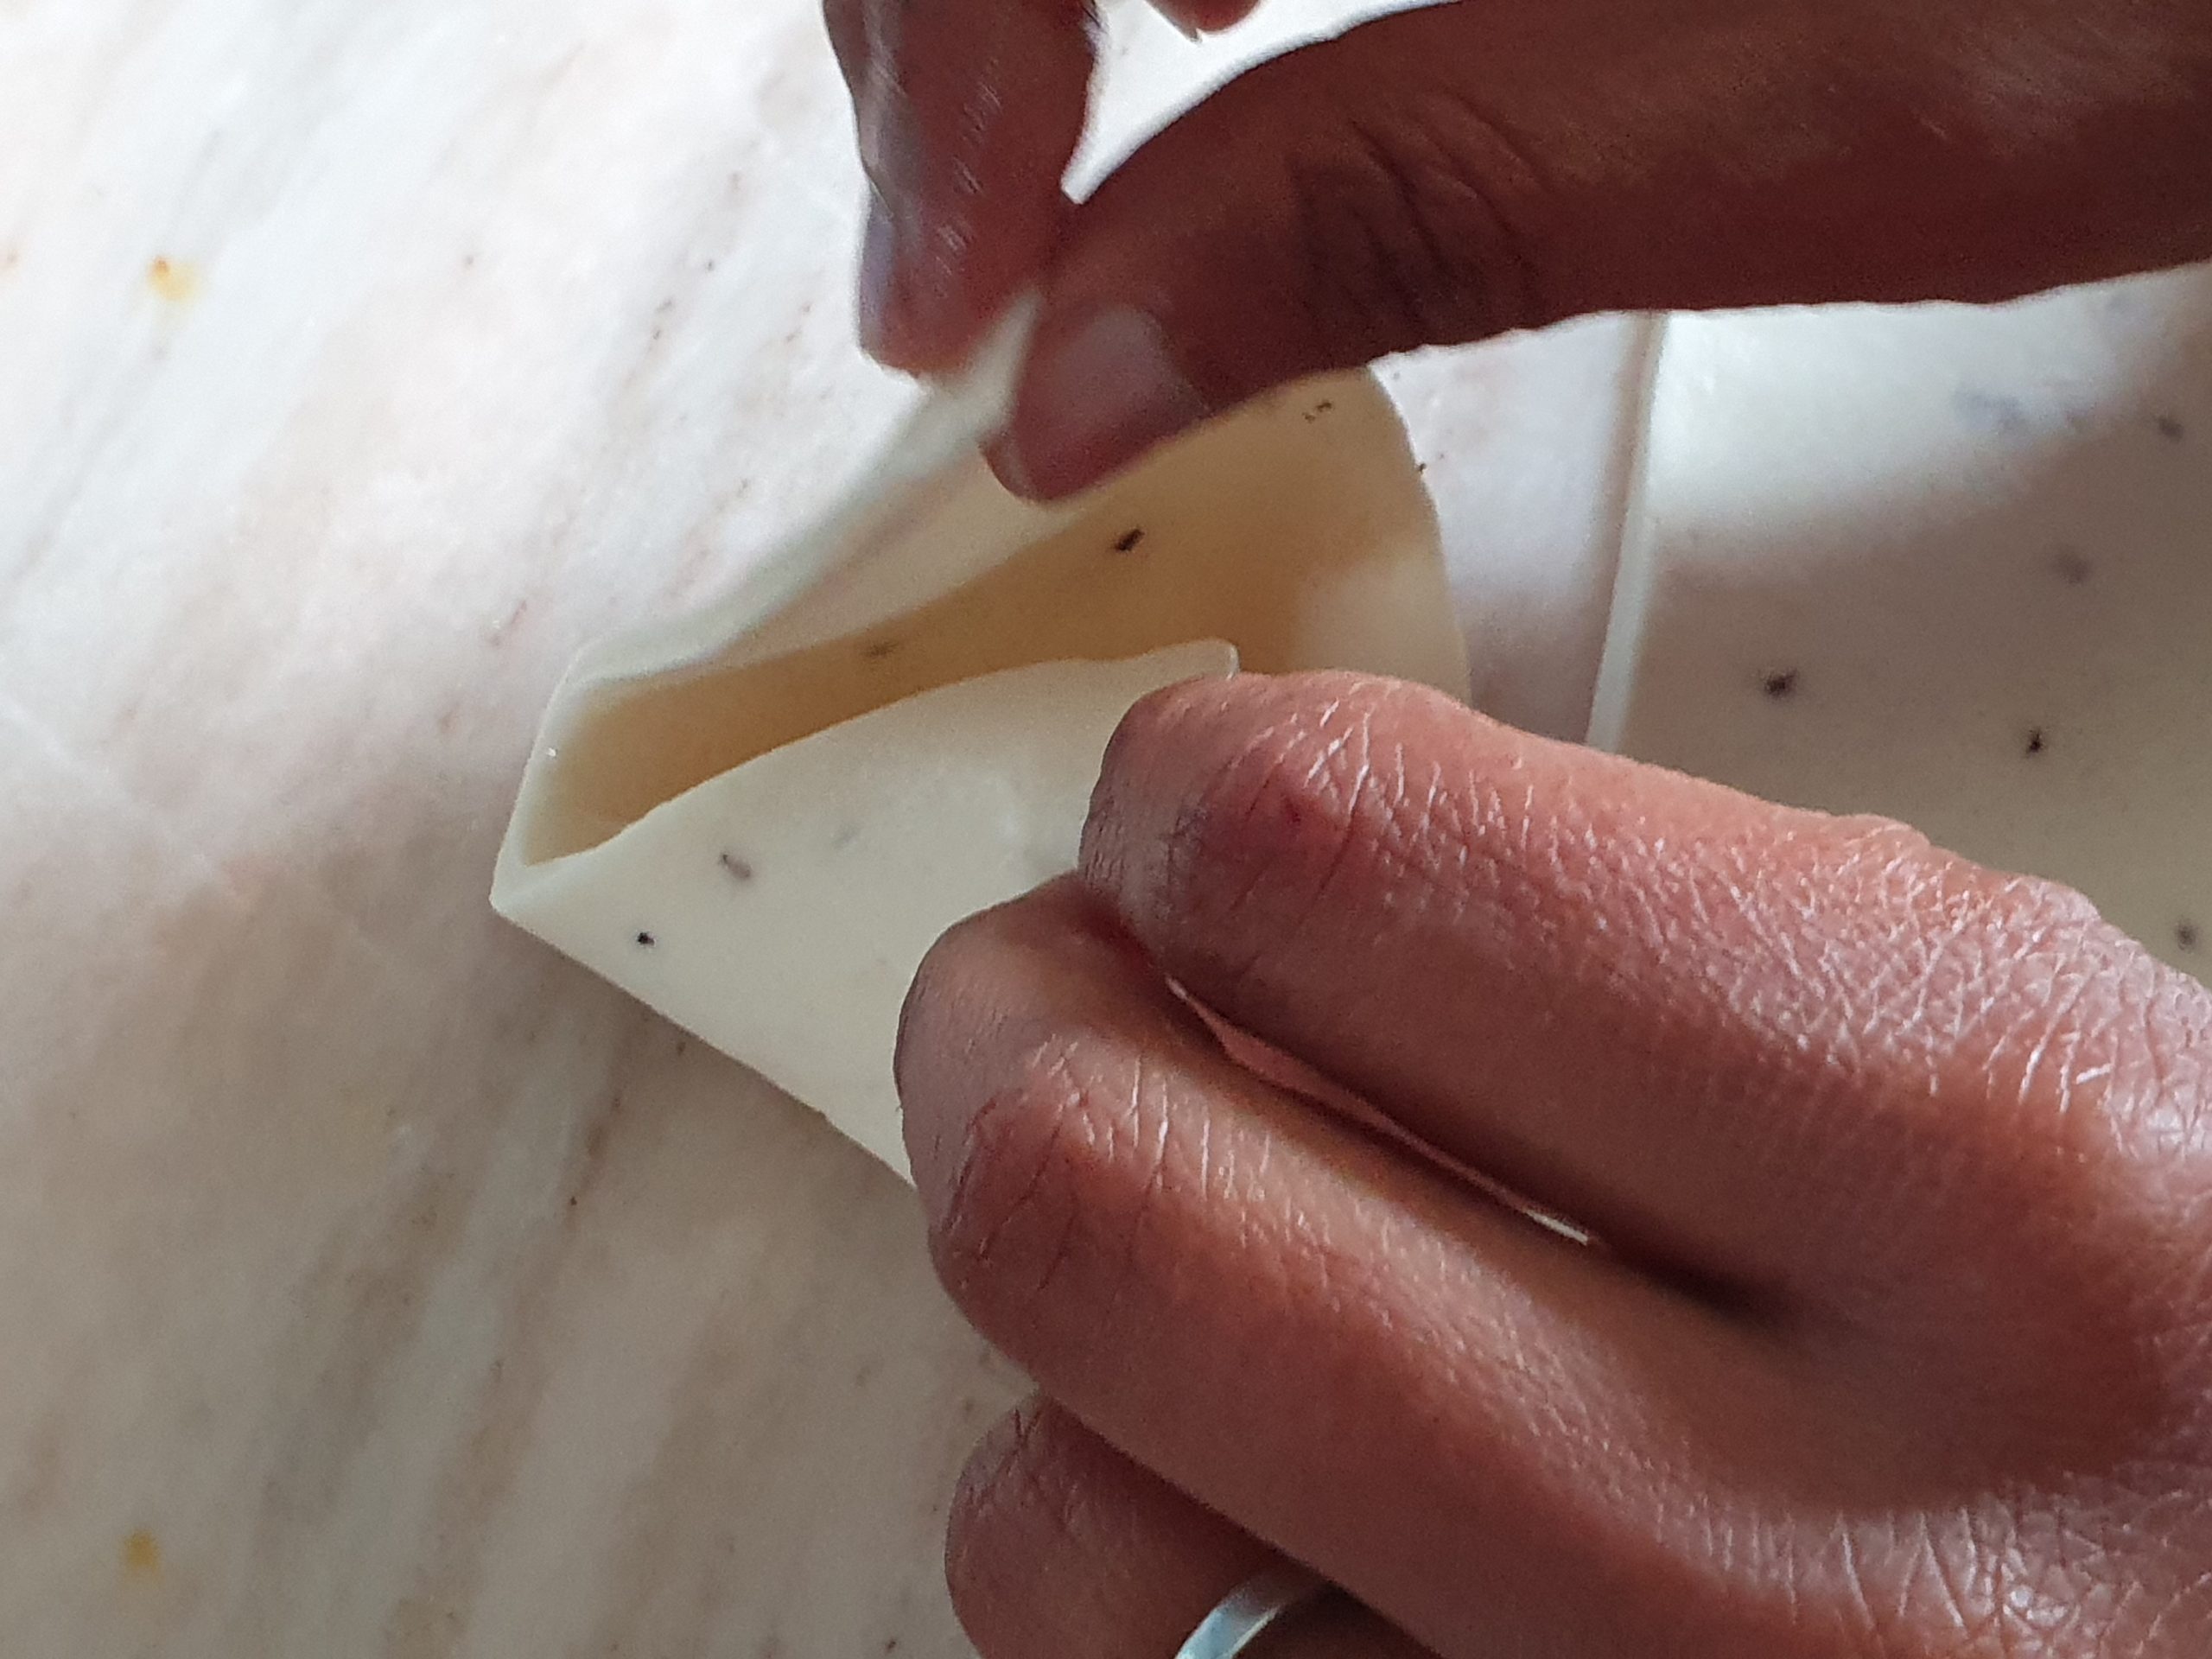
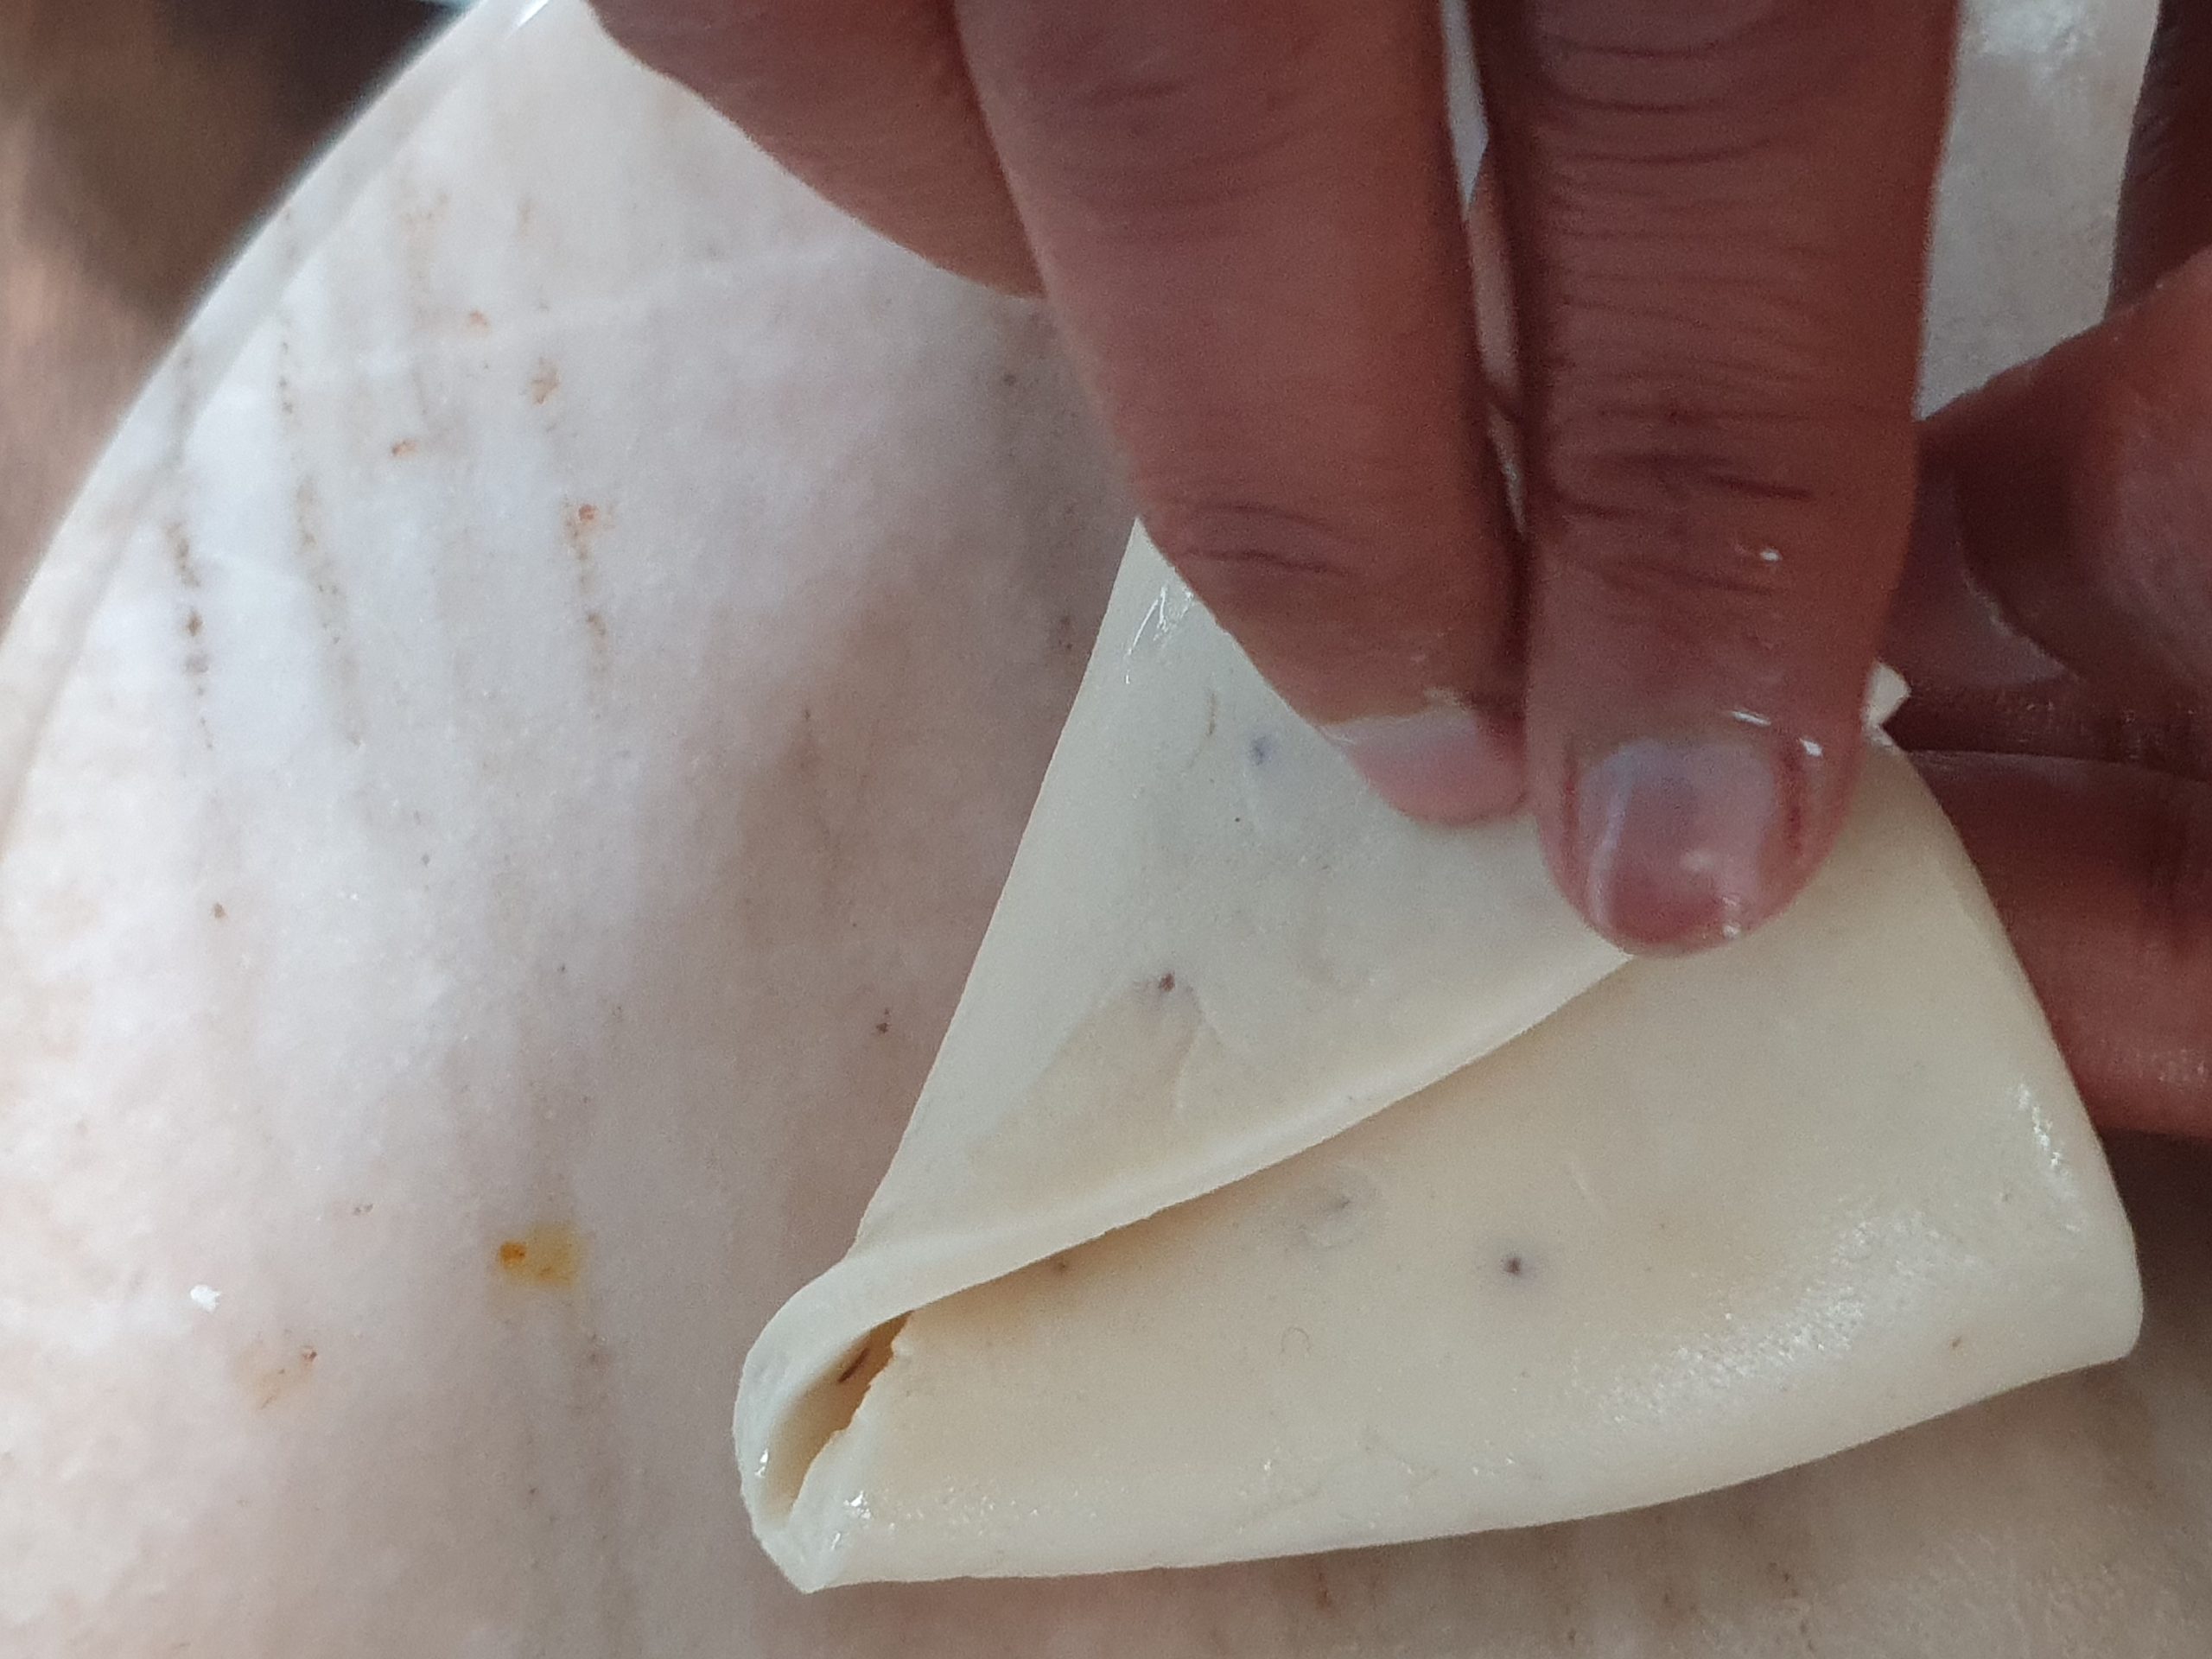
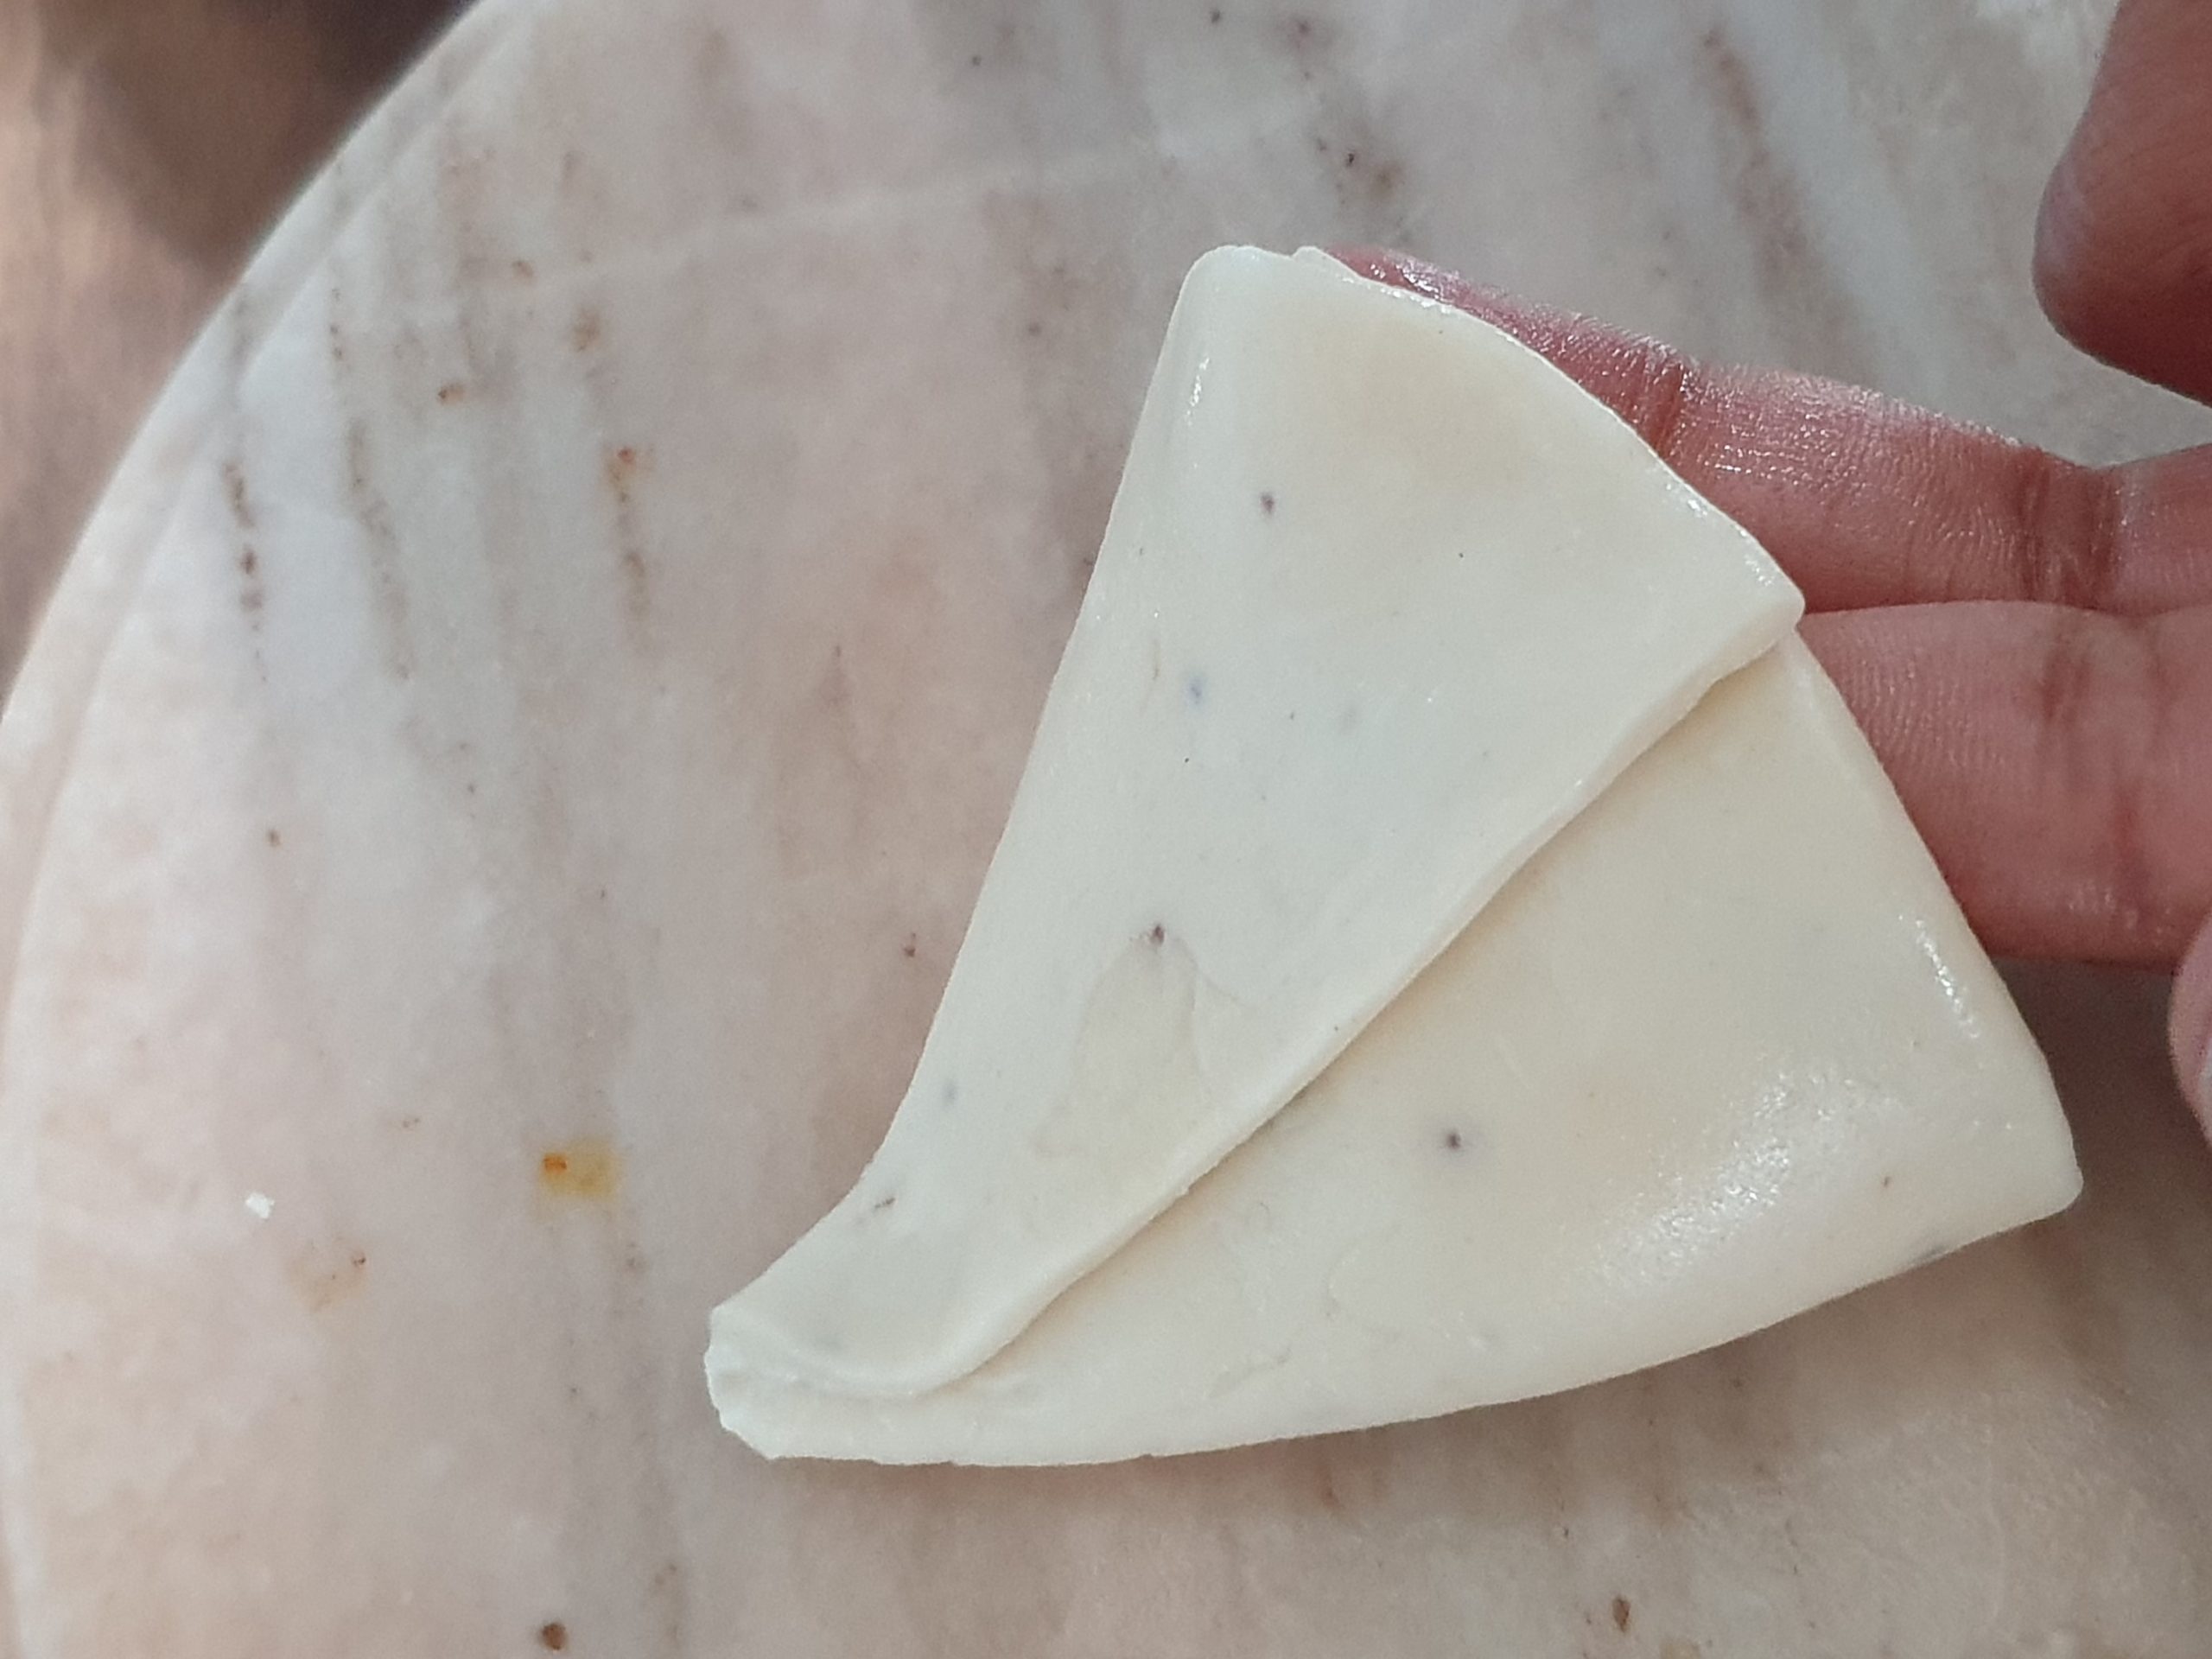
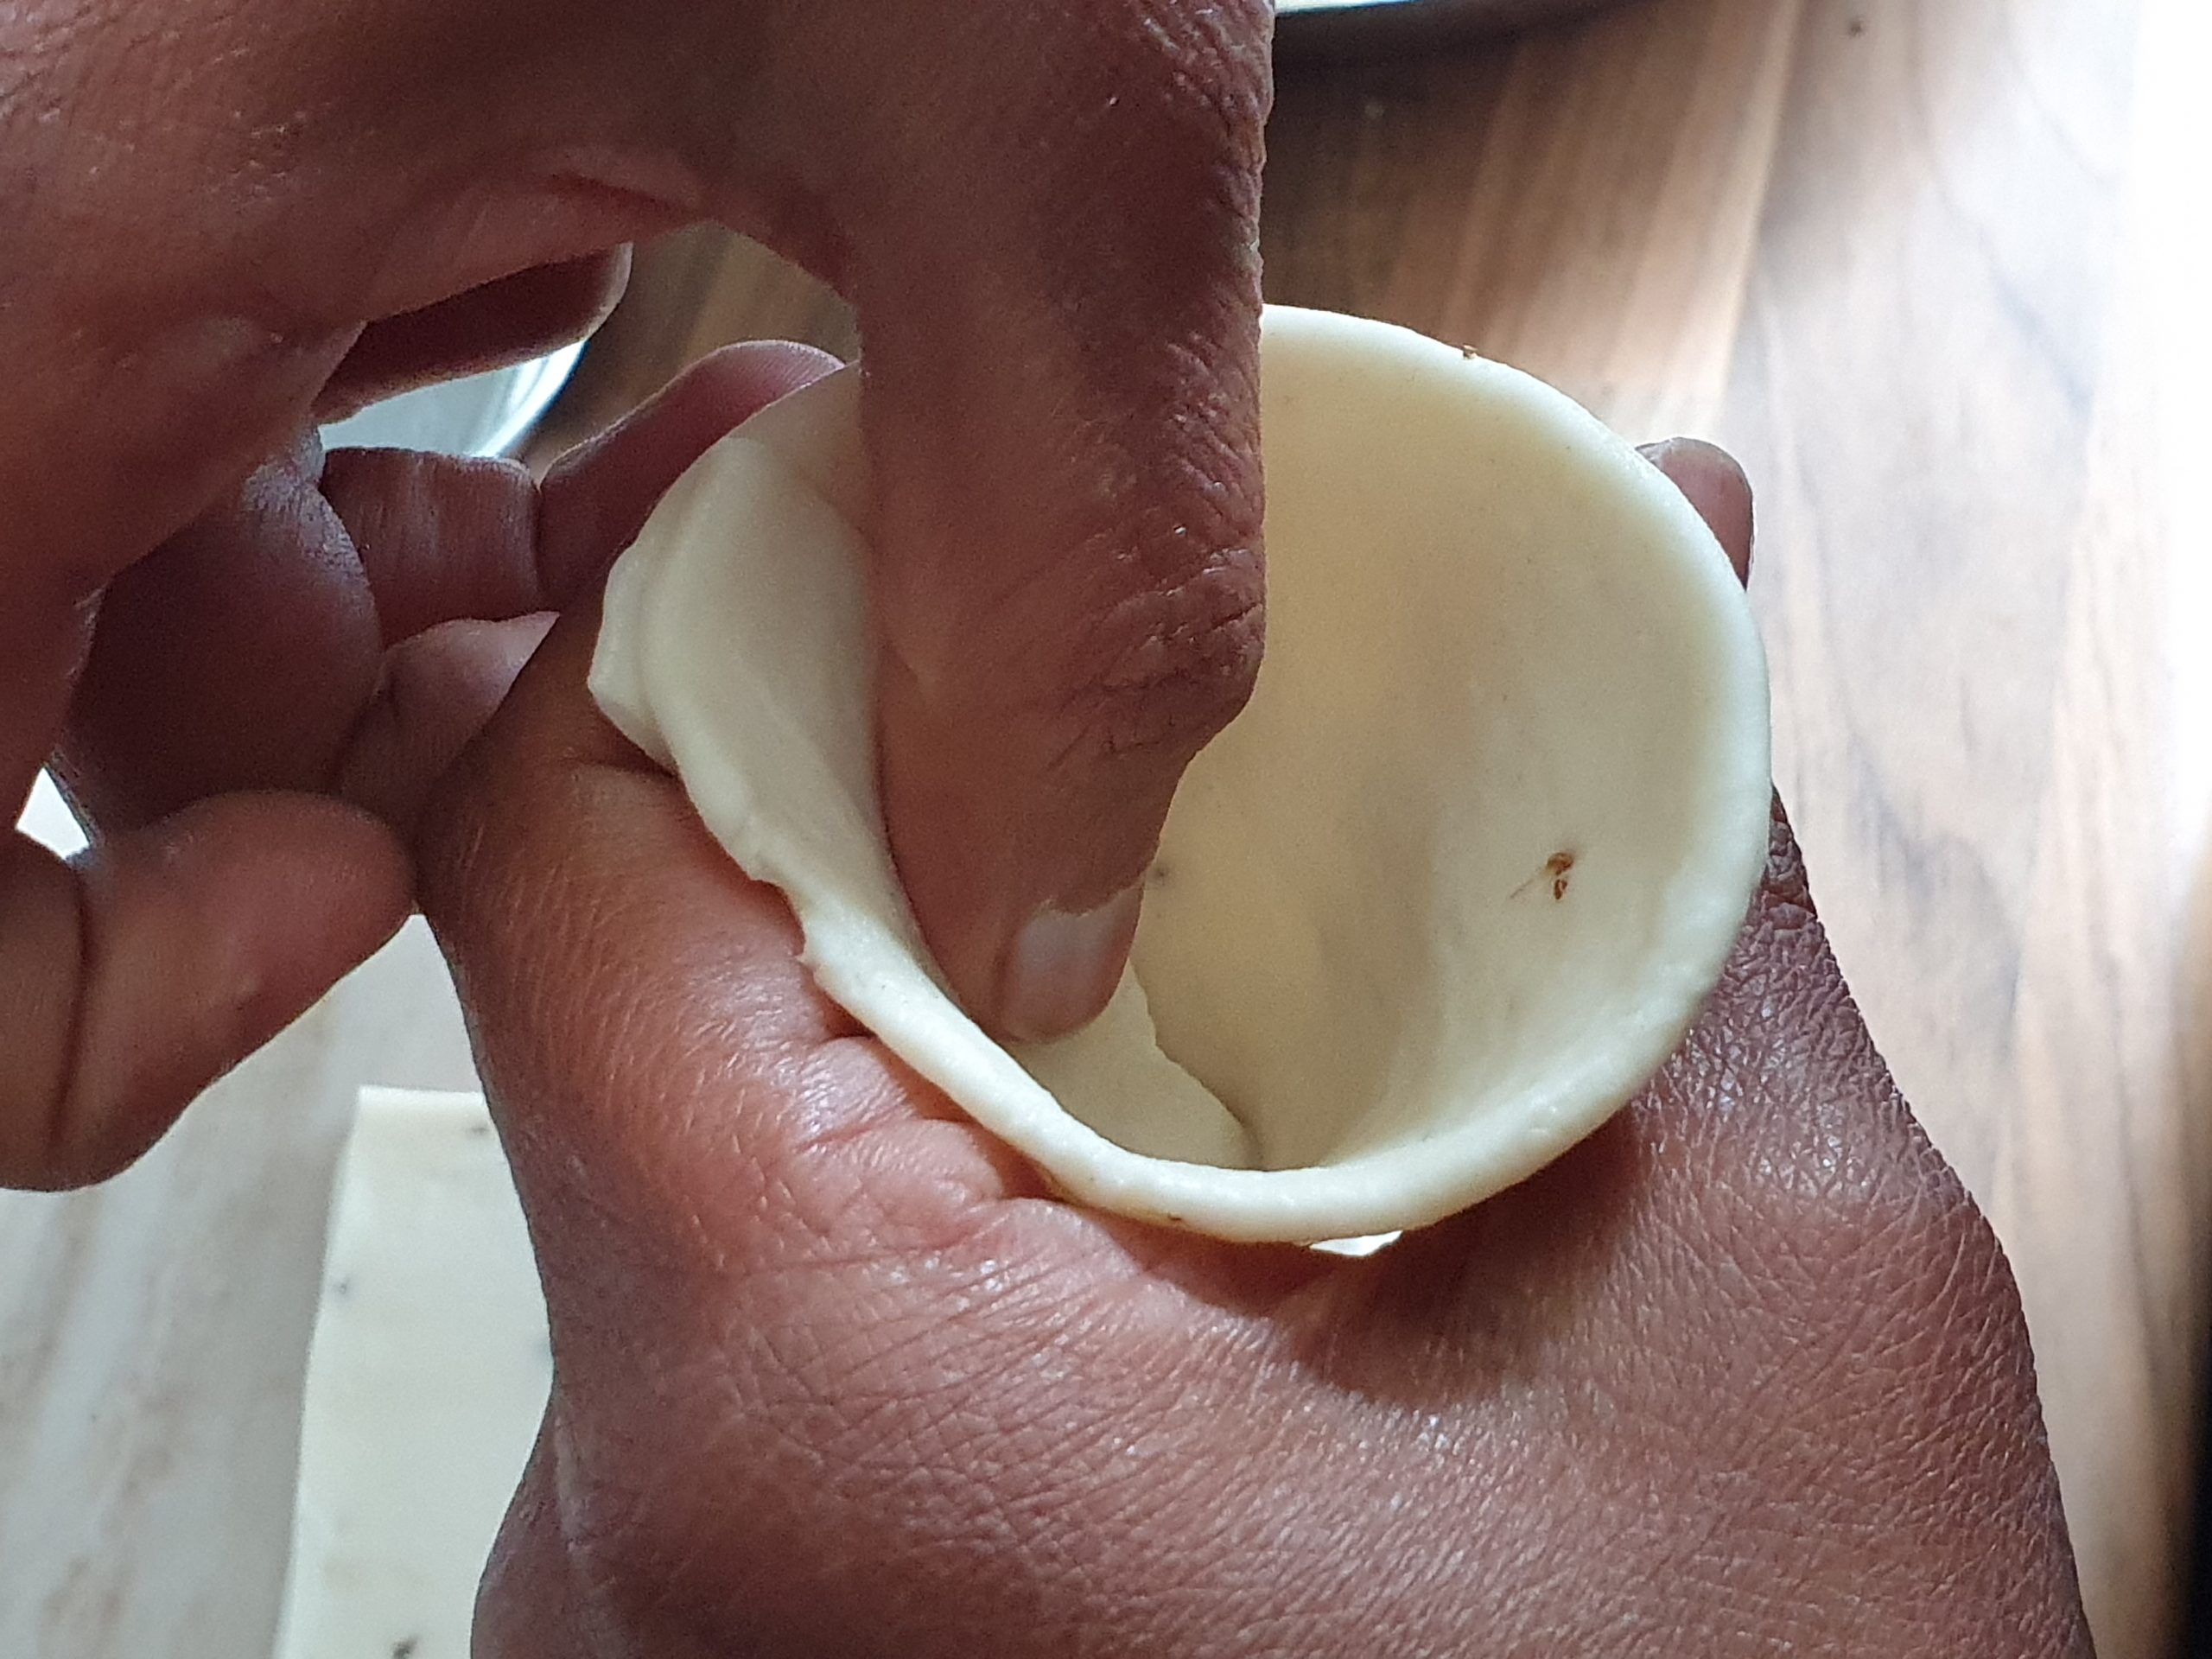

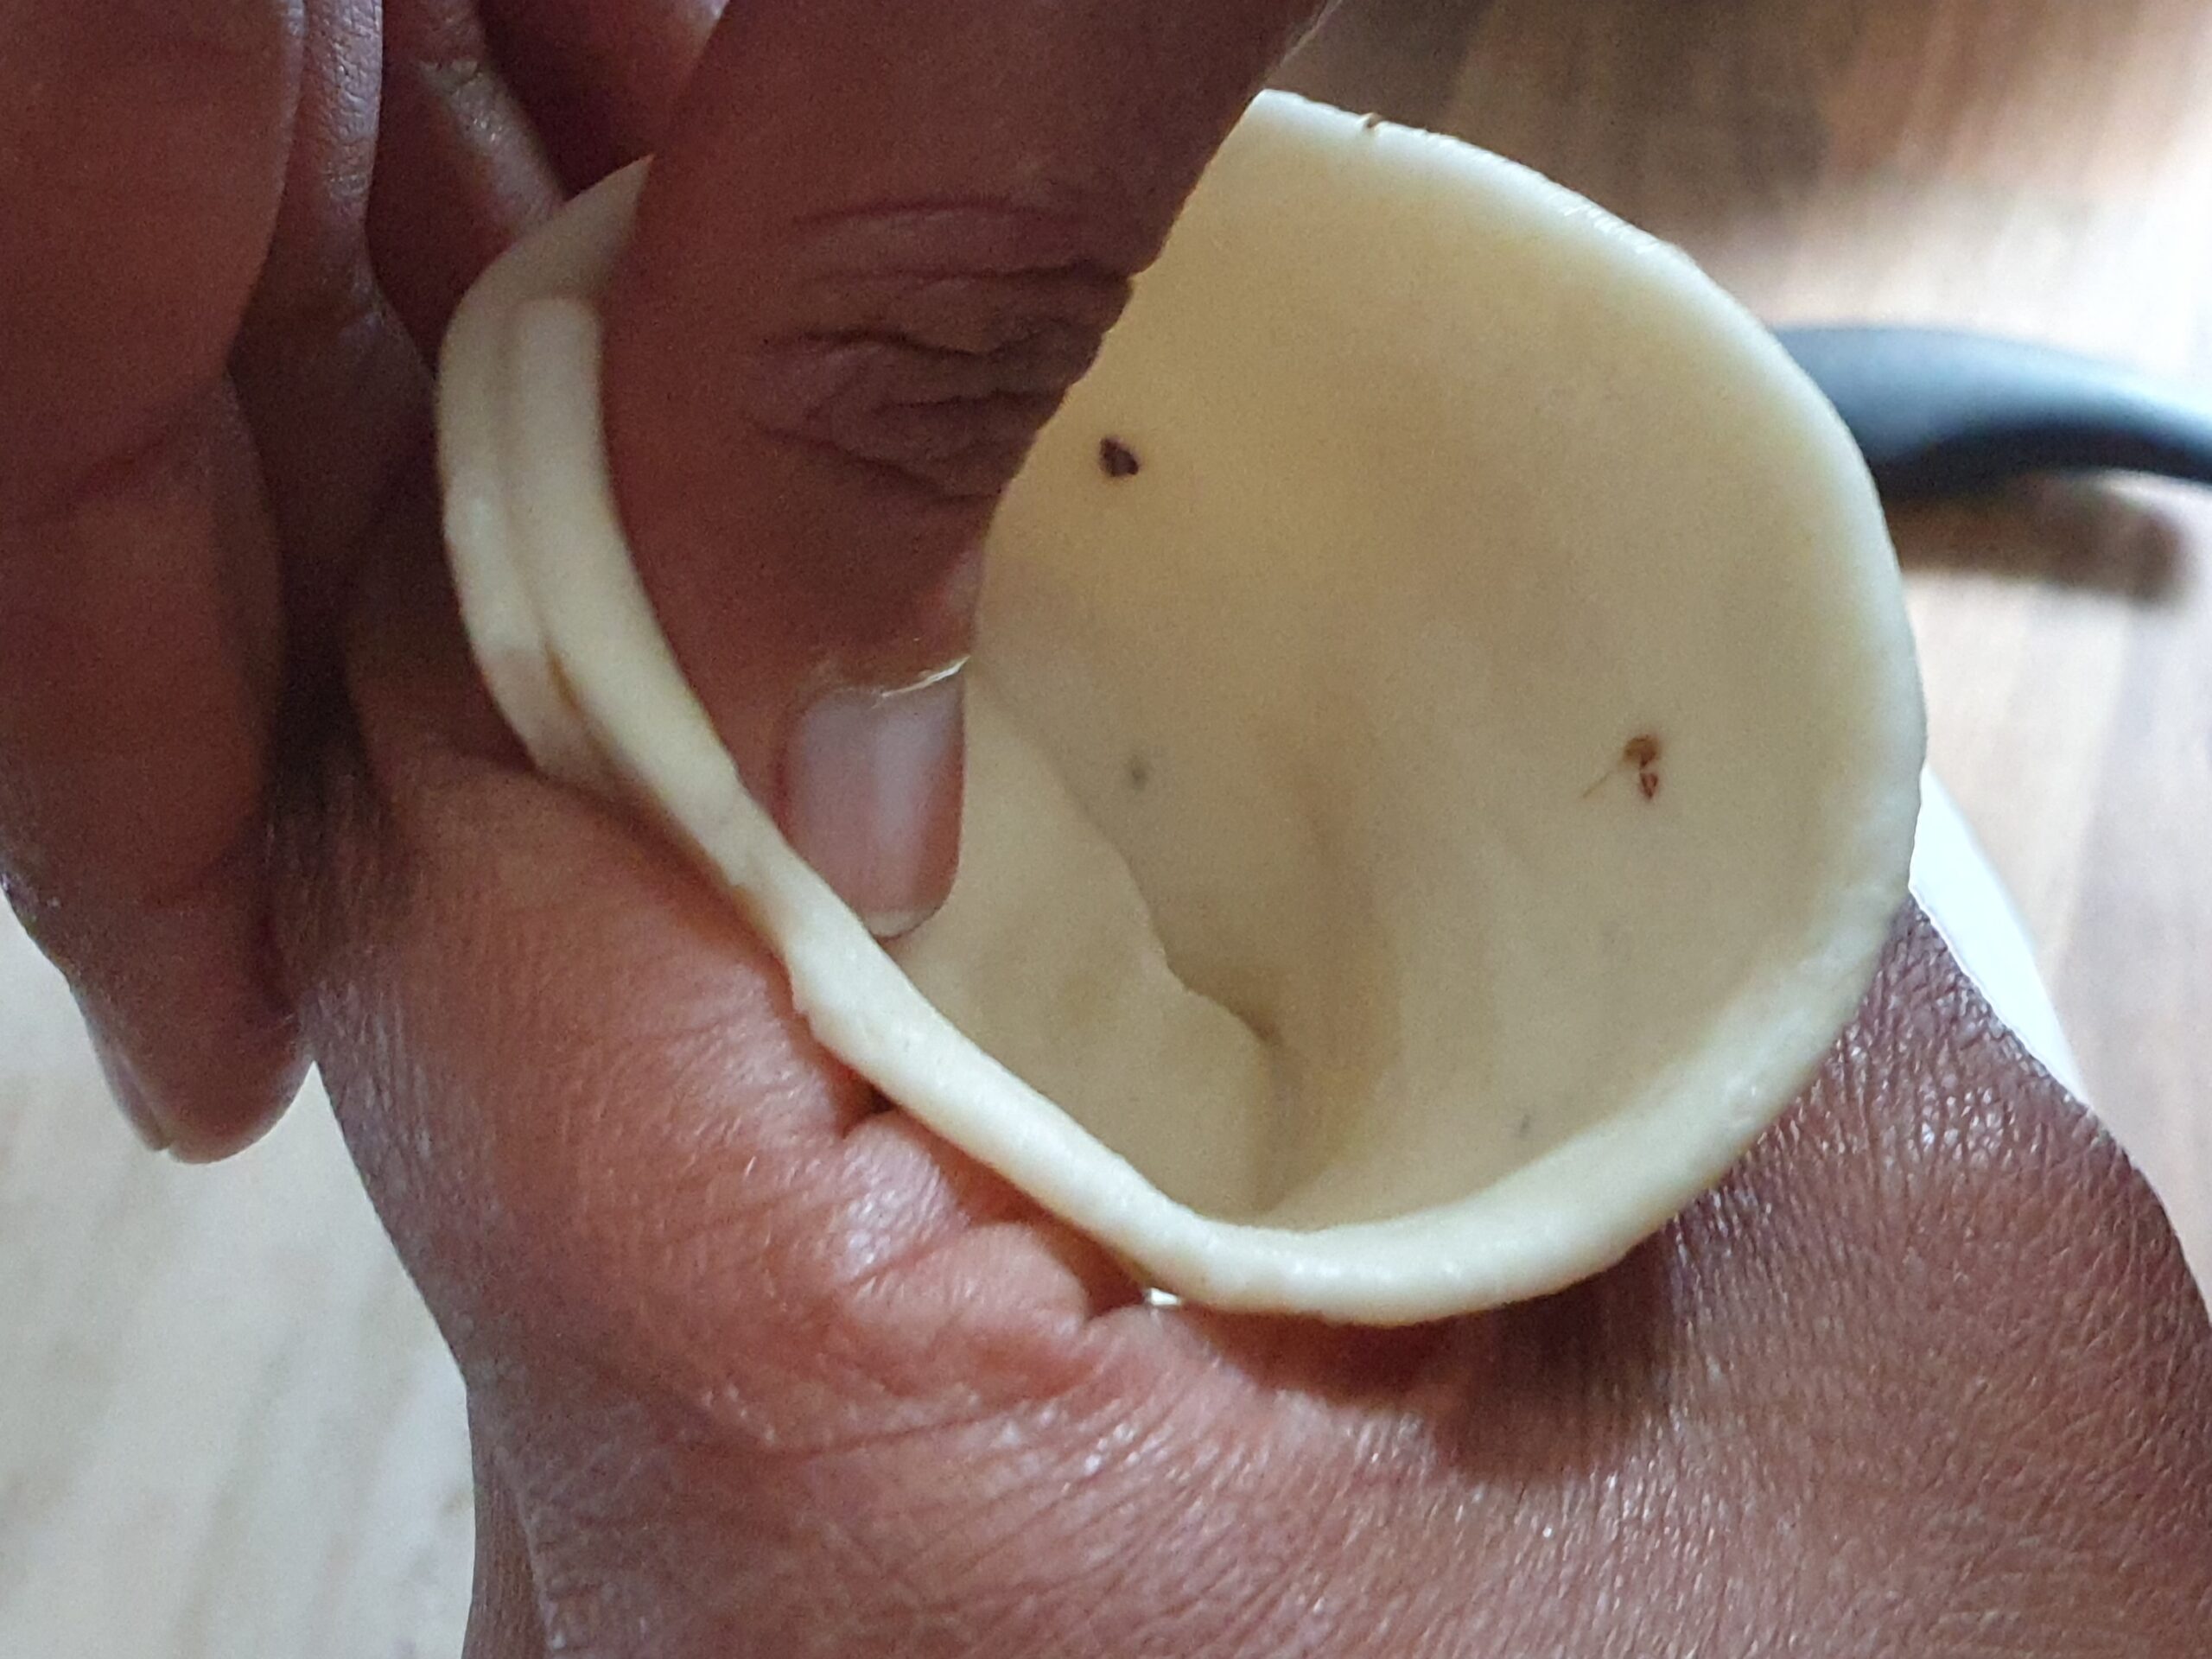
Take one semicircle in your hand and apply water on the straight edge/side. Now bring the two ends of the straight edge together and pinch them to form a cone ensuring one edge overlaps the other and press together to seal all the way down to create a smooth cone. Pinch the top to make sure there are no gaps.
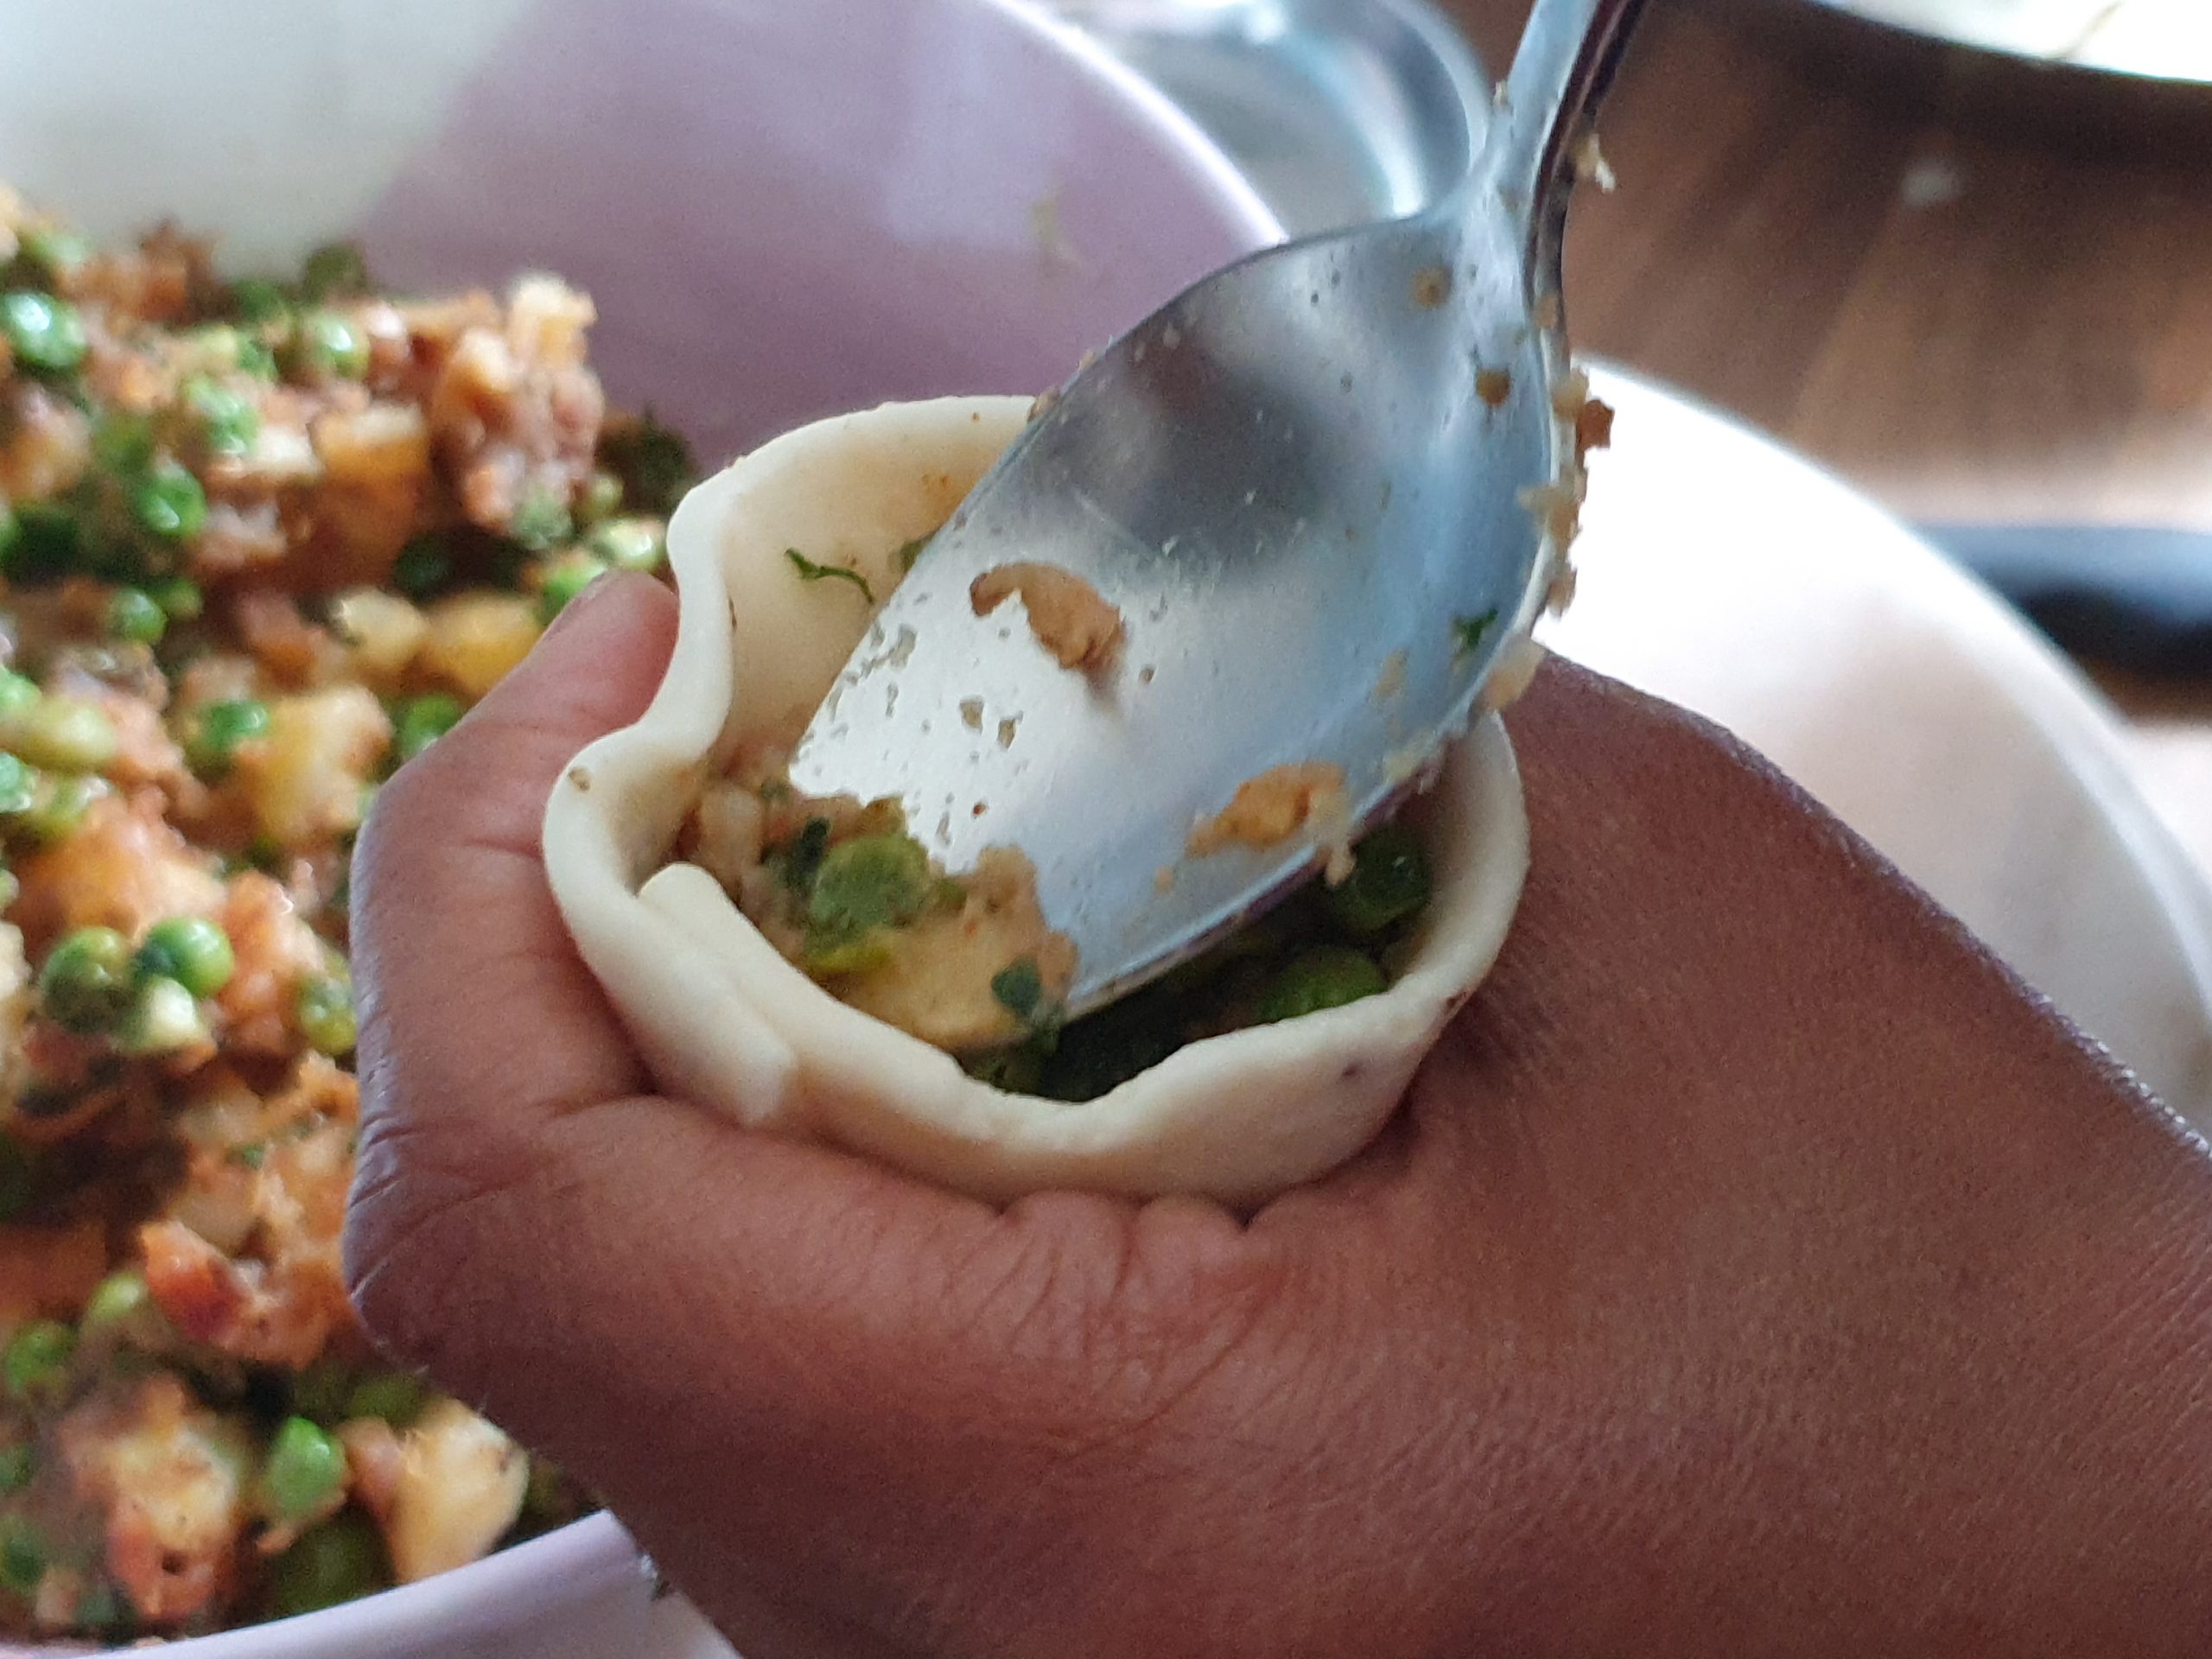
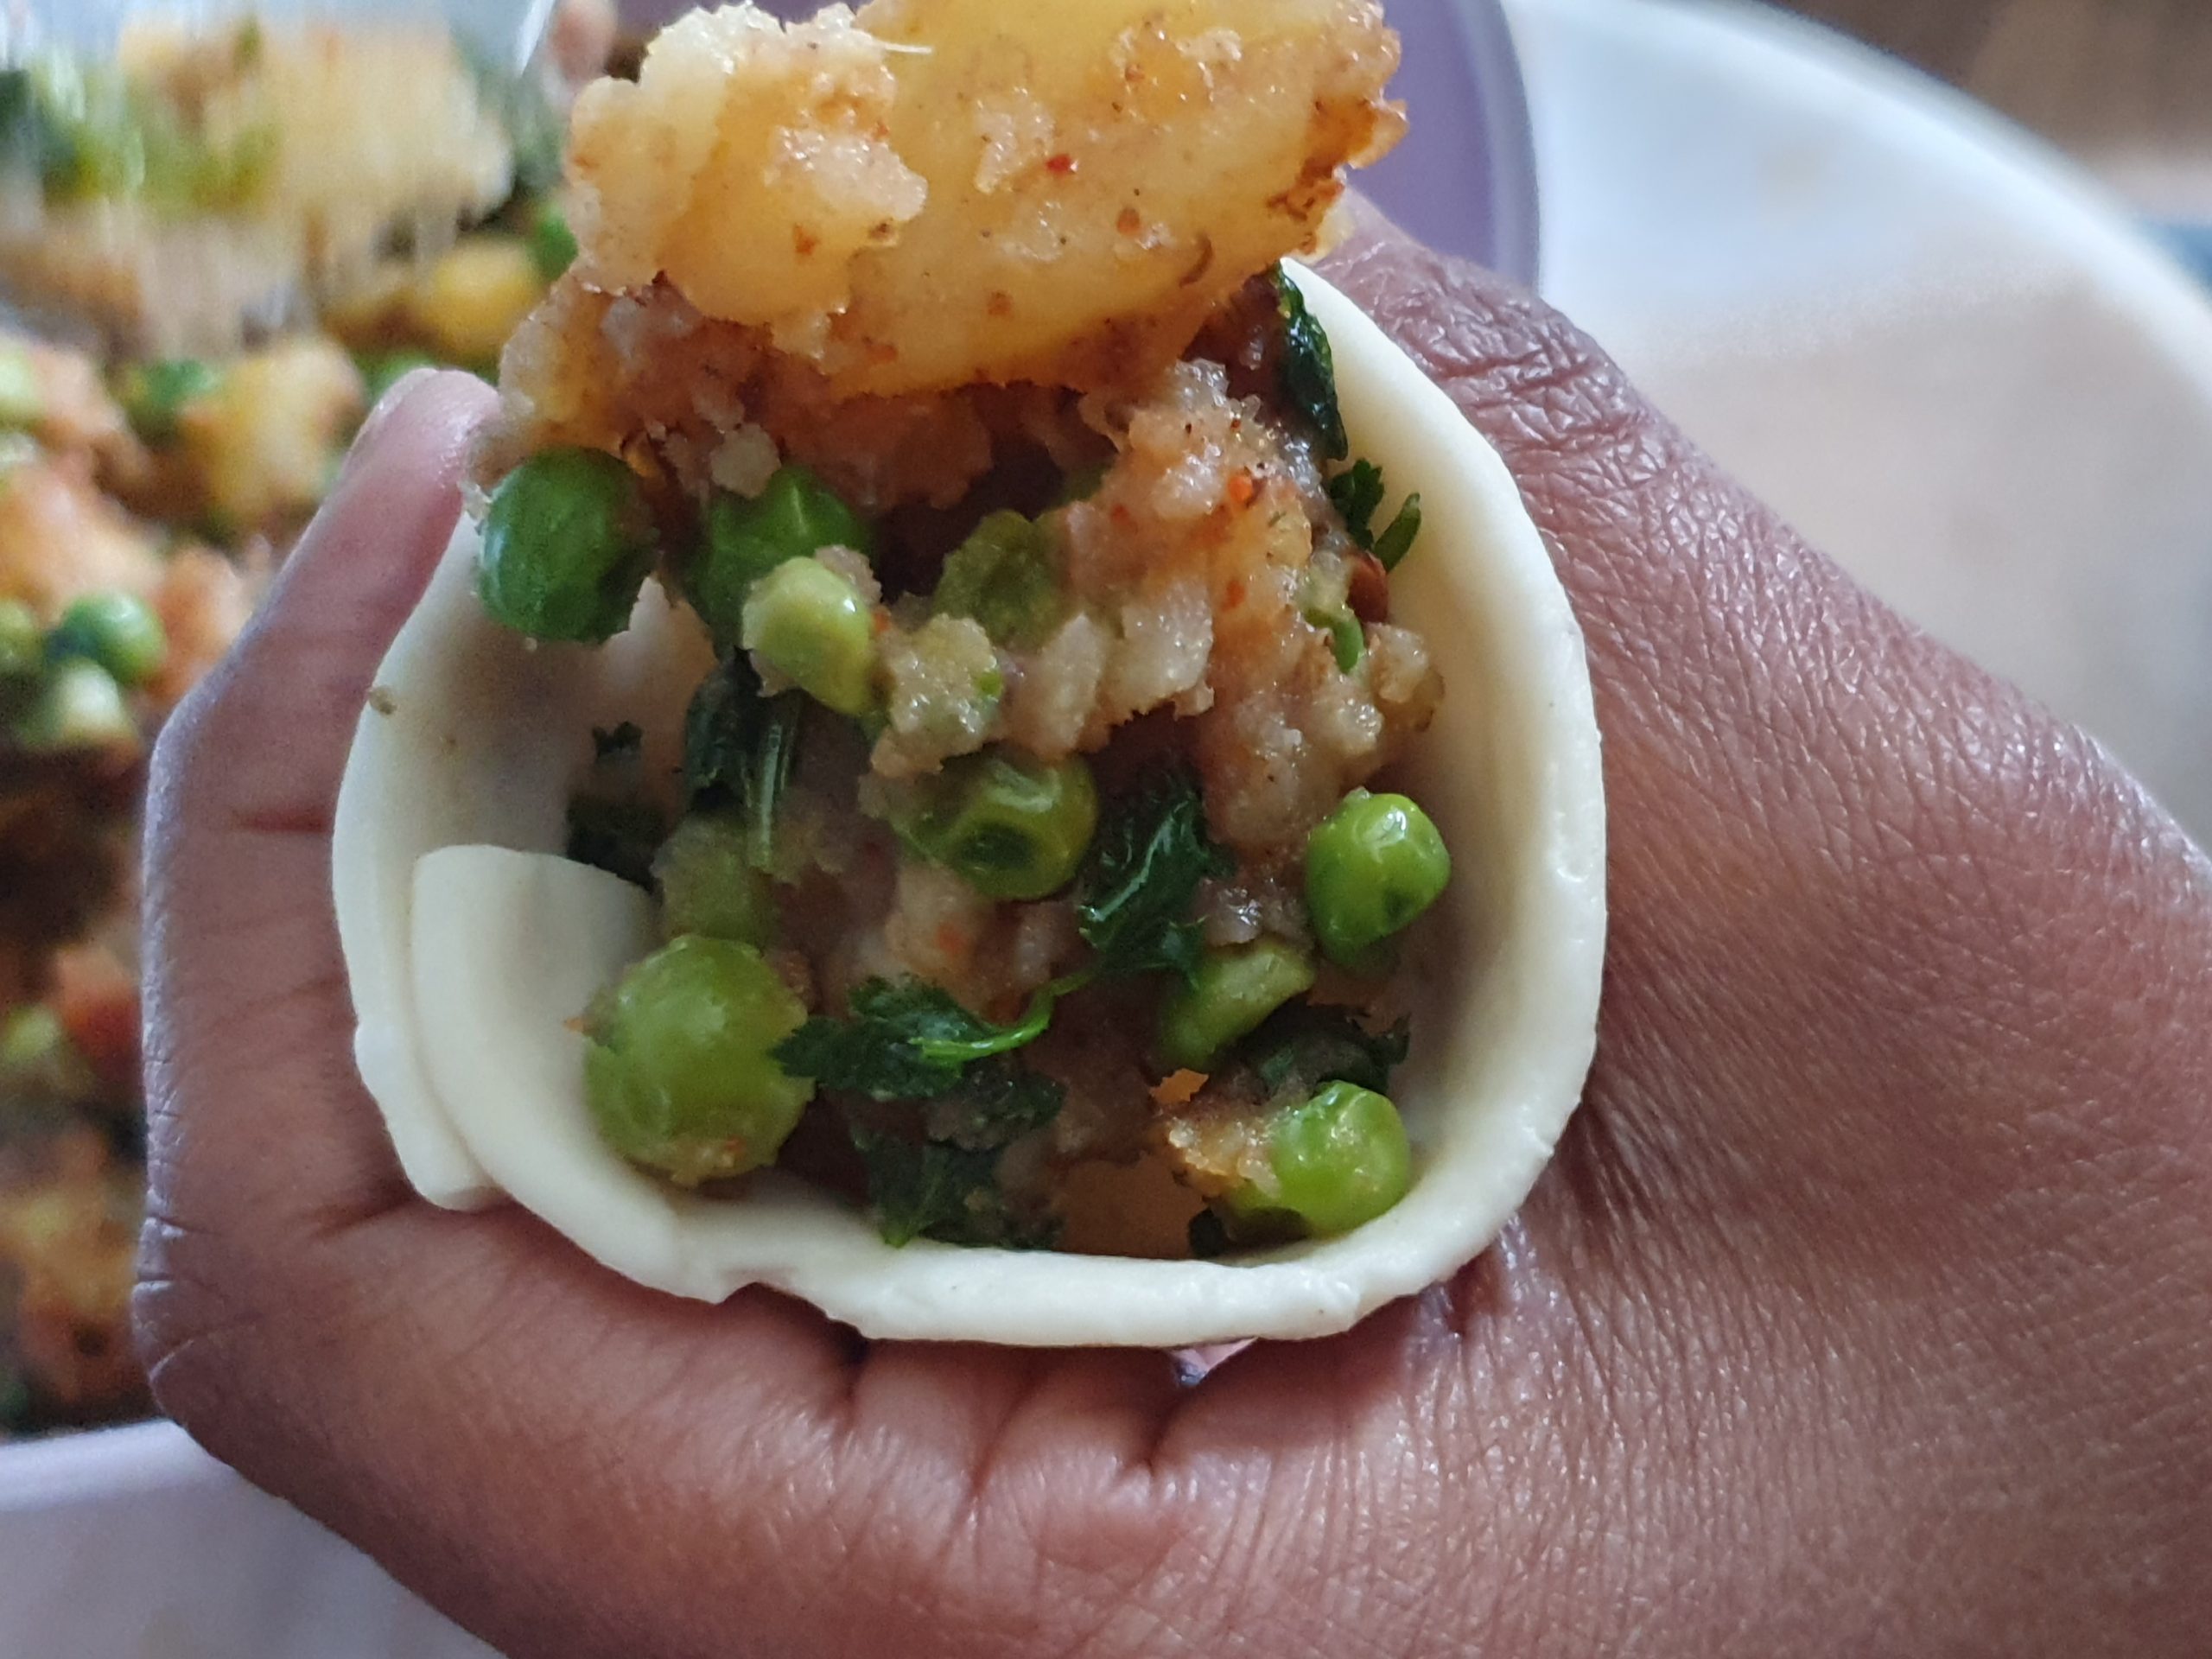
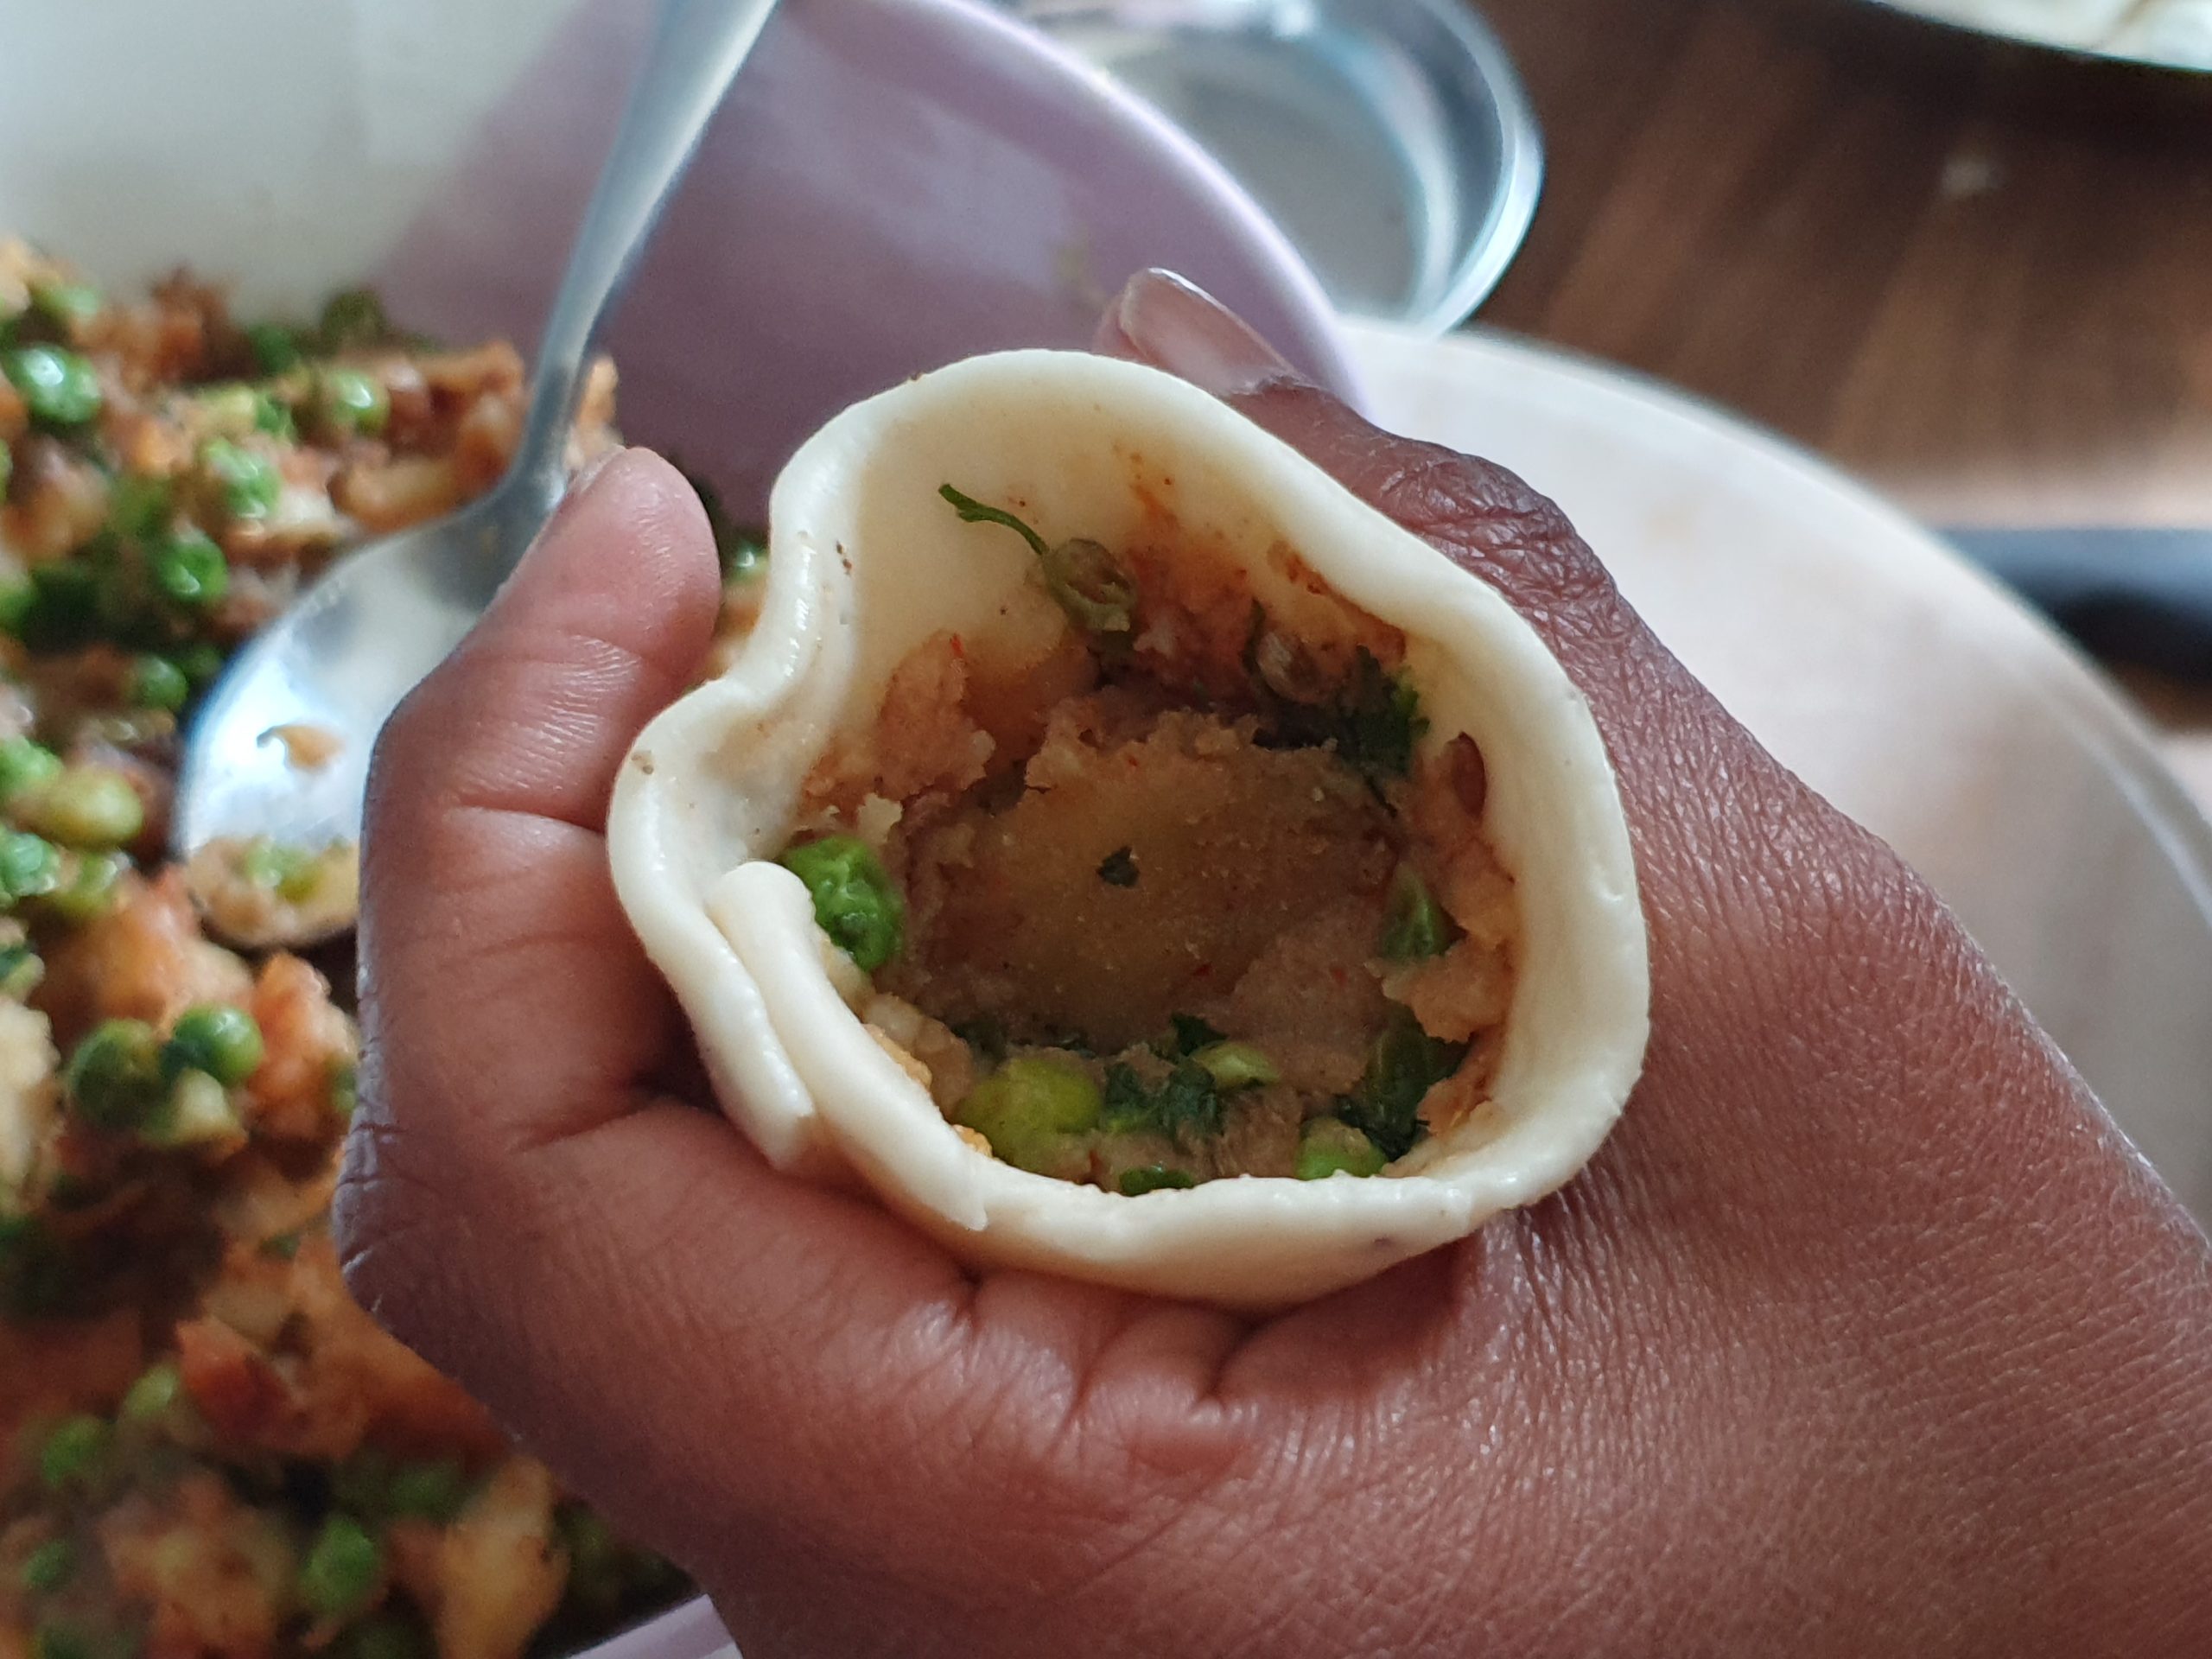
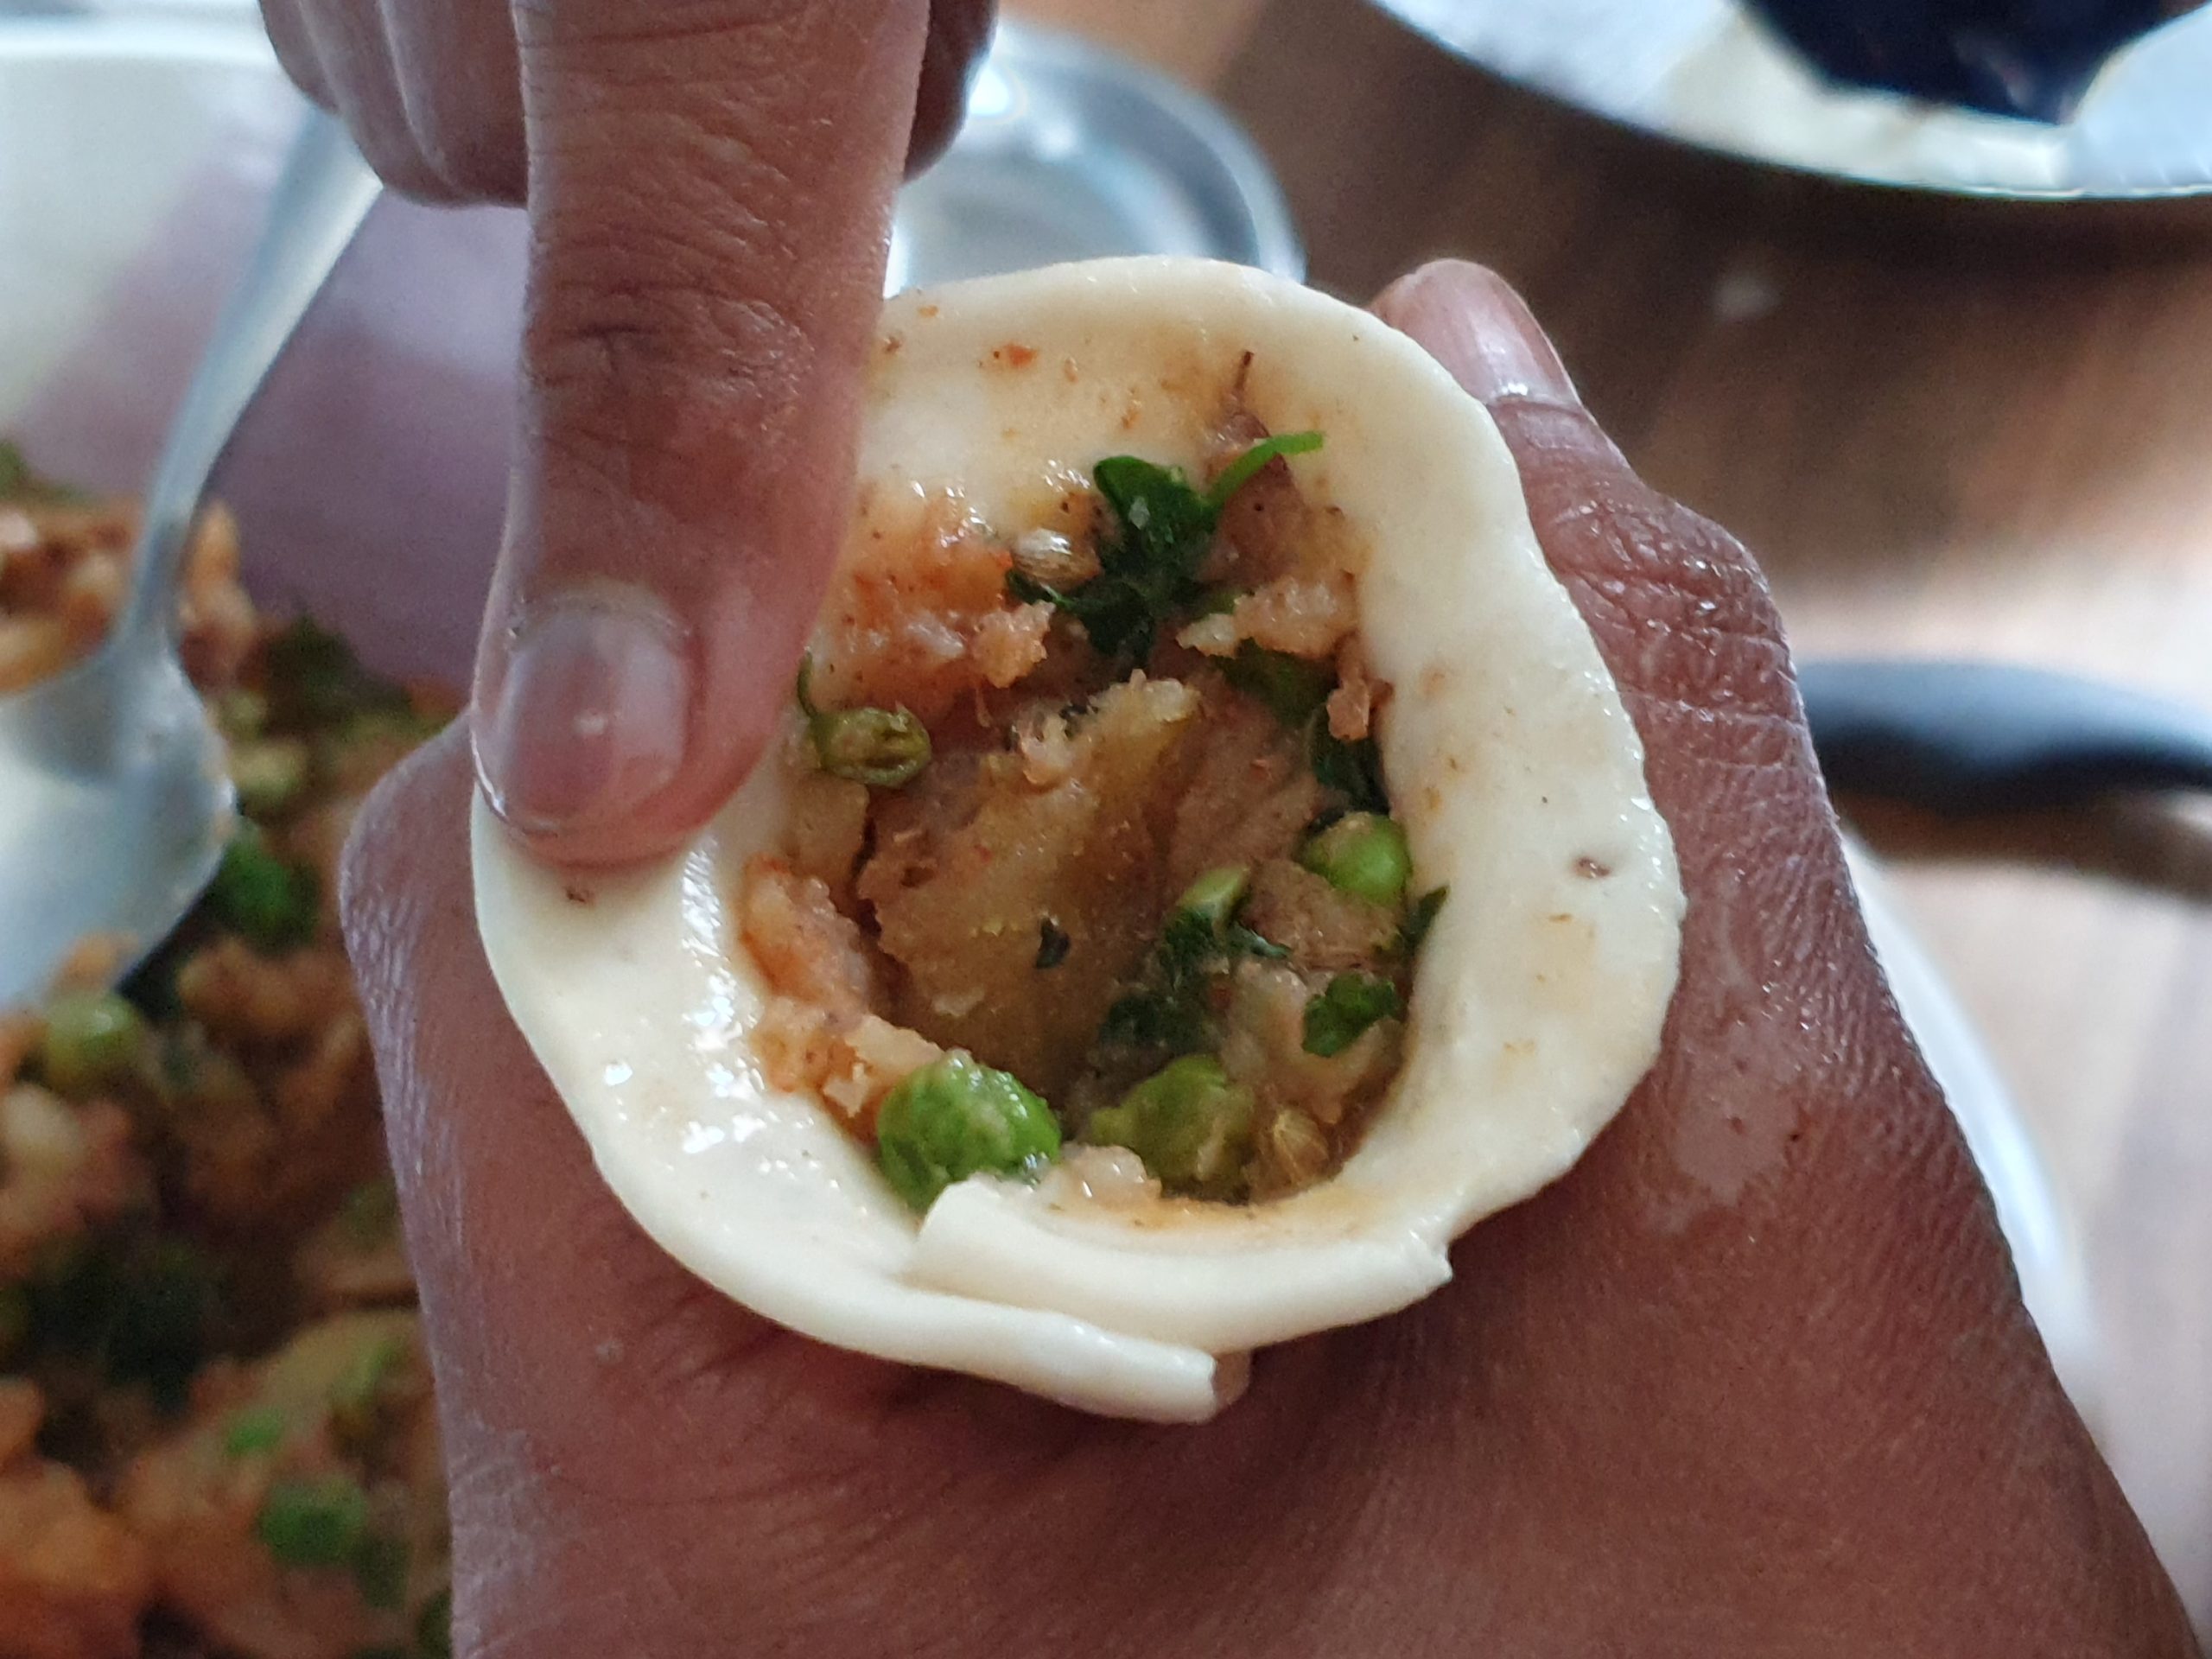
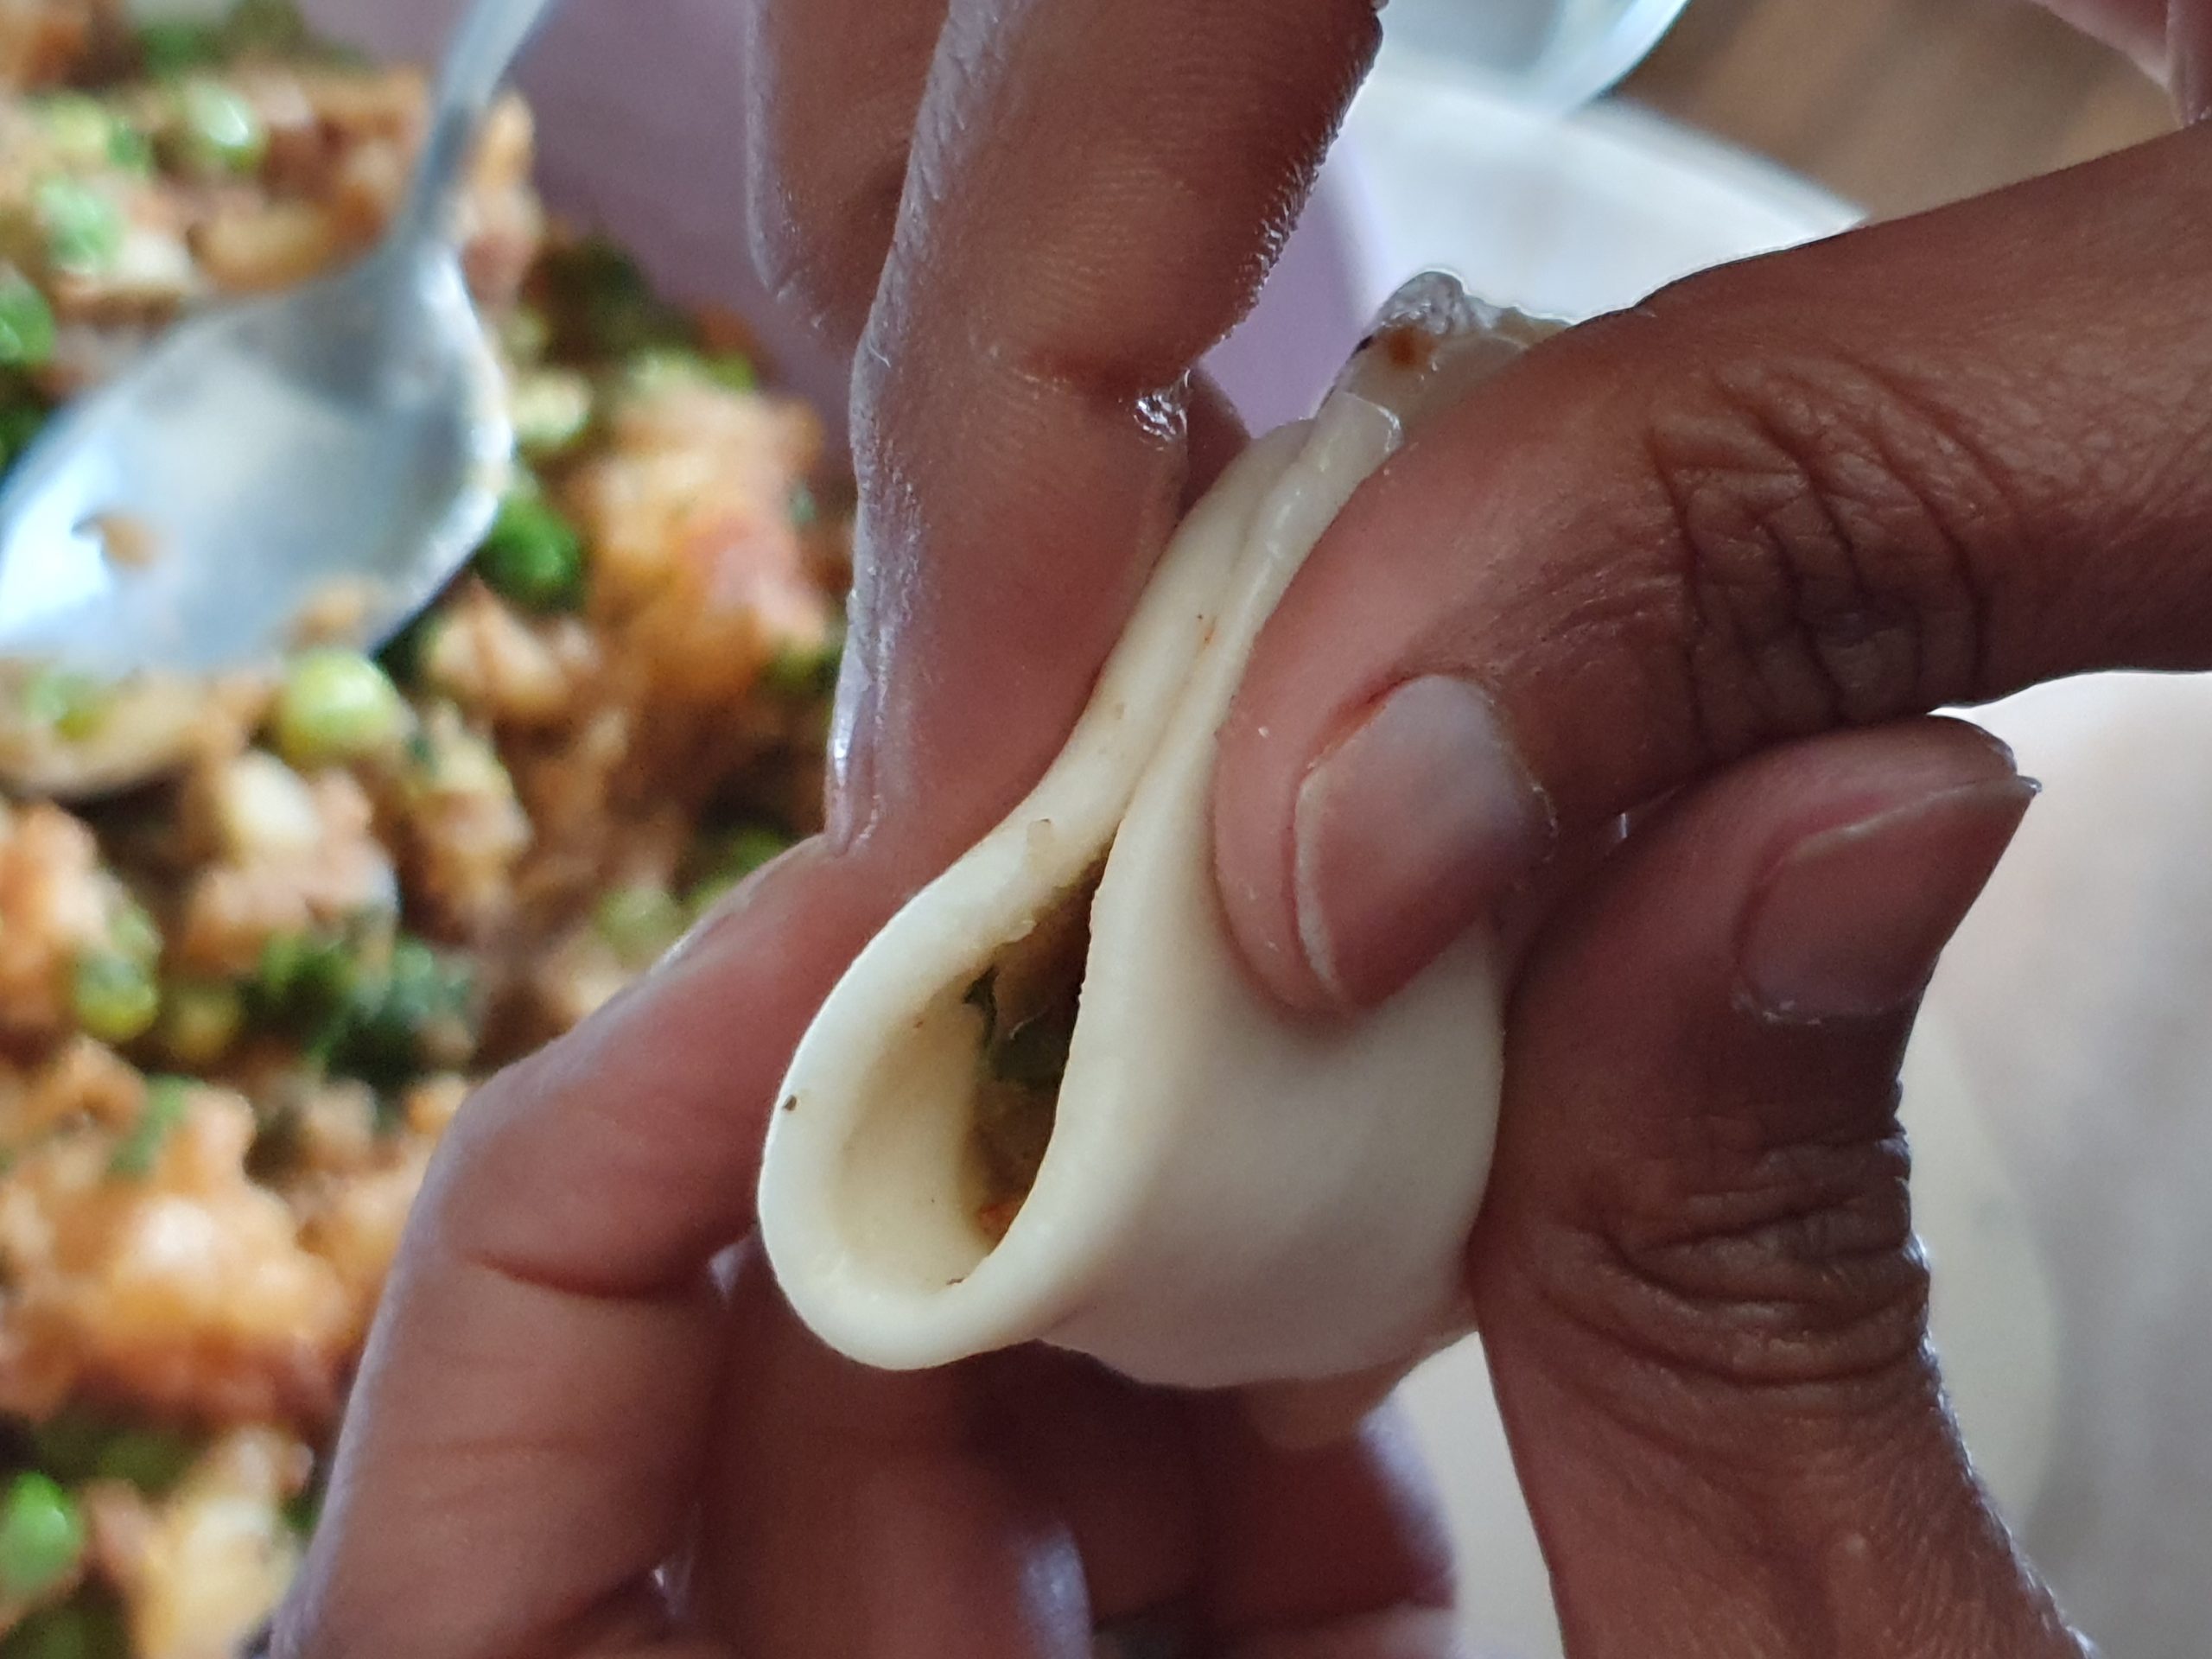

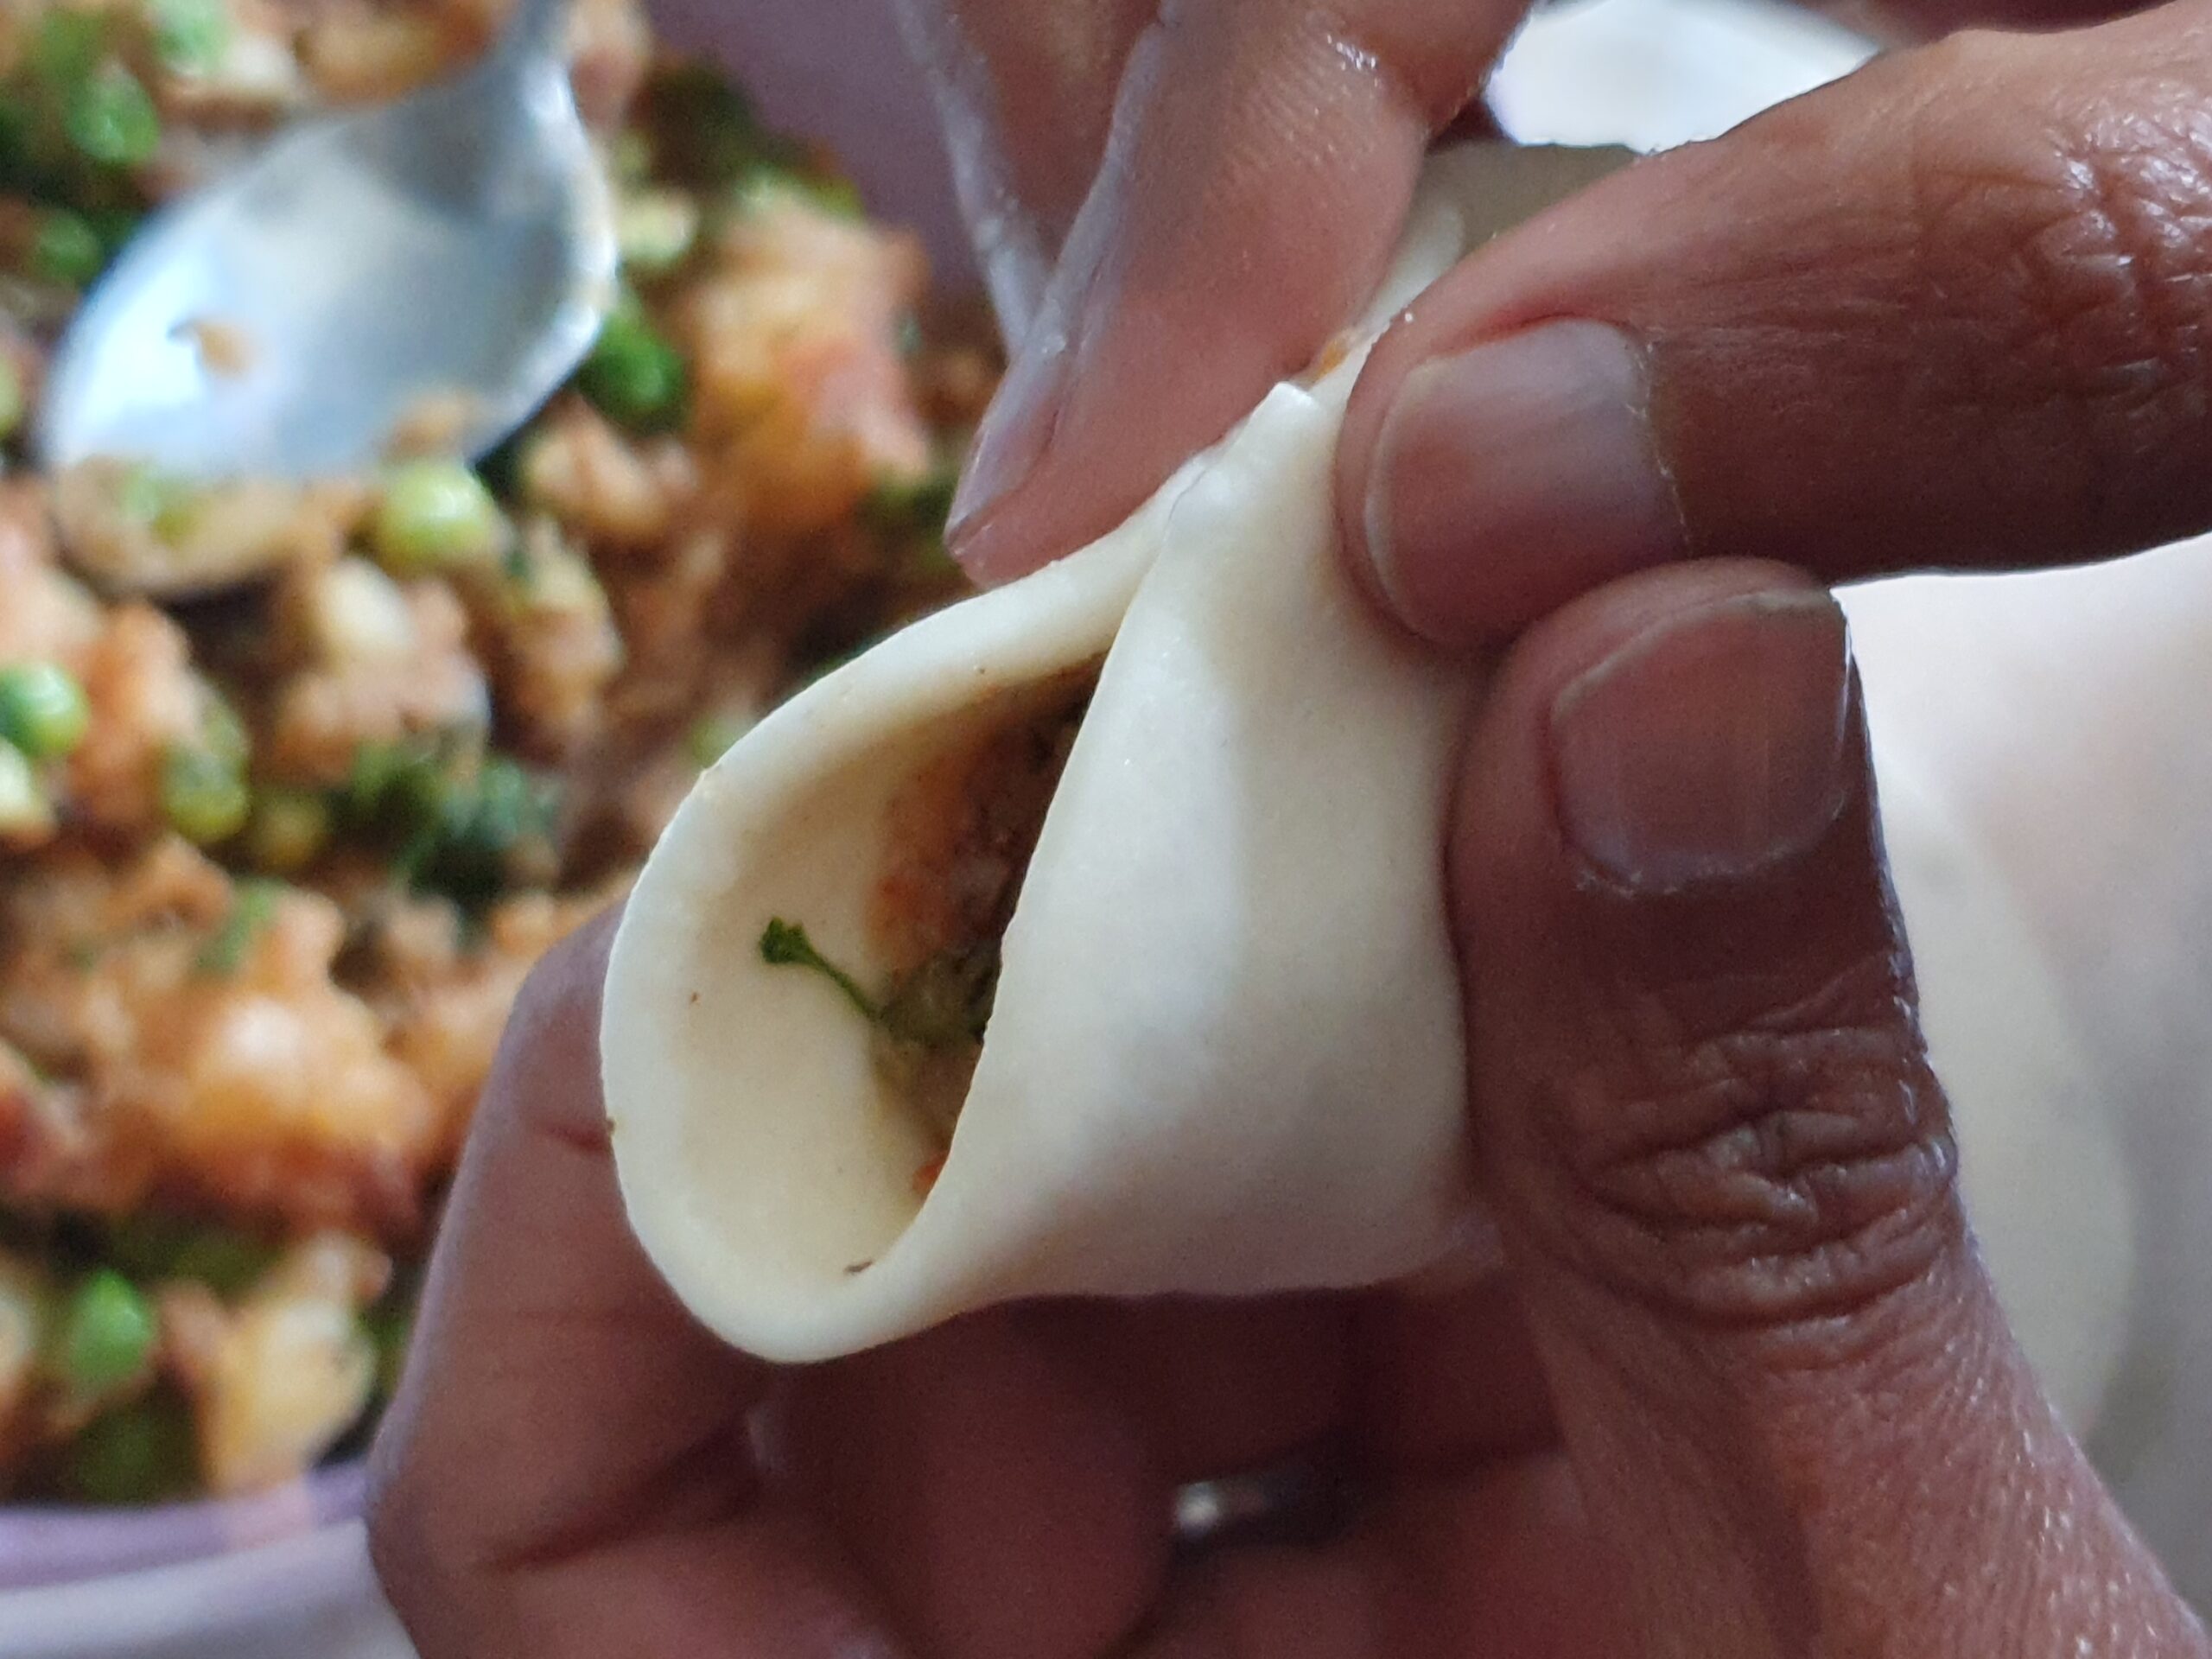
Using a spoon fill the cone with the potato filling to 2/3 of the way up. You will have to gently push the filling down to make sure that there are no gaps.
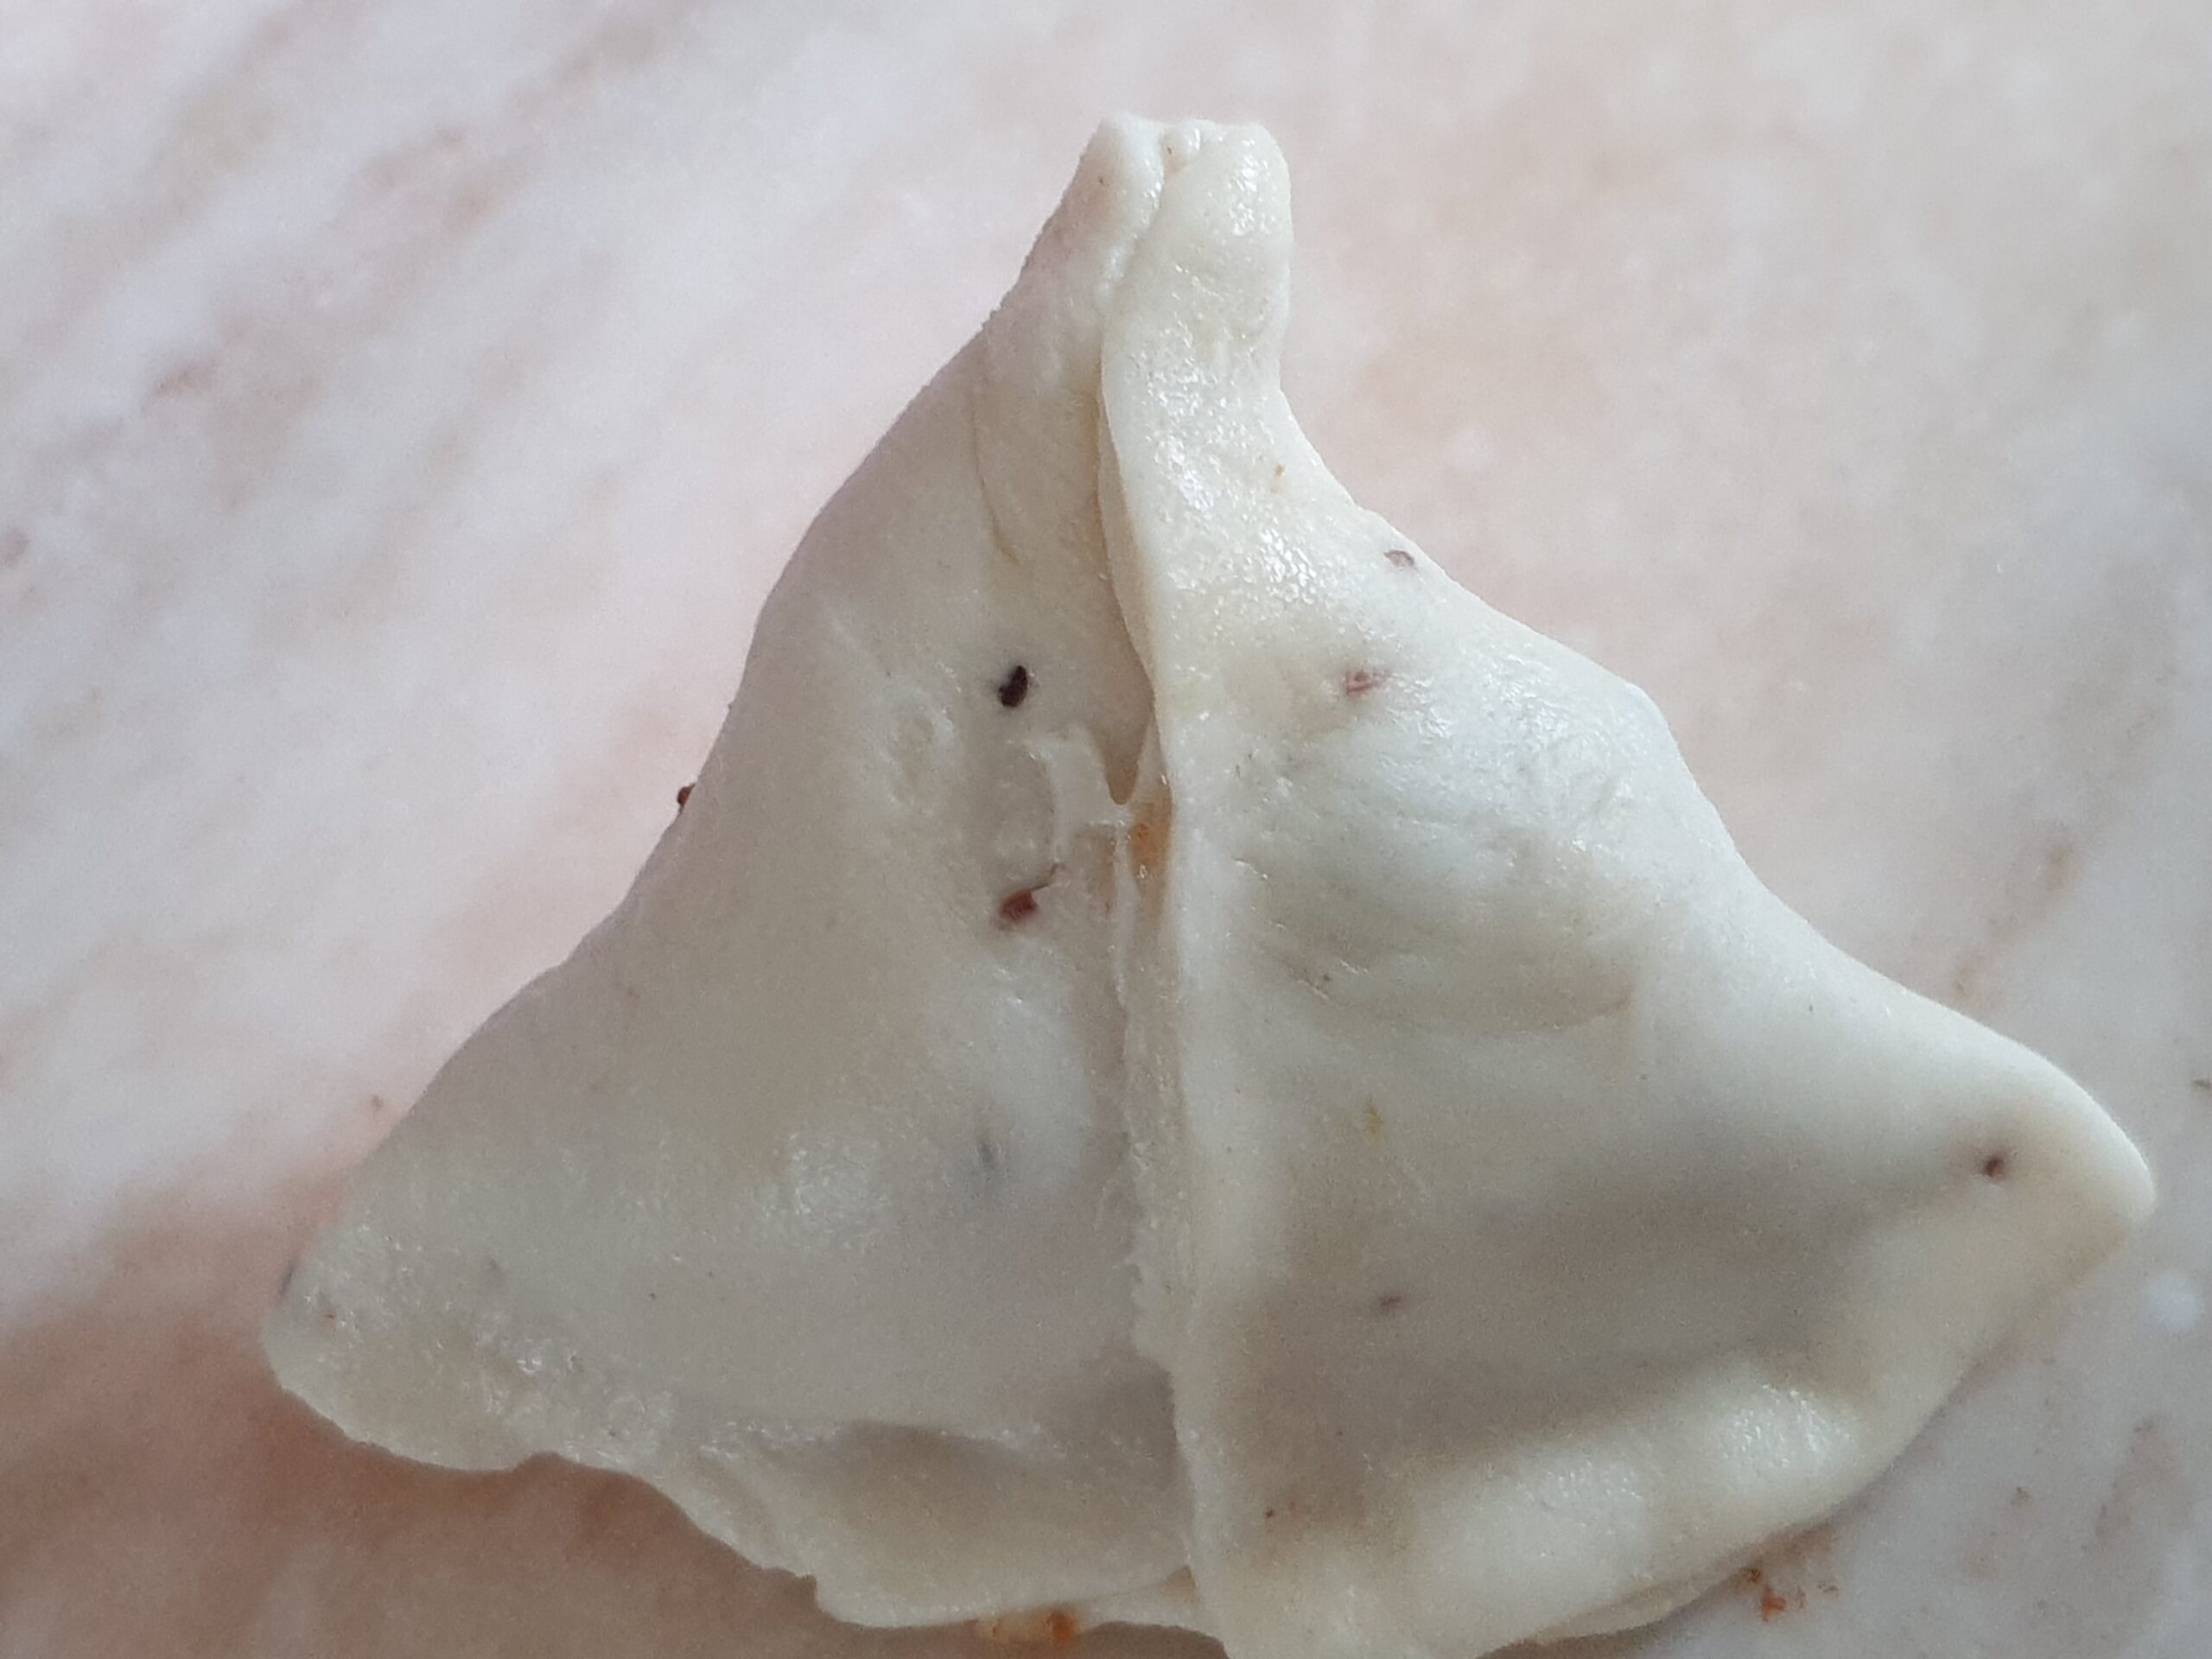
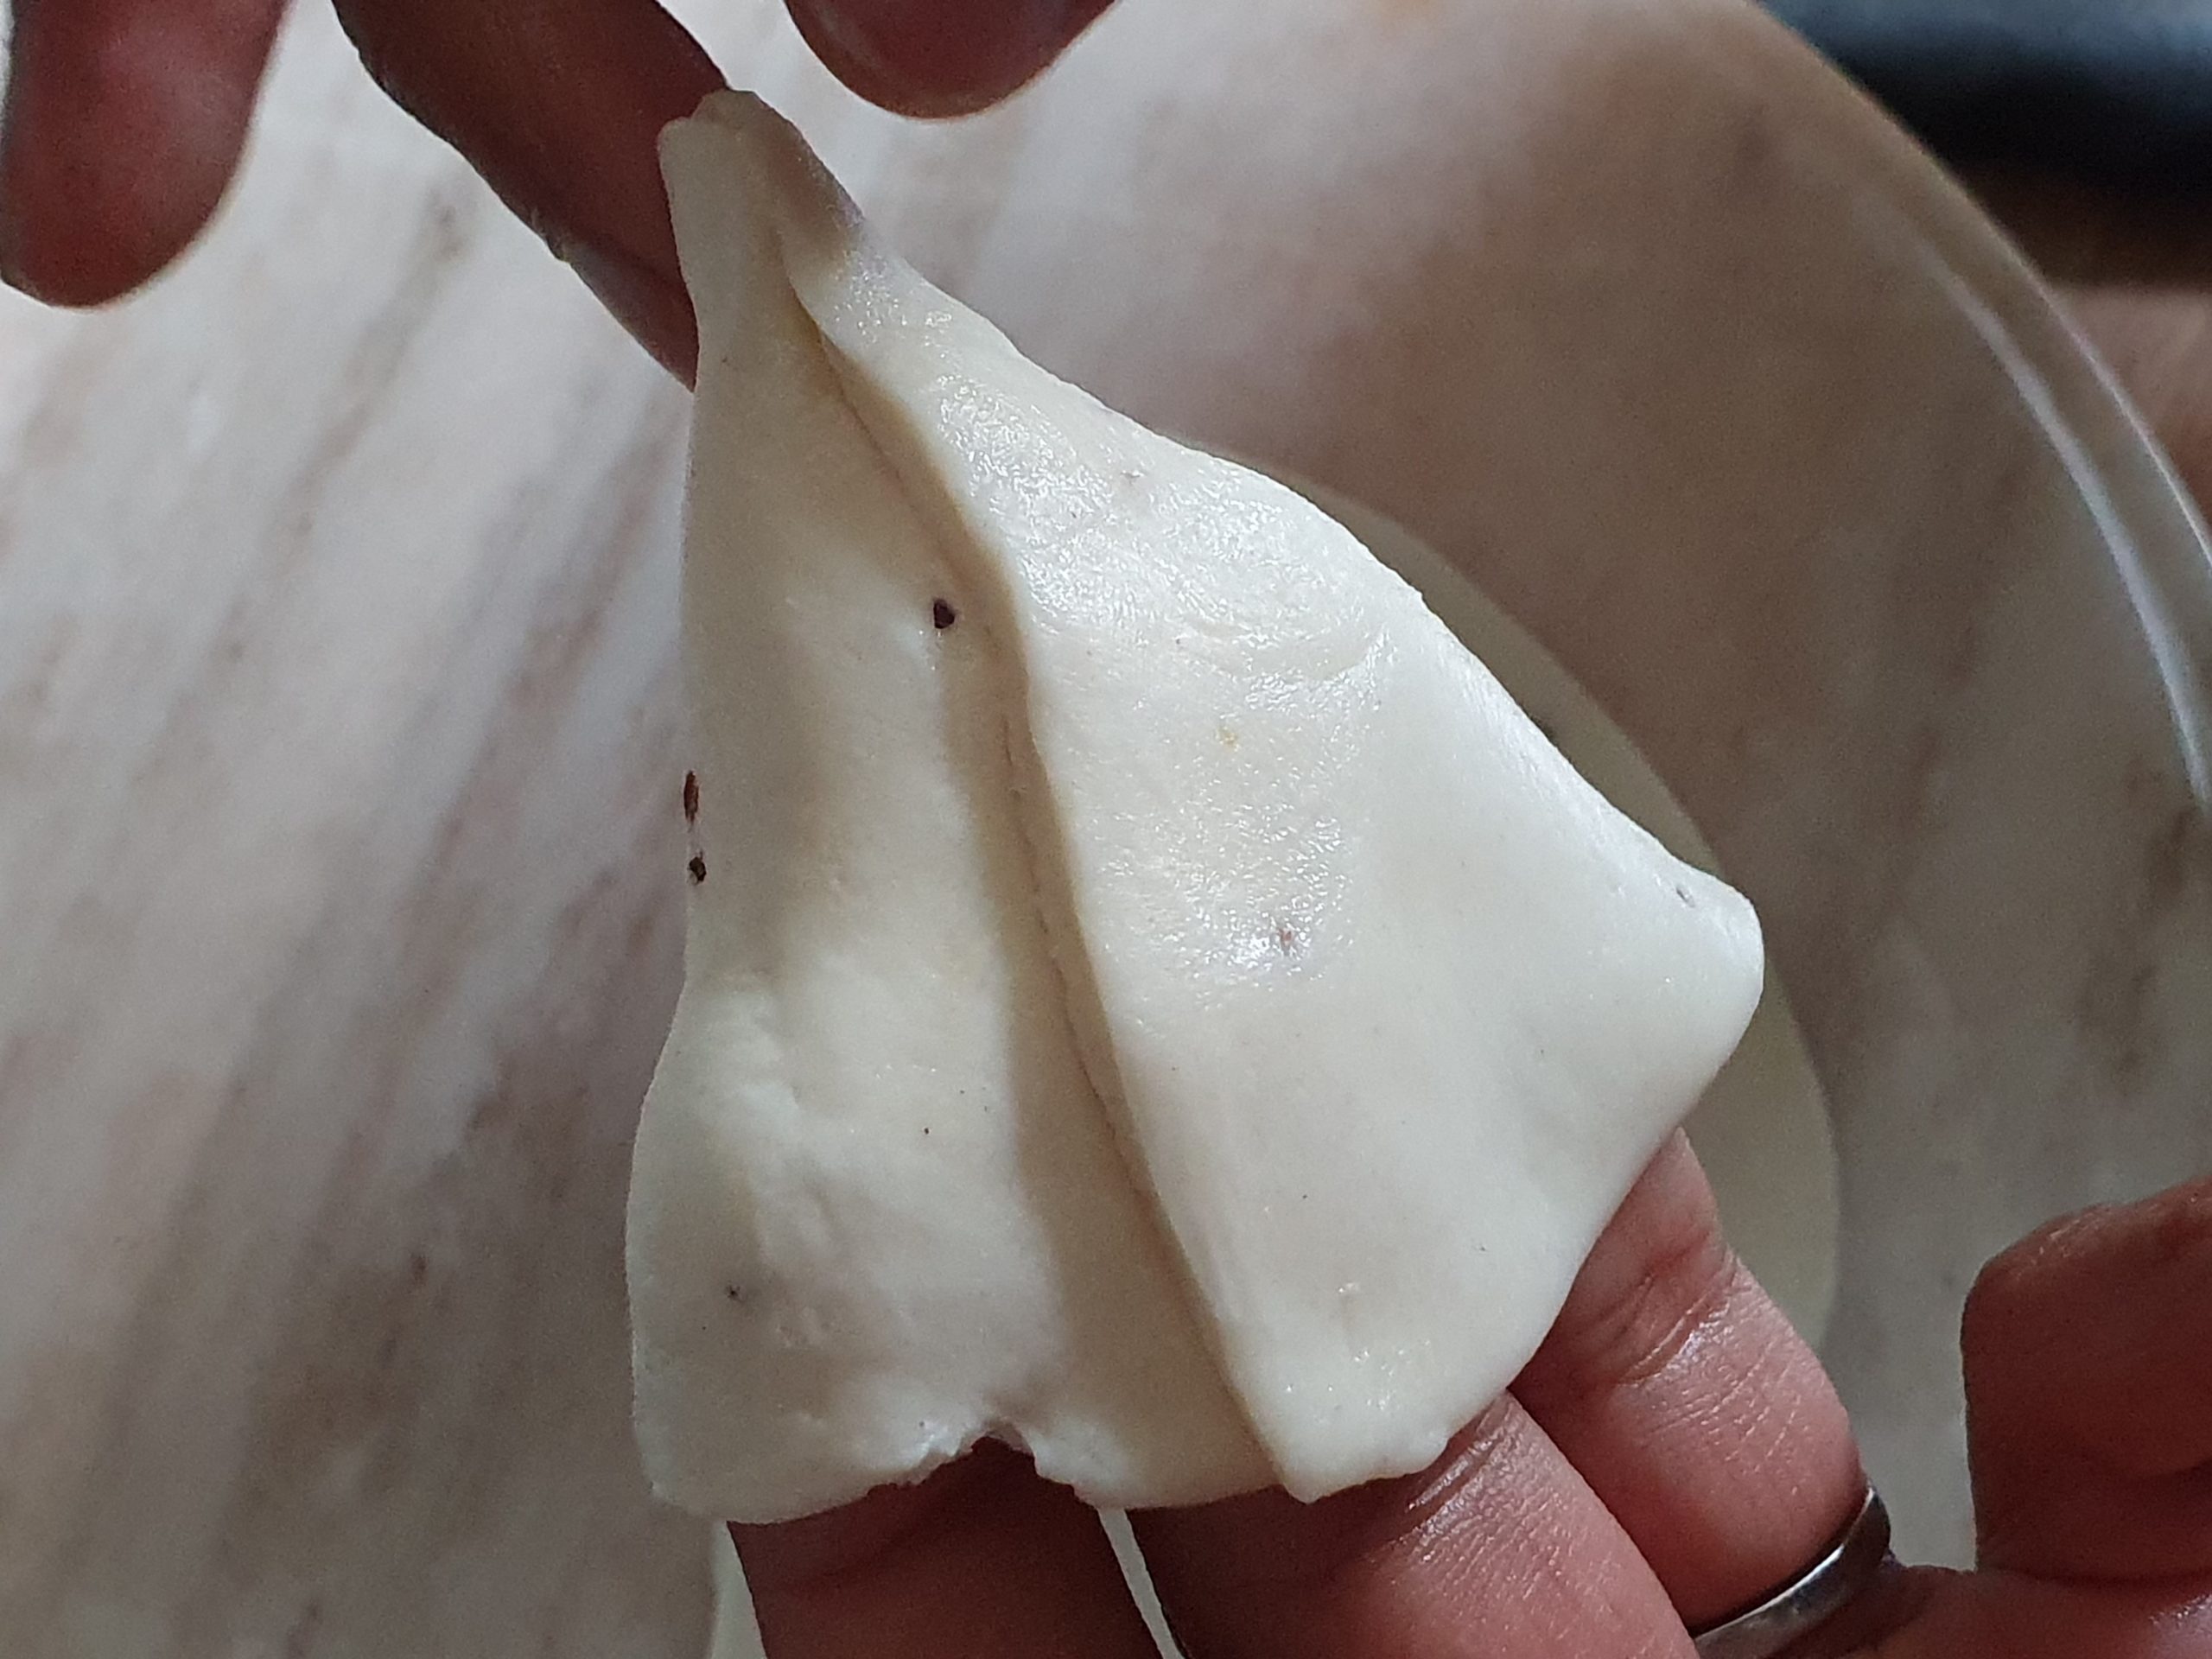
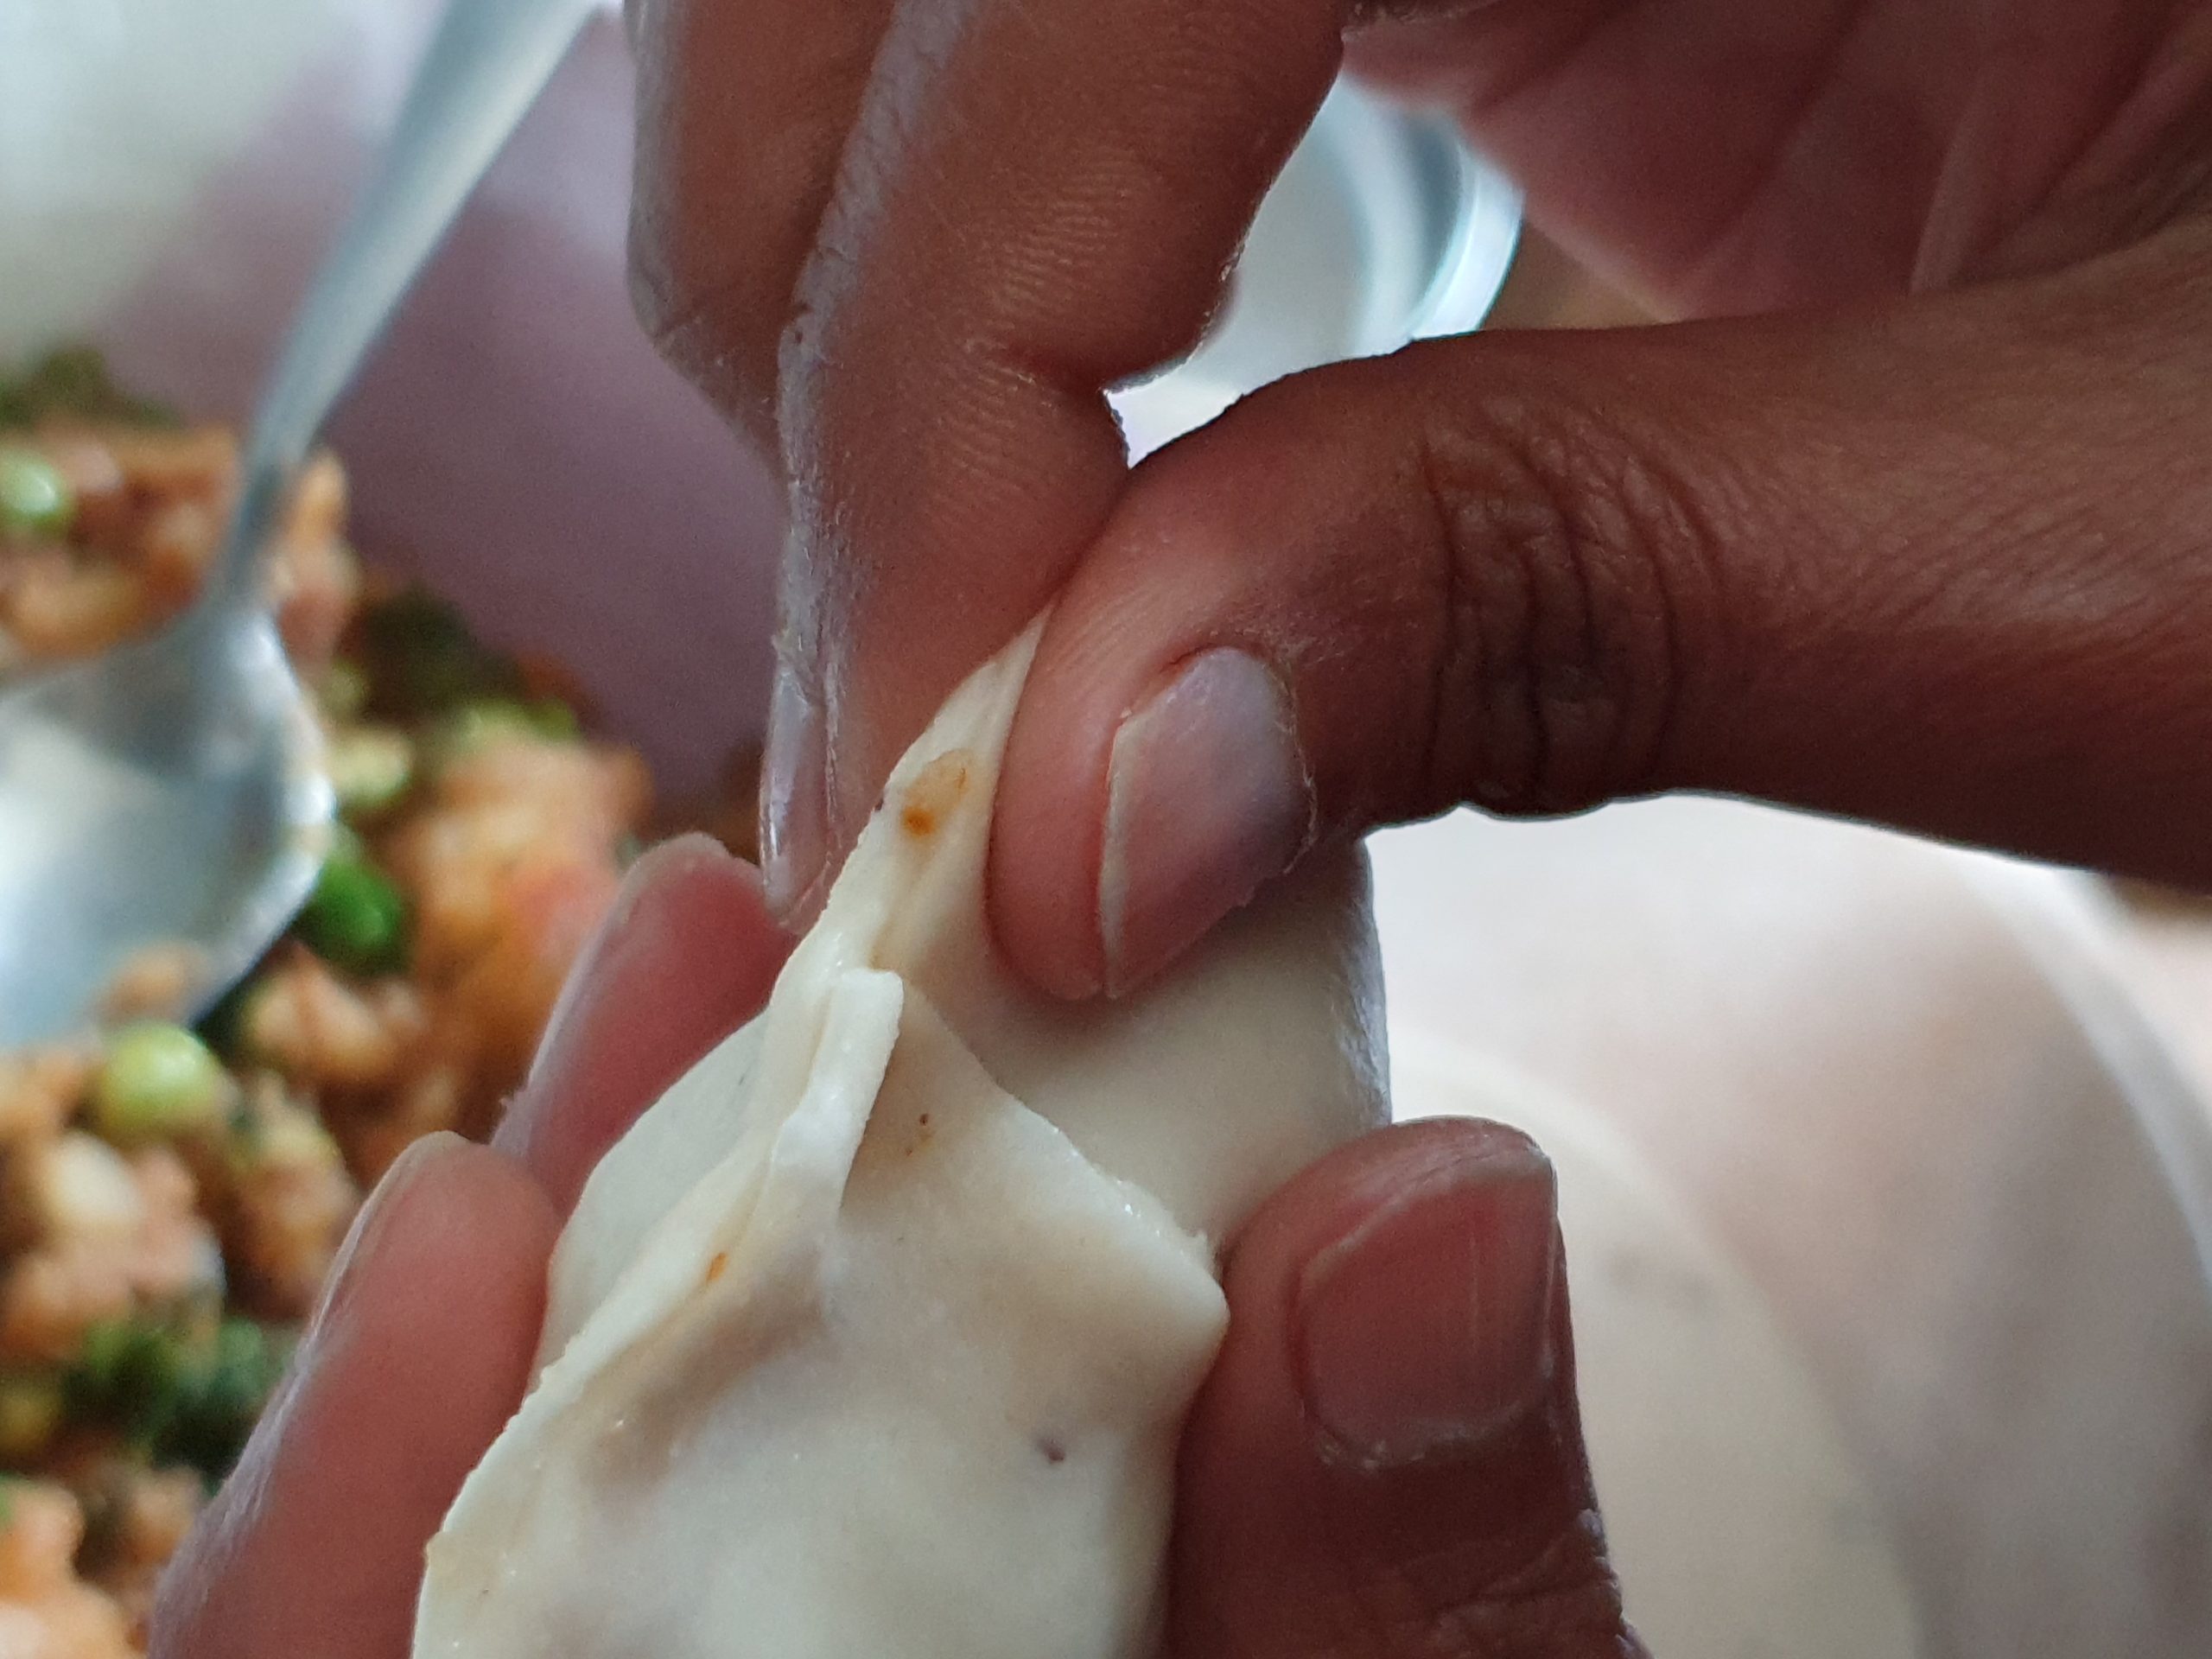
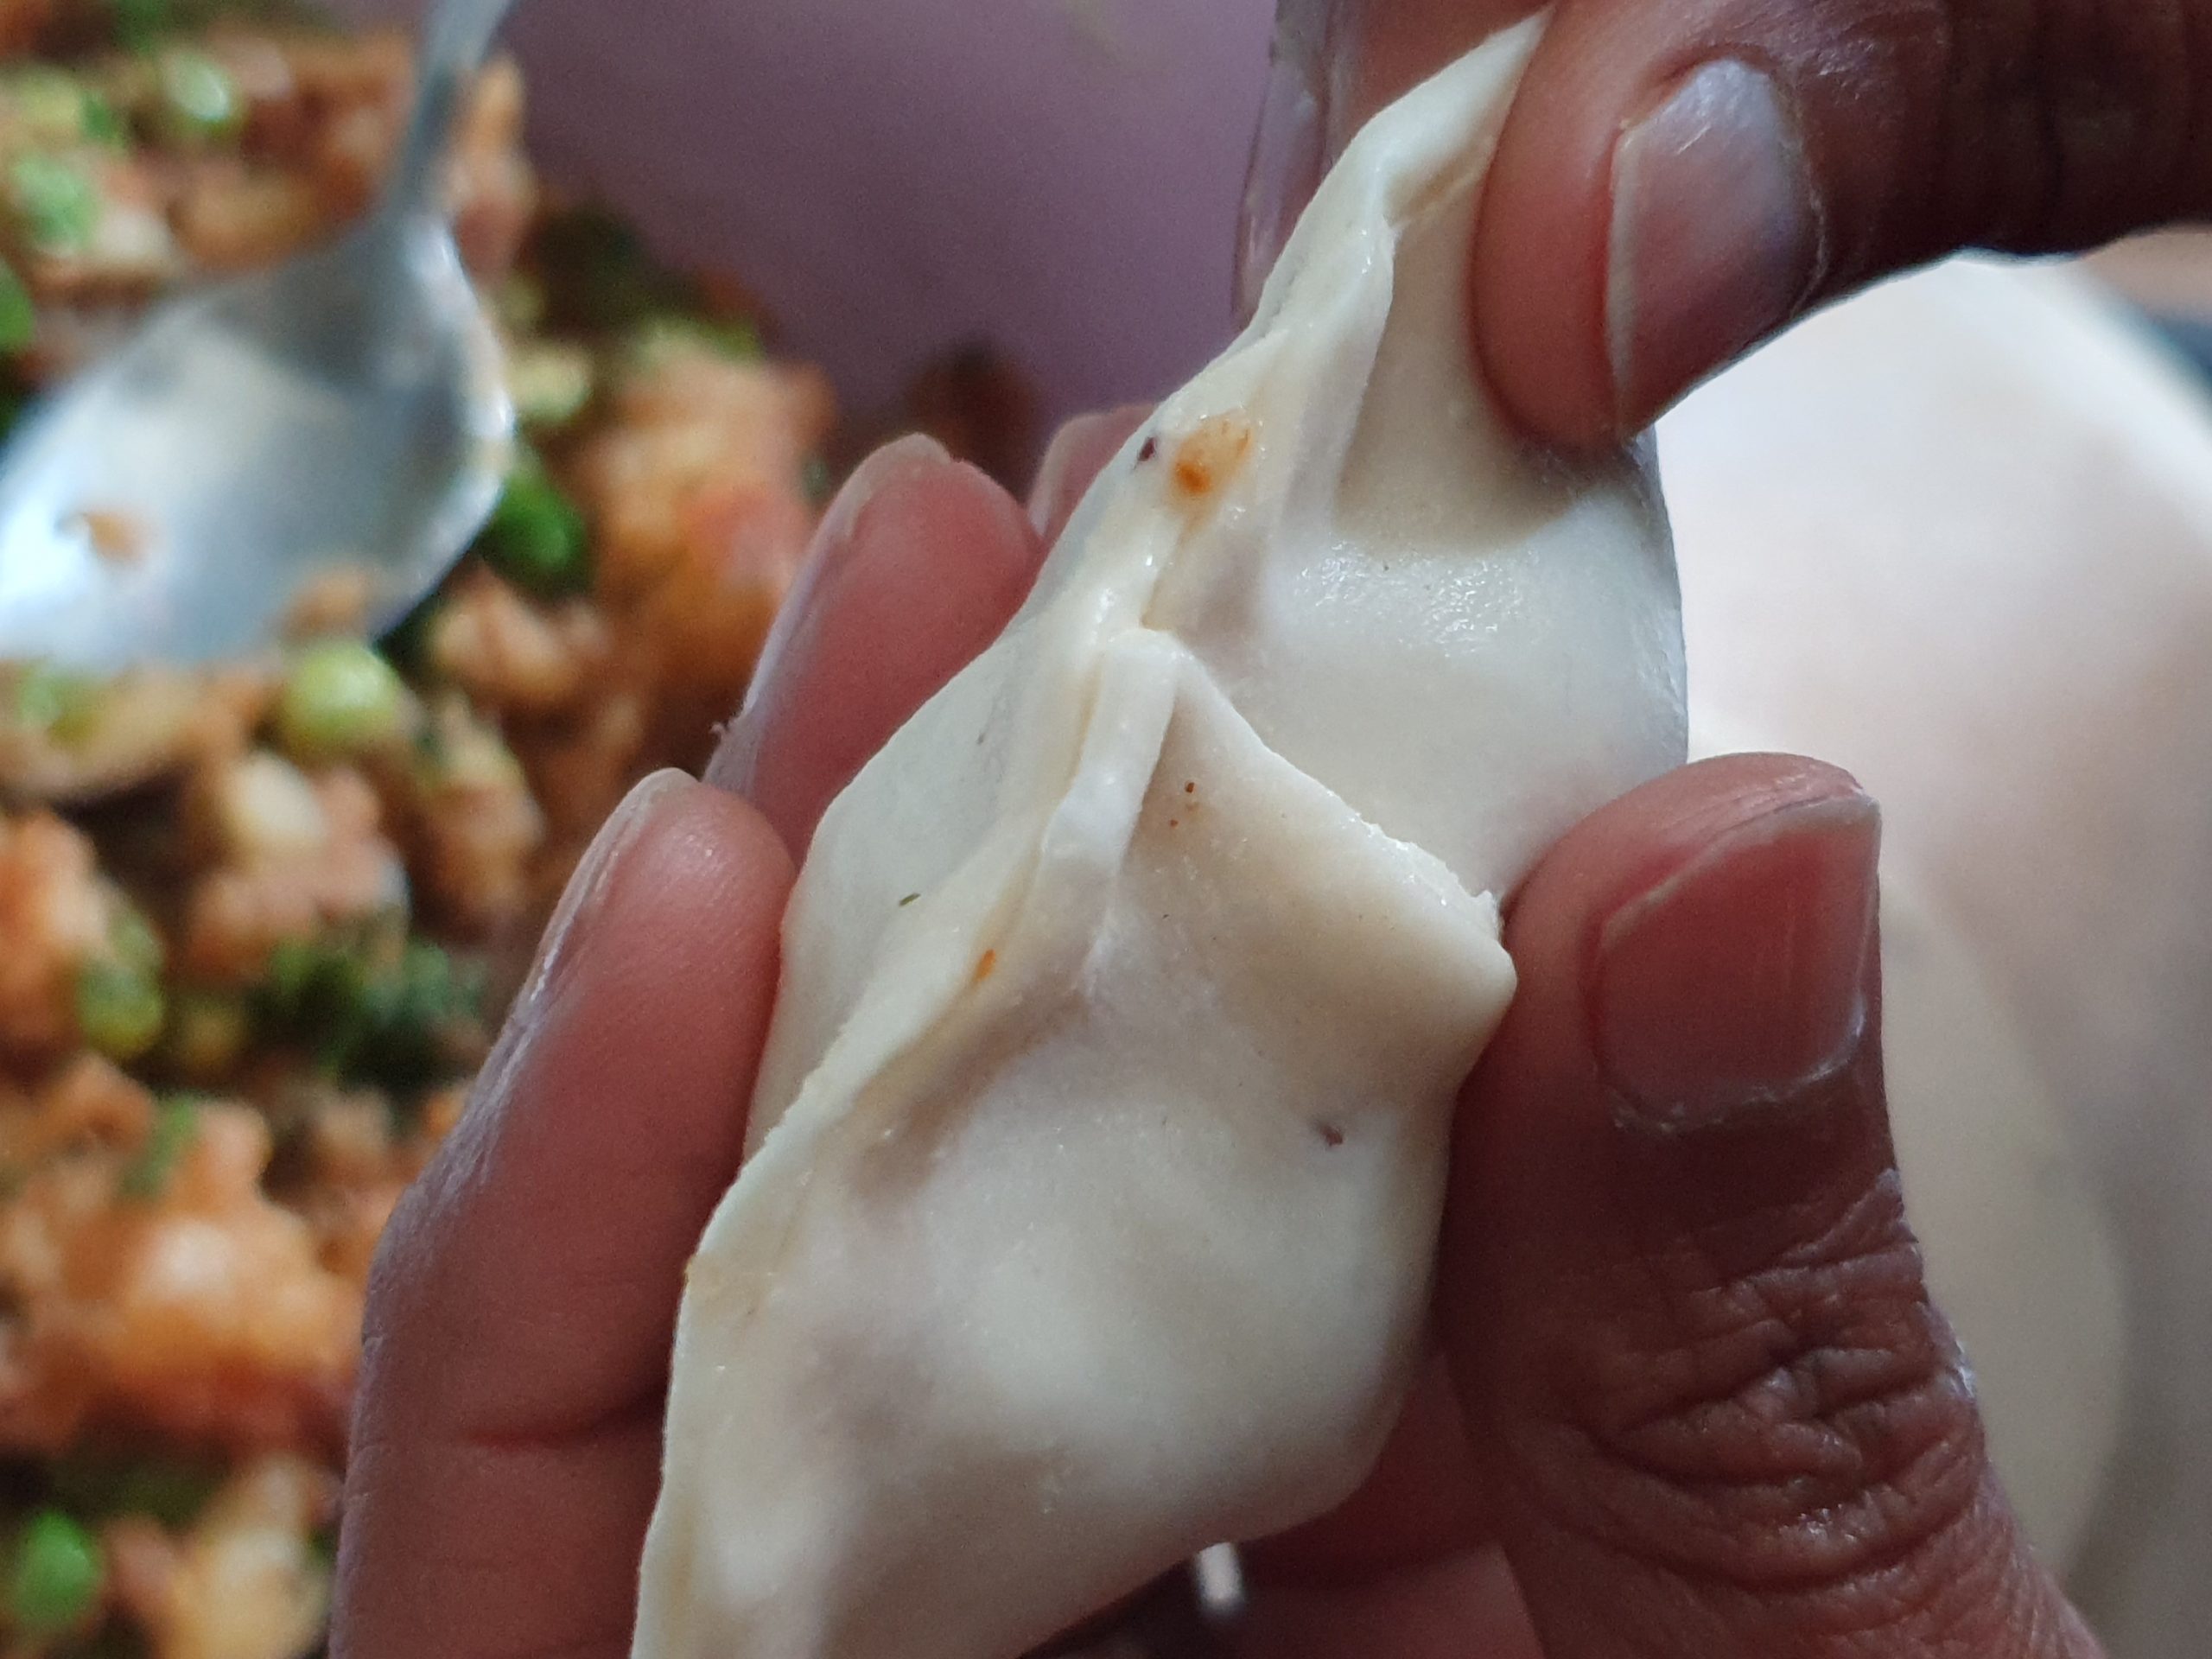
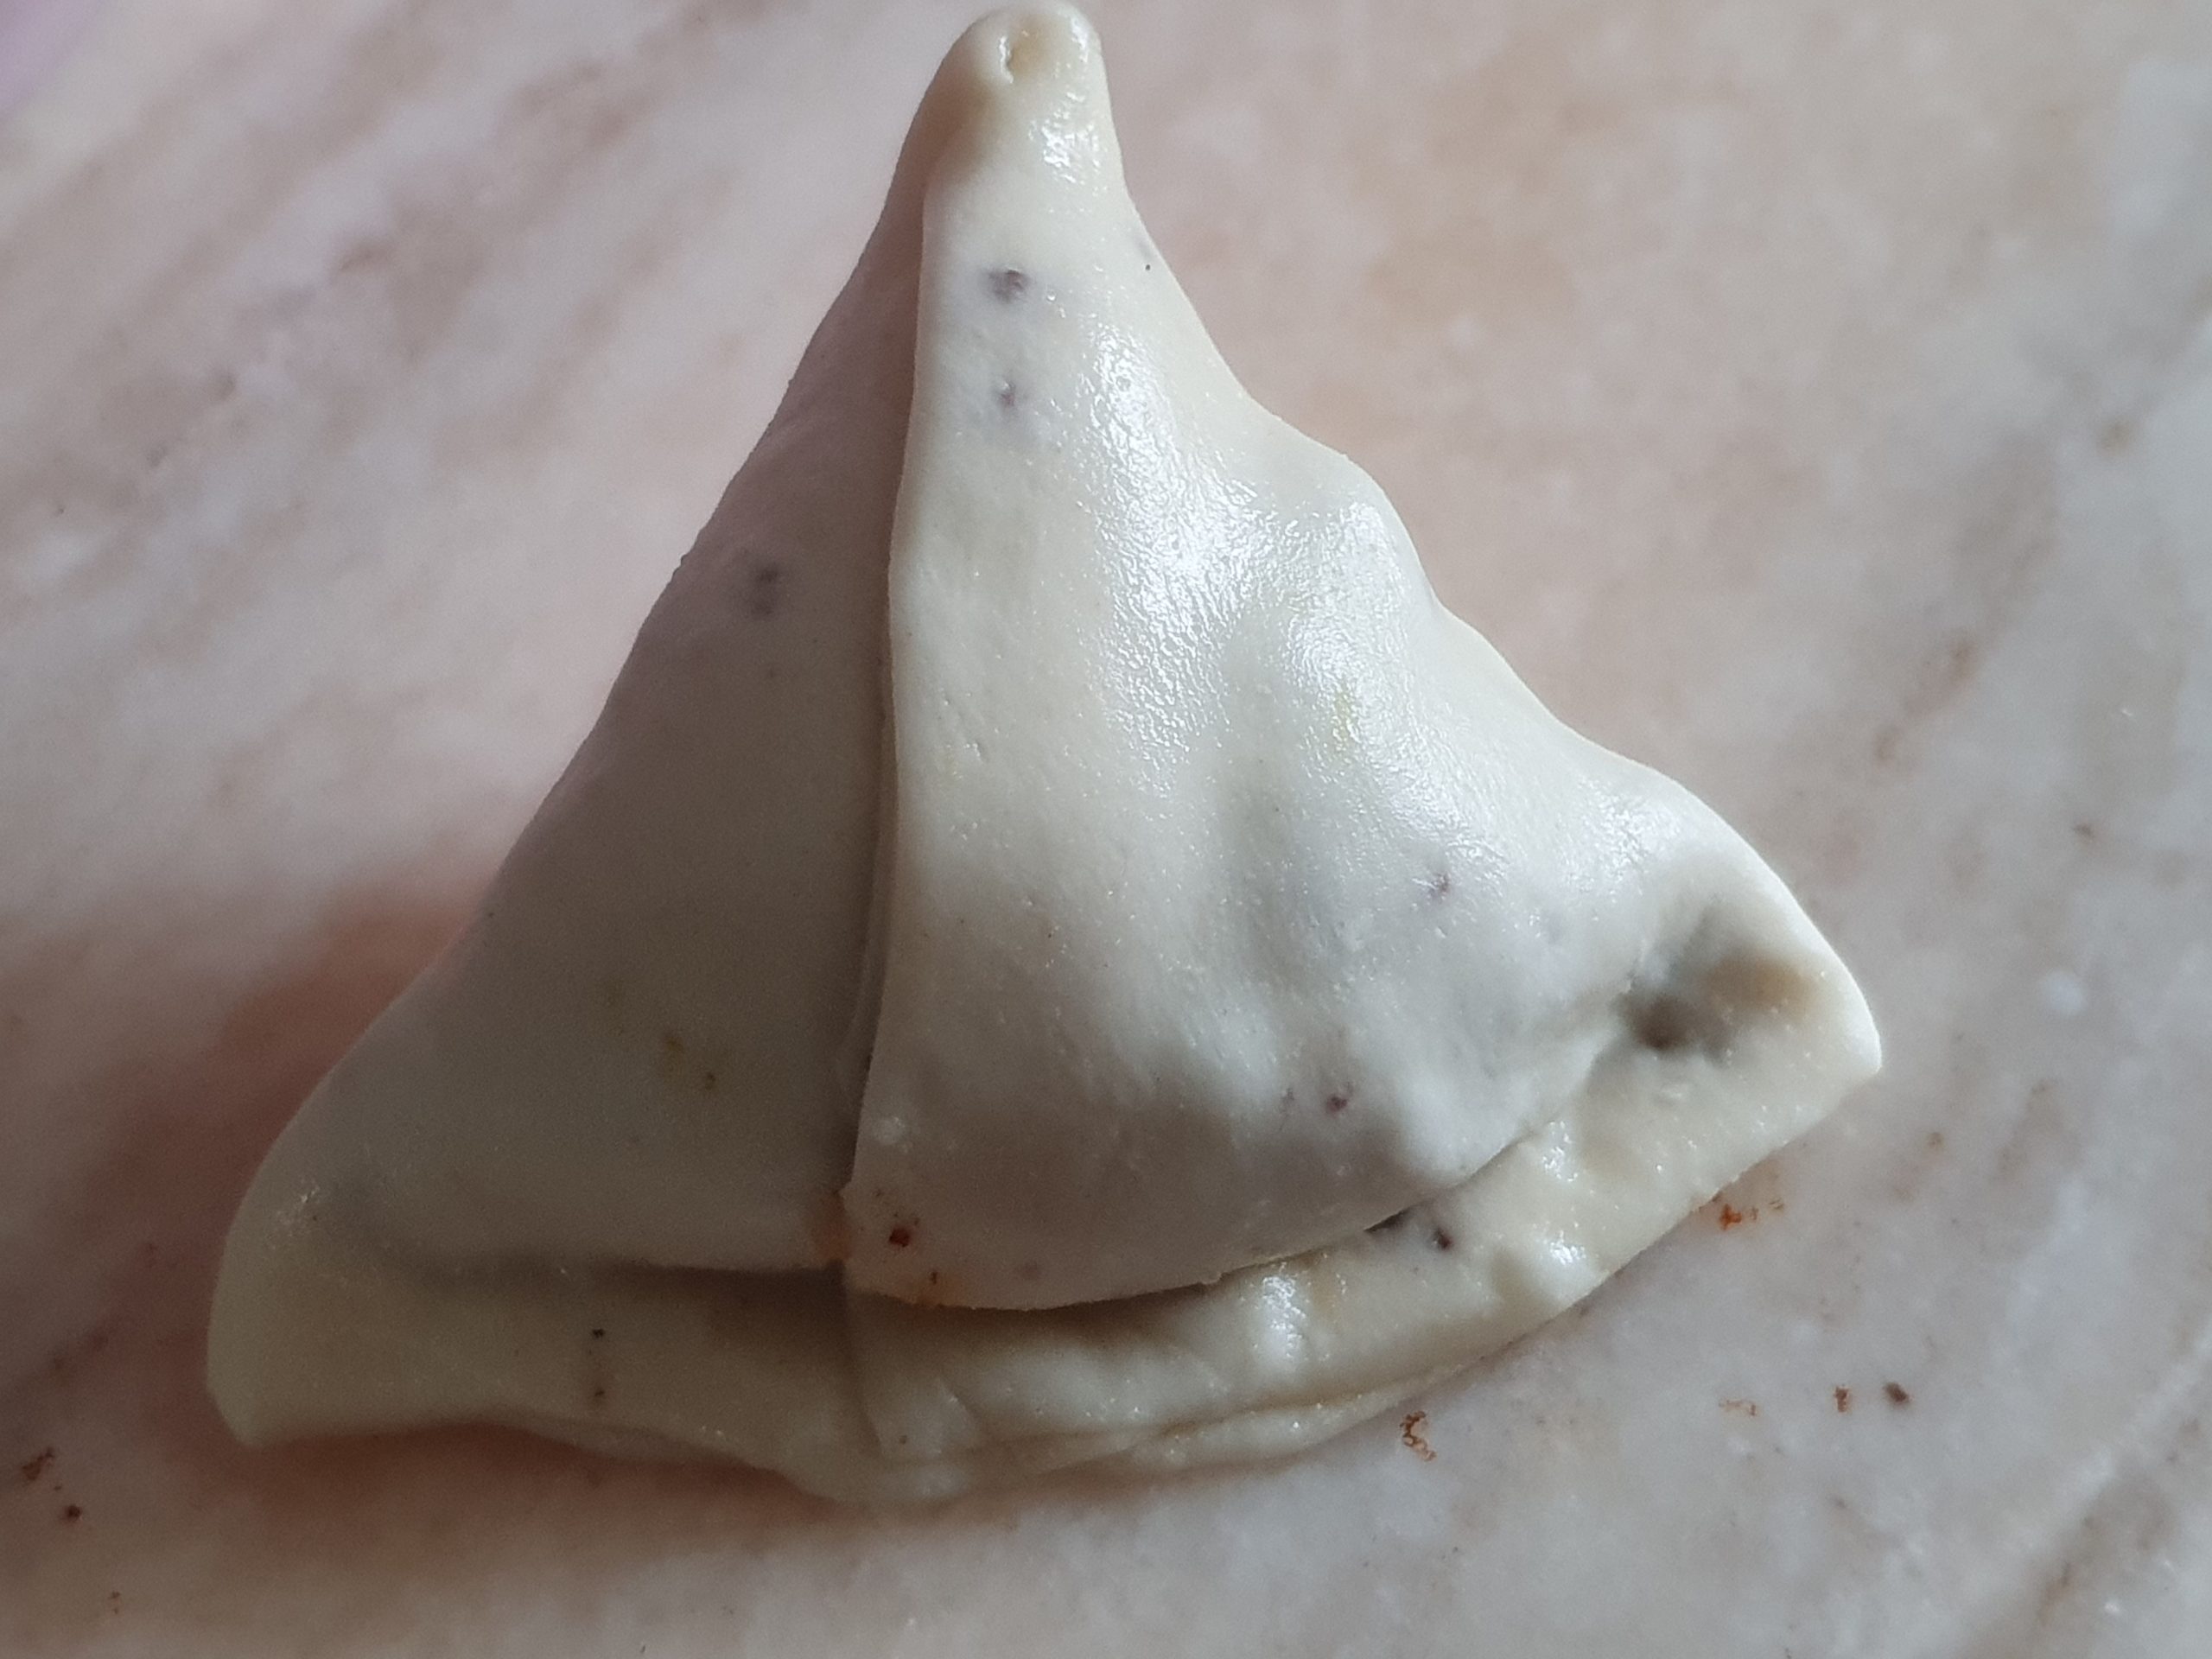
Now again apply water all around the circumference of the cone. Pinch the two ends together to seal creating a triangle shape.
Repeat with the remaining dough until all your samosas are made. Always remember to keep the filled samosas covered with moist cloth while you roll and fill the others.
Once I have rolled 2 samosas, I put the oil to heat for frying (saves times as I can continue to shape samosas while the oil is heating).
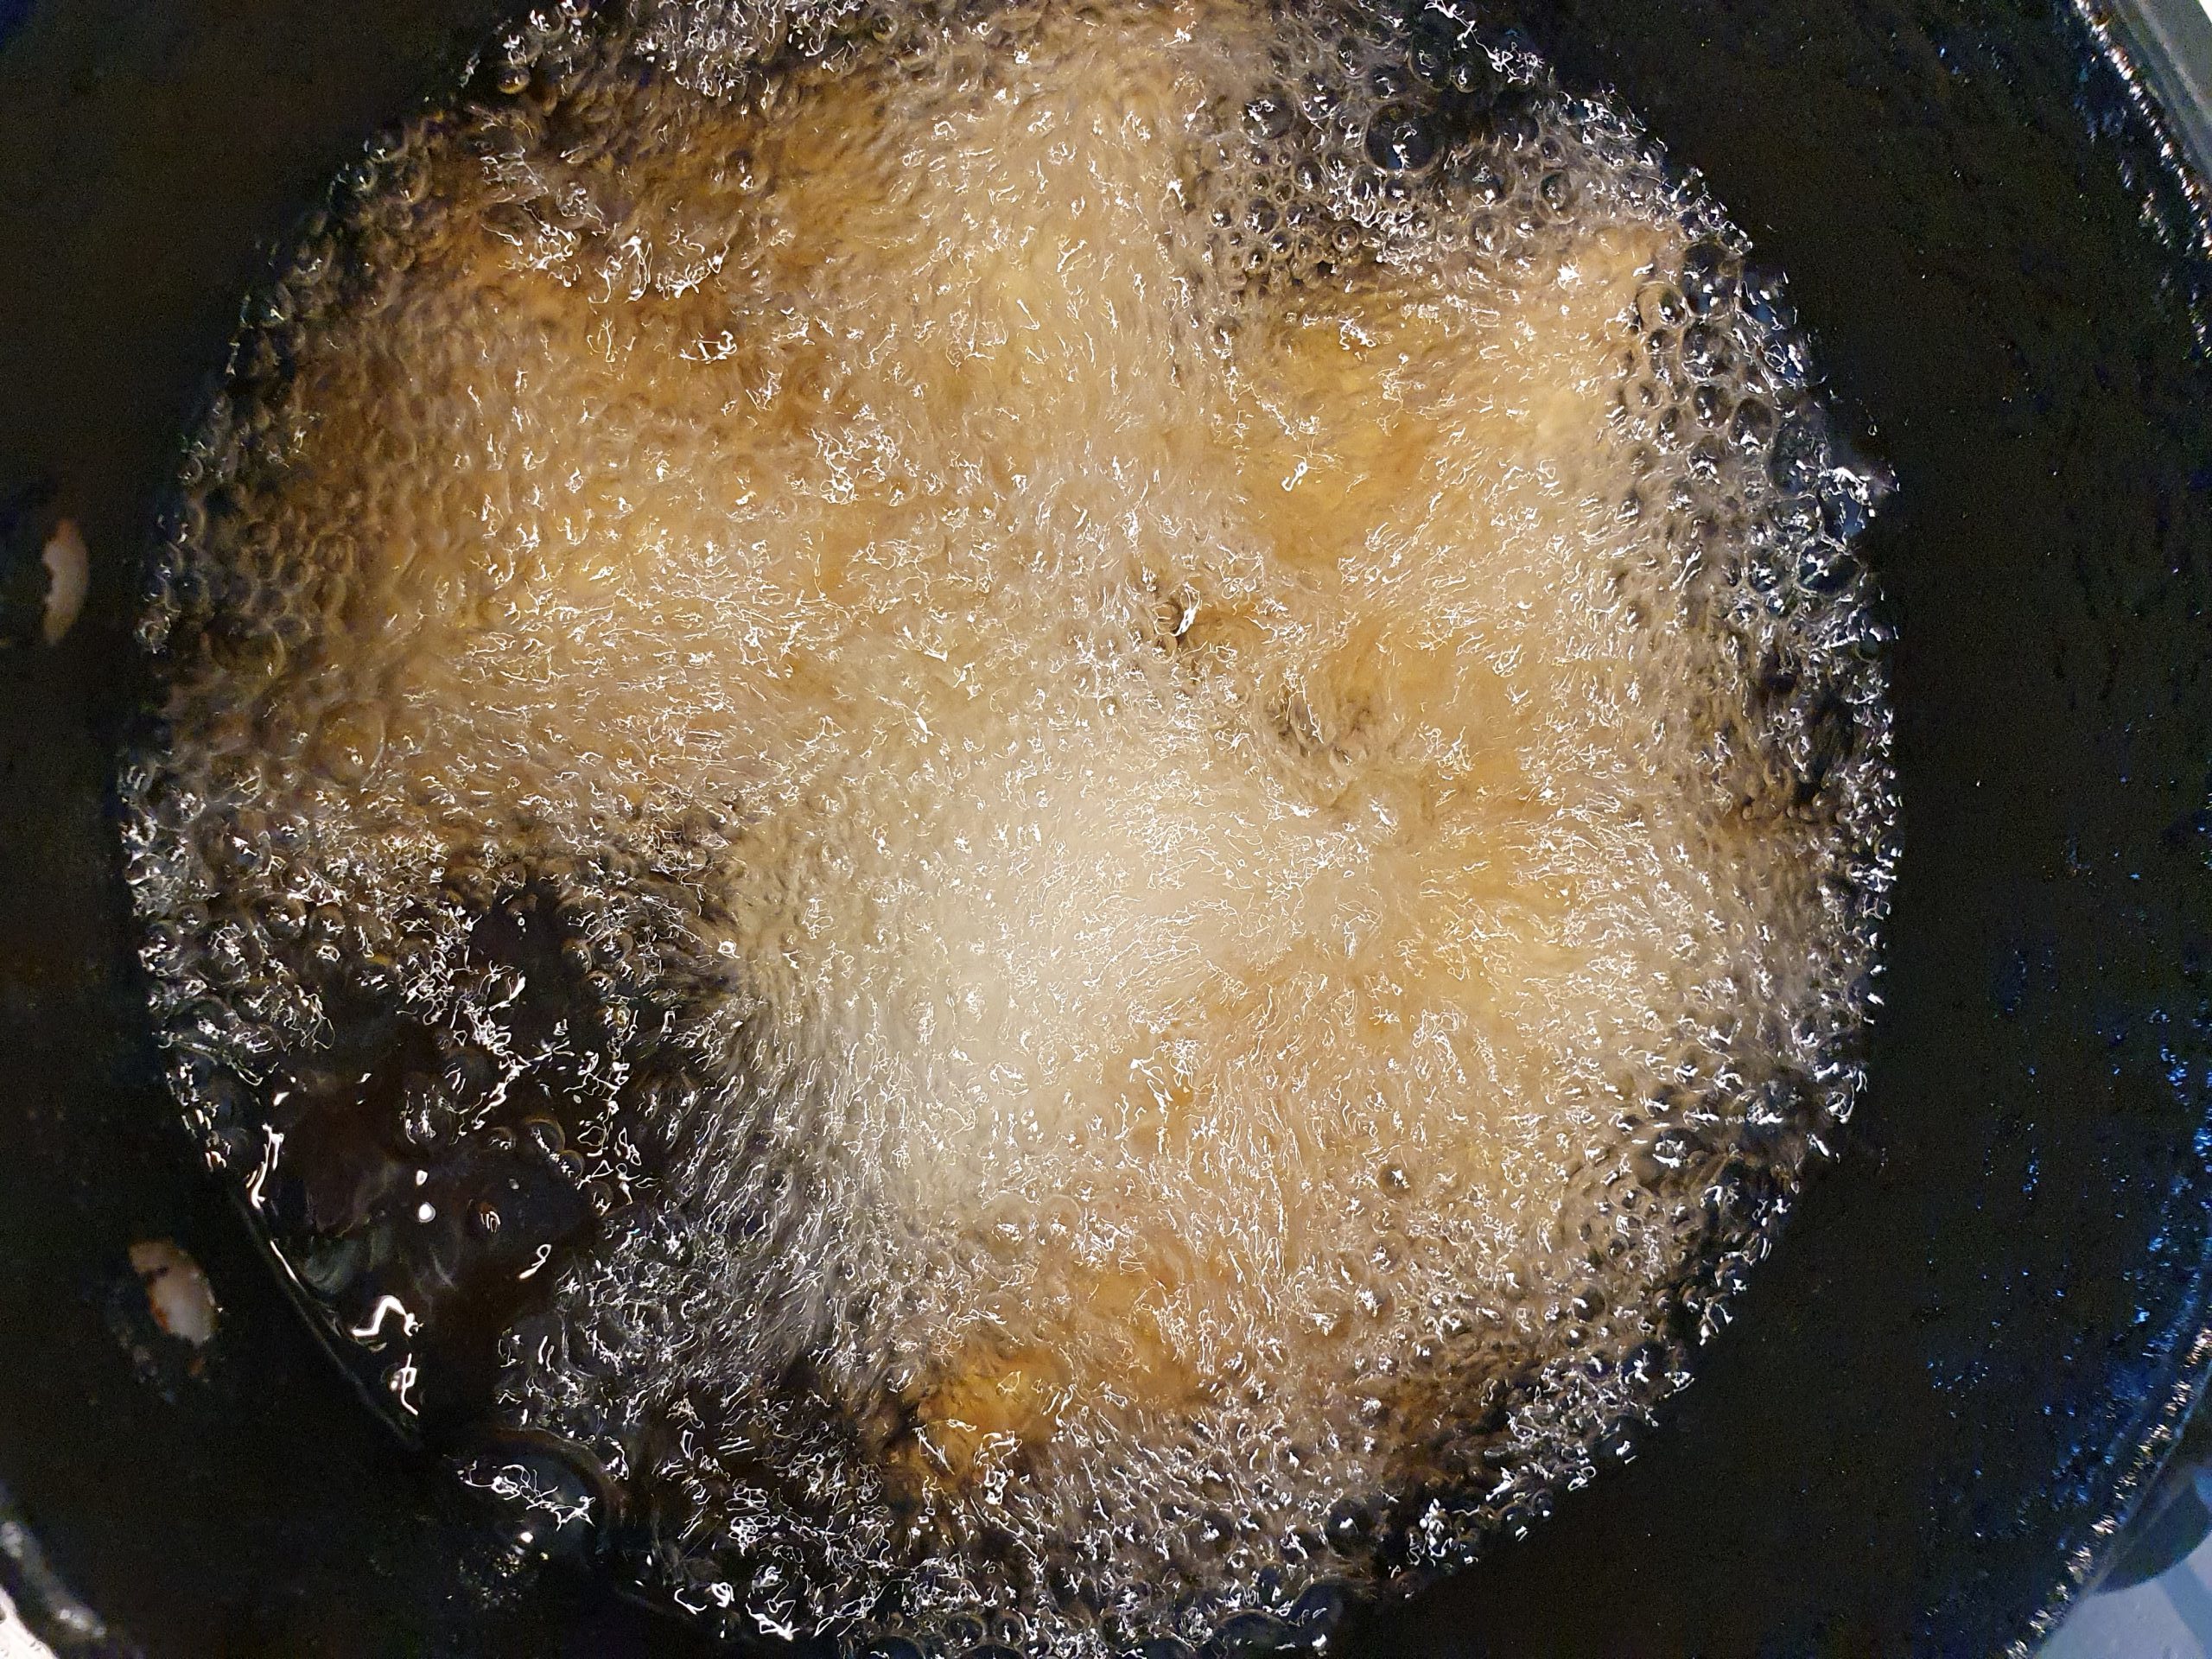


To check if oil is ready, drop a small piece of dough into the oil. It should take a few seconds for it to come up to the surface. That means the oil is ready.
Drop the samosas carefully into the oil. Fry on low heat. Once the samosas are light brown in colour (around 8-10 minutes) then increase the heat to medium and fry till samosas are golden brown. Once you finish frying one batch, lower the heat again to low and wait until the temperature of the oil drops and then add the second batch.
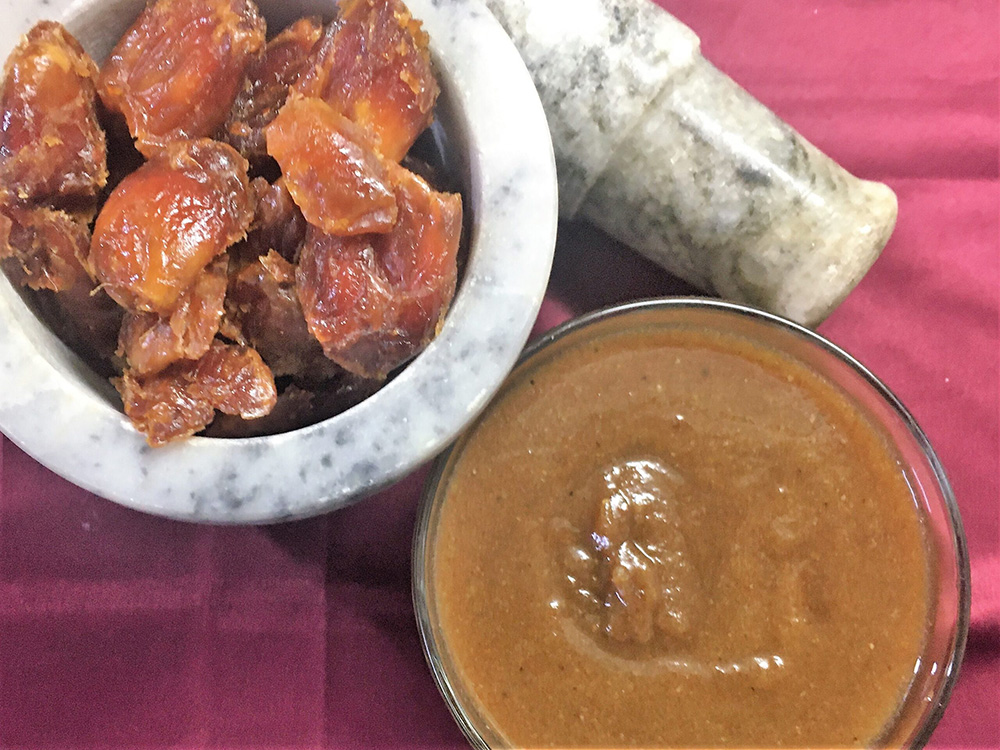
Serve hot with mint chutney and/or khajoor sweet chutney.