Pita Bread
Pita Bread
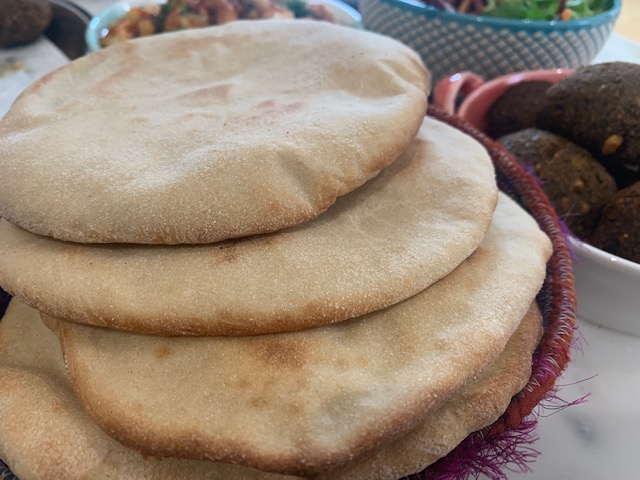
If you like your pita bread to be soft, fluffy and light, then this is a super easy pita bread recipe. I always wondered if it is worth making pita bread at home until I started baking them at home. The home baked ones are super soft and fills the house with warm, fragrant bread smell.
The first time I ate a ‘puffed’ pita was around 10 years ago in Cairo. Our flight was delayed, and we reached our hotel extremely late and decided to have a quick meal. The pita’s that were served were puffed up like a balloon! One bite of that pita and I knew I could never go back to eating the store-bought pitas.
Over the years, I have had lots of failed attempts at making a soft and fluffy pita at home. I have spent a lot of time researching what makes the pita puff and how to make them soft. Finally, lots of tries and failed attempts and I think I have nearly mastered the art of pita baking.
I always feel pita is a close relative of a ‘phulka’ which is an Indian bread. Although flat in appearance, they are designed to puff up during baking/cooking and then sink, creating a hollow soft interior for soaking up the sauces and dips.
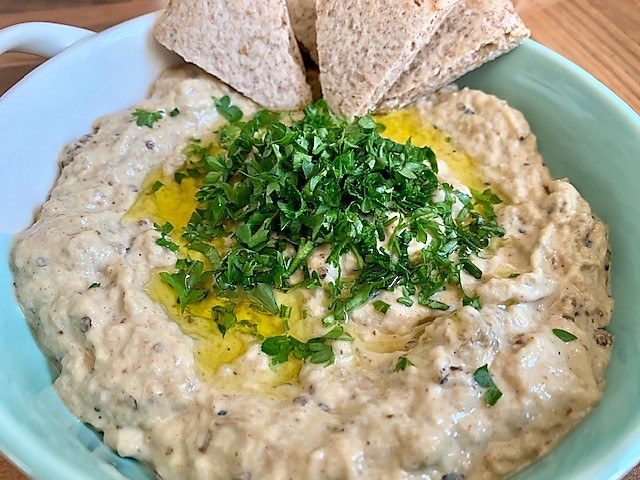
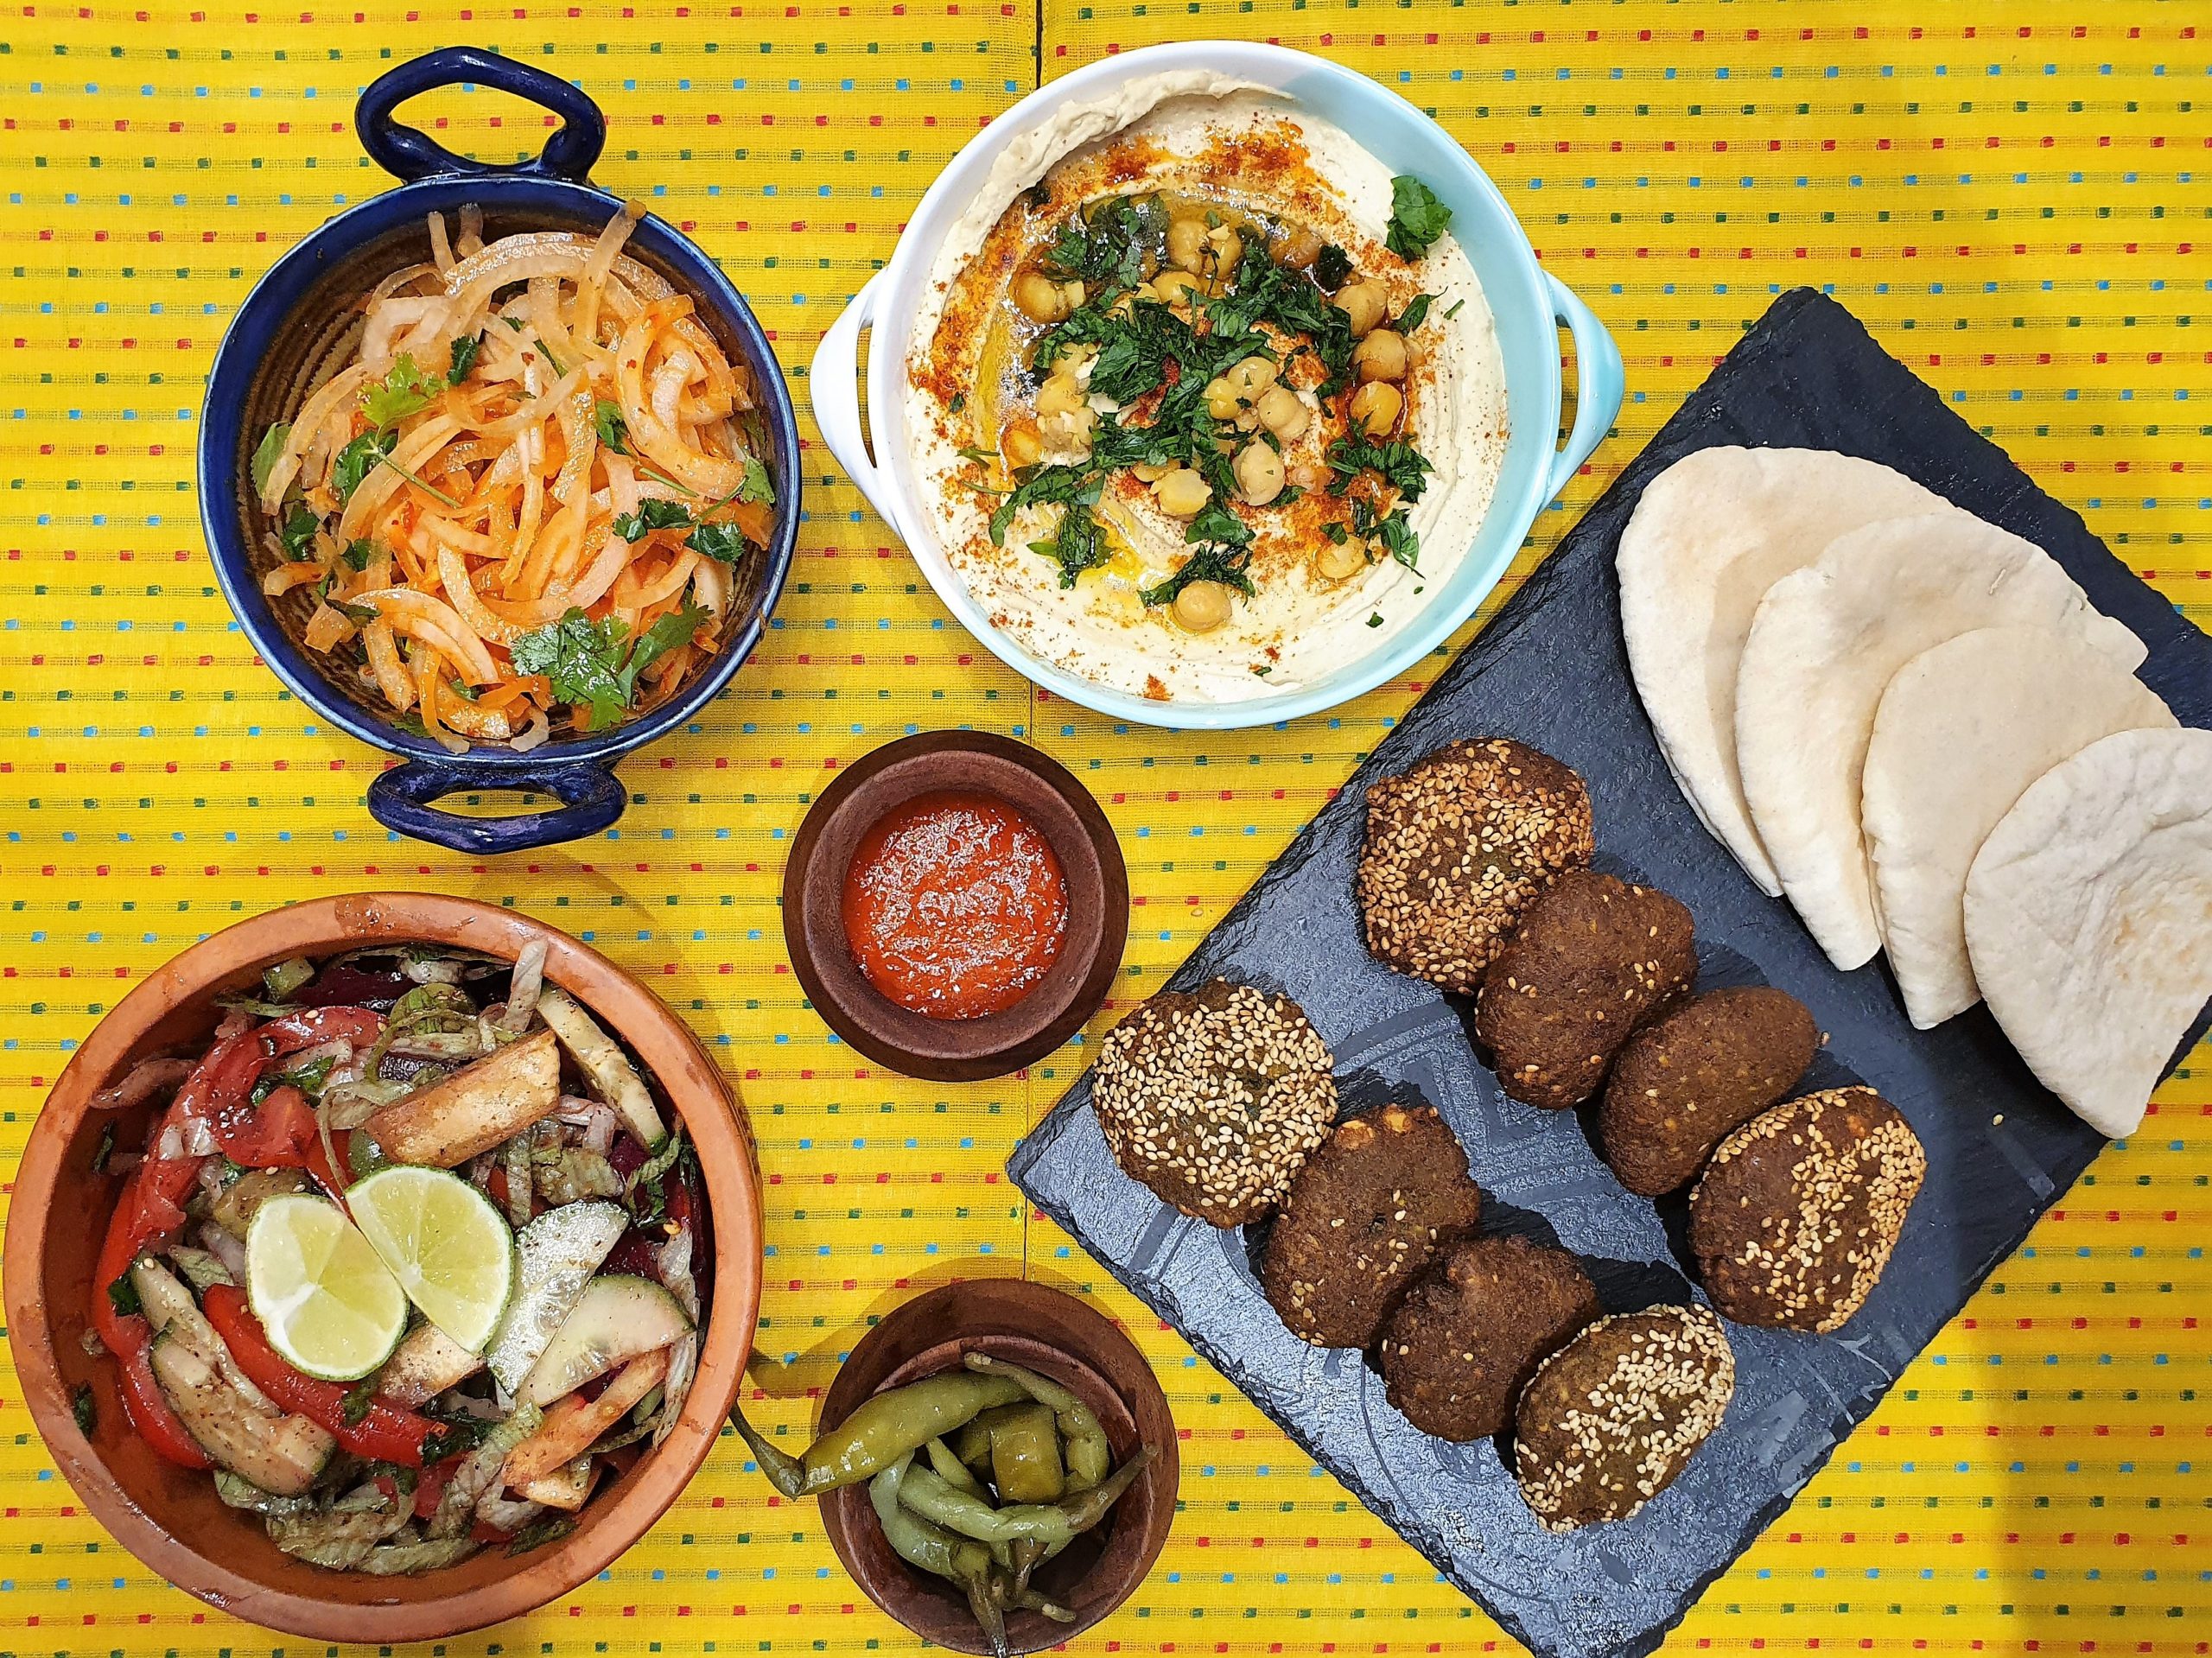
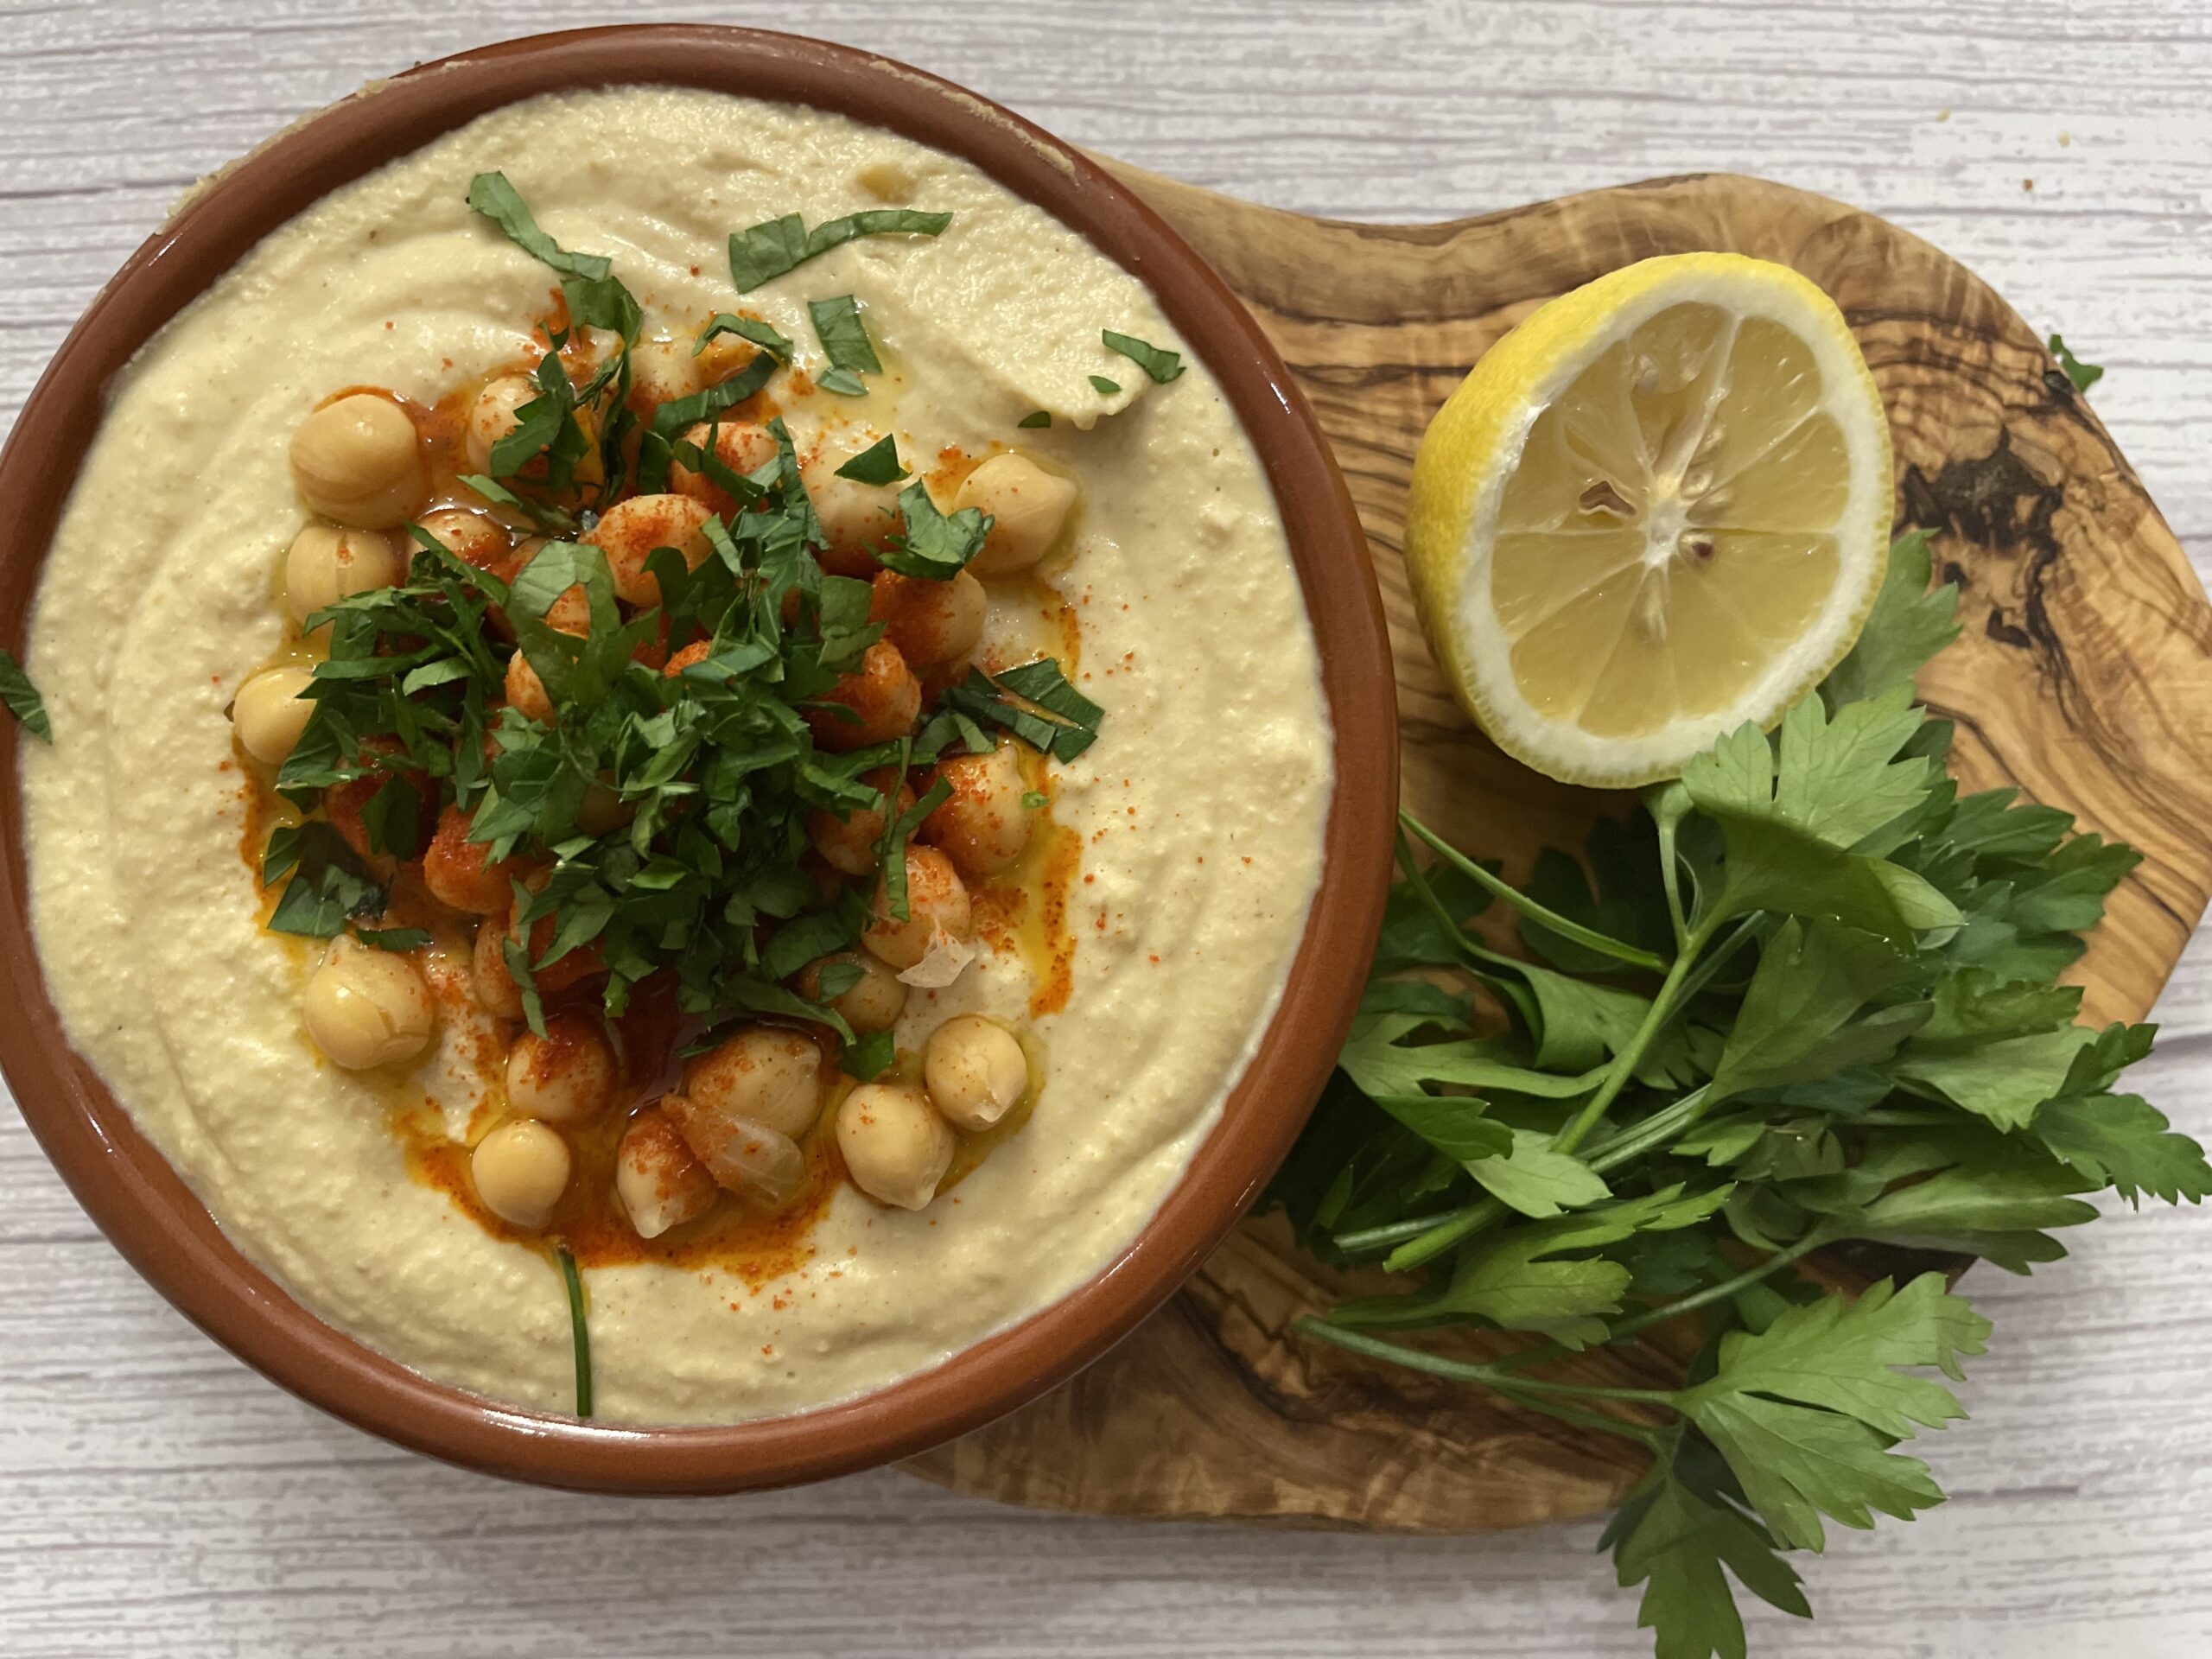
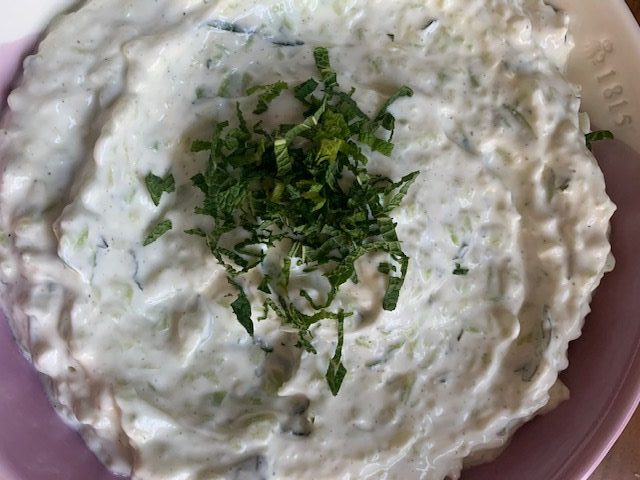
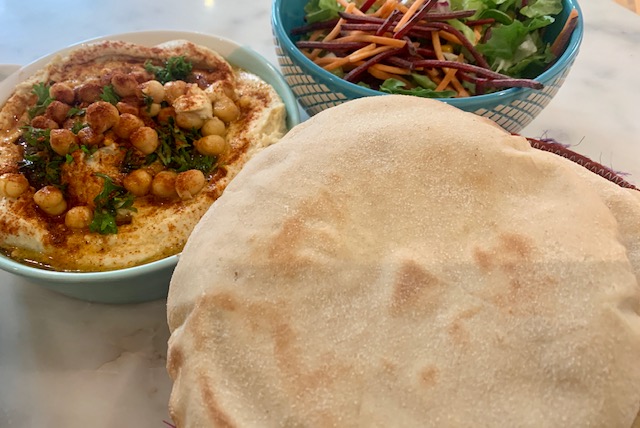
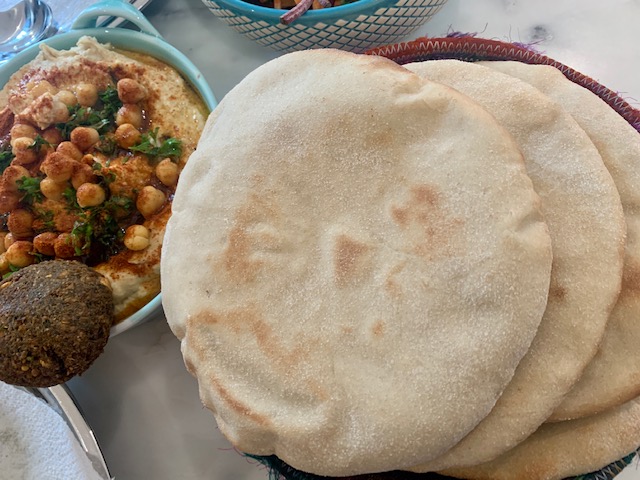
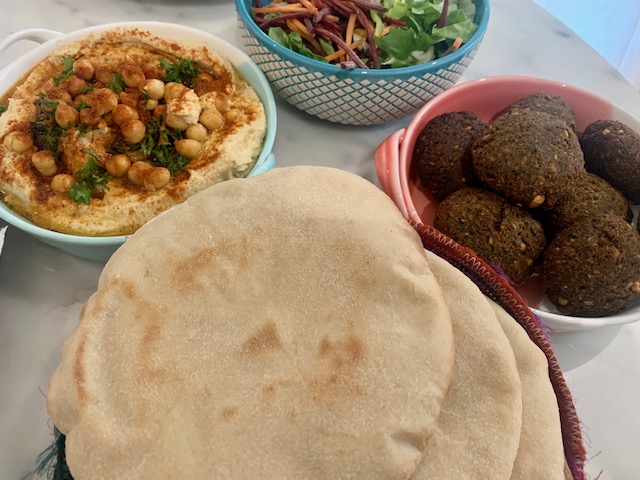
Serve homemade pita bread as part of a spread comprising of Houmous, Roasted Aubergine Houmous, Falafel, Lebanese Batata Harra, Labneh with Roasted Tomatoes, Saksuka or Cacik.
Ingredients
1 cup plain flour
½ cup whole wheat flour
1 teaspoon dried yeast
1 teaspoon caster sugar
150 ml lukewarm water
1 teaspoons milk powder
1 teaspoon salt
1 tablespoon olive oil
Directions
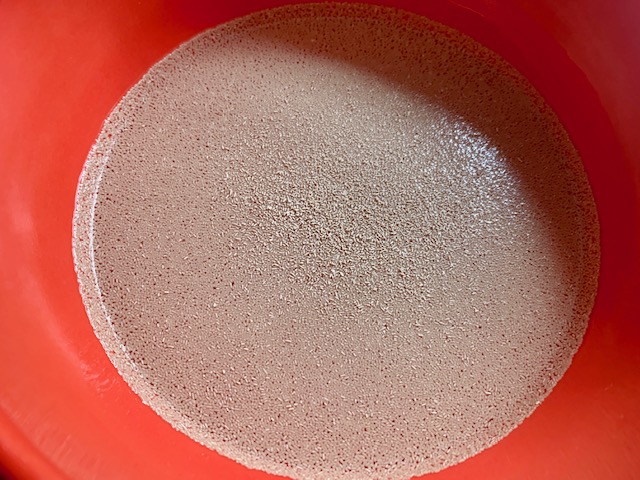
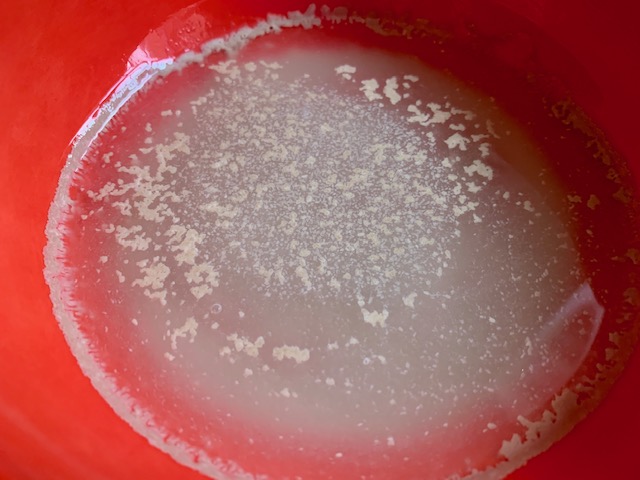
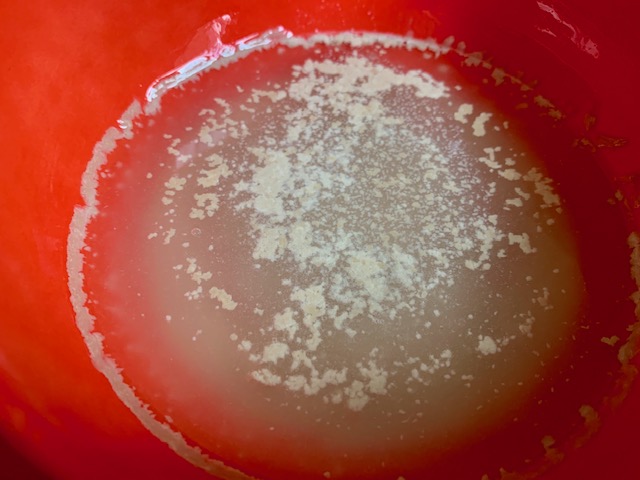
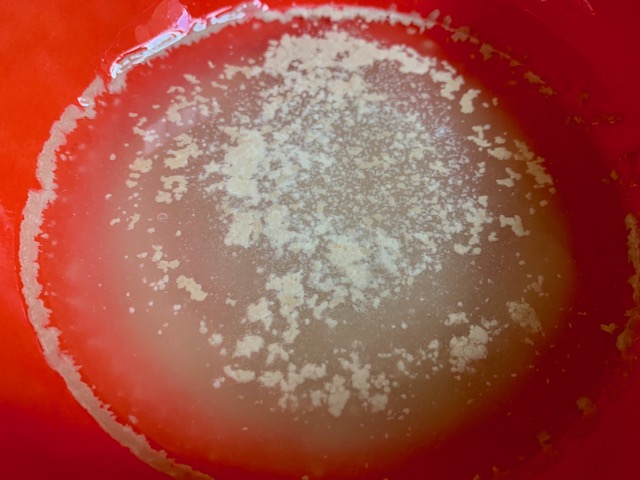
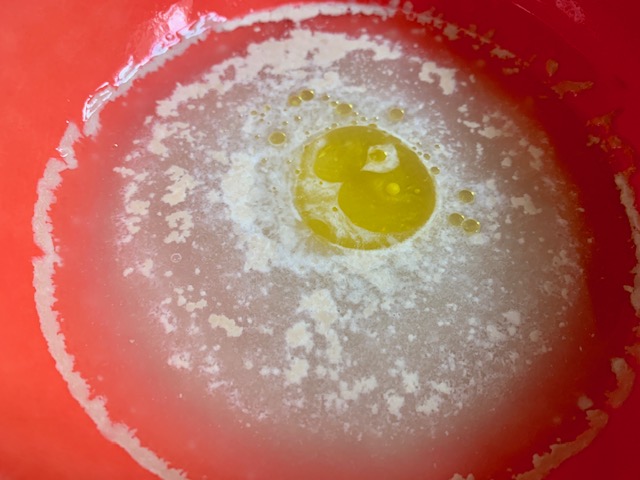
Put the yeast, sugar and water in a bowl and set it aside for 3-4 minutes until the mixture begins to bubble up and turn frothy.
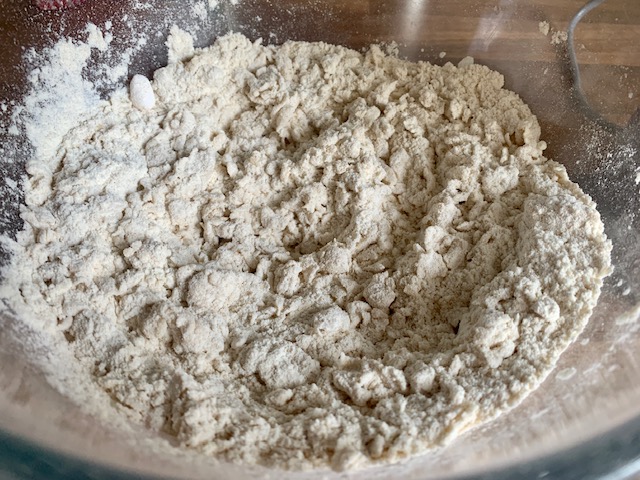
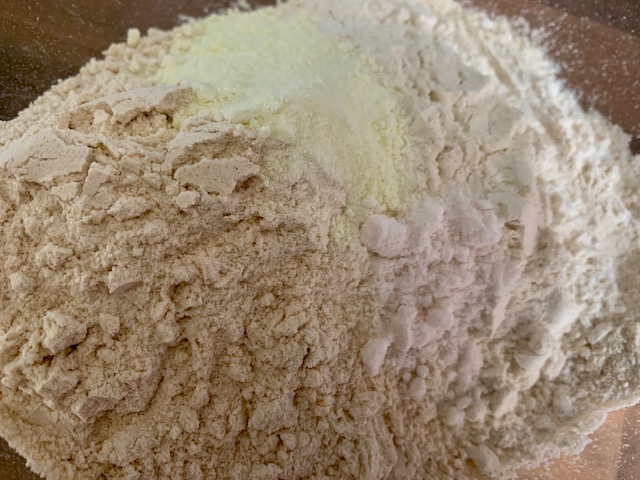
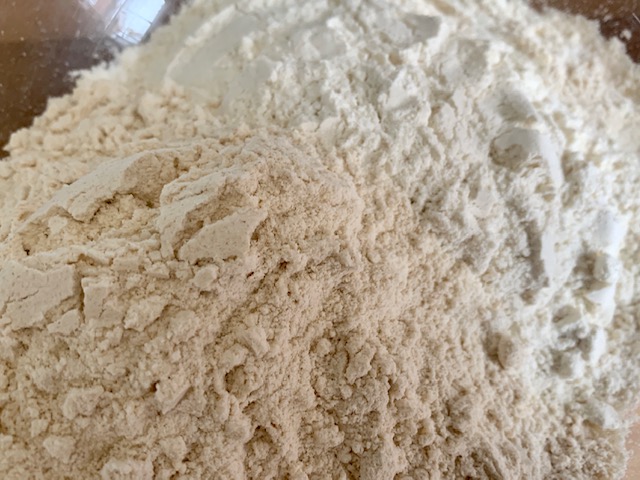
Place the flour, milk powder and salt in a bowl and mix it using a spoon.
Add oil to the frothy yeast mixture.
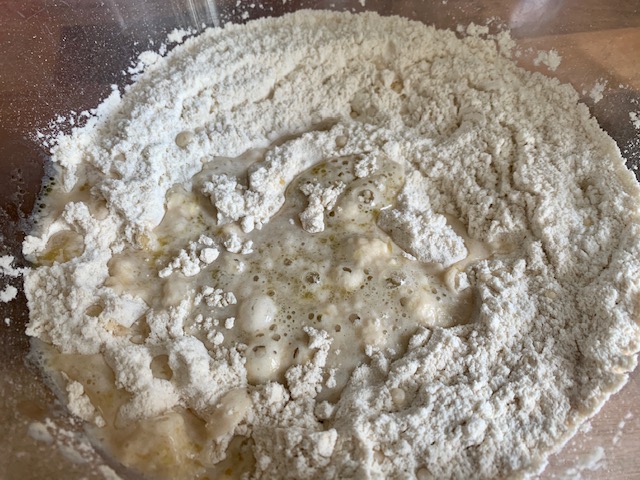

Pour in the yeast mixture to the dry ingredients and knead it for 6-7 minutes until it comes together as a ball. The dough should be smooth, soft and elastic and the dough should not stick to the hands. (add more water if needed, or if its too wet then add a couple of tablespoons of flour).
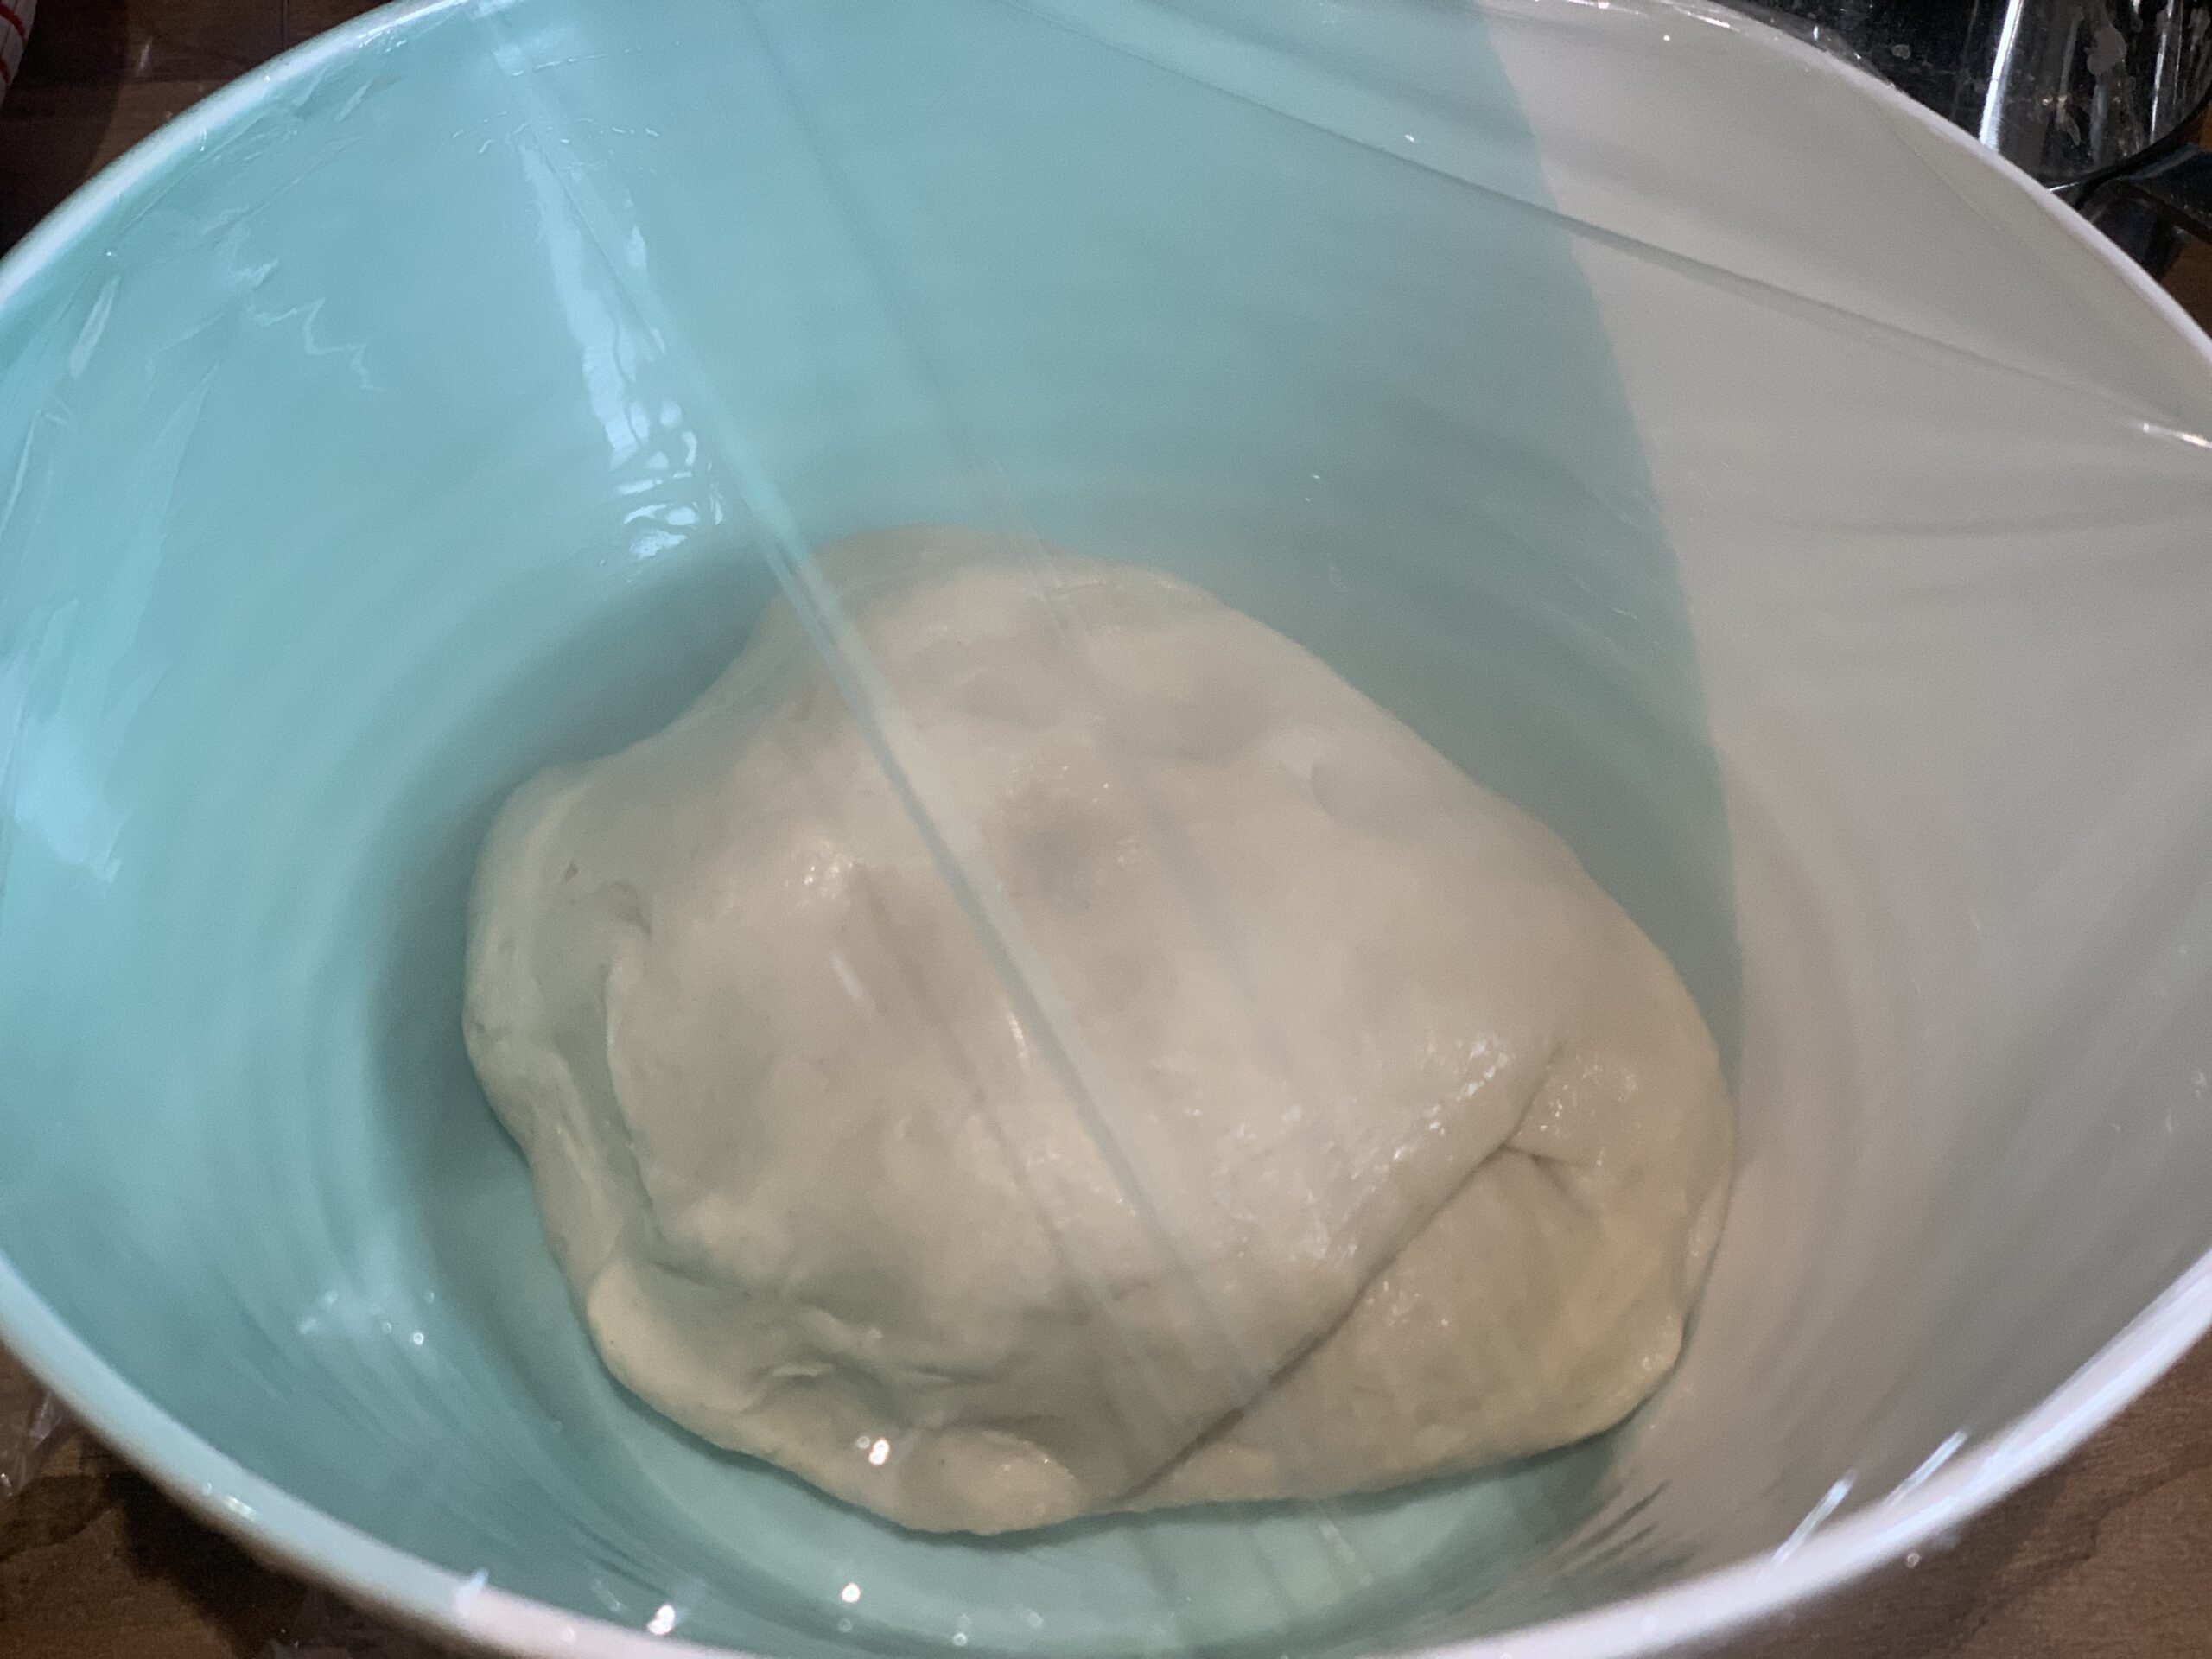
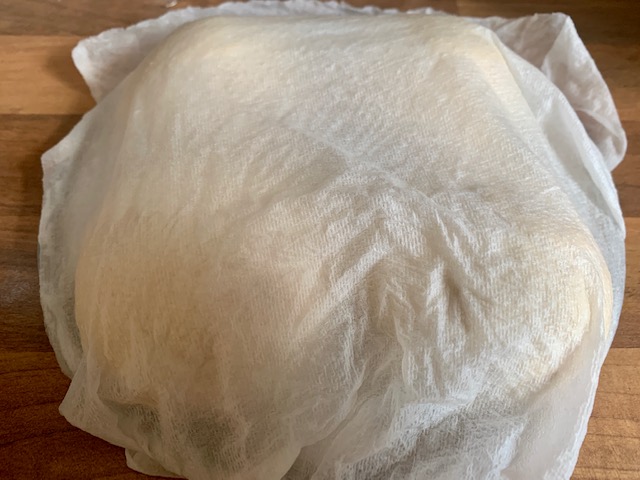
Transfer the dough to a lightly oiled bowl and cover the bowl using cling film or tea towel. Place the bowl somewhere warm for 1-2 hours until the dough has risen.
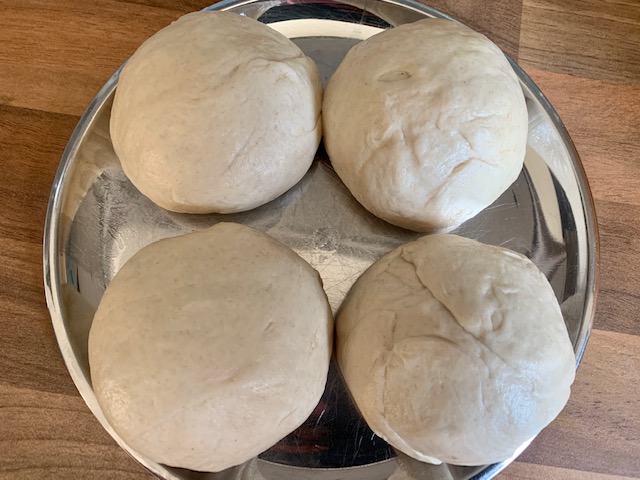
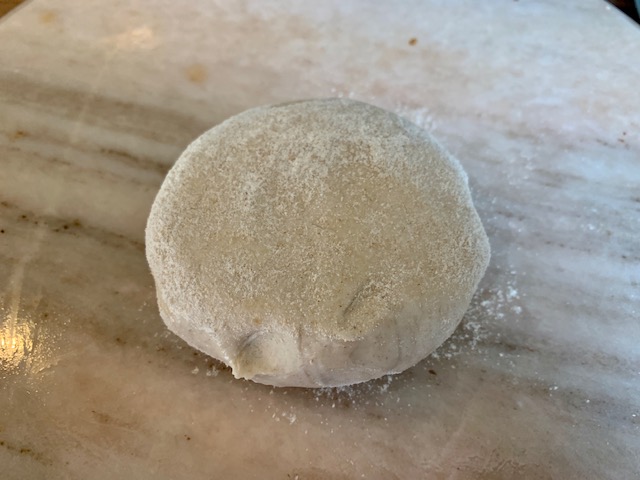
After the dough has risen transfer the dough to a lightly floured surface and make round balls. You should be able to make 4-5 balls from this dough. Cover the balls and let them rest for 10-15 minutes.
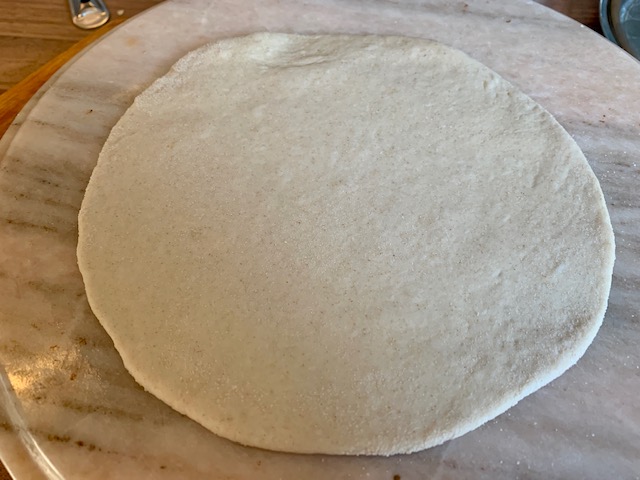
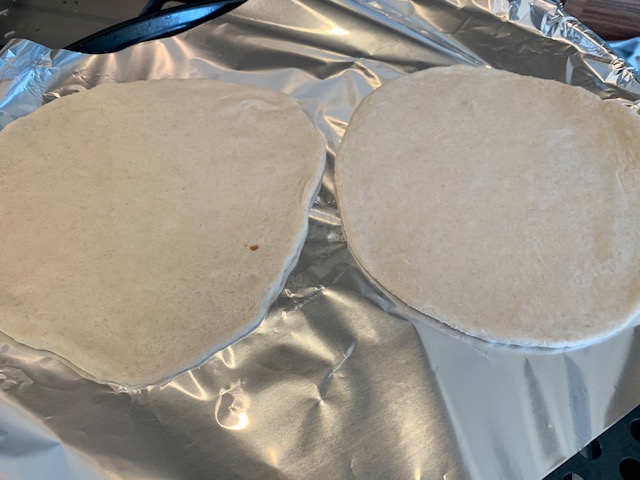
Dust some flour on the balls and roll the dough into circles using gentle hands. They should be around 10-12 cm wide circles and should be around 5mm in thickness.
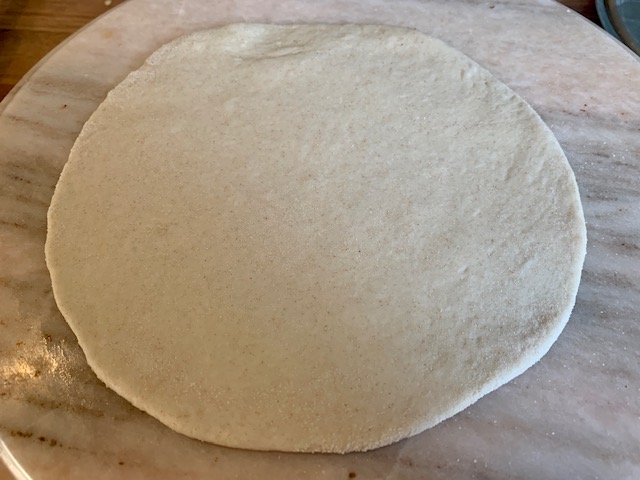
Cover them once again with damp cloth and set aside for 20-30 minutes to prove.
Preheat oven to 250C/475F/Gas 9.
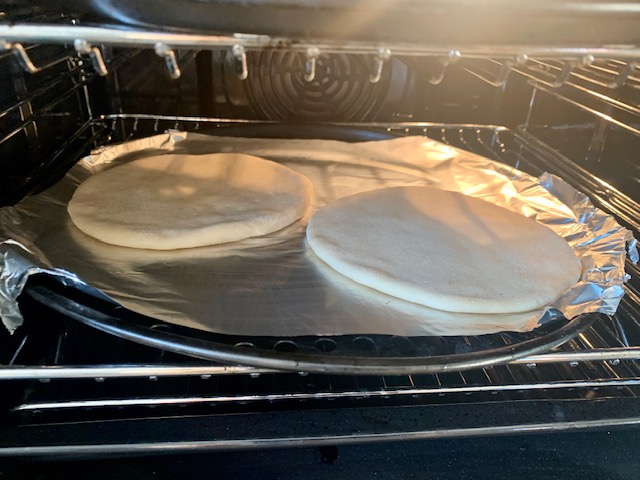
Place the baking trays that you will be using to bake the bread to heat up too. Once the pita has proven for 20-30 minutes and the oven is hot, then gently place the pita on the hot trays making sure the ends are not overlapping.
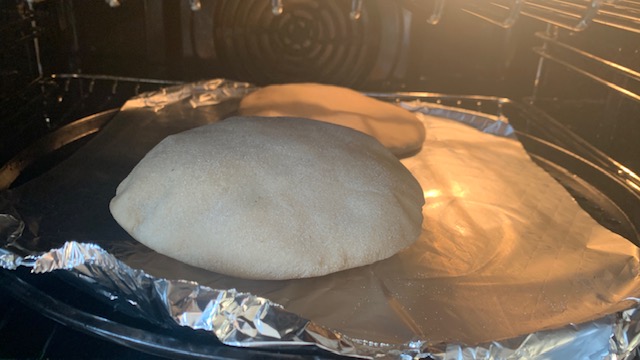
Bake for 4-5 minutes or until they puff up and are slightly golden. When you take them out from the oven, cover the warm Pita with a kitchen towel to keep them moist.
Serve warm!