Rice Idli

Rice Idli
Idli is a steamed cake made with rice and lentil. Idli or idly are a type of savoury rice cake, popular as breakfast foods in India. The cakes are made by steaming a batter consisting of fermented black lentils (de-husked) and rice.
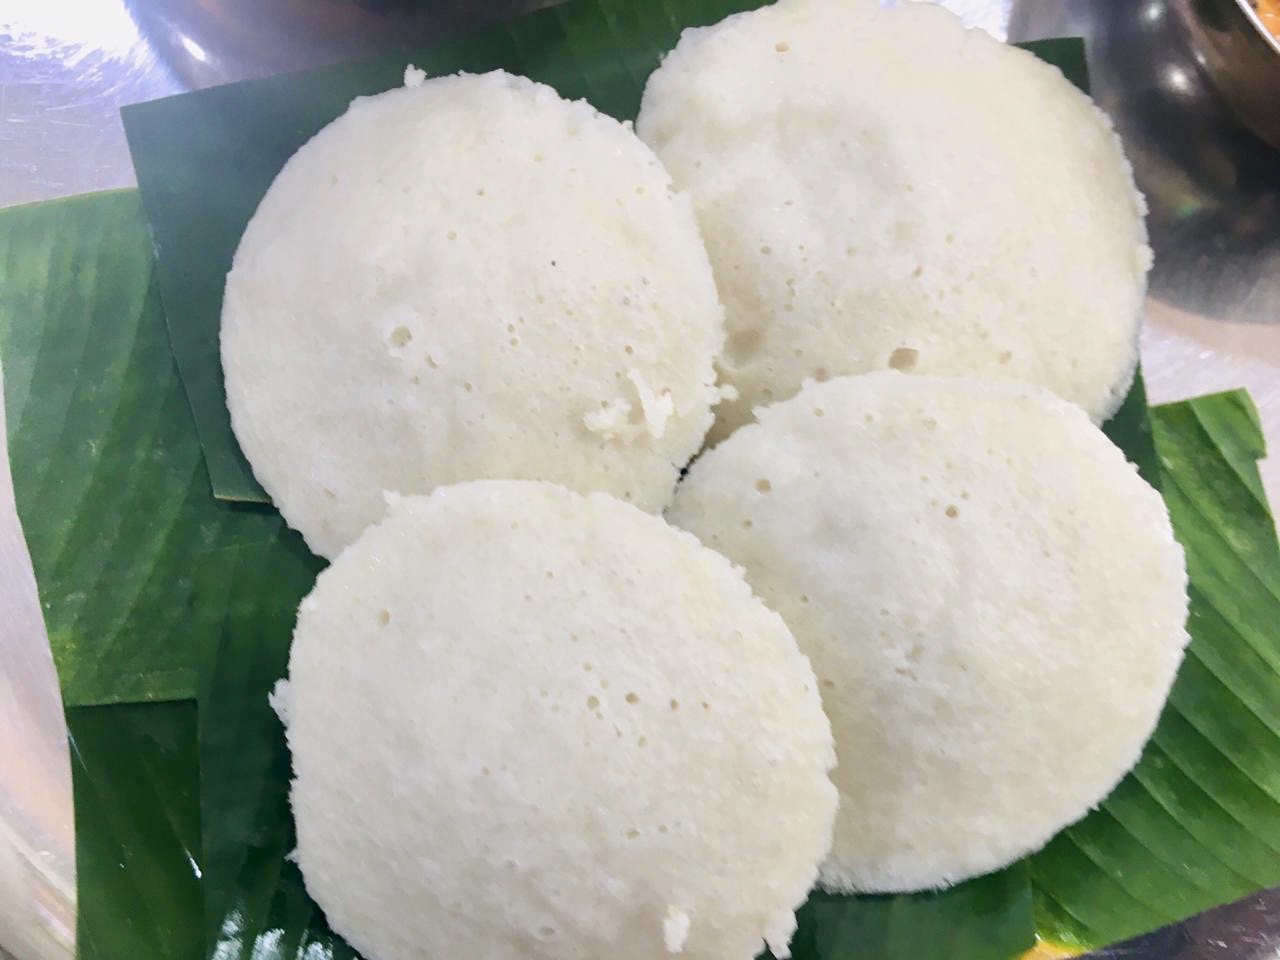
The texture of the idli is what makes it sublime. Idlis are soft, pillowy, fluffy steamed rice cakes. Idli has to be the top most comfort food for all South Indians. This recipe is a very simple recipe which uses only four ingredients namely urad dal (dehusked black gram), idli rice, poha, and salt. Although the ingredients are simple, idli requires lot of techniques to get them soft and pillowy.
Idli and dosa is a breakfast I have grown up with. On every weekend, my mum would soak rice & lentils, to prepare idli and dosas. My all-time favourite has to be idli. I can eat plates of these white soft cotton balls. Give me a big plate of Idli with sambhar and chutney and I am in heaven. Lots of places idli is only served with coconut chutney or podi powder. I like all the trimmings with my idli! Every Sunday, I knew we would get piping hot idli or crispy paper thin dosa for breakfast along with chutney and sambar.
Like I mentioned earlier that although the ingredients are simple there is lots of technical knowhow and the right combinations you need before you make Idli. You can make idli using either idli rava or idli rice. Idli rice is parboiled rice and used specifically for making idli and dosa. The second method uses idli rava with urad dal. Idli rava is coarsely ground idli rice and is easily available in shops and online. I am sharing method of making idli with idli rice in this post.
Another key difference is how to grind the ingredients. Most people would use a food processor but the authentic way to grind it is by using a wet grinder. The stones in the grinder fluffs up the urad dal without making it hot. Make sure that each and every ingredient is ground separately. All the ingredients are soaked for a minimum of 3-4 hours and then ground. Wash all the ingredients in the beginning and then soak it in water. Wash the rice 3-4 times so the idli will be really white later. I would recommend reading the ‘ Tips and variations’ section of this recipe before starting as I have explained some tips in detail there.
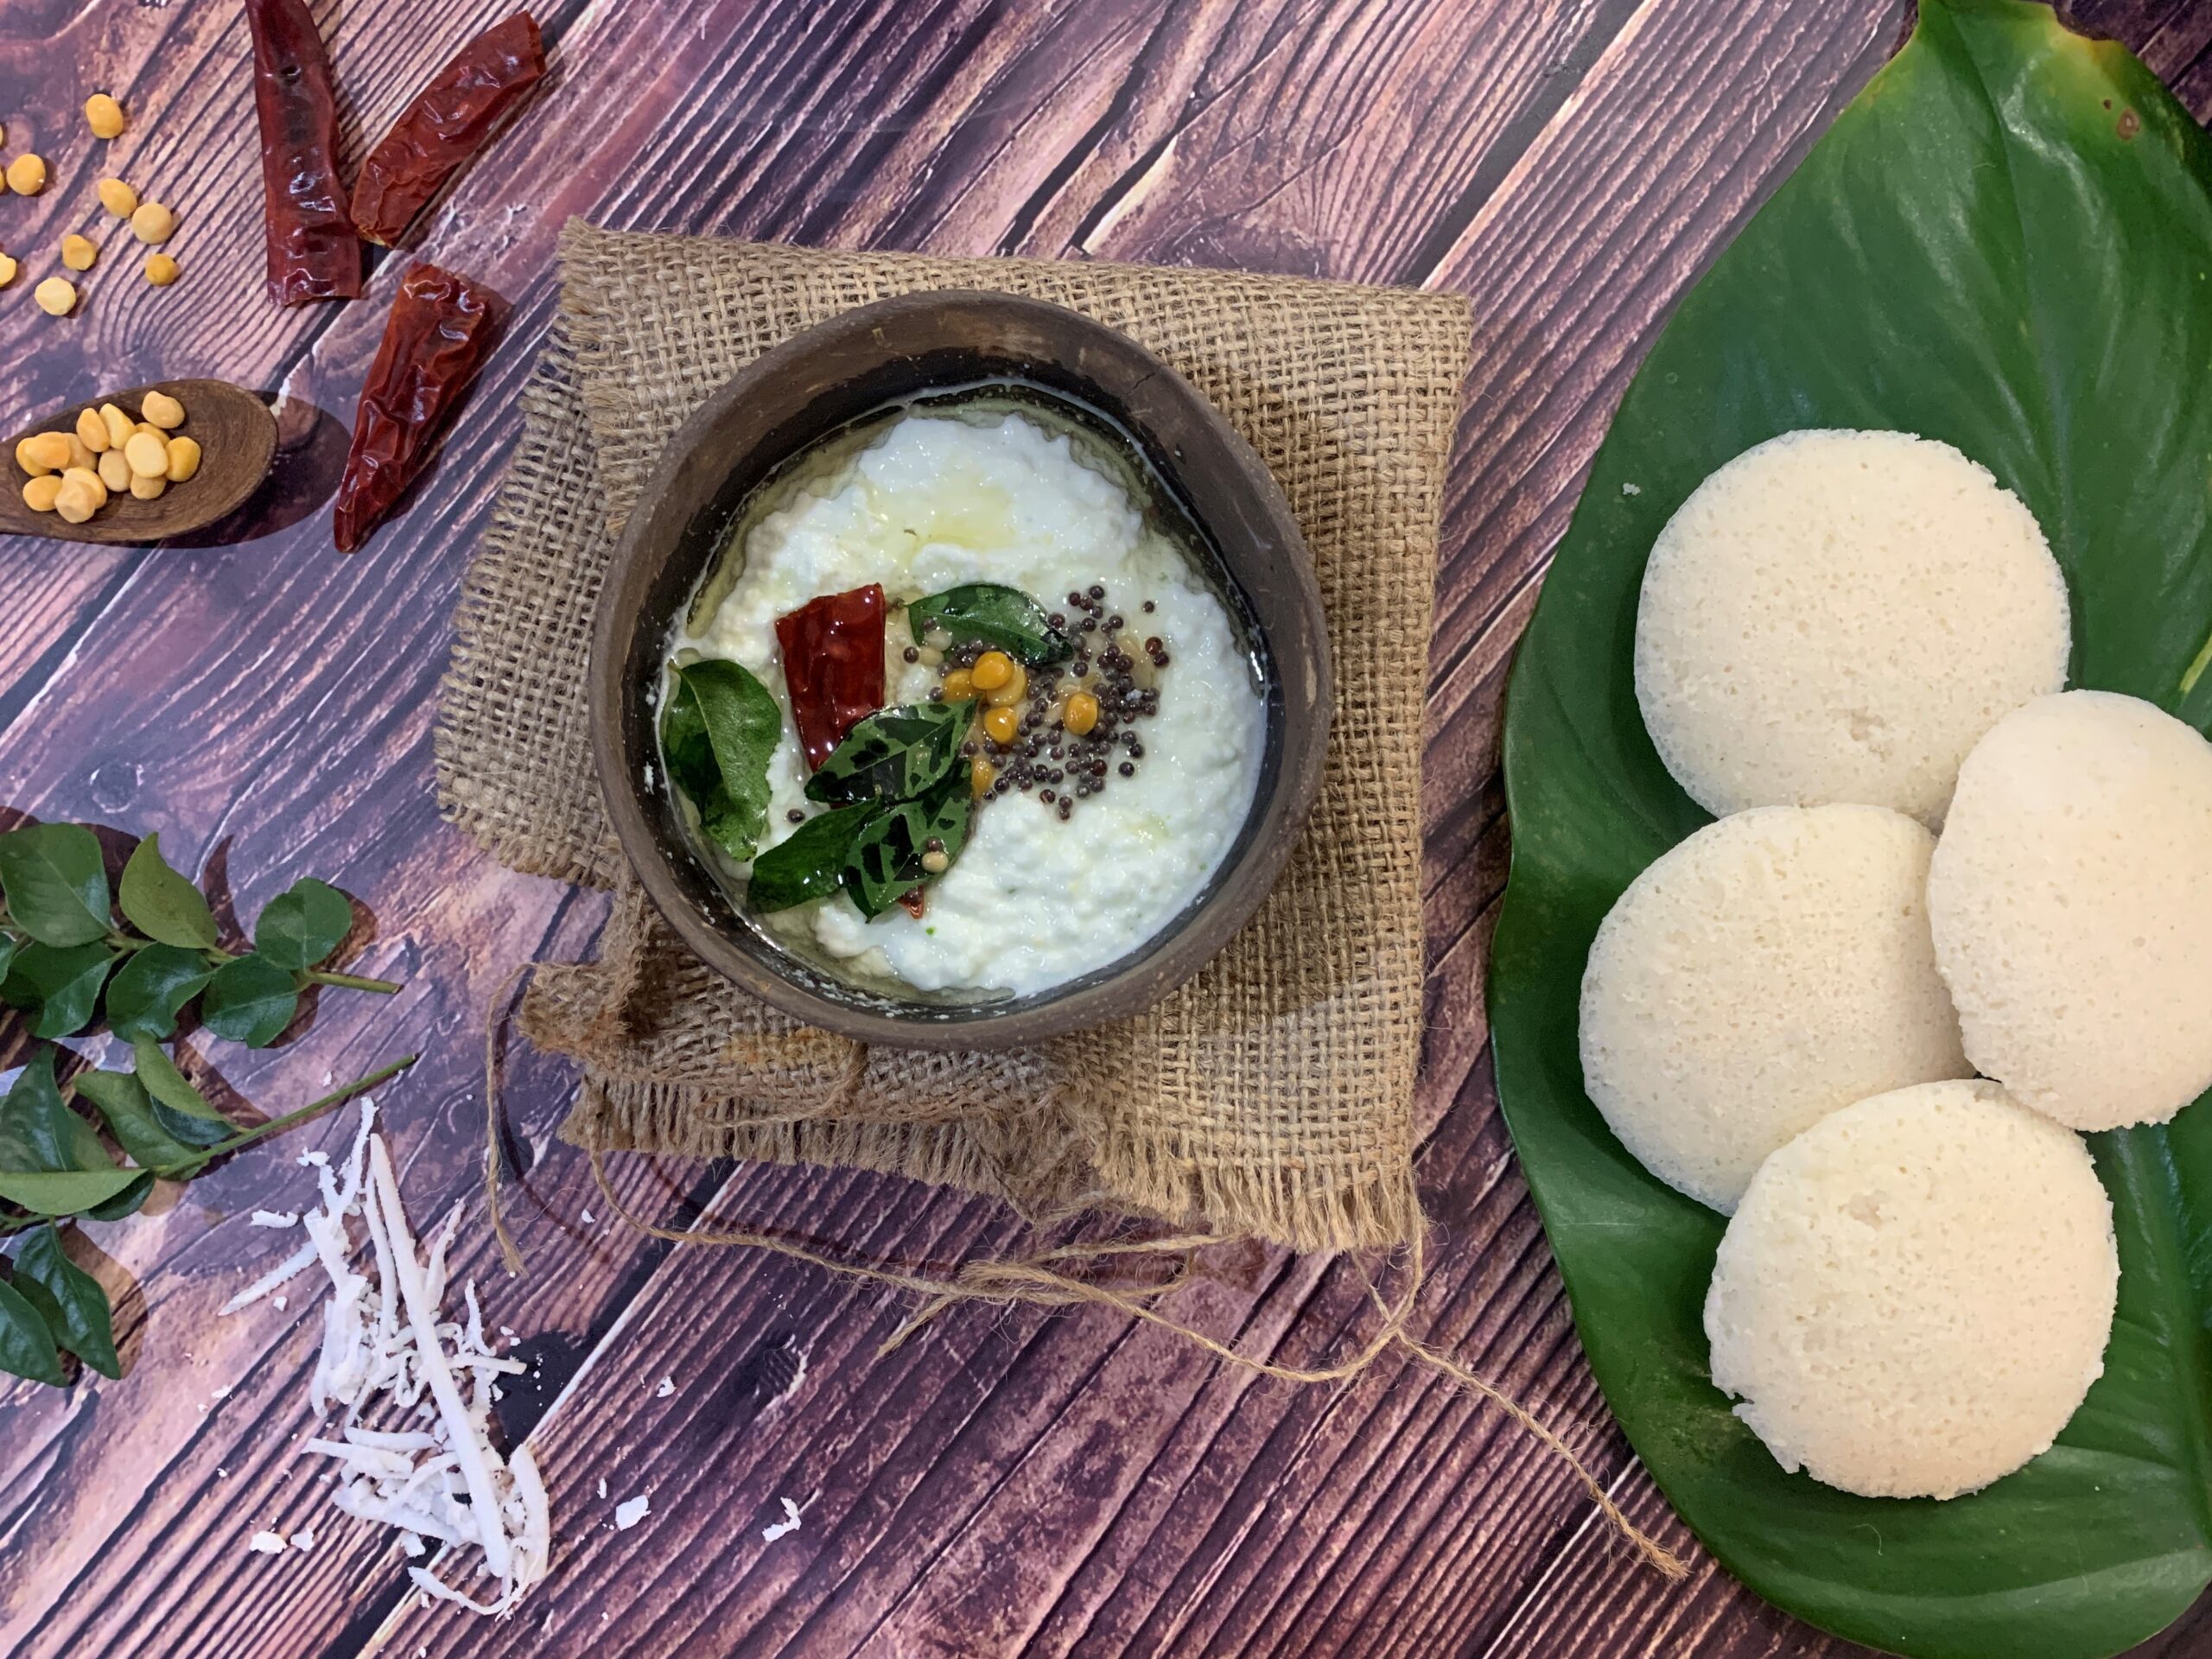
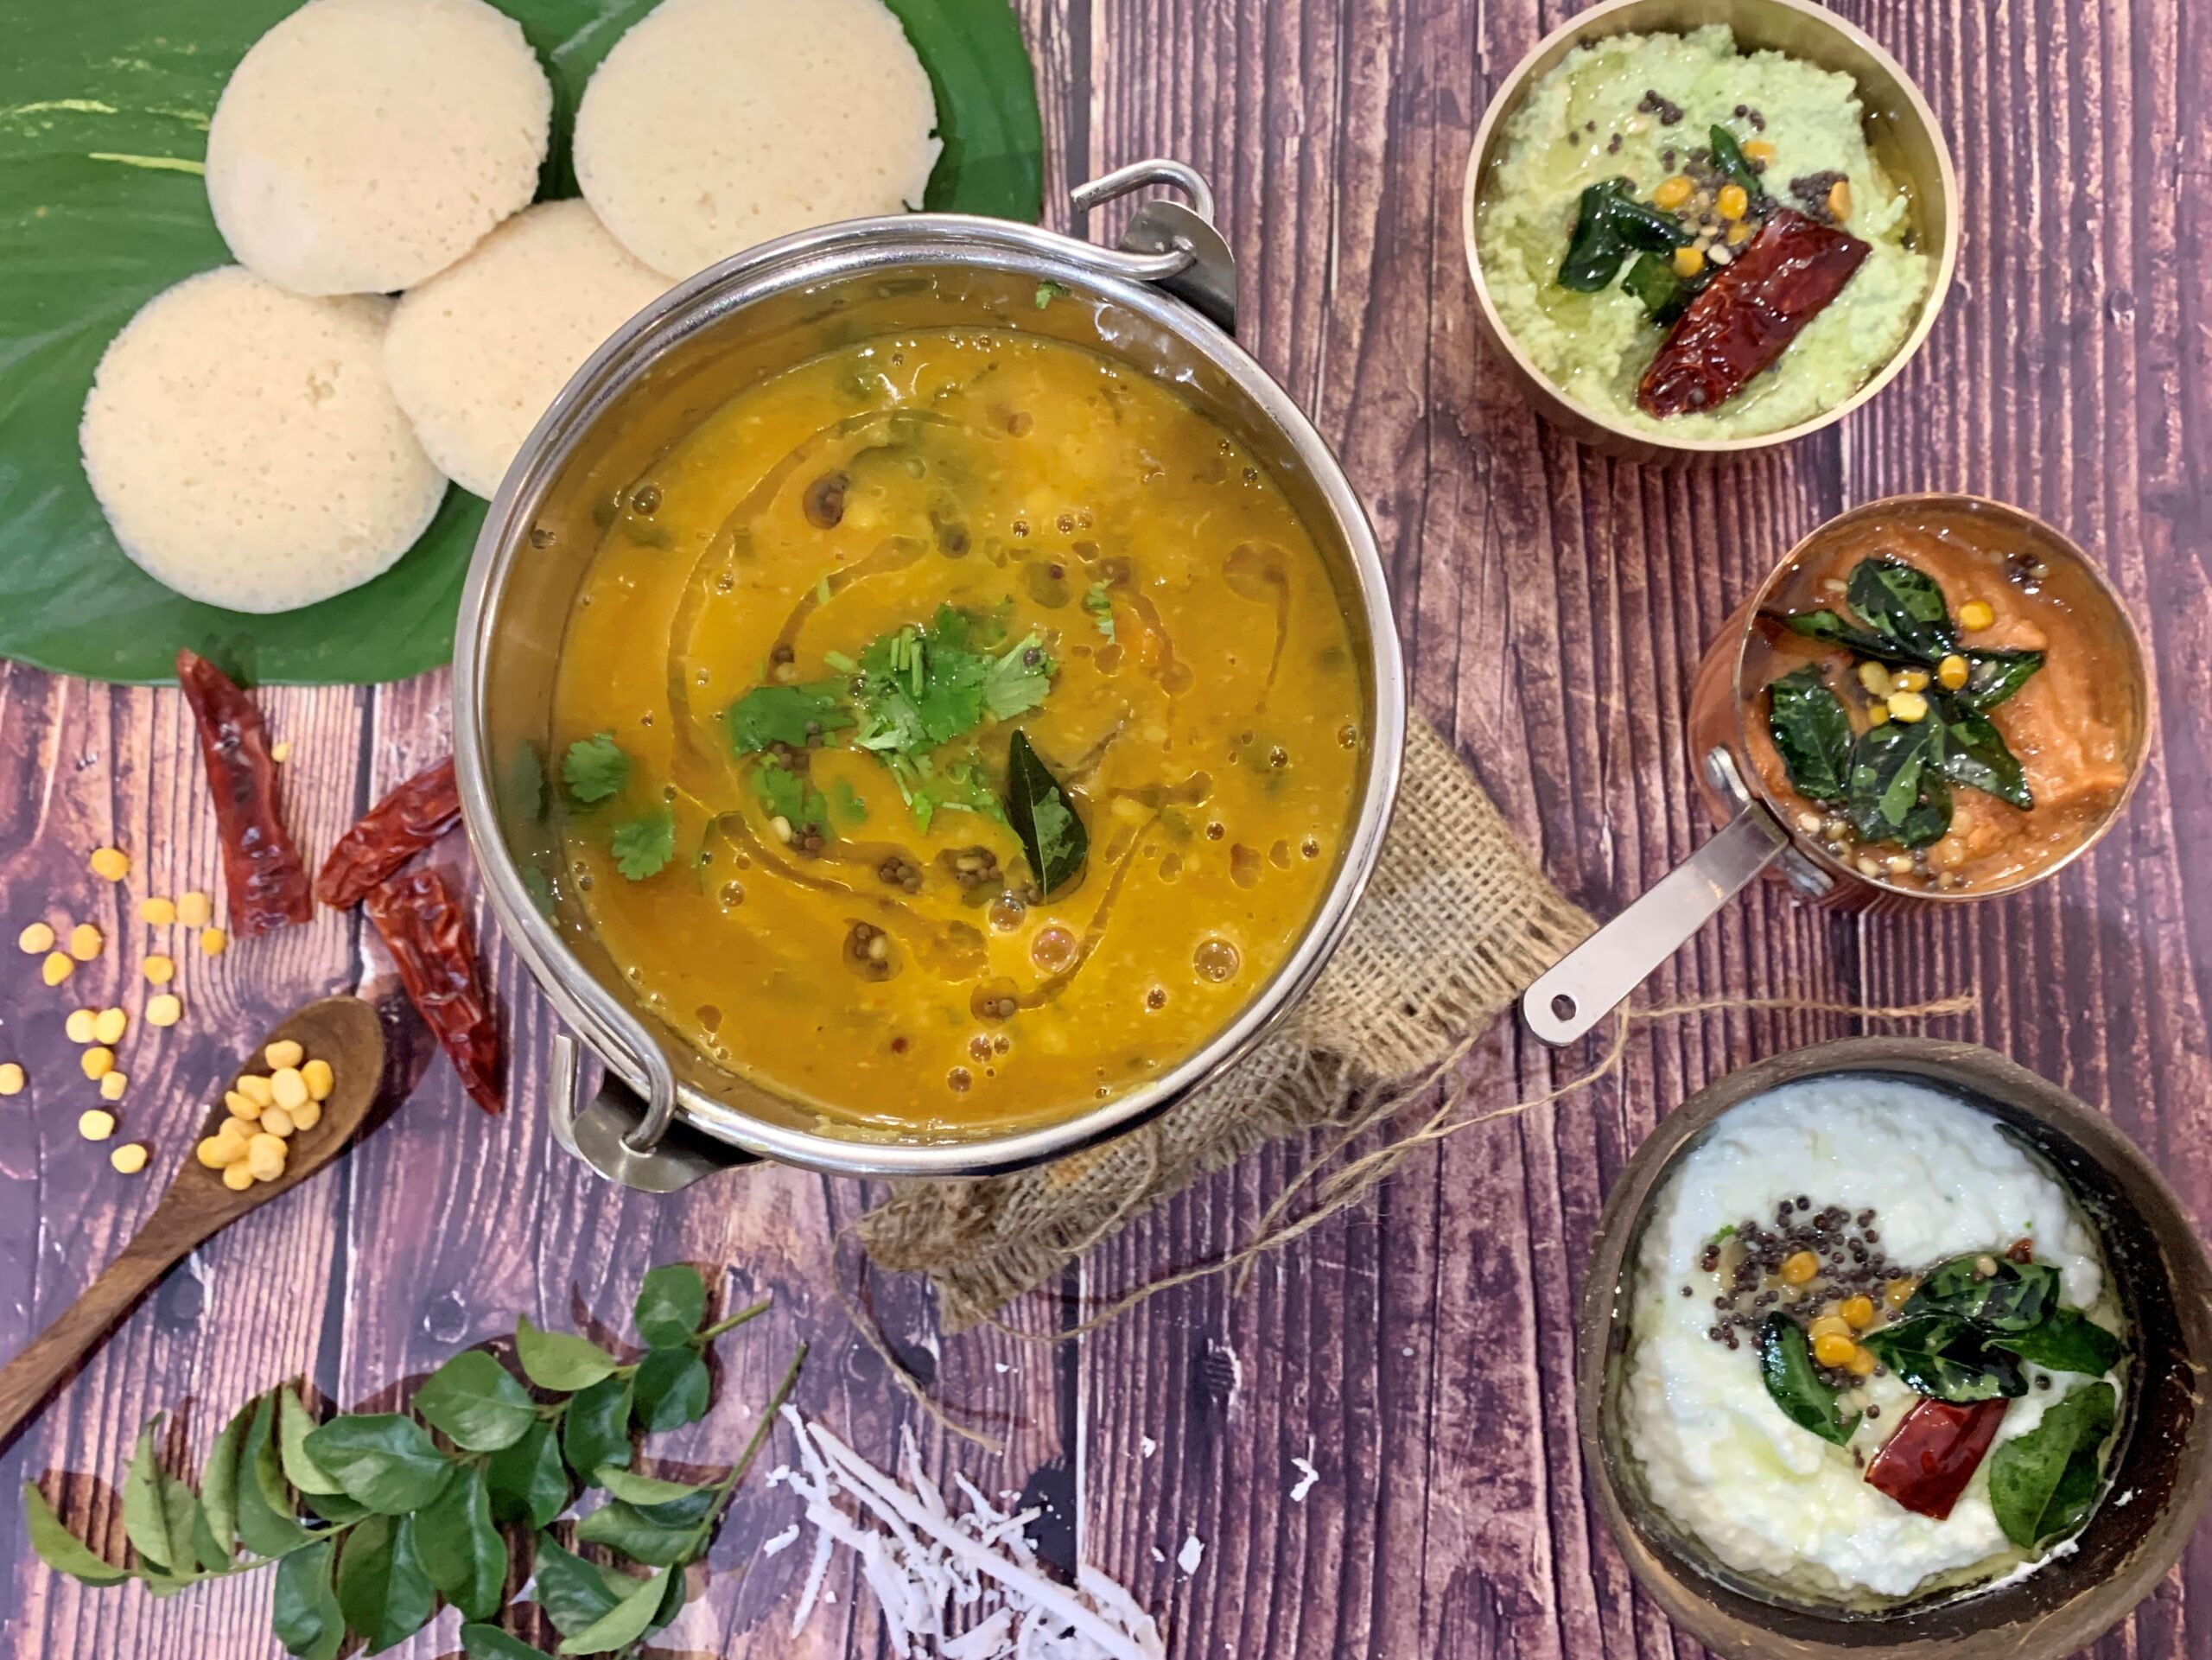
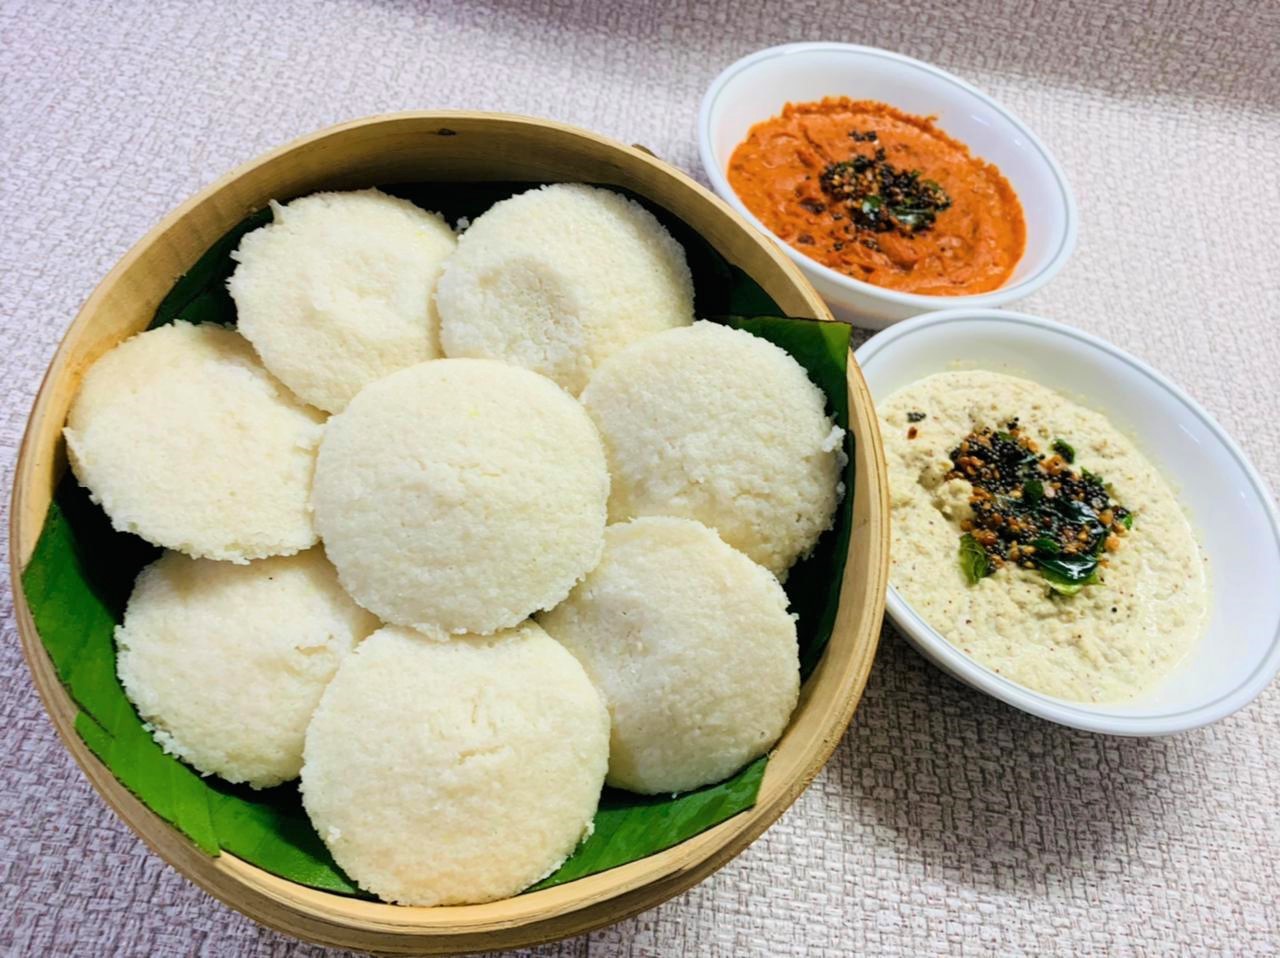
Serve with Tomato Onion Chutney, Coconut Chutney, Green Coconut Chutney, Sambar, Masala Dosa, Onion Rava Dosa, Medu Vada and Rasam for a delicious South Indian Meal.
Ingredients
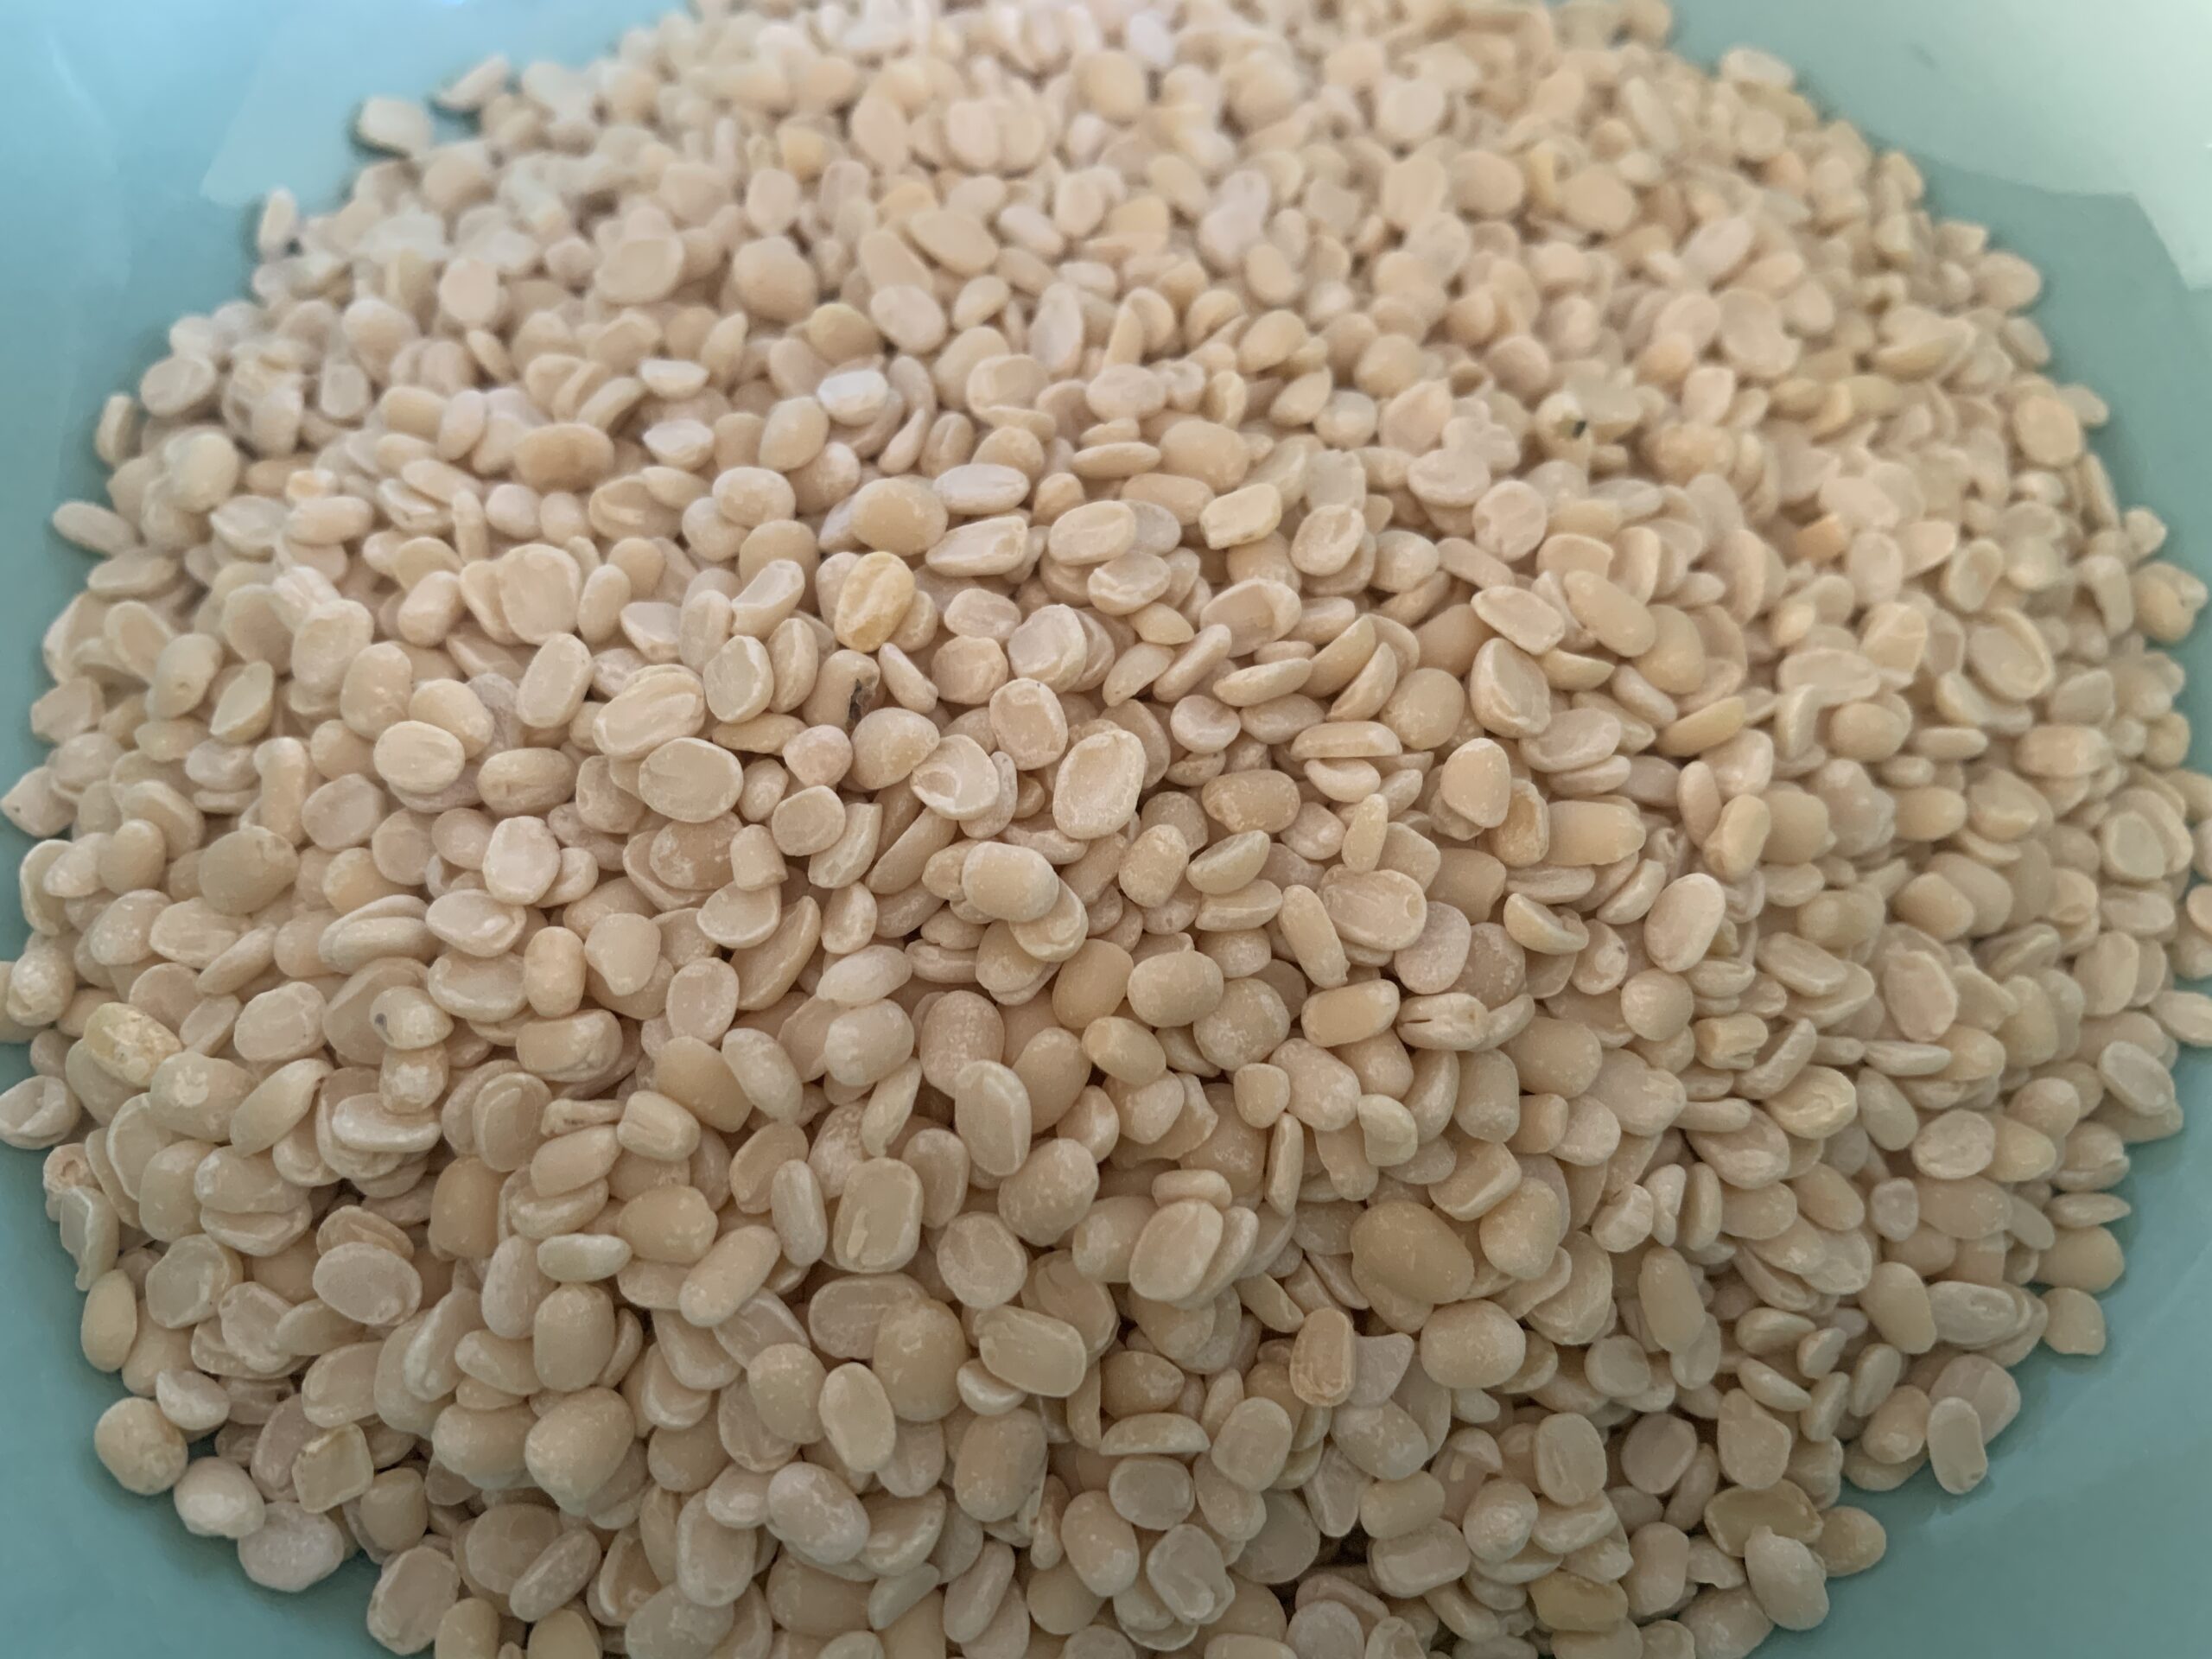
3/4 cup urad dal
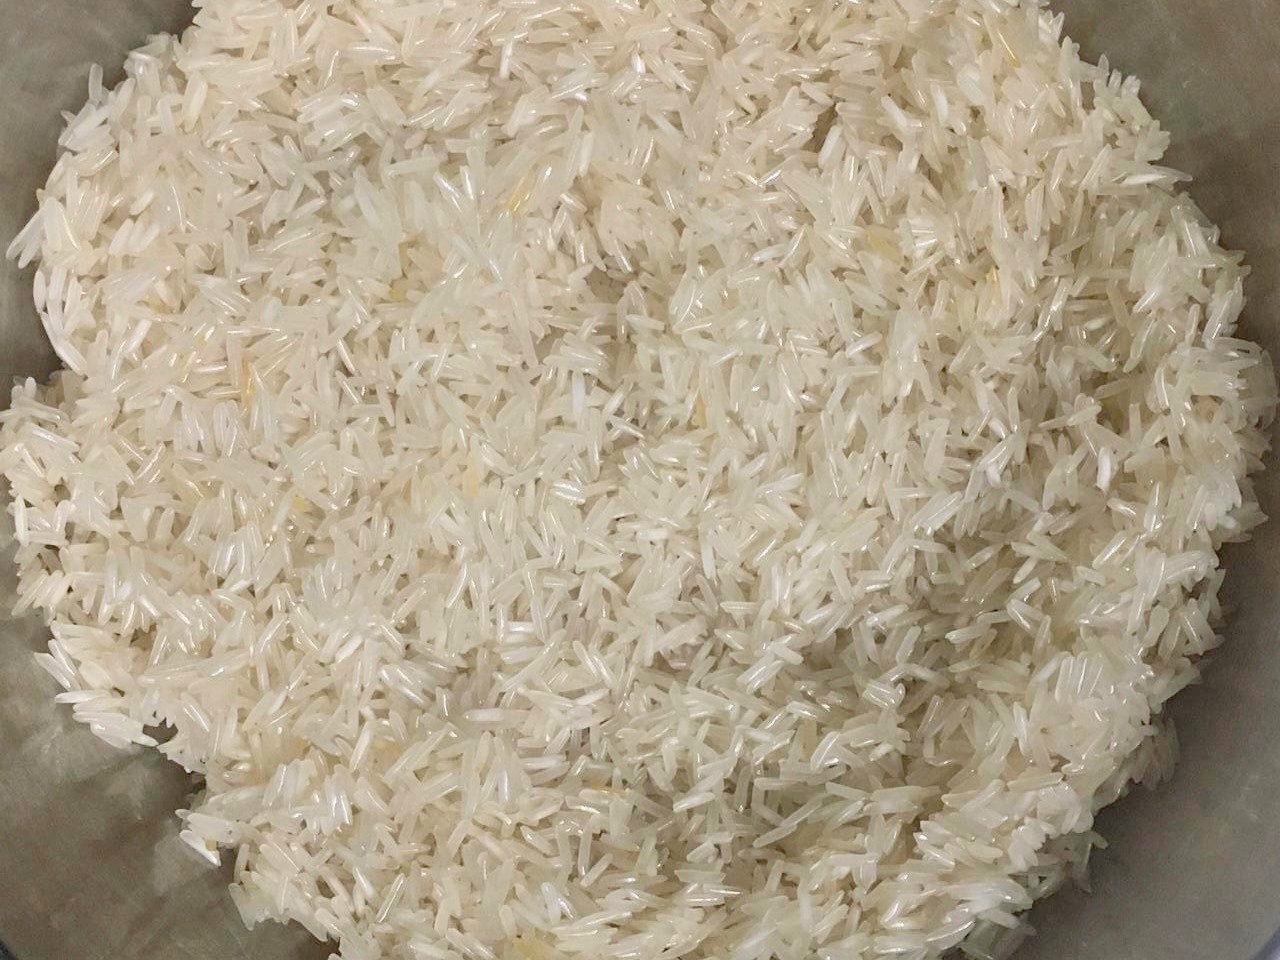
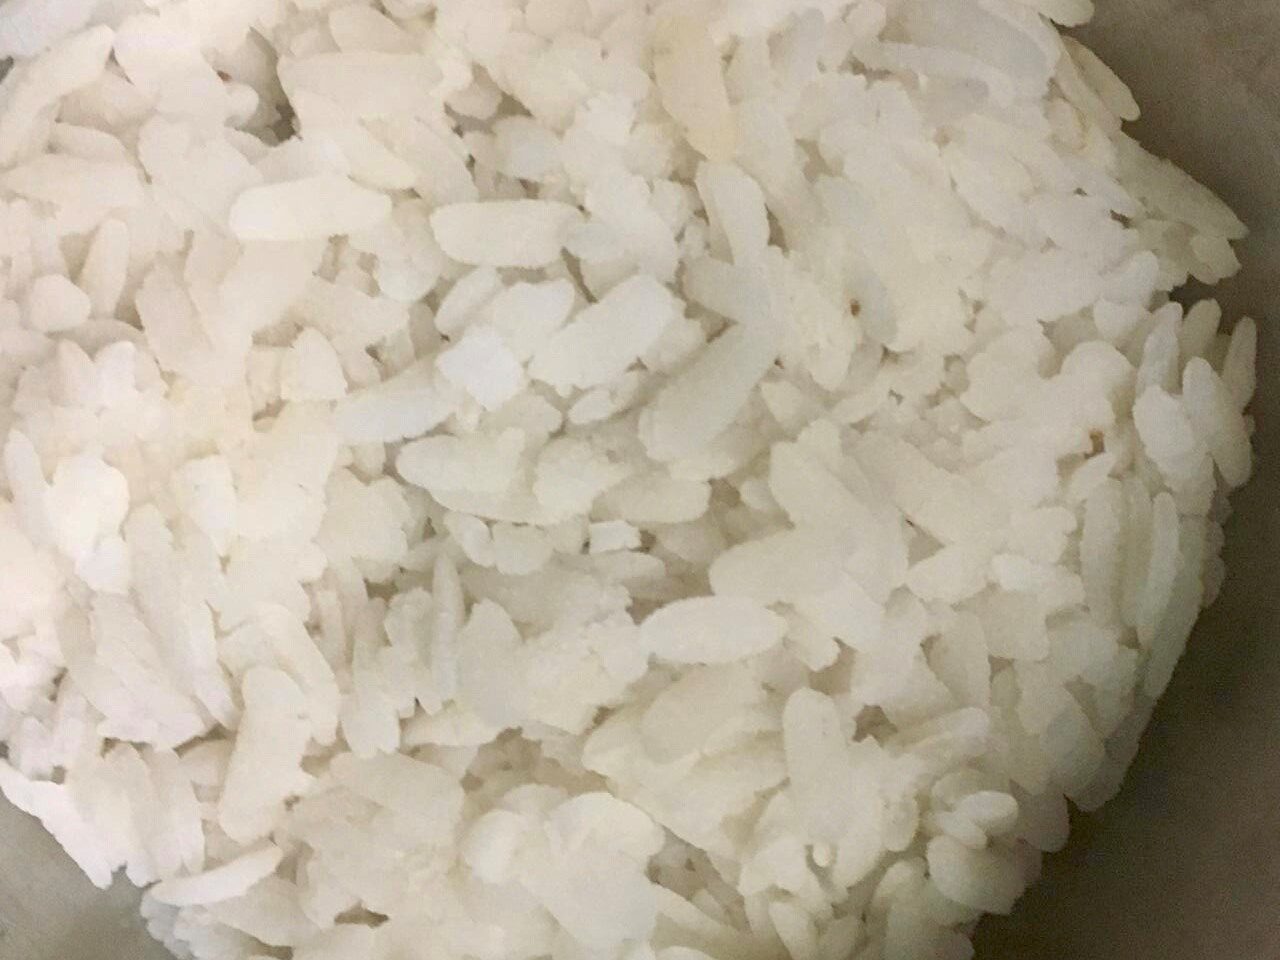
2 cups idli rice
1 cup poha
1 tablespoon salt (adjust according to taste)
Directions

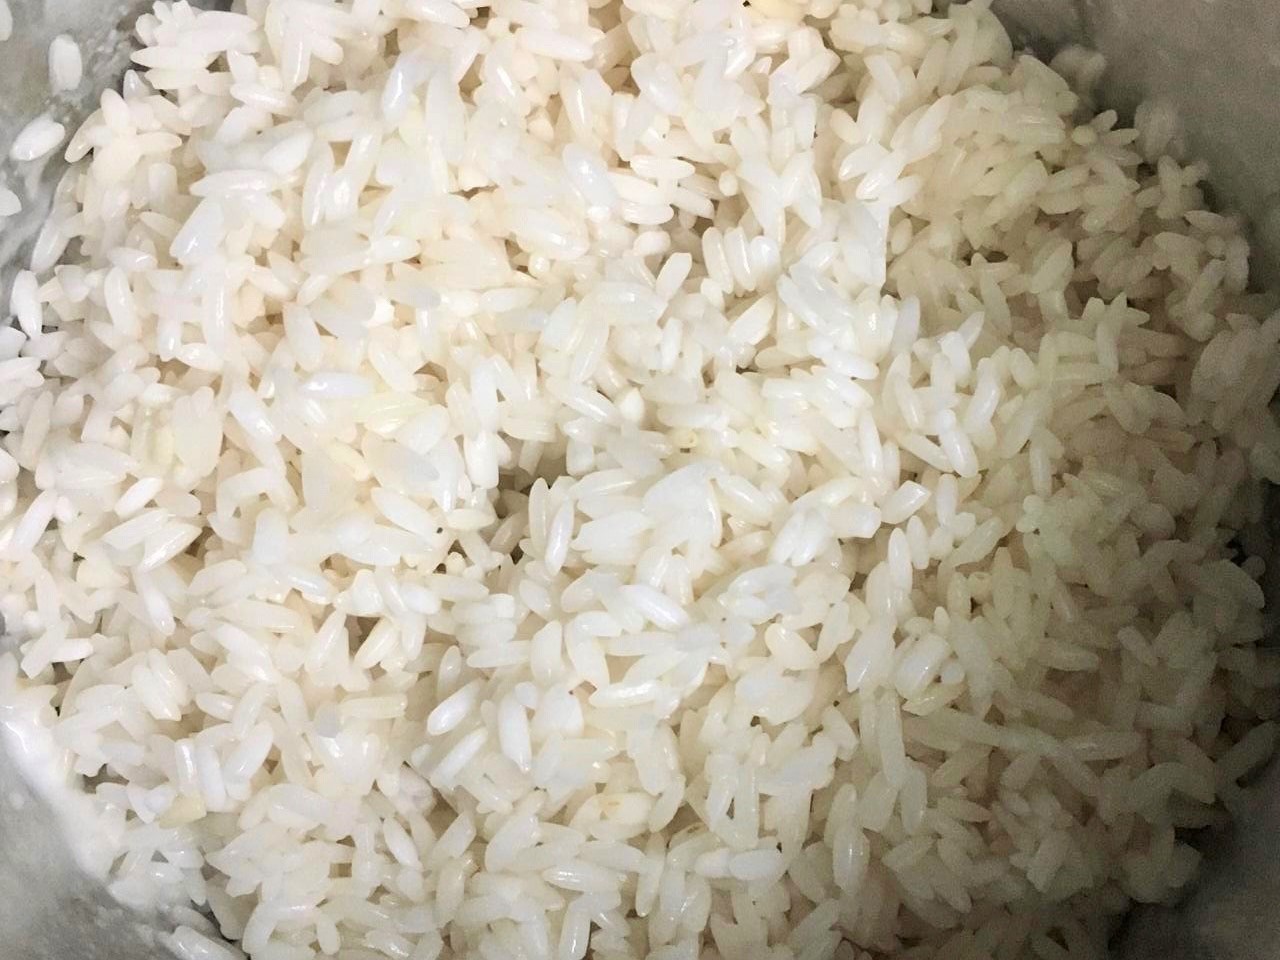
Wash the rice and dal under running water till the water comes clear.
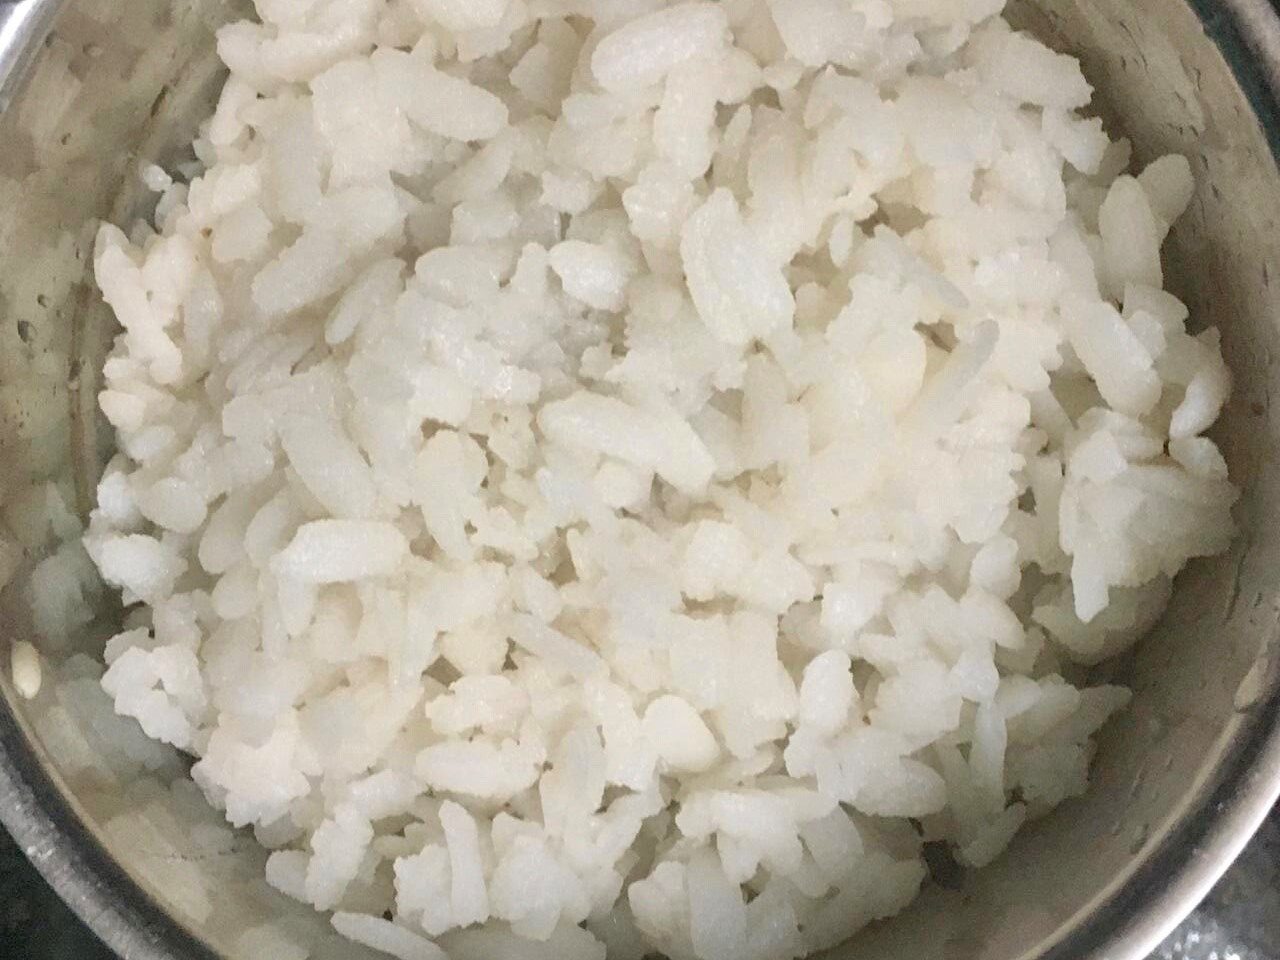
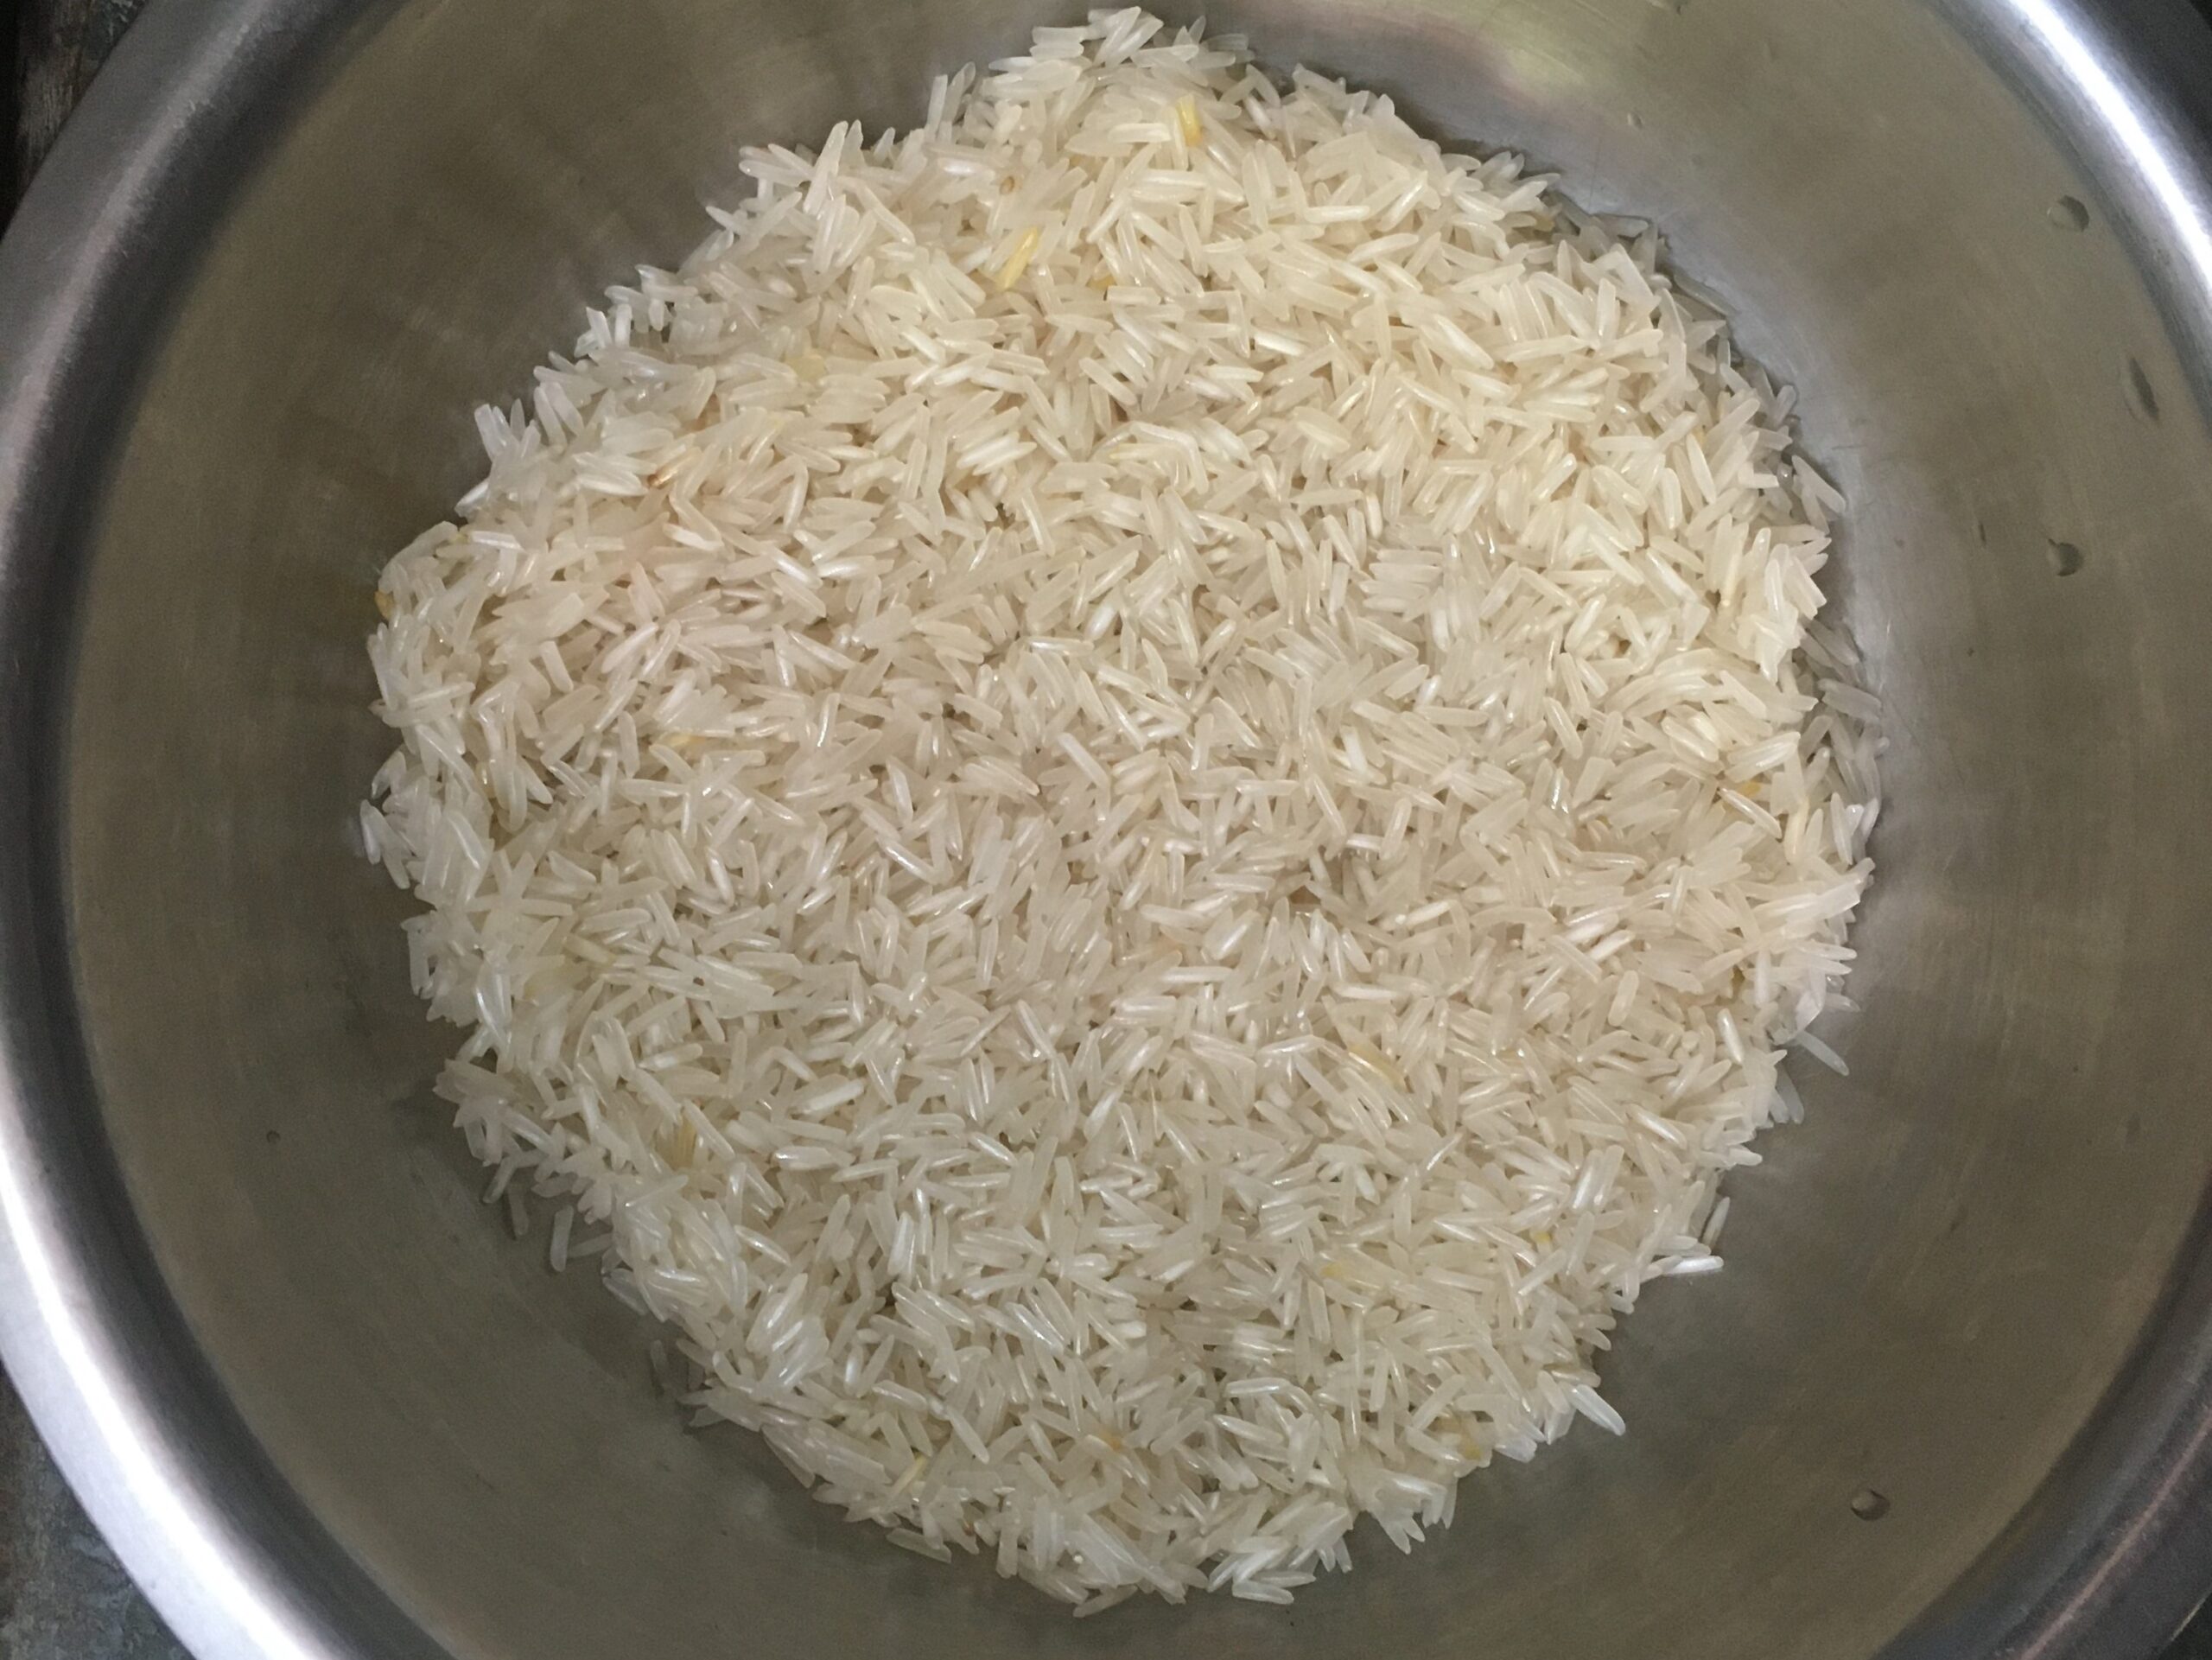
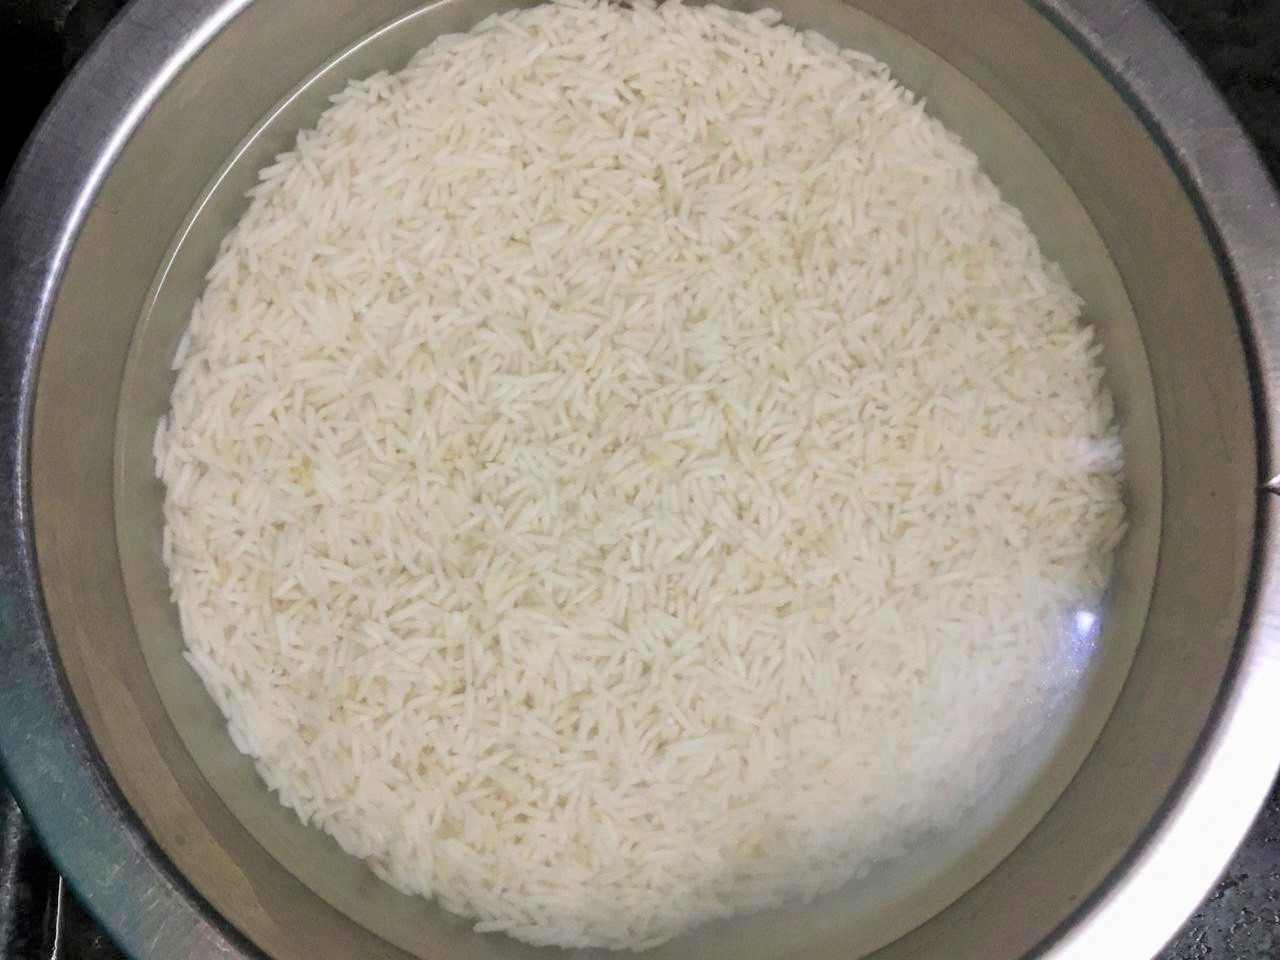
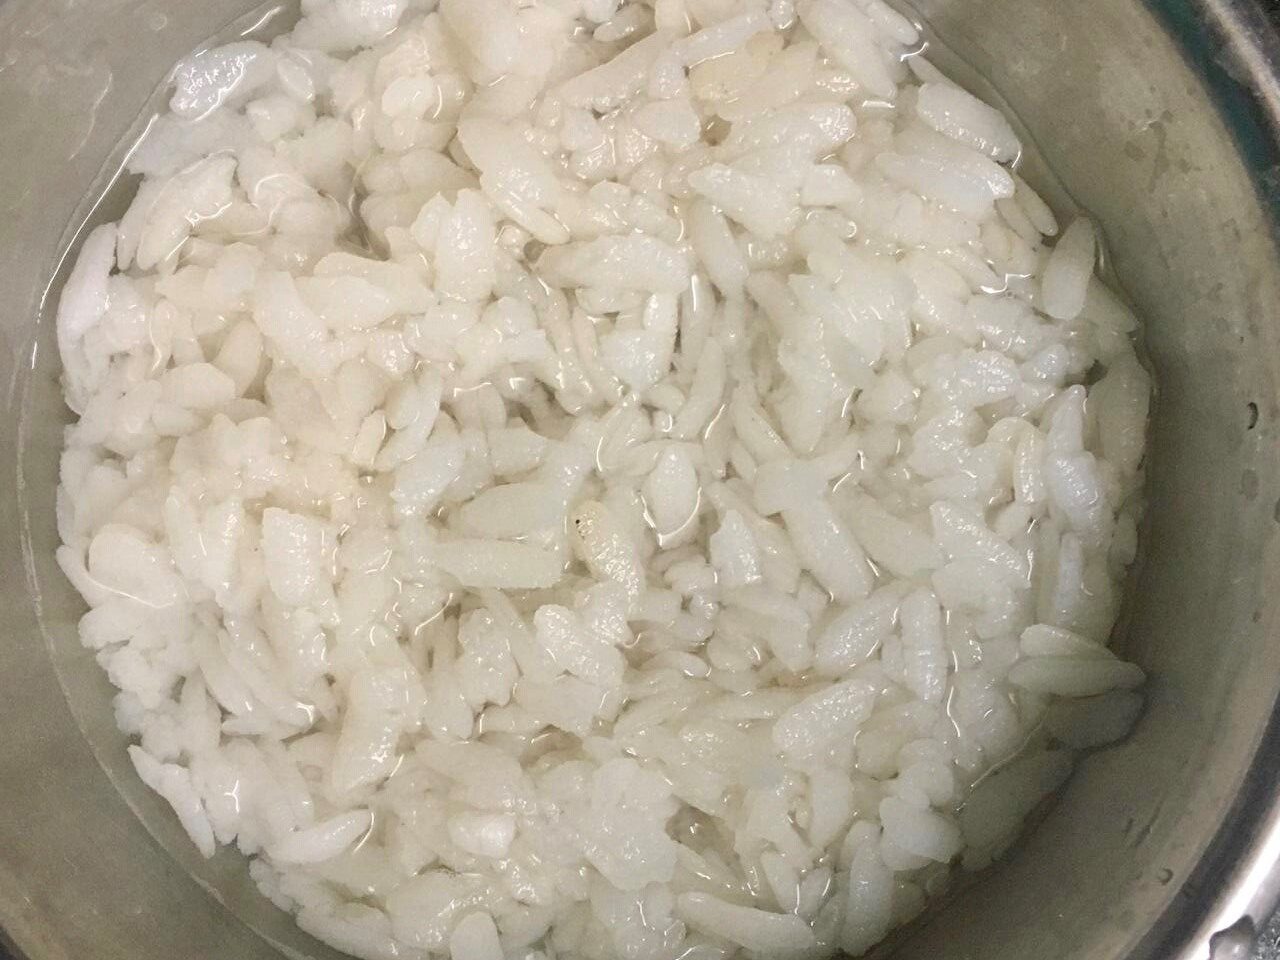
Soak all the ingredients separately overnight or minimum of 4-5 hours.
Soak the poha in ½ cup water for 15-20 minutes.
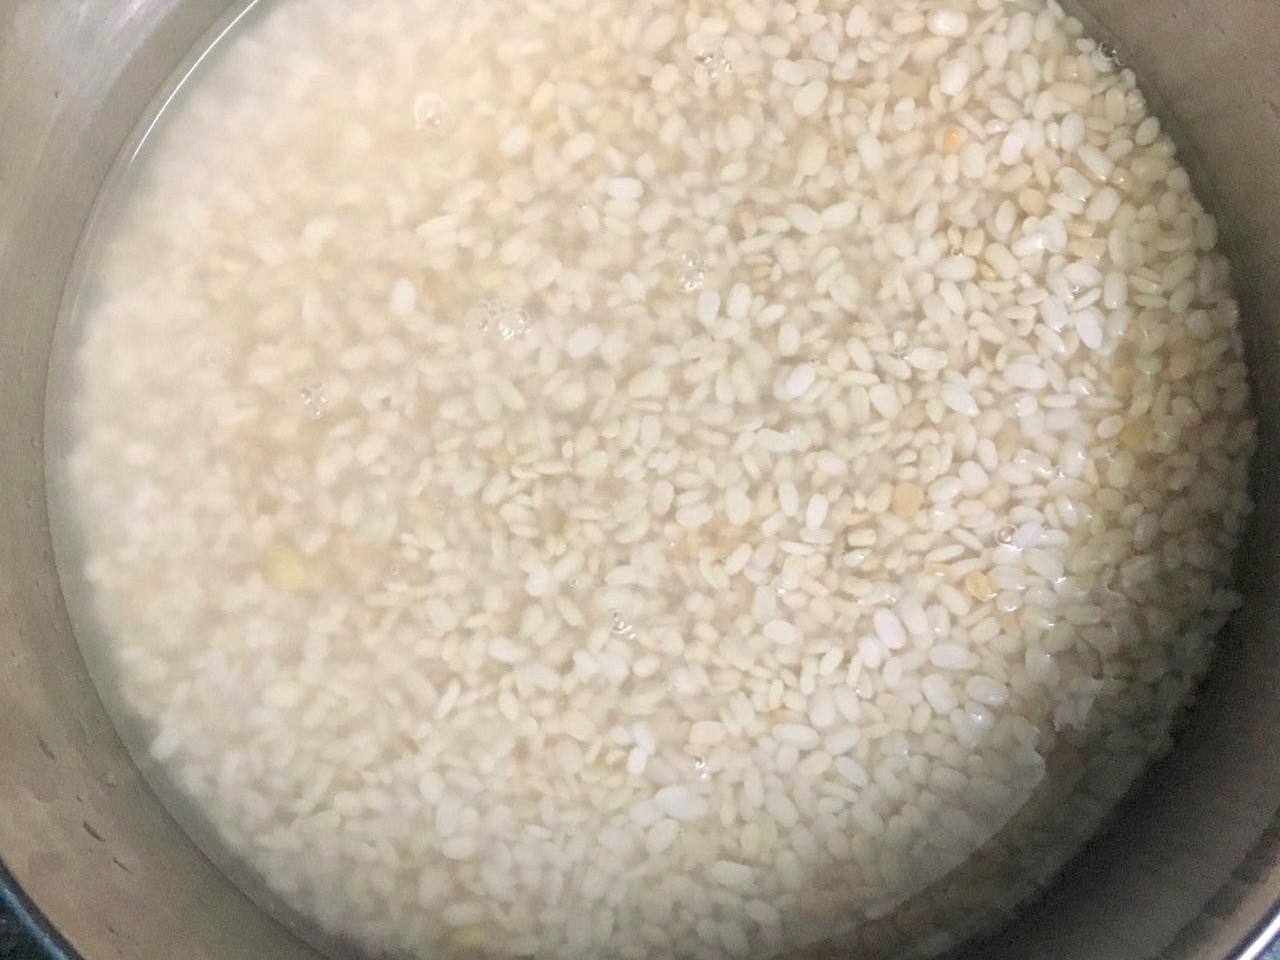
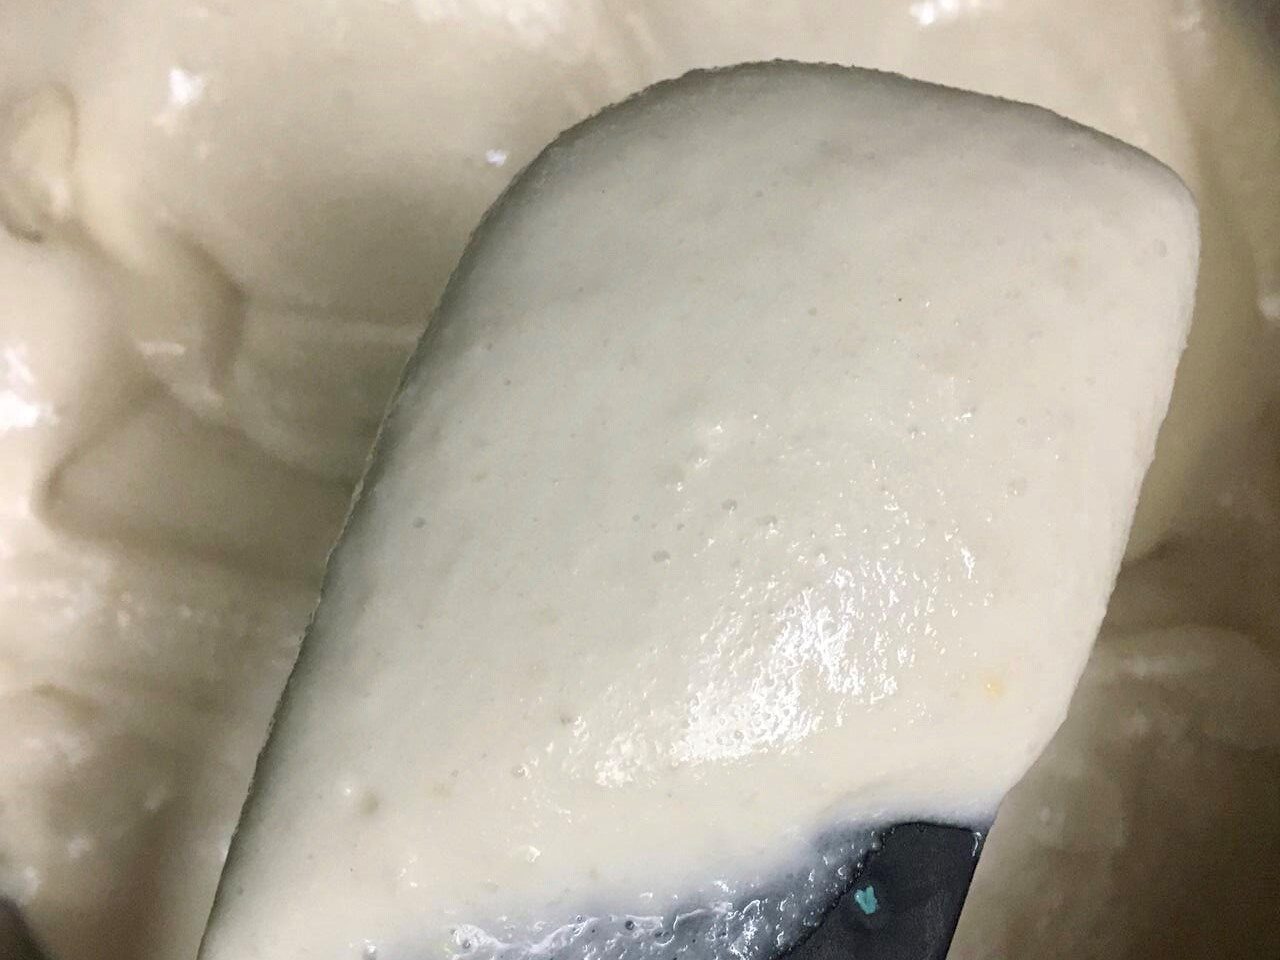
Drain the soaked urad dal and grind it with soaked poha. The tip in grinding urad dal is to add the water slowly. If you add all the water at once, it will not fluff up well. The dal will fluff up to around 8-10 times of its original volume. Grind it till it is a smooth paste and then transfer the dal mixture into a bowl and set aside.

Drain the soaked rice and grind it until smooth. Add just enough water while grinding. Once ground, transfer the batter to the dal mixture bowl and mix well.
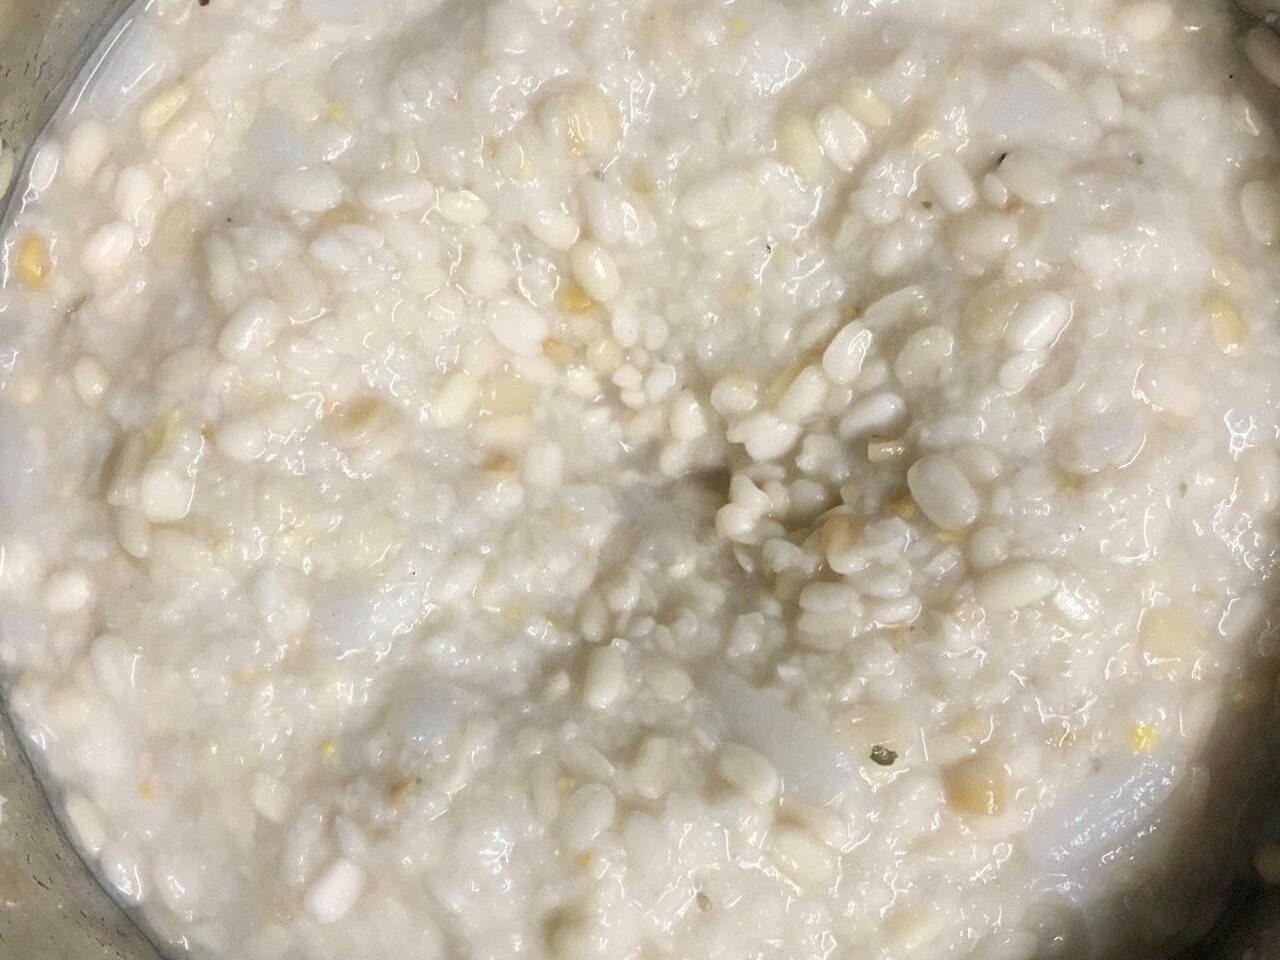
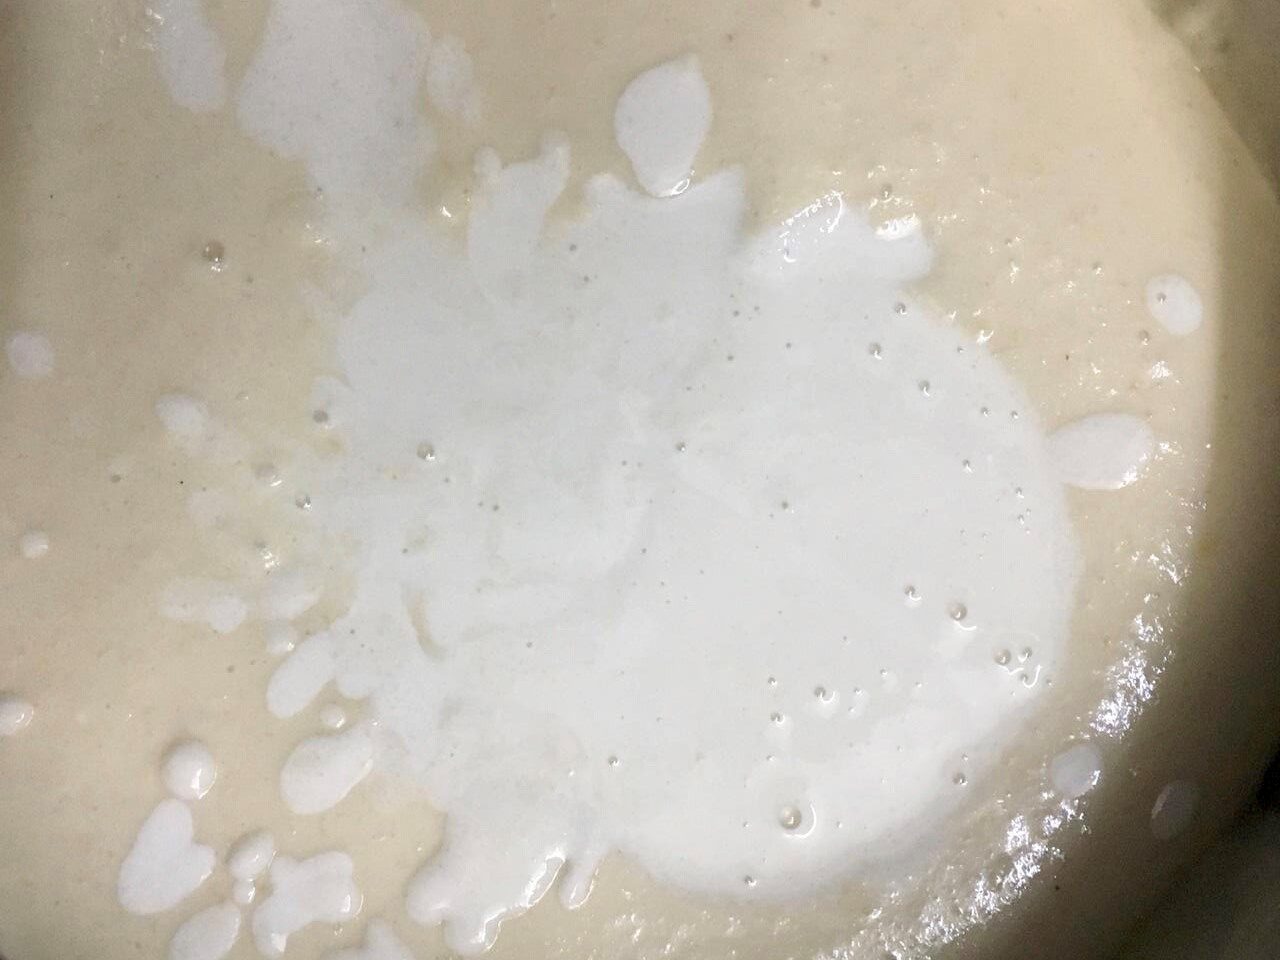
Cover and let the batter ferment for 8 to 12 hours (batter doubles in size indicating good fermentation and you can see some air pockets too on the top). Add salt to the batter and mix gently without disturbing the air pockets.

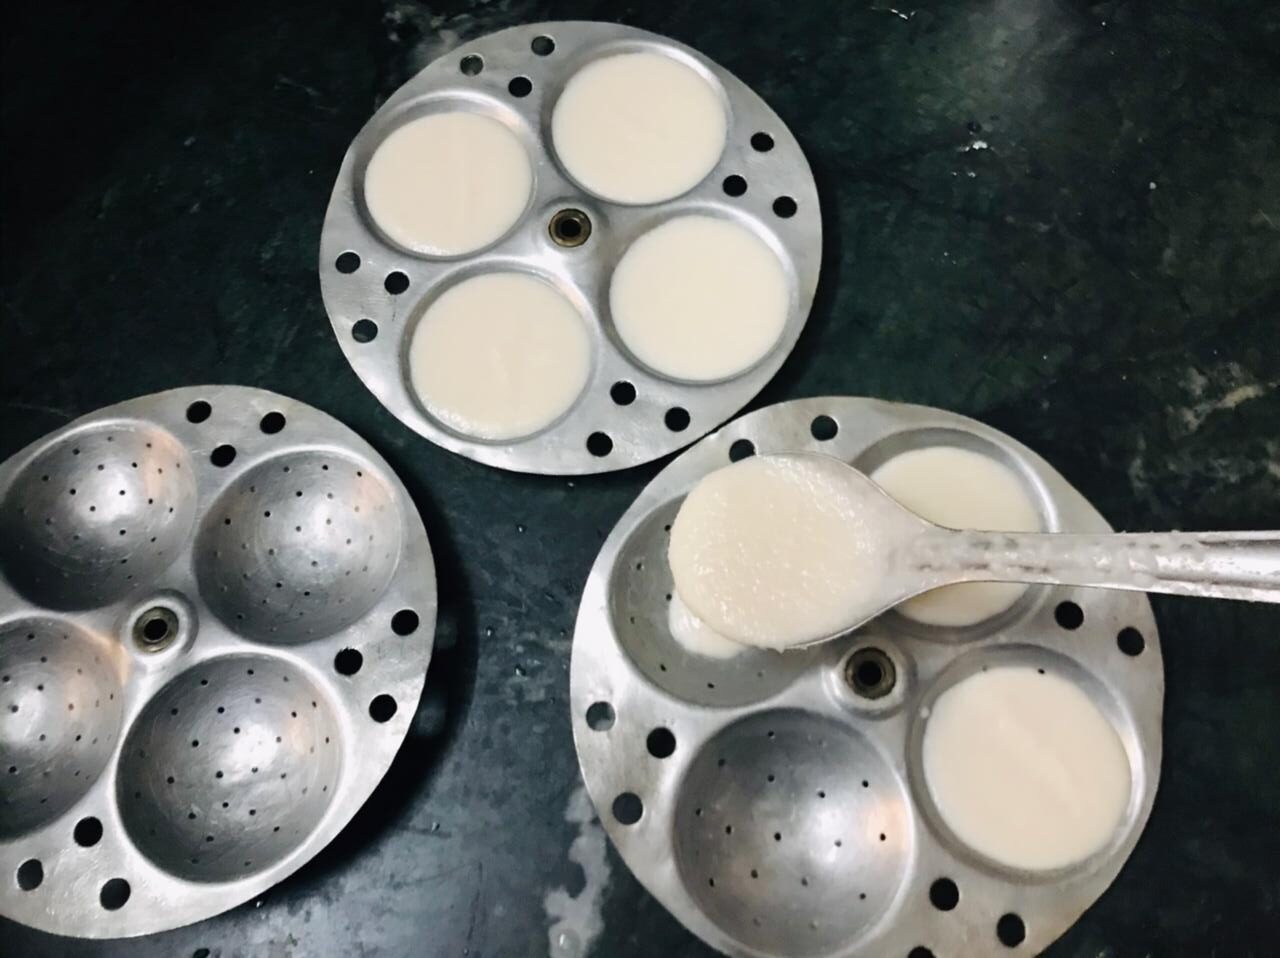

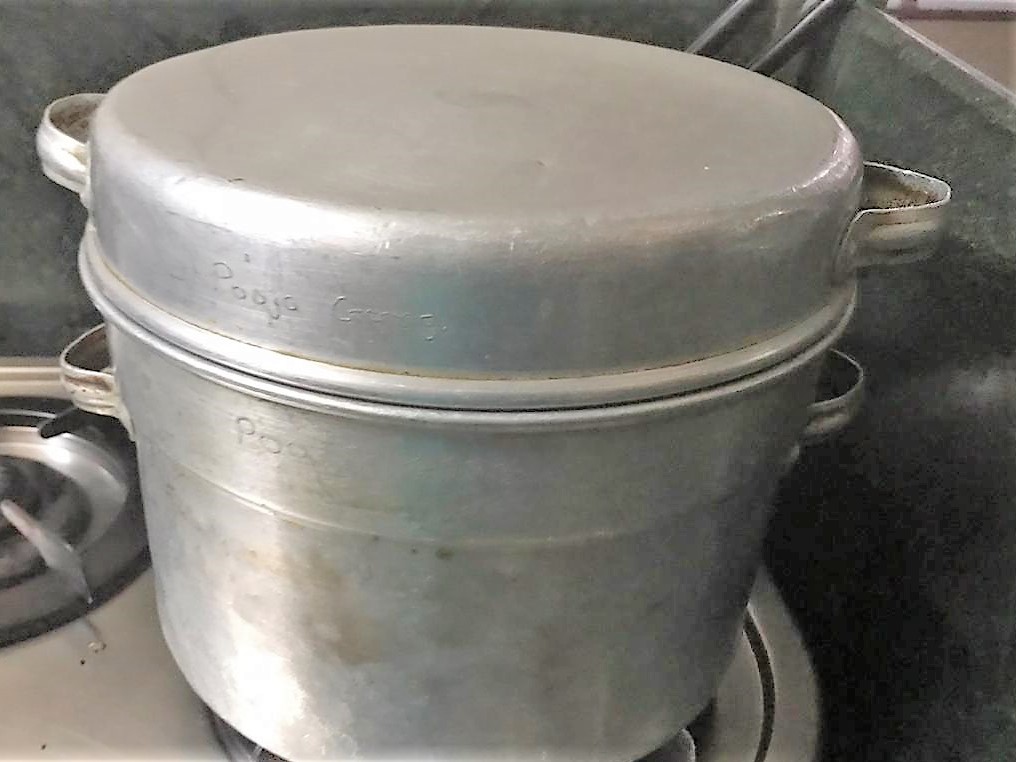

Put some water in an Idli vessel and put it on medium heat. Grease the idli plates and gently fill the rounds with the batter. Put it inside the idli vessel and let it steam for 8-10 minutes.
Serve hot with your favourite chutney and/or sambar!