Tatte Idli

Tatte Idli
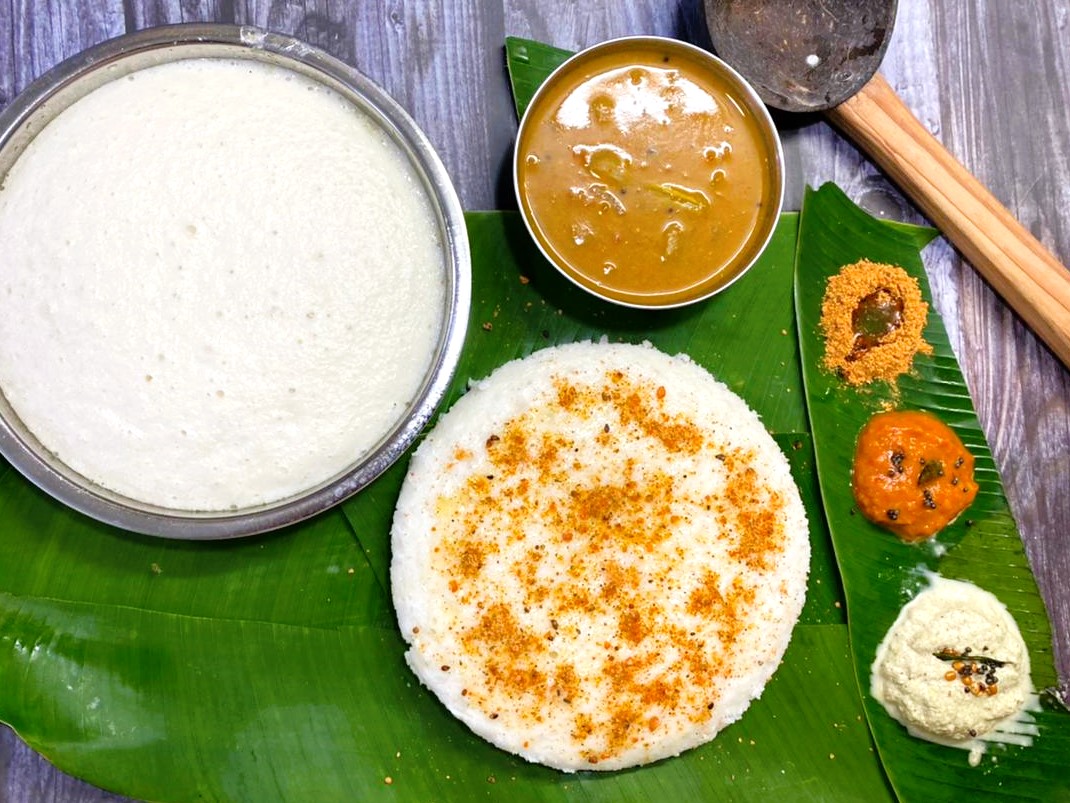
Tatte idli is a traditional South Indian dish from Karnataka, India but is now gaining popularity all over India. In Kannada, ‘Tatte’ or ‘Thatte’ means ‘plate’ or ‘flat’ and Idli is a steamed rice-based cake. Tatte Idli has its origins in Bidadi – an industrial suburb just outside Bangalore enroute Mysore. Tatte Idli is a super soft, fluffy, larger and flatter idli made in plates instead of the regular idli mould, hence being coined as plate idli too.
We travelled to Karnataka last year and while travelling towards Mysore, we noticed large boards and hotels selling hot steaming tatte idli for breakfast. Of course, being huge foodies we had to stop and try them! Soft, fluffy and served with a dollop of butter, with piping hot sambar, coconut chutney and malgapodi powder these idlis became a firm favourite for breakfast and my children asked me to prepare it when we returned home. Fortunately, the cook of the restaurant where we savoured these Idlis on the highway, was very kind and graceful to teach me a trick or two about these Tatte Idli. Firstly, and most importantly, the batter should be made with rice, urad dal and also rice flakes and tapioca pearls. Traditionally, tapioca balls are not used in traditional idli batter, and this is the main difference. The proportions of the ingredients play a huge role in getting any idli right and that’s true for tatte idli too, so I have tried and tested few proportions and this one gives the most soft, fluffy tatte idlis.
I love making idlis at home as they are light, delicious and nutritious. Idlis are rich in fibre and protein which delivers adequate dose of carbs, energy and calcium. Idlis are also rich in carbohydrates, proteins, enzymes, fats, amino acids and fiber. The plus point is it doesn’t contain any saturated fats and cholesterol.
Tatte Idli can be enjoyed with Homemade Butter or chutneys like Coconut Chutney, Tomato Onion Chutney and/or with Sambar and Paruppu Rasam.
Ingredients
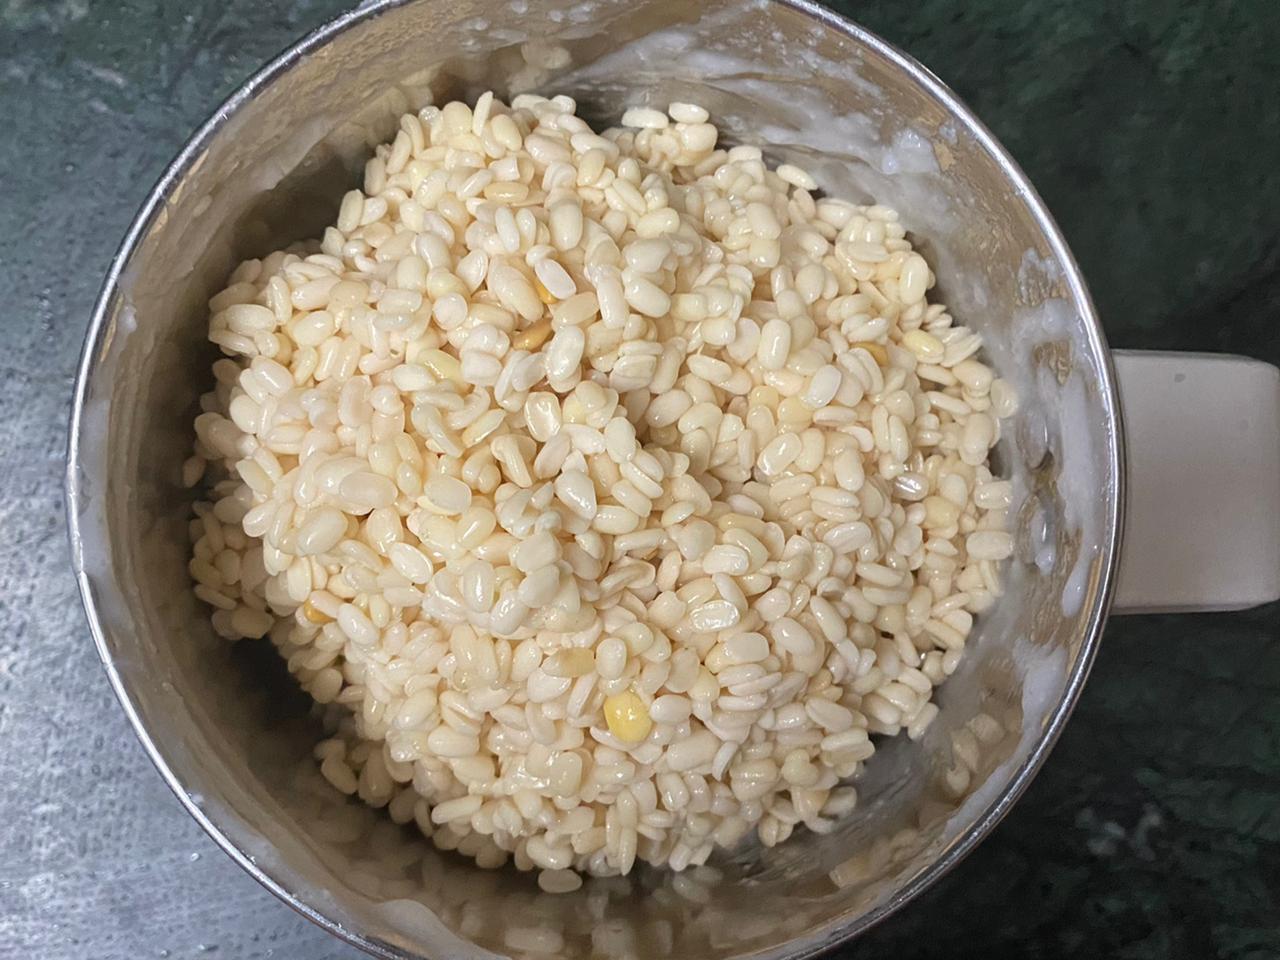
1 cup urad dal dehusked)
1 teaspoon fenugreek seeds (methi dana)
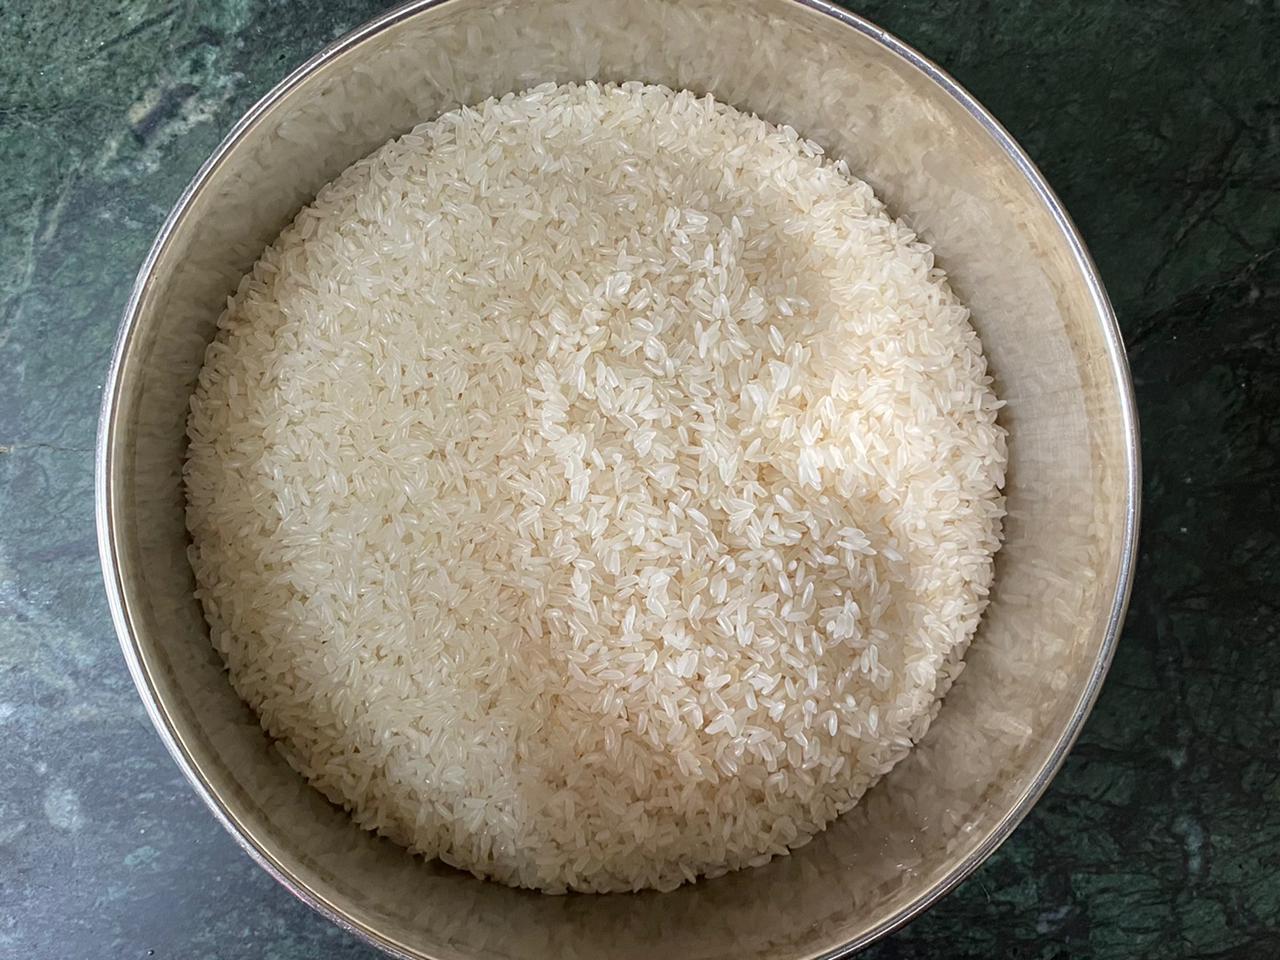
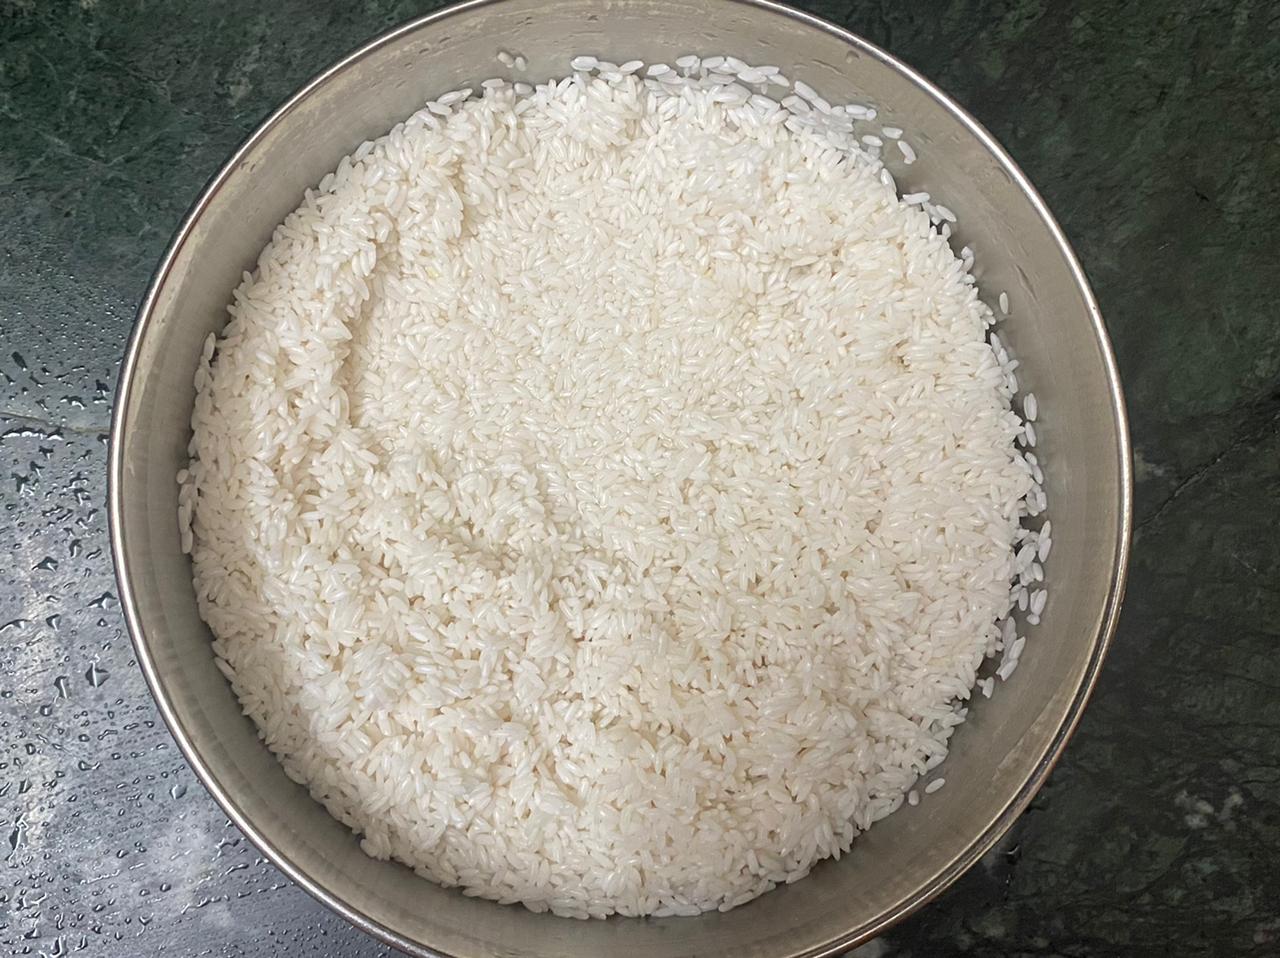
3 cups Idli rice
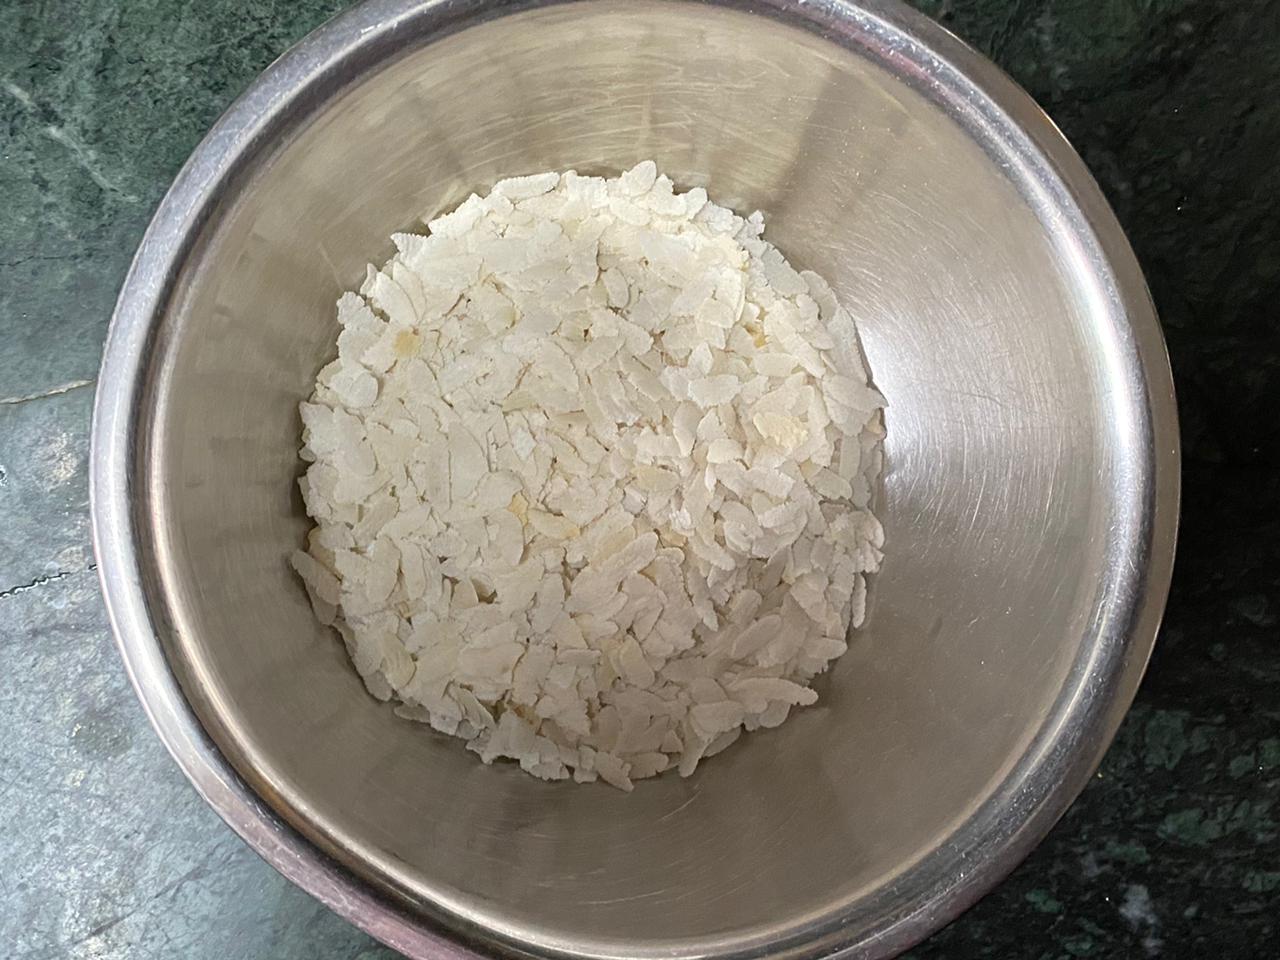
½ cup poha
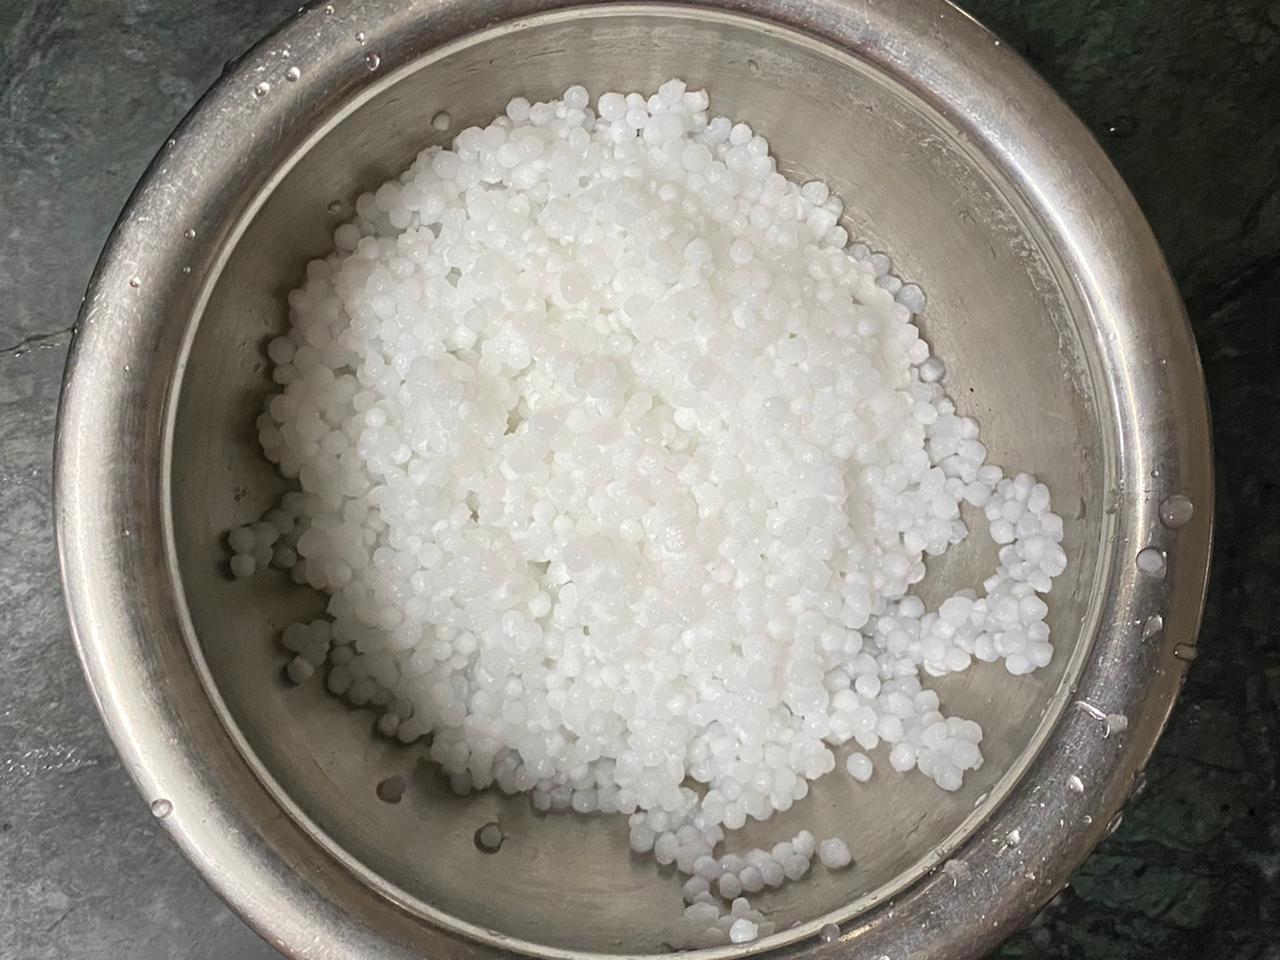
¼ cup sabudana (tapioca balls)
Salt to taste
1 teaspoon fruit salt
Other Ingredients
Oil for greasing the plate
2 tablespoons ghee
2 tablespoons malgapodi powder
Directions
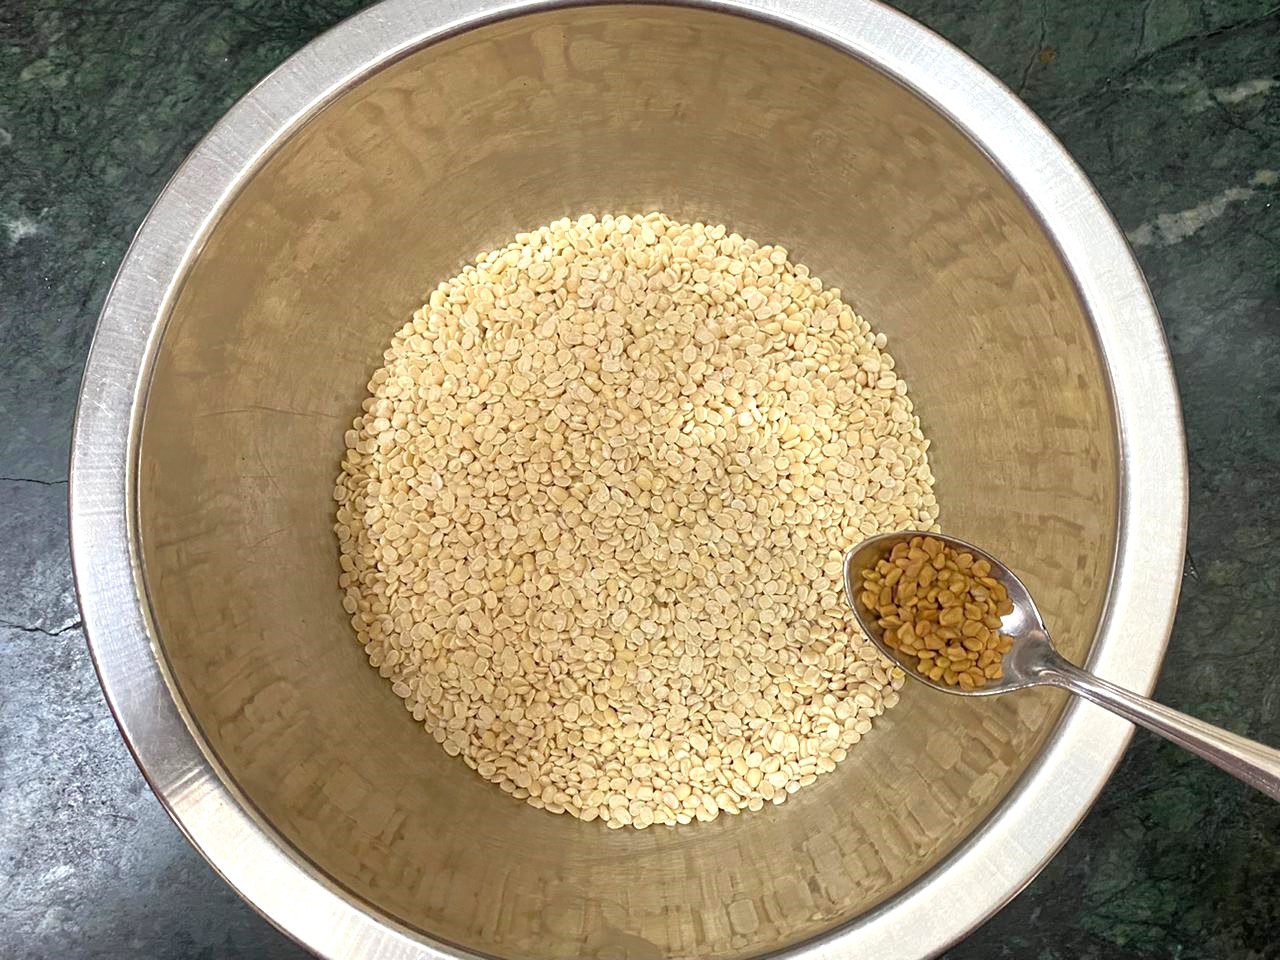
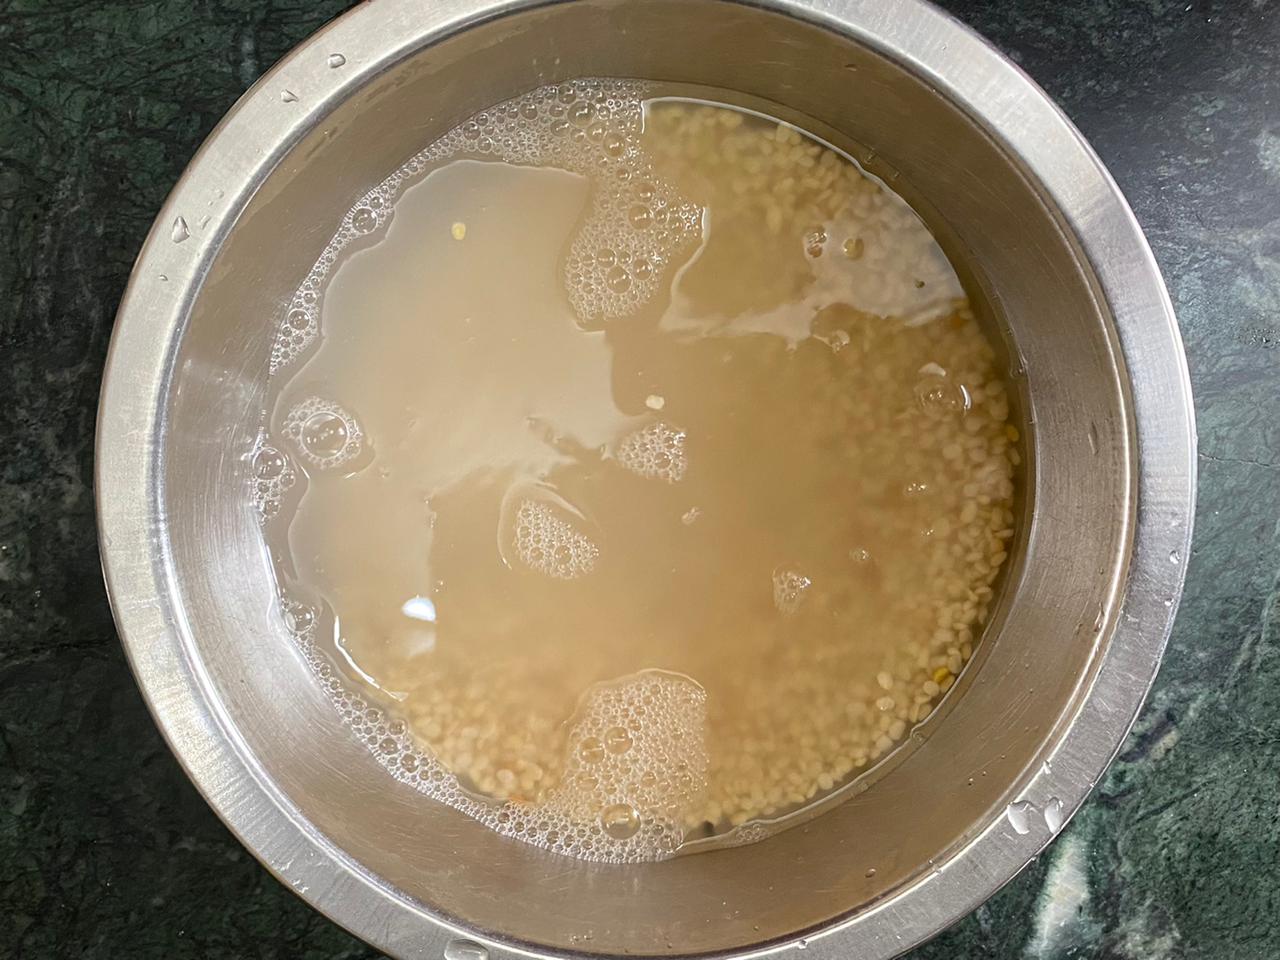
Wash the urad dal and fenugreek seeds in water and soak it for 5-6 hours.
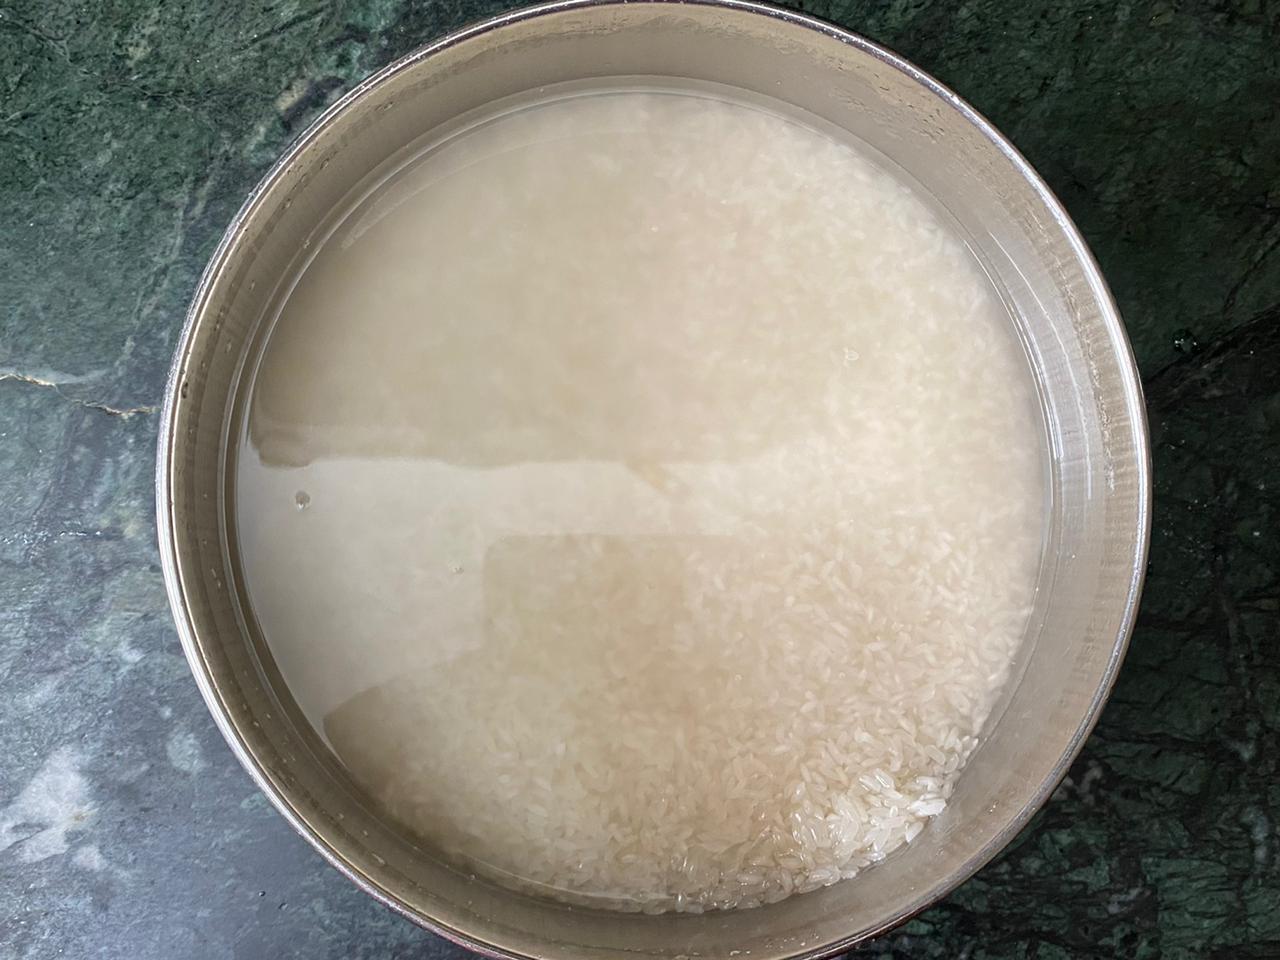
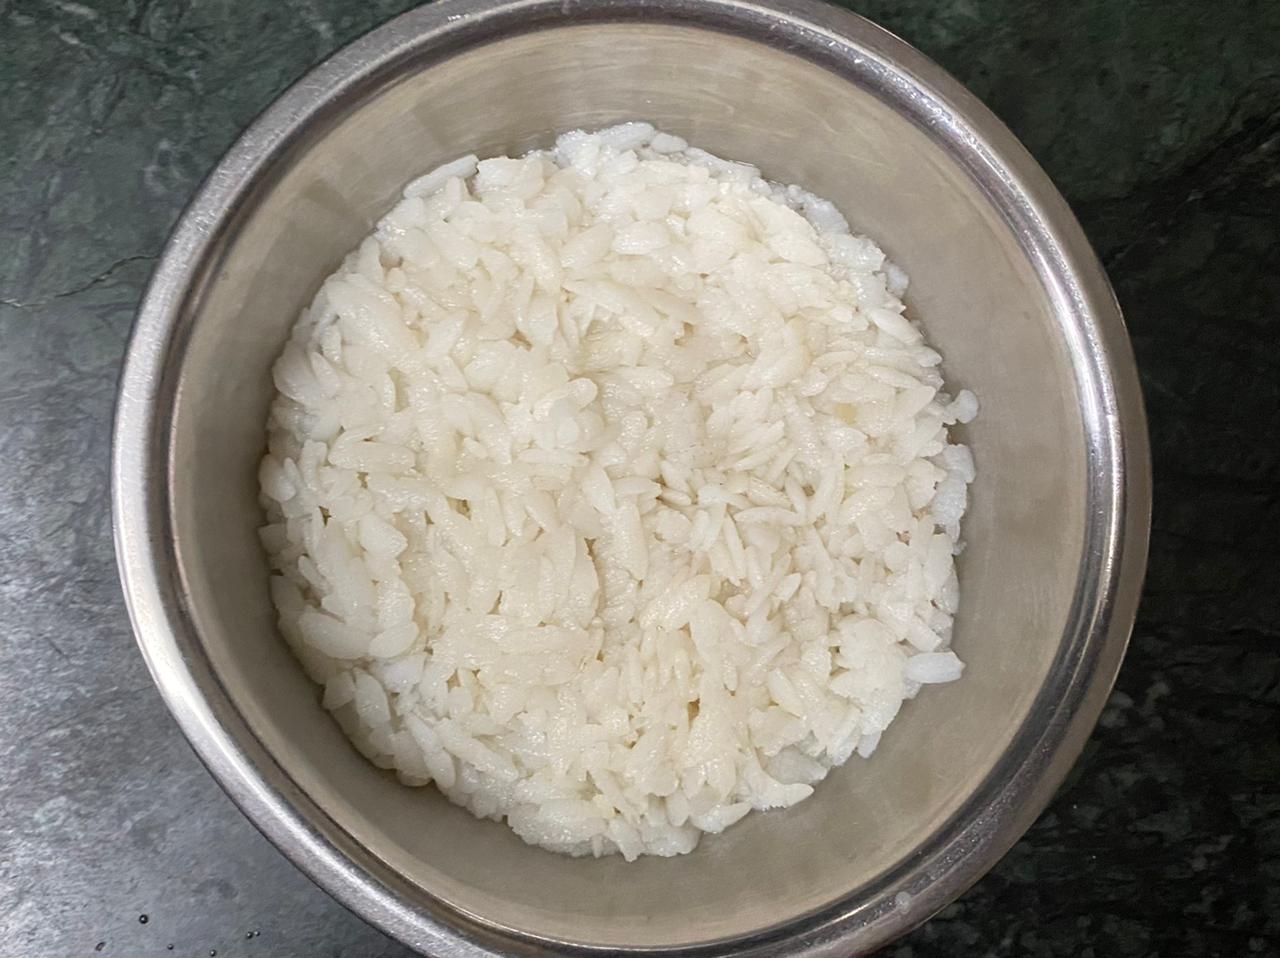
Wash the rice couple of times and soak it in water for about an hour.
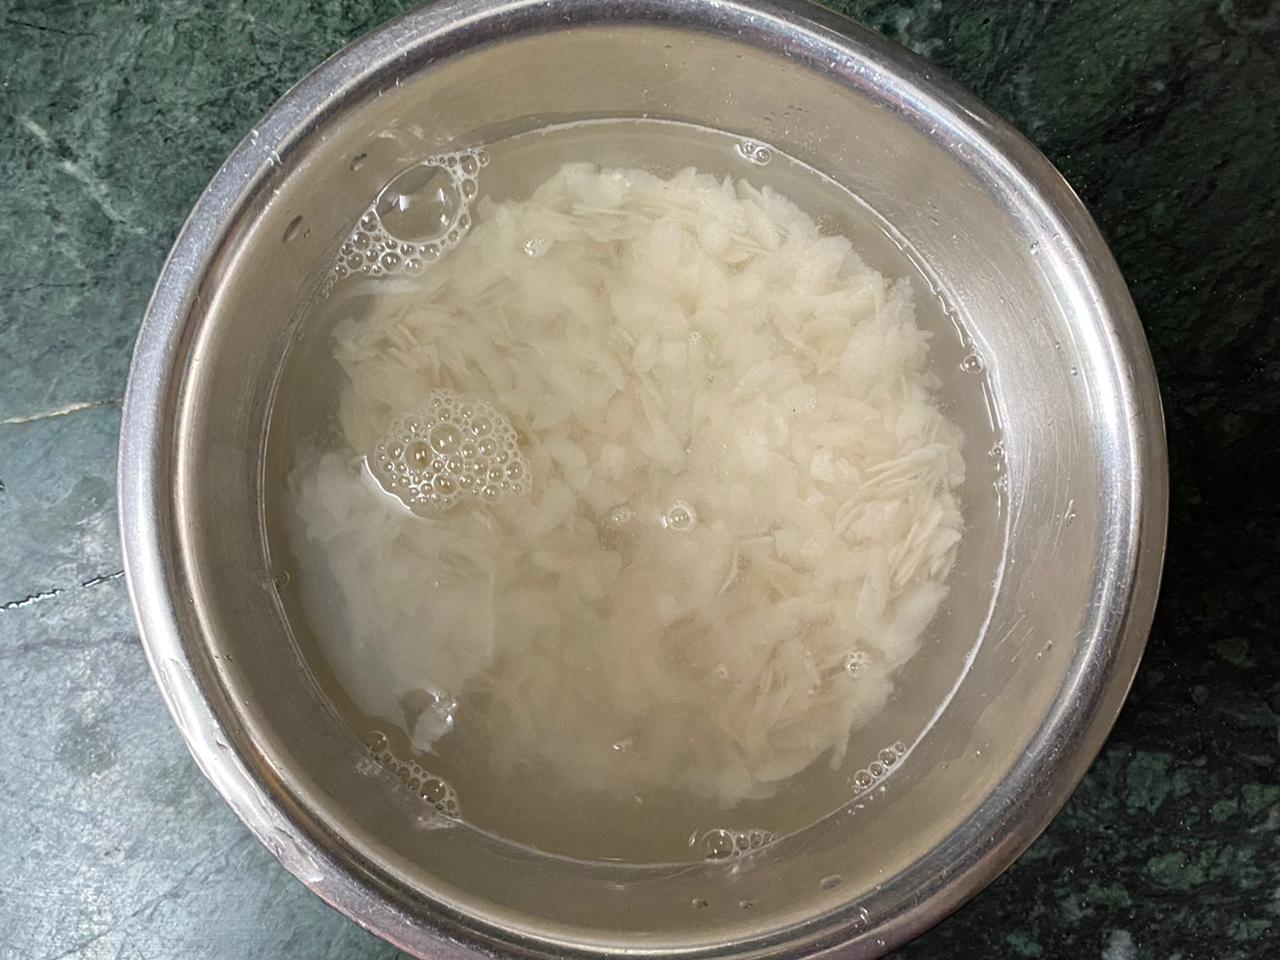
Soak poha in ½ cup water.
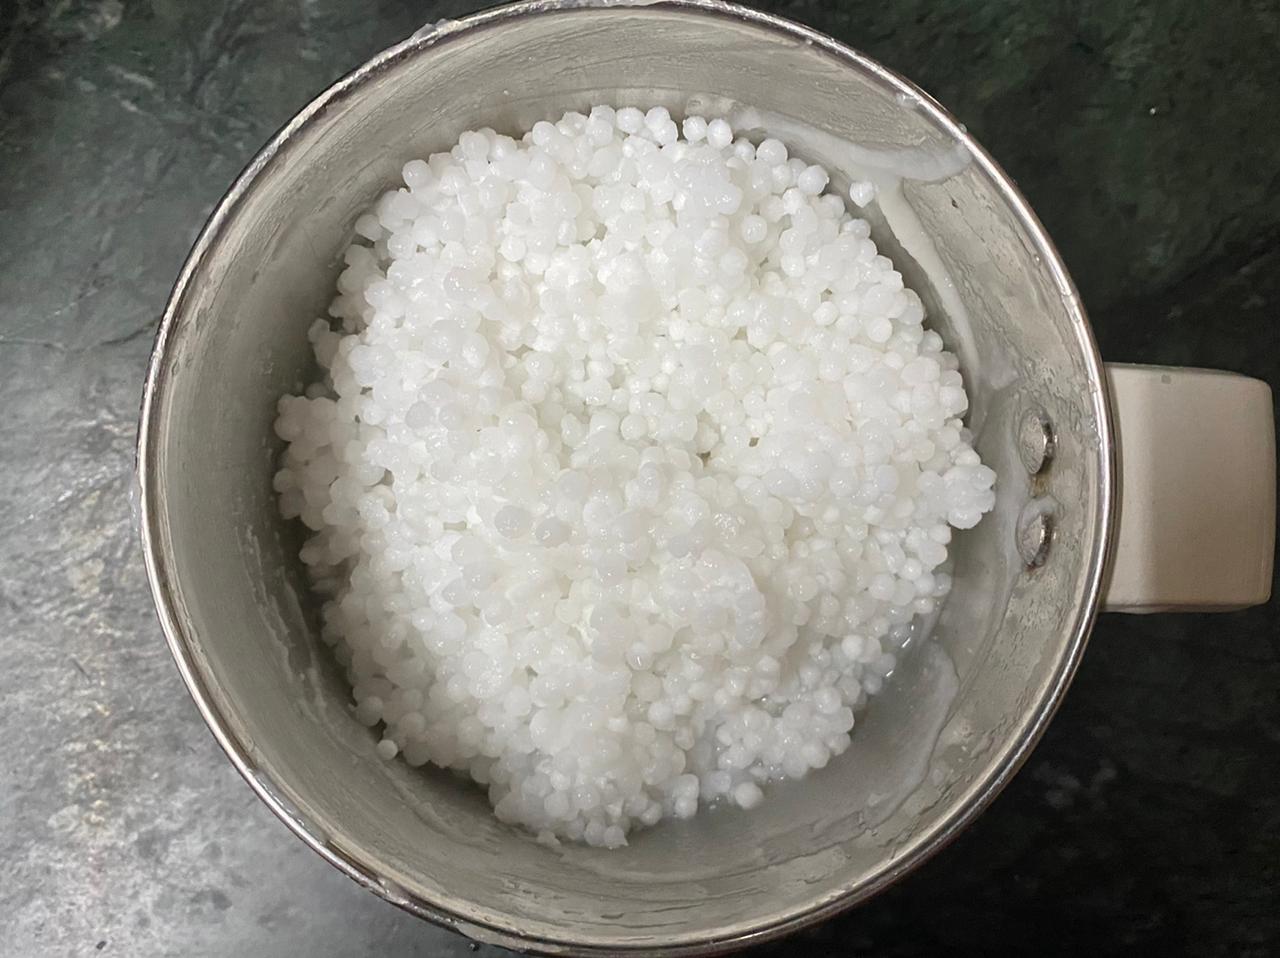
Soak sabudana in ¼ cup water

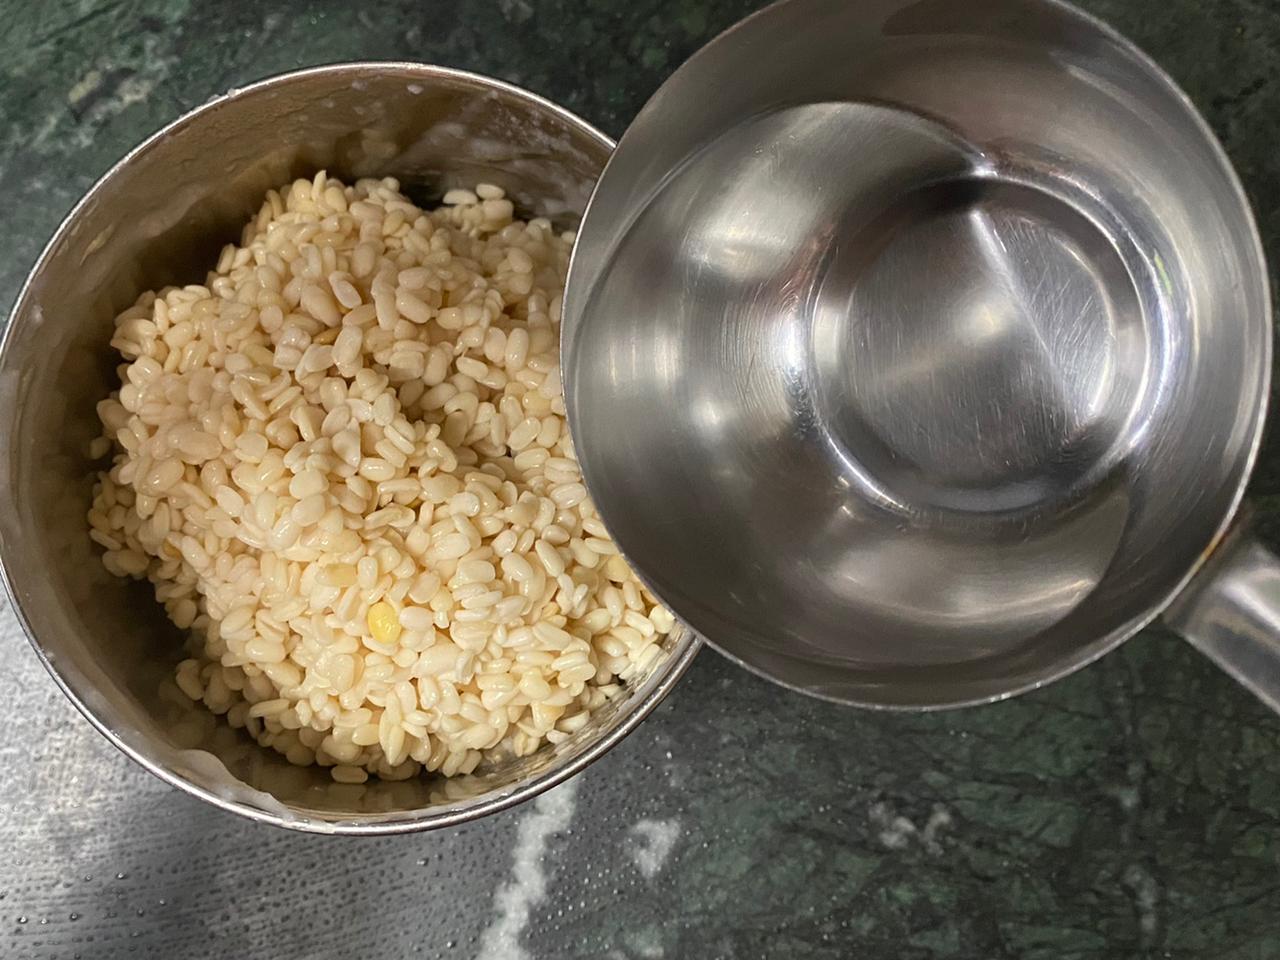
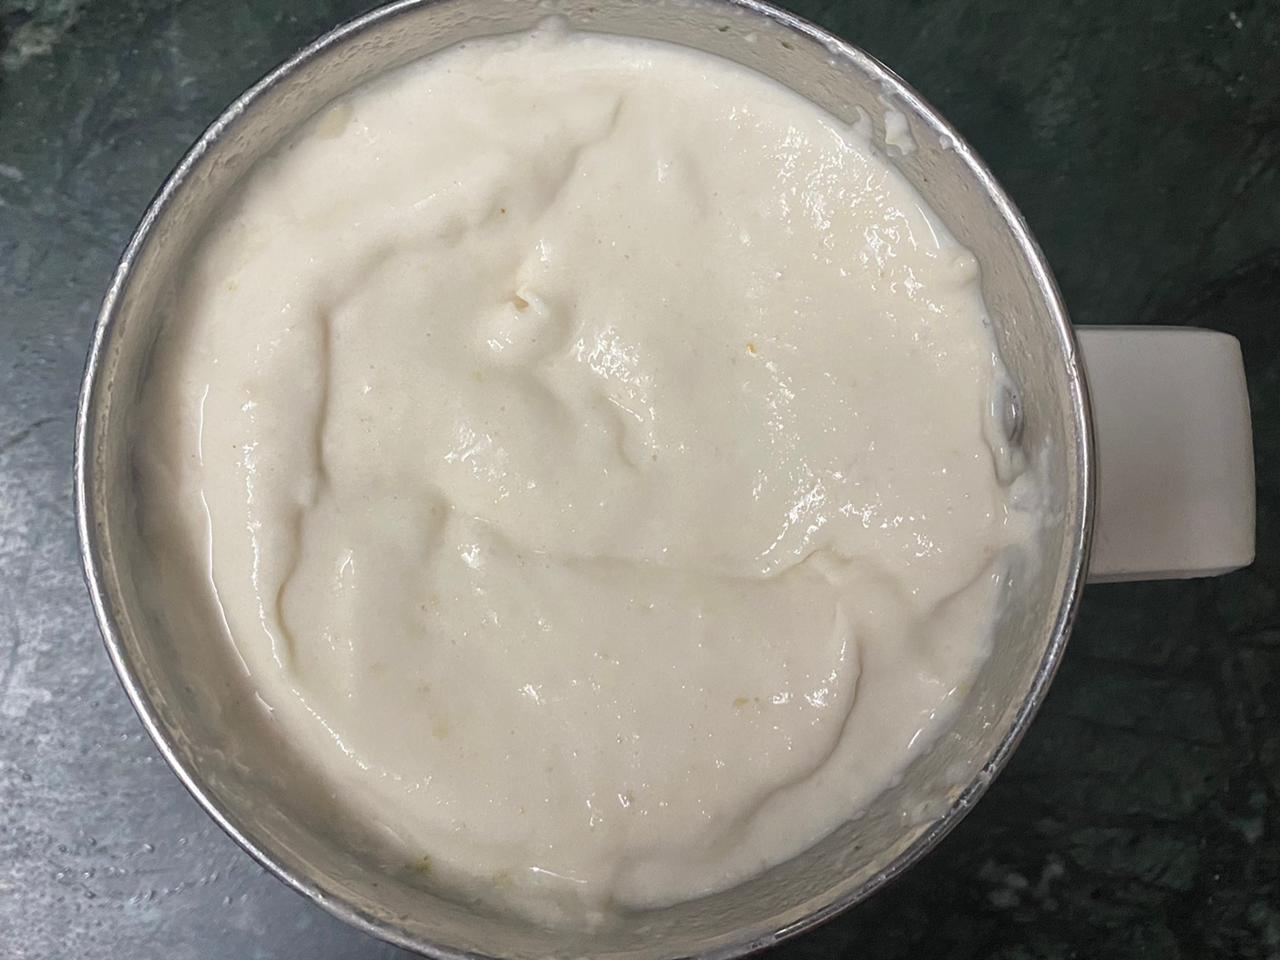
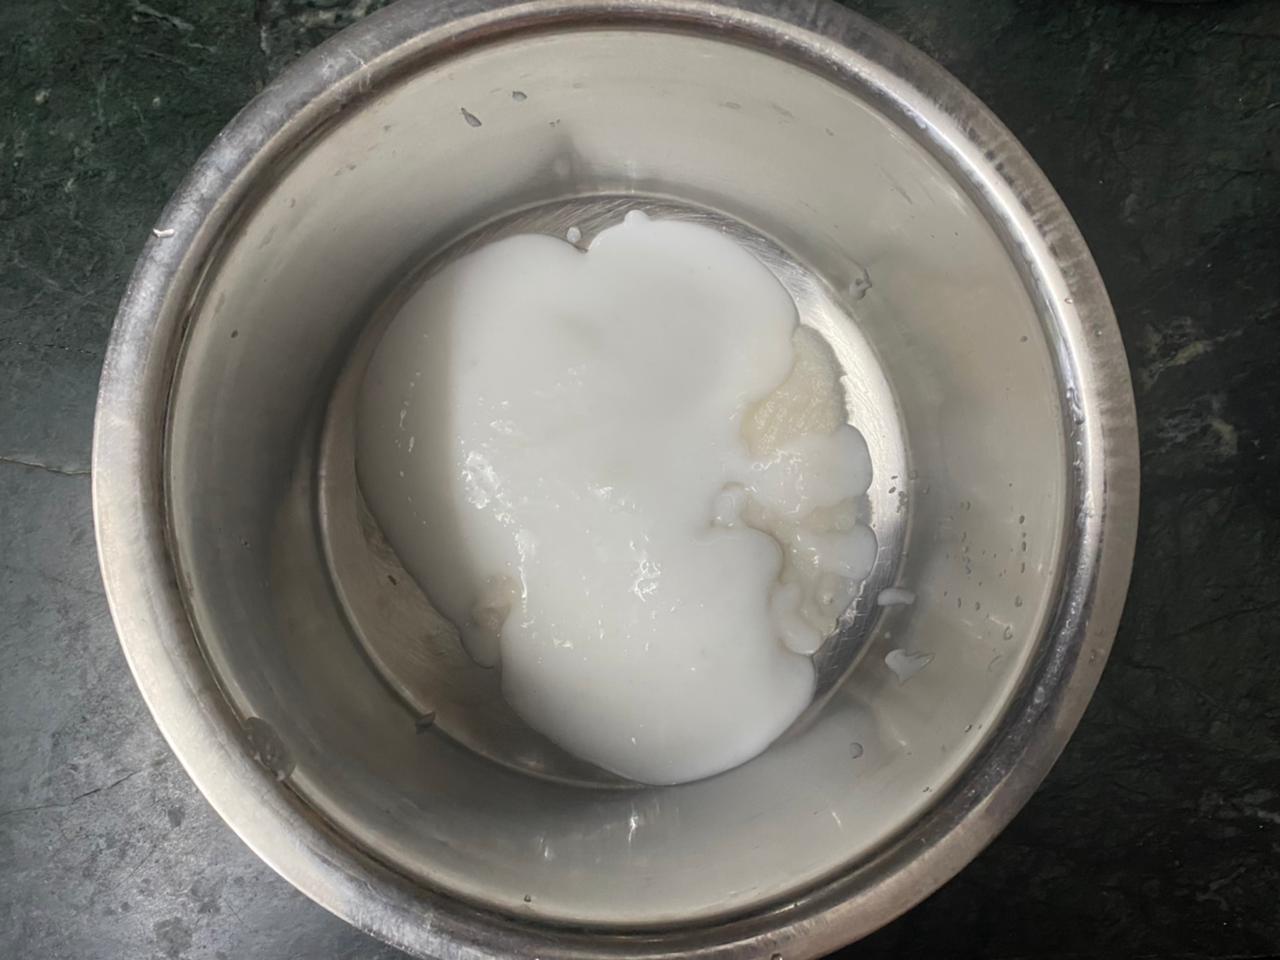
Drain the soaked urad dal and grind it with ¼ cup of cold water. Grind till you get a smooth and fluffy batter. Adjust the amount of water as needed while grinding. Remove the urad dal batter in a bowl and keep aside.
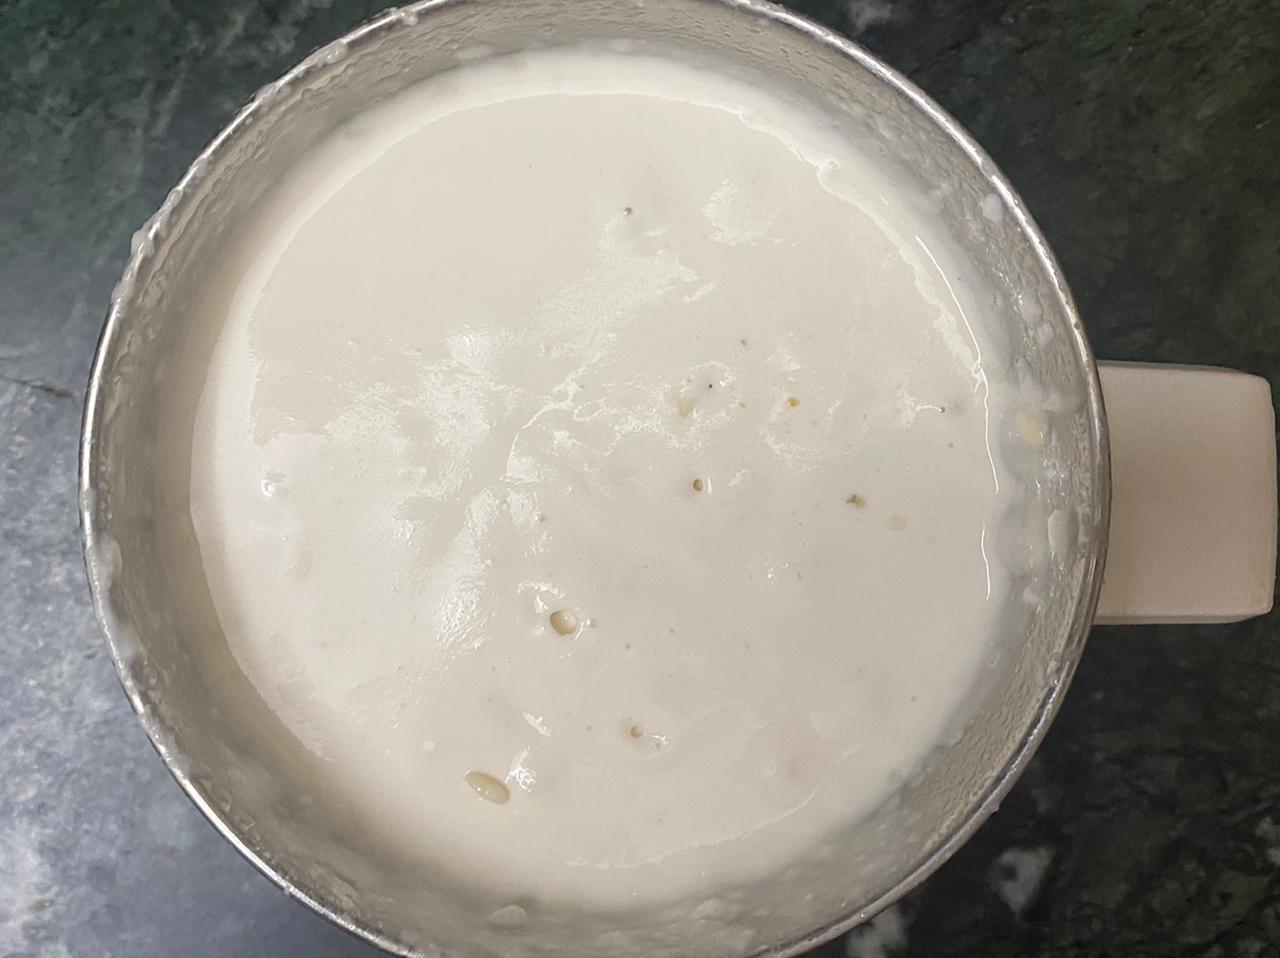
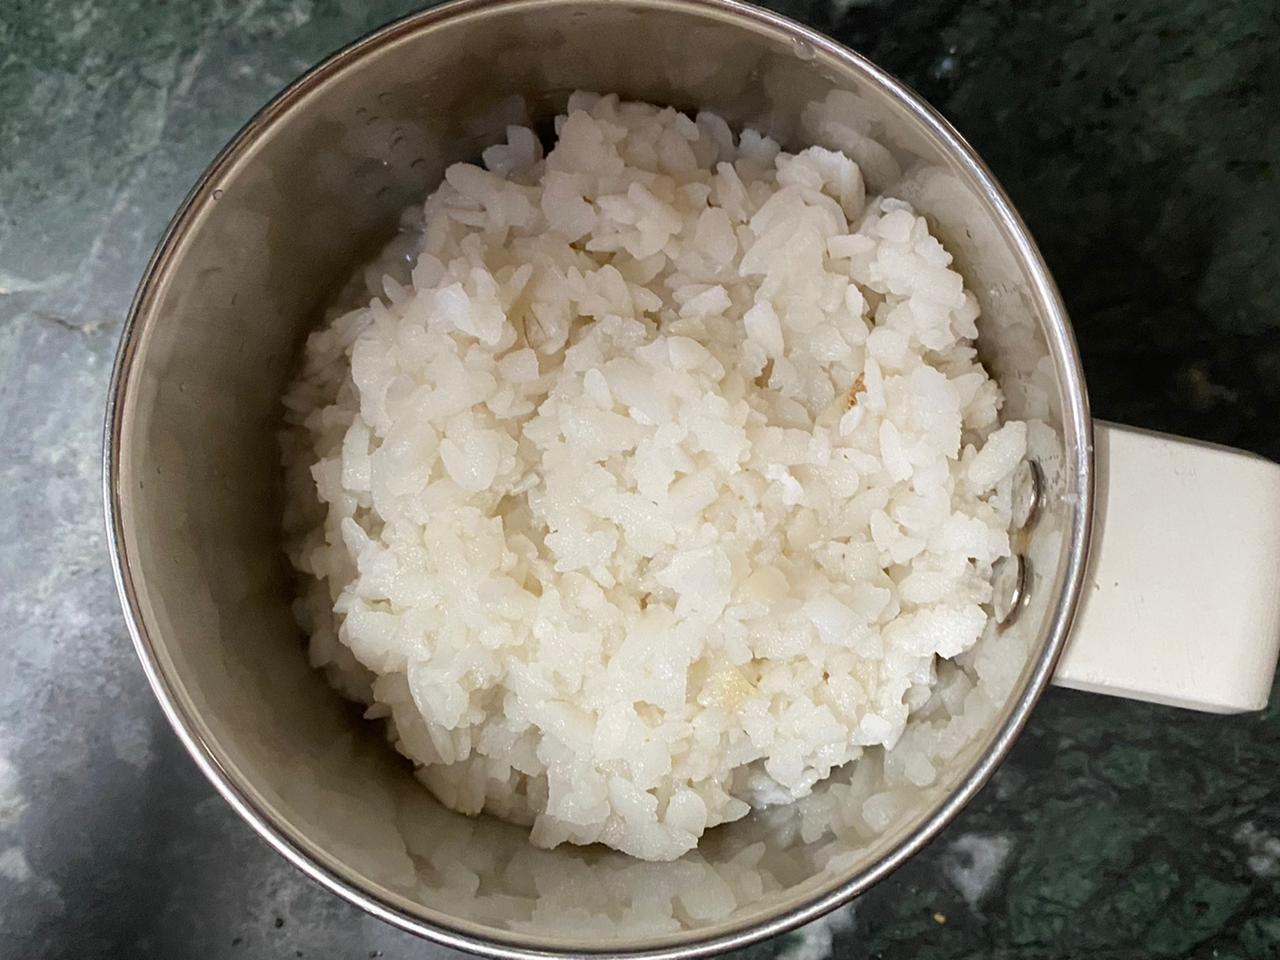
Drain the soaked rice and grind the rice with ¼ cup of cold water. Grind till you get a smooth and fluffy batter. Adjust the amount of water as needed while grinding. Mix the rice batter with the urad dal batter and keep aside.
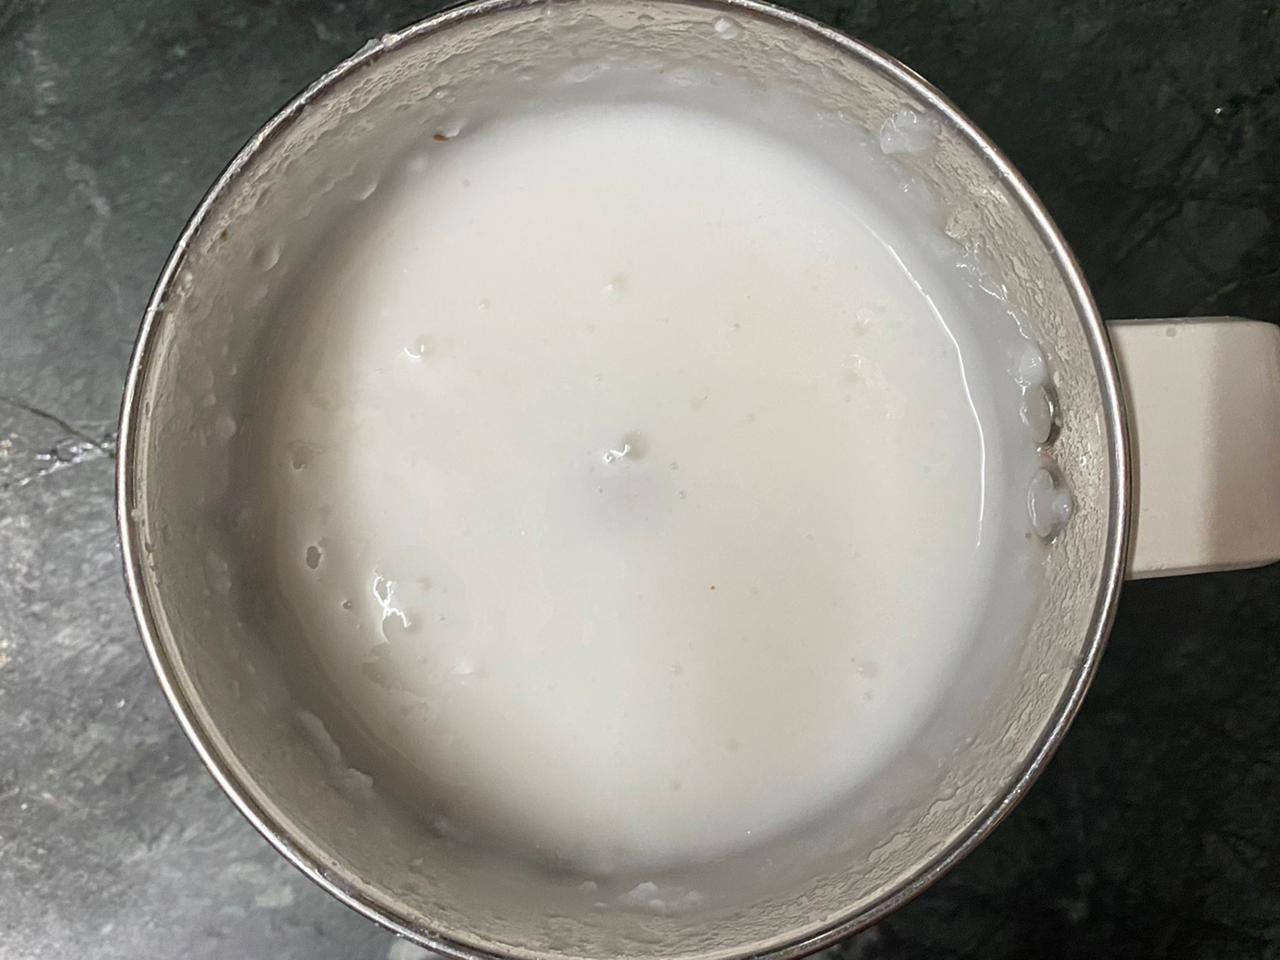
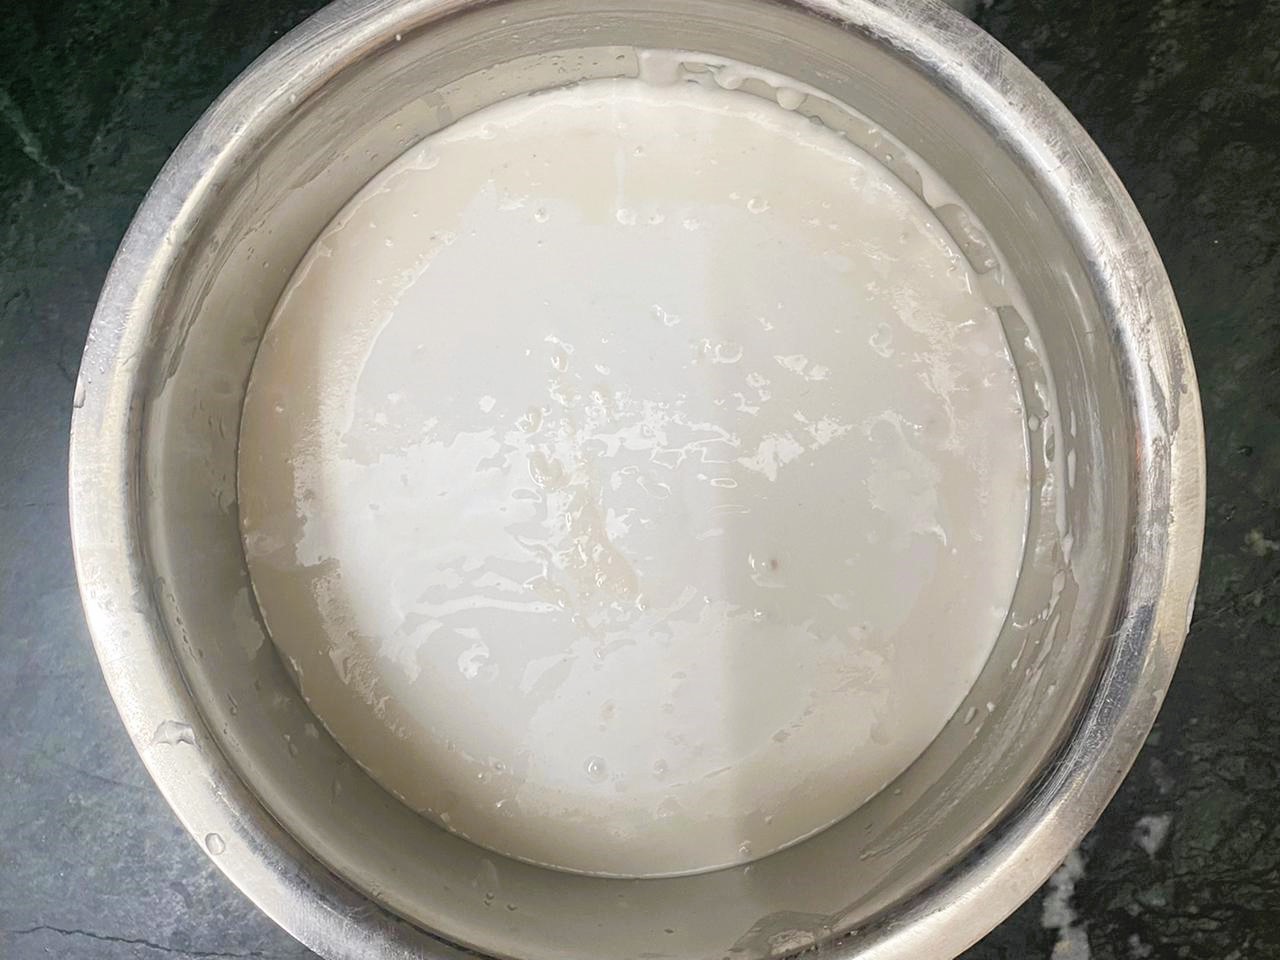
Grind the poha and sabudana separately with 2 tablespoons of water into smooth fine paste. Mix them with the urad dal and rice batter.
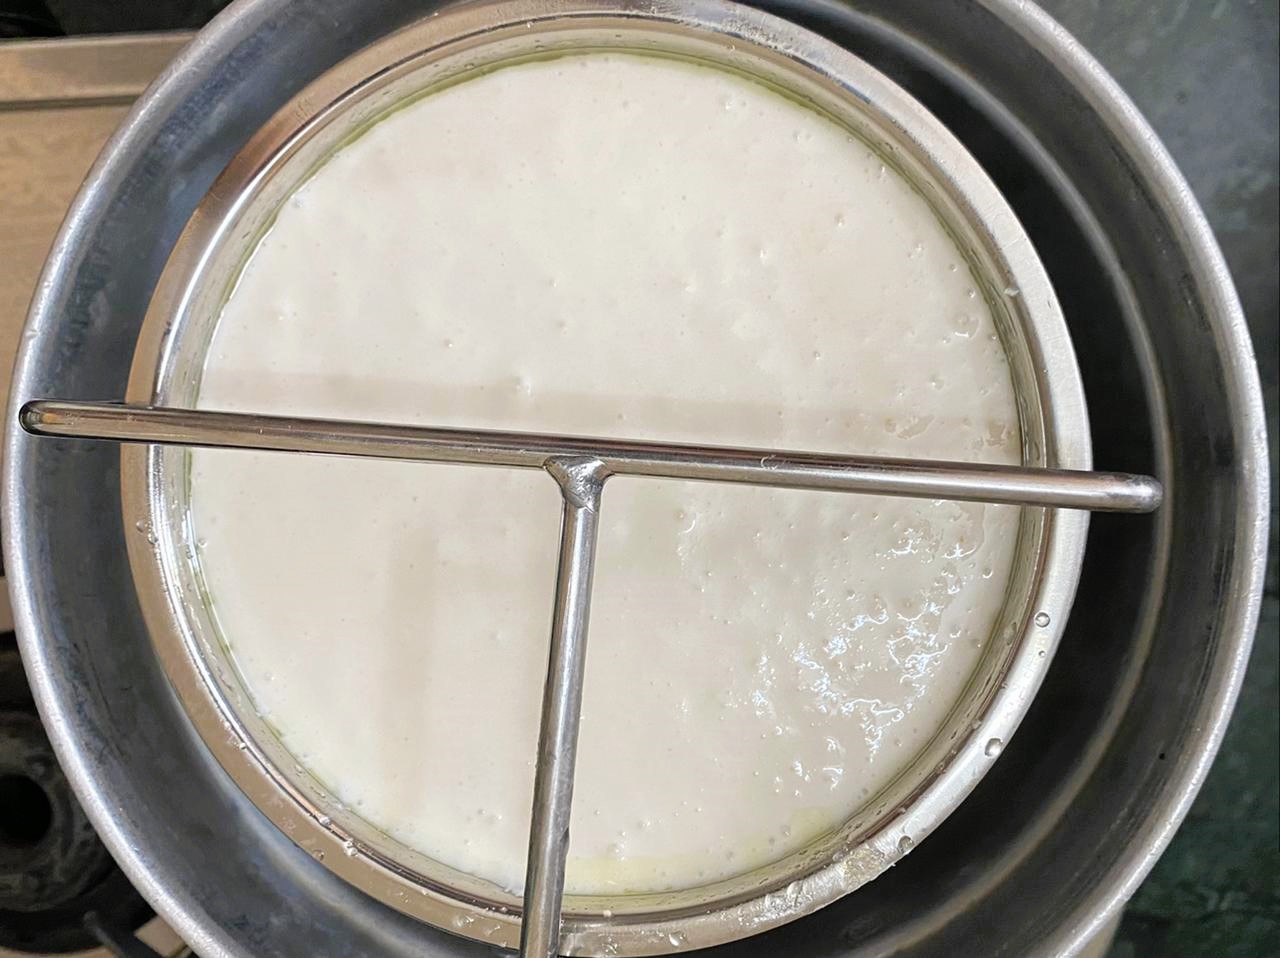
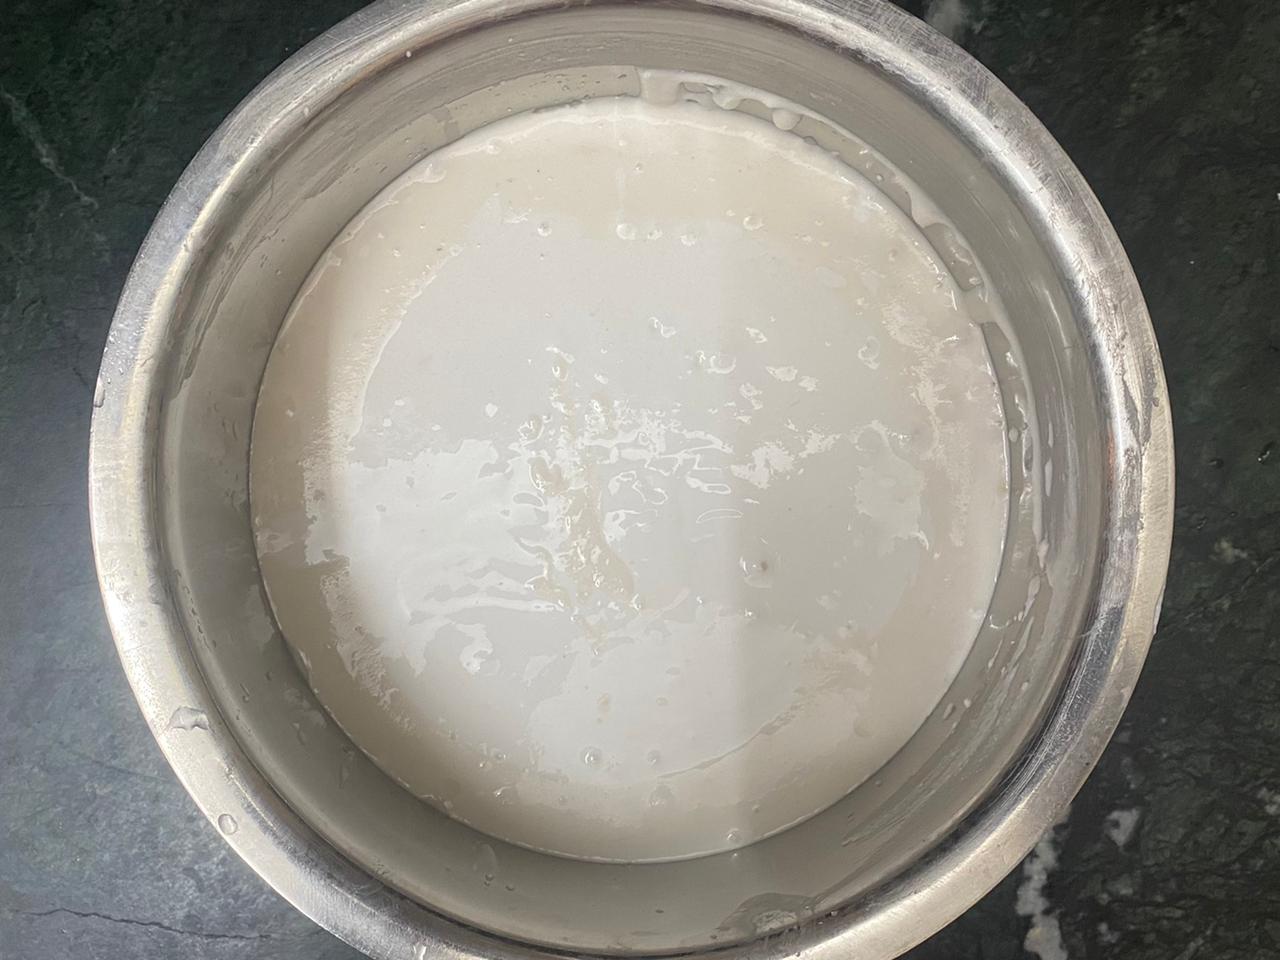
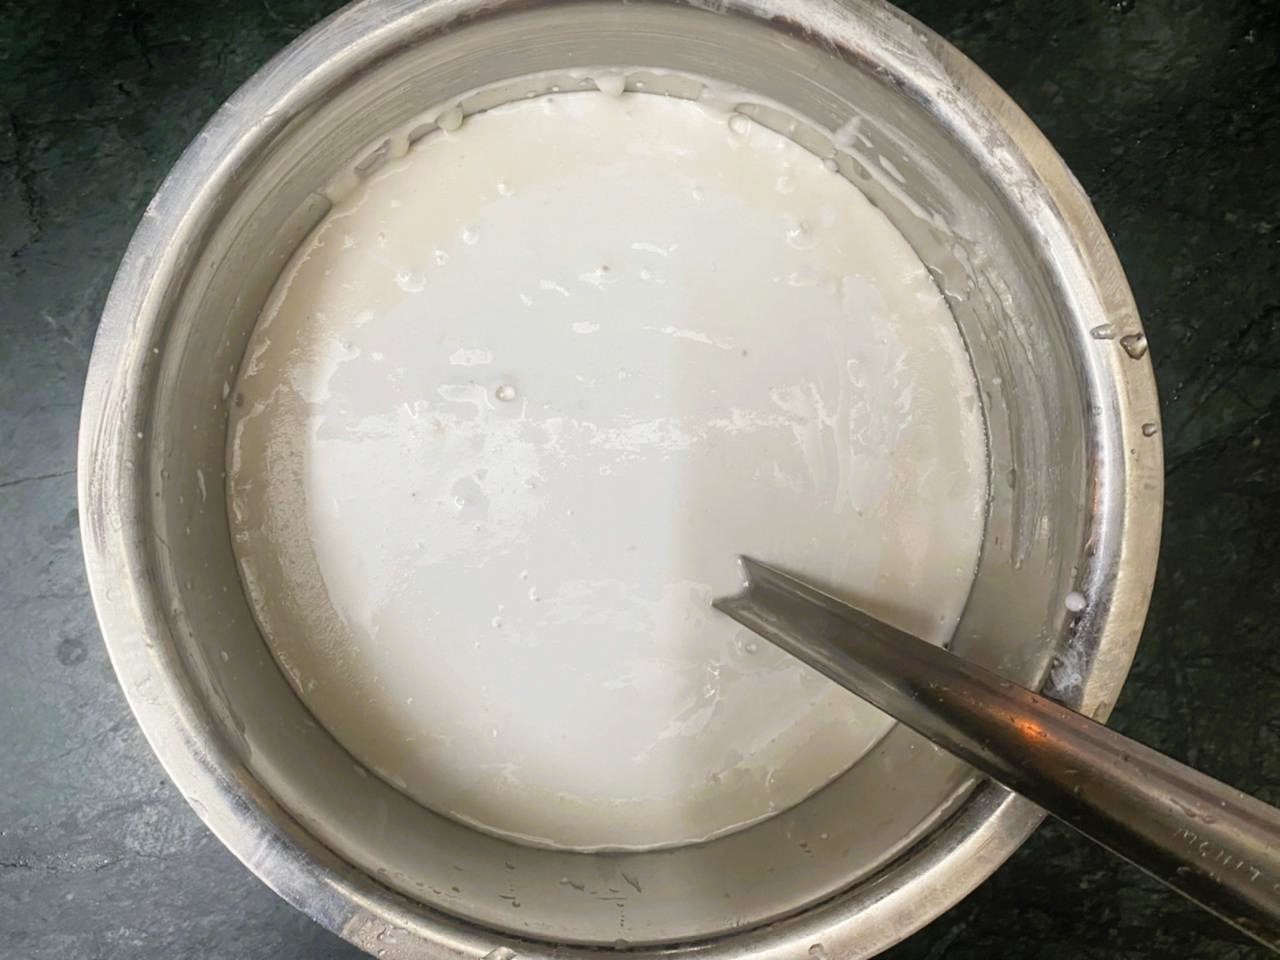
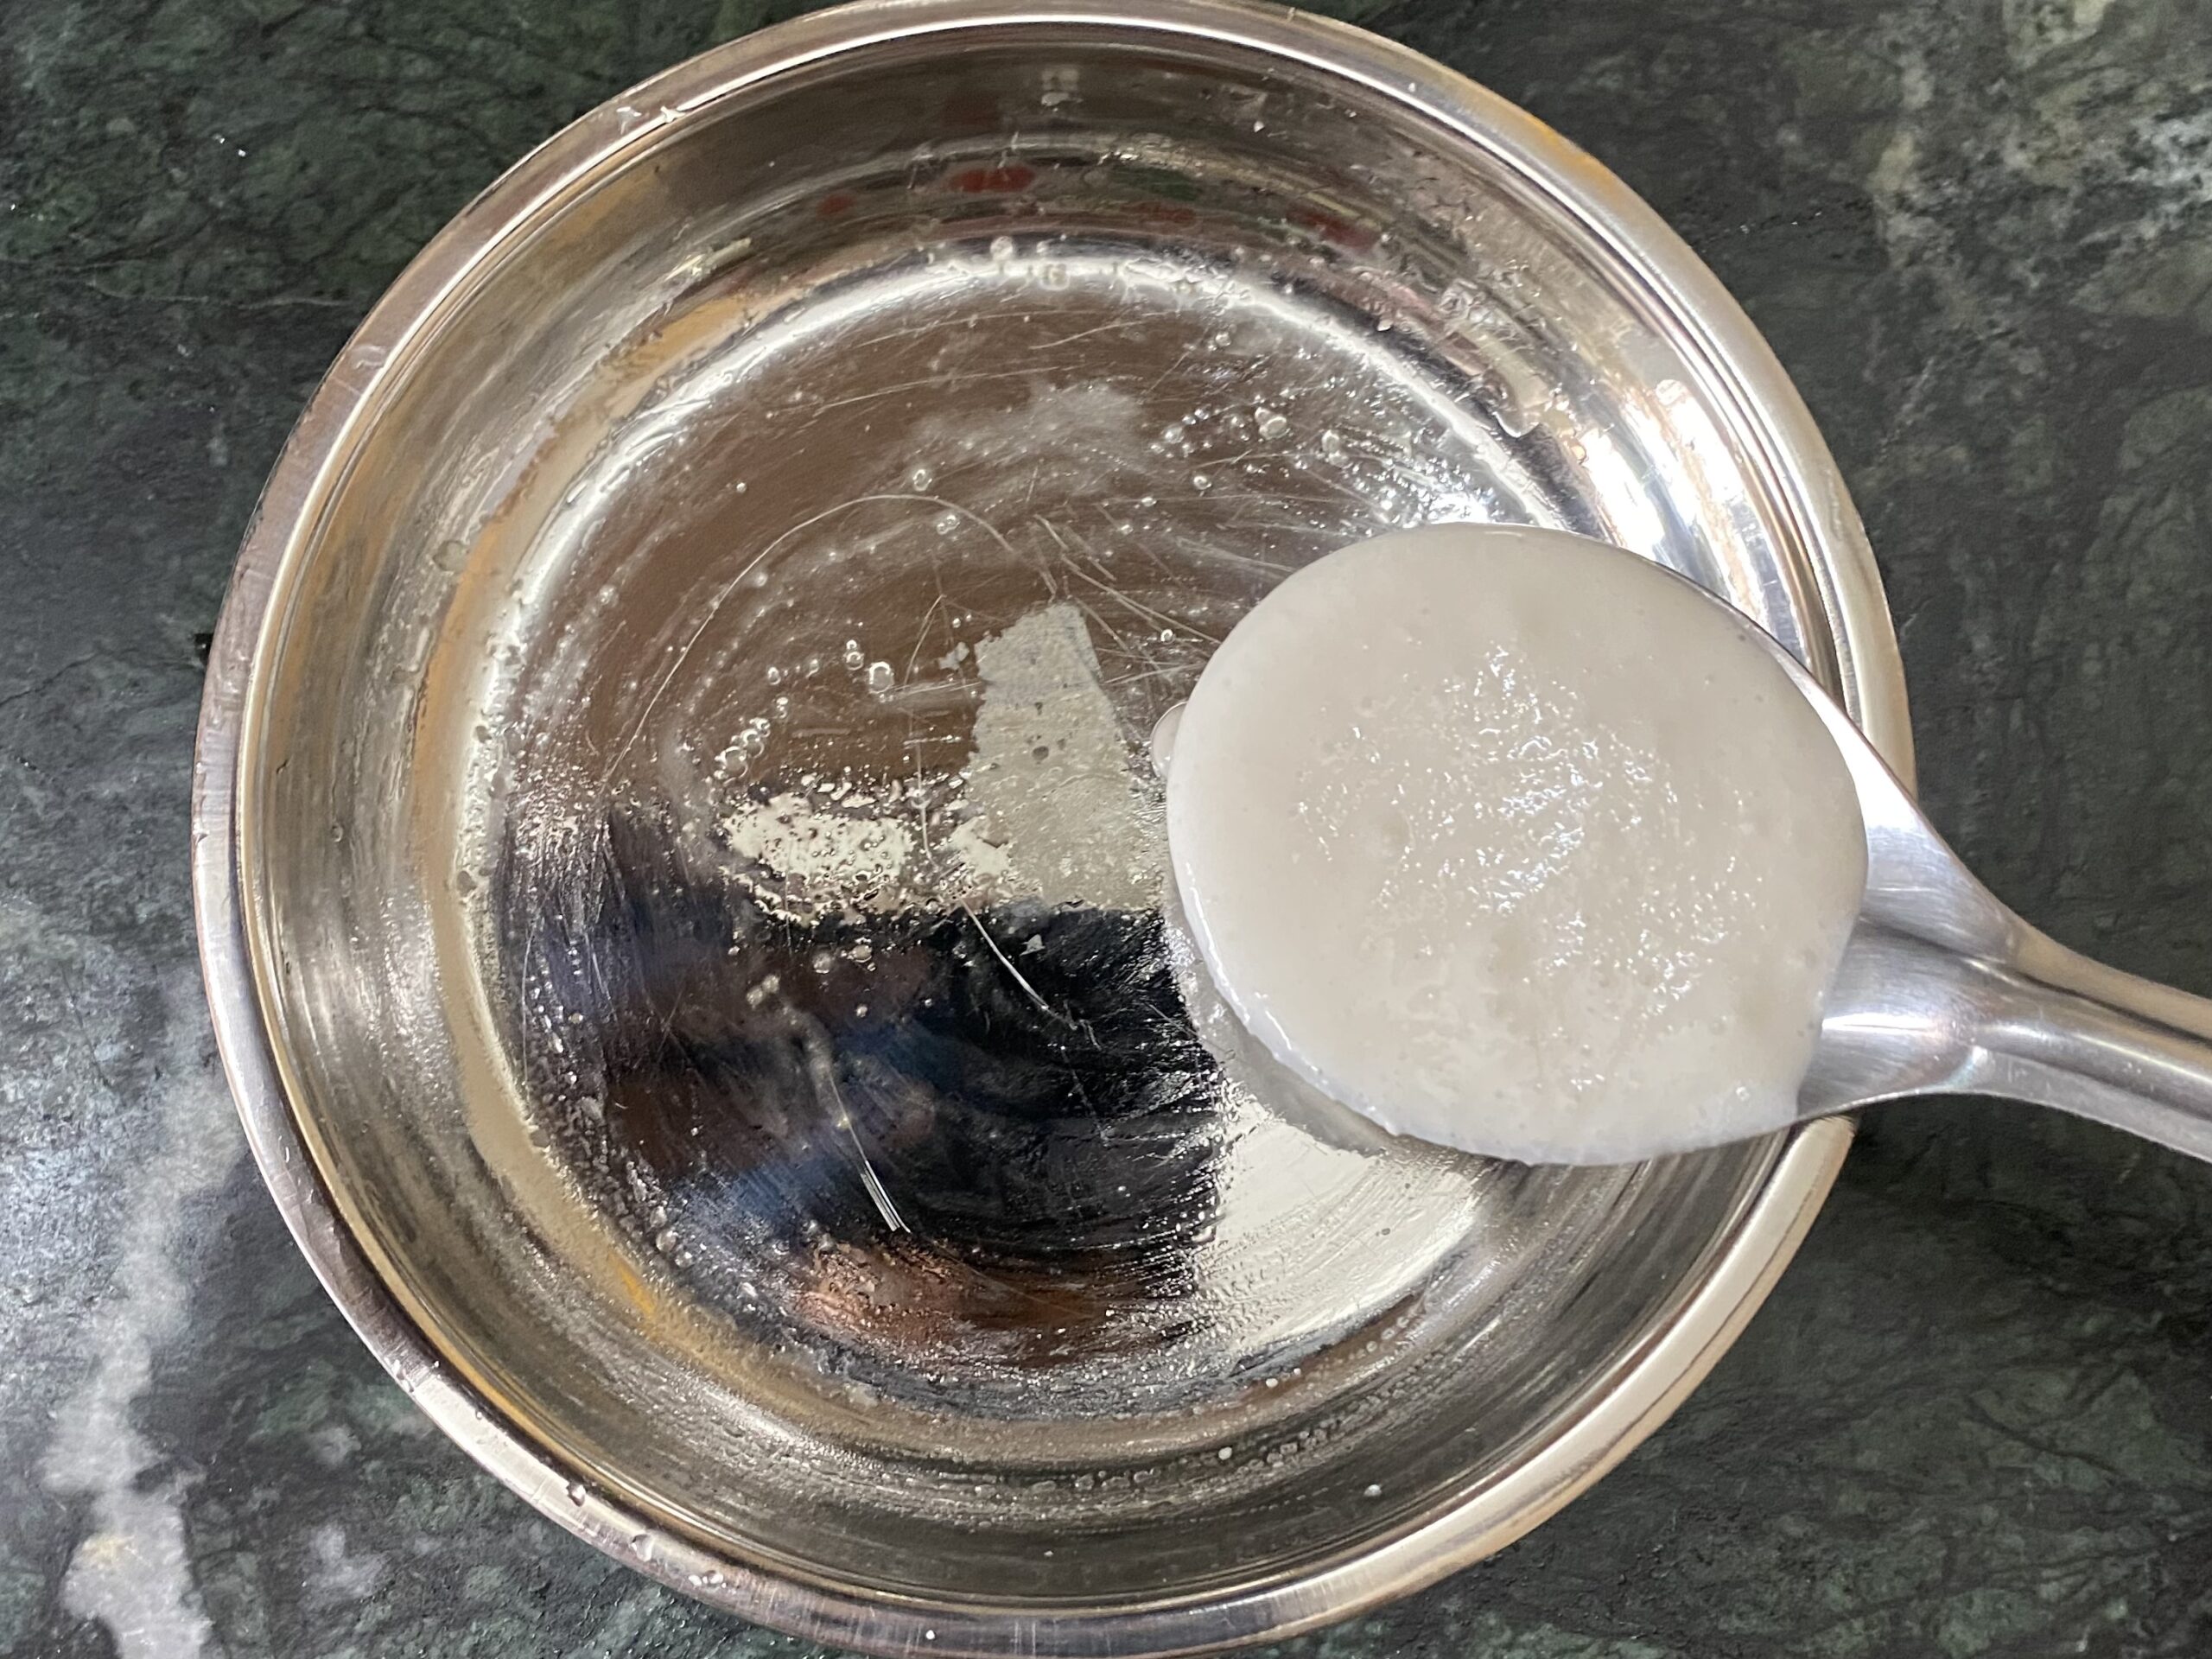
Adjust the consistency of the batter by adding water. The batter should be thick pouring consistency. The consistency that resembles a thick pancake batter. When the ladle from the batter is lifted and the idli batter falls from the ladle, it should form a slight ribbon which slowly becomes flat on the surface. If it is too thick or the ribbon takes longer time to dissolve, add a little water to the batter.
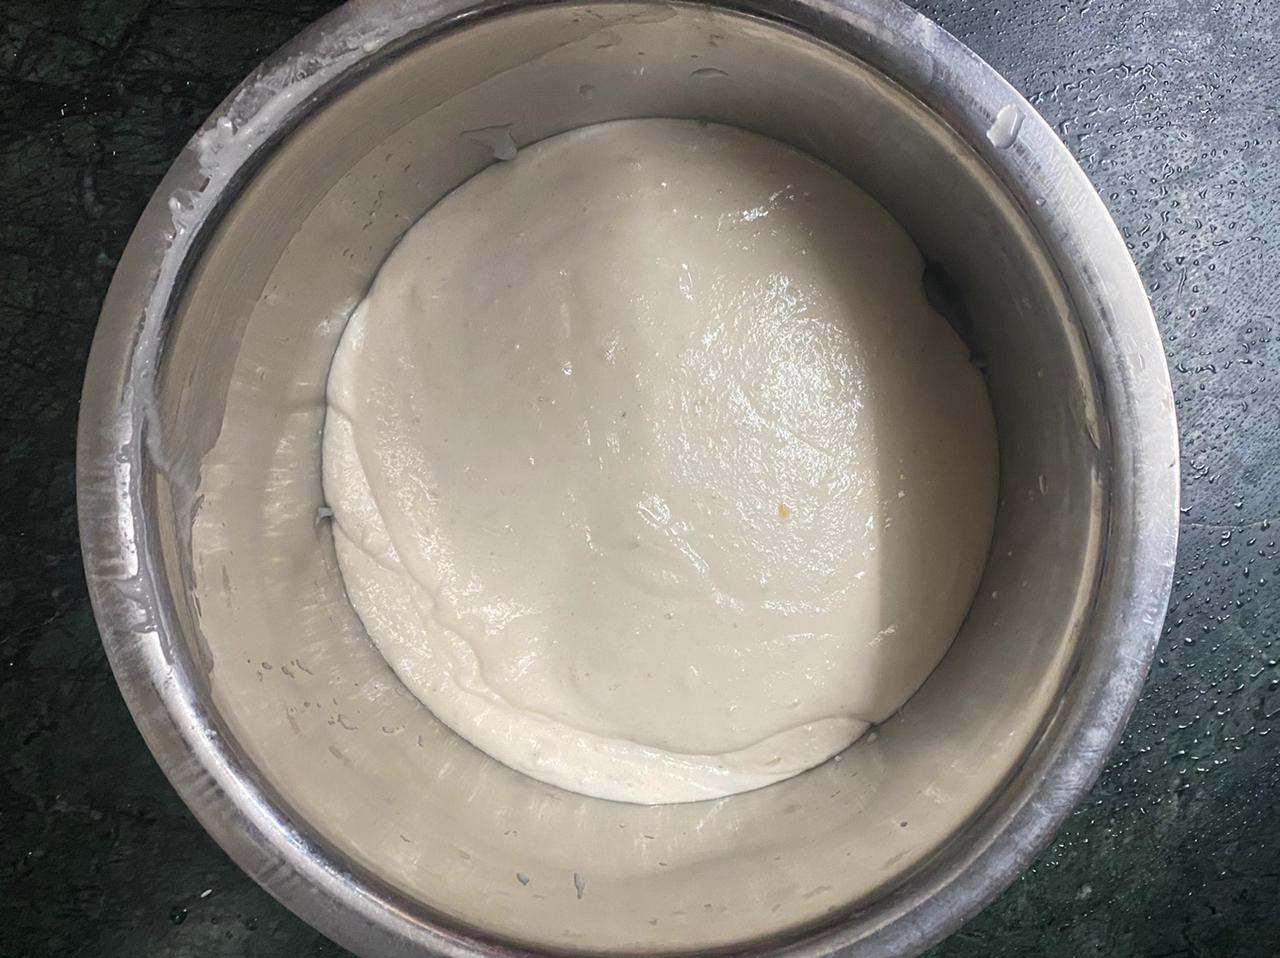
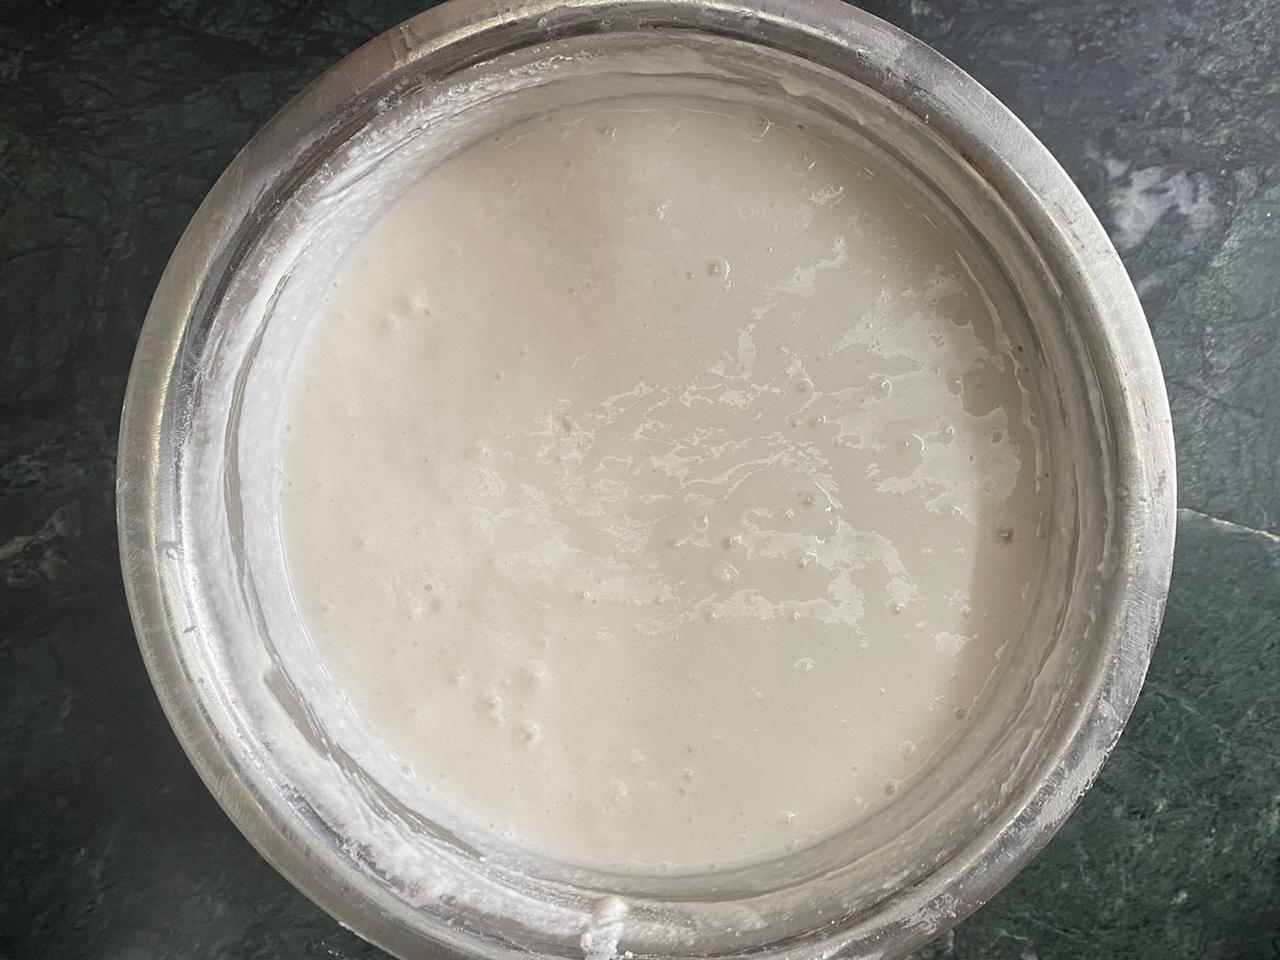
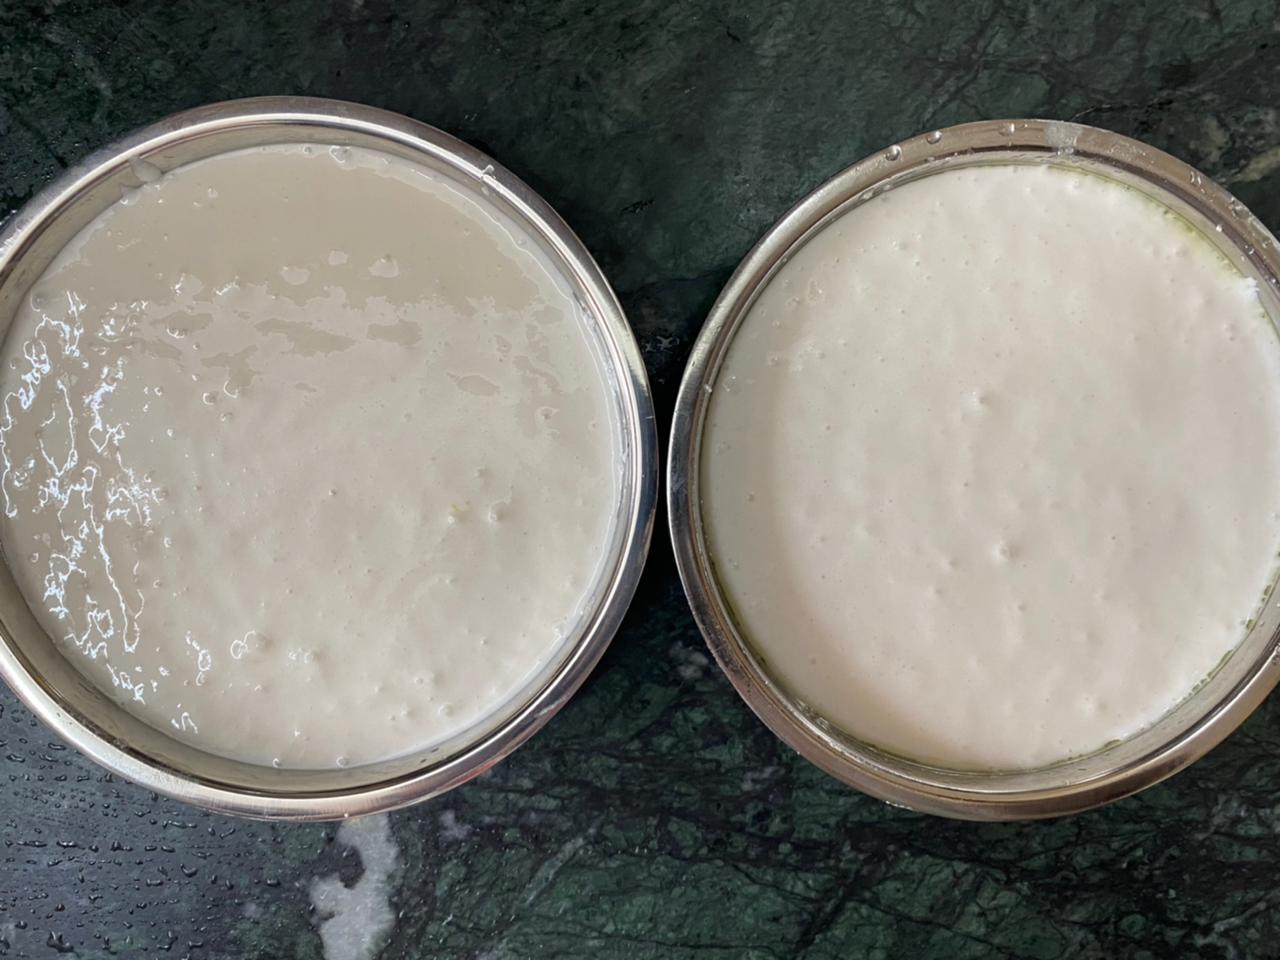
Set the bowl in a warm place for 8-10 hours to ferment. The batter should increase in volume to almost double after fermenting.
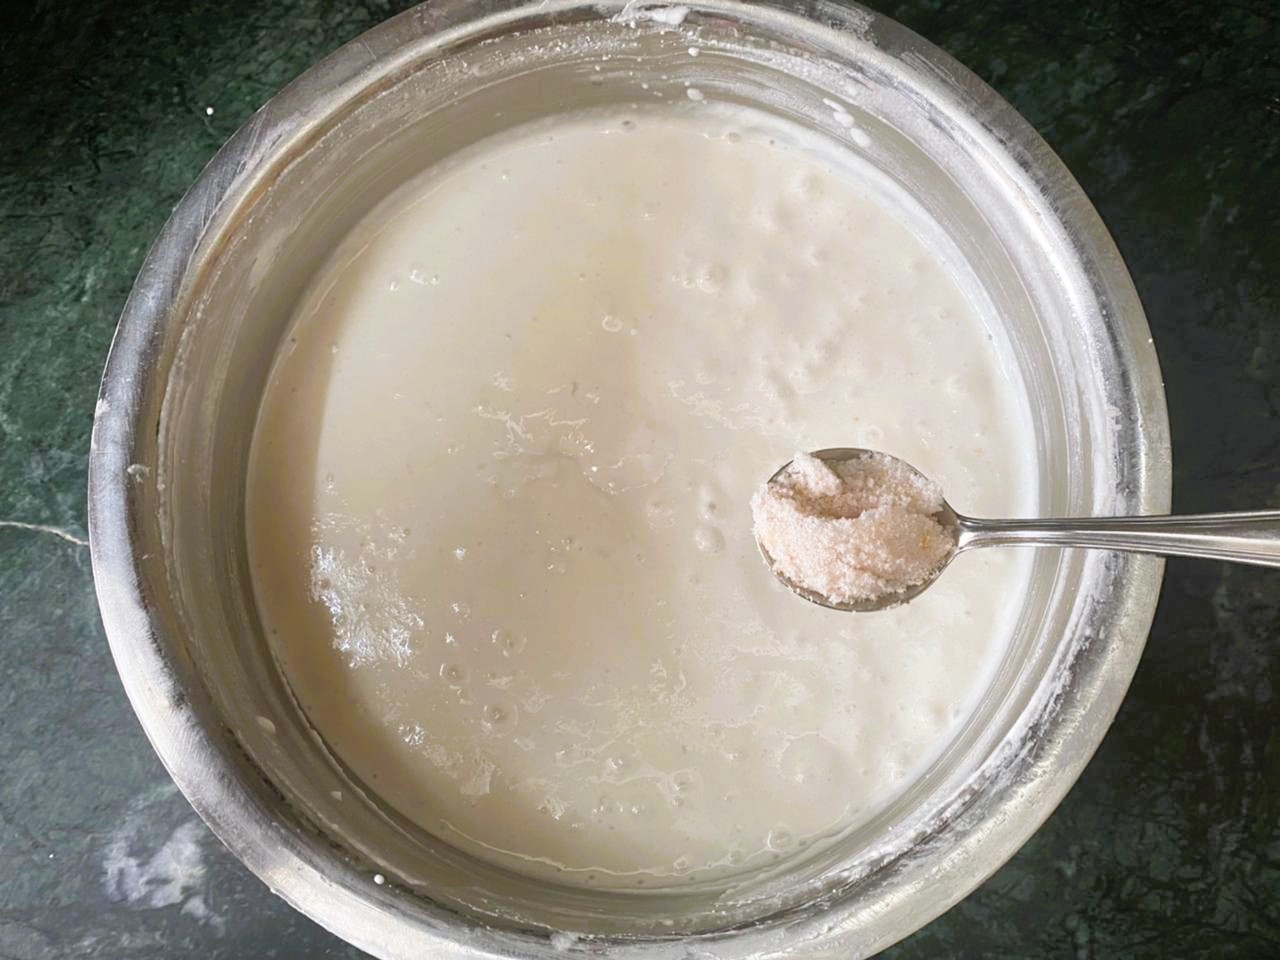
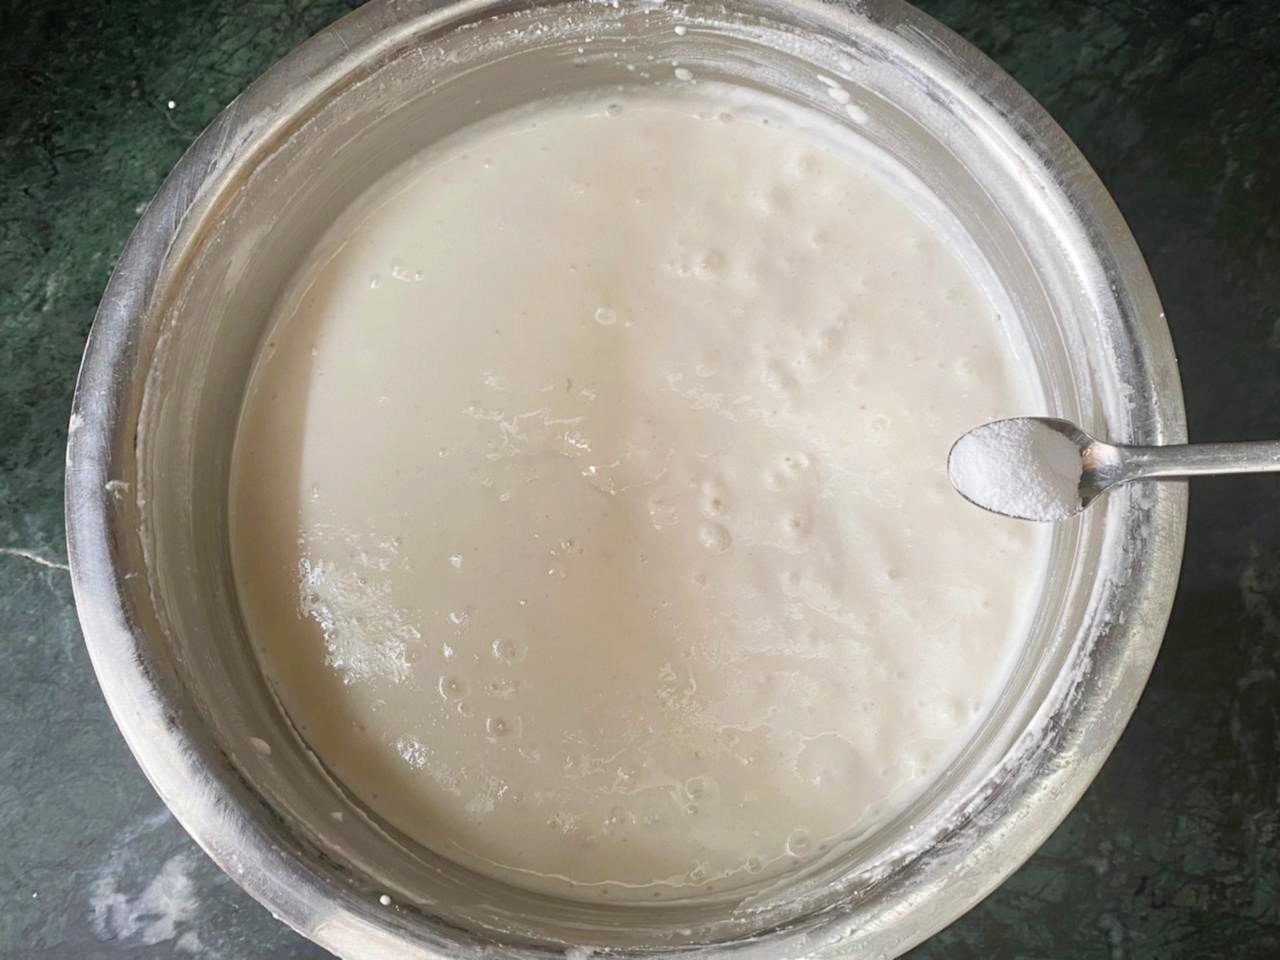
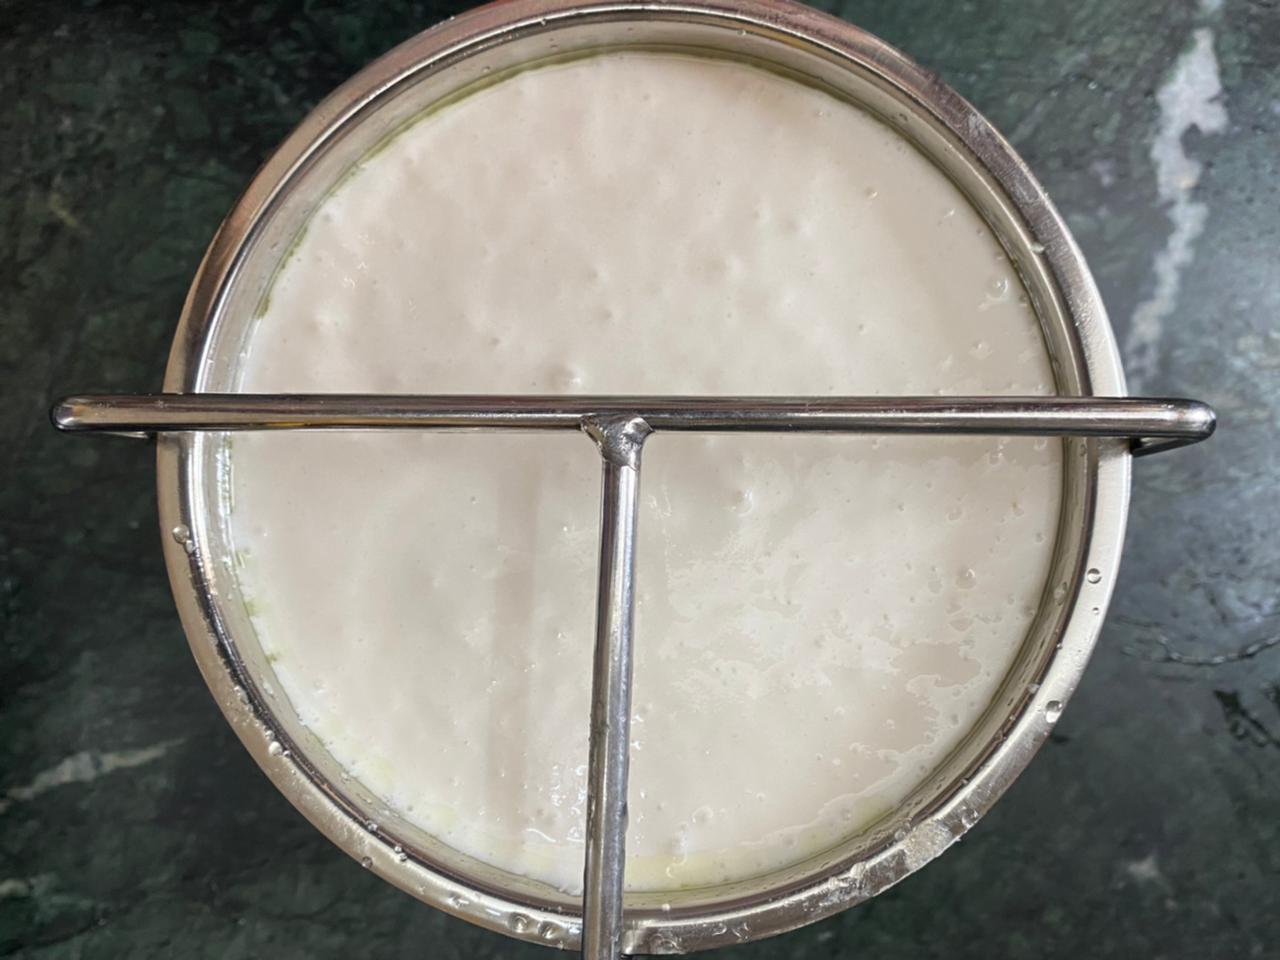
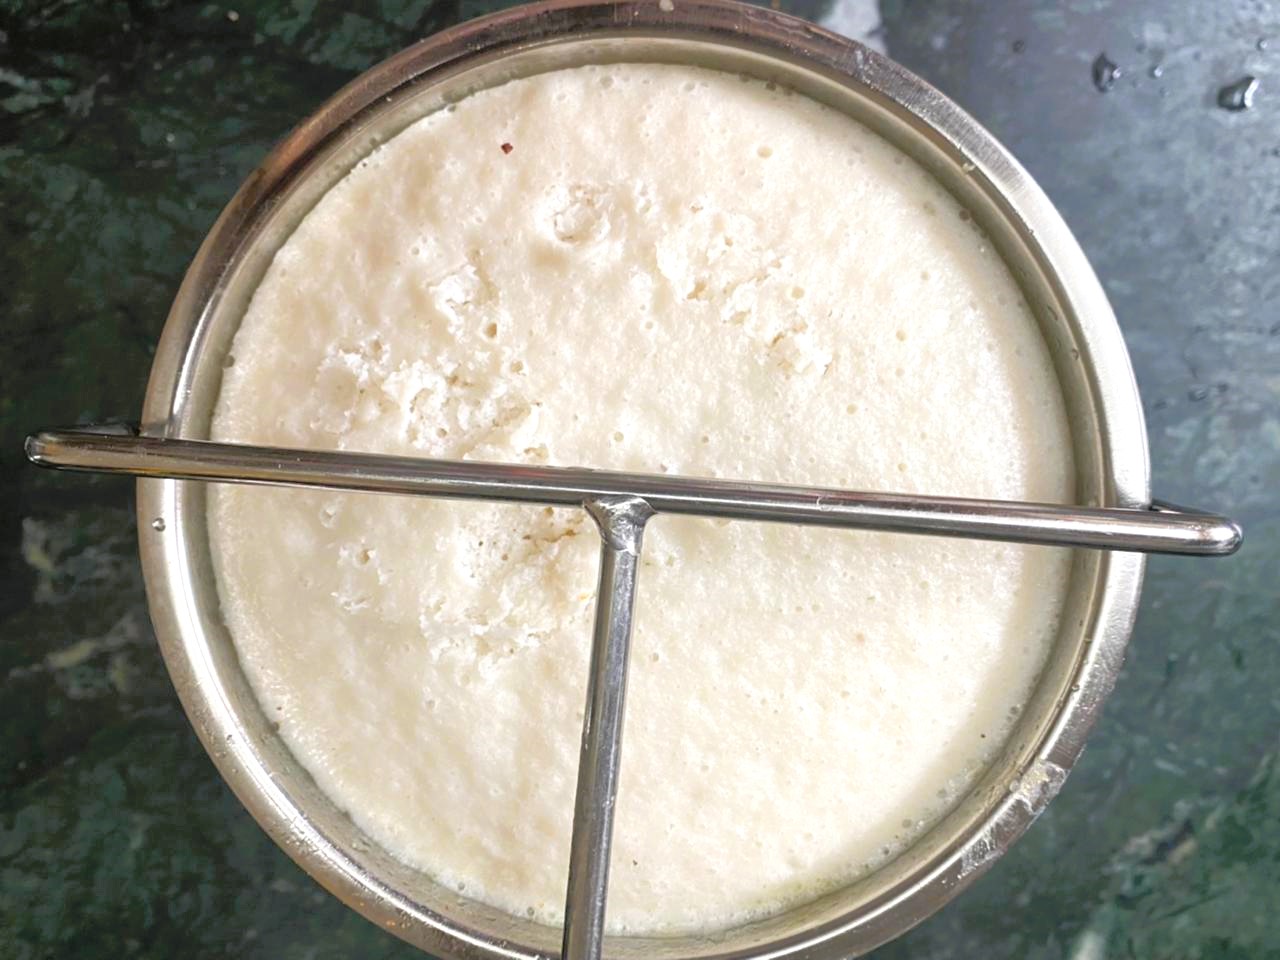
Once fermented add the salt and fruit salt and whisk the batter for 5 minutes.
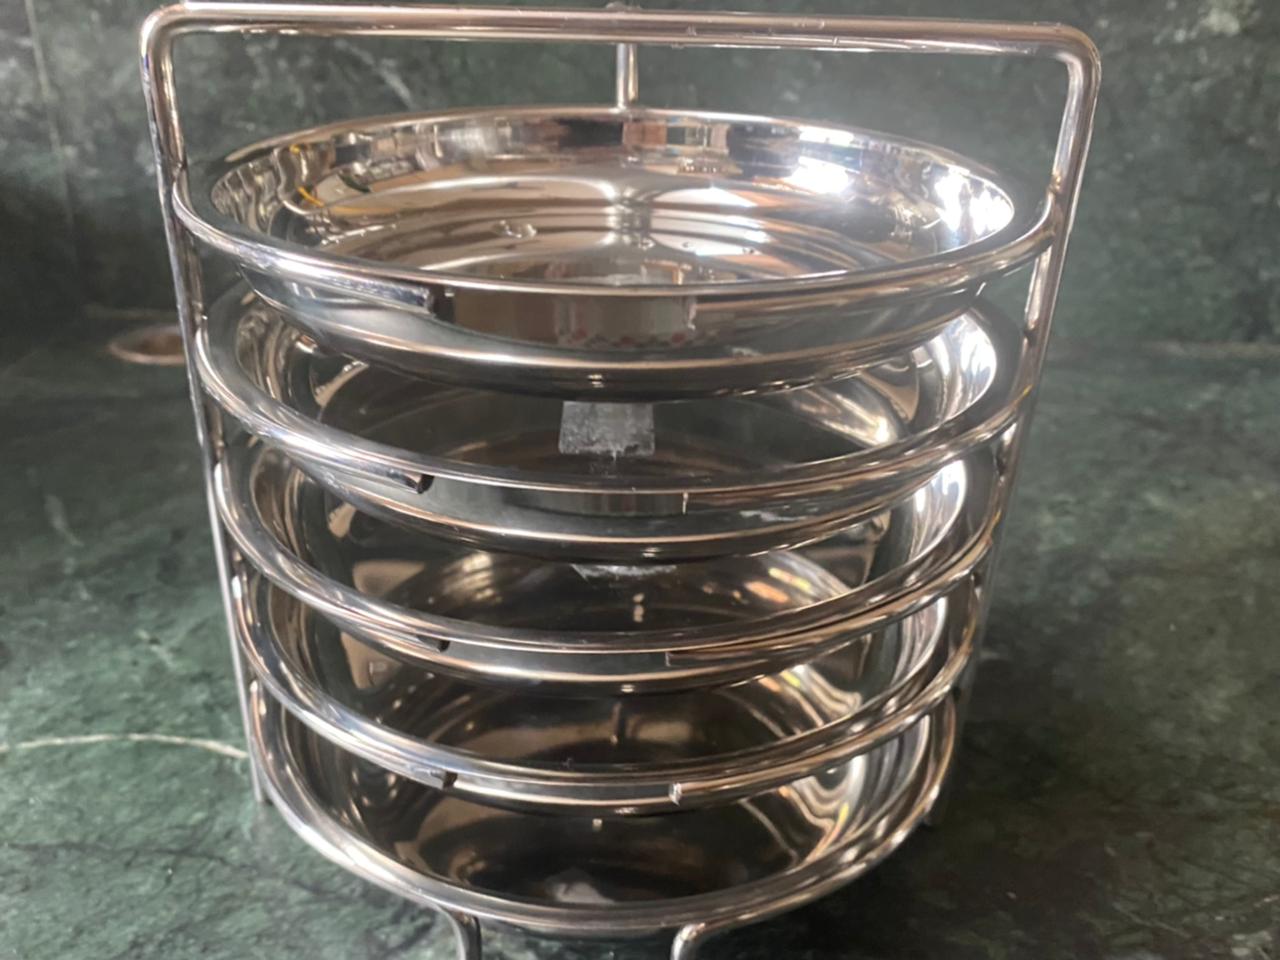
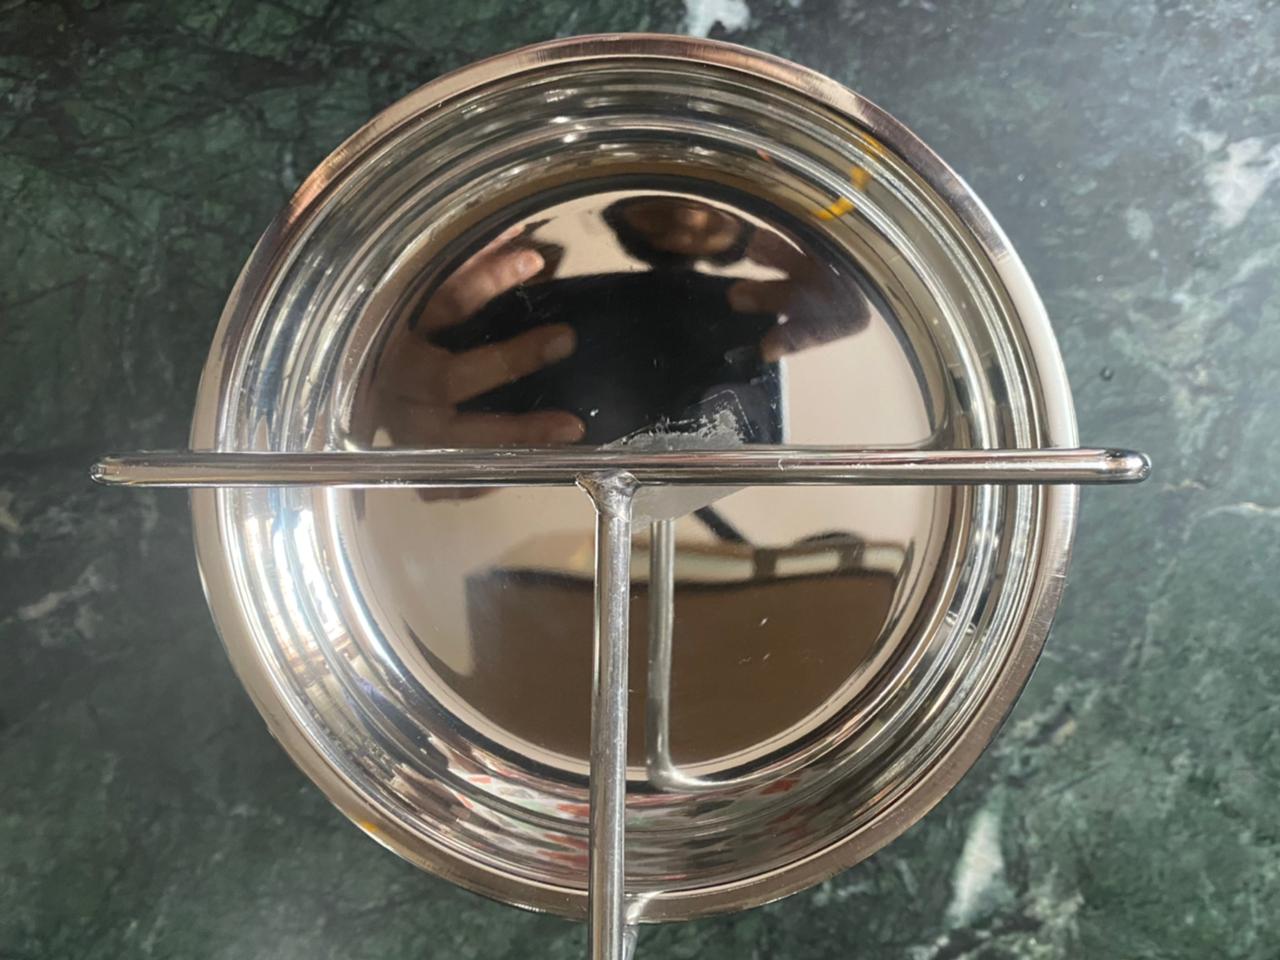
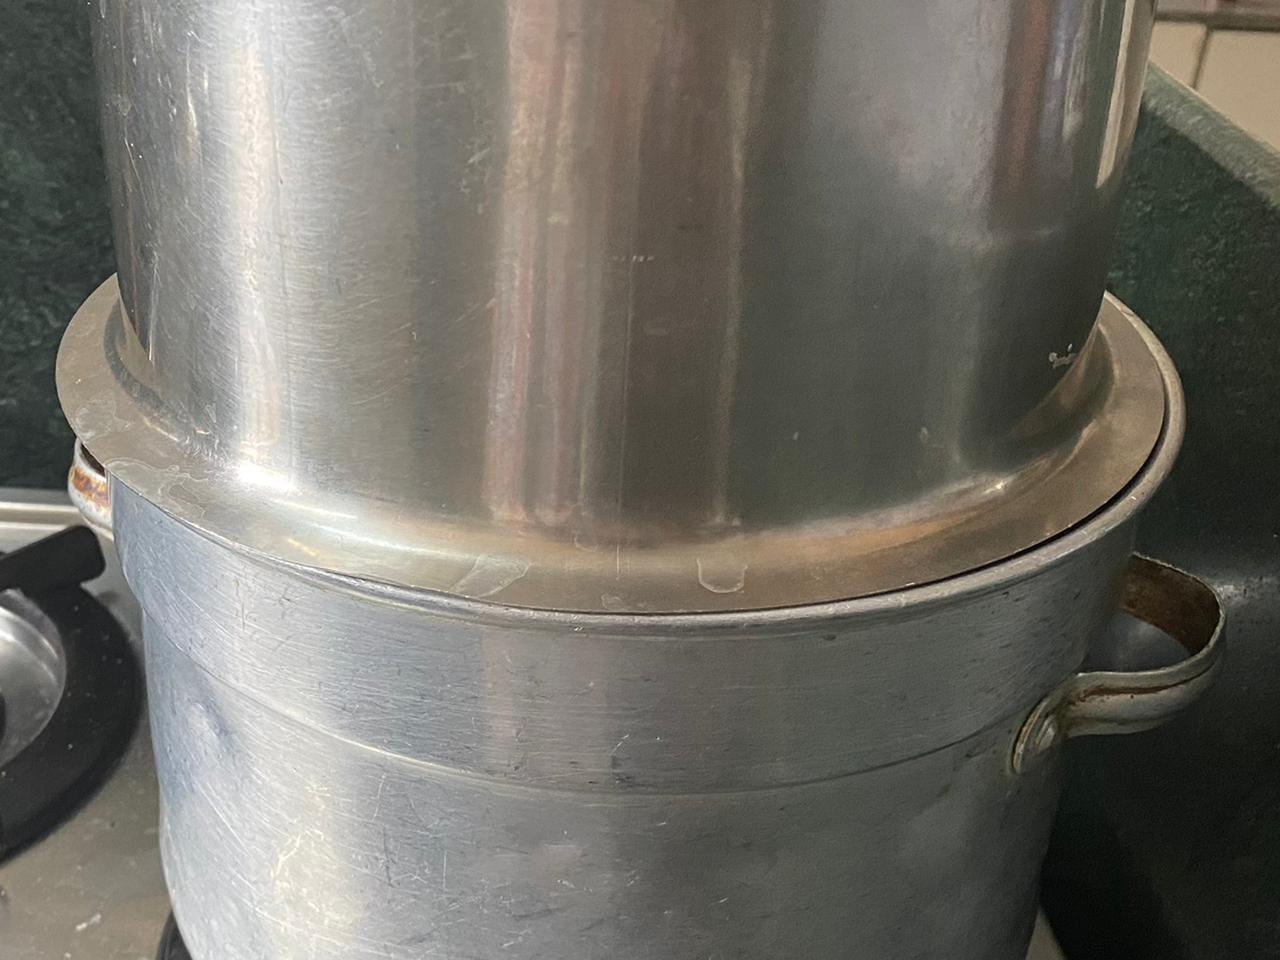
Put some water in an Idli vessel and put it on medium heat. Oil the Idli plate and gently fill the rounds with the batter. Put it inside the Idli vessel and let it steam for 10-12 minutes.
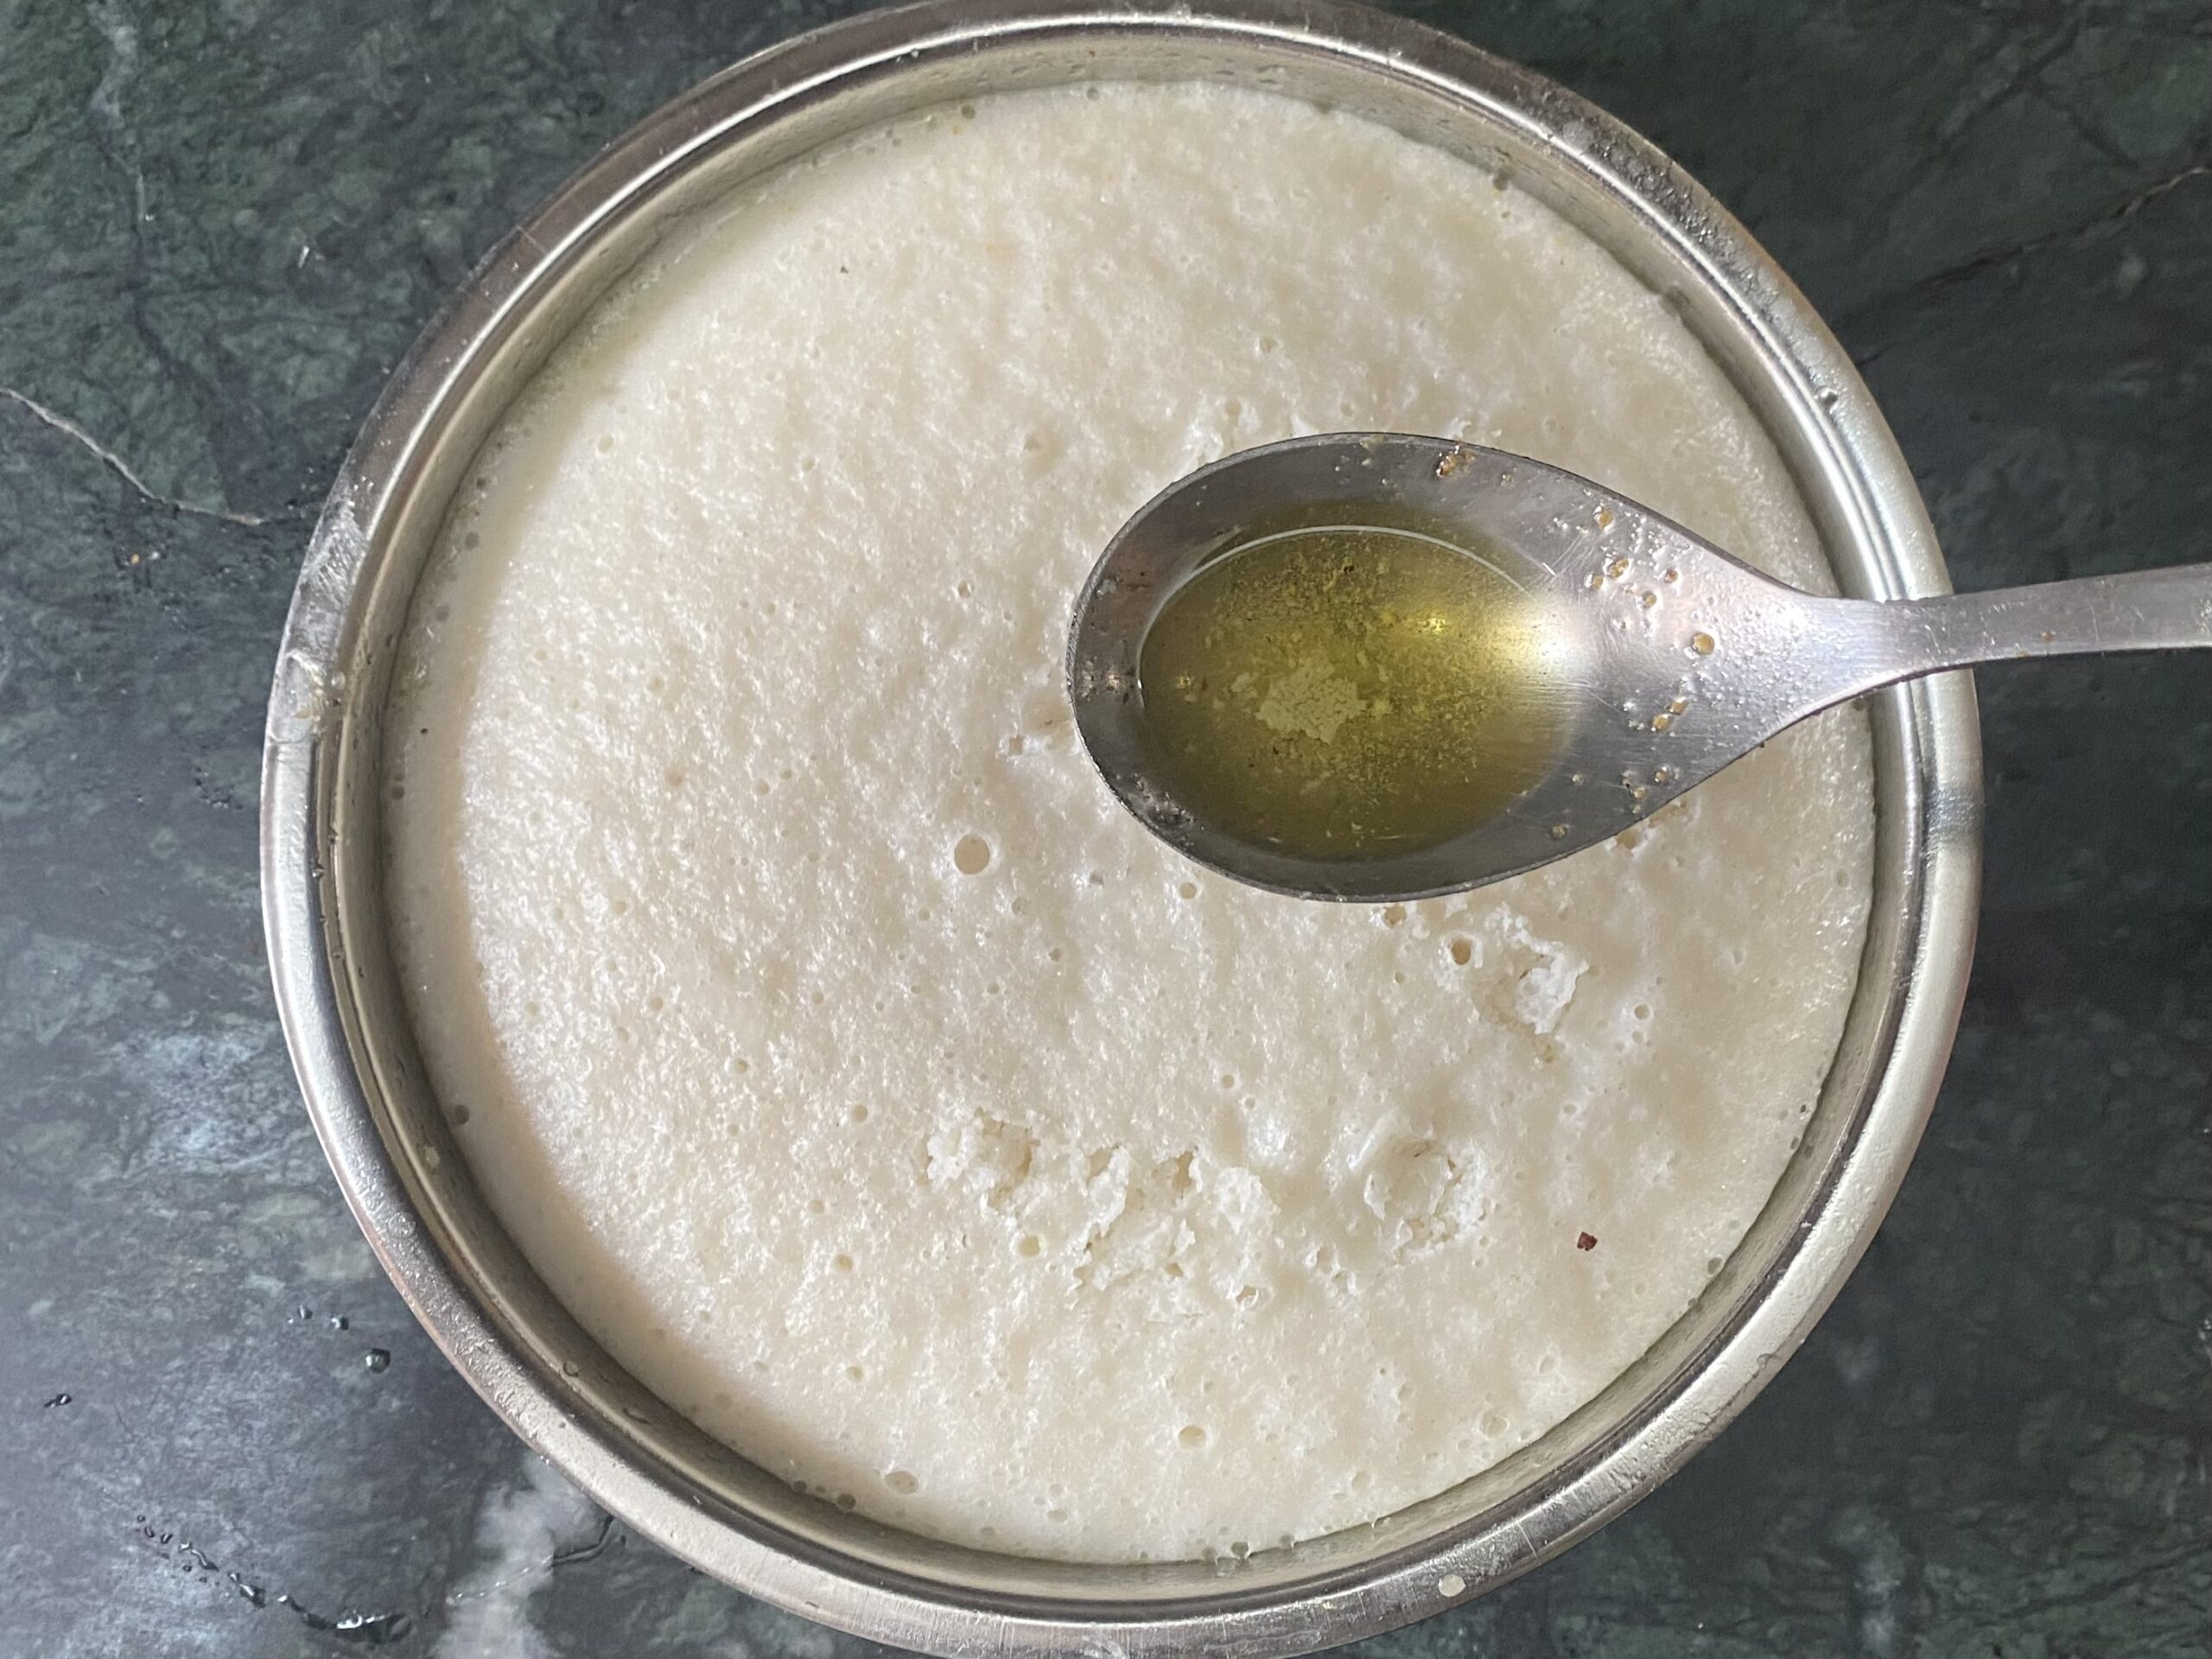
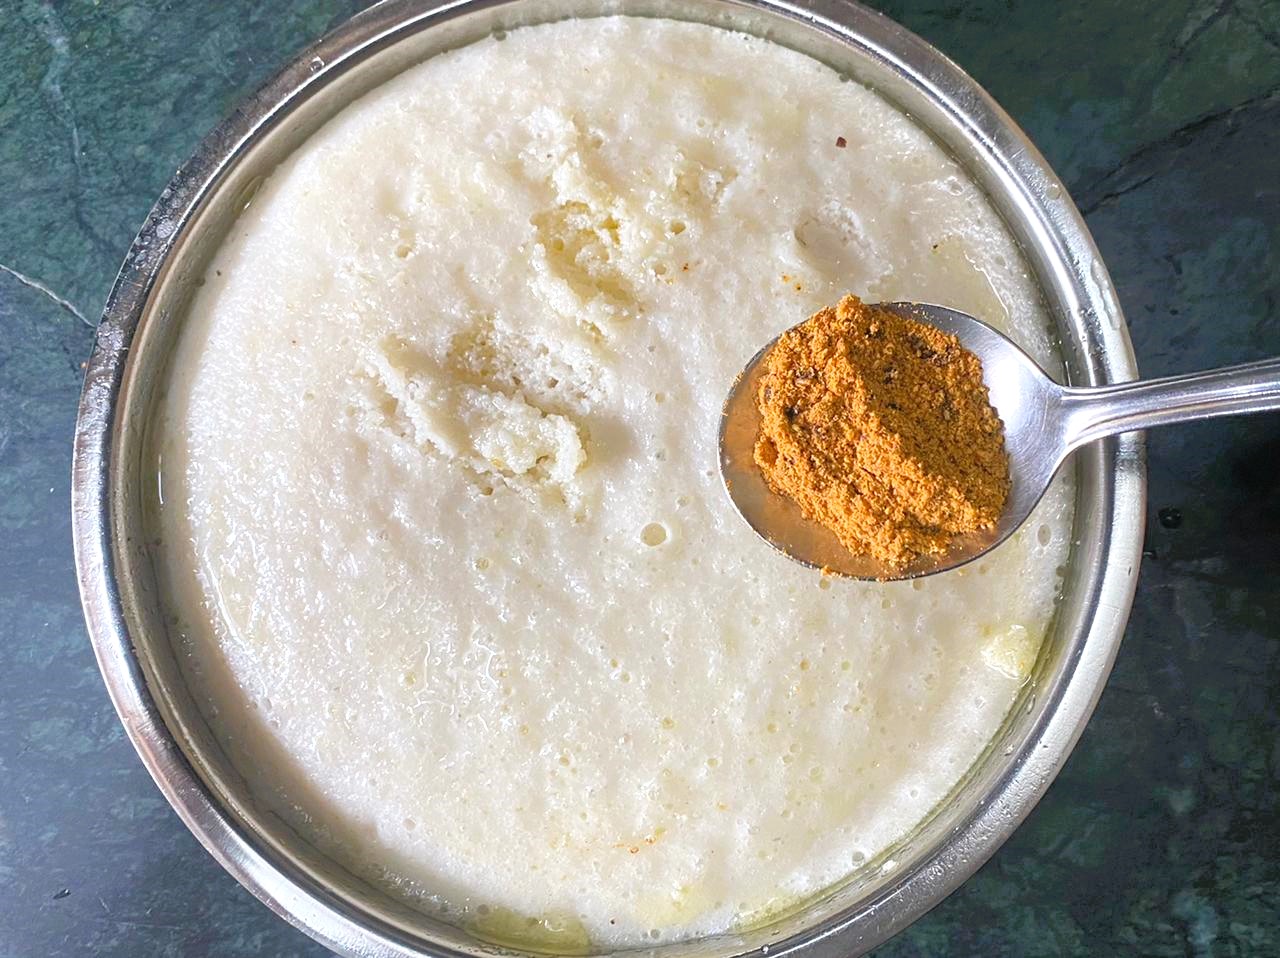
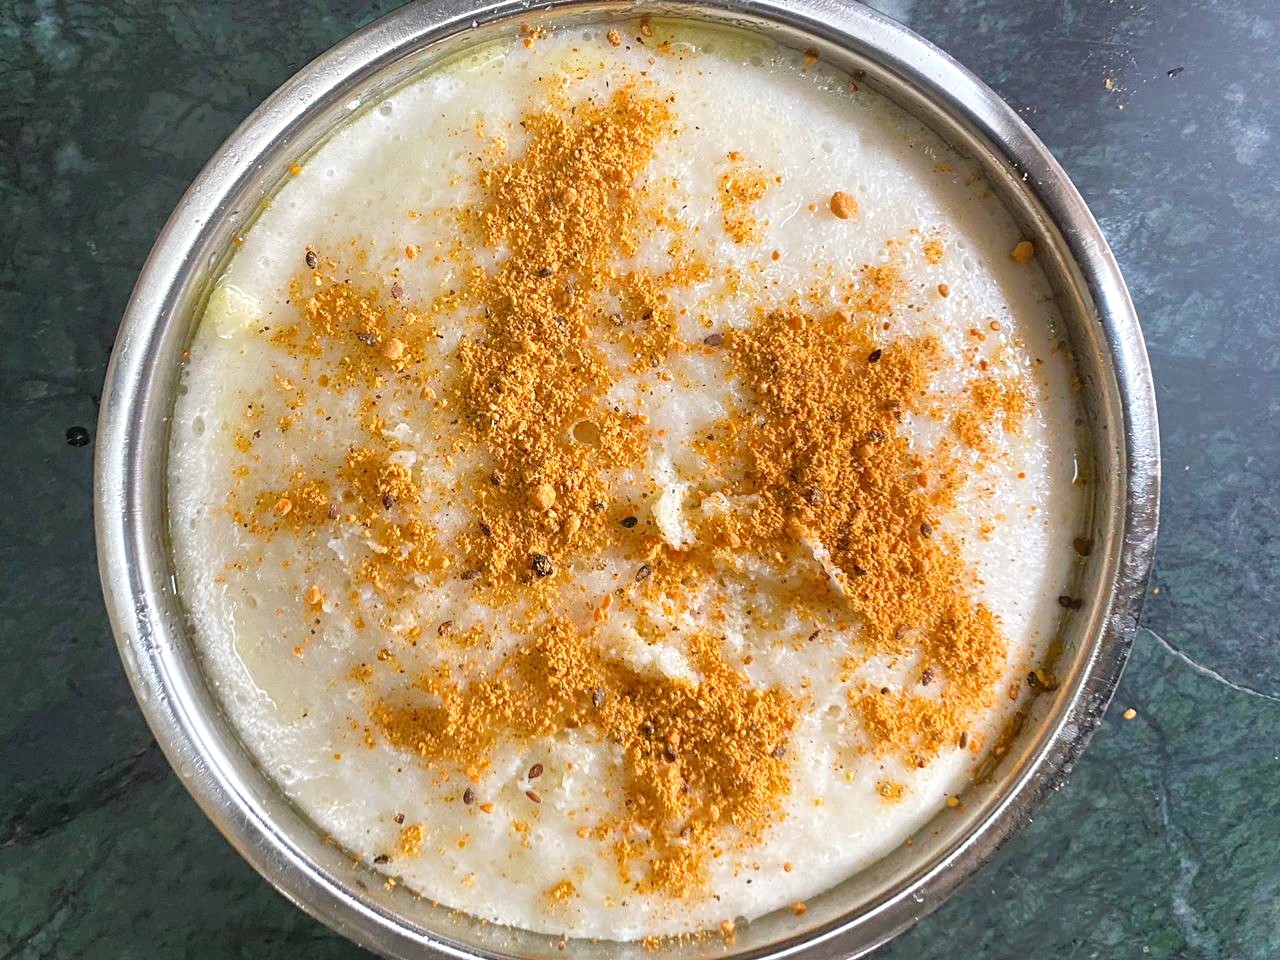
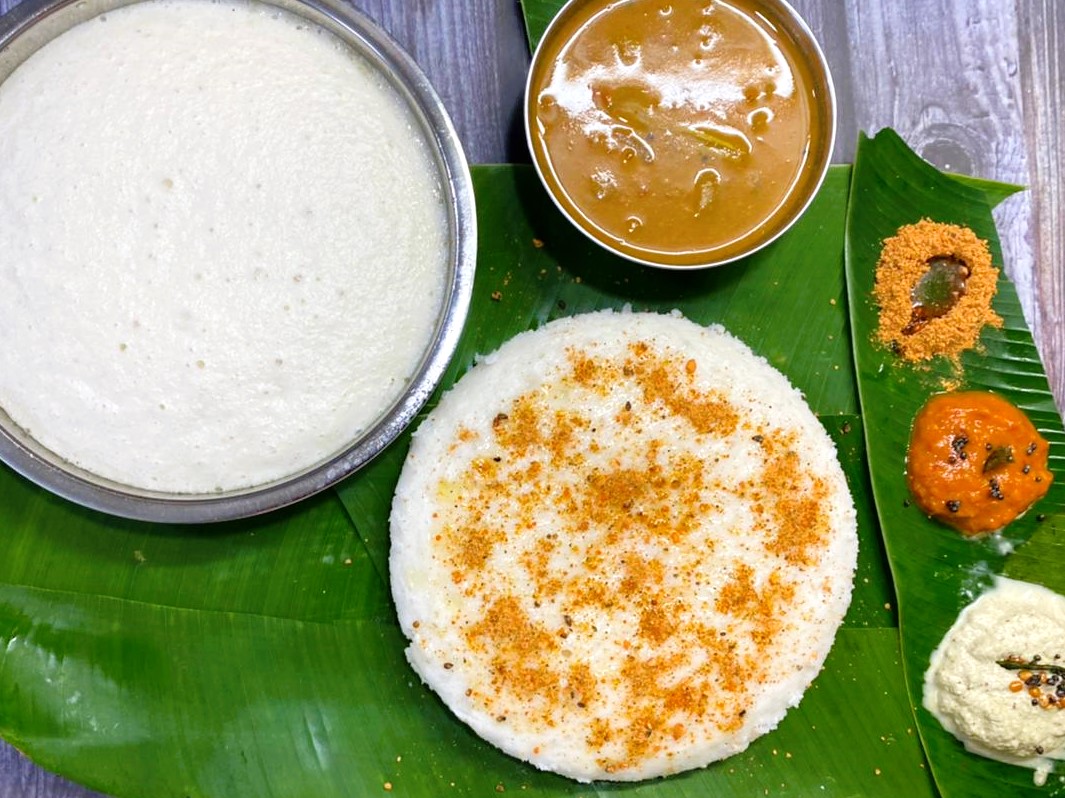
After 10-12 minutes, remove the Idli from the plate and drizzle some ghee and sprinkle malgapodi powder over the idli.
Serve hot with coconut chutney, sambar, or tomato onion chutney.