
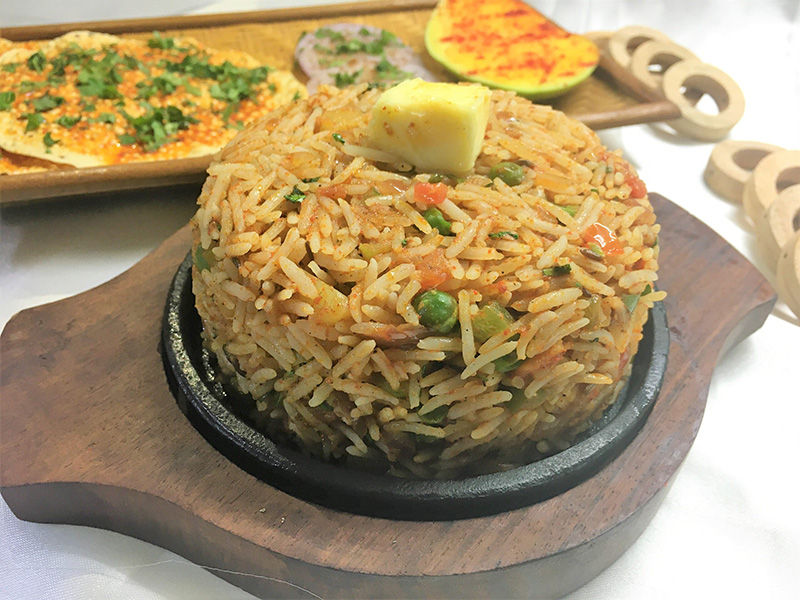
Parda Biryani
Parda Biryani
Parda Biryani! What a name isn’t? What is Parda Biryani? Is it just a gimmick for just another type of Biryani?
‘Parda’ in Hindi means ‘veil’ whereas biryani is a delicious medley of succulent vegetables, spices and flavourful basmati rice. Biryani stands or falls on the fluffiness of its rice as every grain should be separate and perfectly cooked. Please do not be fooled by people who pass off vegetable pulao as biryani. There is a huge difference between pulao and biryani. The main difference is that while preparing biryani, the rice is par boiled in water and then drained whereas while preparing pulao, the water is completely absorbed by the rice and vegetables in the dish. Also, a biryani is traditionally layered almost like a lasagne and then cooked, sealed in a pan.
My whole family is a real foodie and we plan our day around food almost every day. On special occasions like birthday or anniversary it is a real feast! I am not even talking about festivals as then we have a mega feast! So, I wanted to make something special for my parents’ anniversary. Biryani is my fathers’ one of the favourite dishes and my mum really enjoys a crispy naan with dal makhani. So, I thought of combining the three! I researched a lot and found lots of different recipes and during the research the idea of ‘parda biryani’ came to me.
So, parda biryani basically means when biryani is cooked inside a dome which is made of naan. So, you cook the naan and biryani at the same time. Have I confused you? Well! I can almost imagine your expressions as when I told my husband about the idea, he looked at me as if I was mad!
I could feel everyone’s eyes on me that day when I was preparing this dish. However, everyone was in awe when I served parda biryani for dinner. My parents were soo happy and told me that it was the best anniversary present. I always think food brings joy to life and that day I felt elated and felt proud too for making the day extra special for my parents.
Life is too short to be eating mundane food!
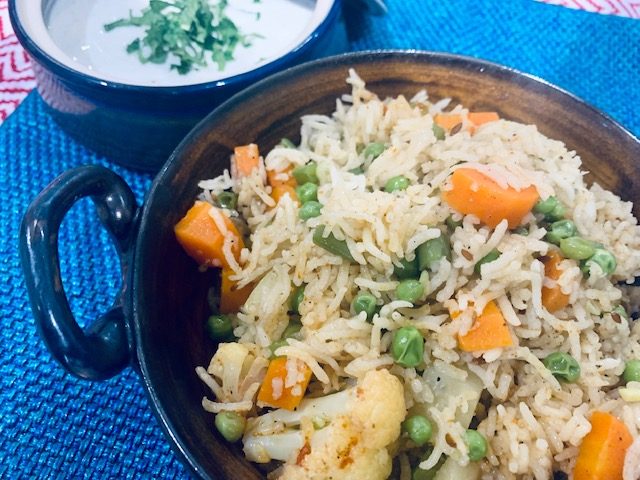
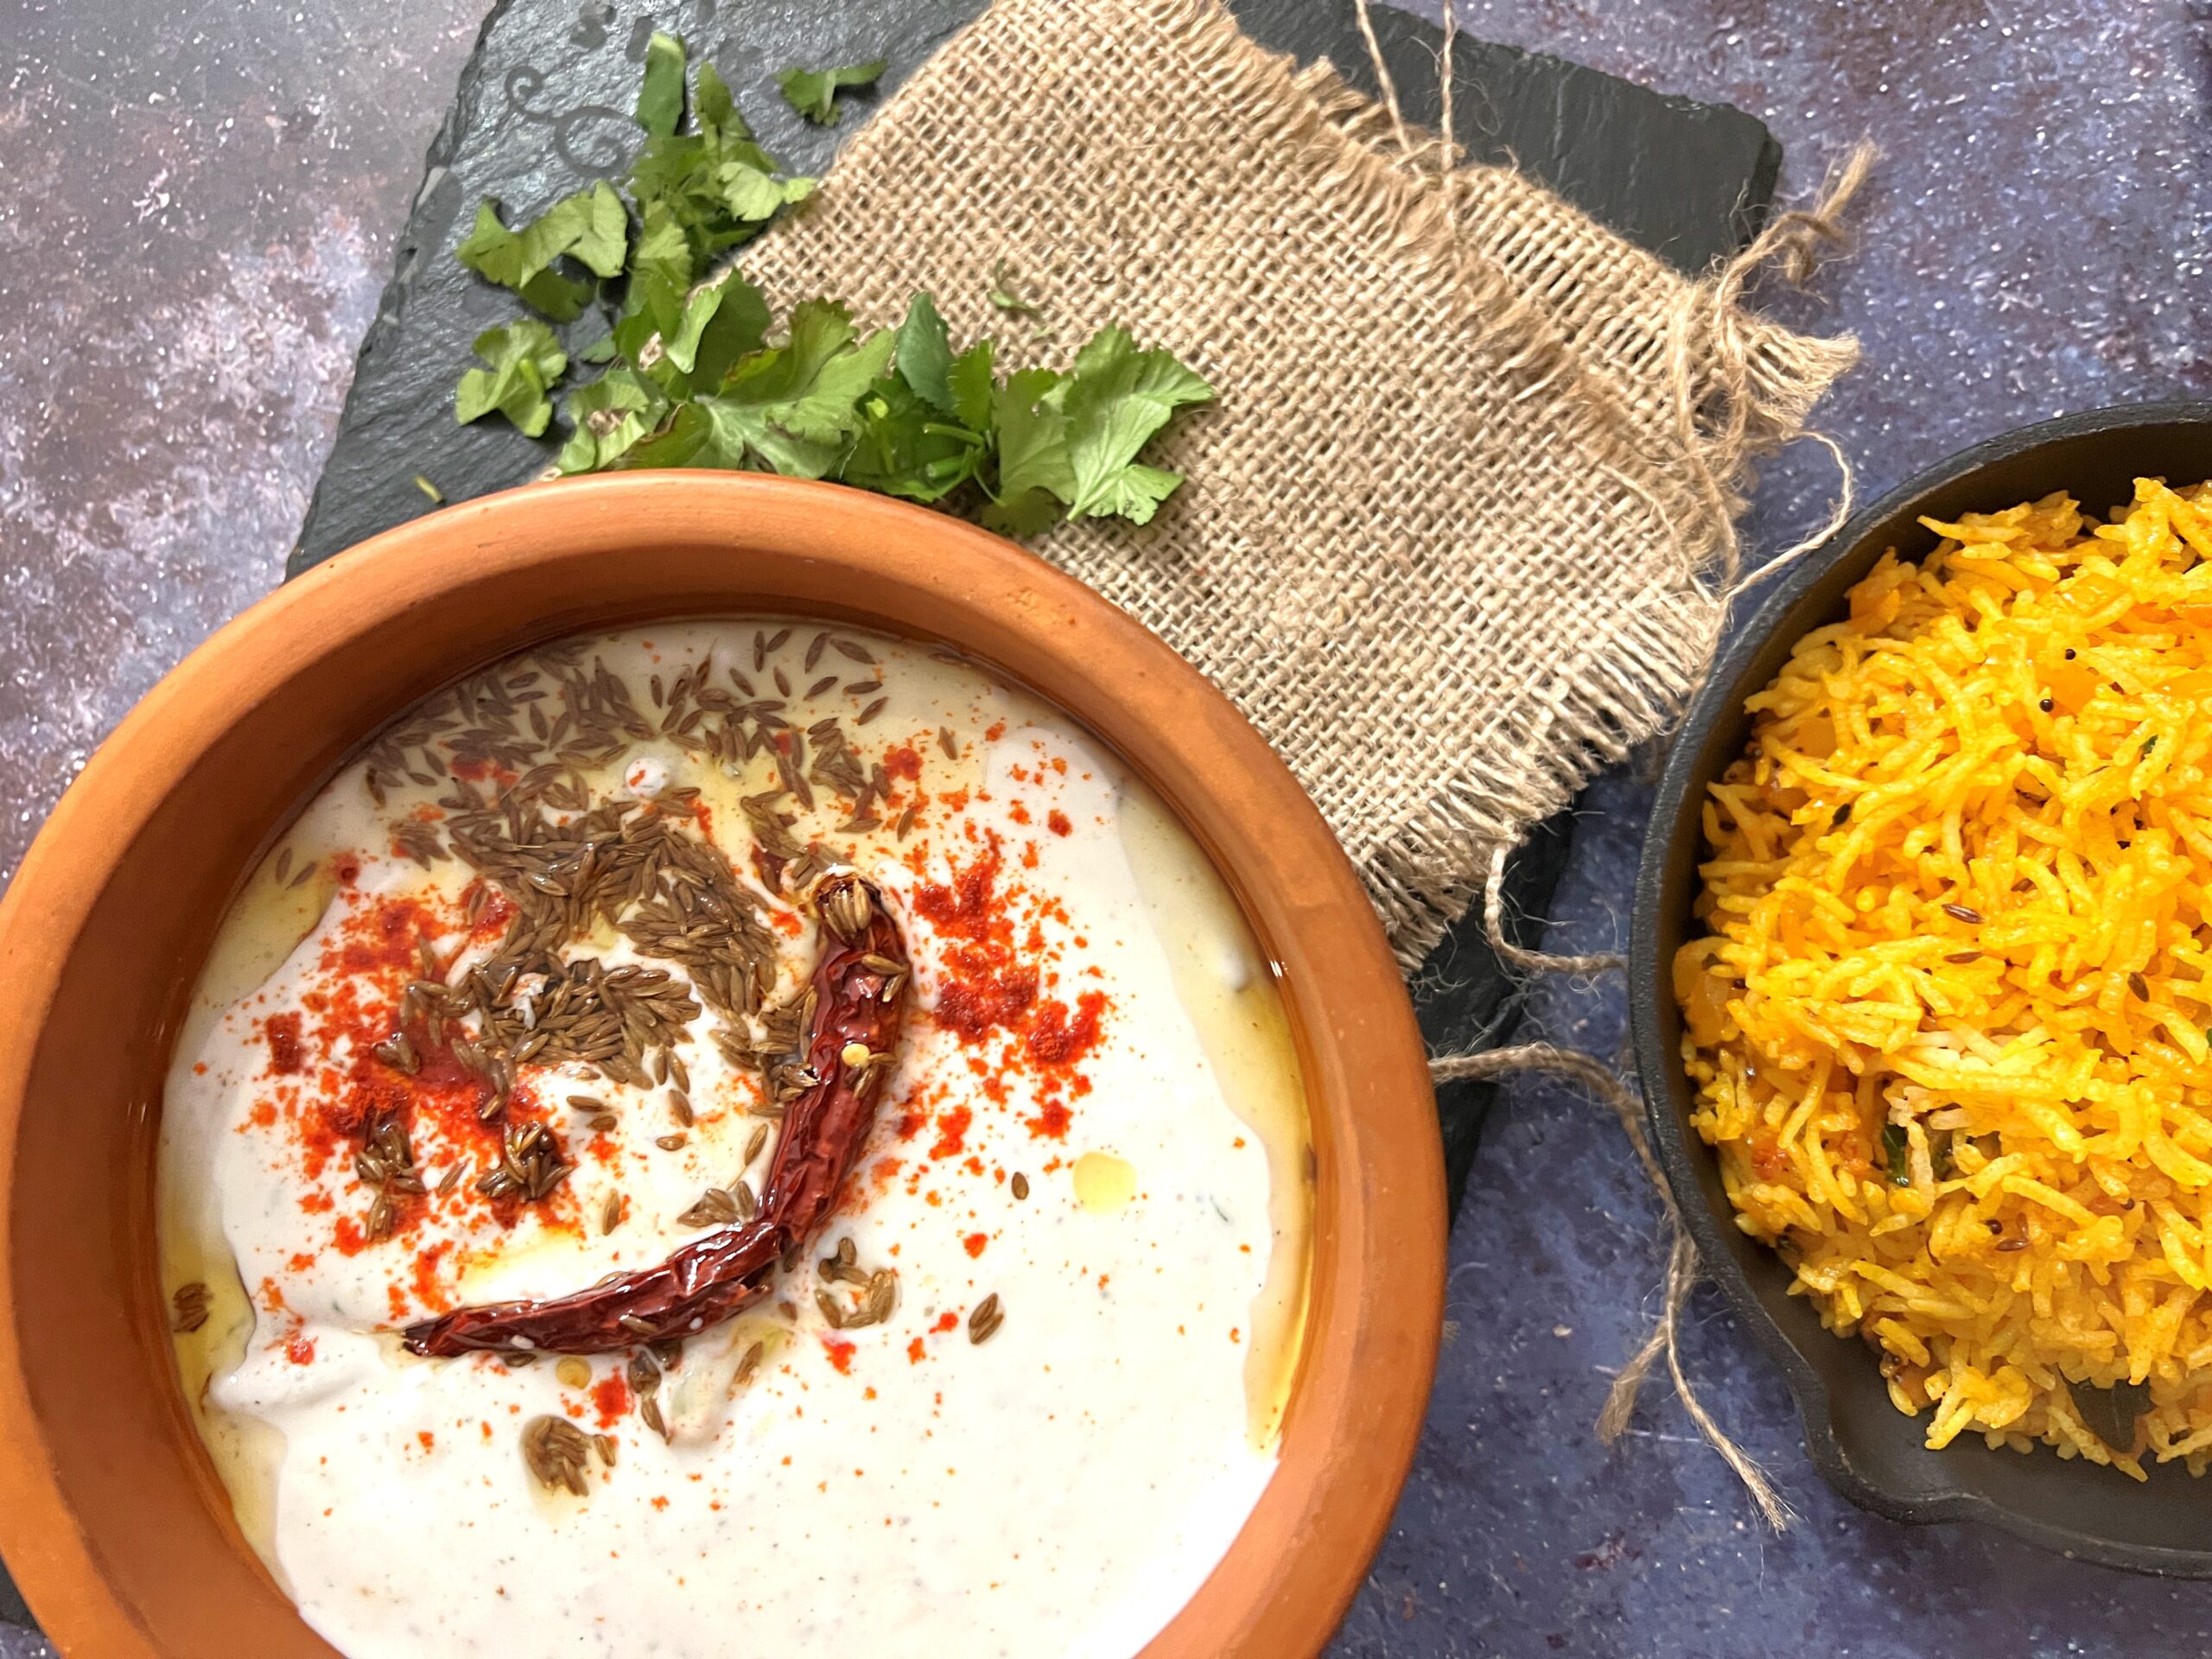
Parda Biryani goes well with Vegetable Raita, Aloo Raita, Boondi Raita or Hyderabadi Mirchi ka Salan.
Ingredients
For Parda Dough
2 cups plain flour(maida)
1/2 cup warm milk
1 teaspoon dry yeast
1 teaspoon sugar
1 teaspoon salt
½ teaspoon baking powder
1 tablespoon plain yogurt(curd)
1 teaspoon ghee
To grind into a paste
2 roughly chopped onions
1 tablespoon cashew nuts (kaju)
1 teaspoon poppy seeds (khus khus)
1 inch ginger
2 green chilli
1 teaspoon garlic
2 dry whole Kashmiri red chili
To boil rice
1 cup basmati rice
1 green cardamom
1-2 bay leaves
1 inch cinnamon stick
1 clove
Salt to taste
1 teaspoon oil
Other Ingredients
¼ cup peas
½ cup diced carrot
½ cup cauliflower florets
1 cup diced potato
¼ cup fine beans (french beans)
2 thinly sliced onions
¾ cup plain yogurt
2 teaspoons ghee
1 black cardamom
1 teaspoon black peppercorns
¼ teaspoon turmeric powder(haldi)
1 teaspoon red chilli powder
½ teaspoon Kashmiri red chilli
1 teaspoon garam masala
Salt to taste
1 teaspoon cumin seeds(jeera)
few strands saffron
1 tablespoon warm milk
2-3 teaspoon kewra water (optional)
Plain flour for dusting
1-2 teaspoons melted butter (for greasing)
Oil for deep frying
Directions
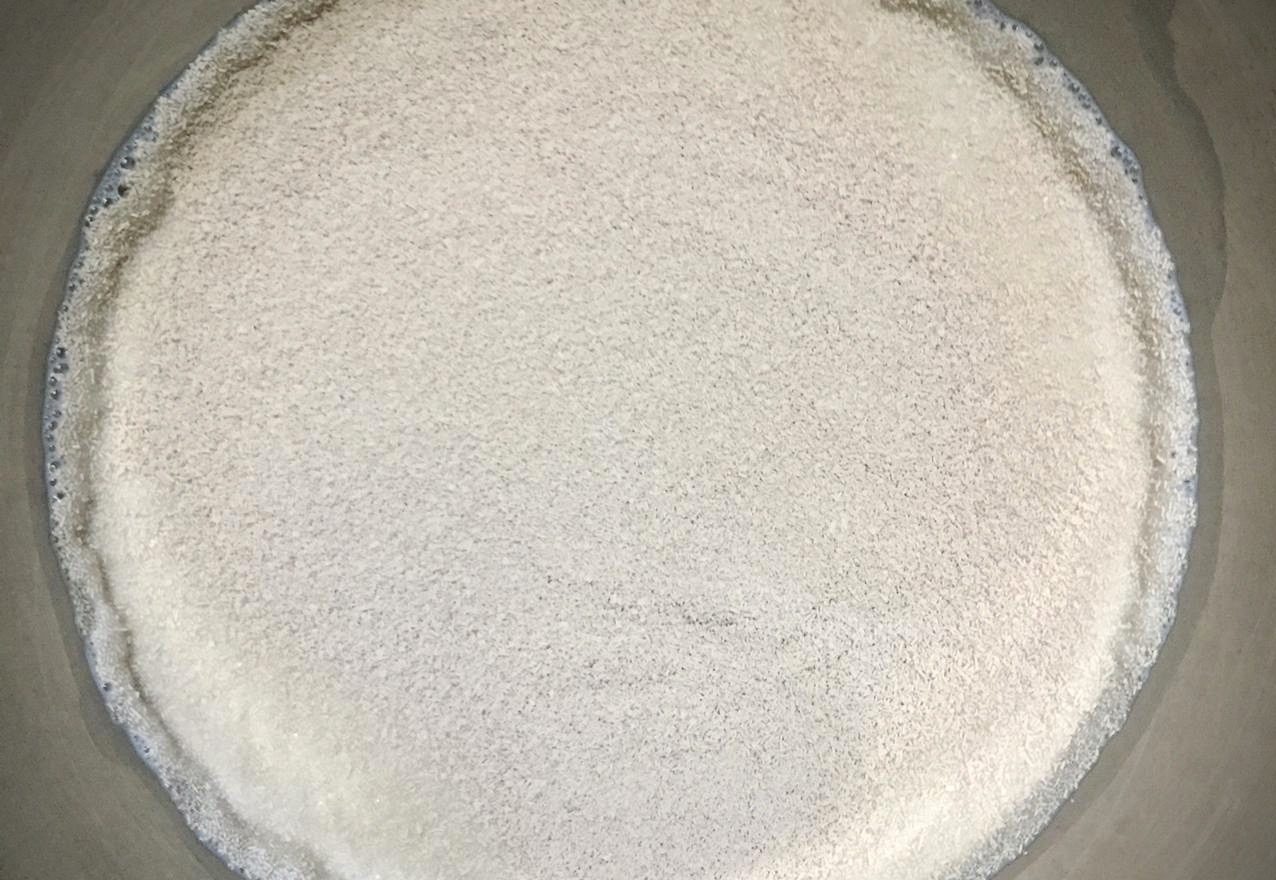
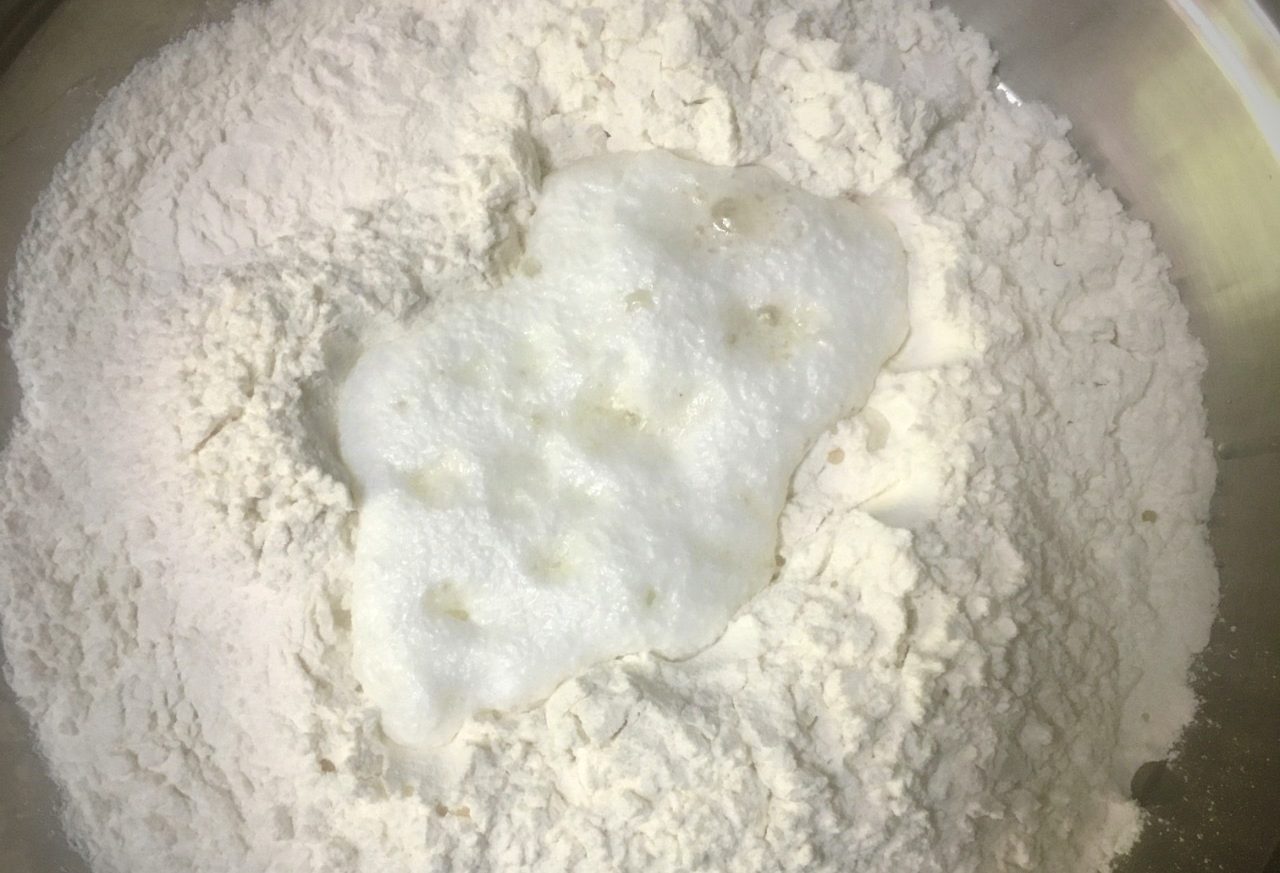
In a large mixing bowl, add lukewarm milk and then add the yeast and sugar. Let it rest for 5-10 minutes. You will notice that the yeast is activated when it is bubbly and frothy on top.
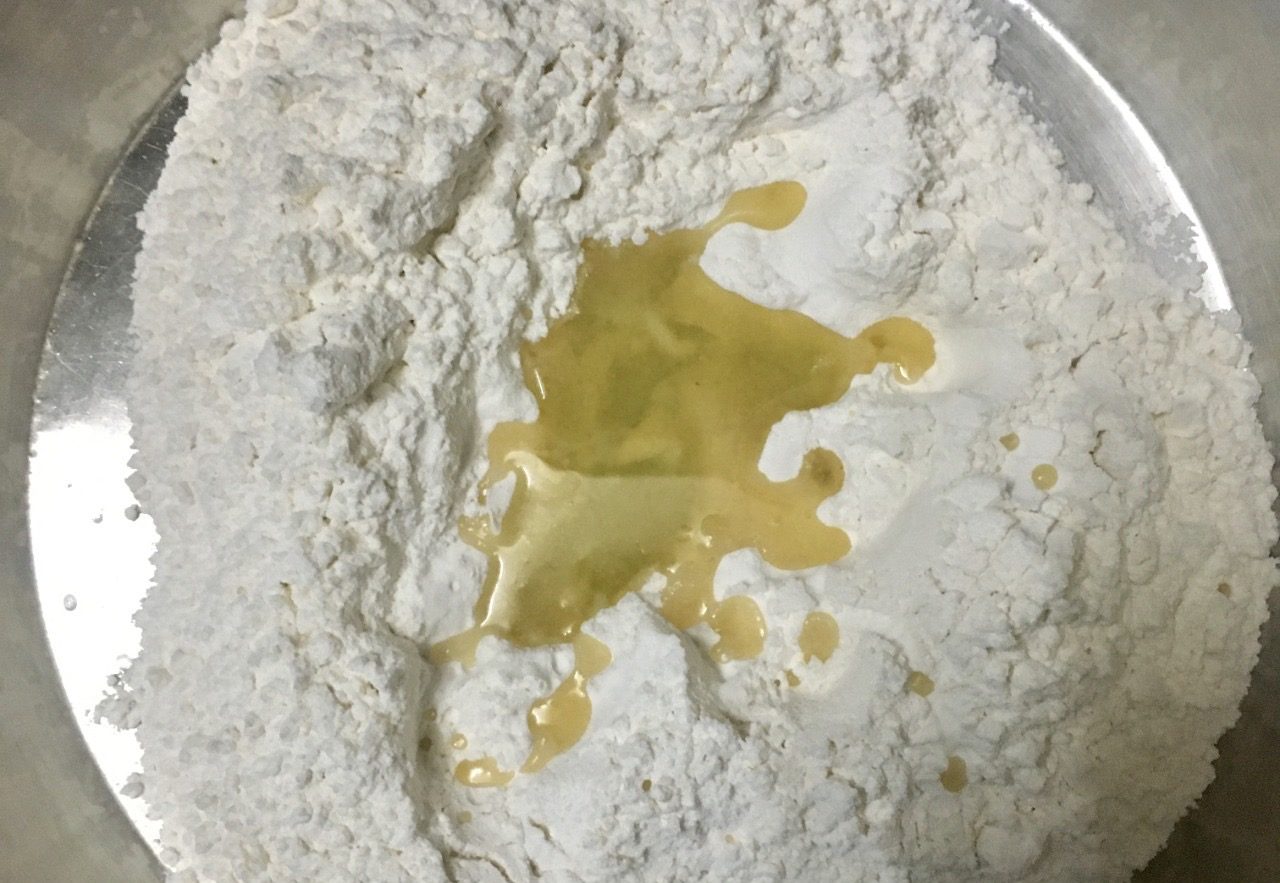
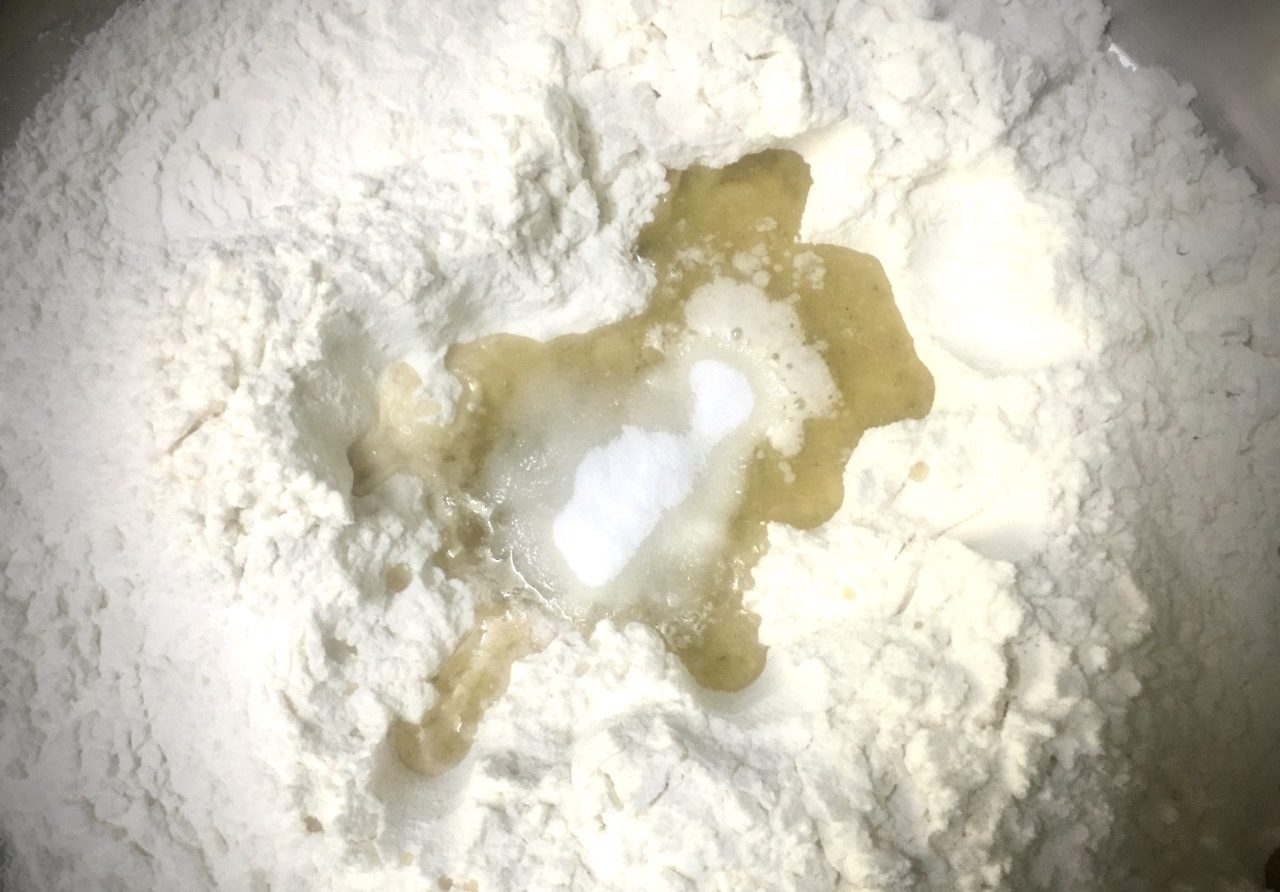
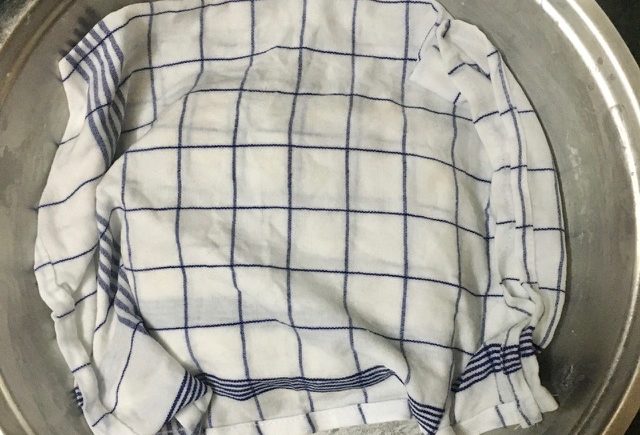
Once the yeast is activated, add the flour, salt, baking powder, yogurt, and ghee. Mix all the ingredients. Knead with hands or with the dough hook attachment of your stand mixer for 2-3 minutes until the dough is smooth. Transfer the dough to a greased bowl and rest it for 2 hours.

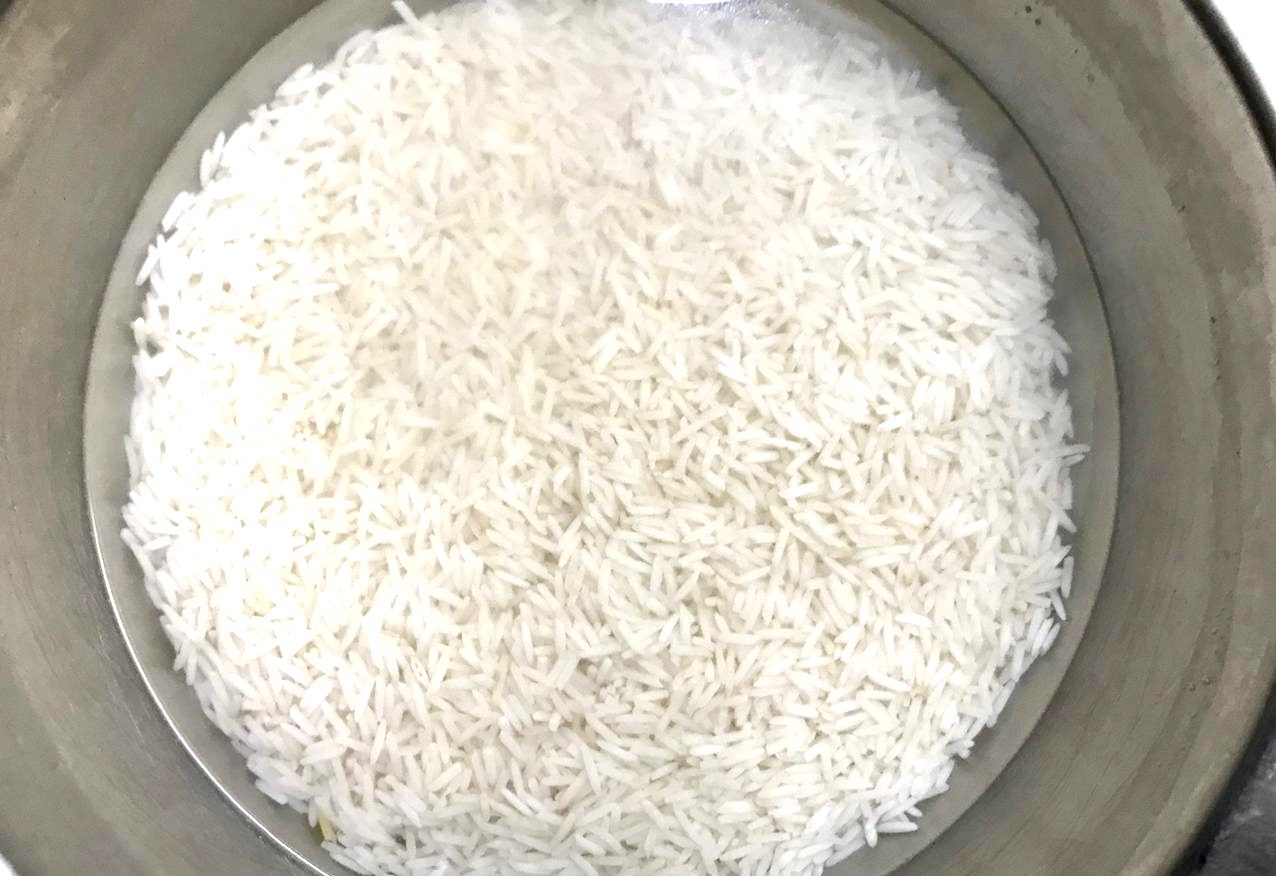
Wash the rice under running water and then soak the rice in water for at least 30 minutes.
After the rice has soaked, drain the water using a colander.
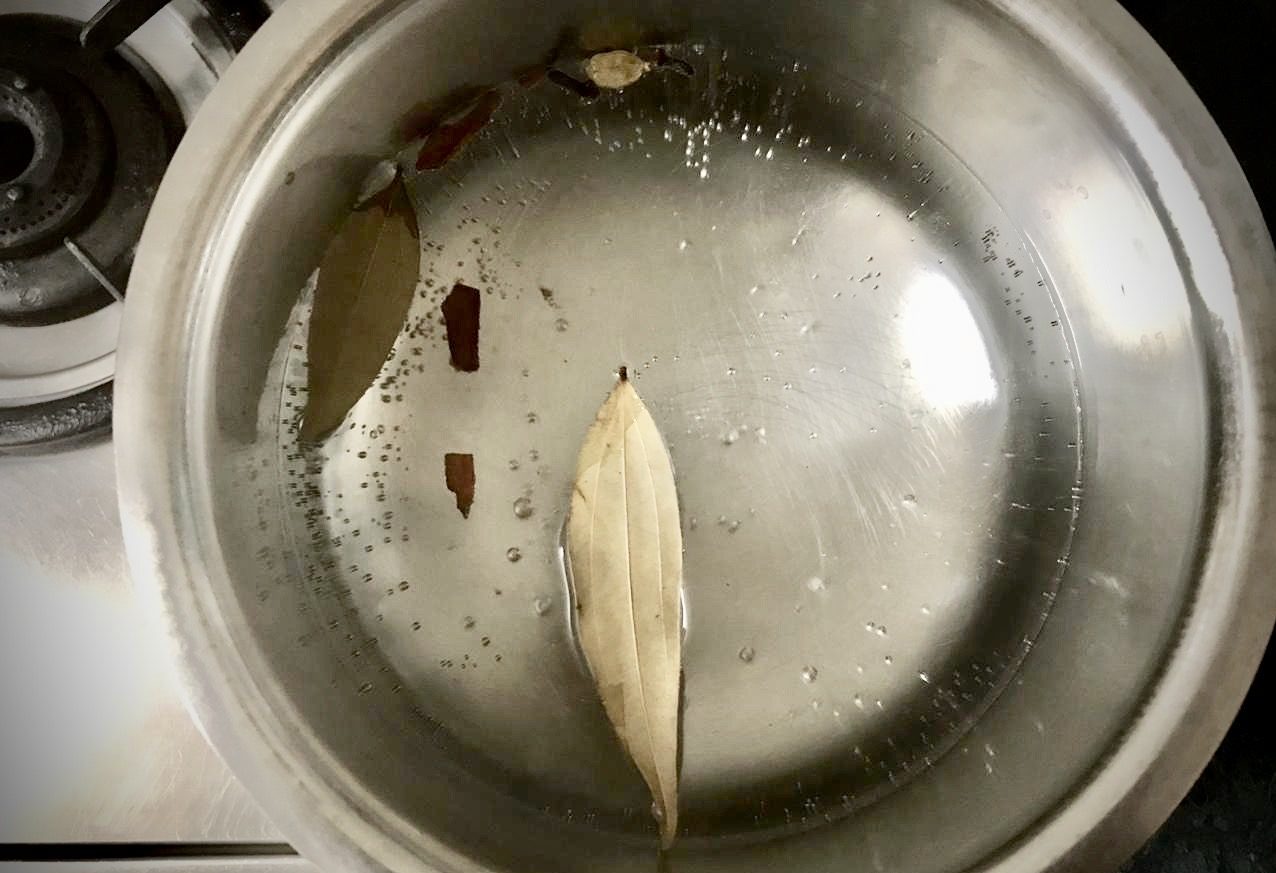
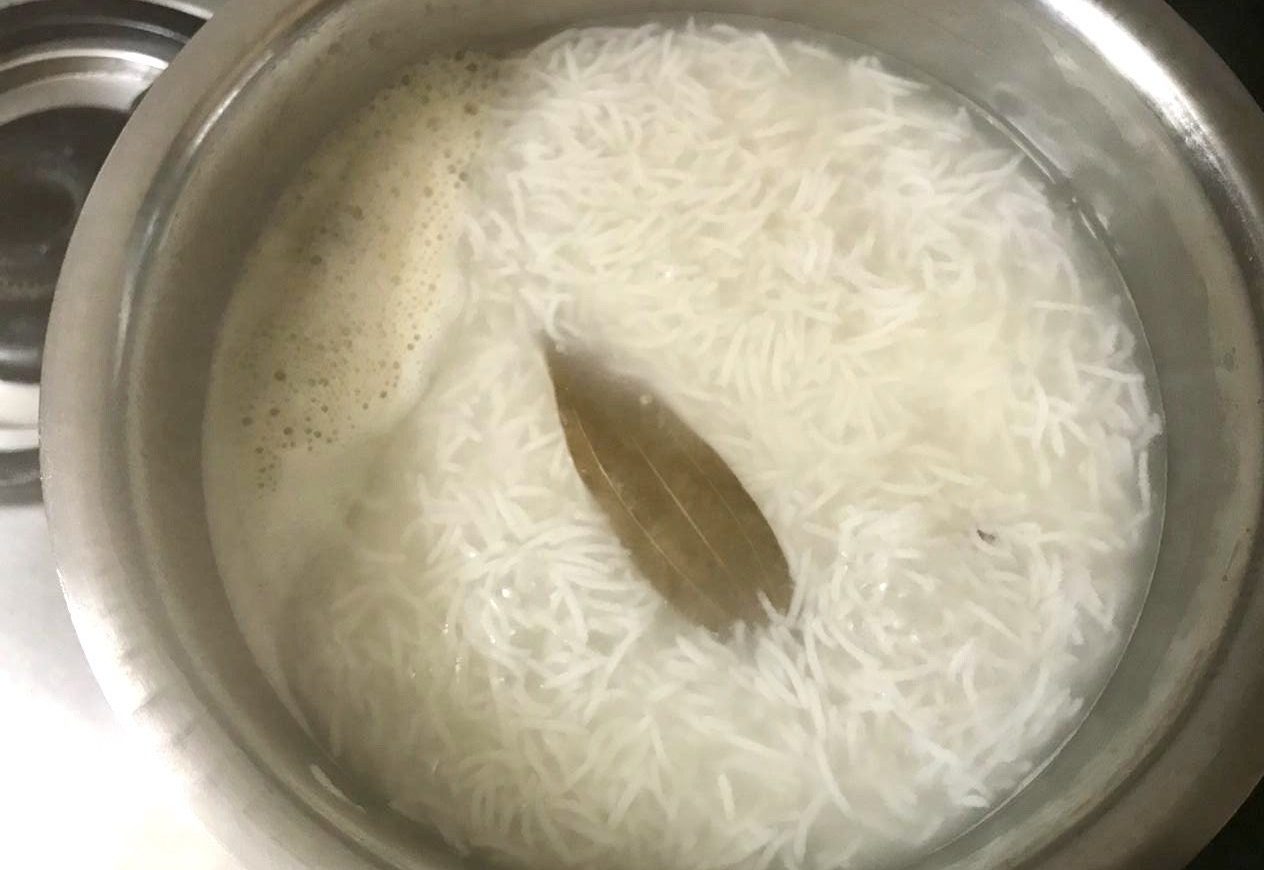
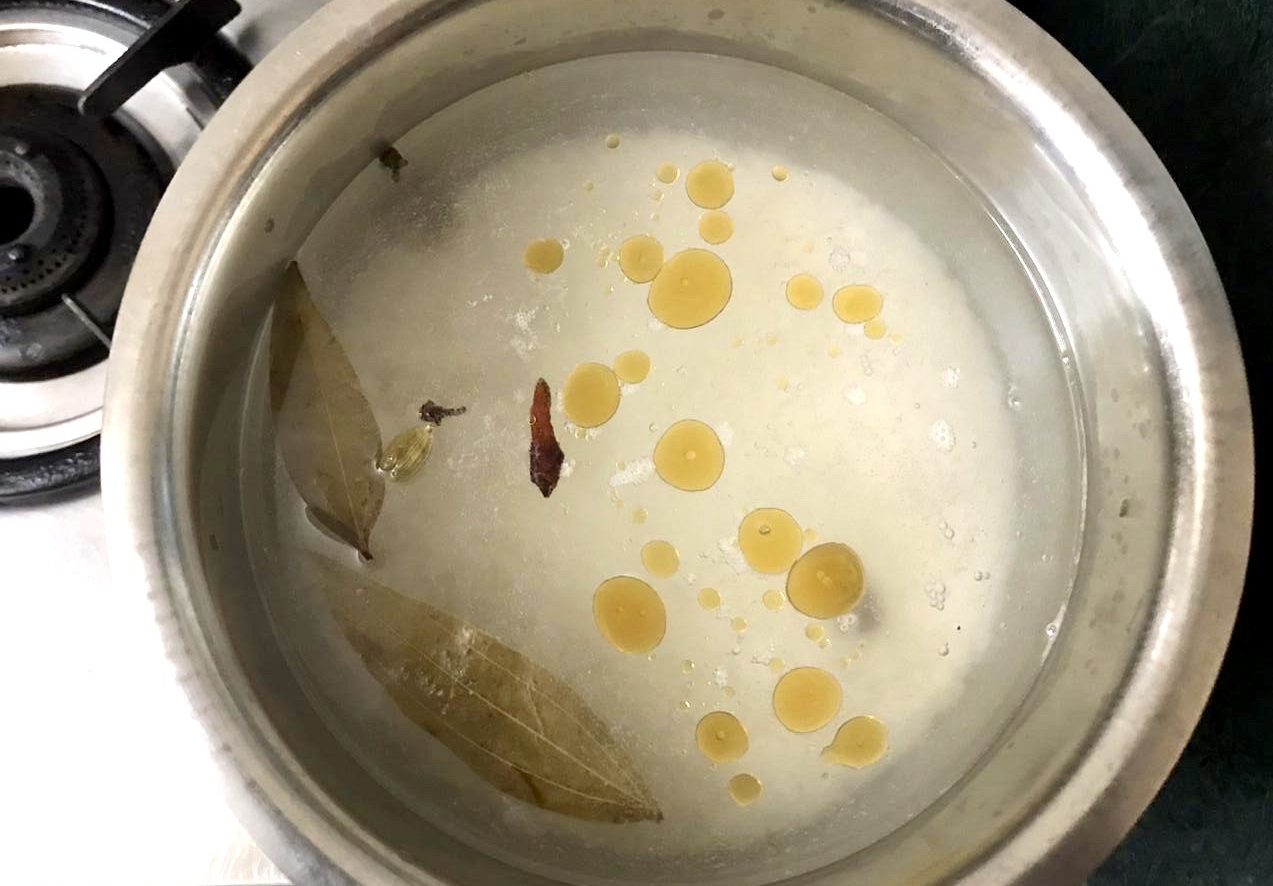
Boil 3-4 cups of water add the green cardamom, 2 cloves, bay leaf, cinnamon and ¾ teaspoon salt to it. Add rice and 1 teaspoon oil and gently stir. Let it cook uncovered until it is 70% cooked. This takes around 6 to 7 minutes.
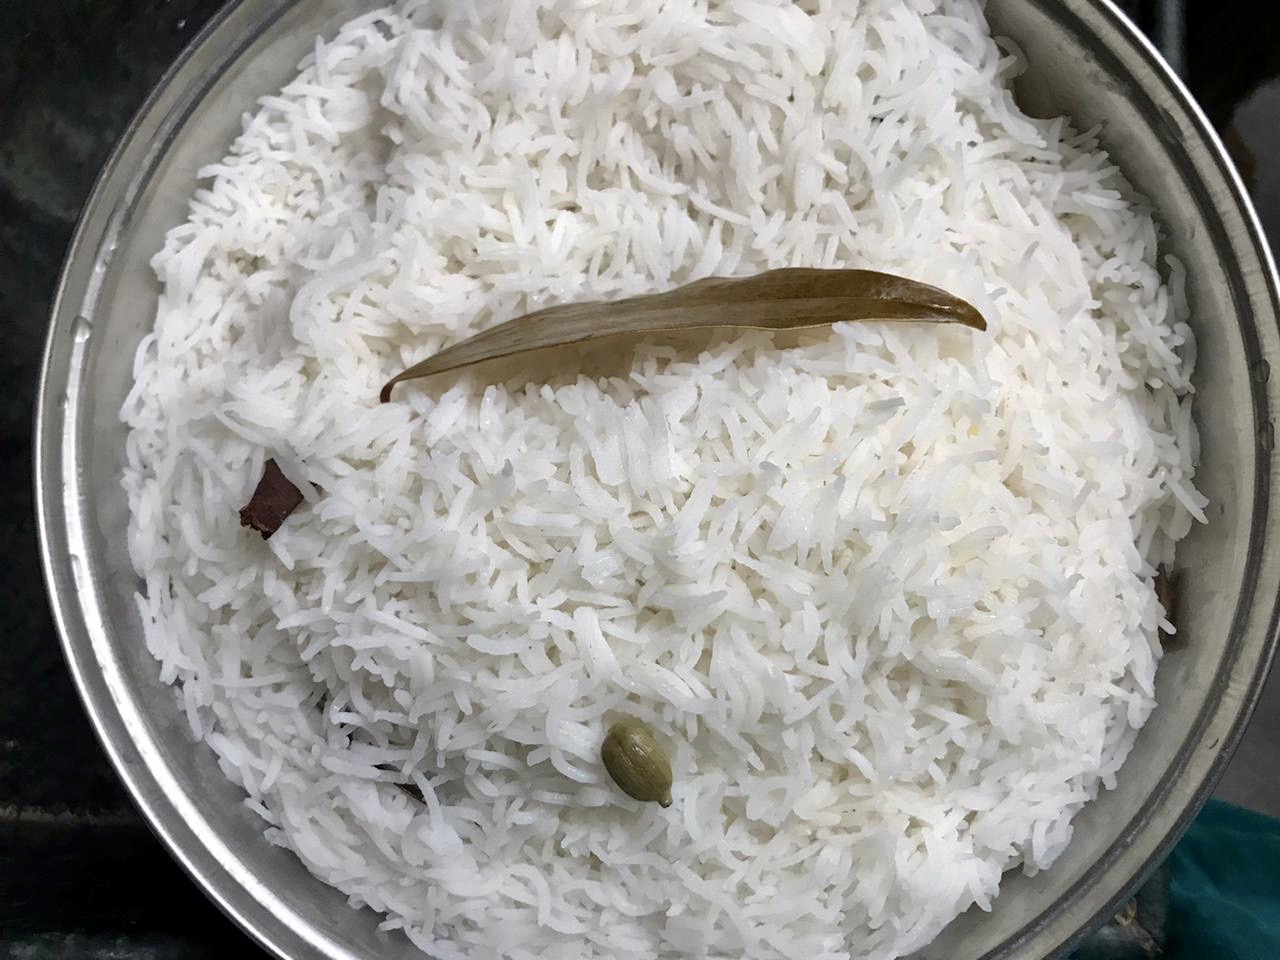
Remove pan from heat and drain rice in a colander. You can also rinse the rice gently with water so that the grains stop cooking. Set aside.
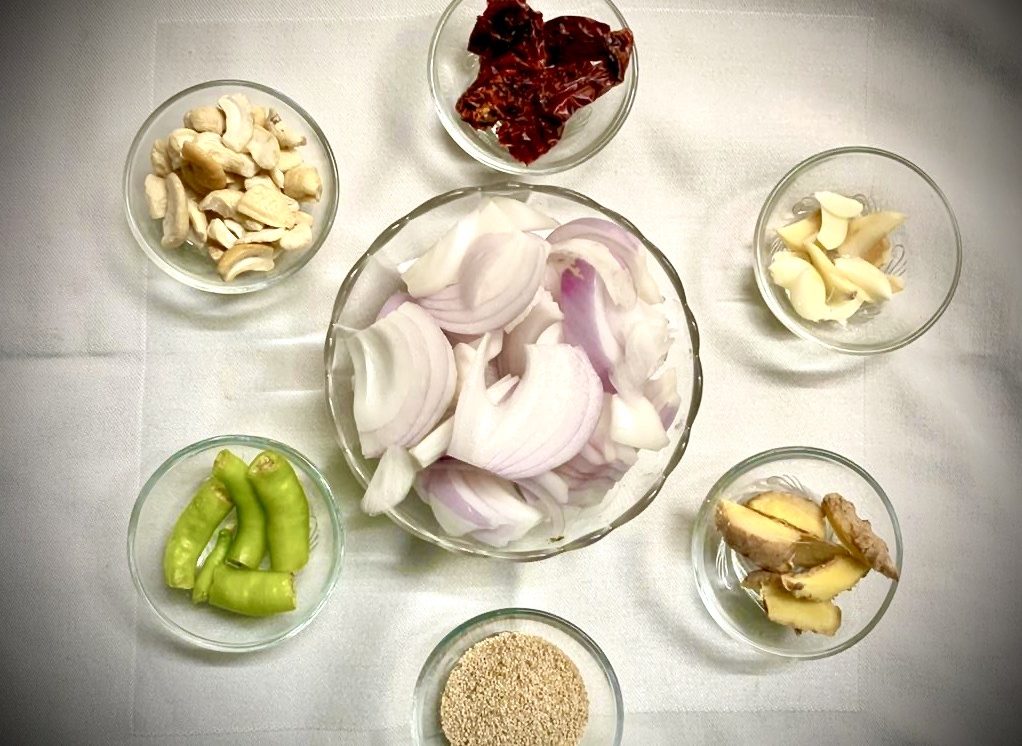
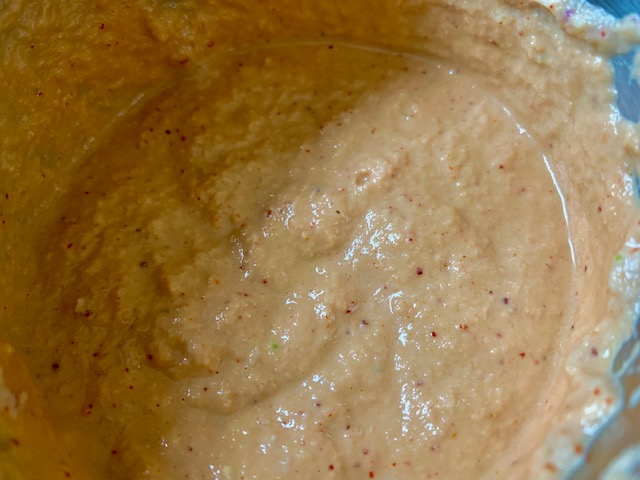
Grind the onions, cashew nuts, poppy seeds, ginger, green chilli, garlic and dry whole Kashmiri red chili into a fine paste using 2-3 tablespoons of water.
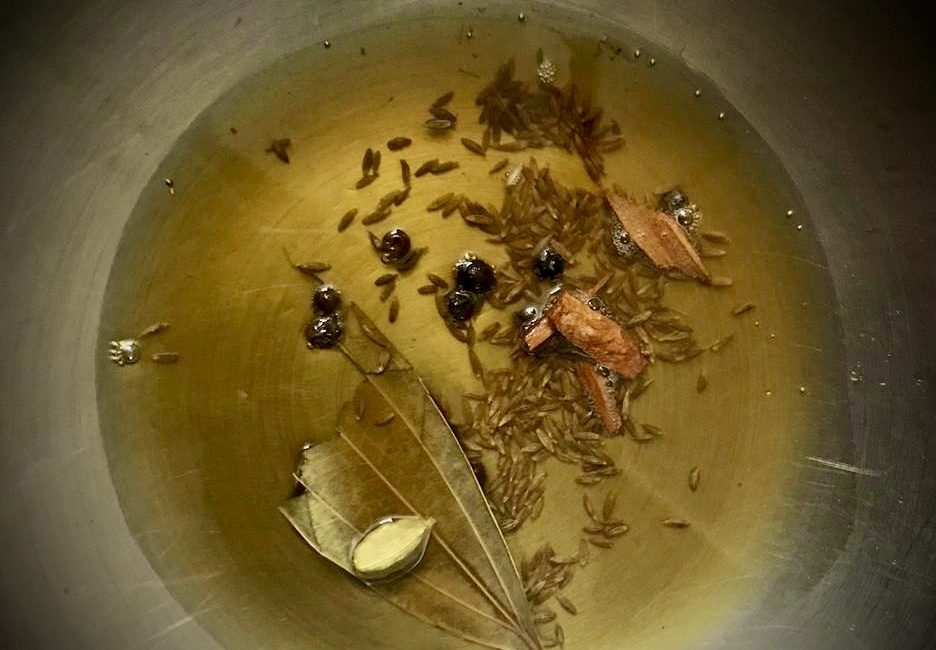
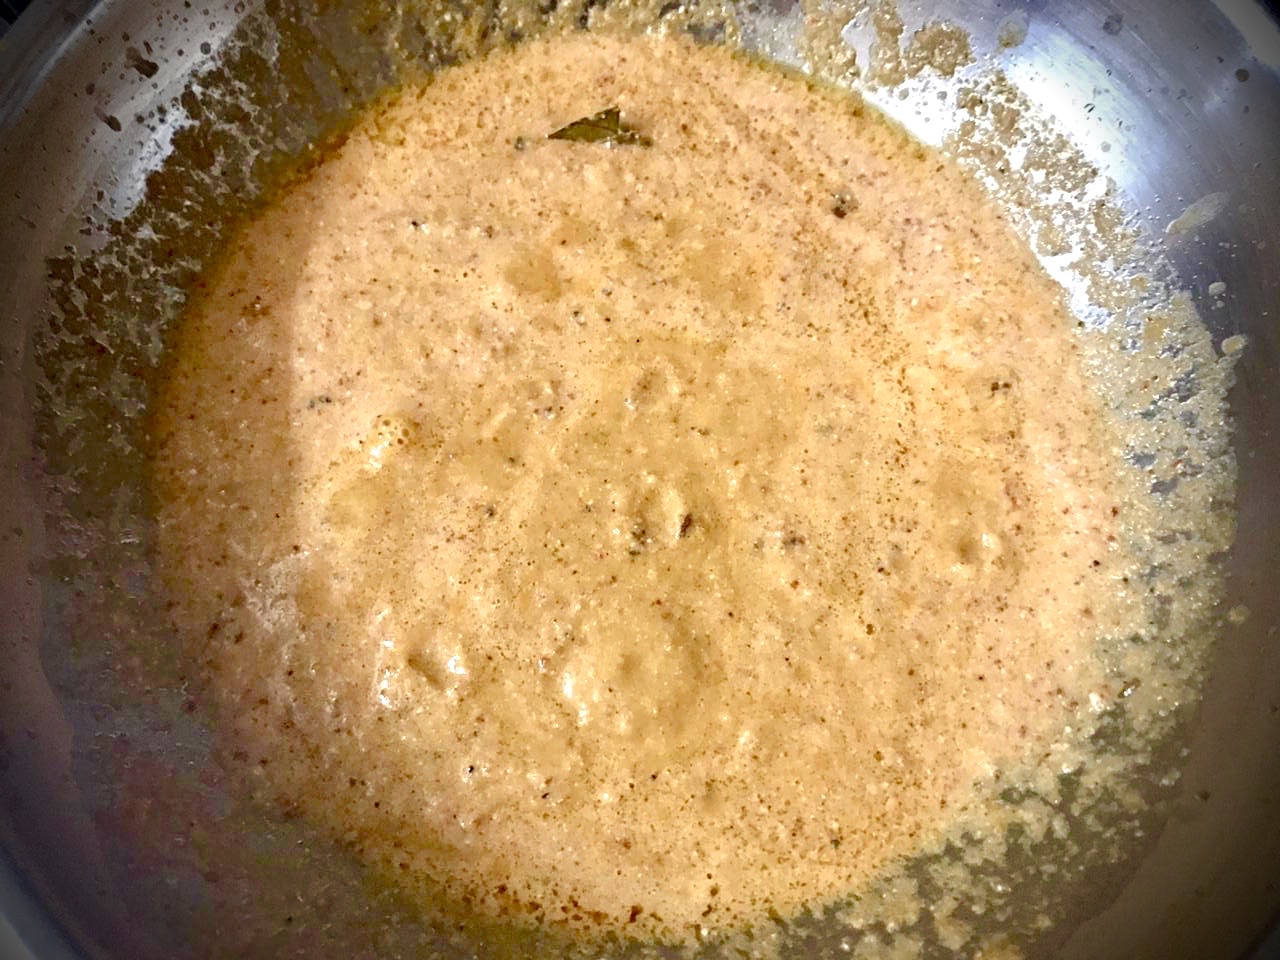
Next, heat 2 teaspoons ghee and add the cumin seeds, pepper corns, cinnamon and black cardamom. Let them infuse the ghee for 30 seconds and next add the onion paste and sauté for 3-4 minutes on medium heat, stirring every 30 seconds.
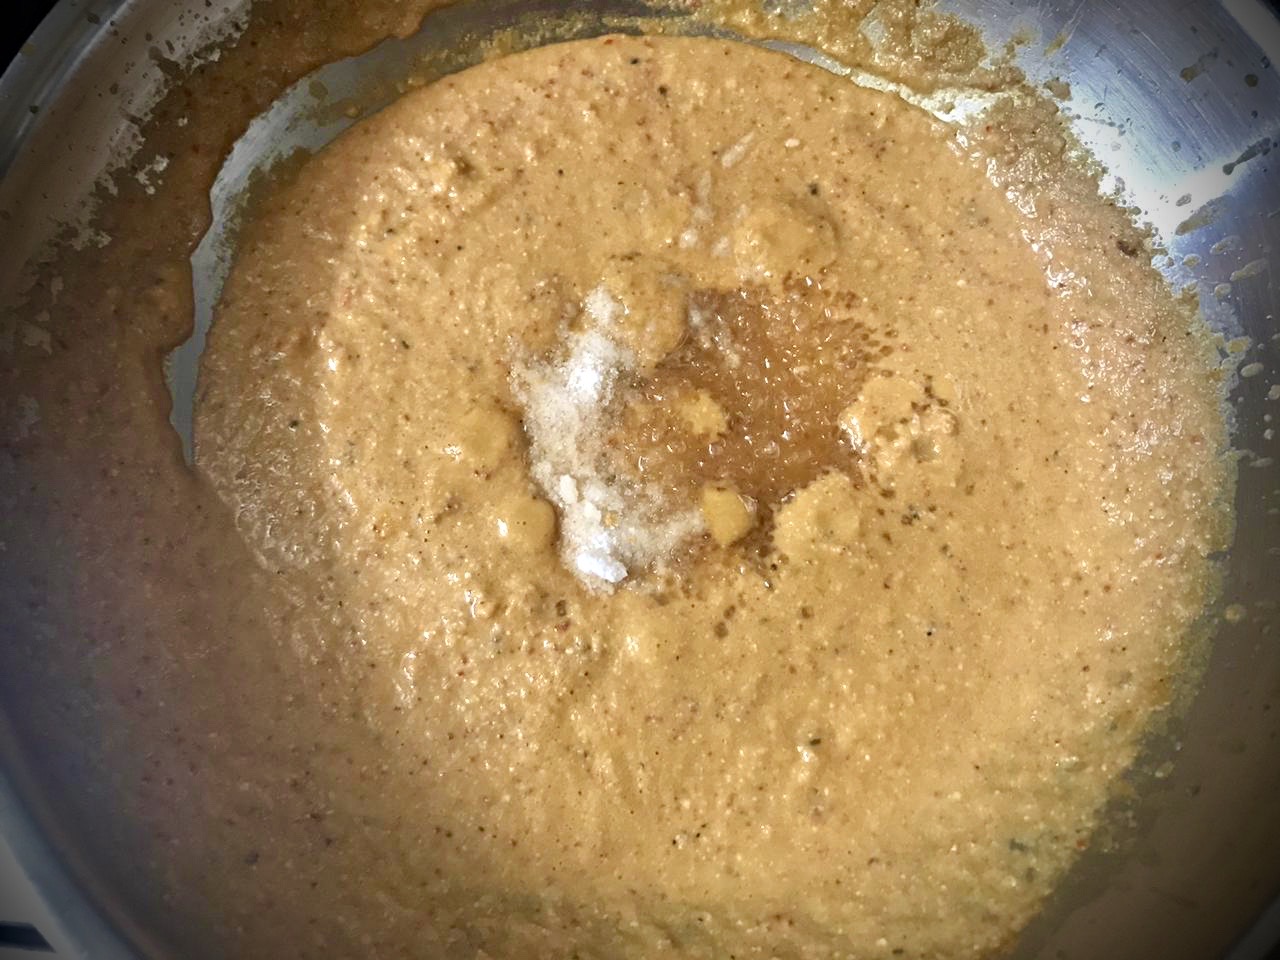
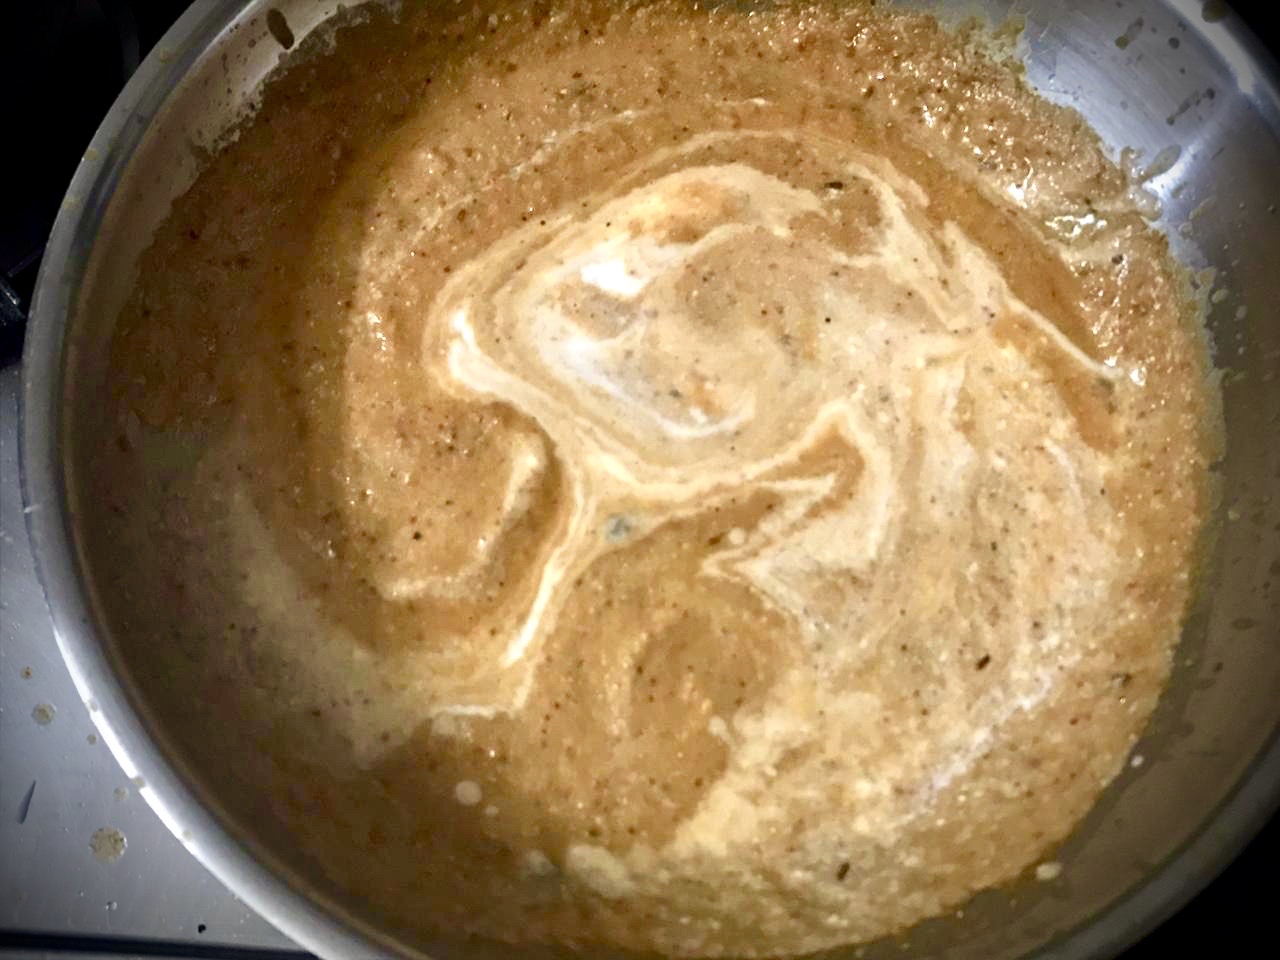
Add the red chilli powder, kashmiri red chilli powder, turmeric powder, and salt and give a good mix. Turn the heat off.
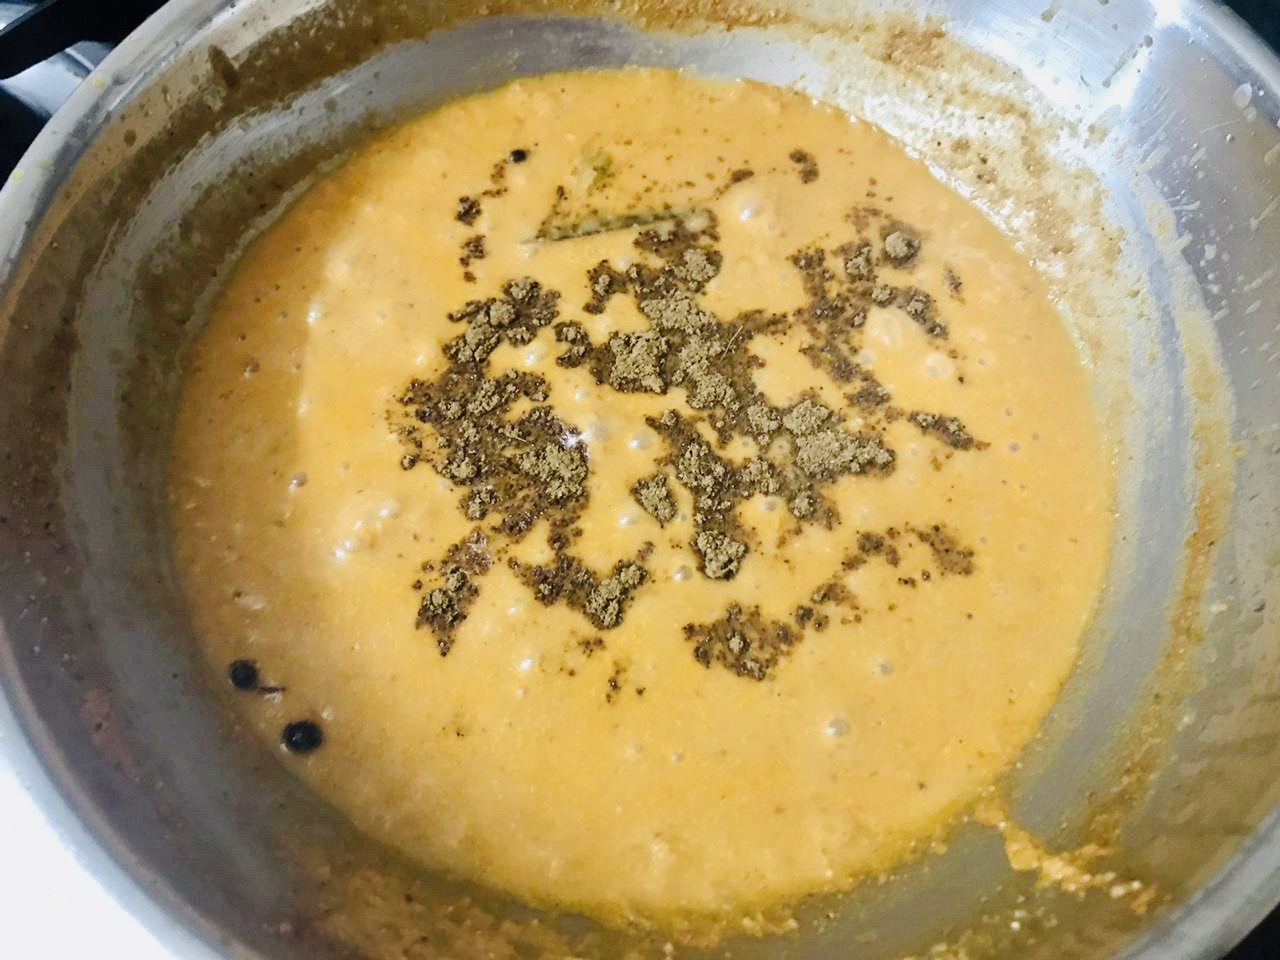
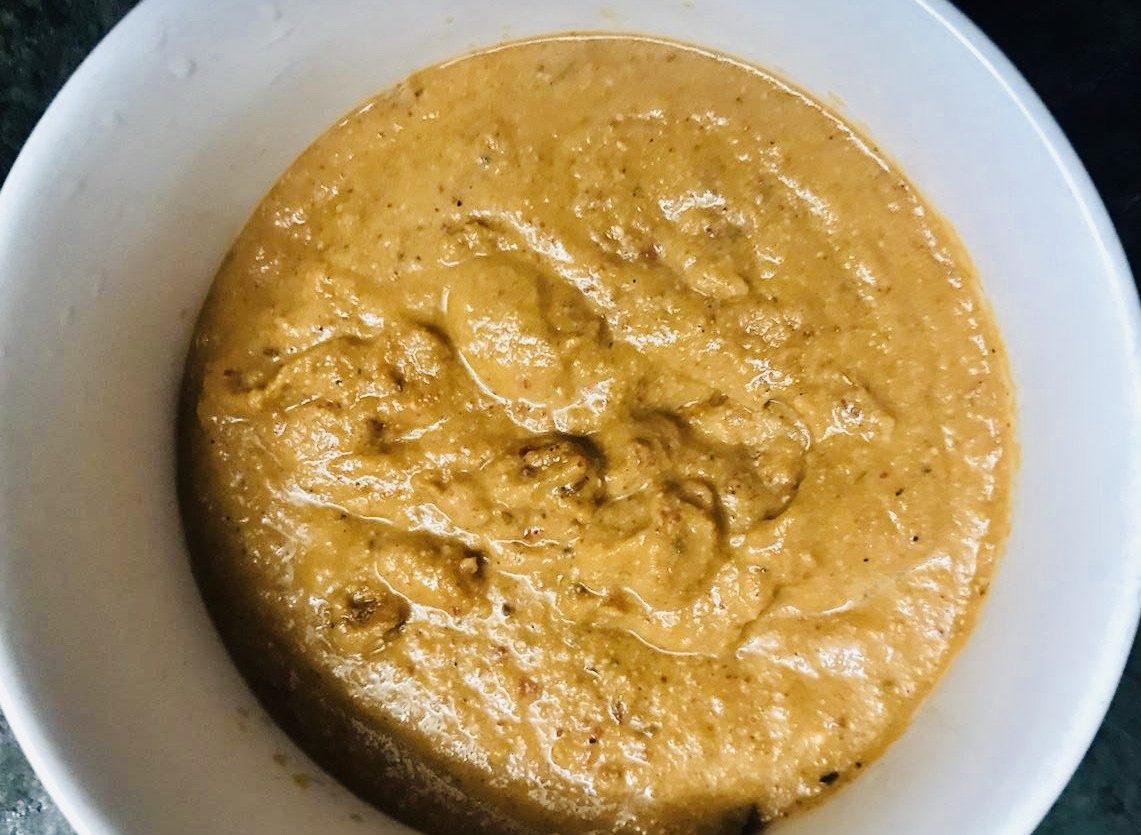
Next, add yoghurt and garam masala, mix and keep it aside.
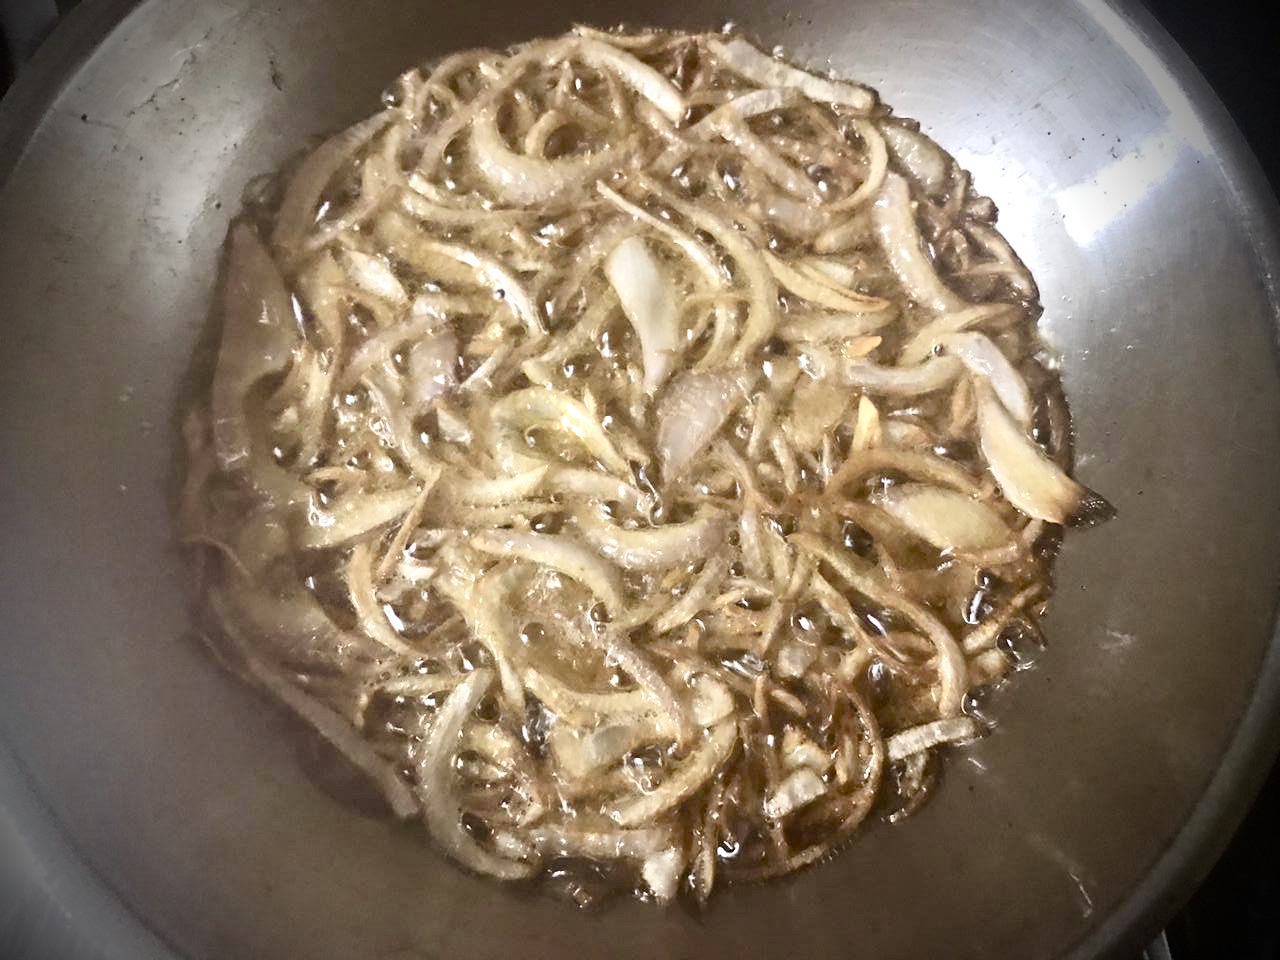
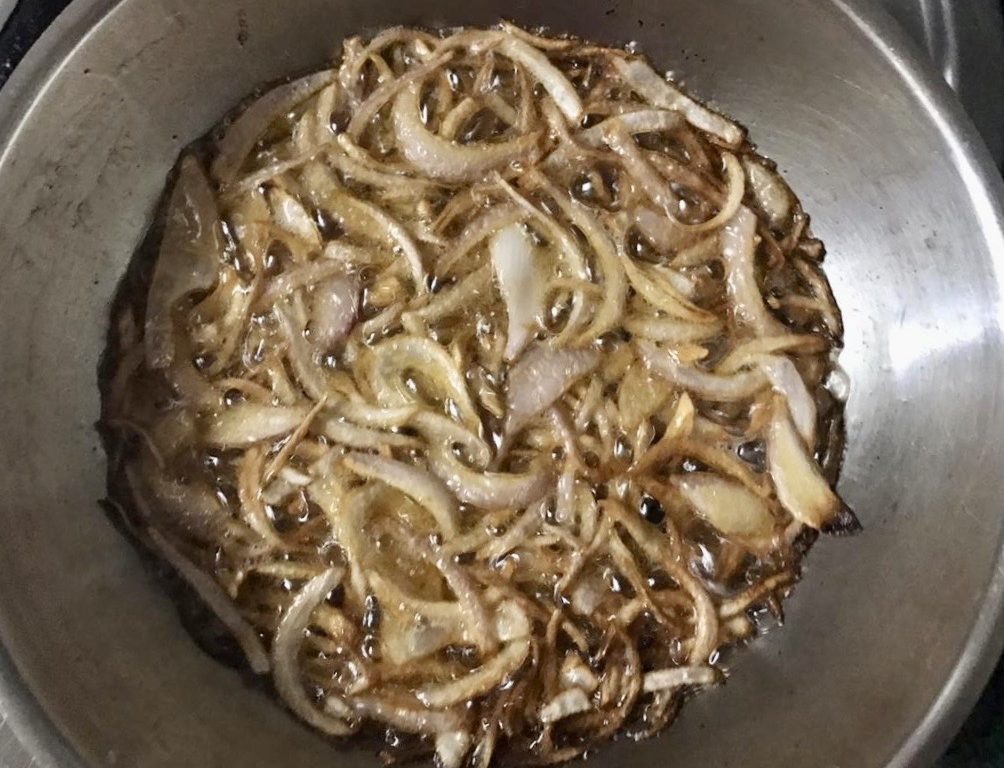
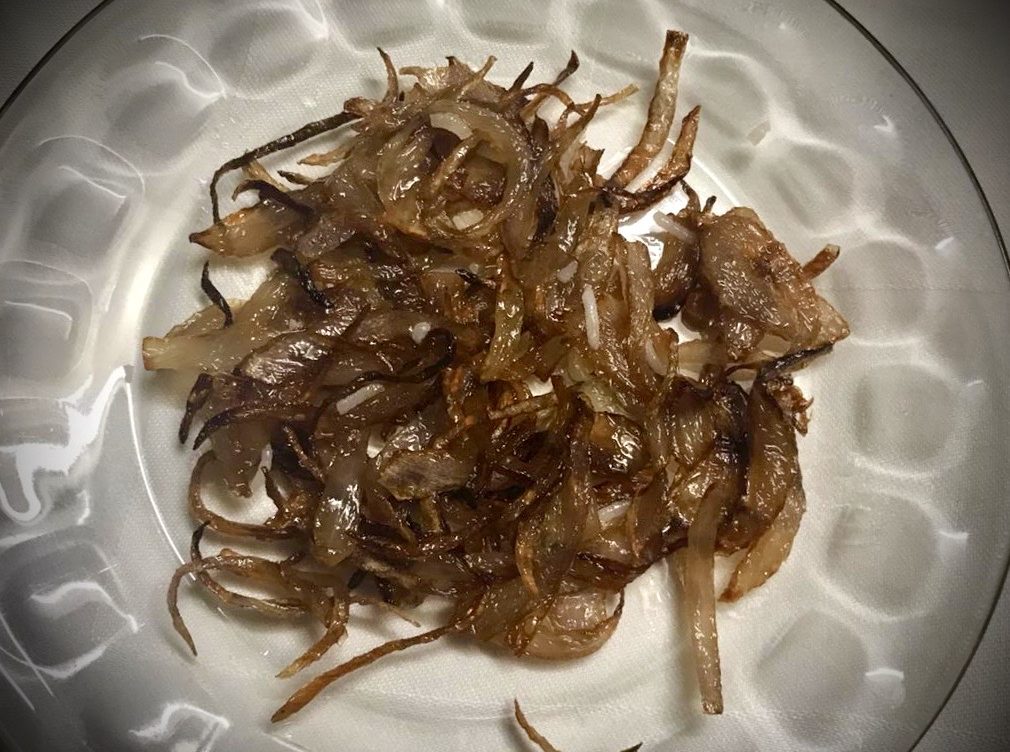
Deep fry thinly sliced onions till golden brown and remove on an absorbent paper.
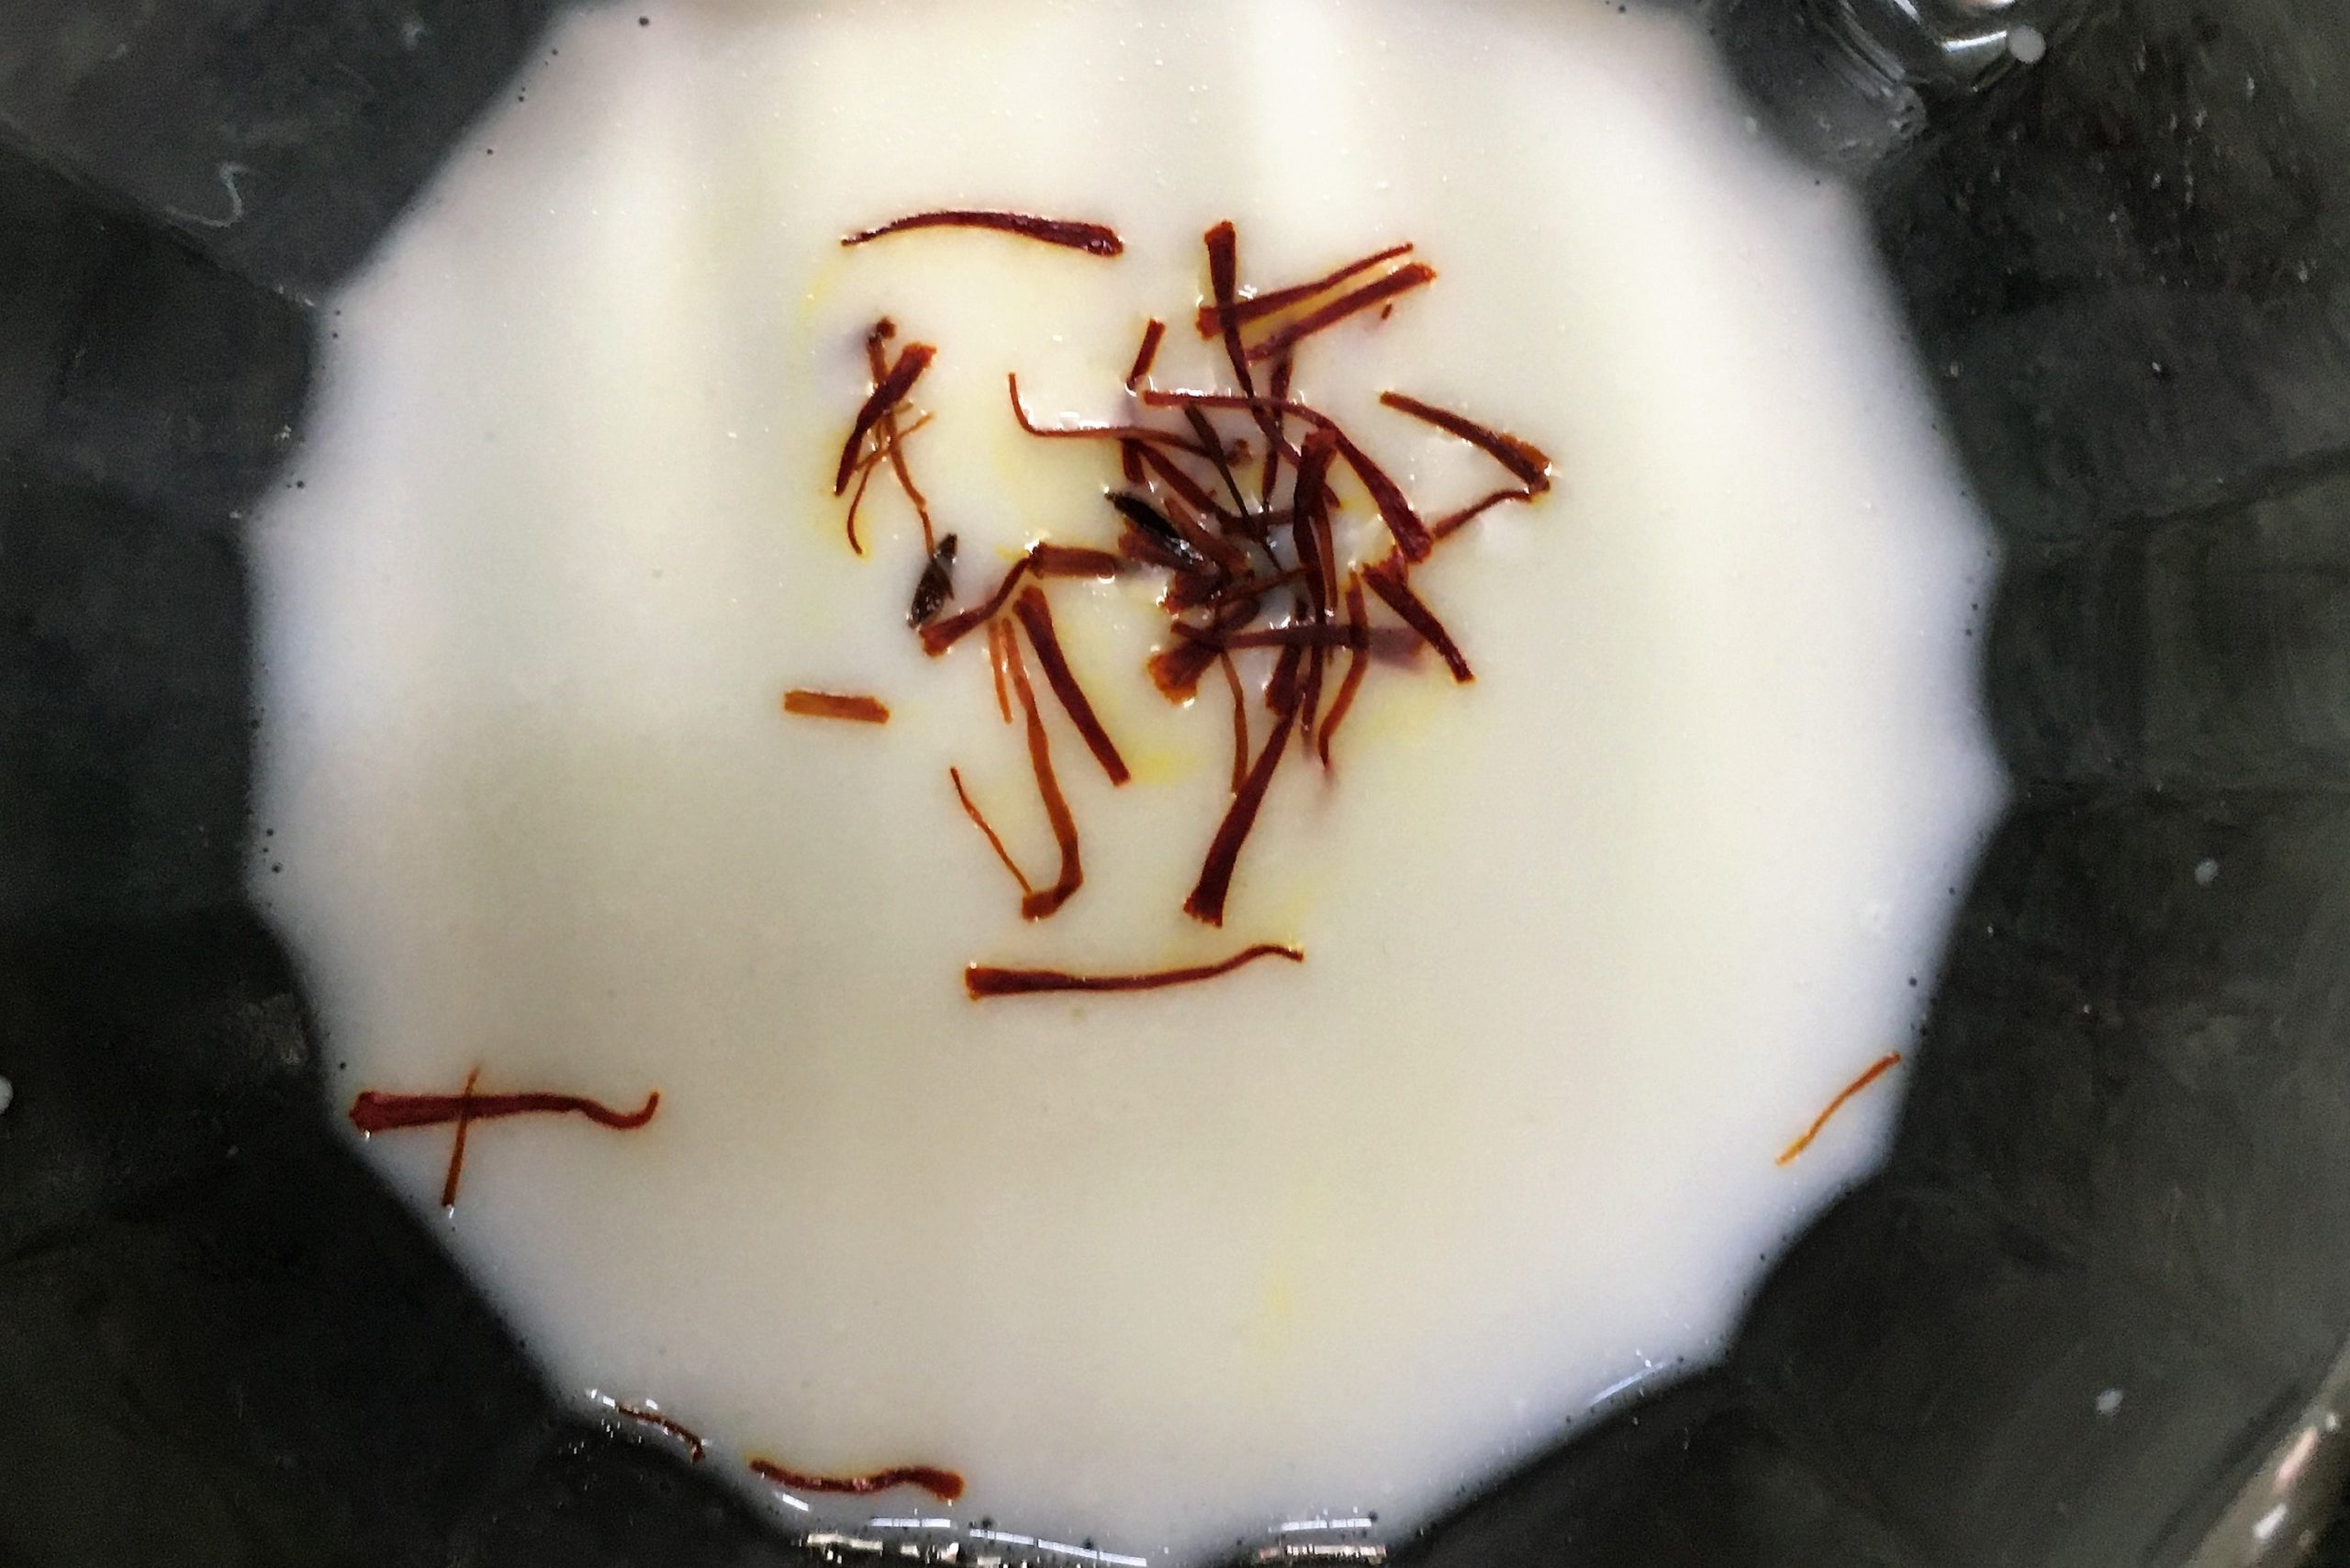
Dissolve saffron in 2-3 teaspoons of warm milk and keep aside.
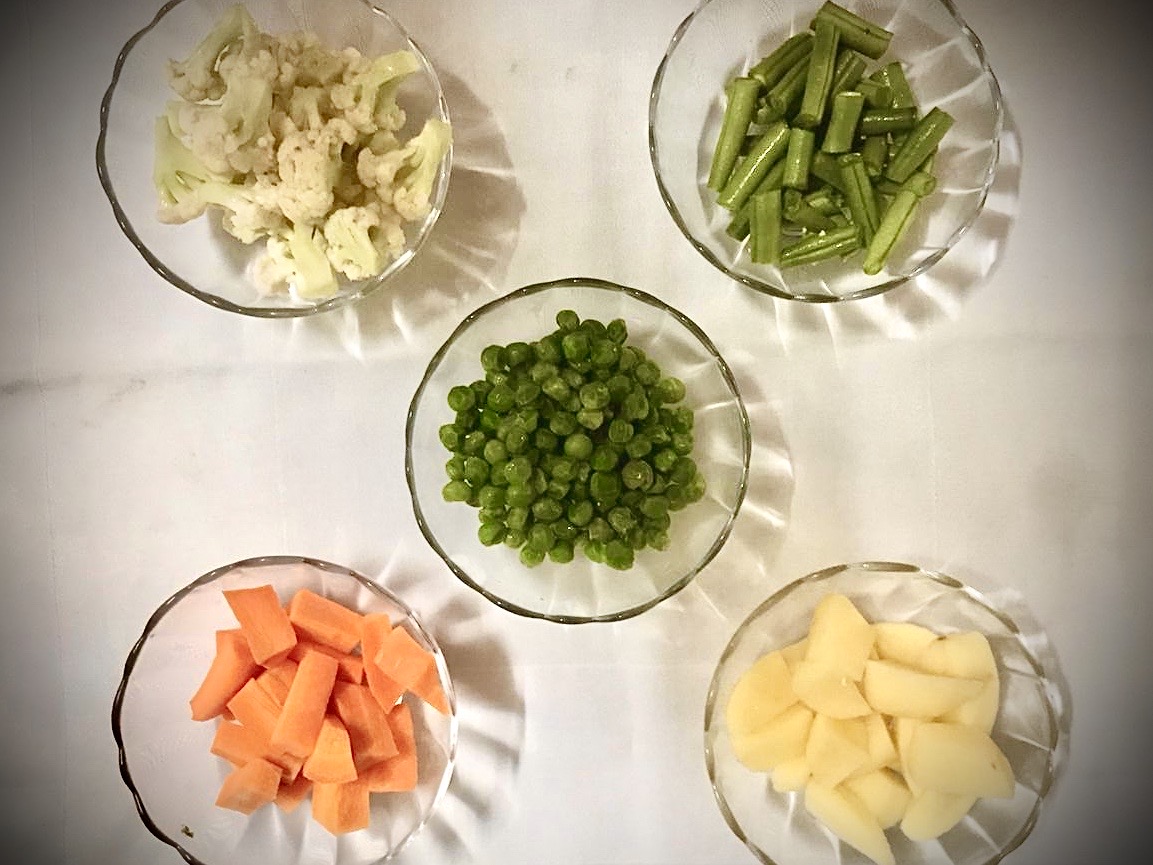
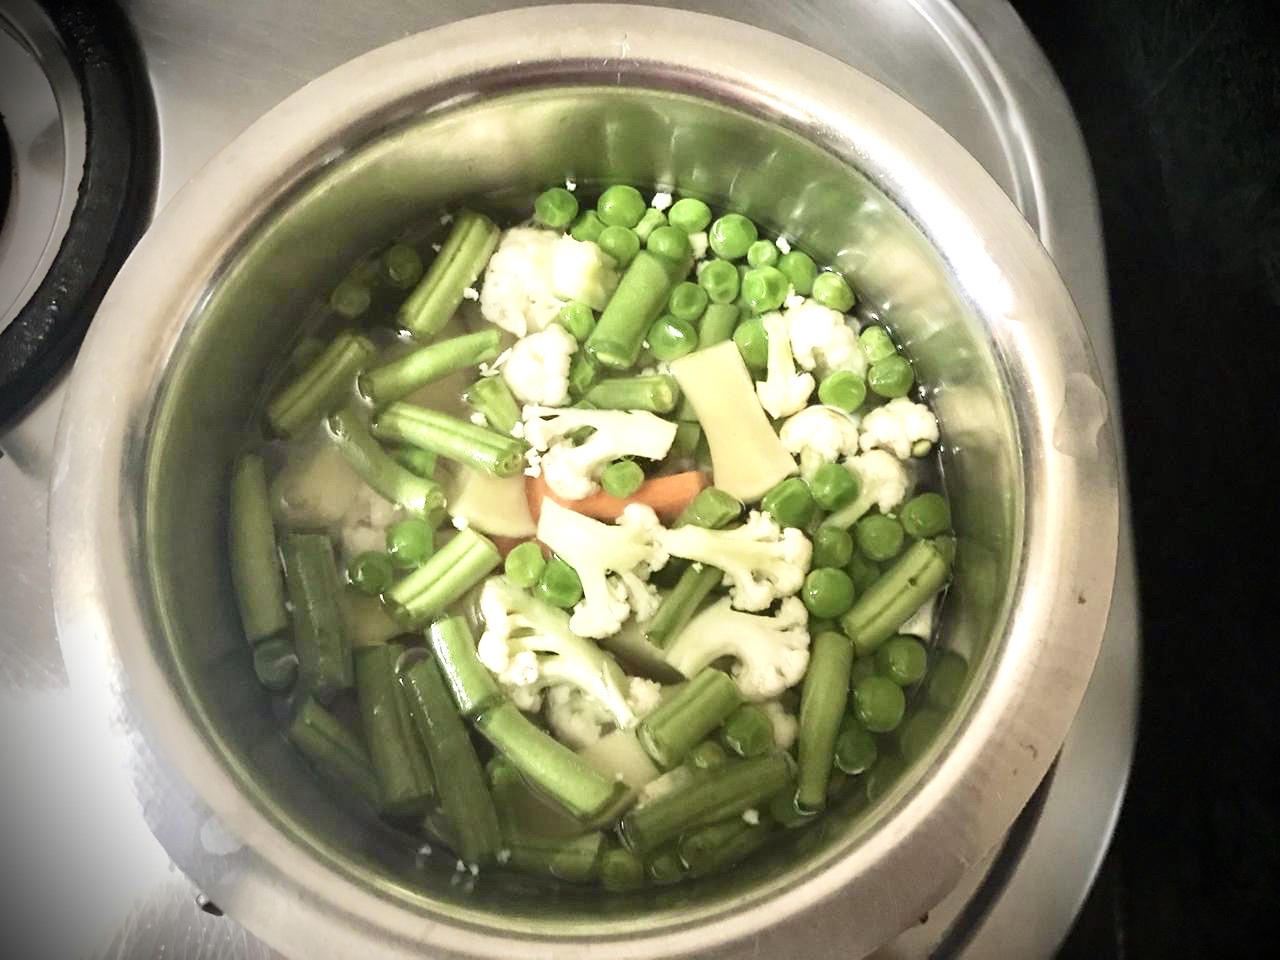
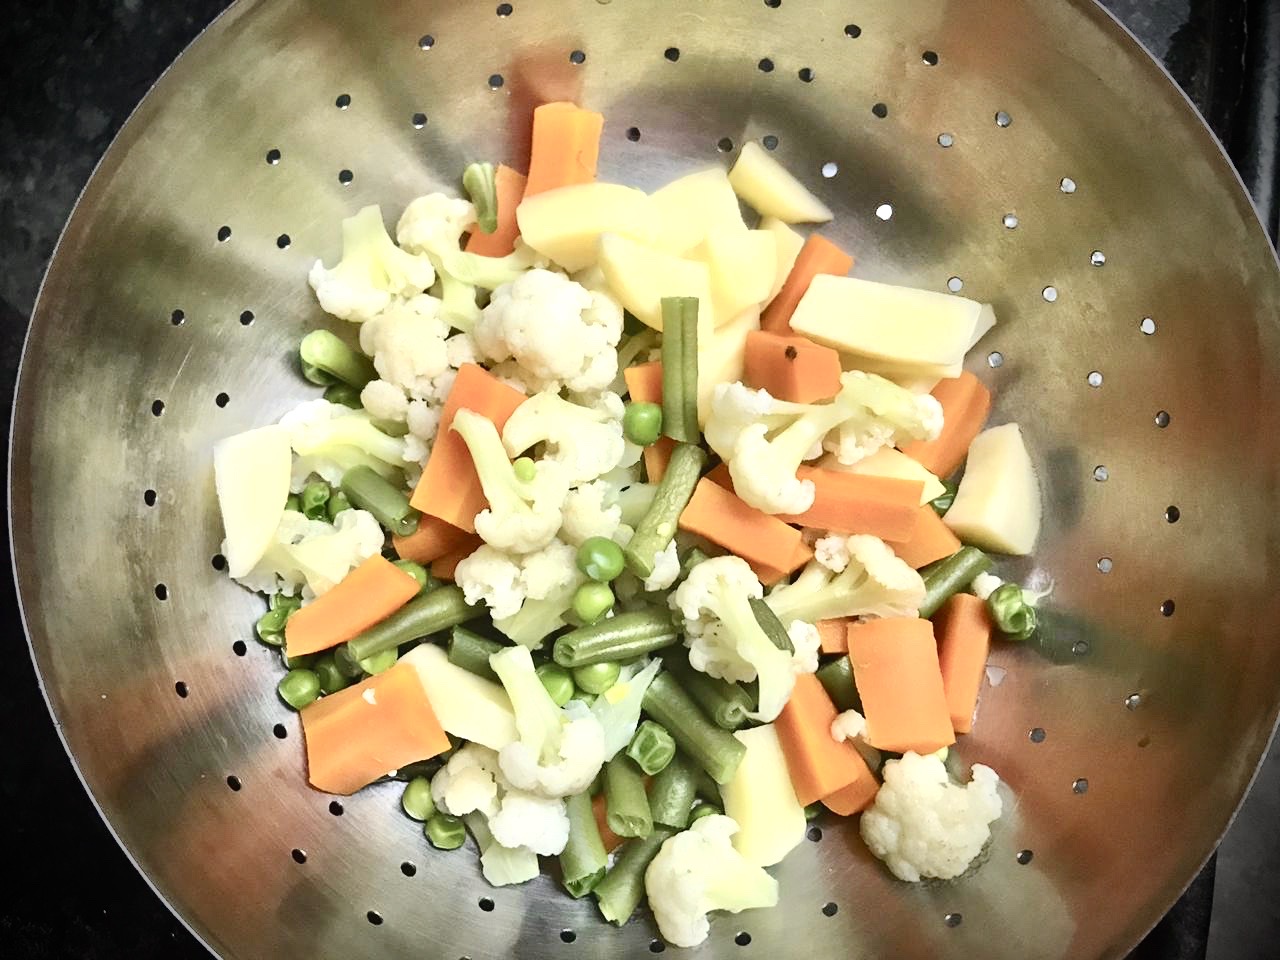
Boil the potatoes, carrots, cauliflower, fine beans and peas for 3-4 minutes in boiling water. Drain and keep aside.
Preheat the oven to 180C/350F/Gas 4.
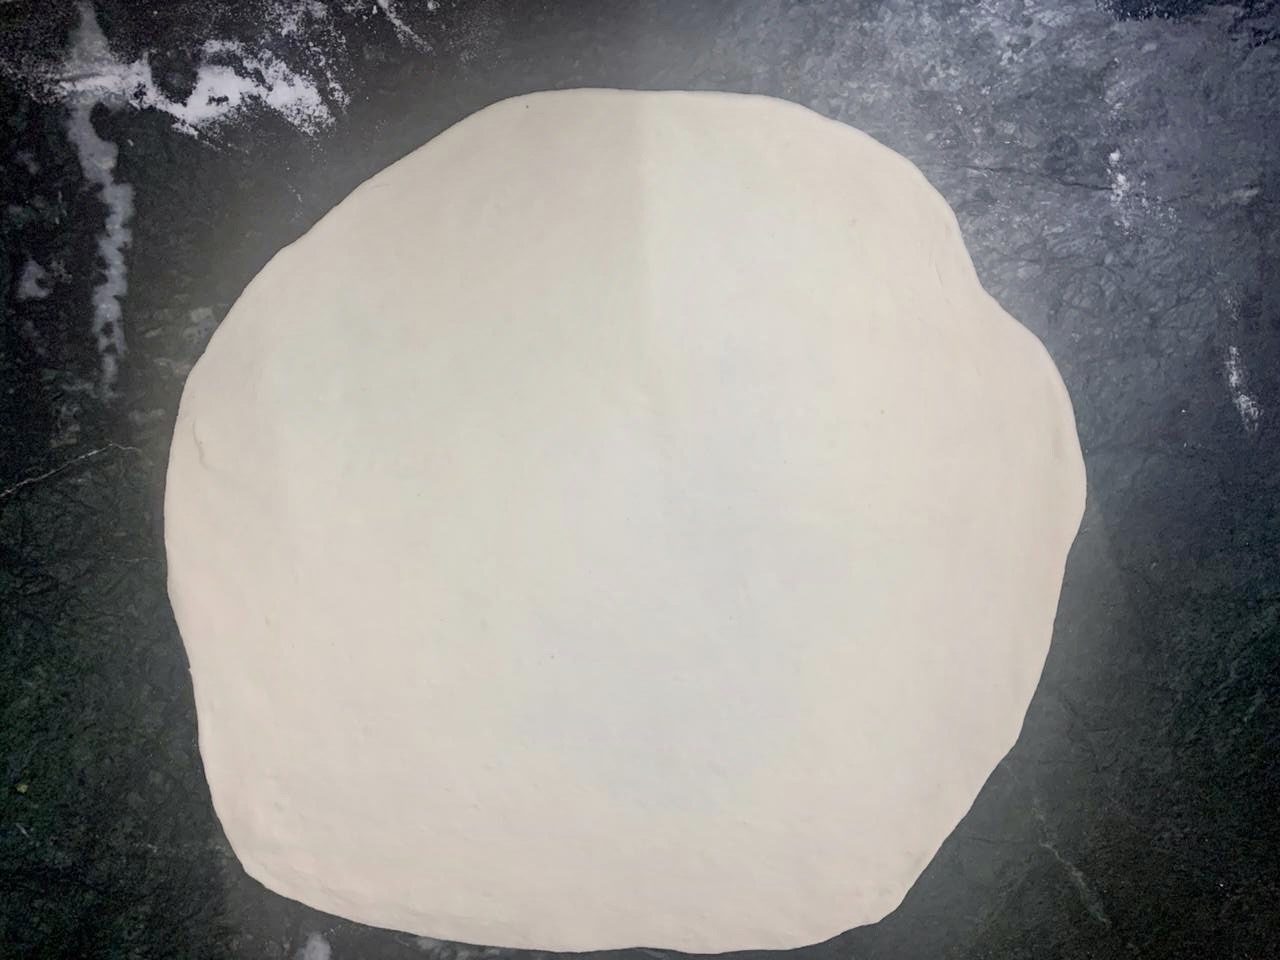
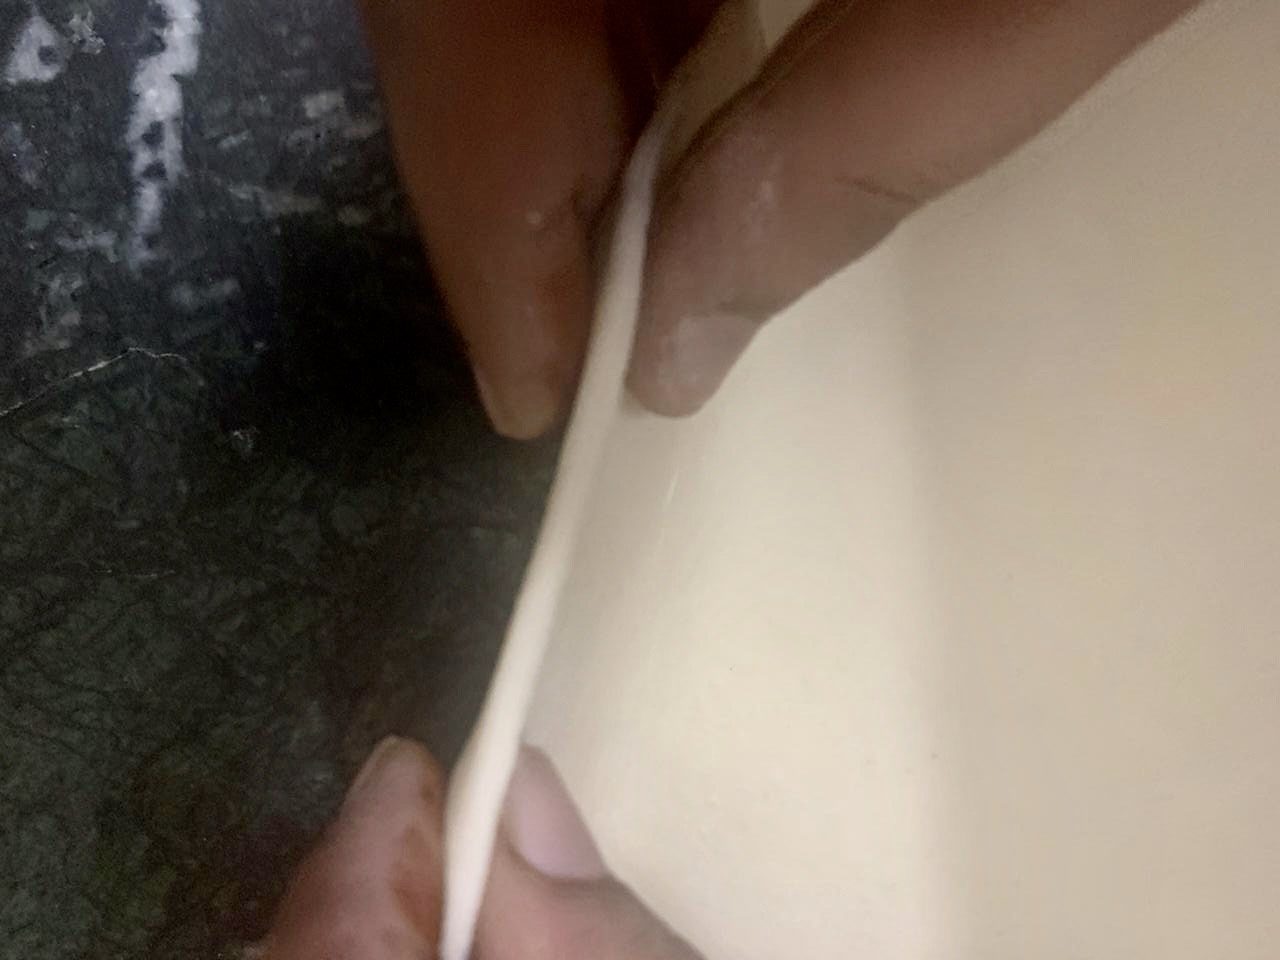
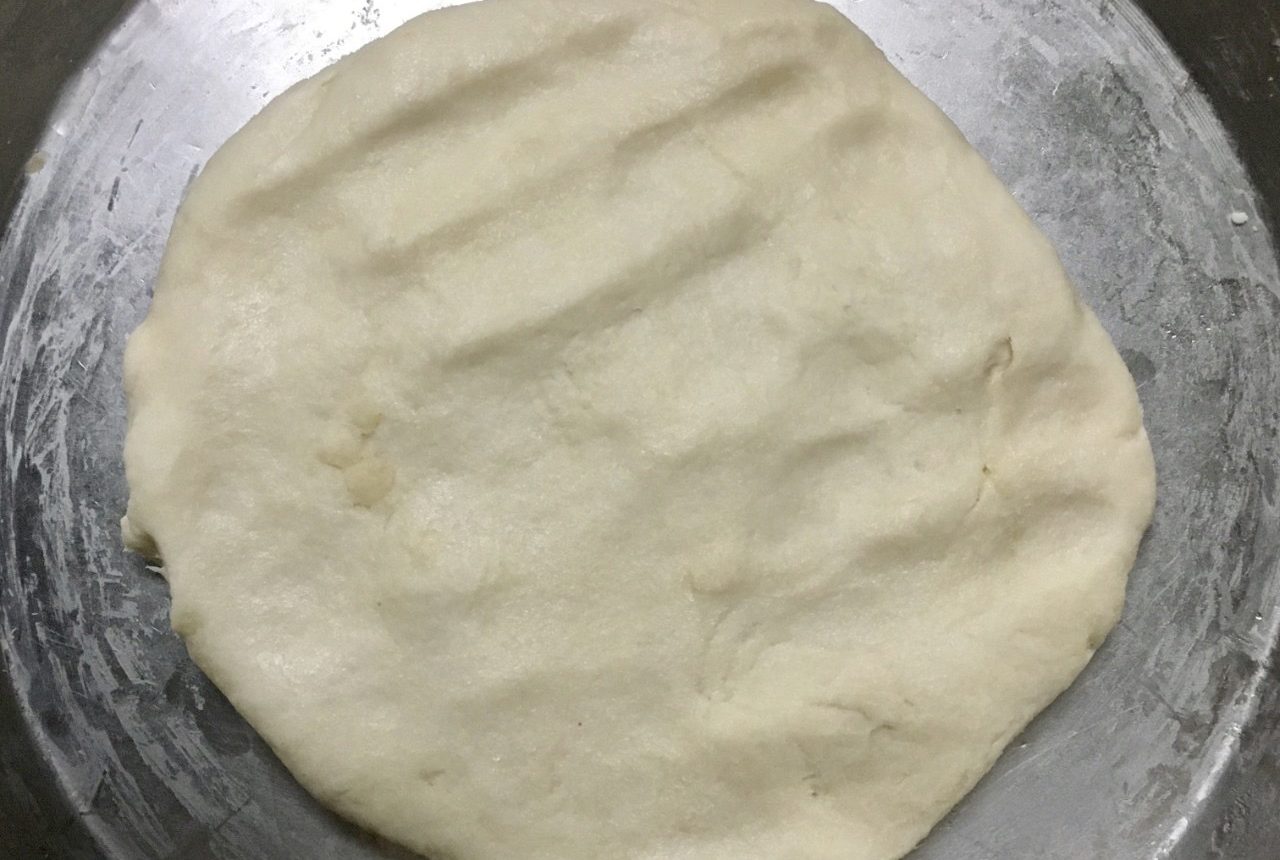
After 2 hours, the dough should have risen and doubled in size. Knead the dough with gentle hands and make a big ball. Dust little flour on the working station and gently roll the ball with the rolling pin to make a 18-20 inches circle.
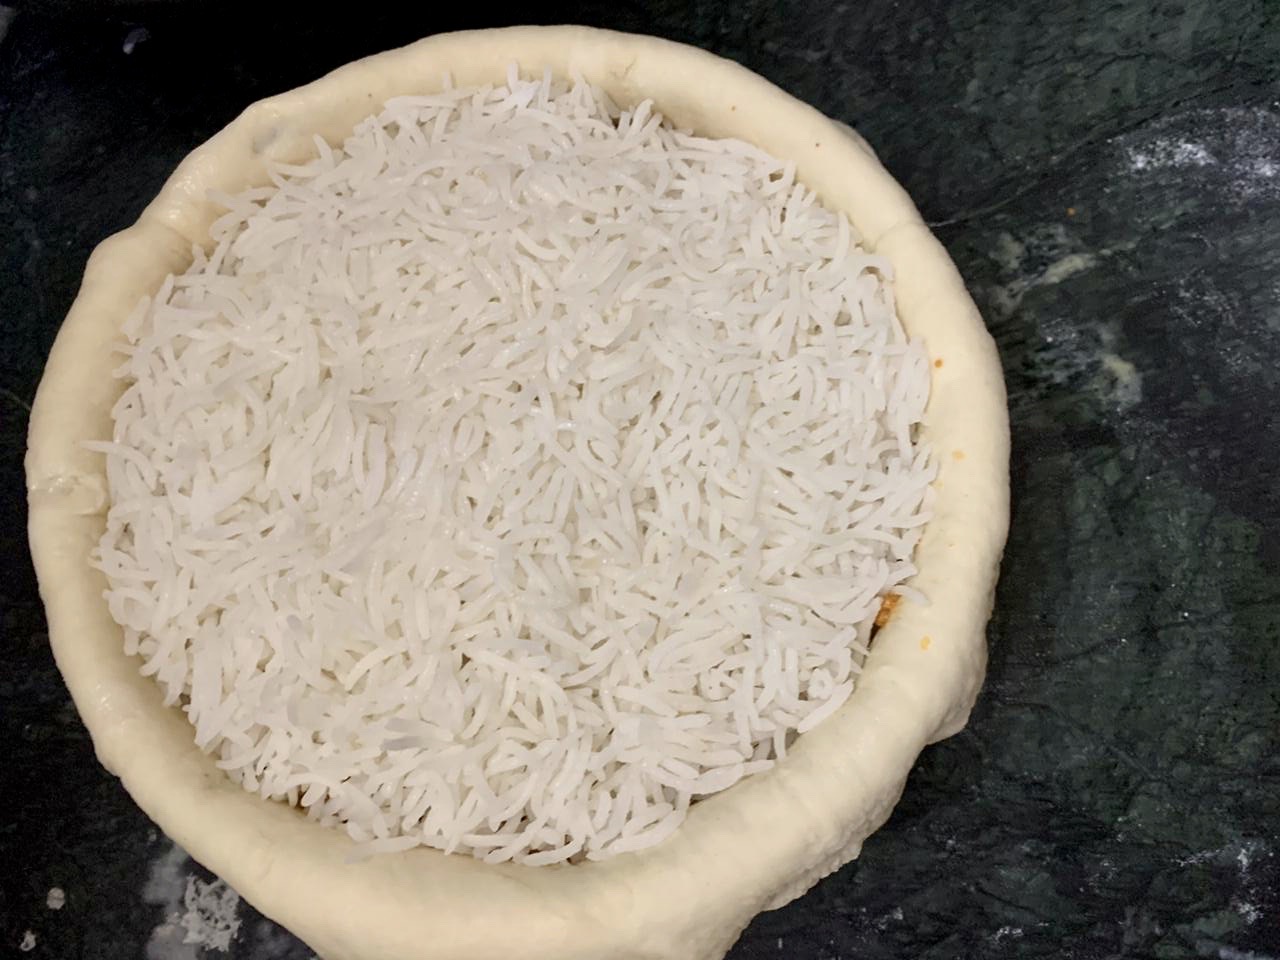
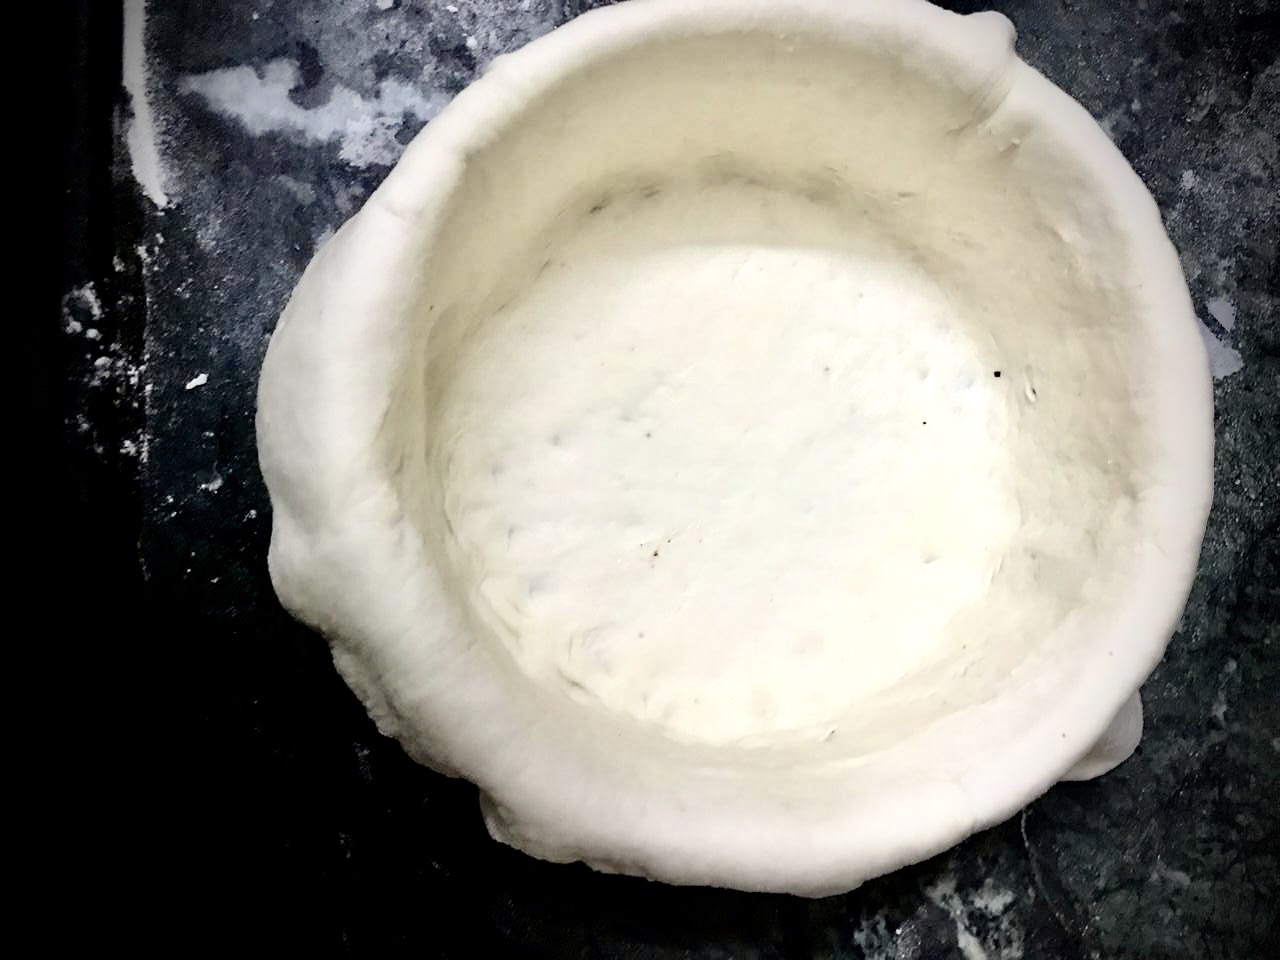
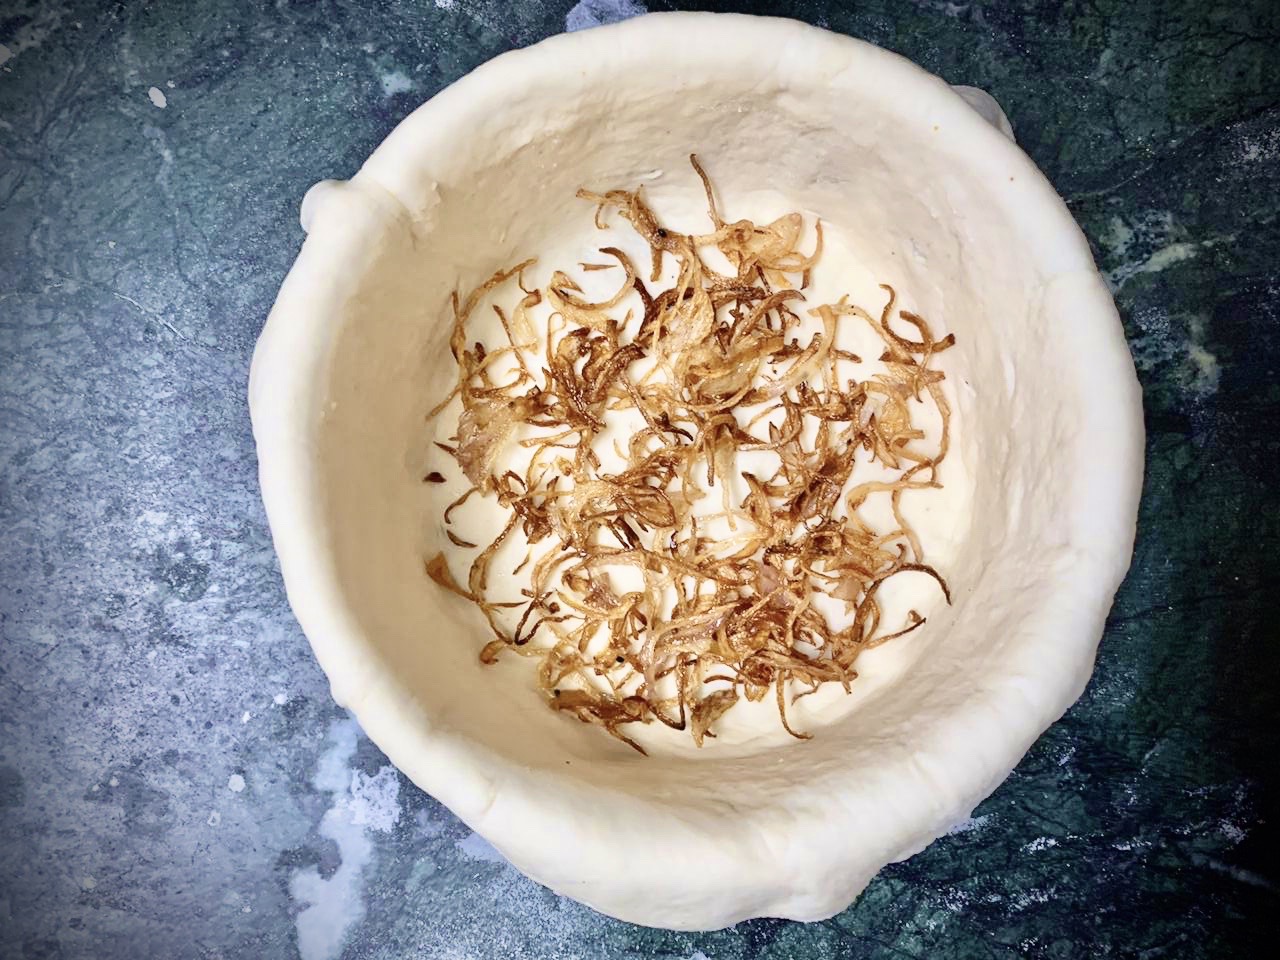
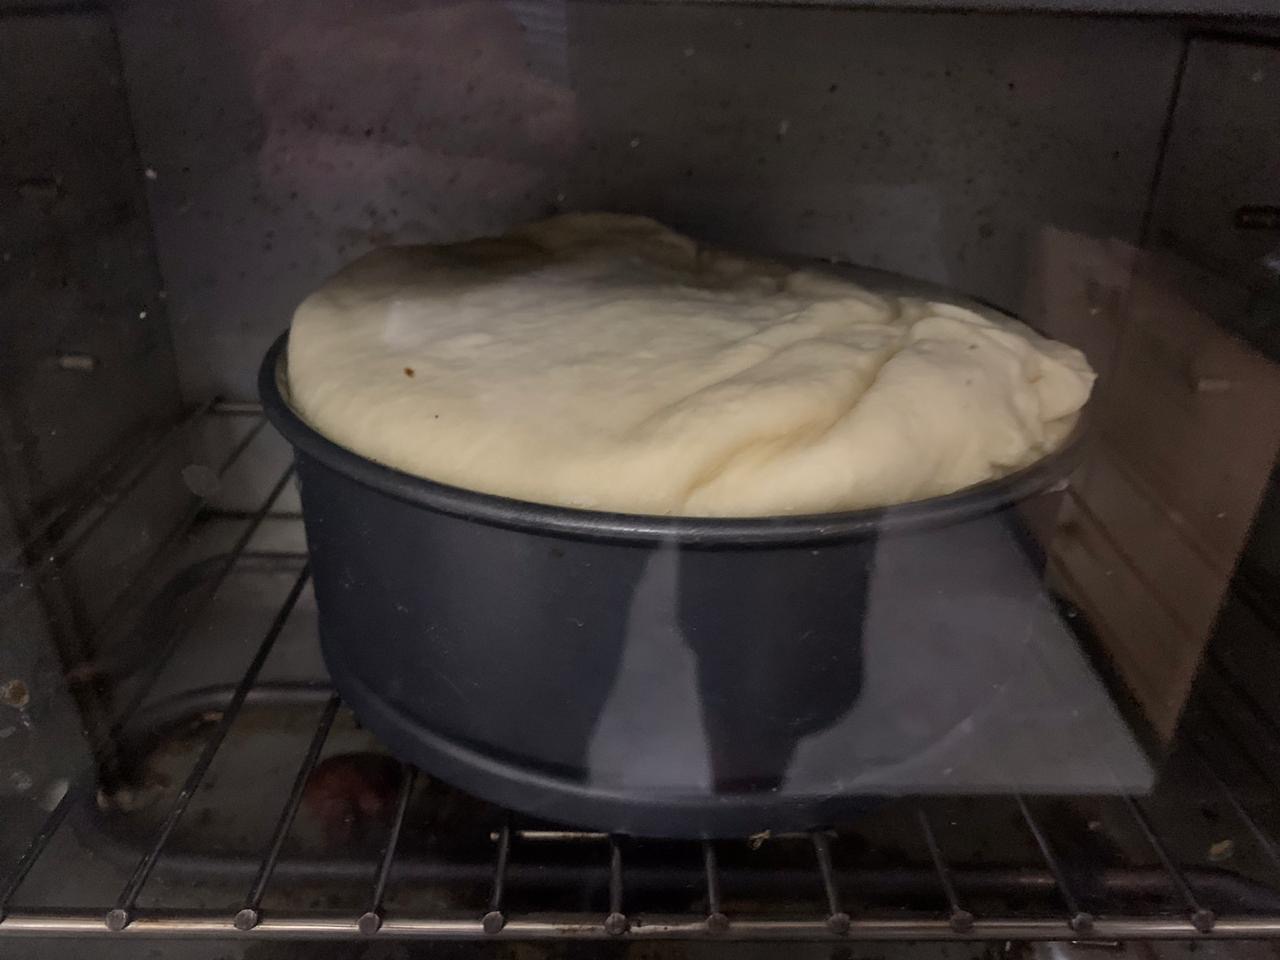
Grease a 8 X 4 inch deep cake tin with some melted butter and line it with the rolled naan dough letting the ends of the naan overhang outside and spread half of the fried onions.
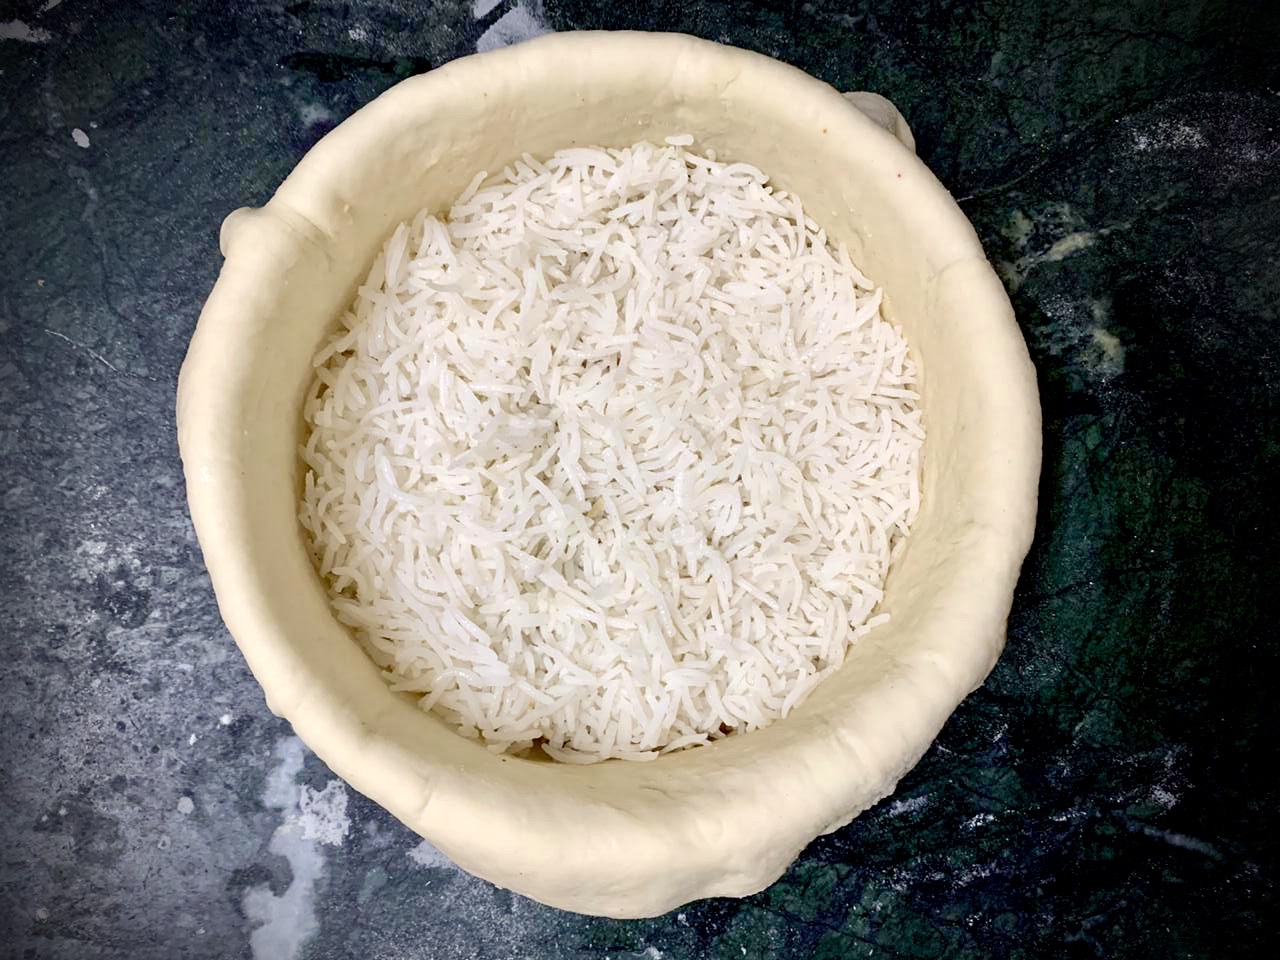
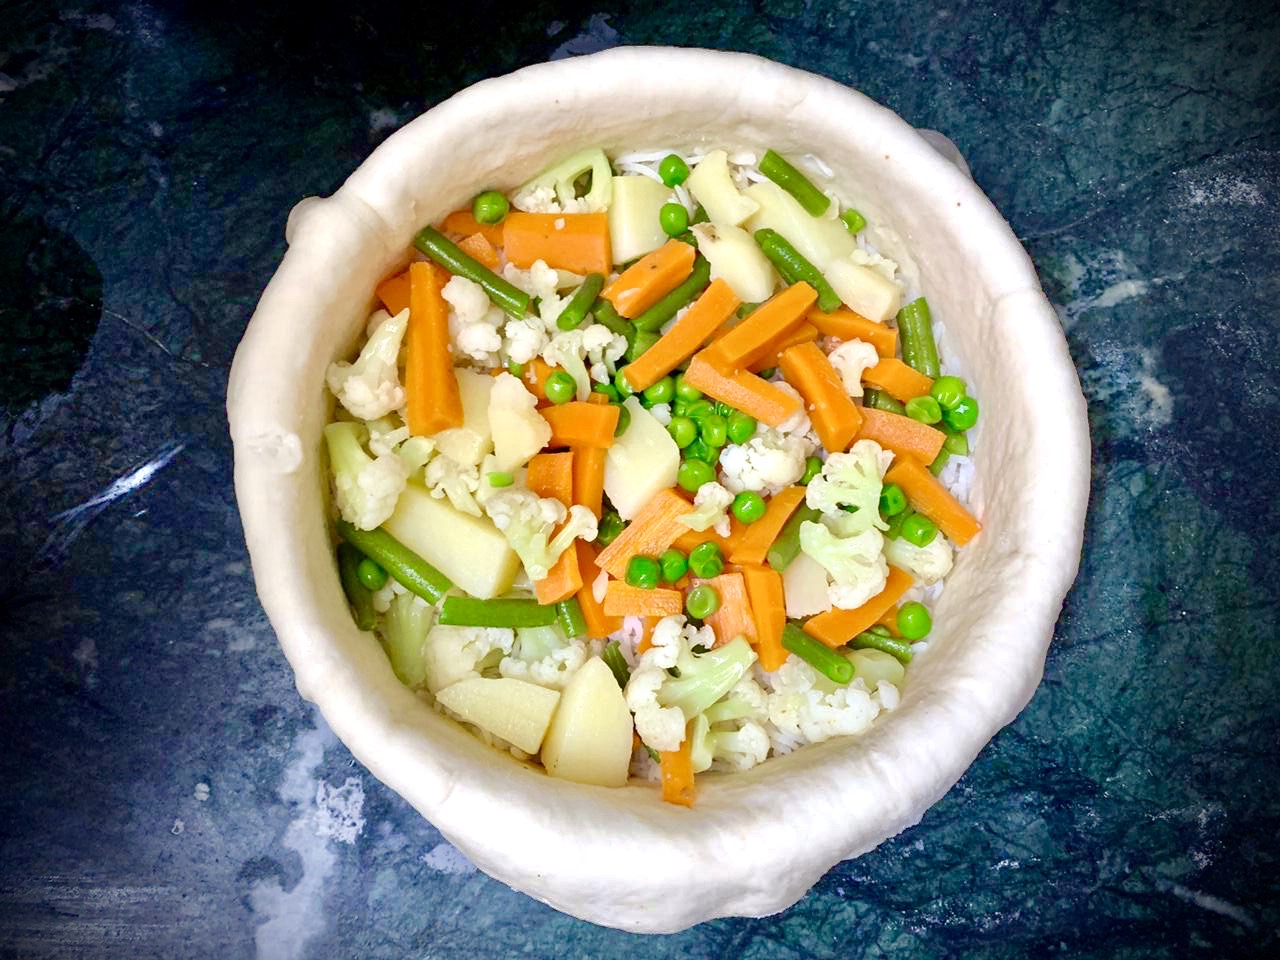
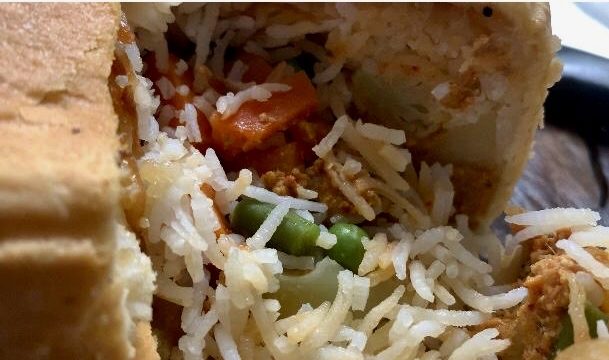
Then spread half of the boiled rice on top of the onions. Next spread the boiled vegetables making sure they make a uniform layer.
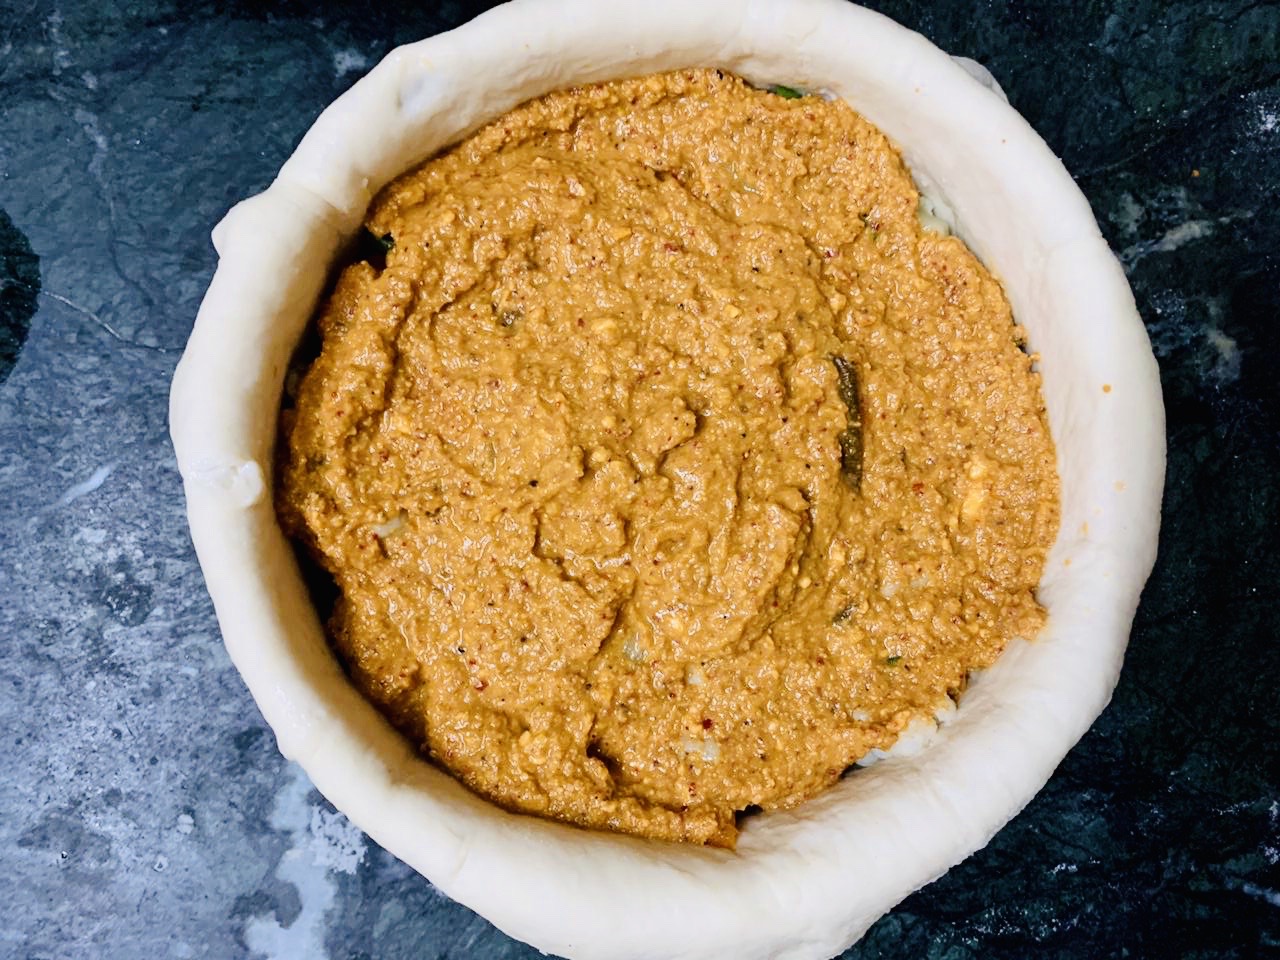

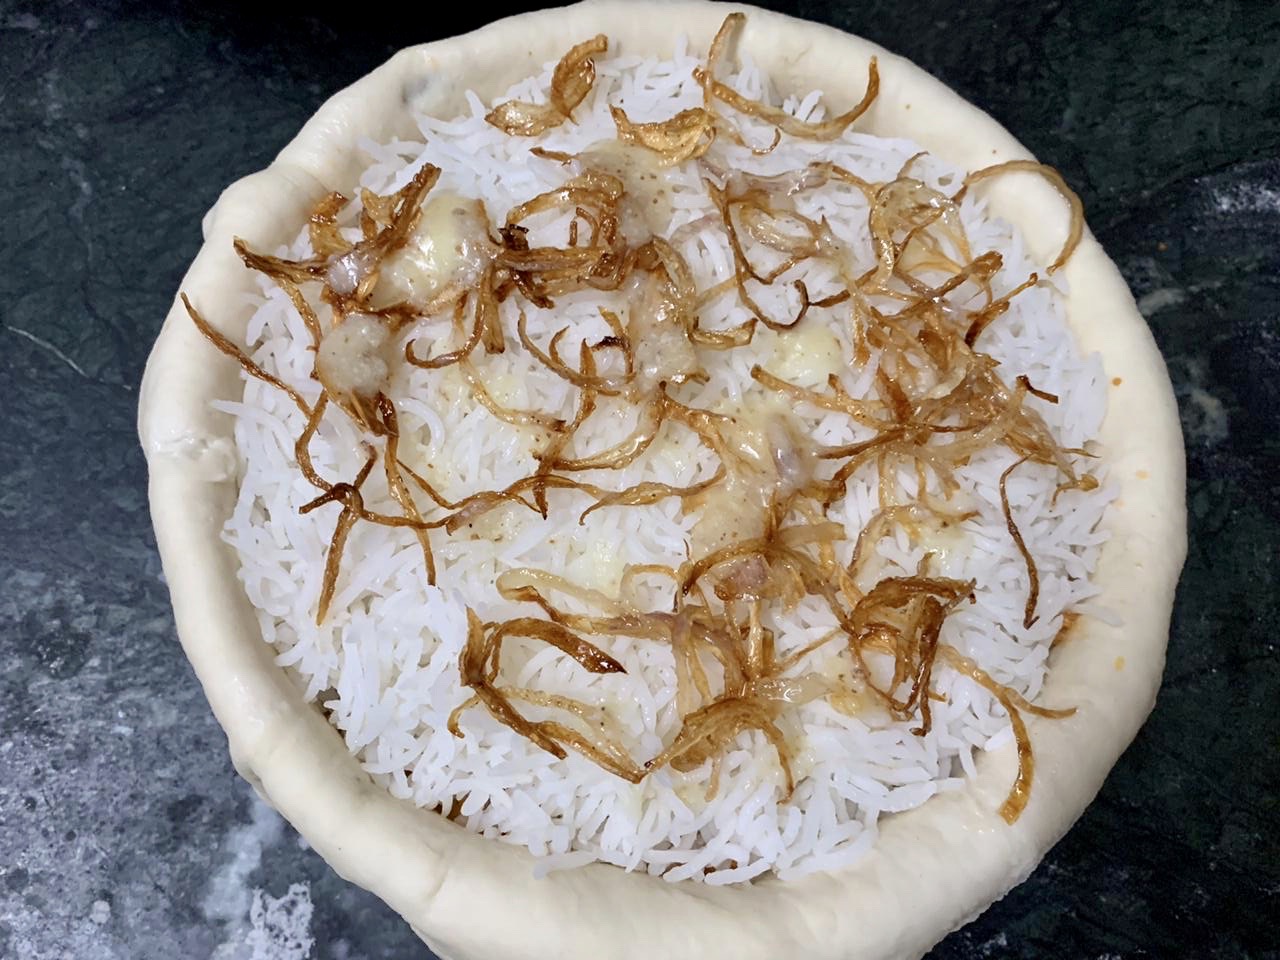

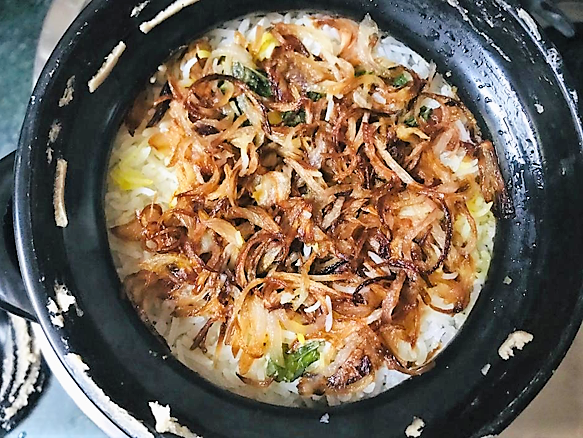
Next, spread all the onion gravy on the vegetables and then the remaining rice. Finally, layer the remaining fried onions and sprinkle some kewra water, and saffron soaked in milk.
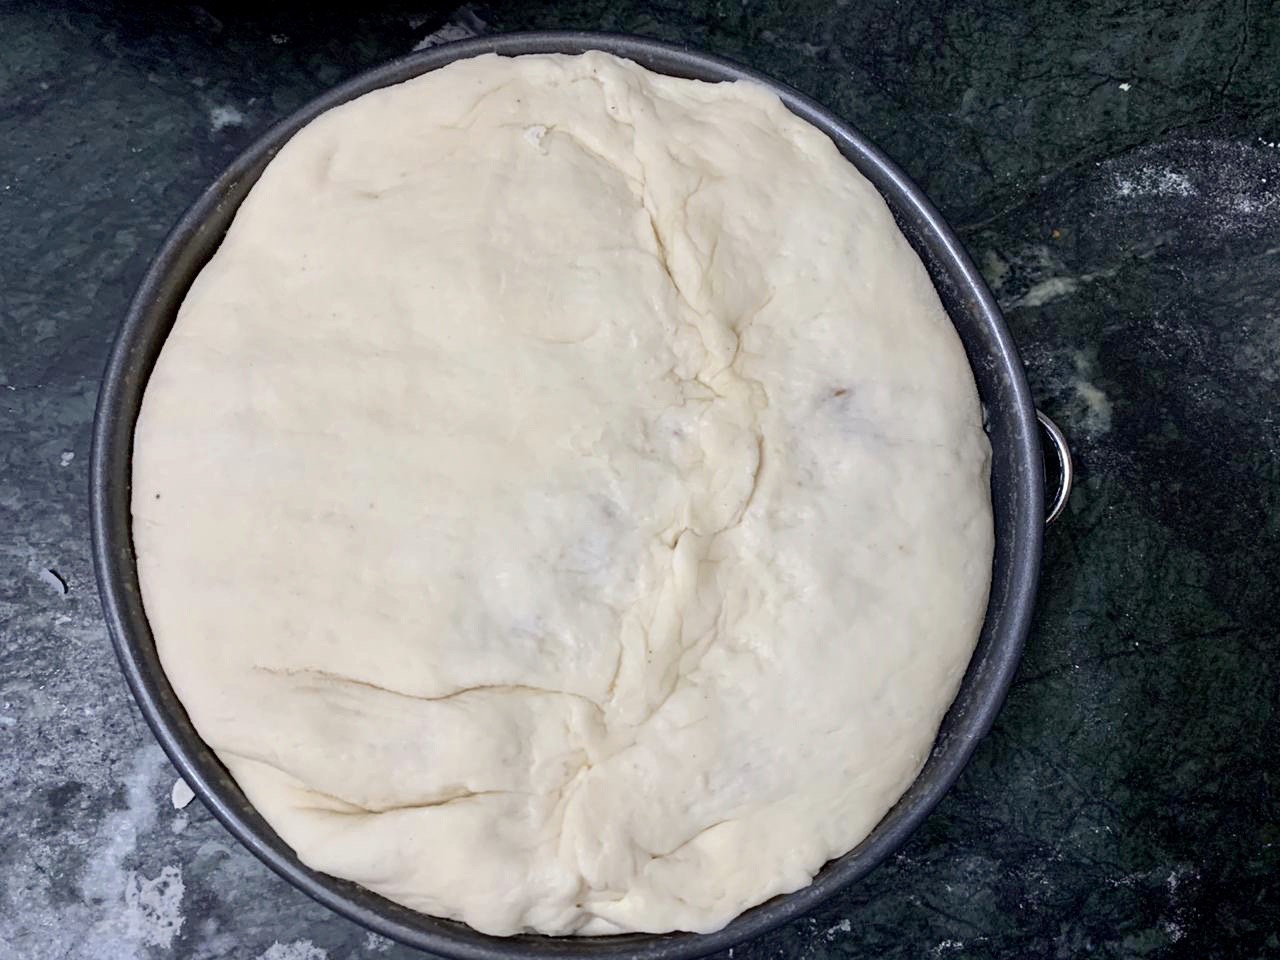
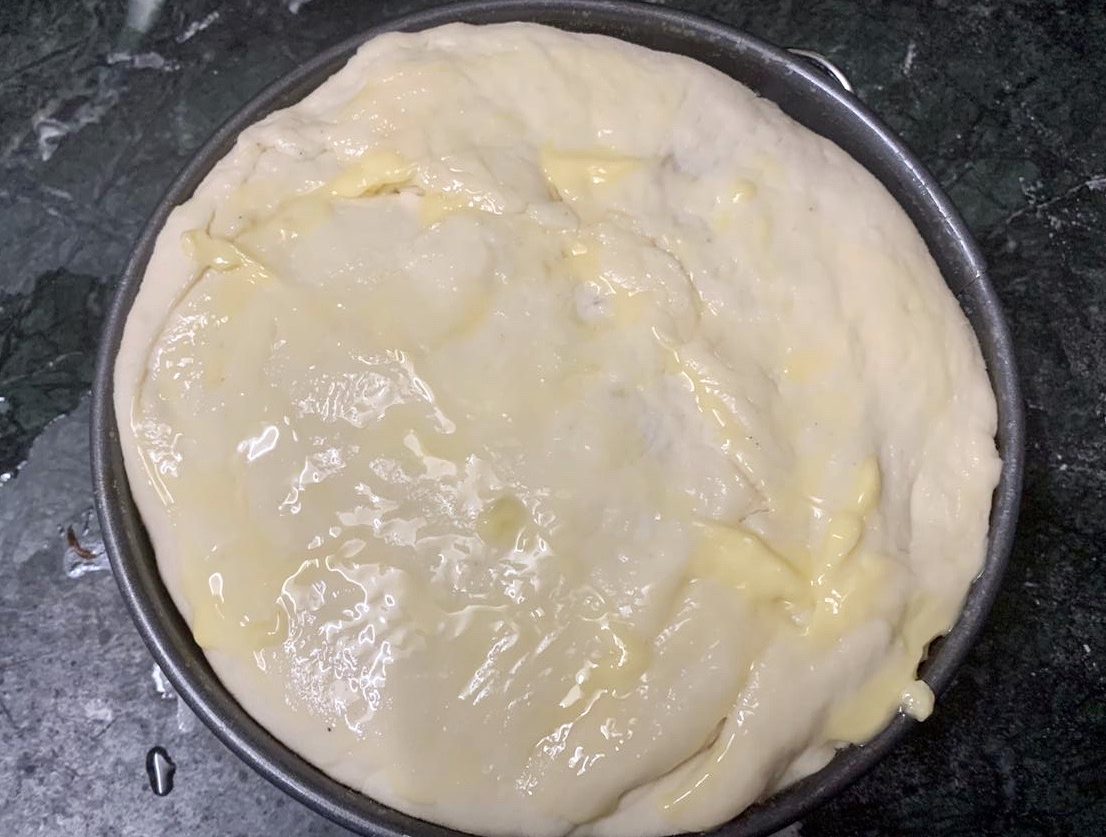
Close the biryani by bringing the ends of the naan together, sealing the edges using some water. Brush some butter on top.
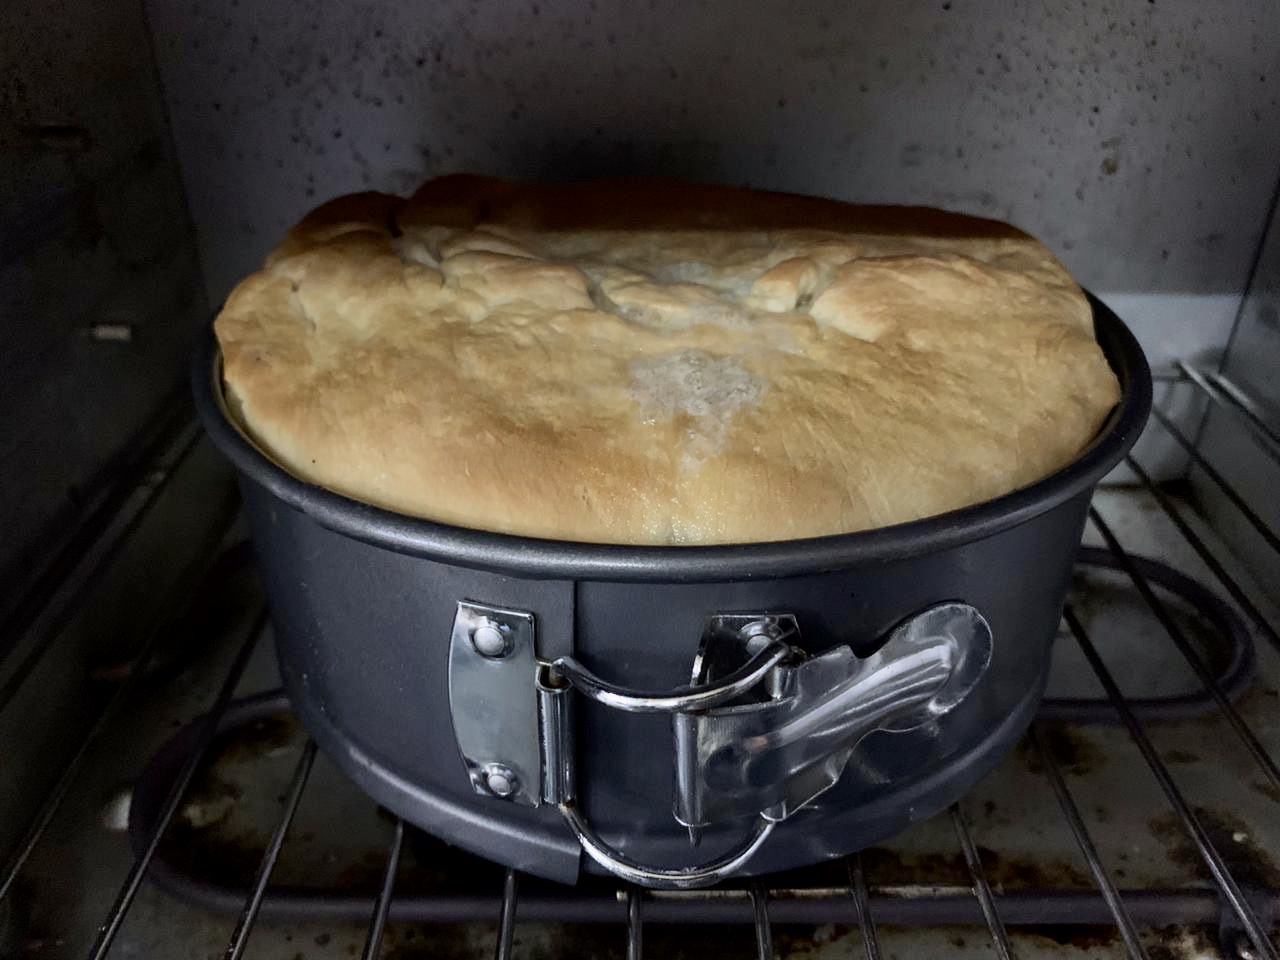
Bake the biryani at 180C/350F/Gas 4 for 35-40 minutes or until it turns golden brown.
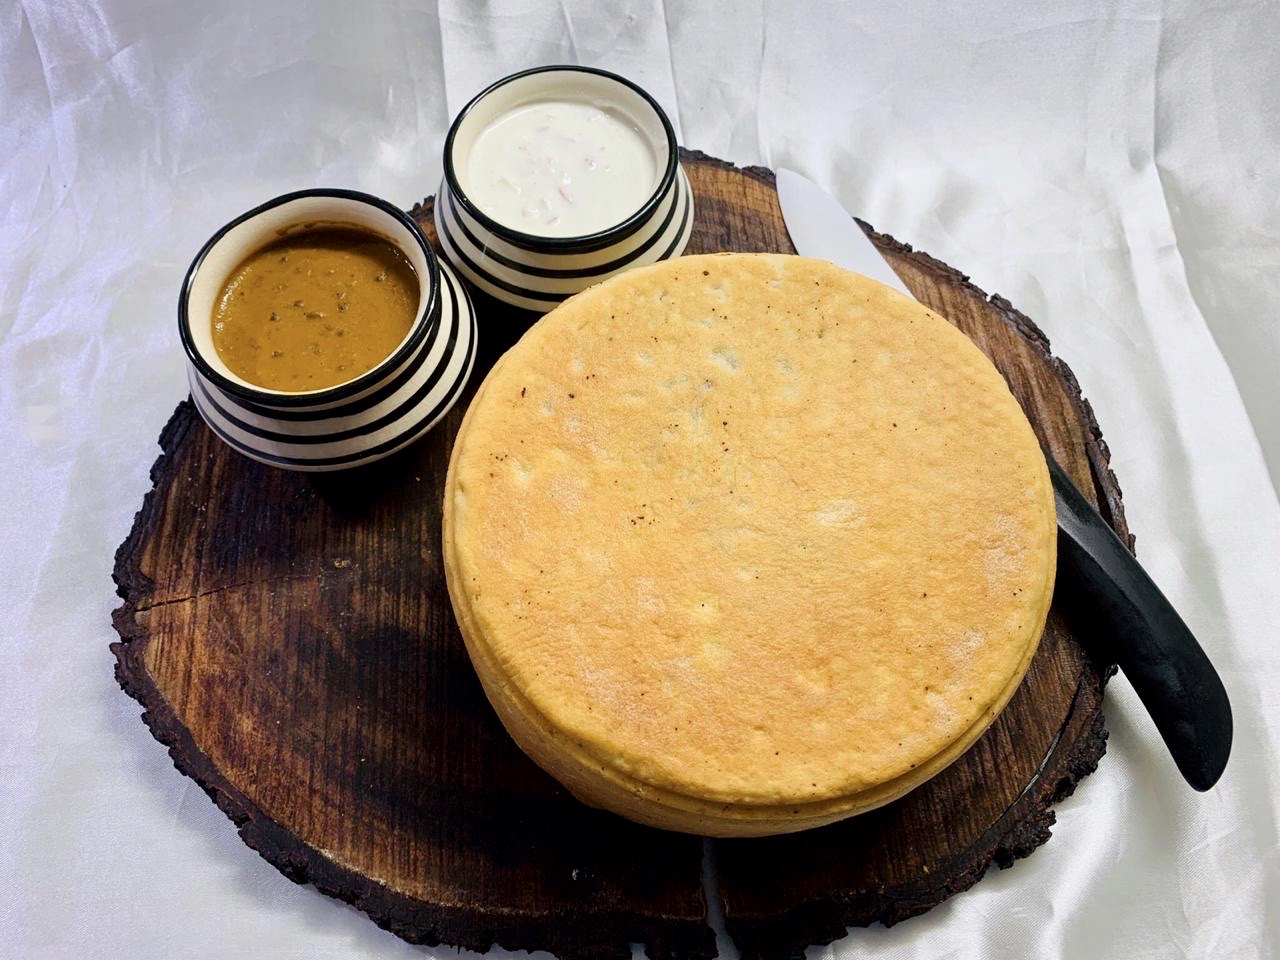
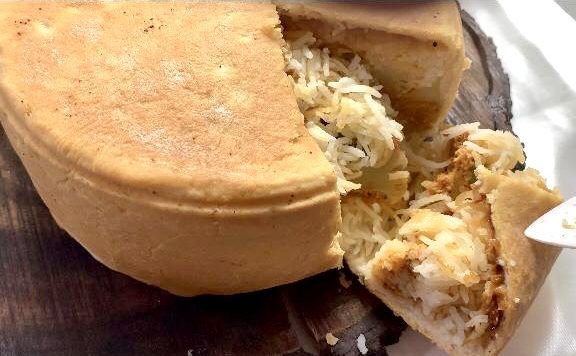
Carefully remove the biryani from the baking mould and brush melting butter all over the biryani.
Serve it with Dal Makhani and Vegetable Raita.
It’s an amazingly superb recipe!!!!! I had made this on mu husband’s birthday…n everyone went WOWW!!!!! Cooking this is as exciting as relishing this awesome recipe!!!! Thank u sooo much ##FOODIETRAIL 🙂
Hi Surbhi, Thanks for the lovely message. We are very pleased that you enjoyed cooking this dish and made some memorable memories with your family. Enjoy!