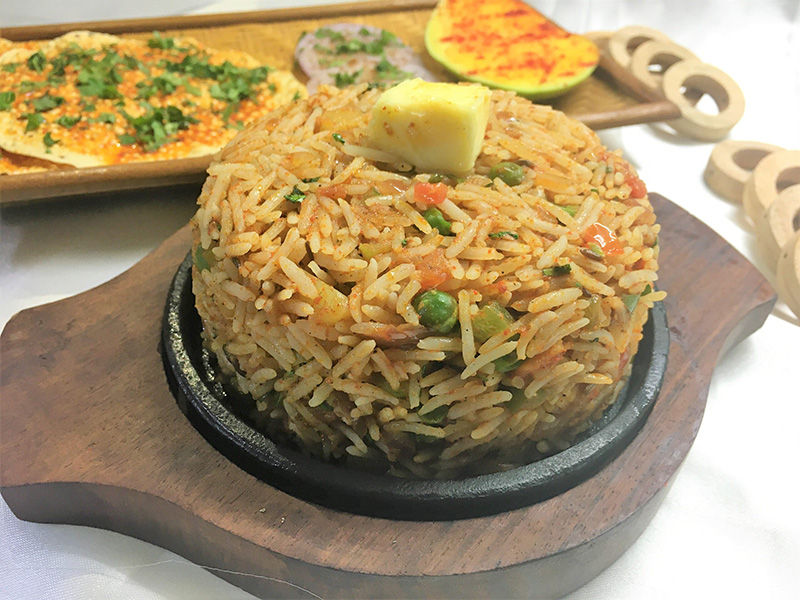
Vegetable Dum Biryani
Vegetable Dum Biryani
Dum biryani is a delicious medley of succulent vegetables, spices and flavourful basmati rice. There is nothing like a good plate of aromatic biryani!
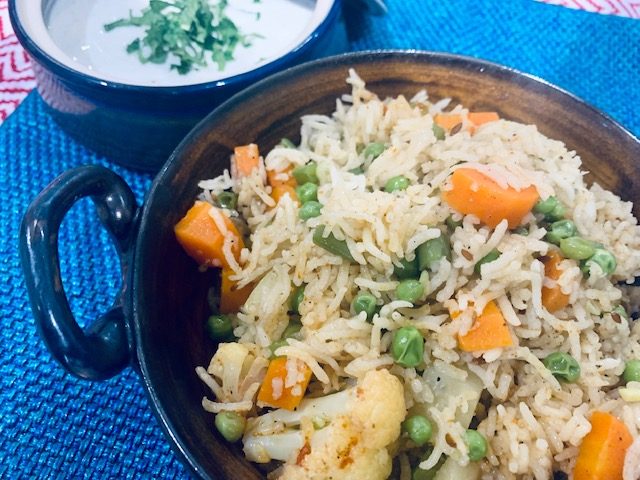
Biryani is first and foremost a rice dish that stands or falls on the fluffiness of its rice as every grain should be separate and perfectly cooked. I would like to state here that do not be fooled by people who pass off vegetable pulao as biryani. There is a huge difference in both. The primary difference is that while preparing biryani, the rice is par boiled in water and then drained whereas while preparing pulao, the water is completely absorbed by the rice and vegetables in the dish. Also, a biryani is traditionally layered almost like a lasagne and then cooked, sealed in a pan.
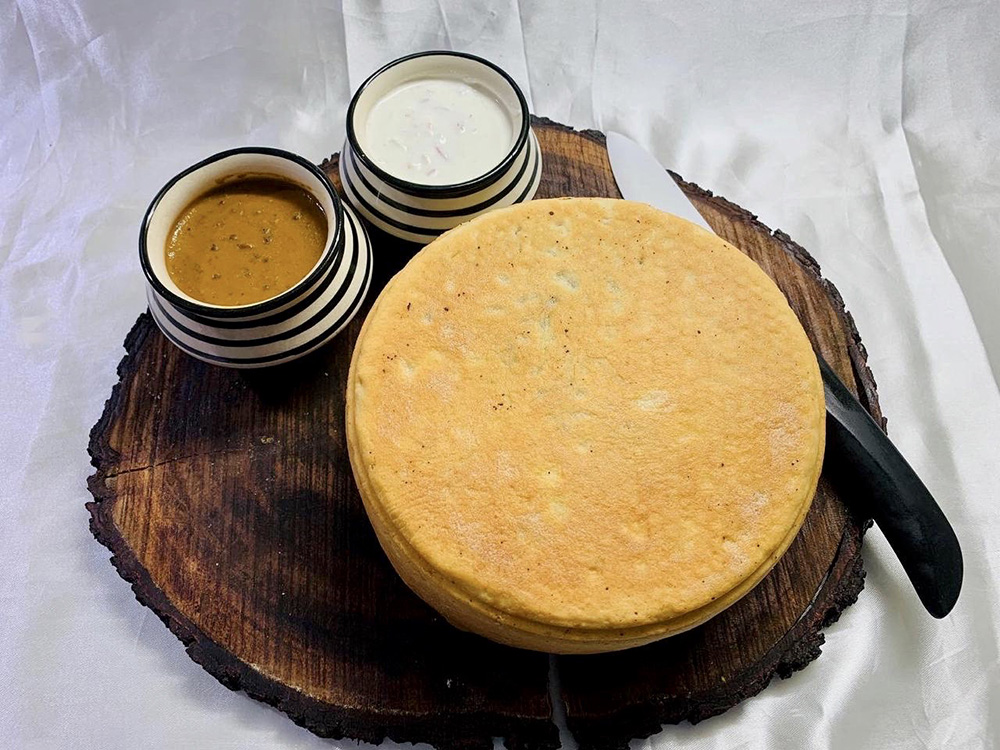
The term ‘Dum’ here translates to ‘breathe in’! It basically means letting the dish to breathe in its own aroma or juices to make it more flavourful. The food is kept in a sealed container usually clay pots (also known as Handiin India) which are sealed tightly with wheat flour dough. This does not allow the steam to pass. The food gets cooked in its own steam and juices on a slow fire infusing the flavours and aroma of its own herbs and spices in the food. Nutrients are not lost in this process and thus the food is nutritious too.
Biryani is popular all over India and worldwide and has two different iterations. One comes from Lucknow, in the north-west of India, often said to be more delicate, and second from Hyderabad, further south, which trades in spicier fare. Neither specialises in vegetable biryani; mutton and chicken being the most popular.
So, can you really have a biryani without meat? I would not be writing this recipe if it wasn’t possible. Vegetable Biryani is indeed possible! This dish is for special occasions as it has a multi-step process, takes time and patience and is not something I would make as a quick meal. Believe me, vegetable biryani is super flavourful and will entice your taste buds with every spoonful!
I had gone to Lucknow few years back and was quite disappointed that I could not eat ‘Vegetable Biryani’ there. So, I took it upon myself to research and find the perfect Dum Biryani recipe! It took me lots of trials and errors to perfect the recipe. I knew I have achieved the right combination and hit the right flavour notes when my father asked me to make the biryani twice in a week. So, now I make the biryani atleast once a month and sometimes more!
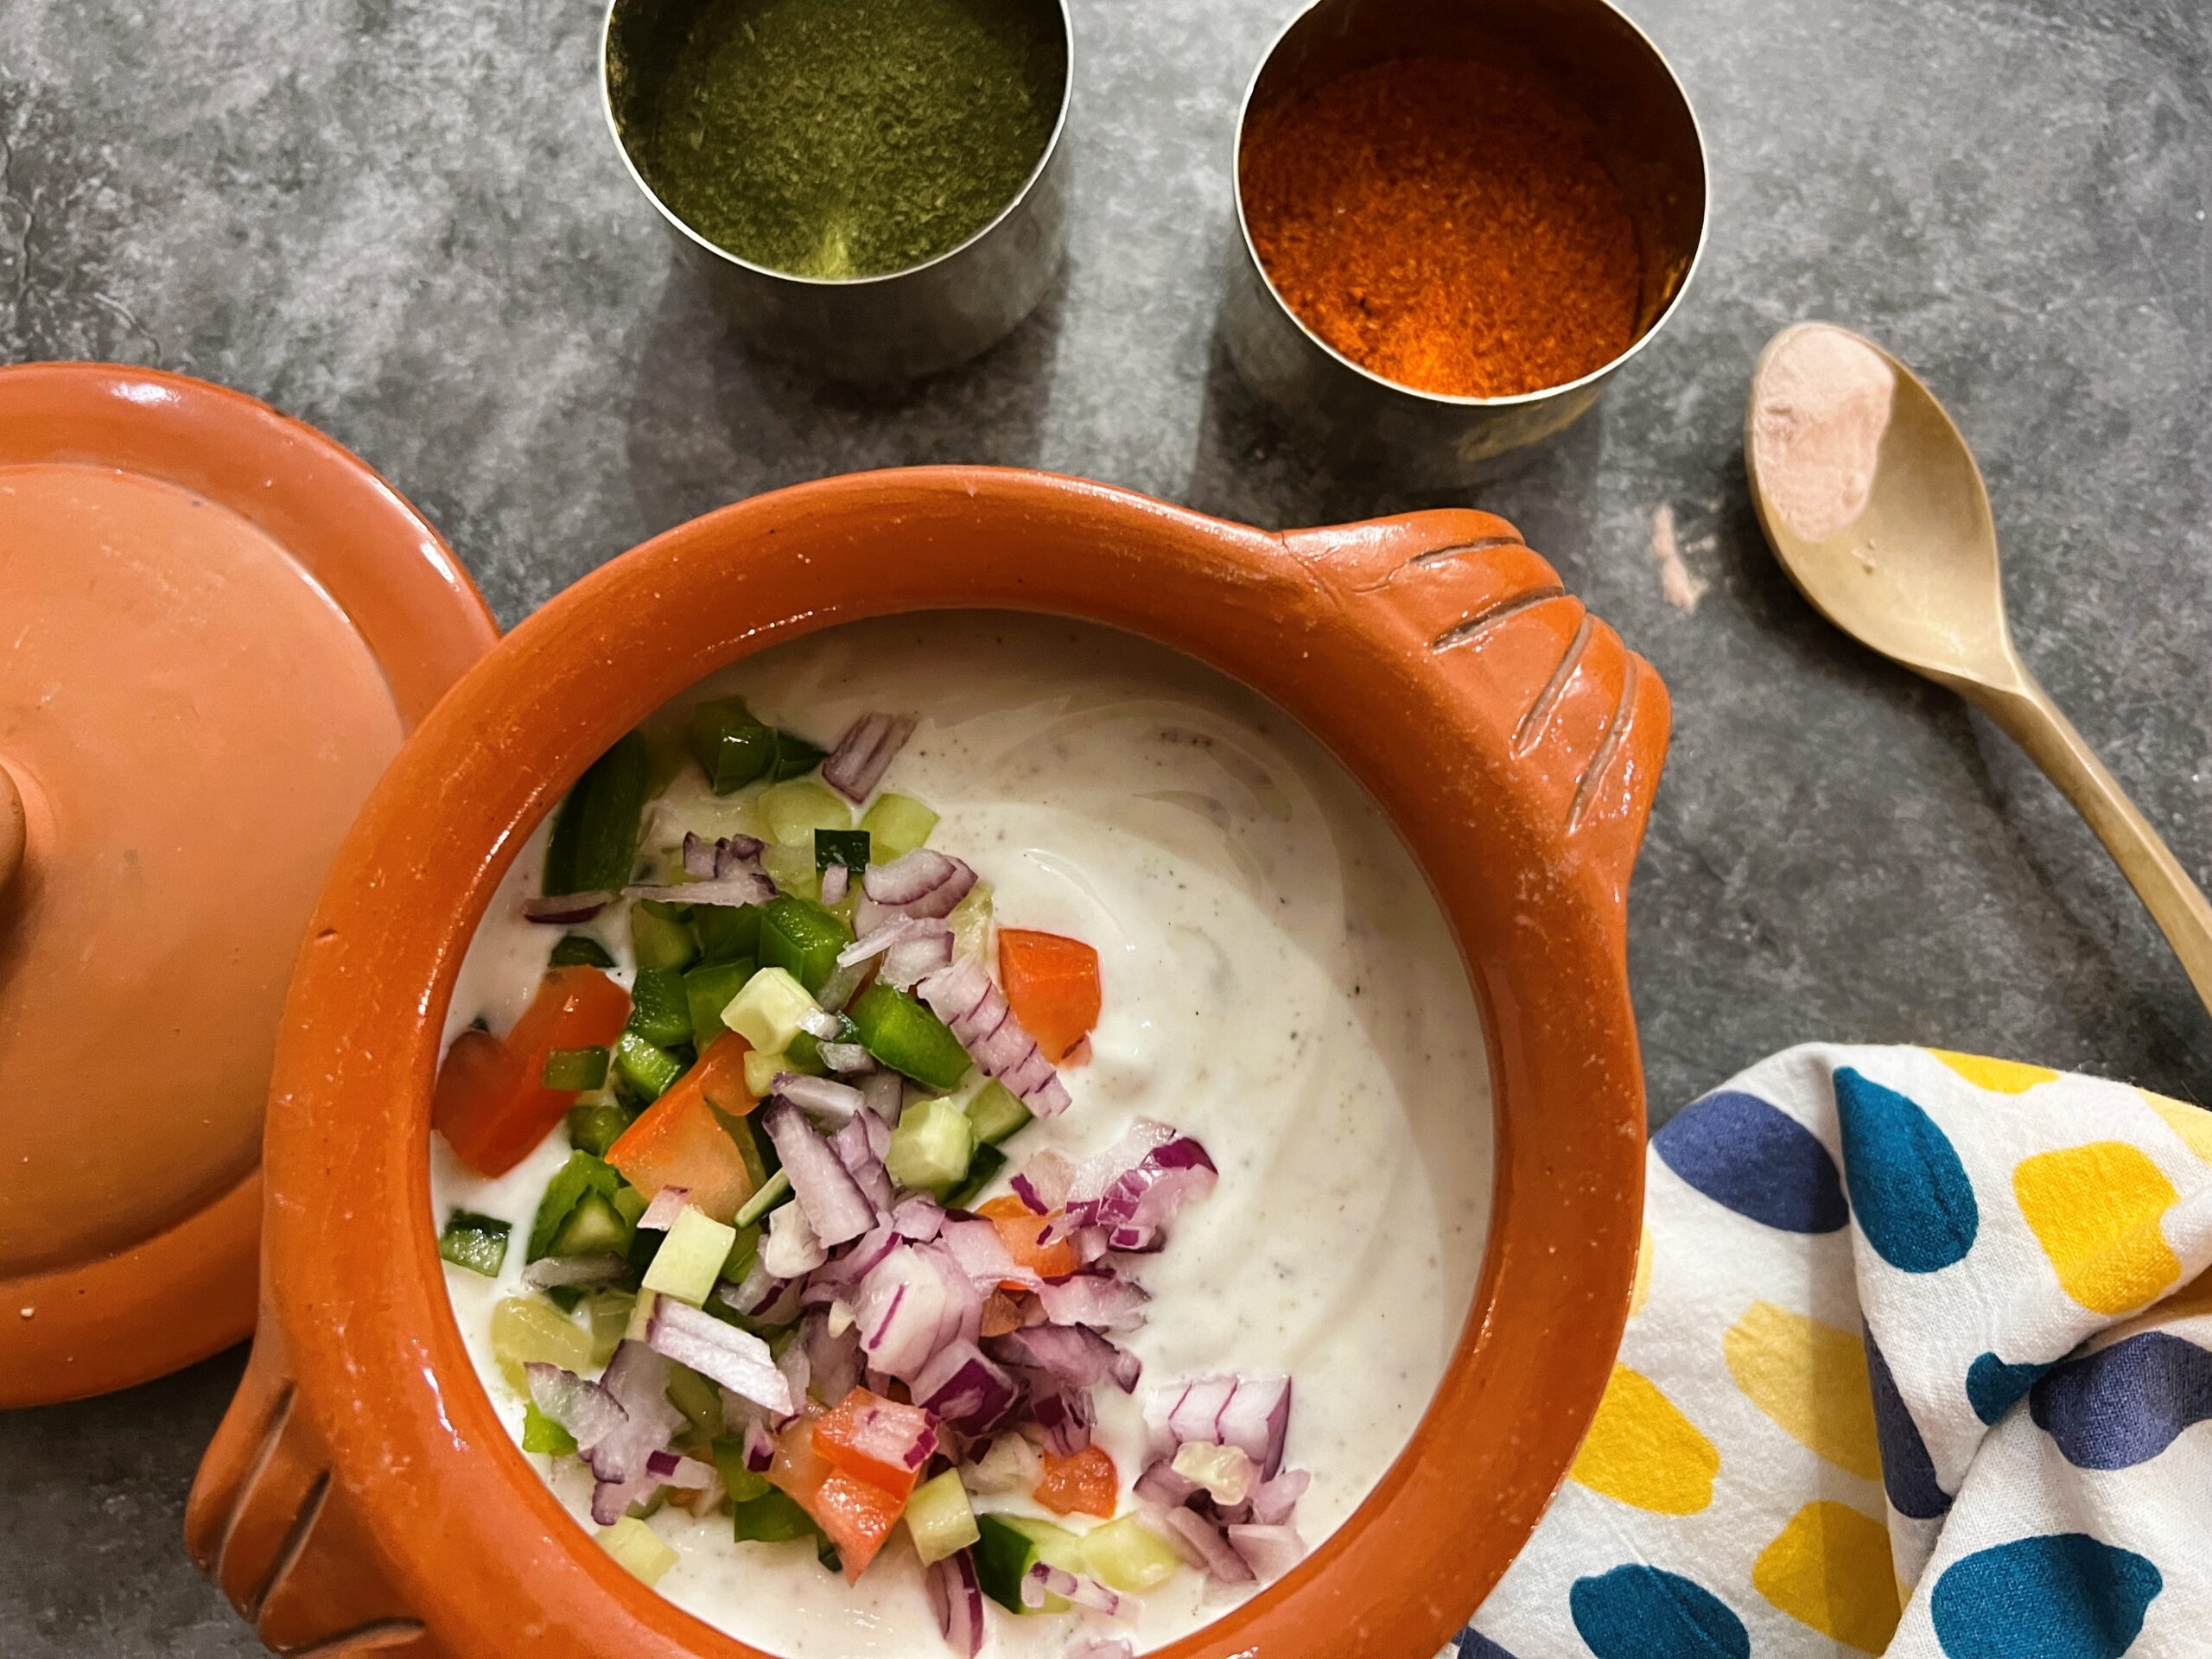
Dum Biryani goes well with Vegetable Raita, Boondi Raita or Hyderabadi Mirchi ka Salan.
Ingredients
2 cups basmati rice
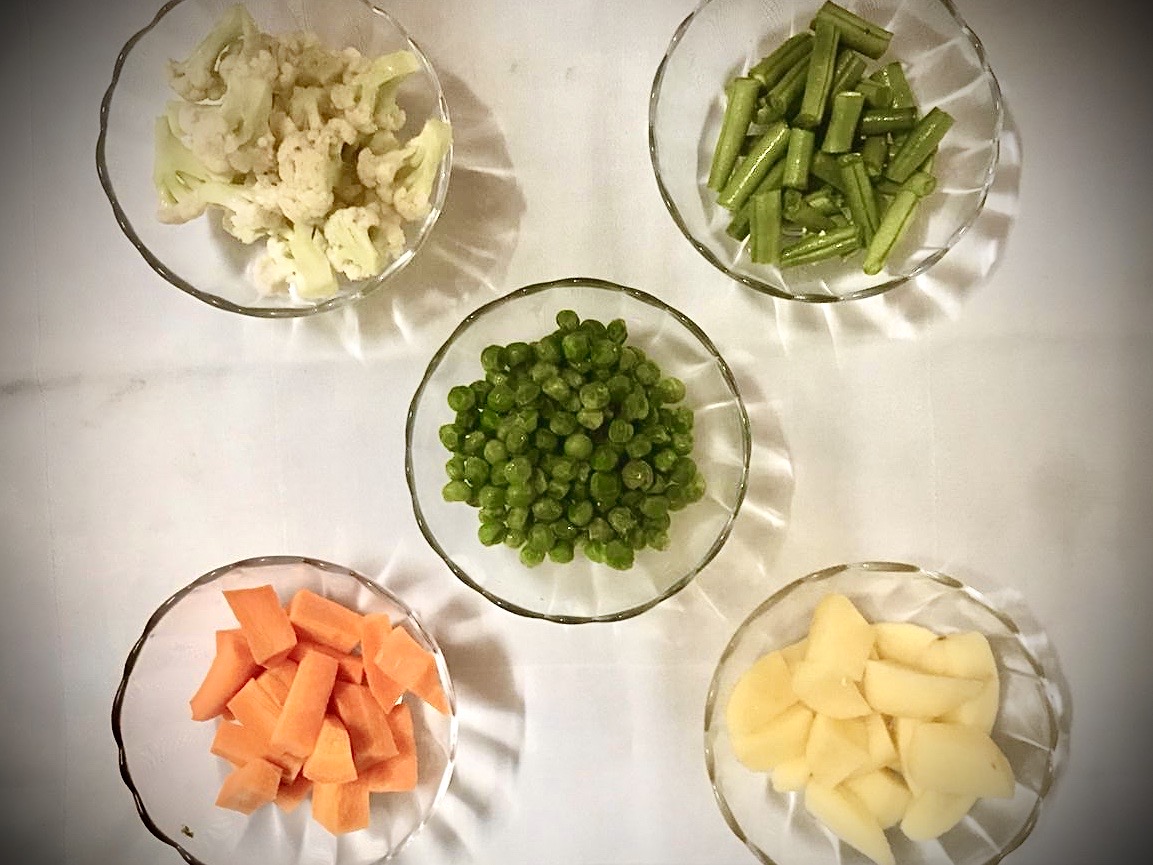
¼ cup peas
1 diced carrot
1 cup cauliflower florets
2 diced potatoes
¼ cup fine beans (french beans)
1 cup paneer cubes
3 thinly sliced onions for frying
1 cup plain yogurt
4 tablespoons ghee
1 teaspoon cumin seeds (jeera)
1 black cardamom (badi elaichi)
1 inch cinnamon stick (dalchini)
1 teaspoon black peppercorns (sabut kali mirch)
1 inch ginger chopped in julienne
1-2 green chillie slit length ways (optional)
¼ teaspoon turmeric powder(haldi)
1 teaspoon red chilli powder
½ teaspoon Kashmiri red chilli powder
Salt to taste
¼ teaspoon green cardamom powder(elaichi powder)
1 teaspoon garam masala
2-3 teaspoons milk
few strands saffron
2-3 teaspoon kewra water (optional)
15-20 fresh mint Leaves
Oil for frying
1 cup whole wheat flour (optional)
To boil rice
1-2 green cardamom
2-3 bay leaves
1 inch cinnamon stick
2 cloves
Salt to taste
1 tablespoon oil
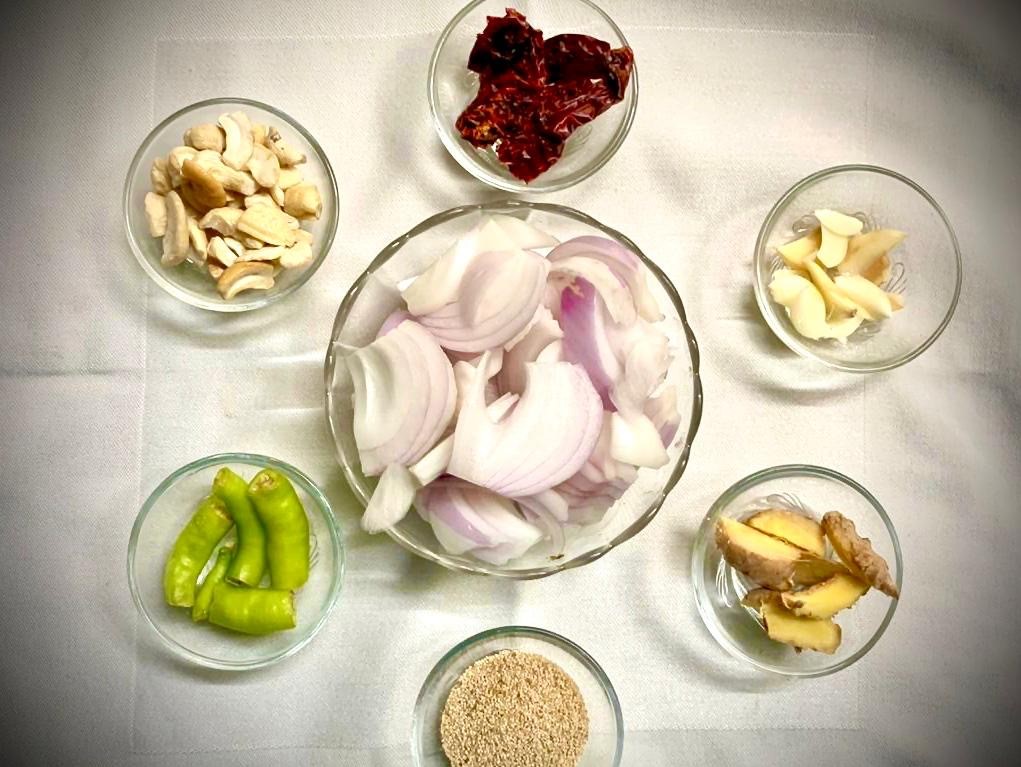
To grind into a paste
2 roughly chopped onions
1 tablespoon cashew nuts (kaju)
1 teaspoon poppy seeds (khus khus)
1 inch ginger
2 green chilli
1 teaspoon garlic
2 dry whole Kashmiri red chili
Directions
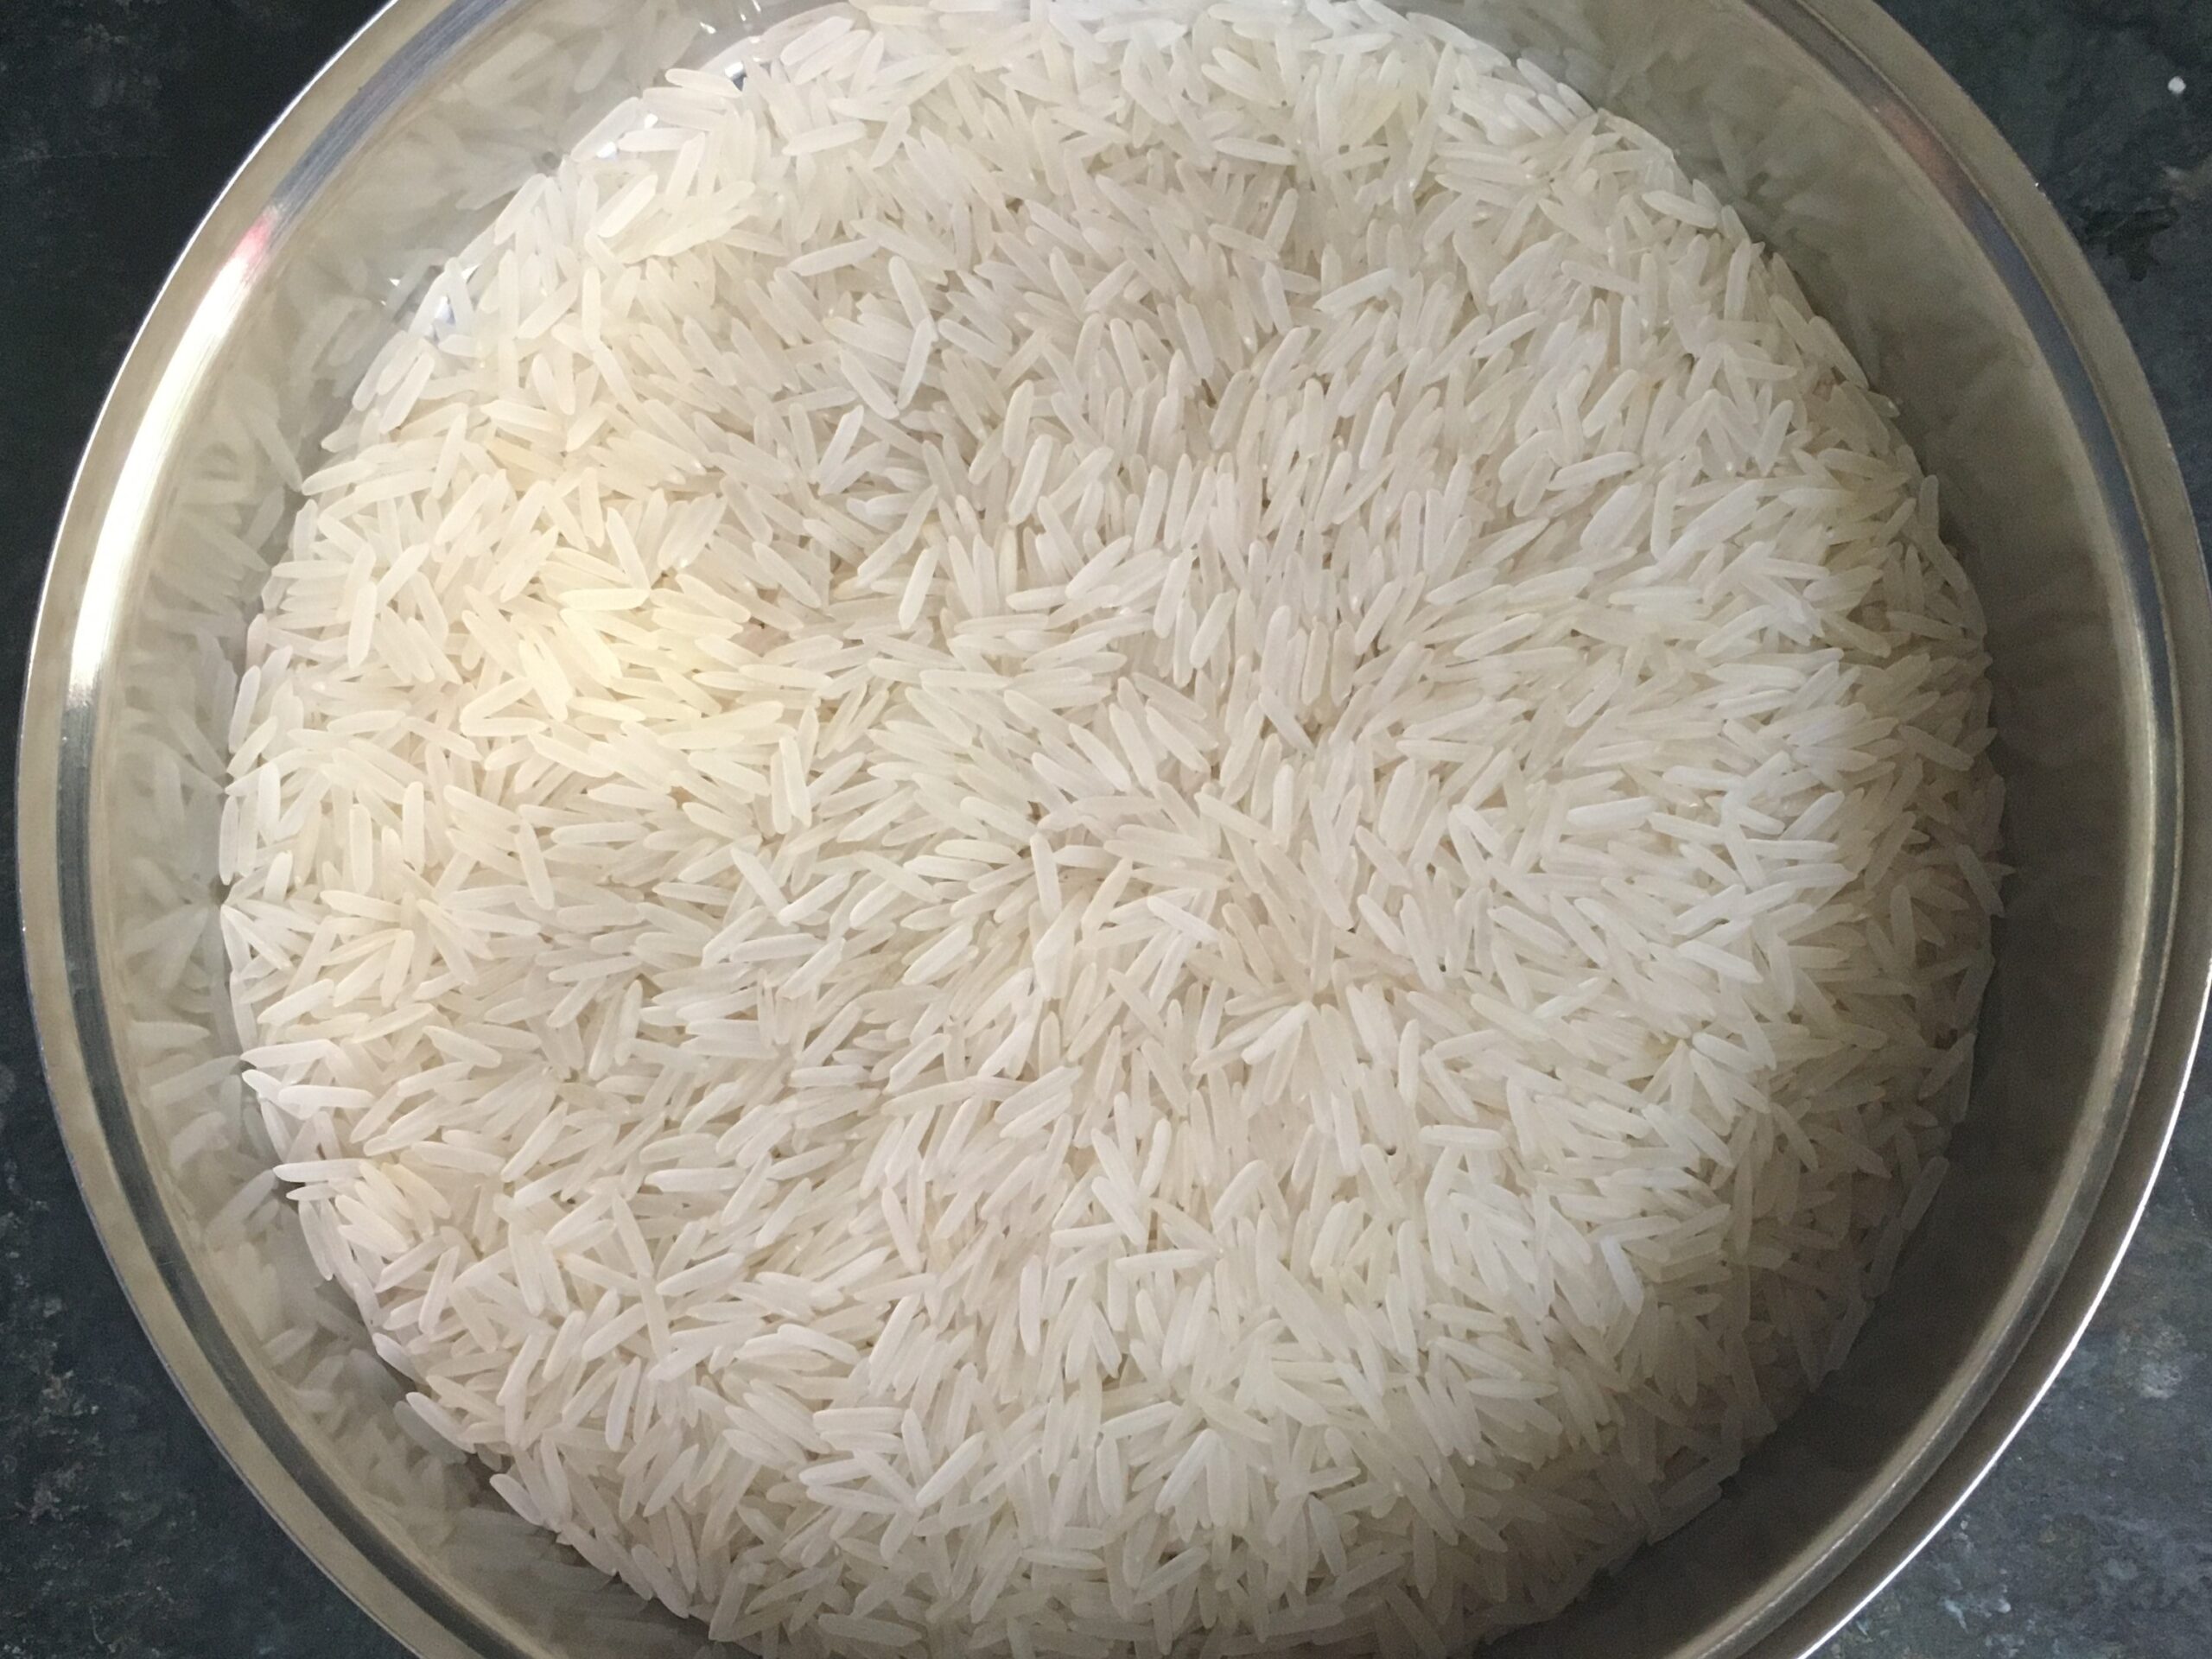
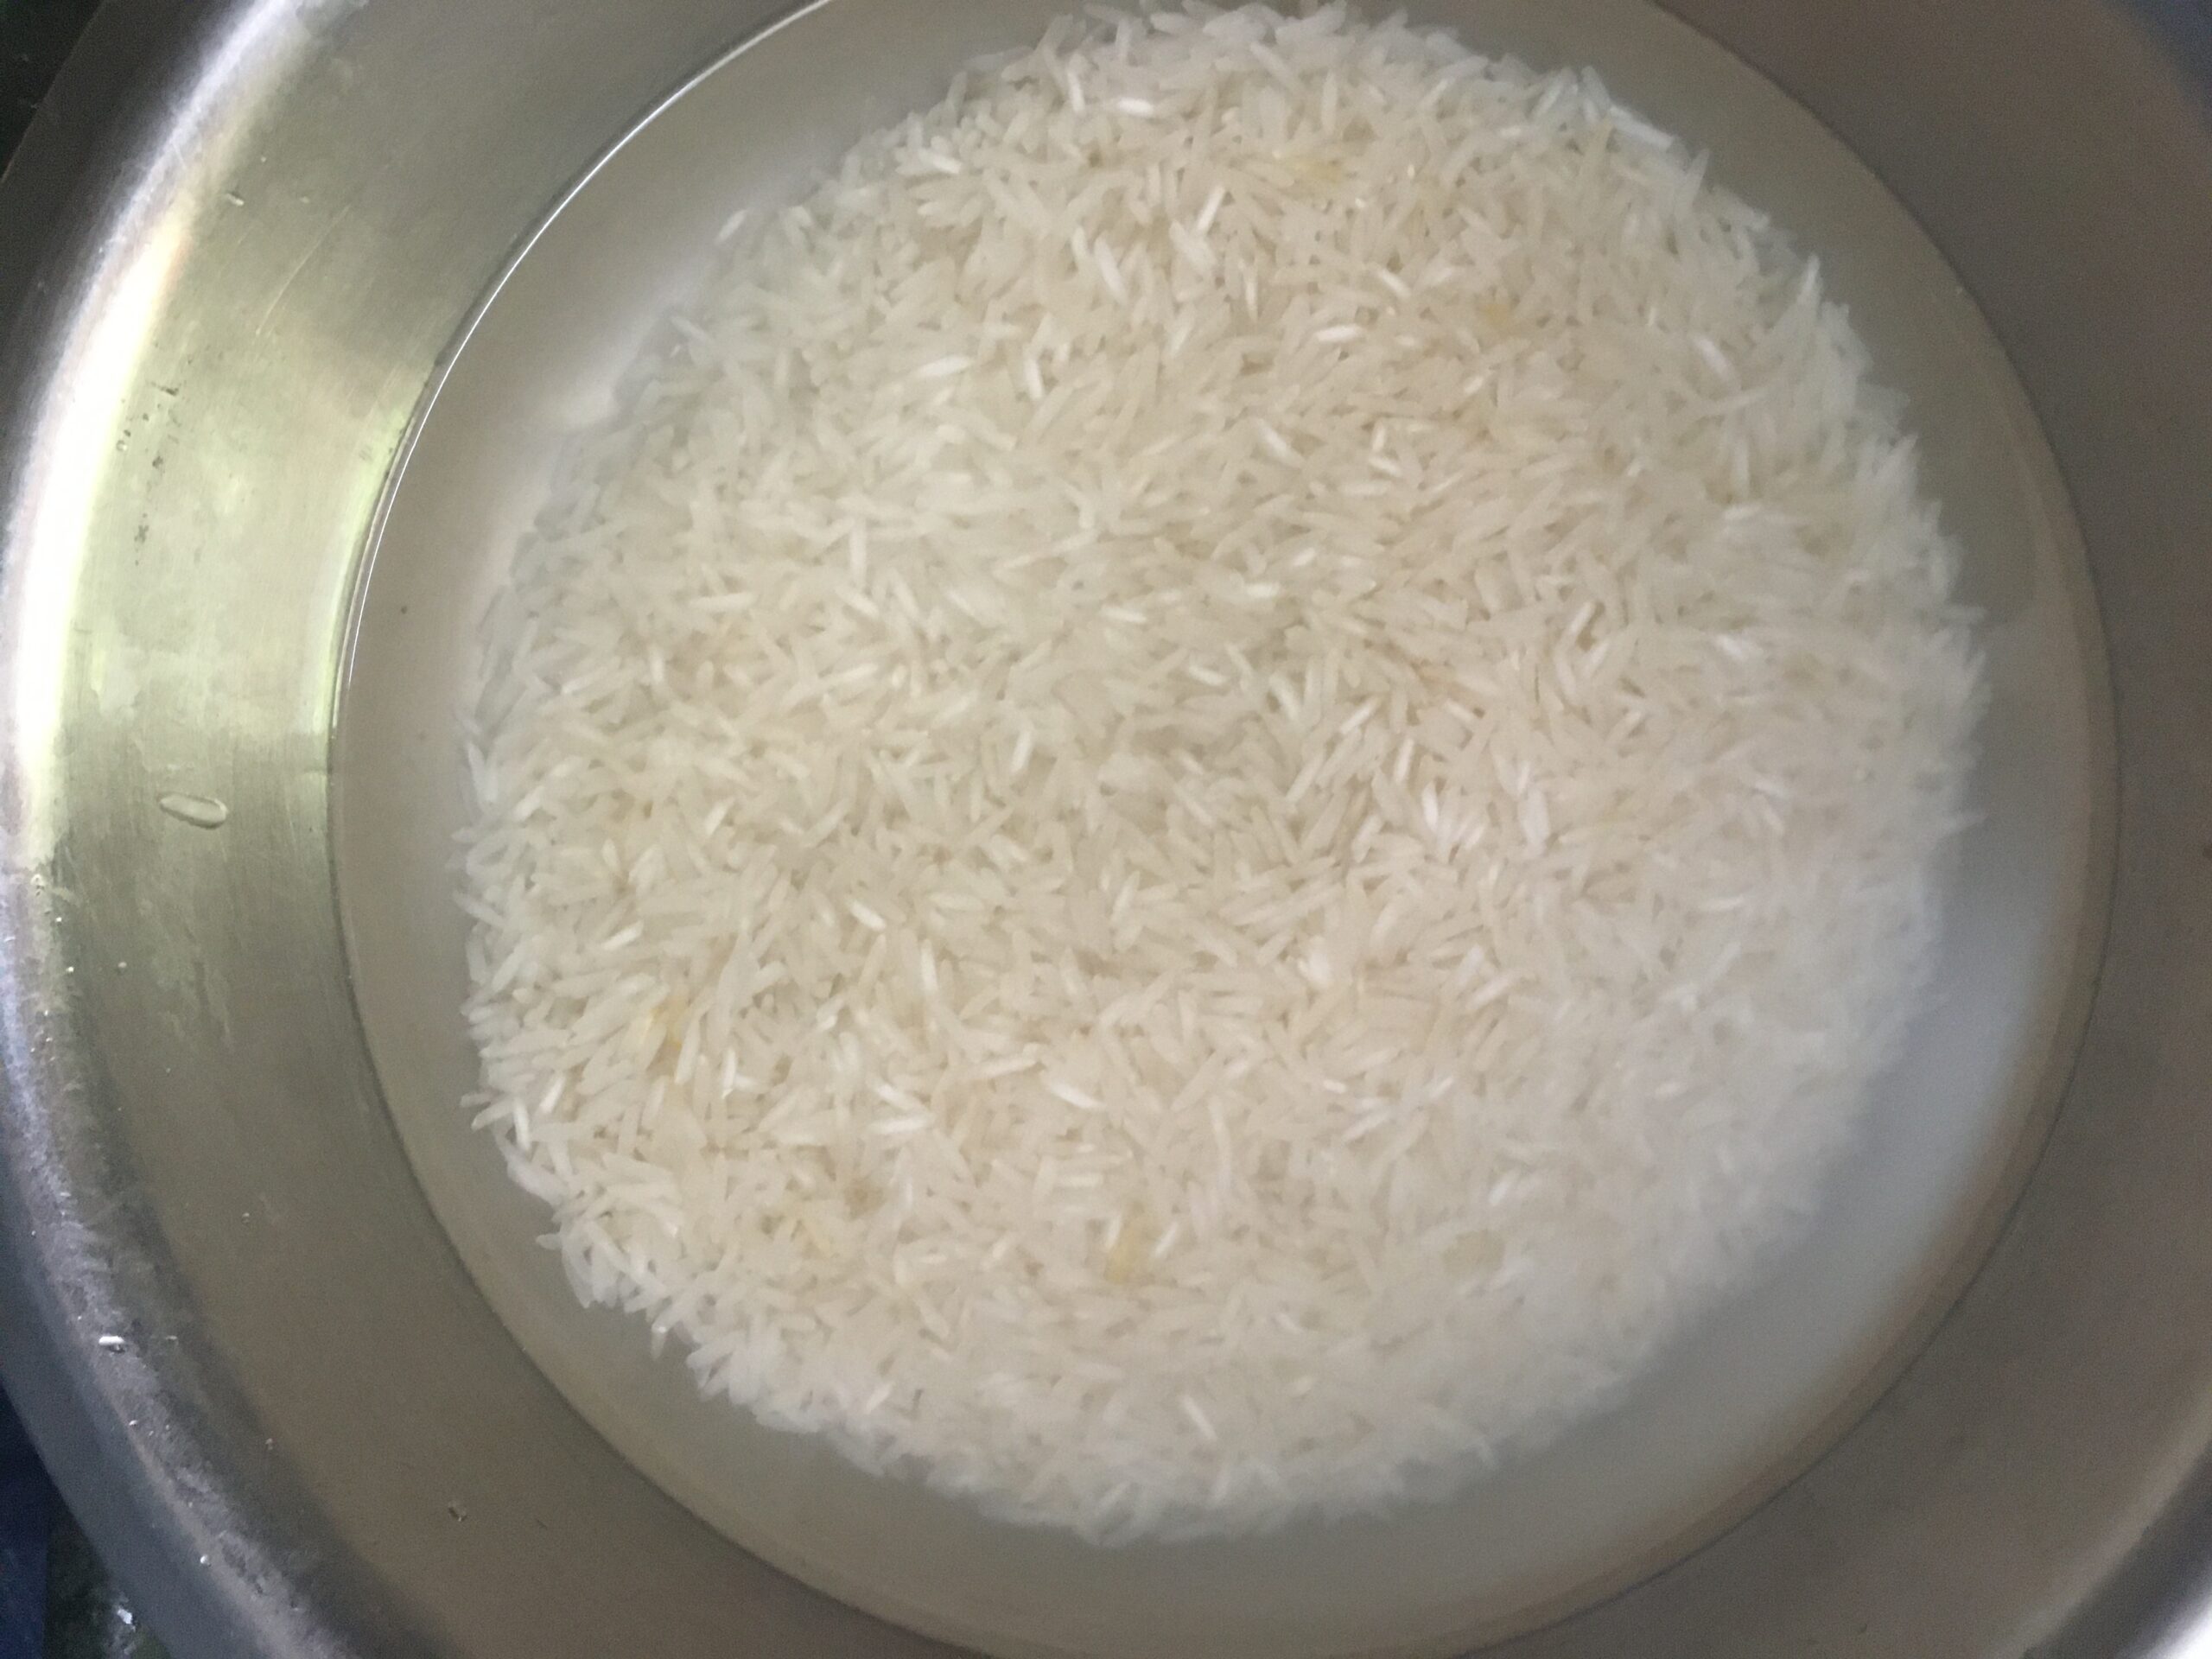
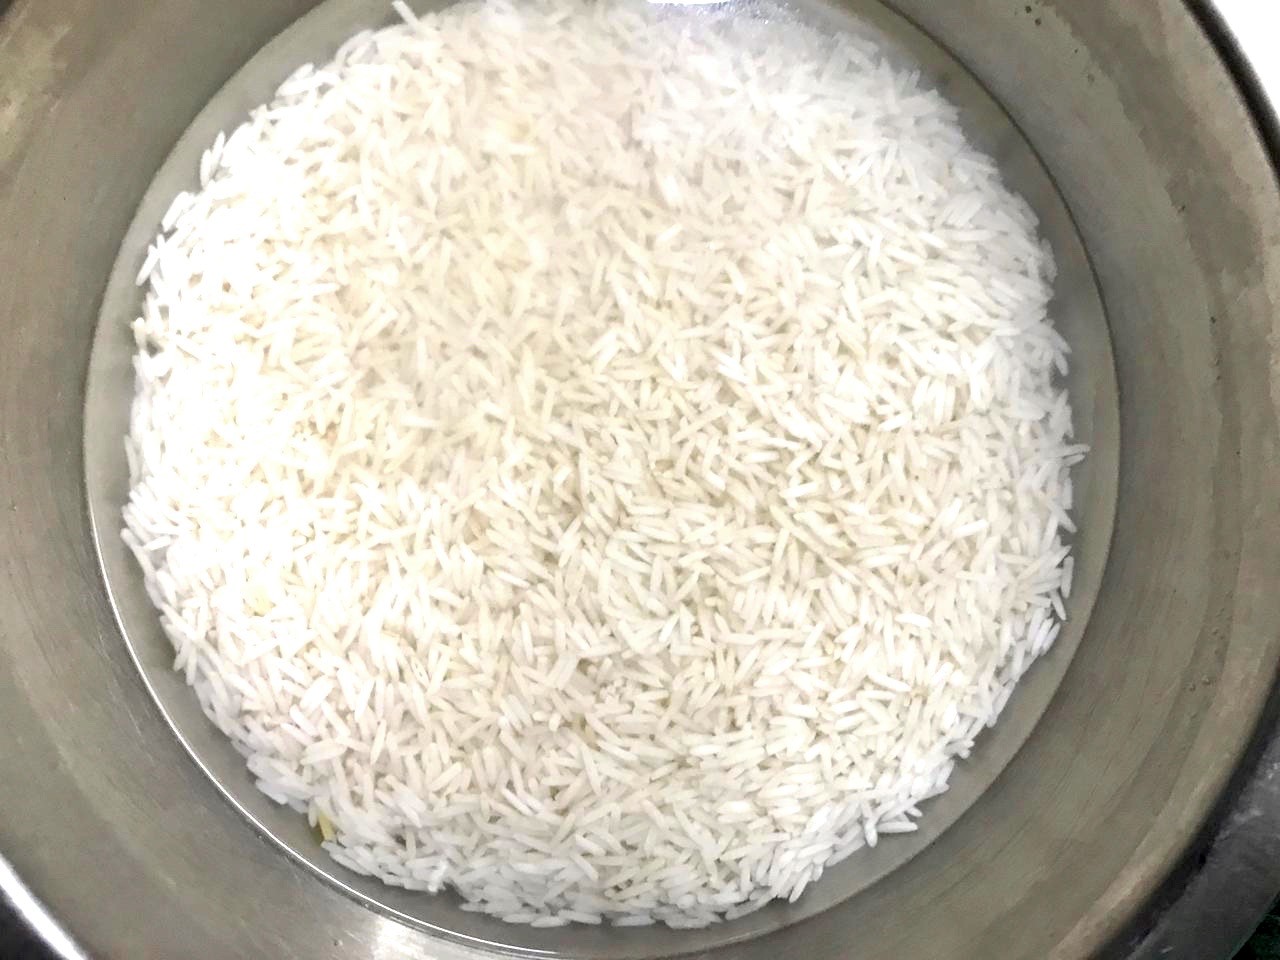
Wash the rice under running water and then soak the rice in water for 20-30 minutes.
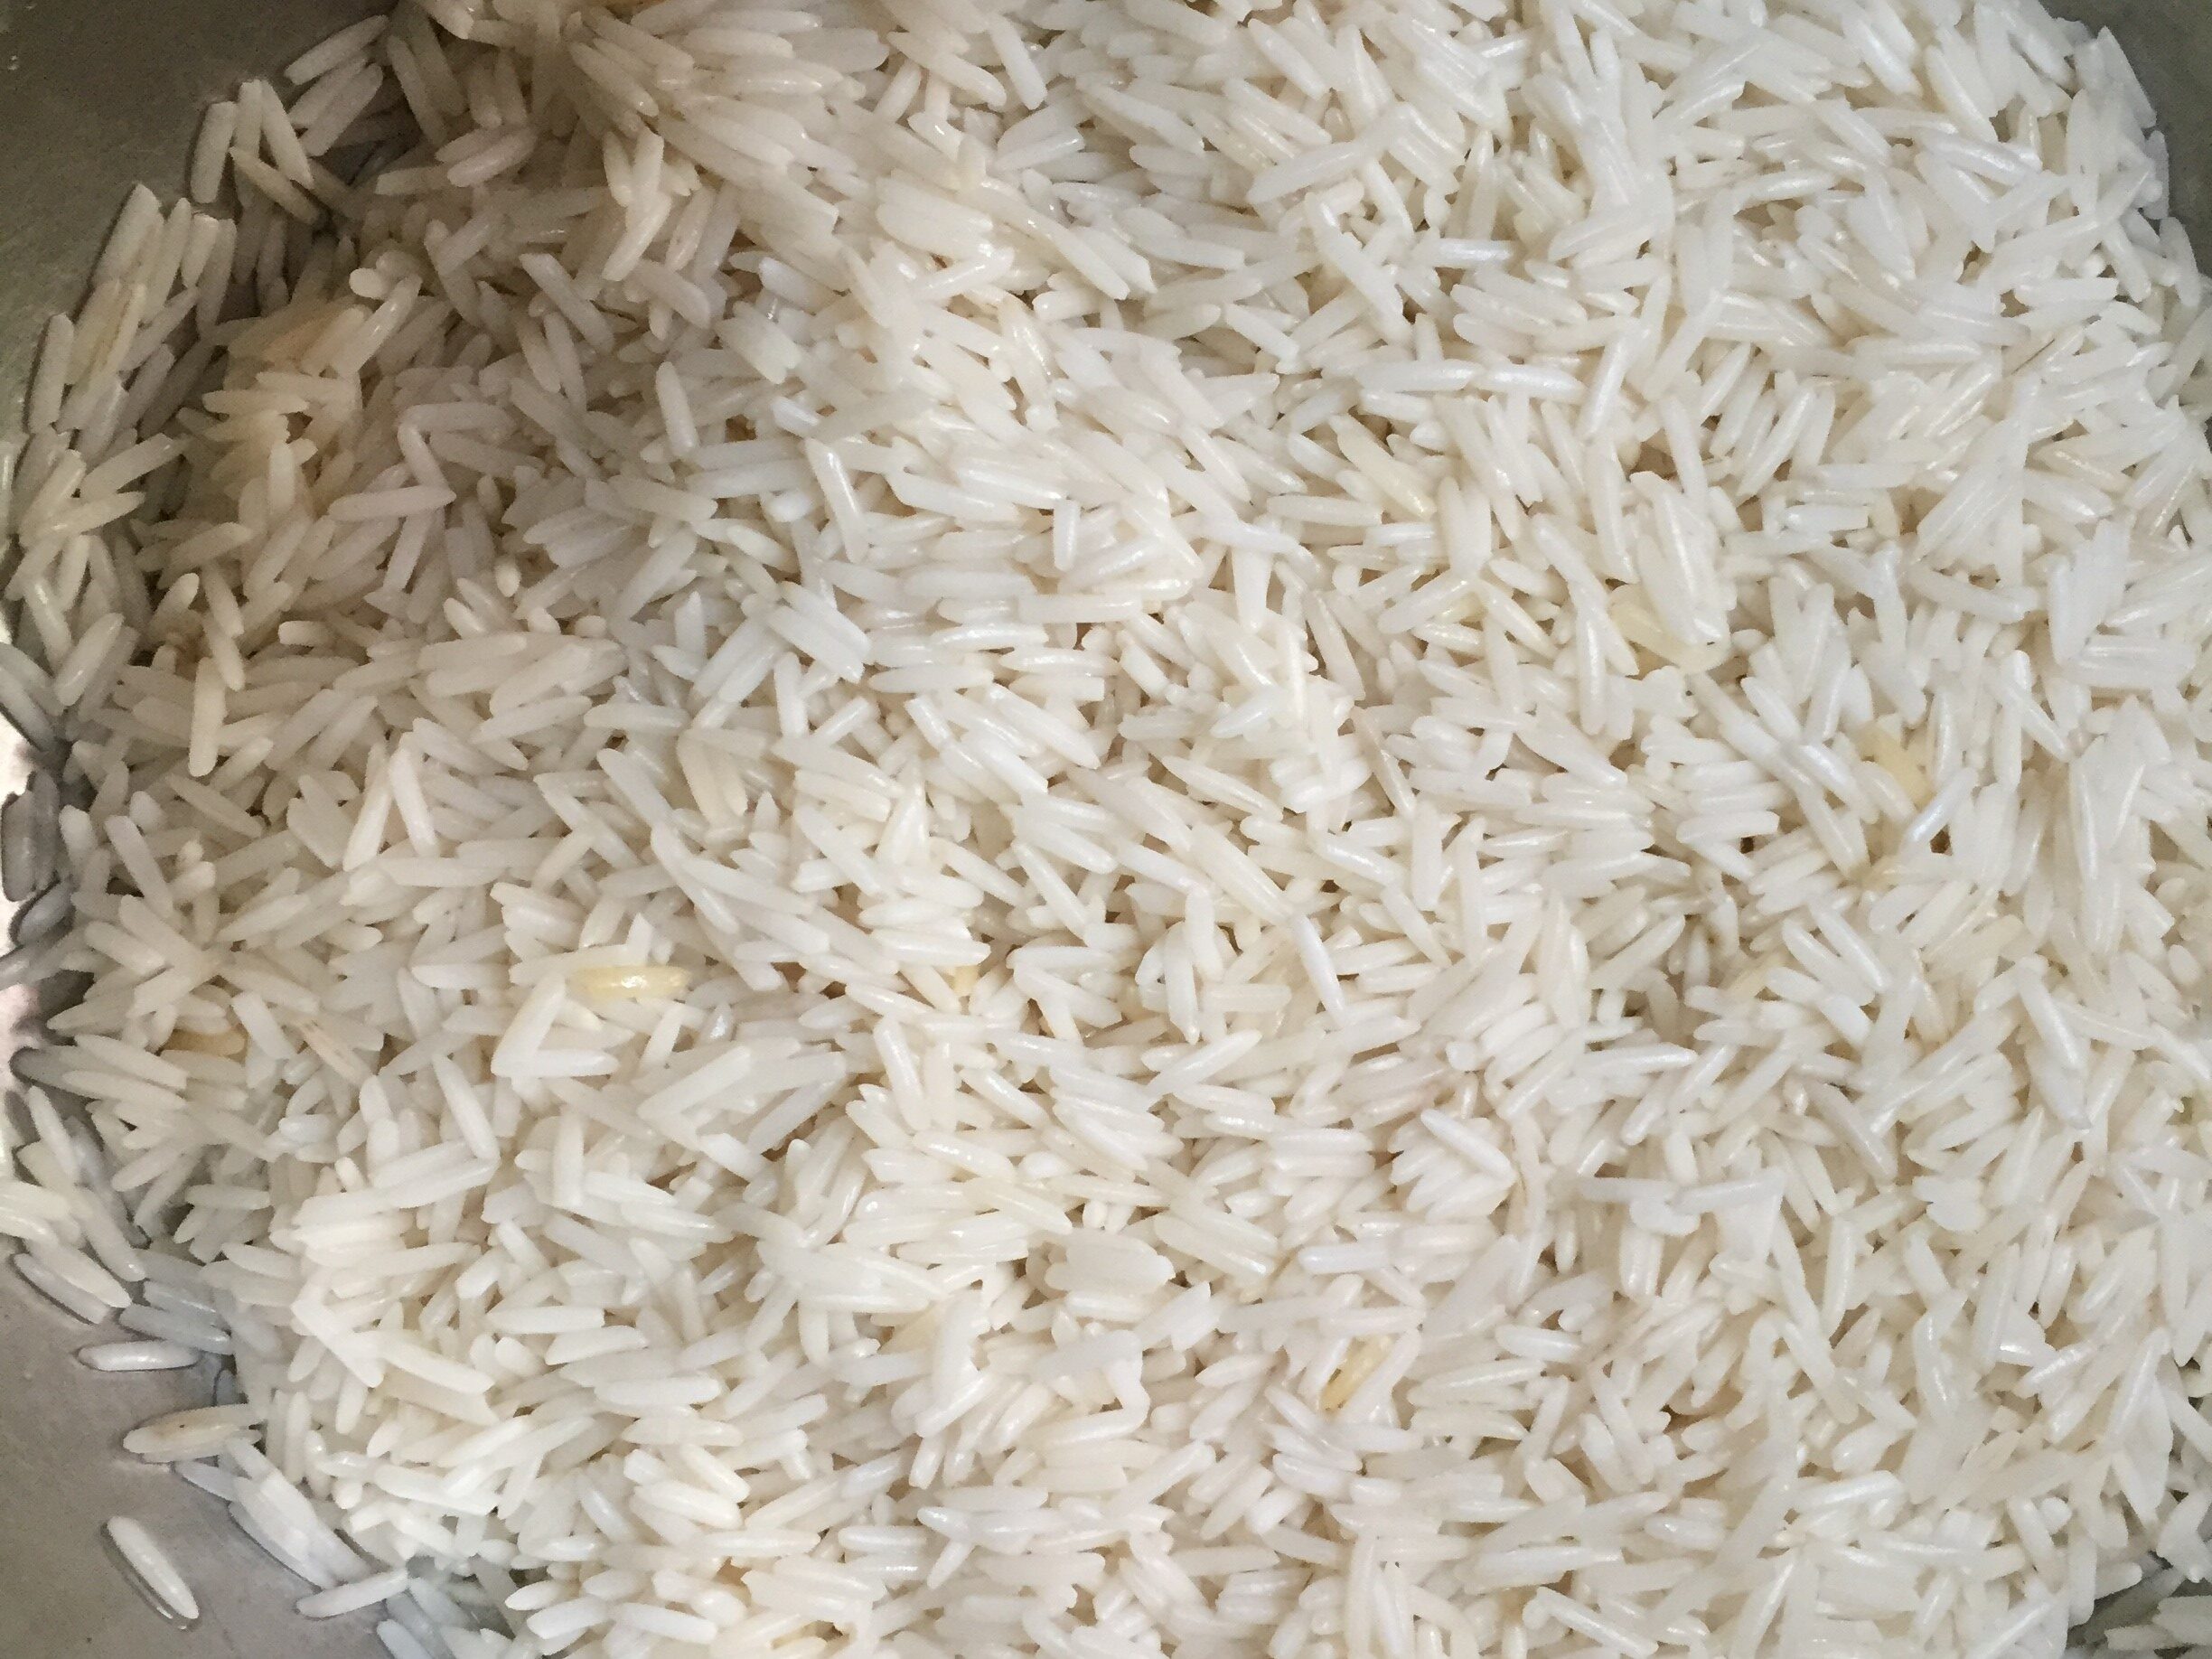
After the rice has soaked, drain the water using a colander.
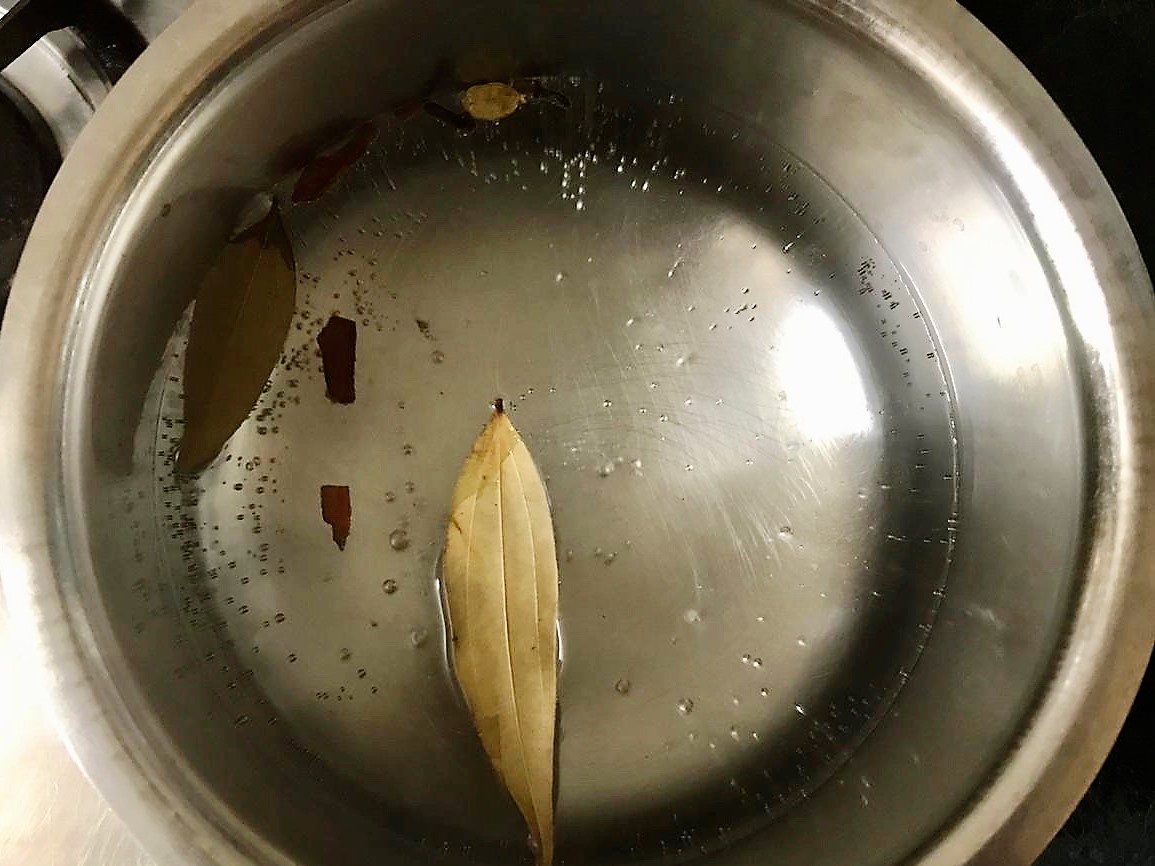
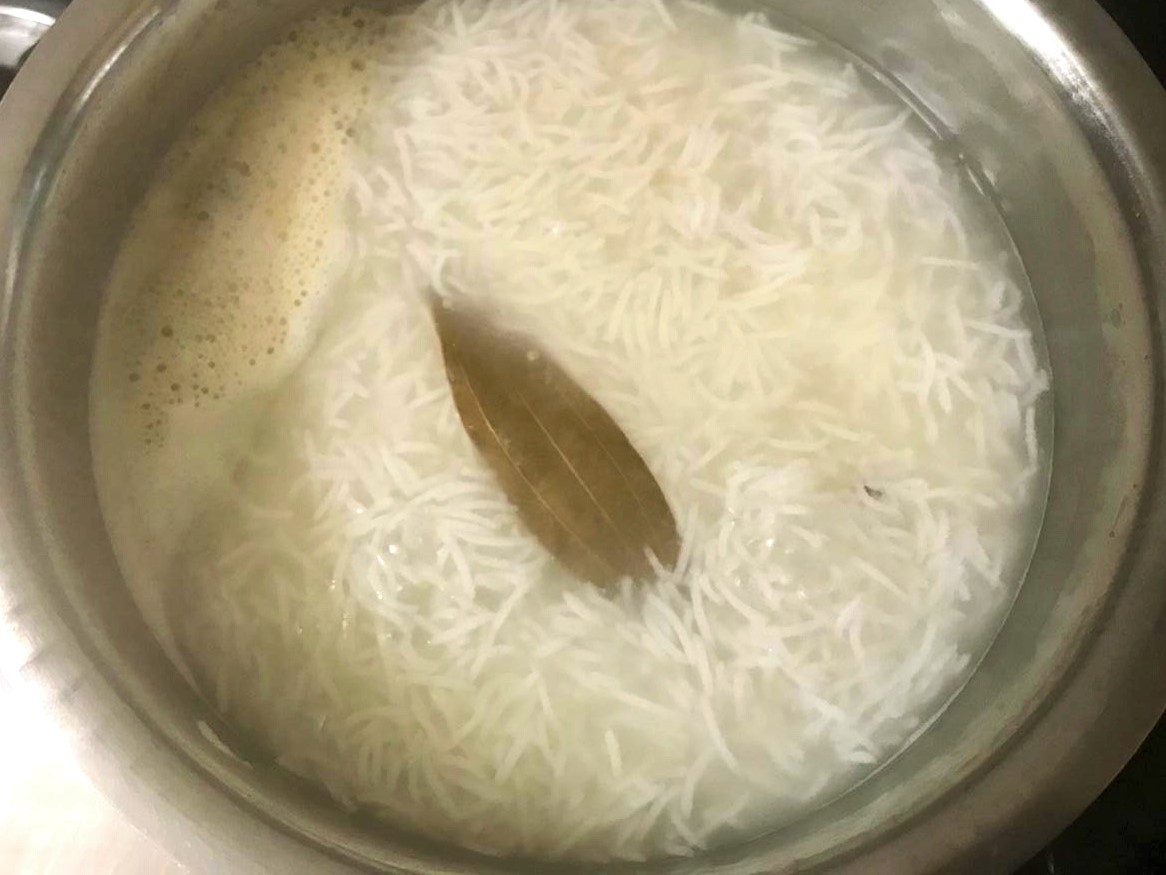
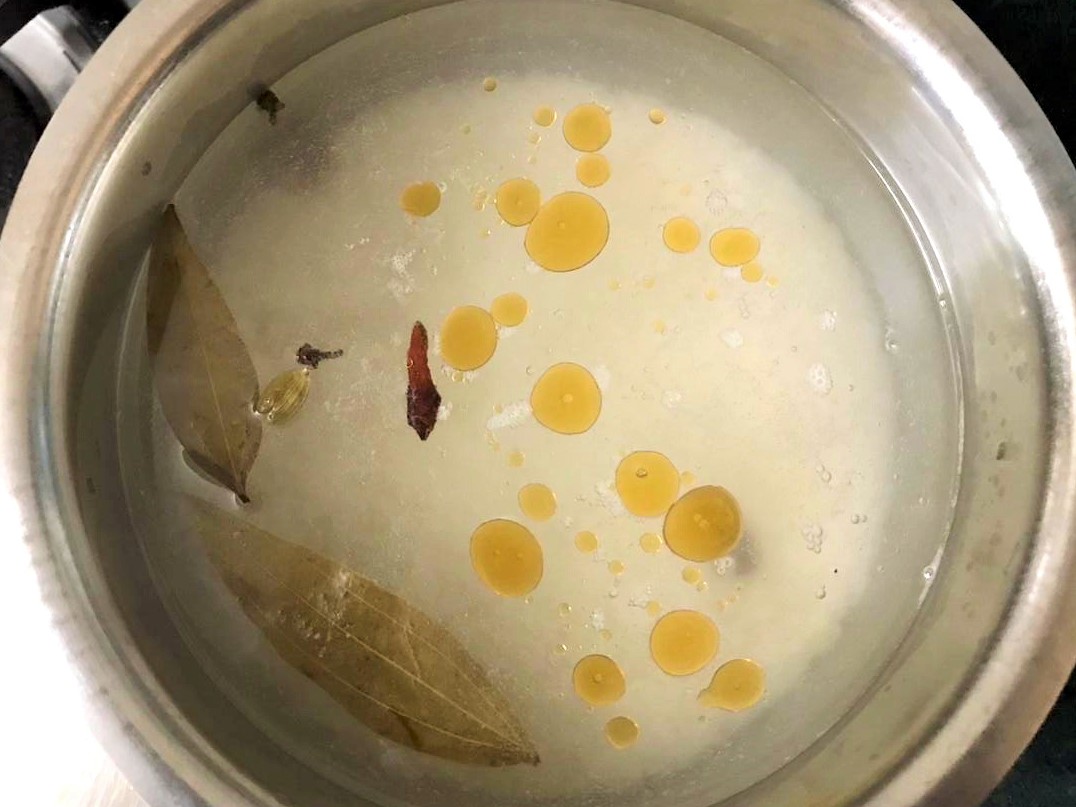
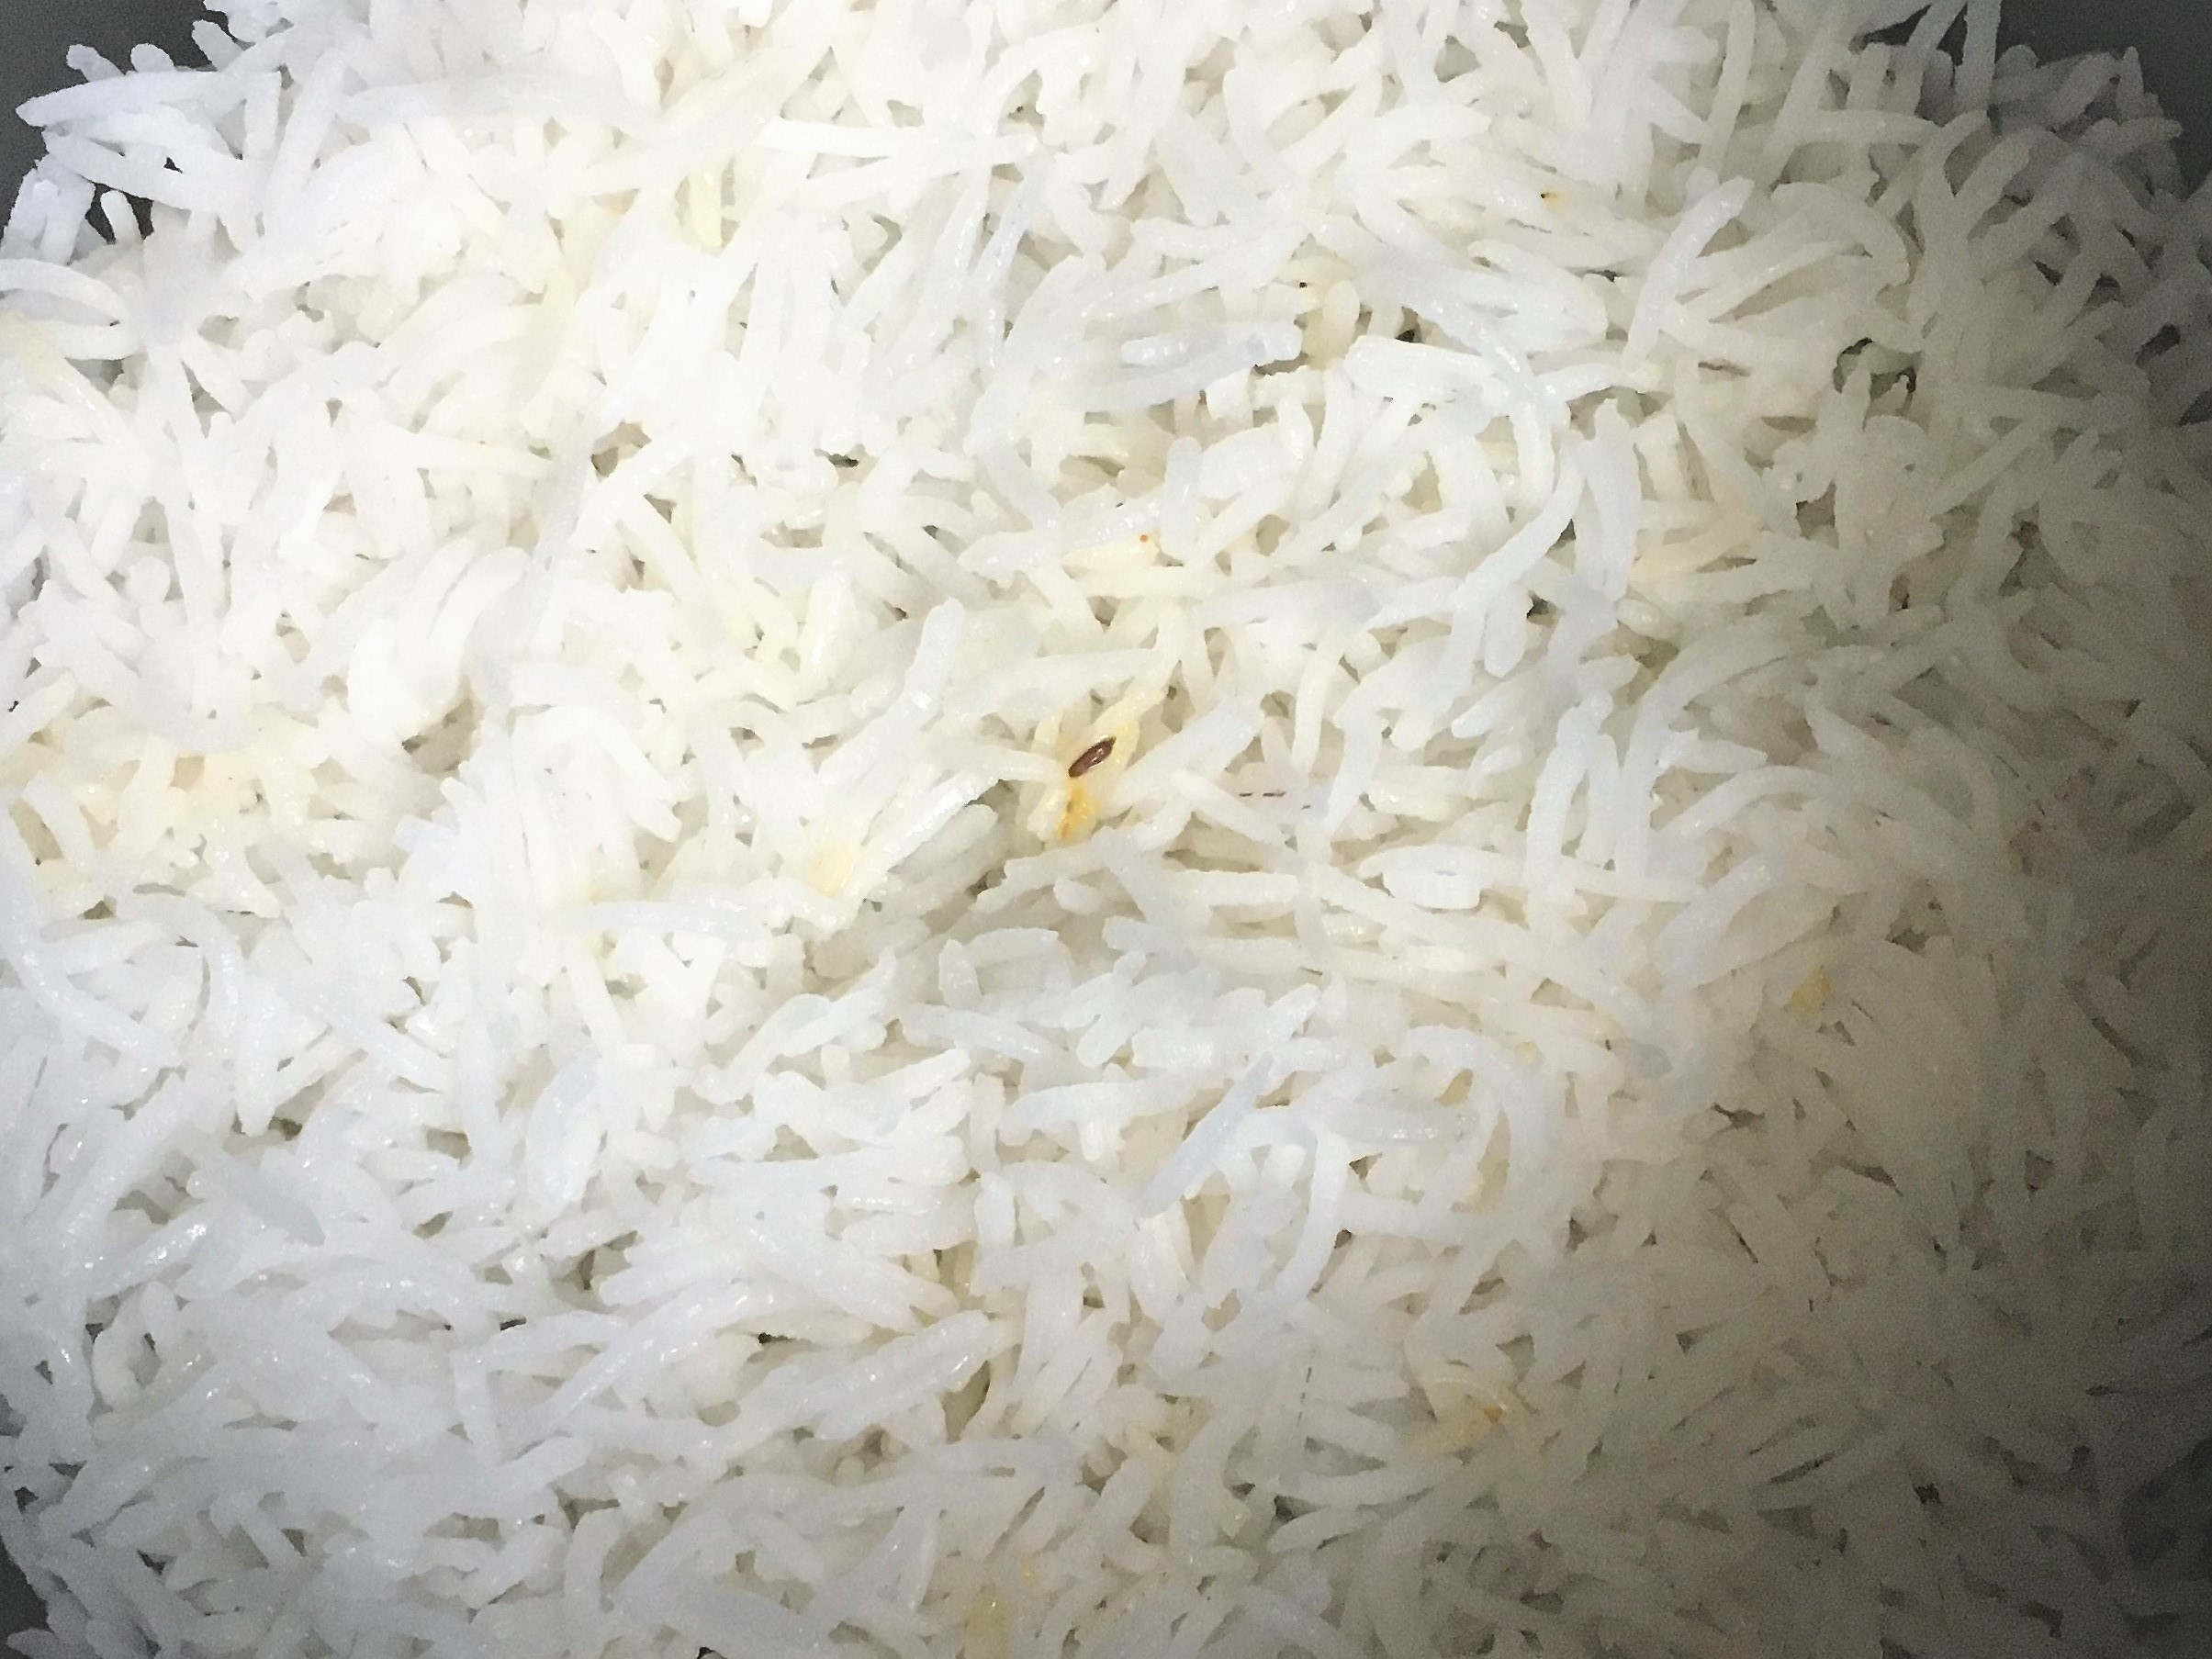
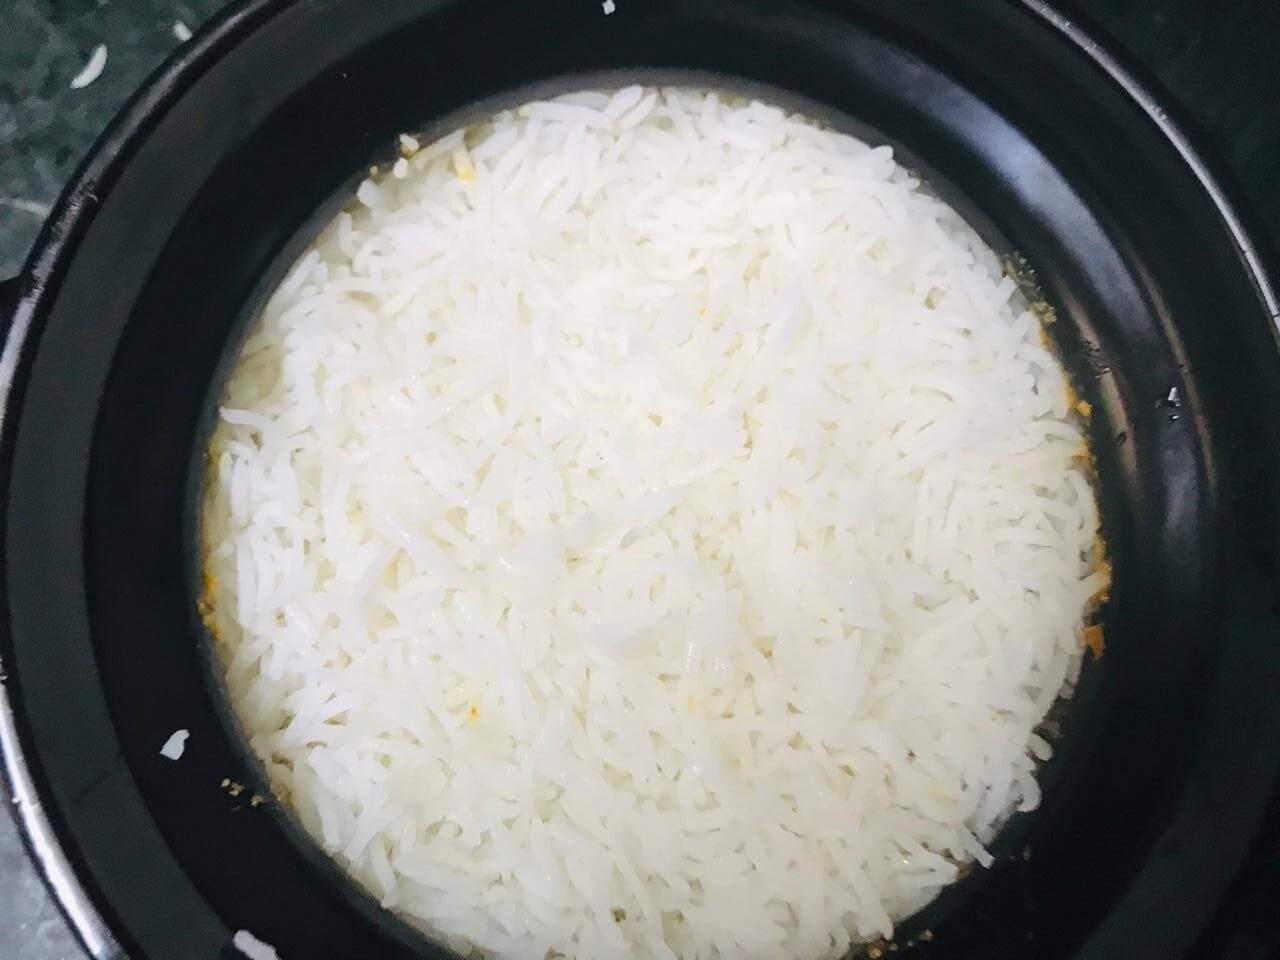
Boil 9-10 cups of water add the green cardamom, 2 cloves, bay leaf, cinnamon and ¾ teaspoon salt to it. Add rice and 1 tablespoon oil and gently stir. Let it cook uncovered until it is 70% cooked. This takes around 6 to 7 minutes.
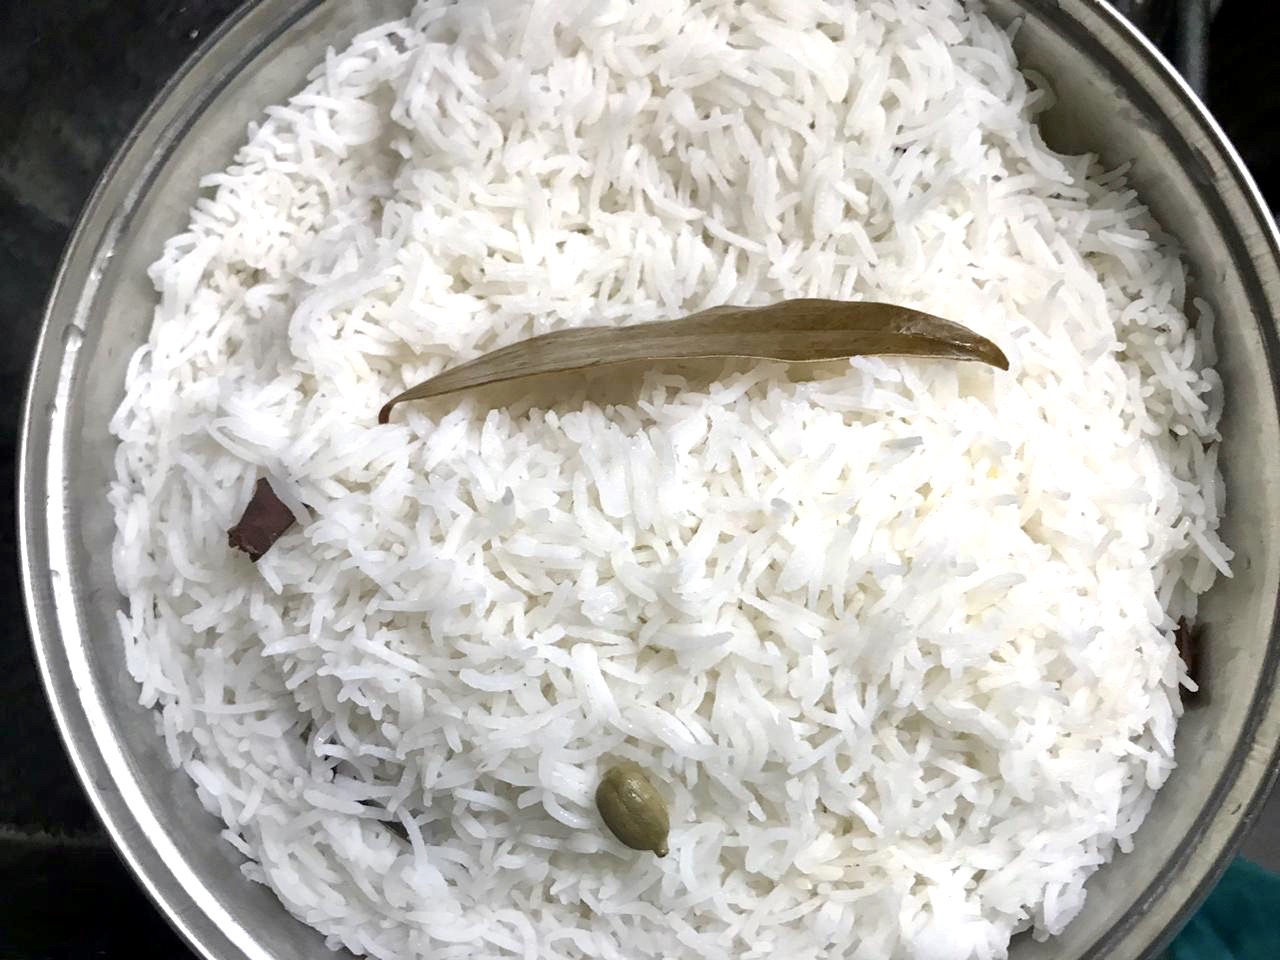
Remove pan from heat and drain the rice in a colander. Set aside to cool it down.
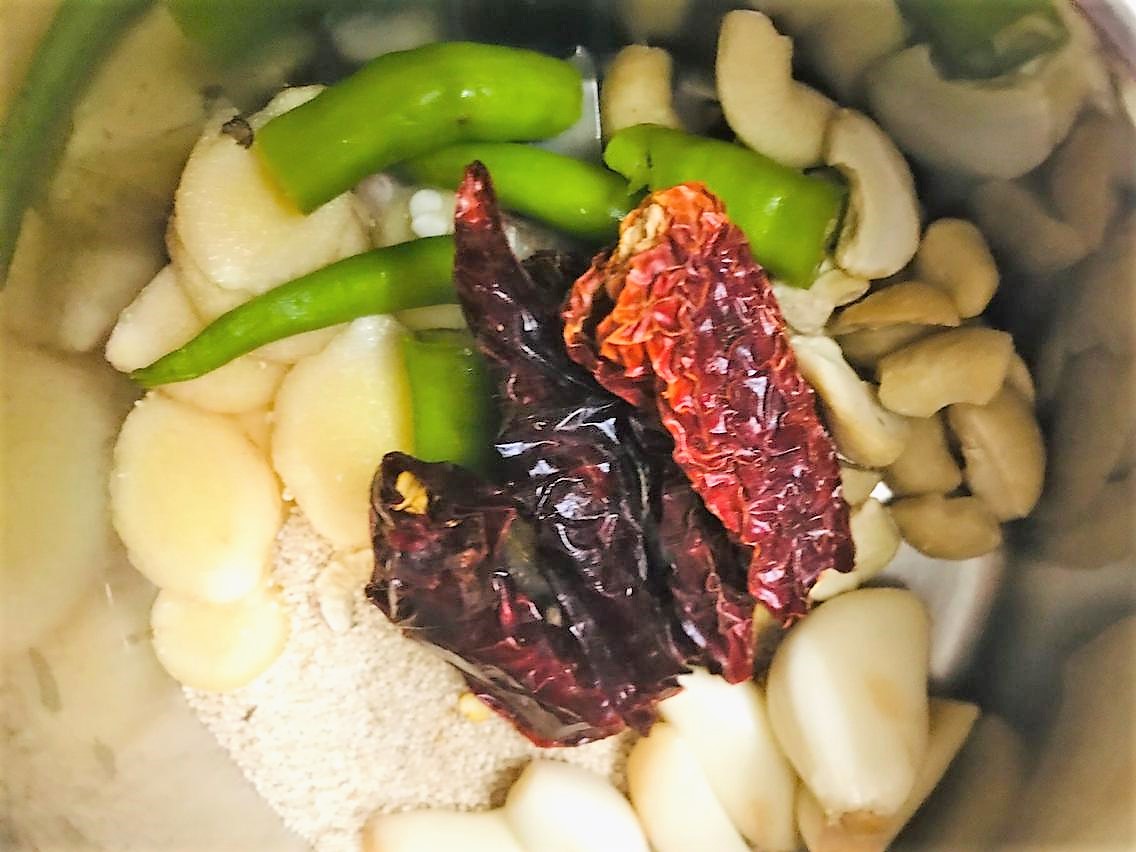
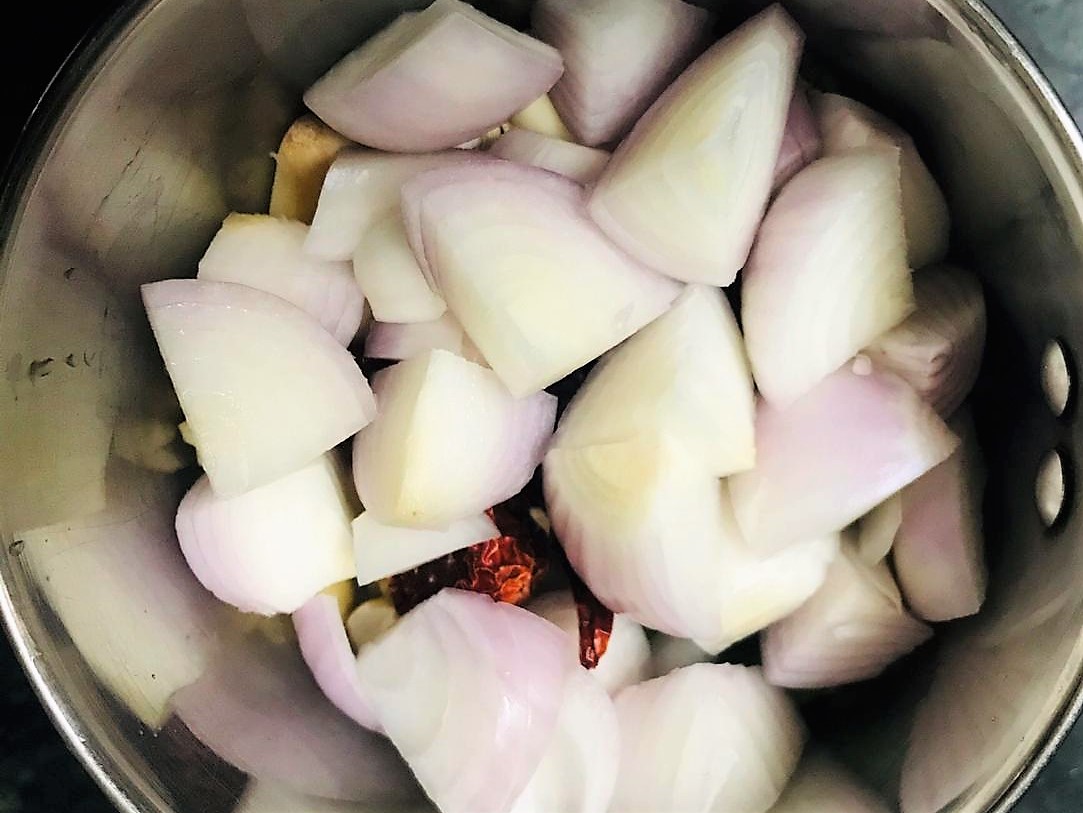
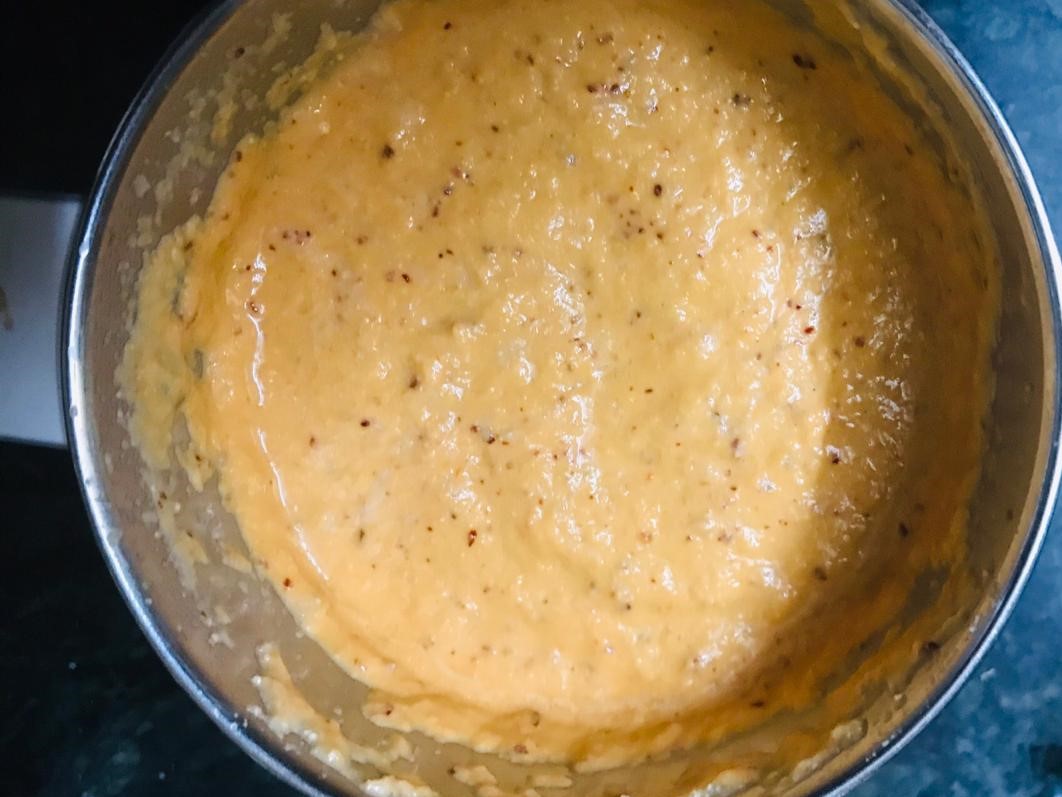

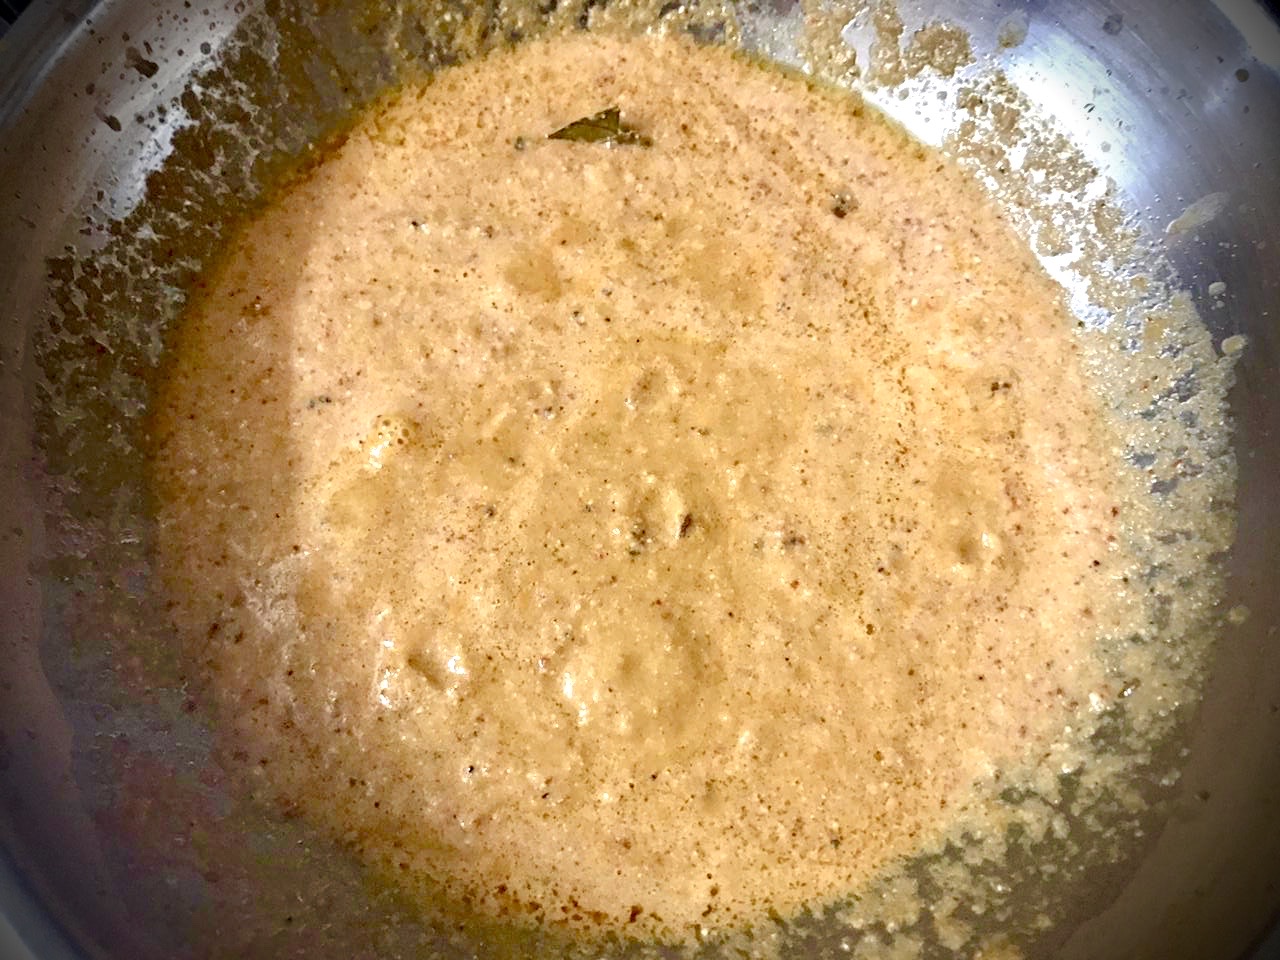
Grind the onions, cashew nuts, poppy seeds, ginger, green chilli, garlic and dry whole Kashmiri red chili into a fine paste using 2-3 tablespoons of water.
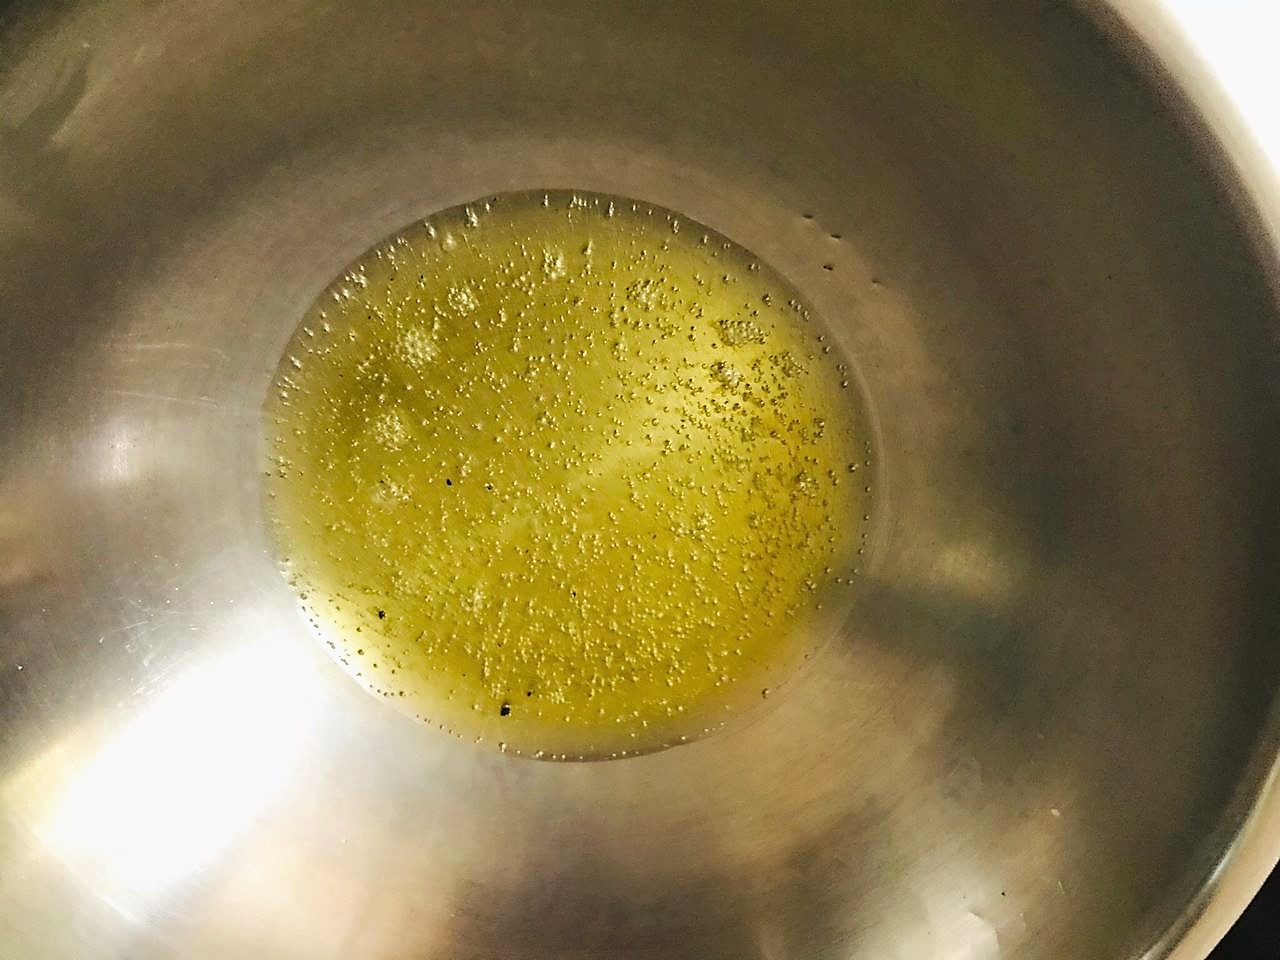
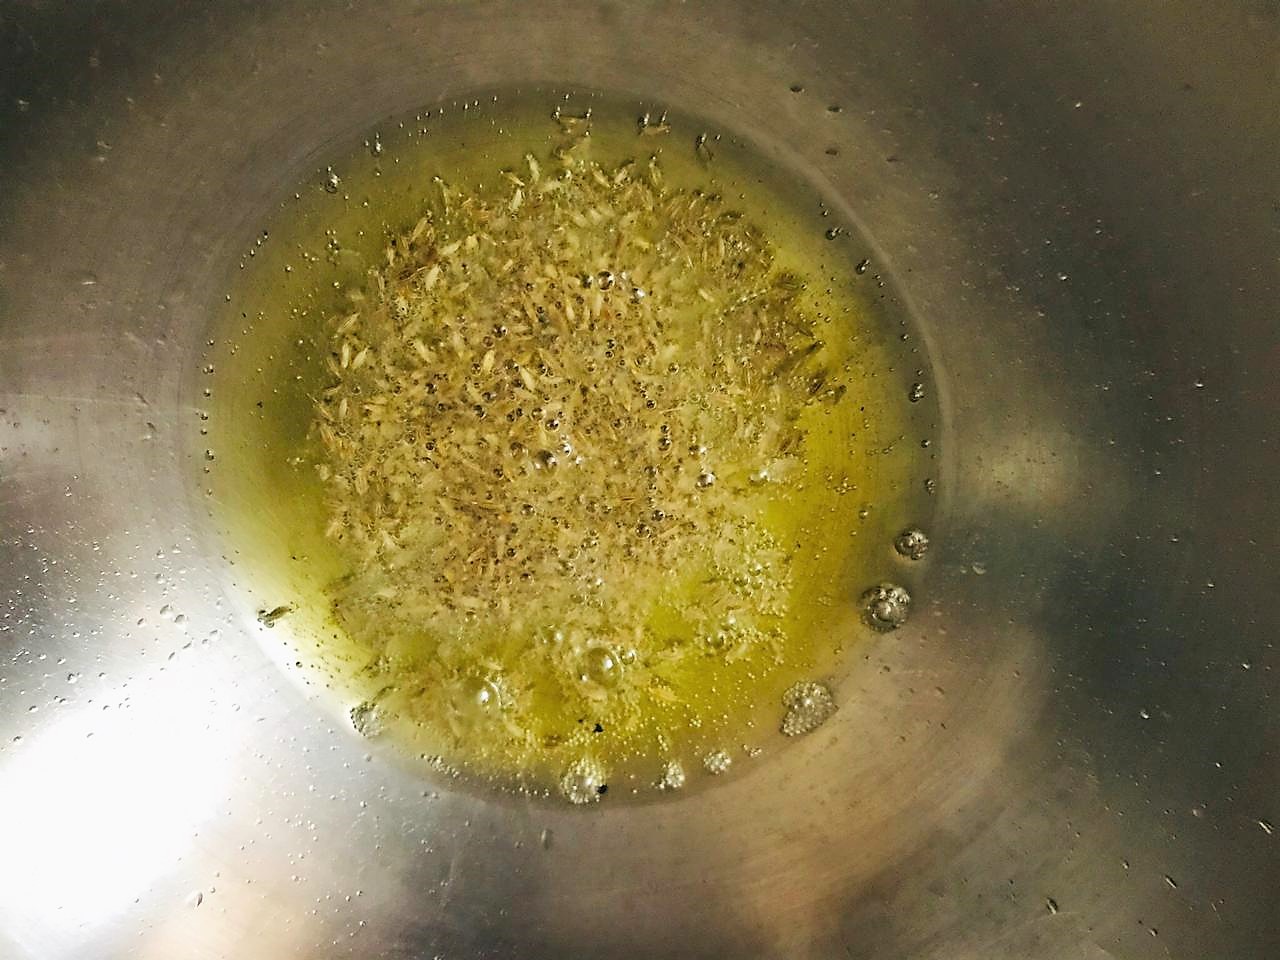
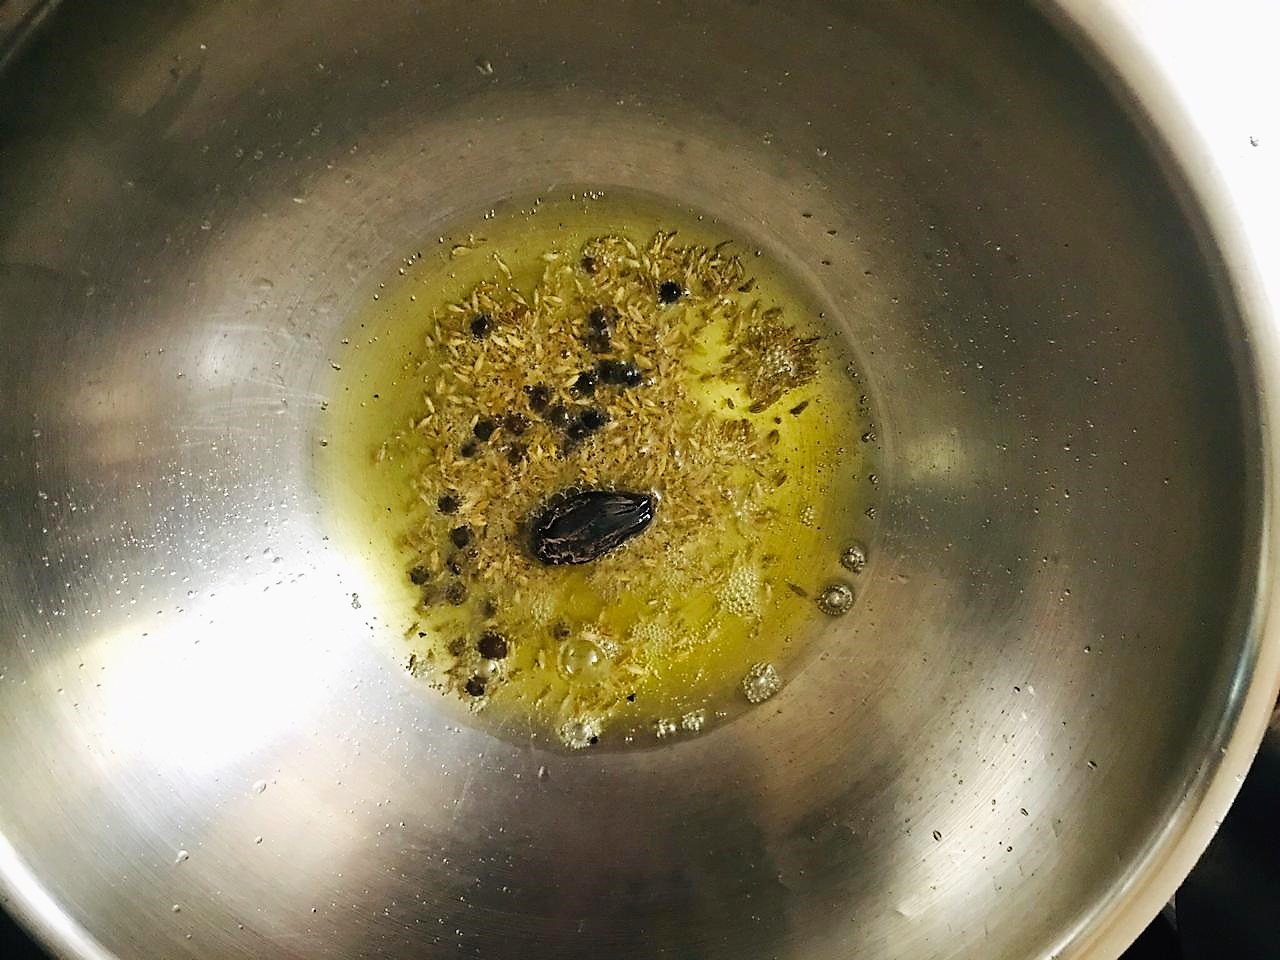
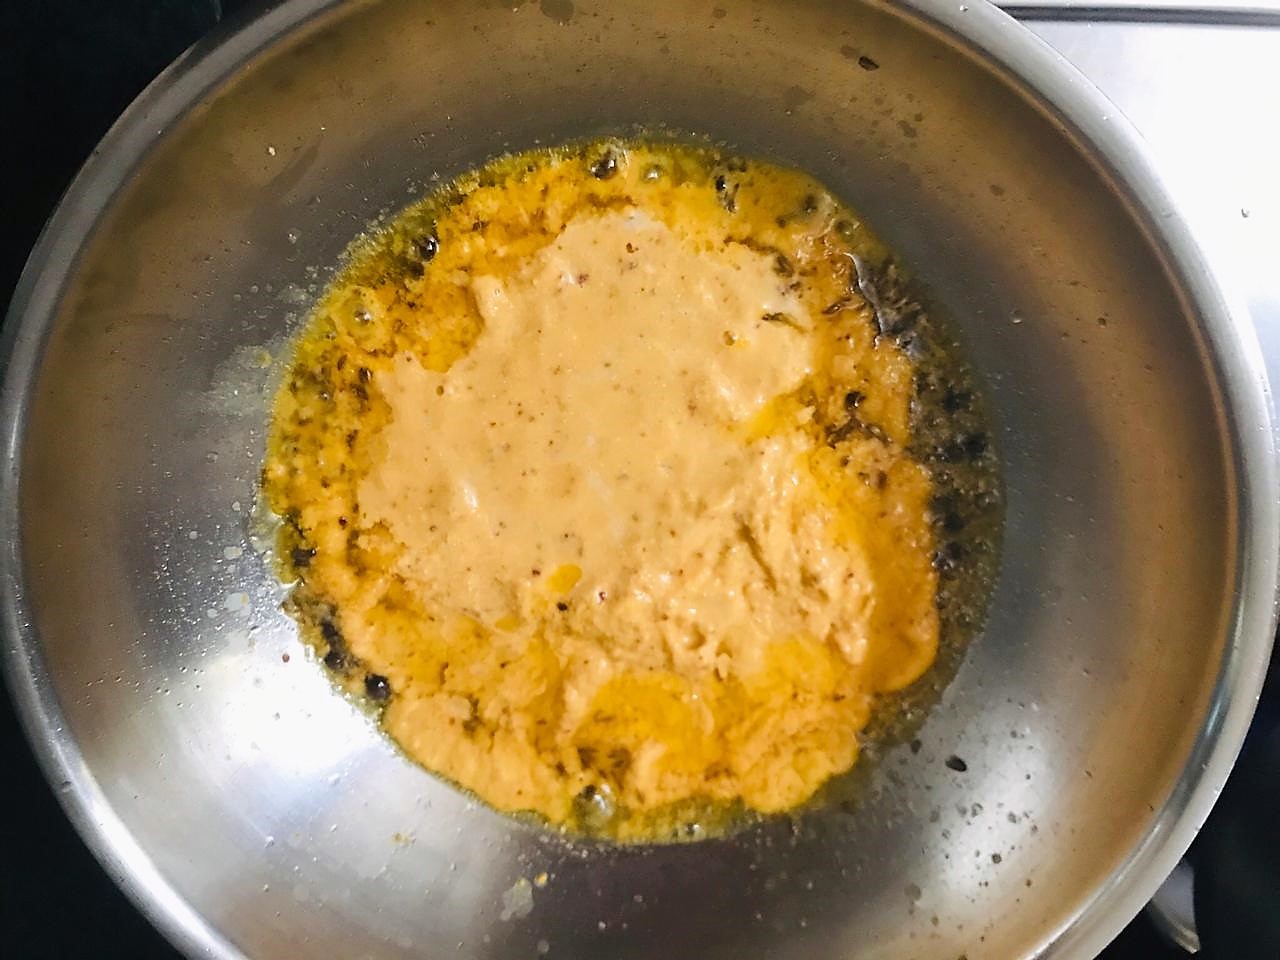
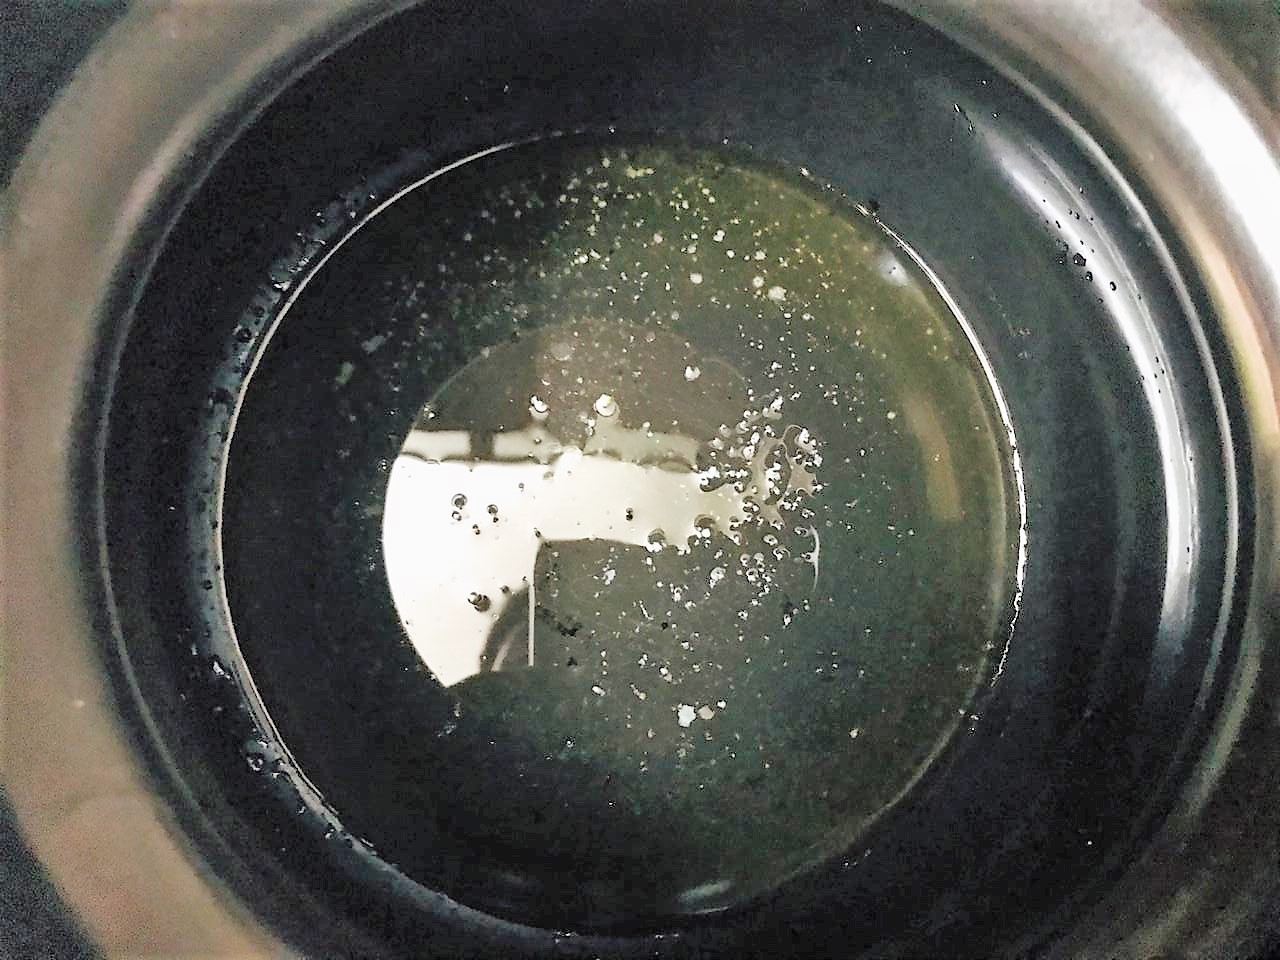
Next, heat 2 tablespoons ghee and add the cumin seeds, pepper corns, cinnamon and black cardamom. Let them infuse the ghee for 30 seconds and next add the onion paste and sauté for 3-4 minutes on medium heat stirring every 30 seconds.
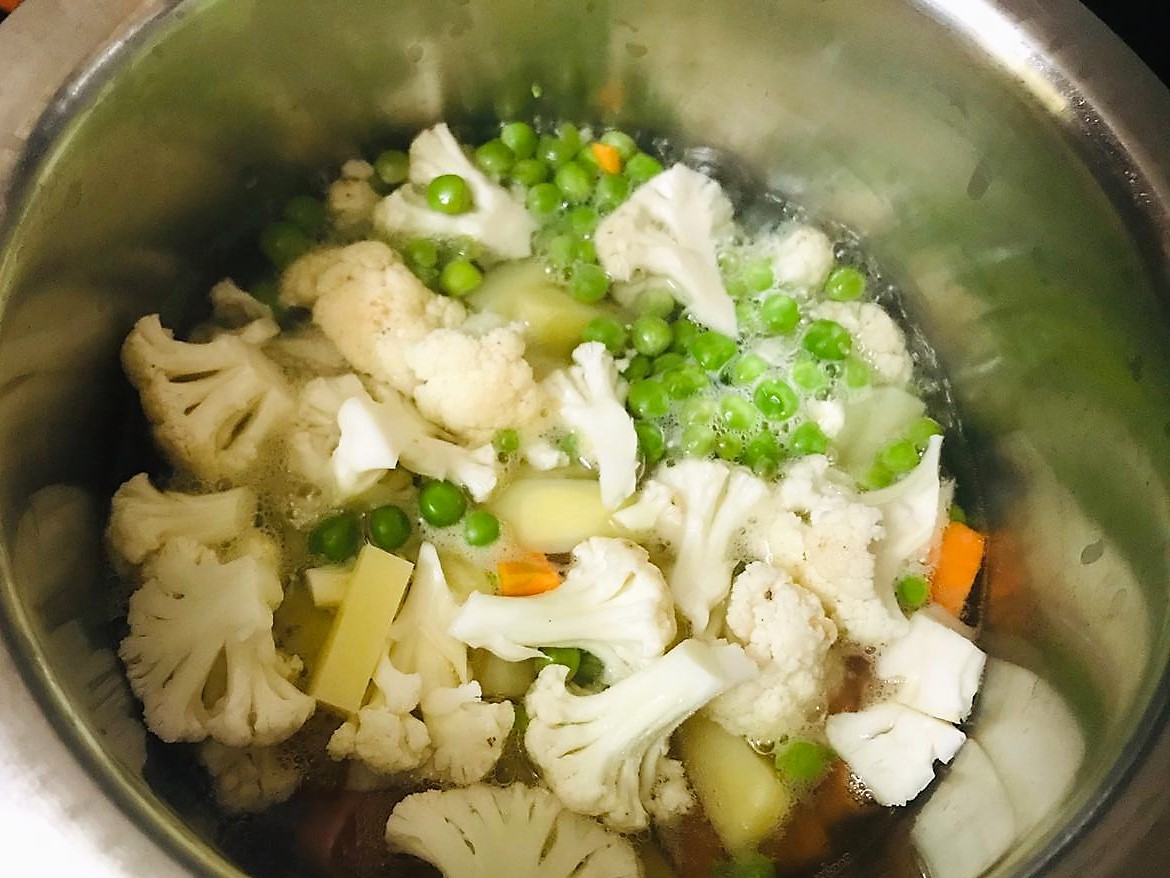
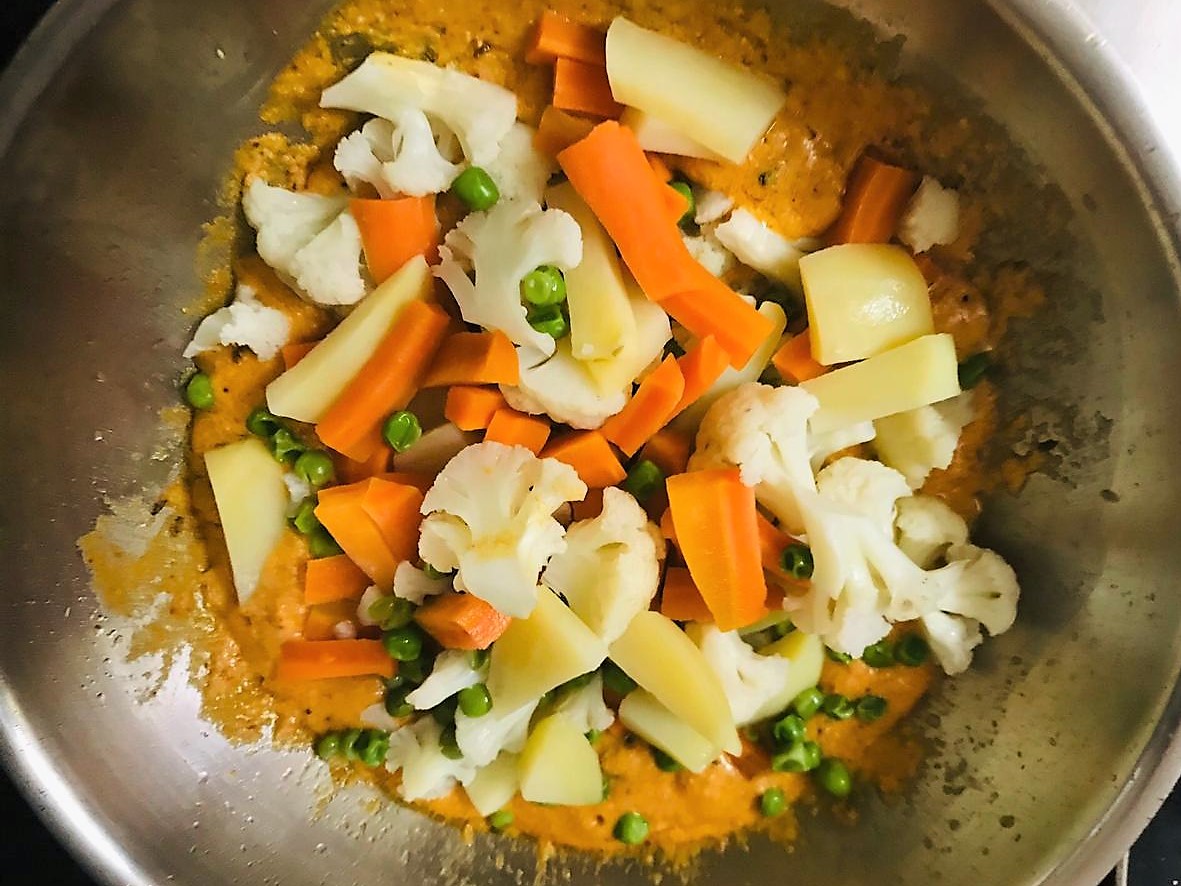
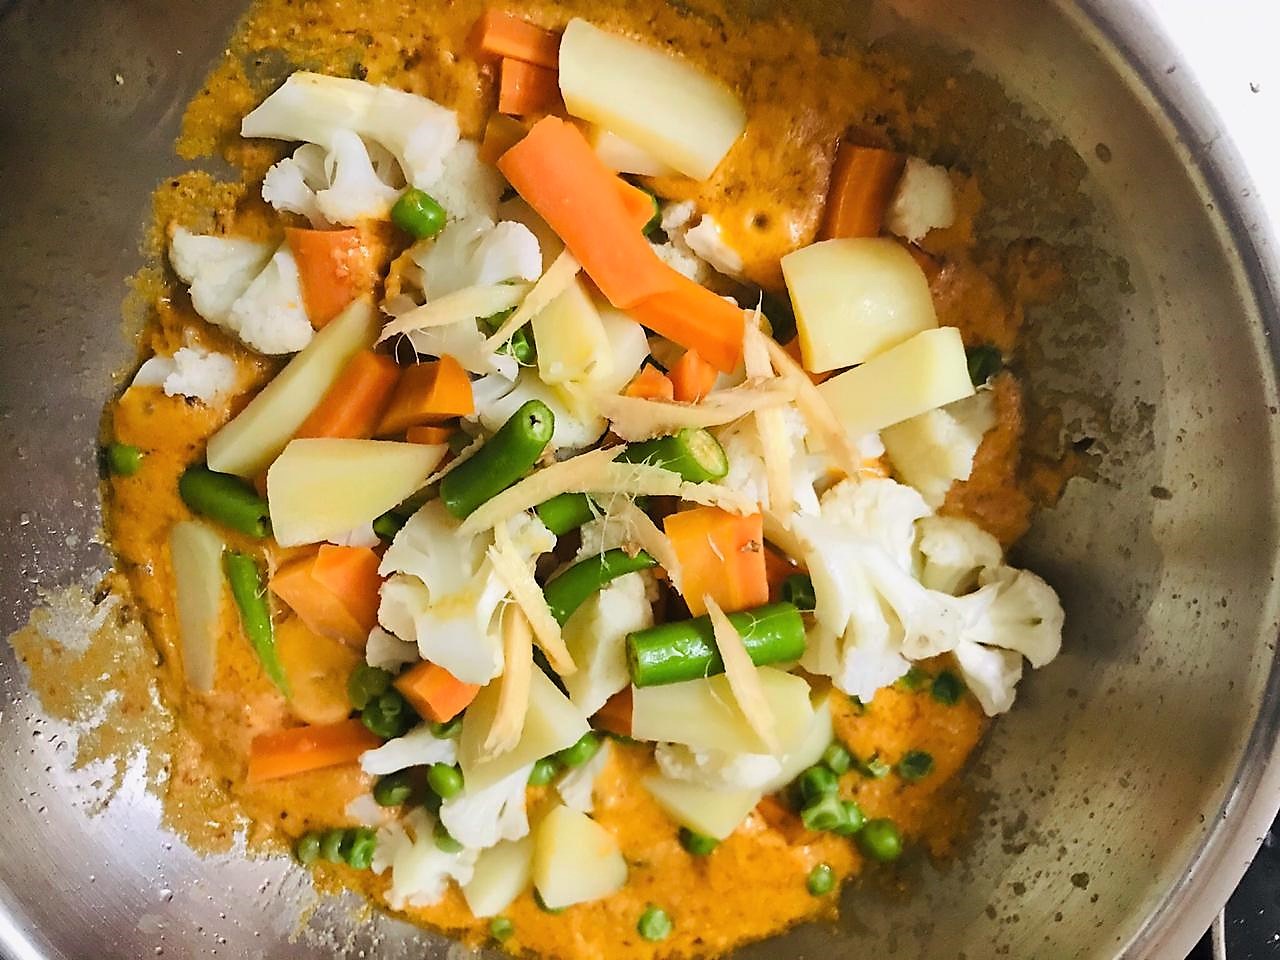

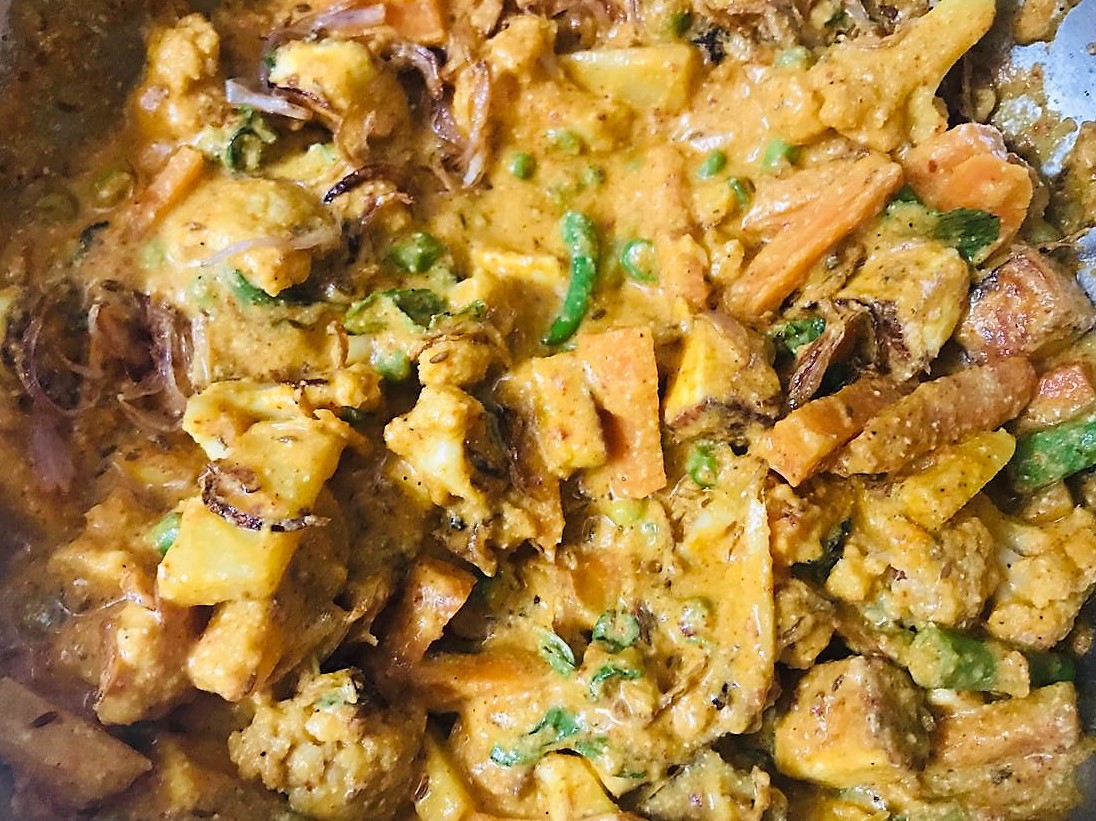
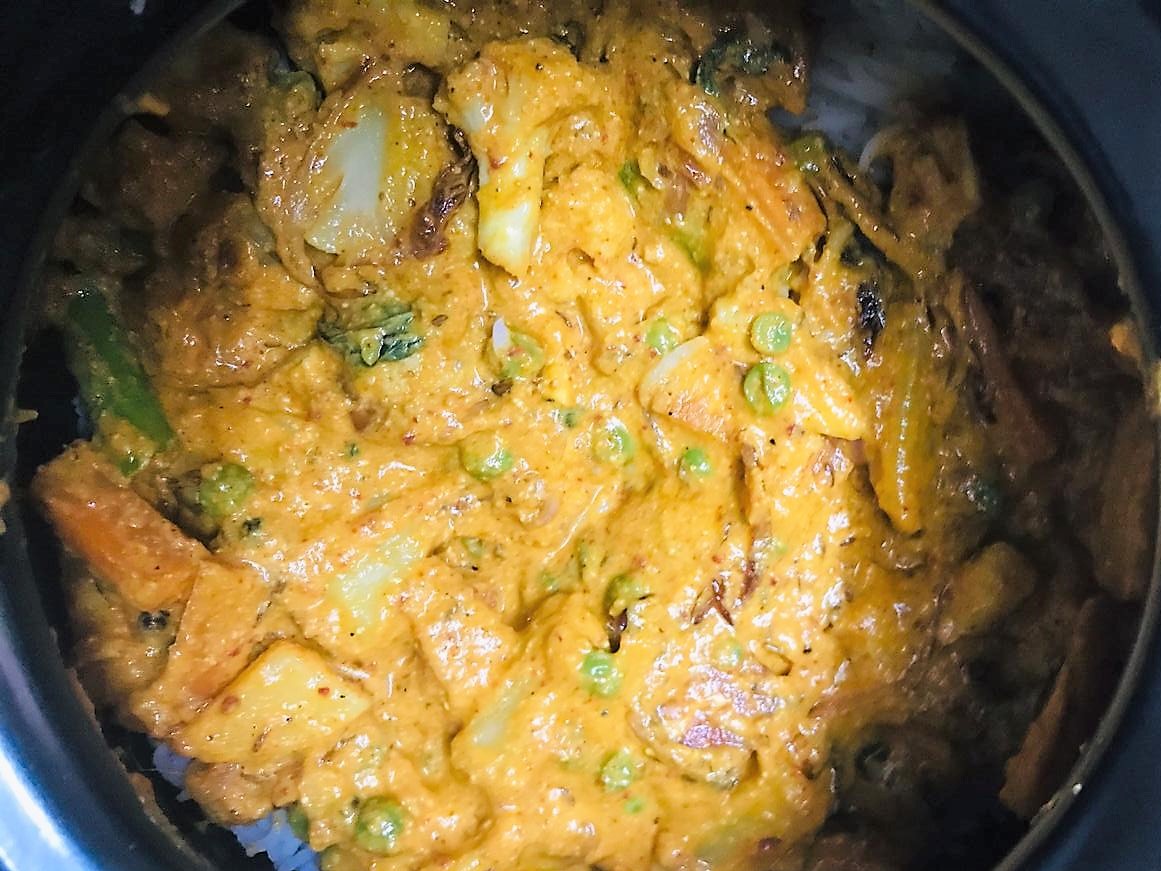
Boil the vegetables for 2 minutes and drain. Add the boiled vegetables, sliced ginger and green chillie and sauté for a minute.
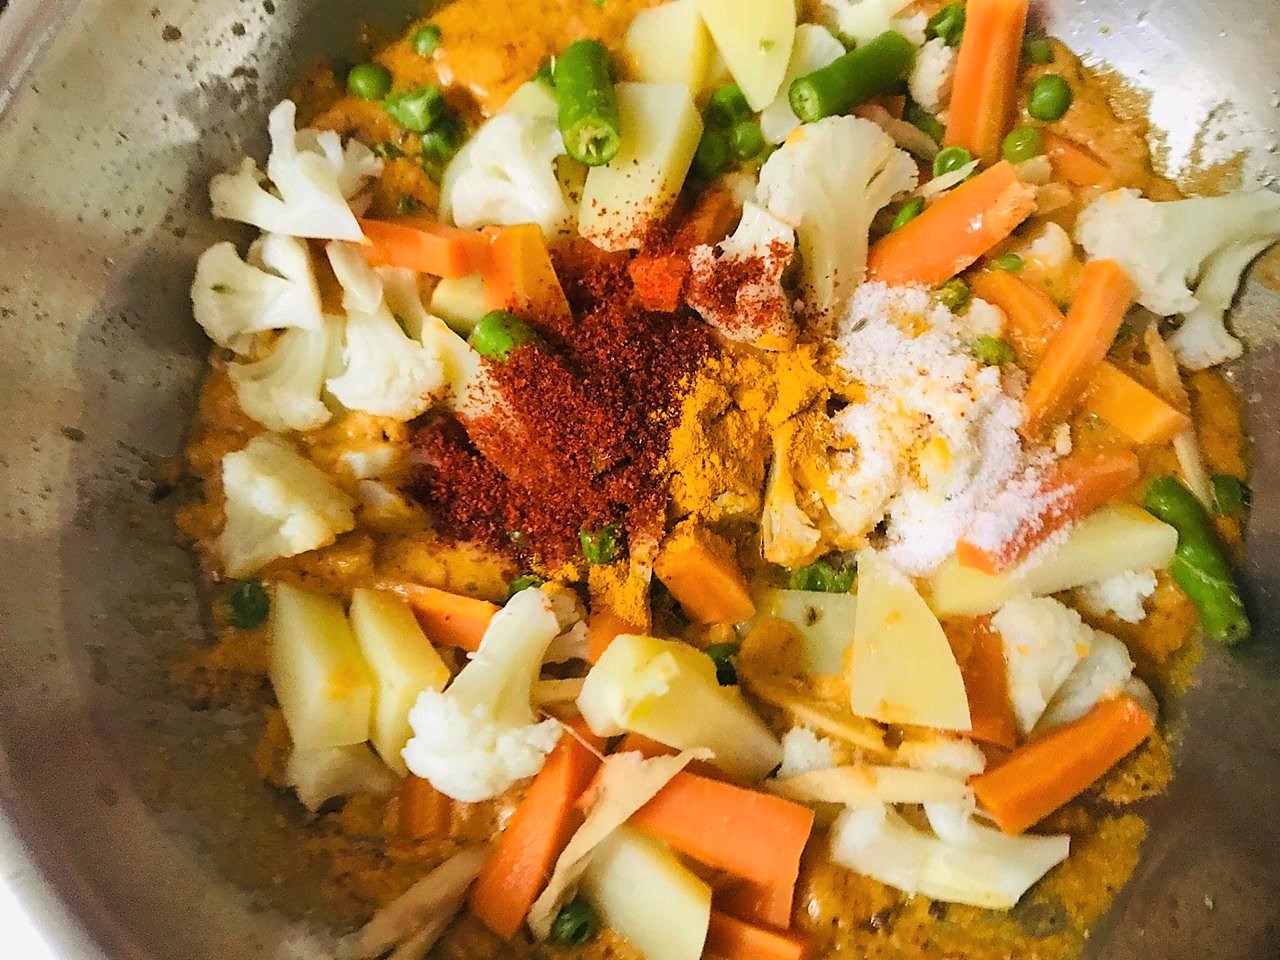
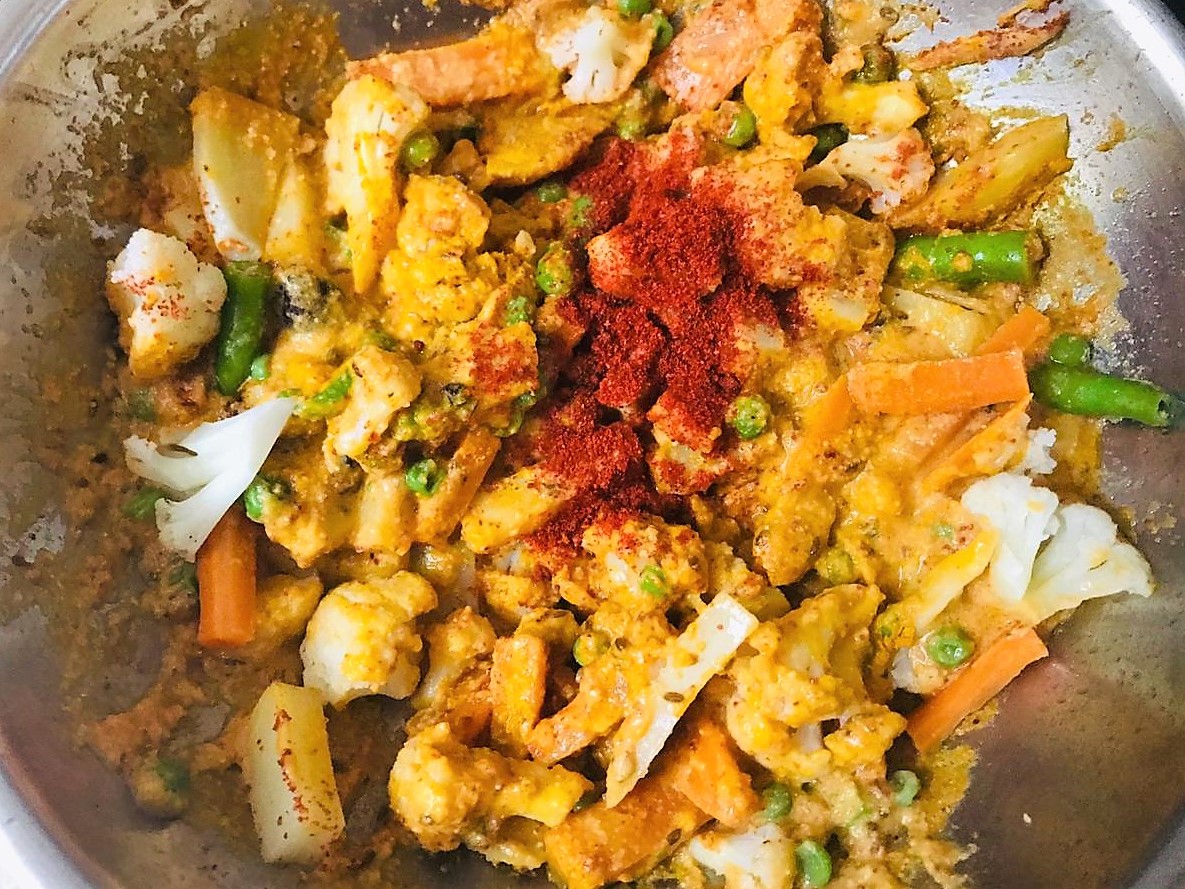
Add the red chilli powder, Kashmiri red chilli powder, turmeric powder, and salt and give a good mix. Turn the heat off.
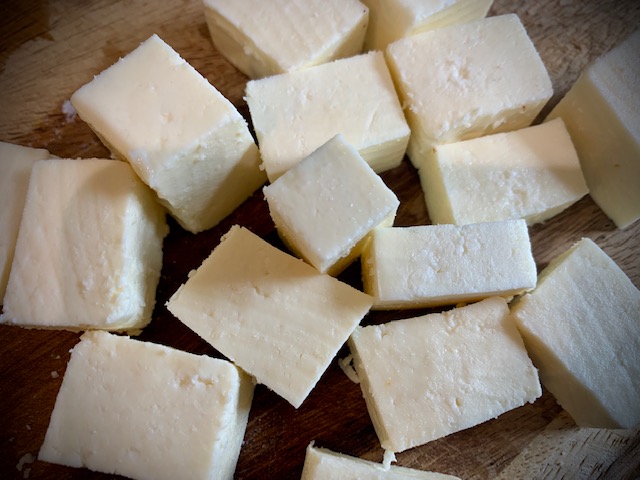
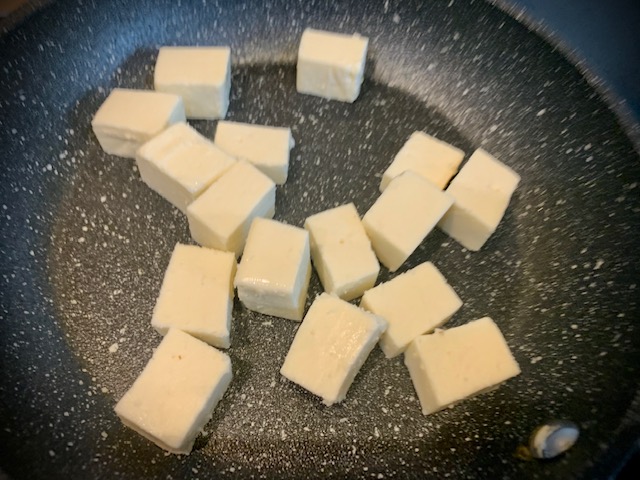
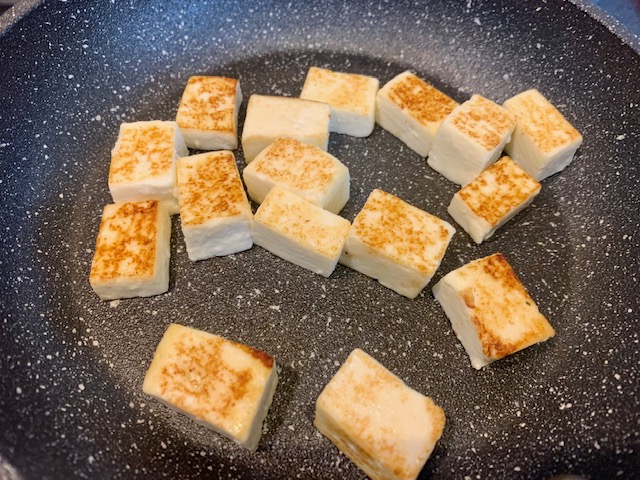
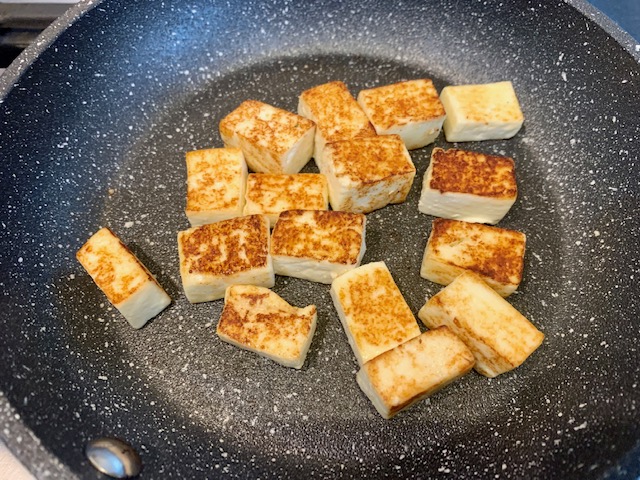
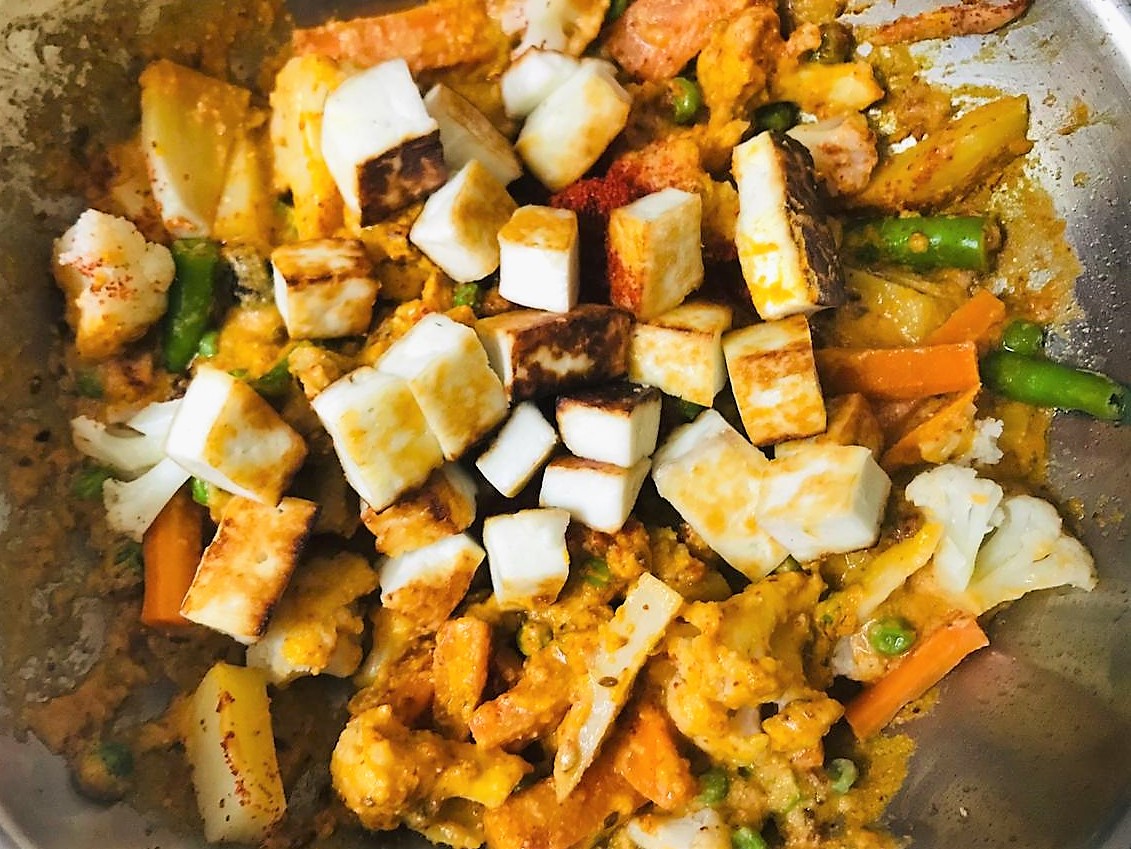
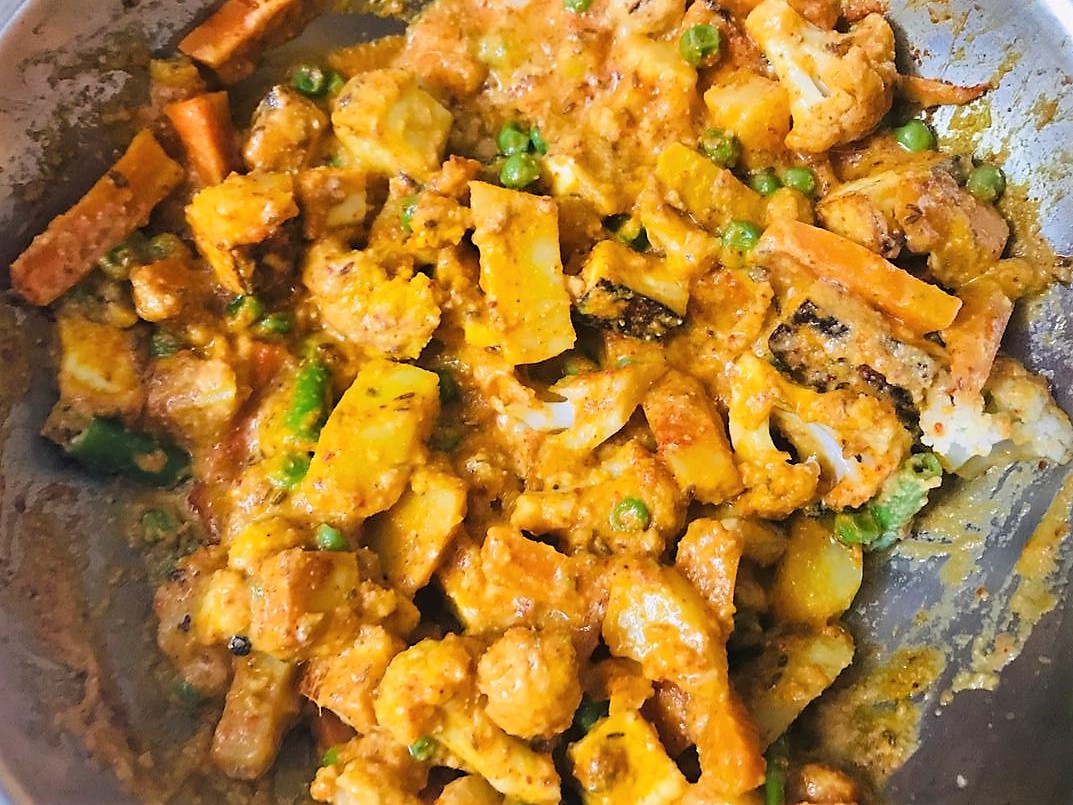
Sauté the diced paneer in a nonstick pan until golden brown. Next, add the paneer to the vegetables.
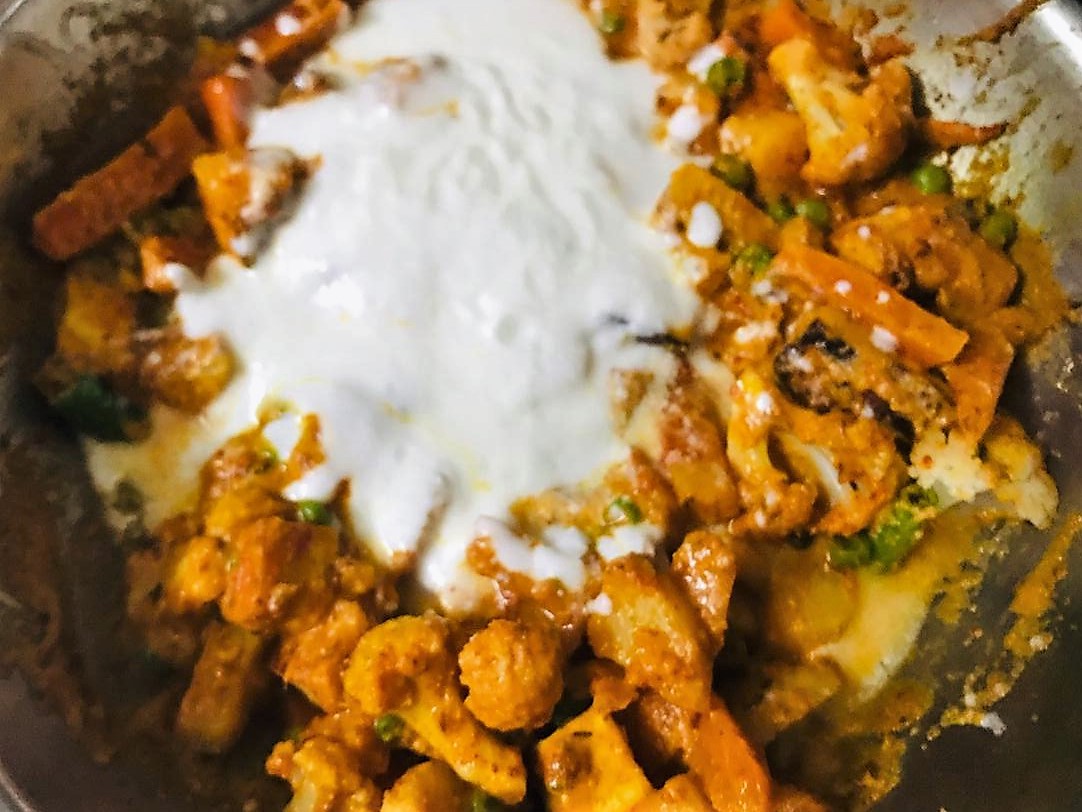
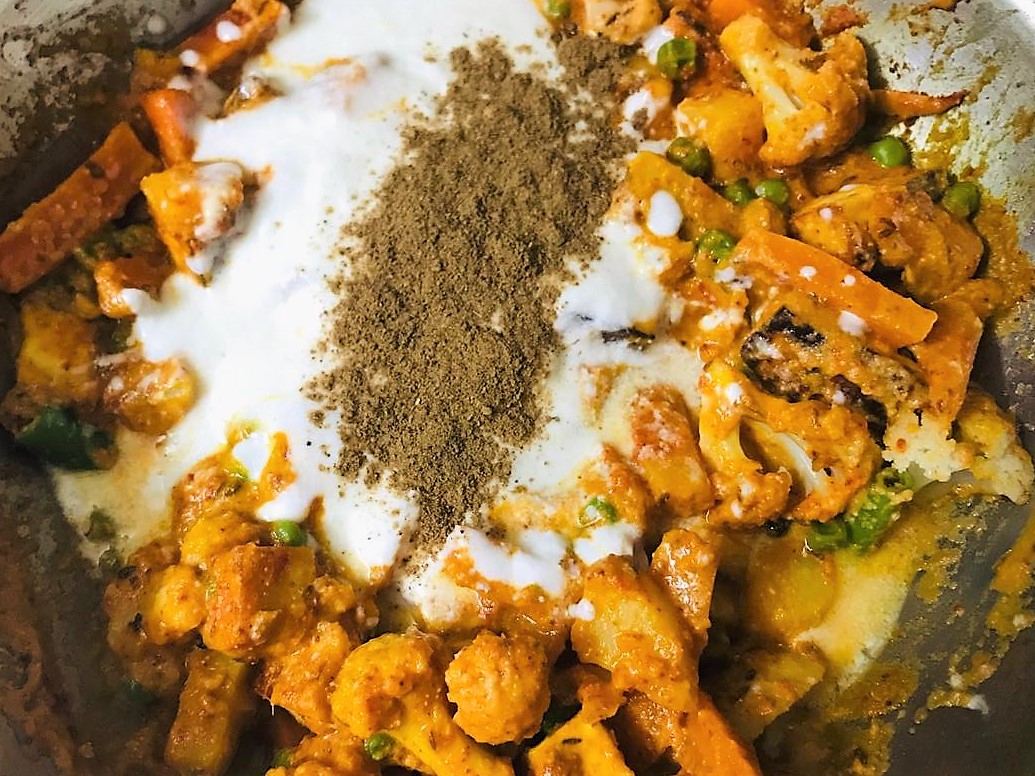
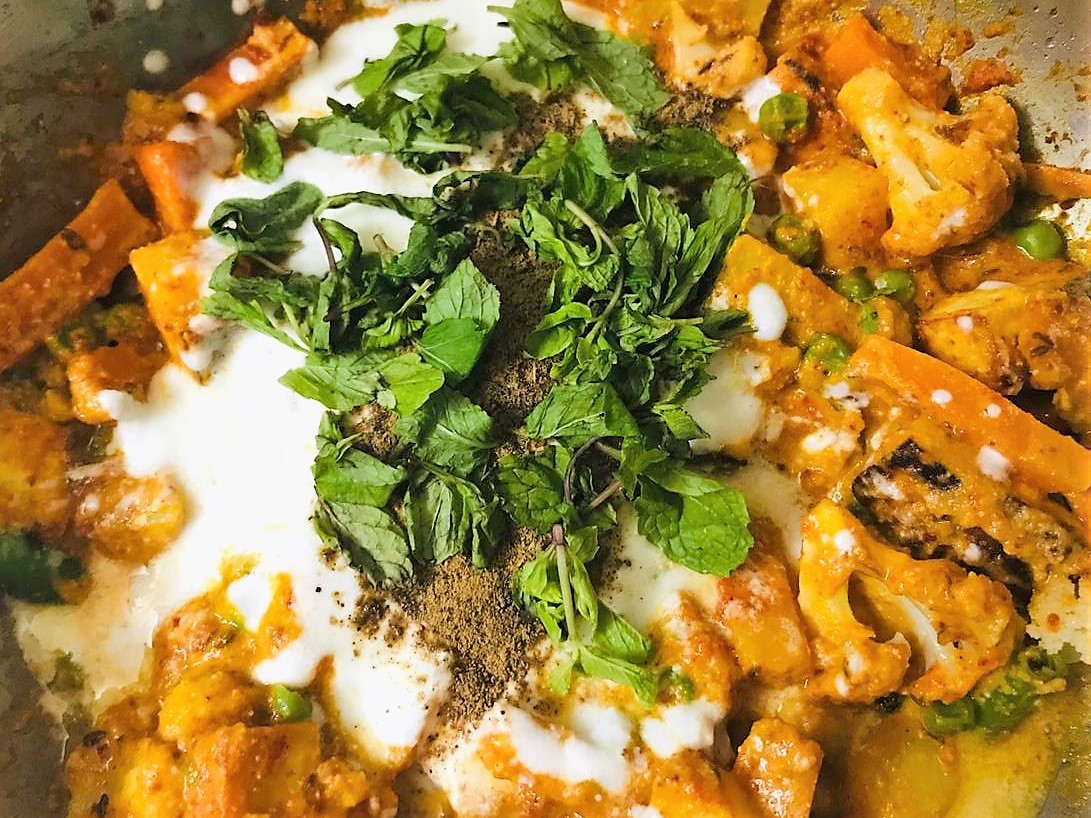
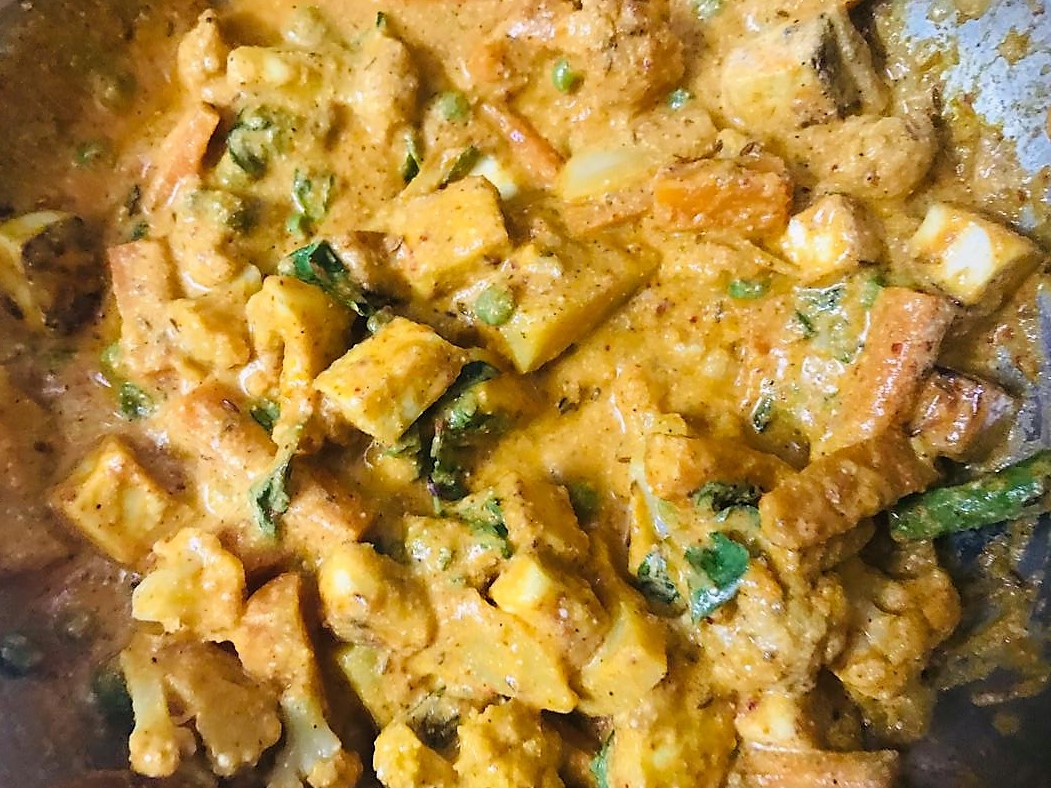
Next, add yogurt, 1/2 teaspoon garam masala, and 10 -12 fresh mint leaves and give a good mix.
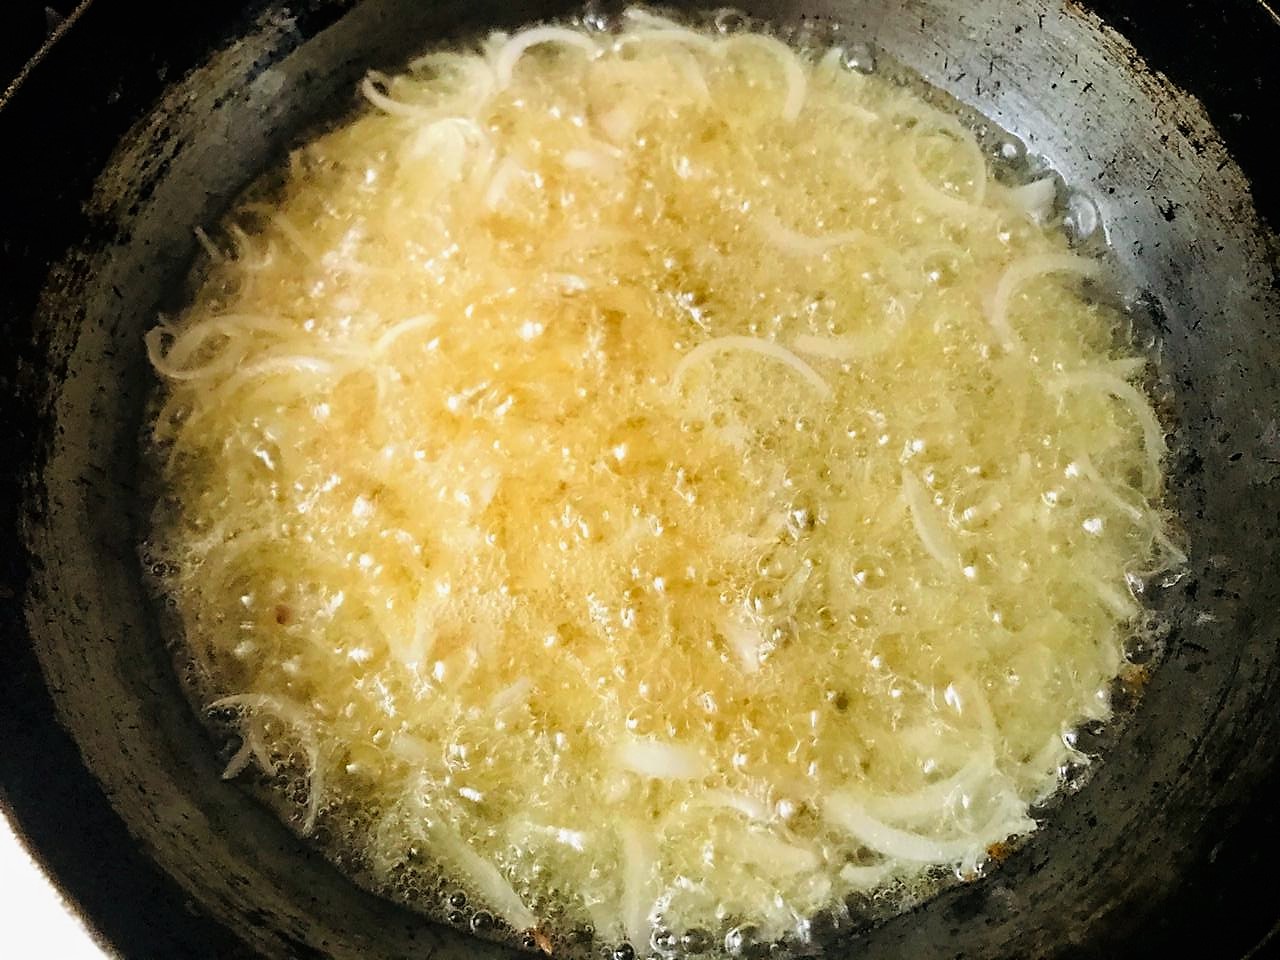
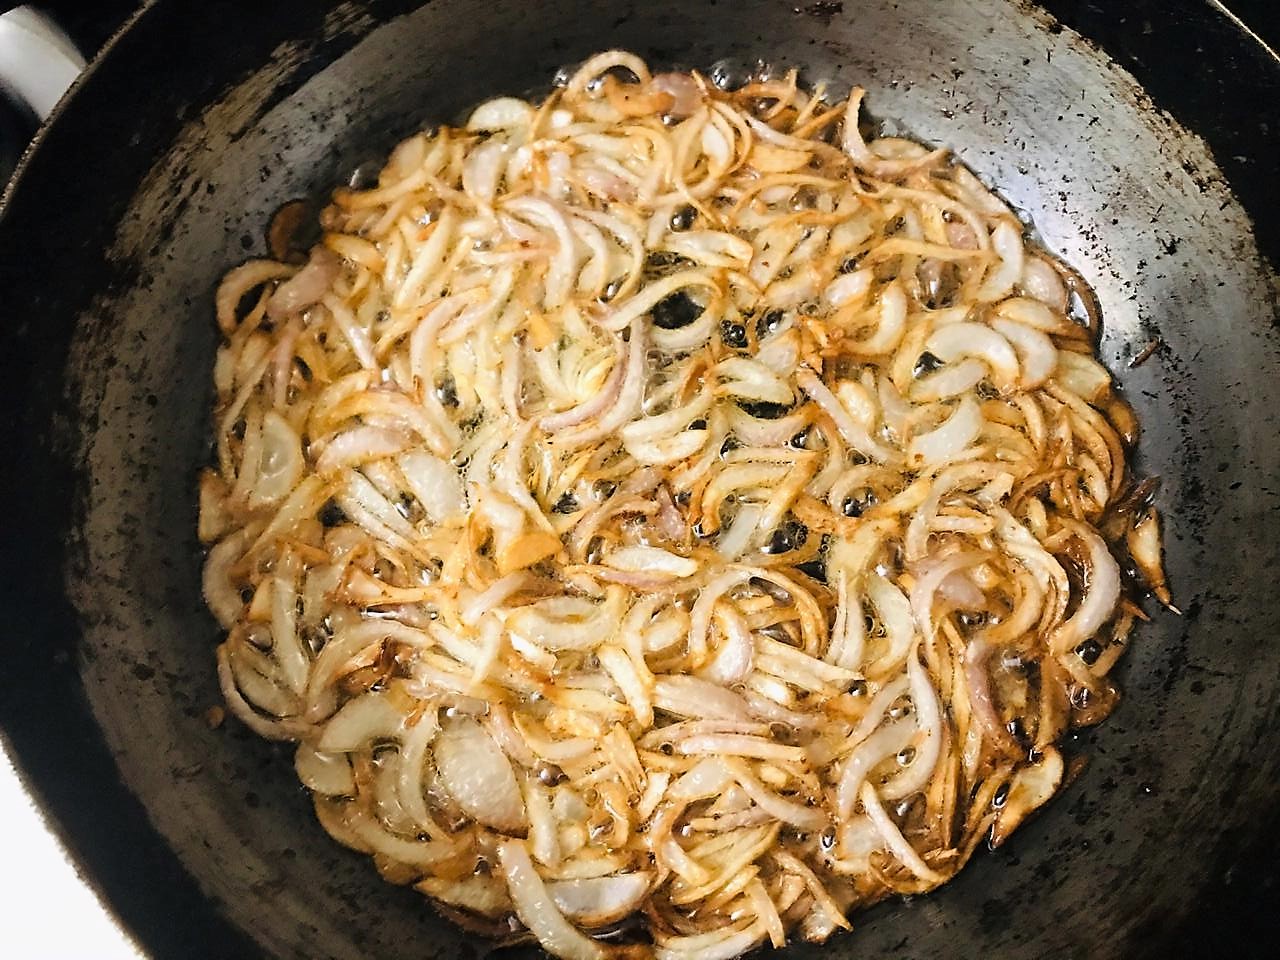

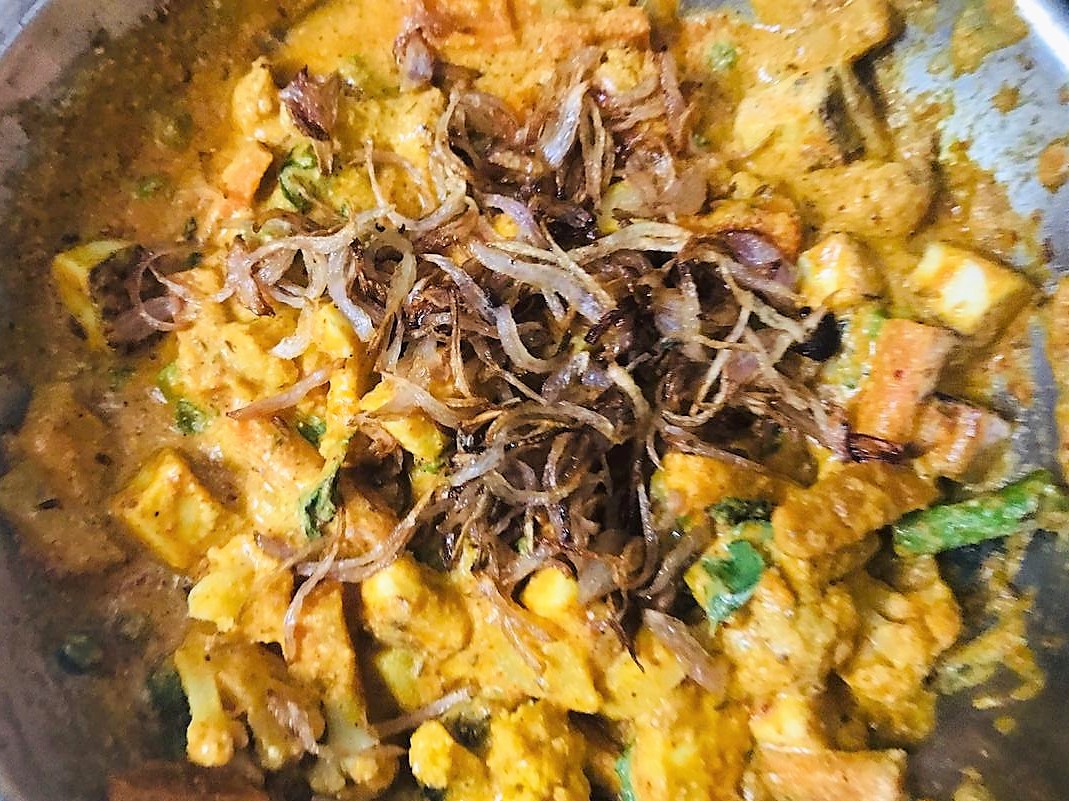
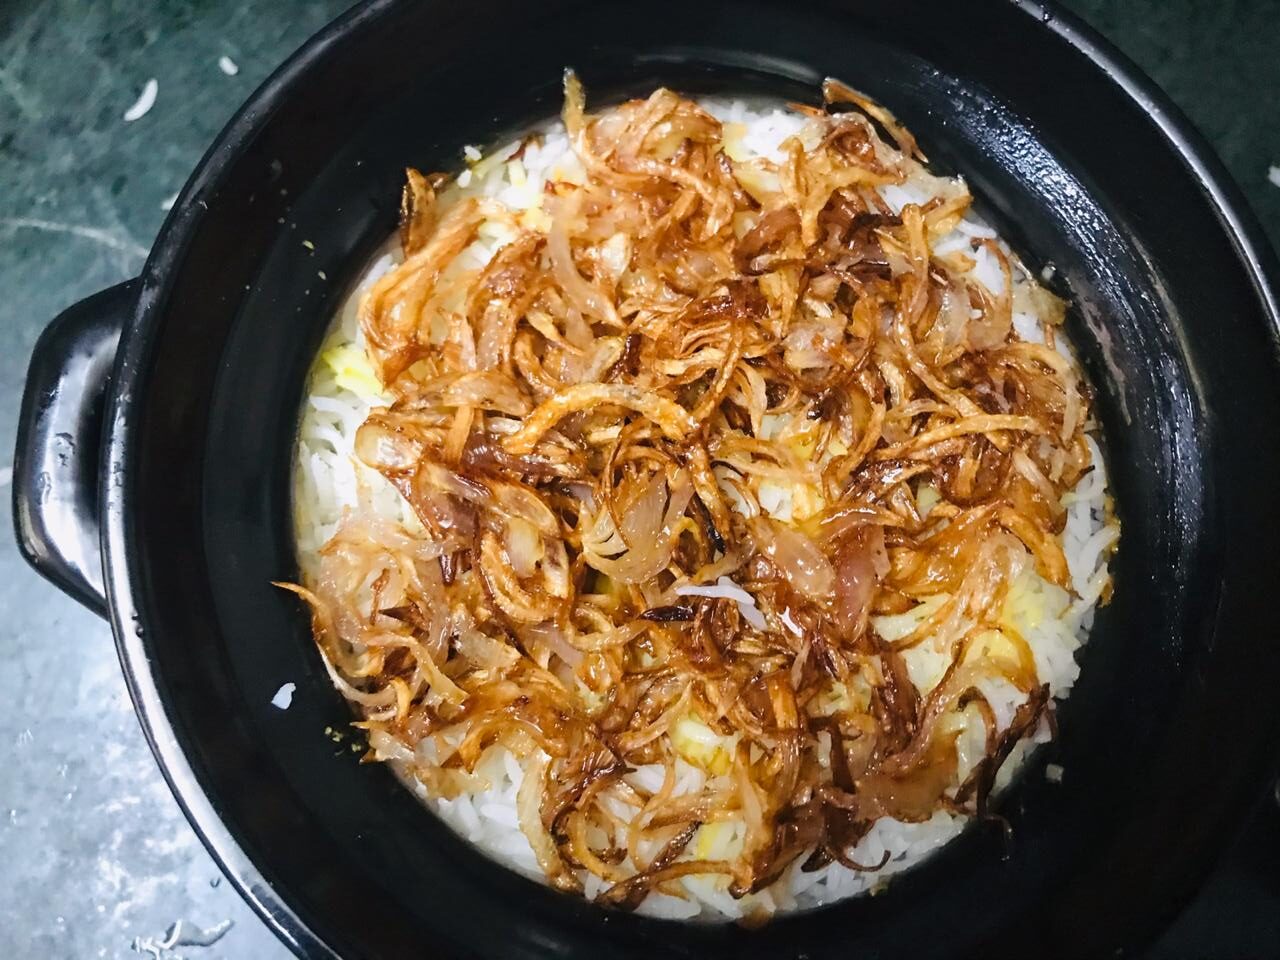
Deep fry thinly sliced onions till golden brown in oil and remove on an absorbent paper. Add half of the browned onions to the vegetable mixture and mix well.
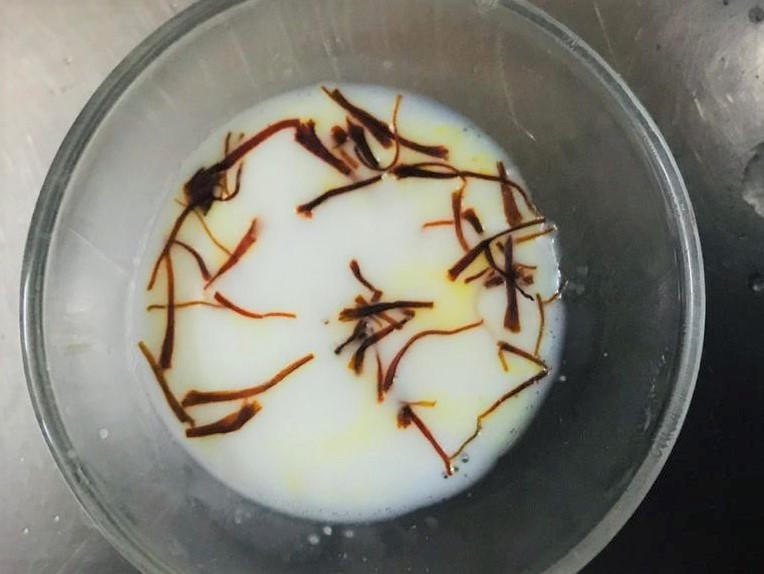
Also, dissolve the saffron in 2-3 teaspoon of warm milk and keep aside.
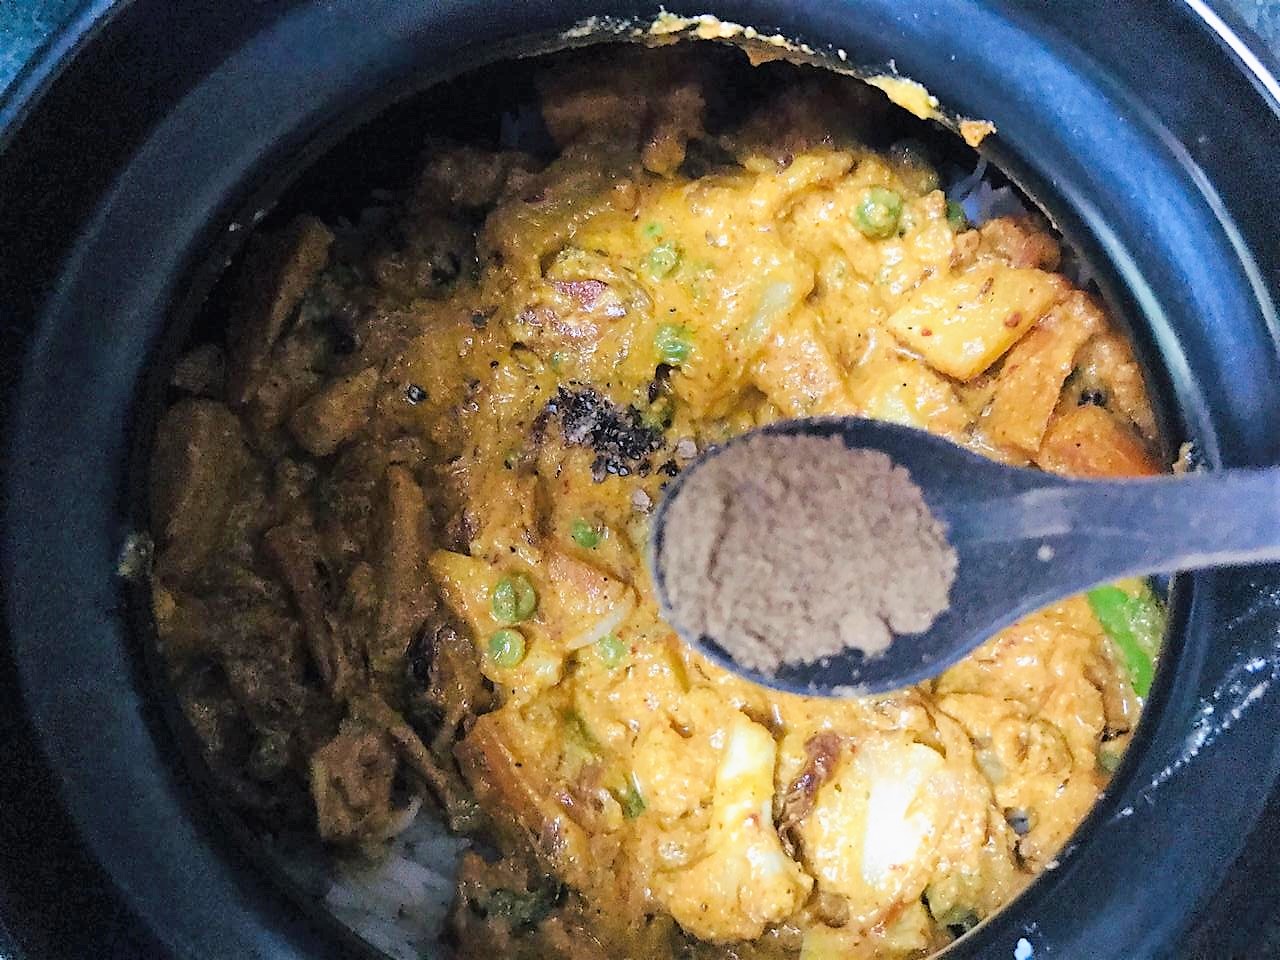
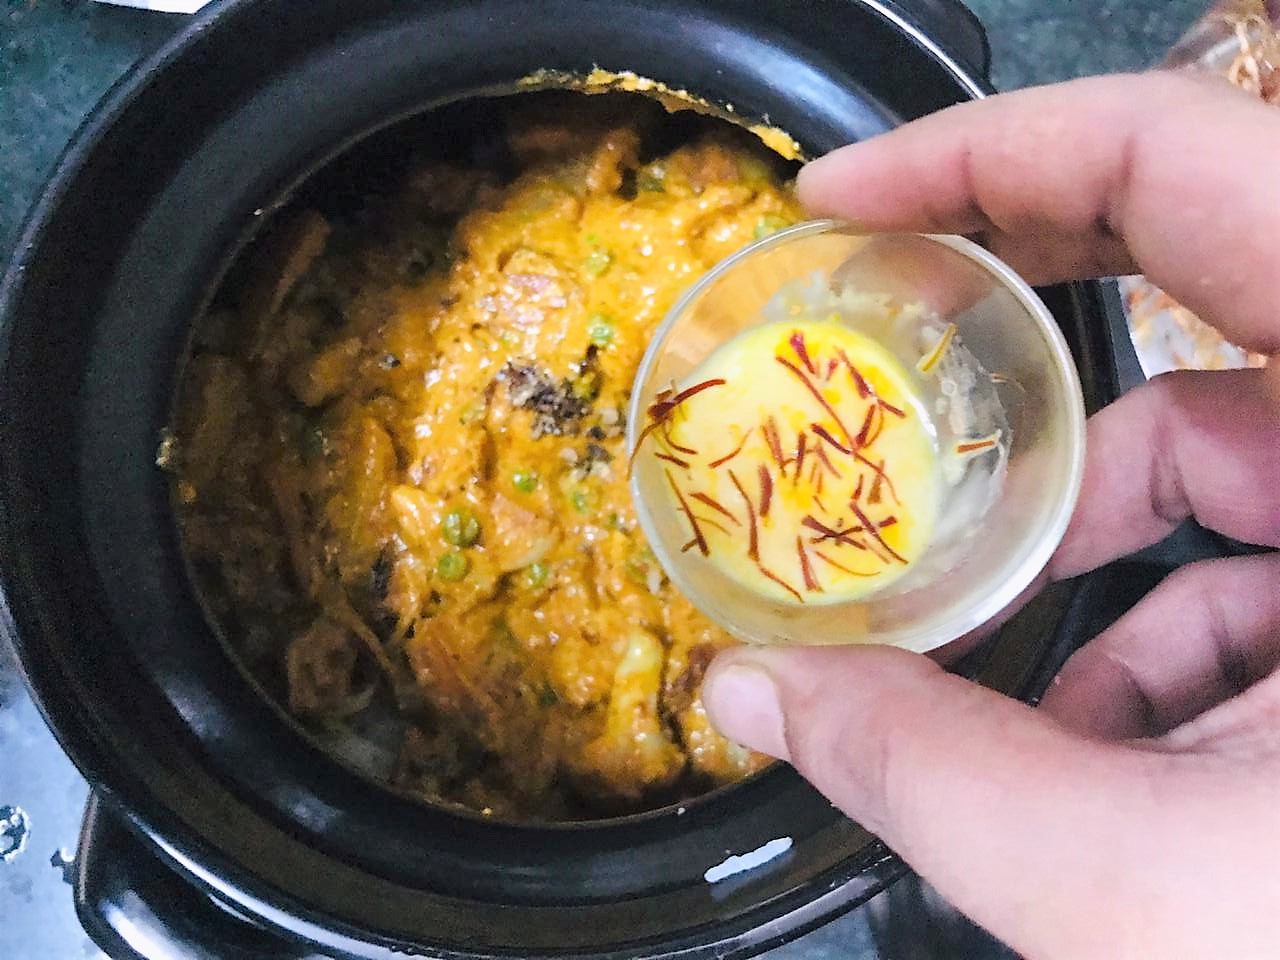

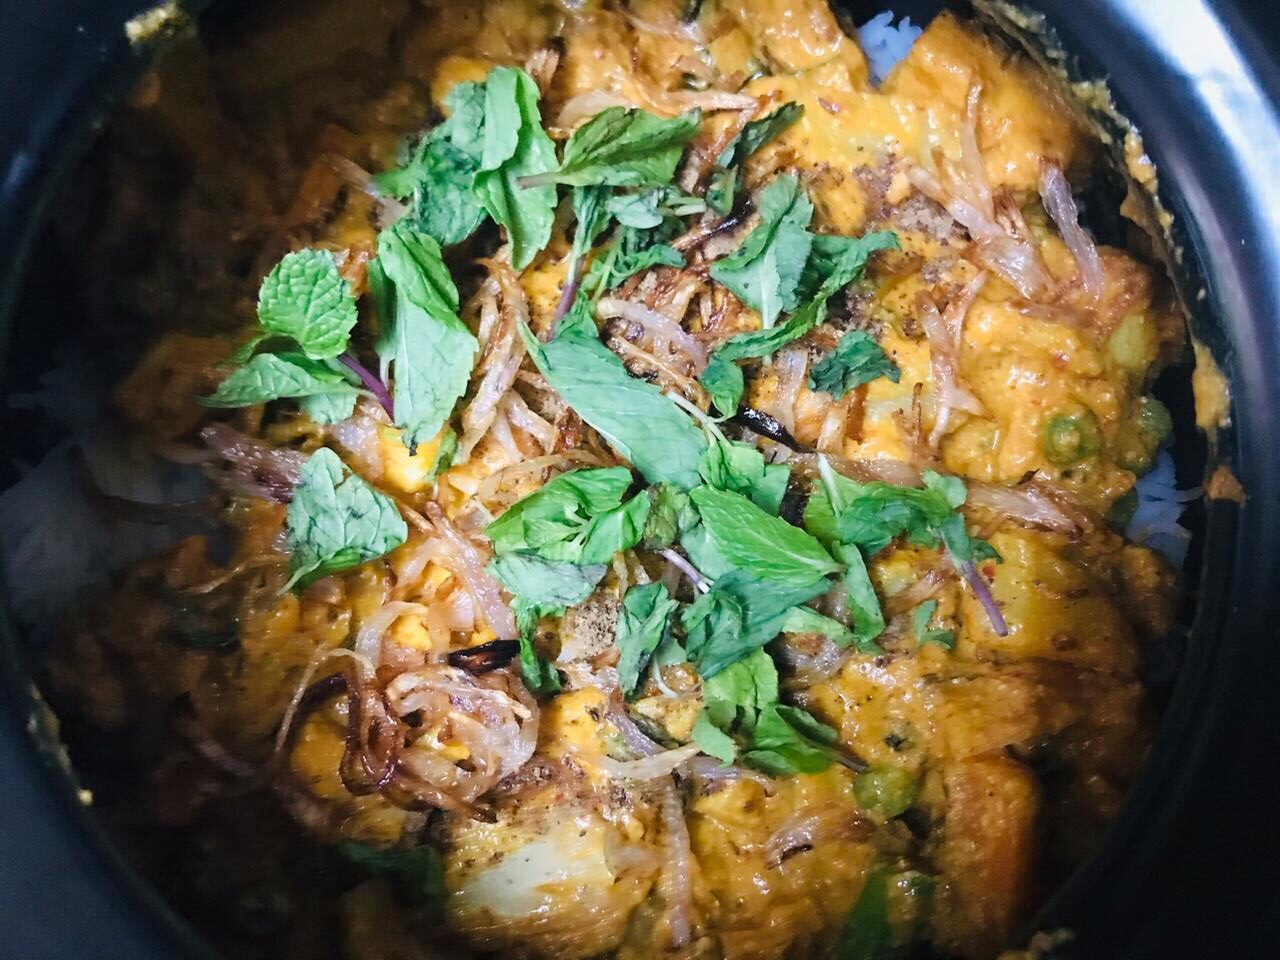
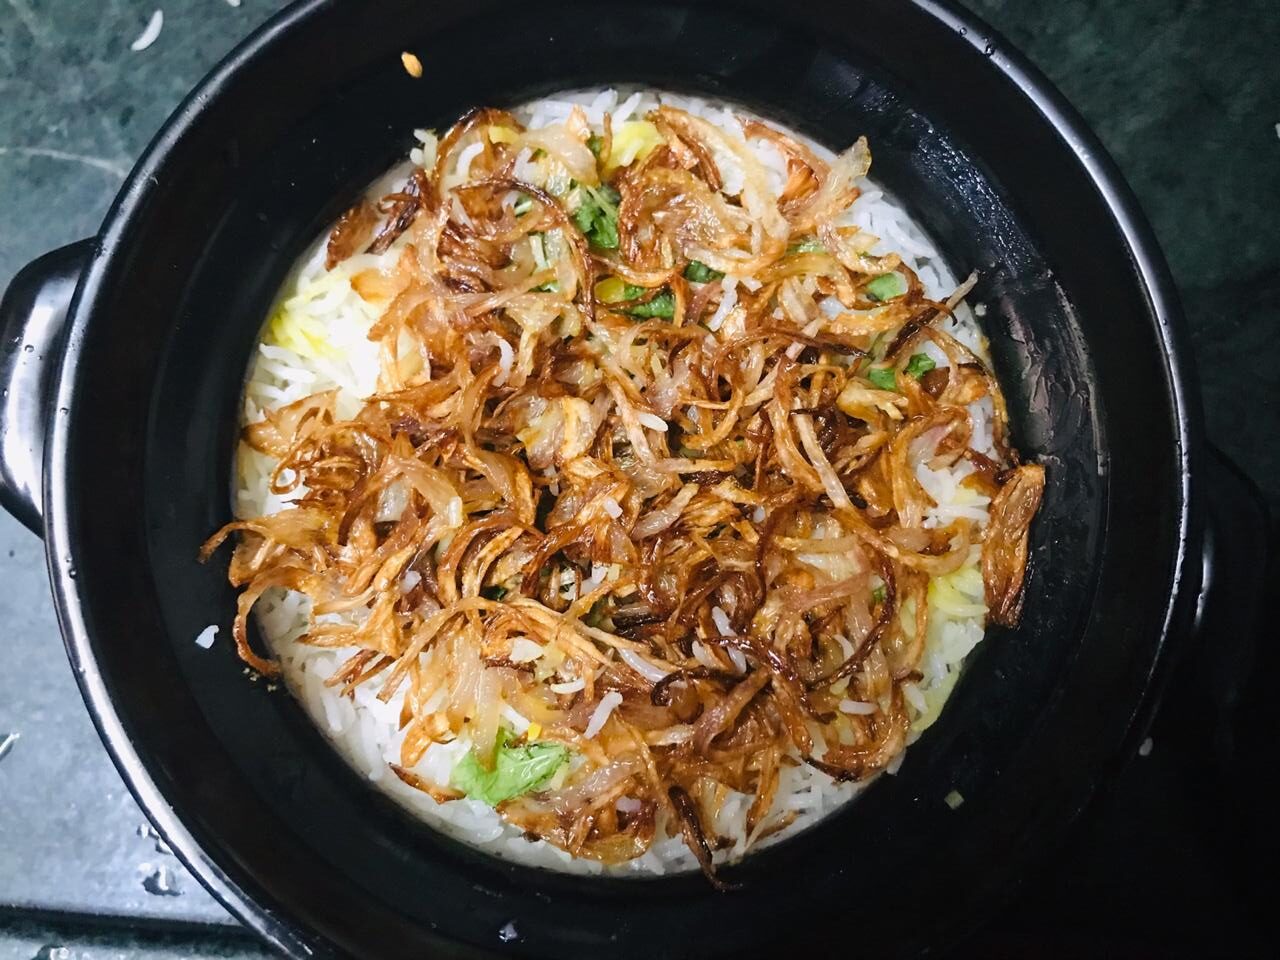
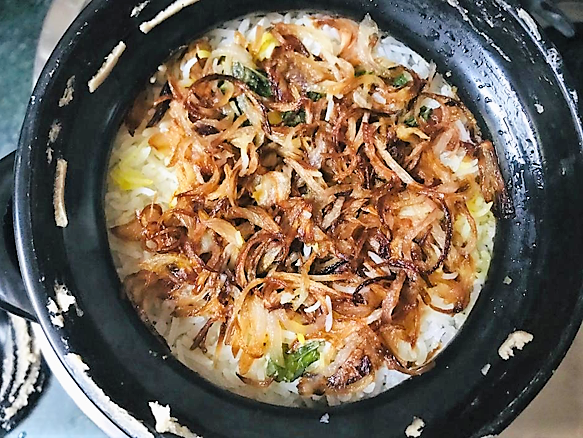
In a handi or a thick bottomed pan heat 2 tablespoons ghee and add a layer of half of the rice. Top it with the vegetables and sprinkle the cardamom powder, garam masala, half of the saffron milk, half of the fried onions and a few mint leaves on top.
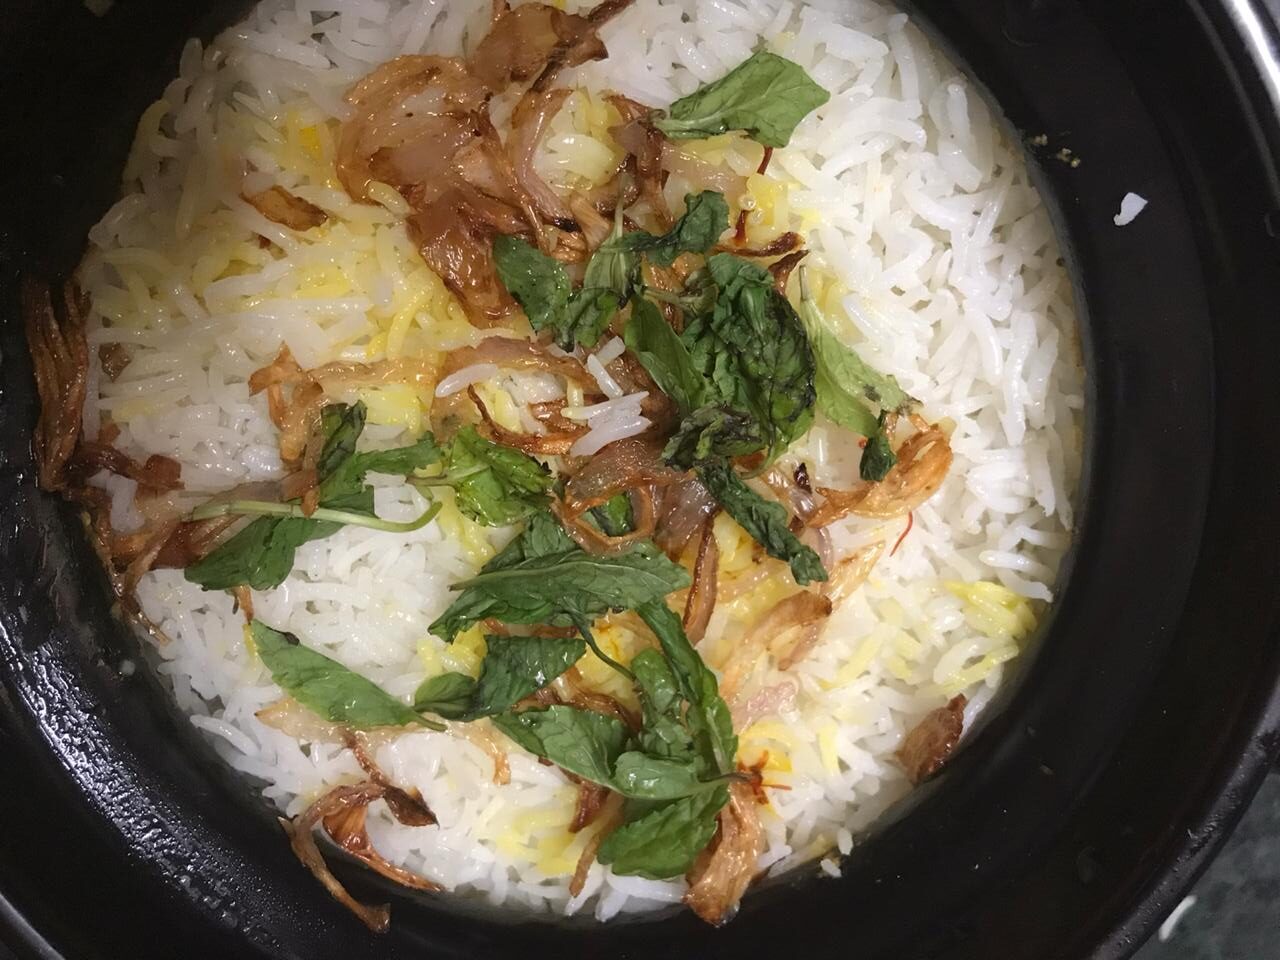
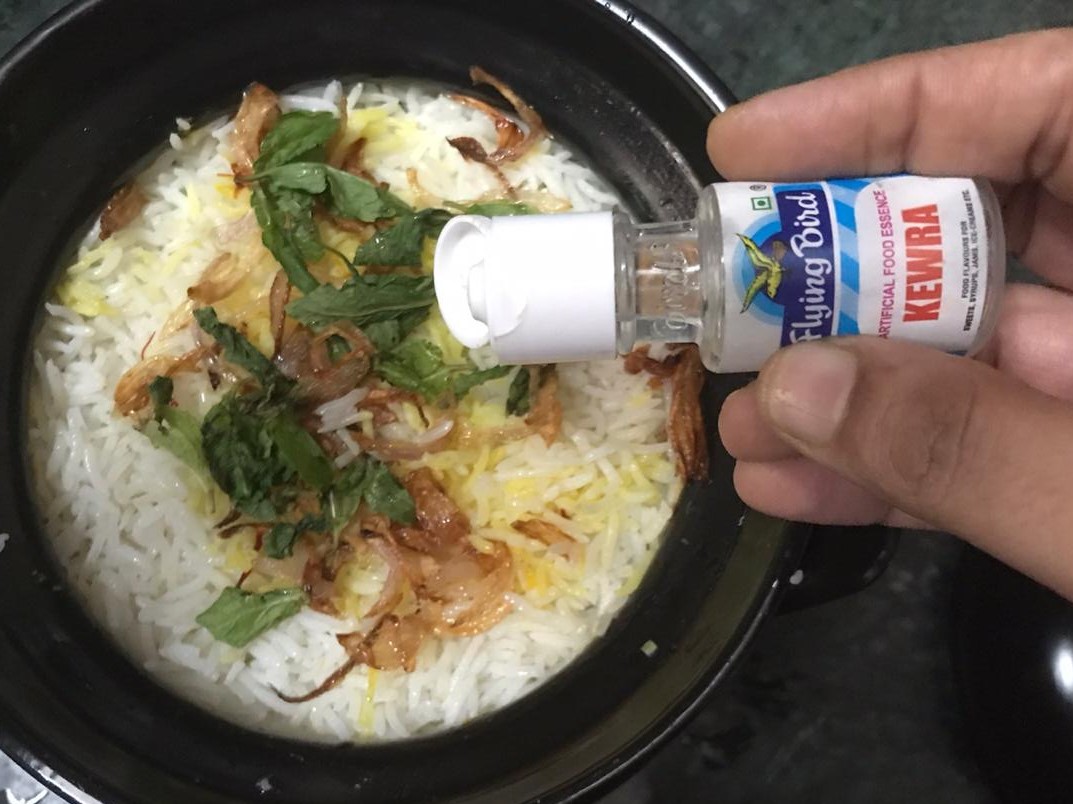
Layer the remaining rice over it and add the remaining saffron milk, fried onions, mint leaves and kewra water.
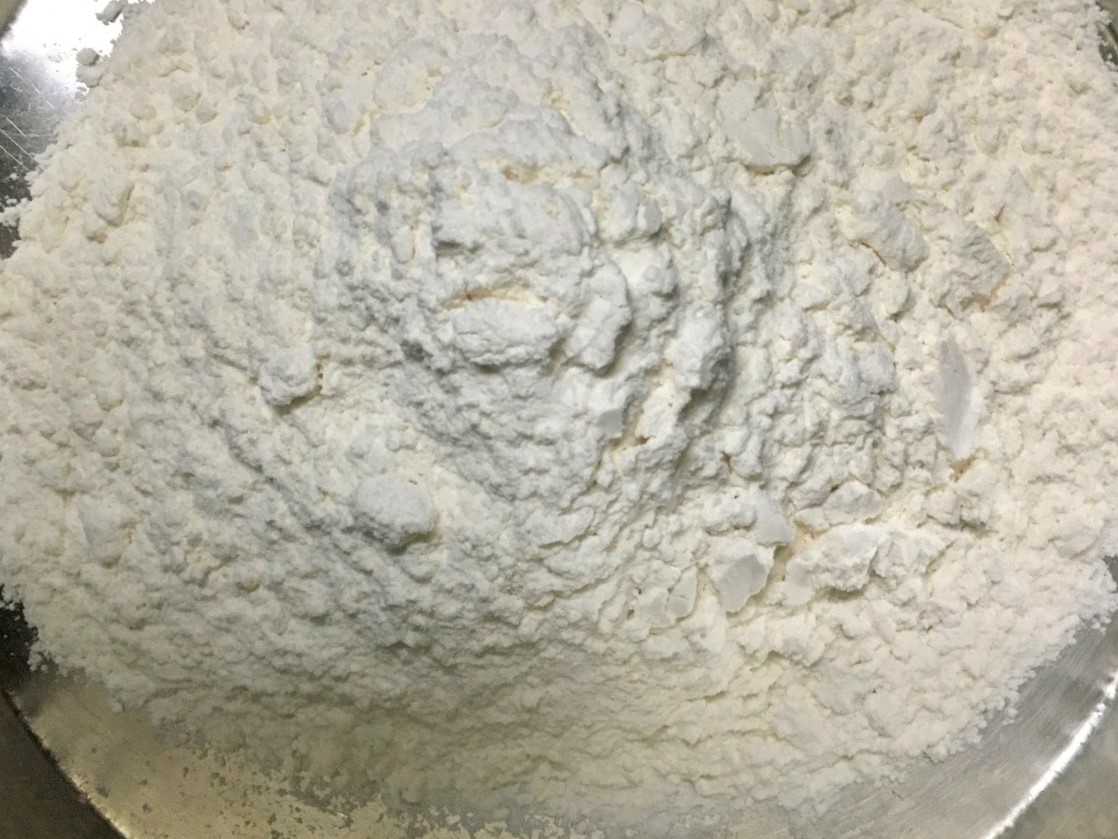
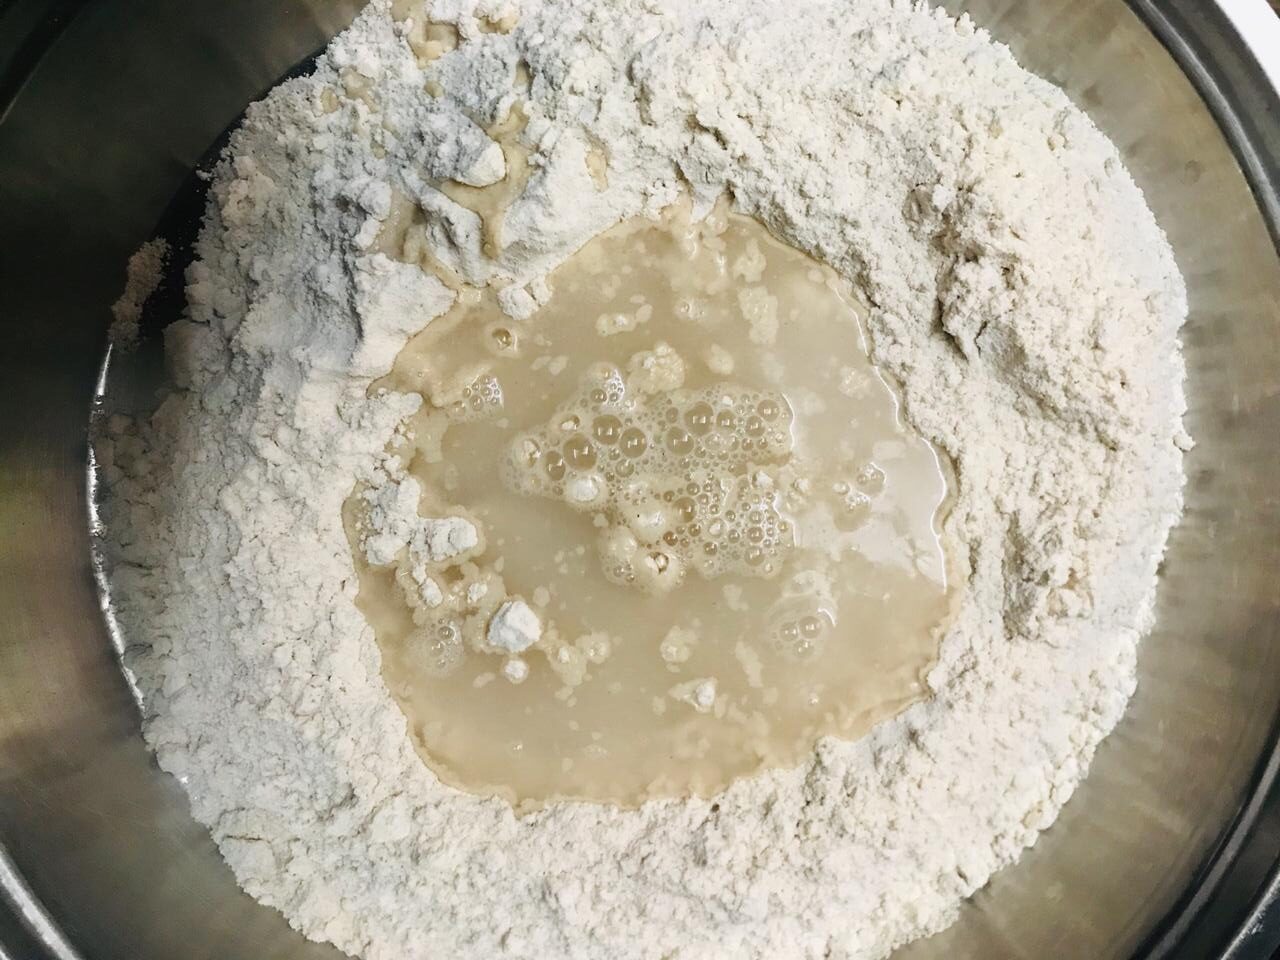
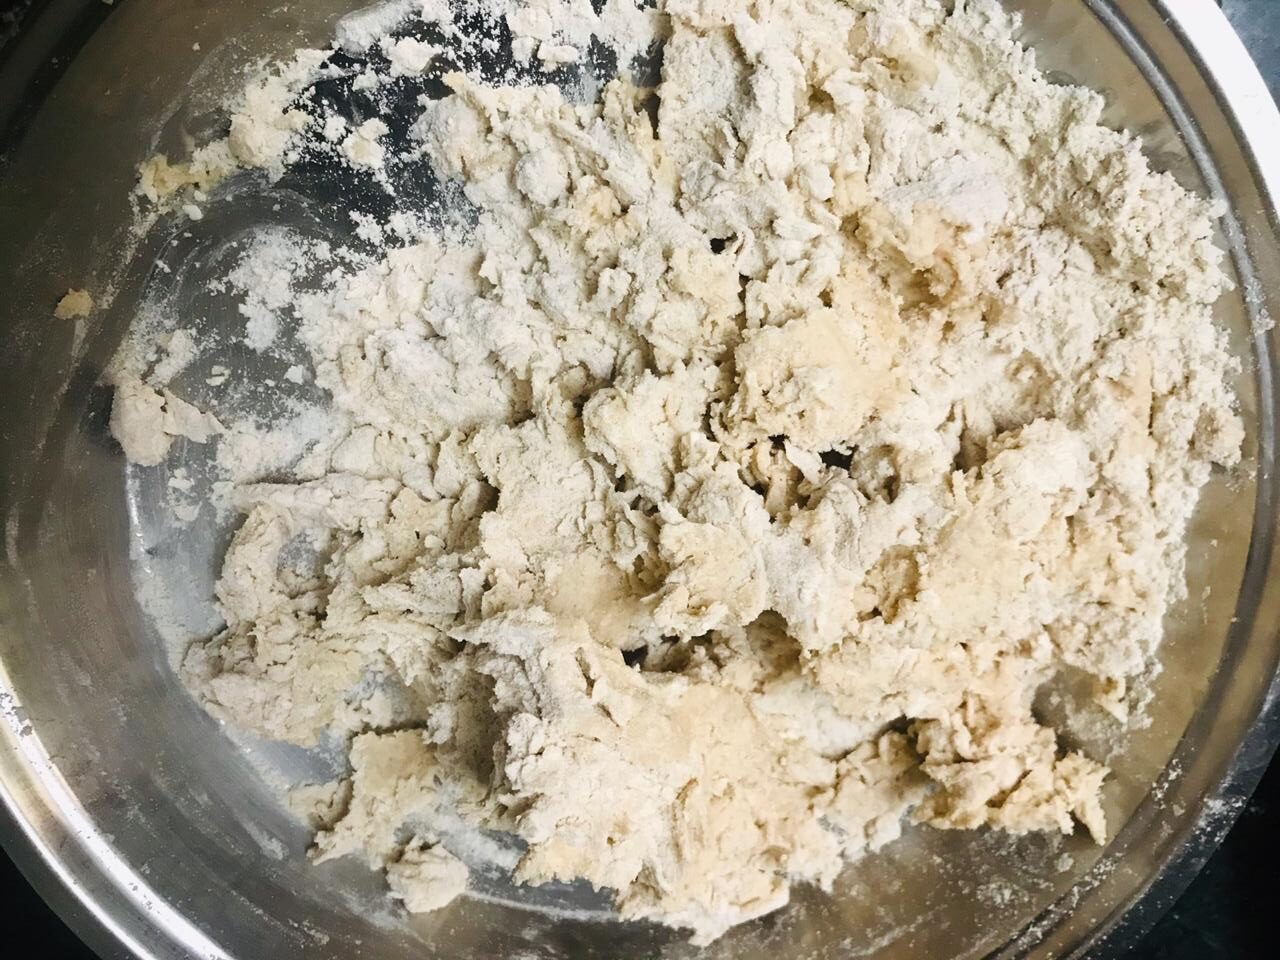
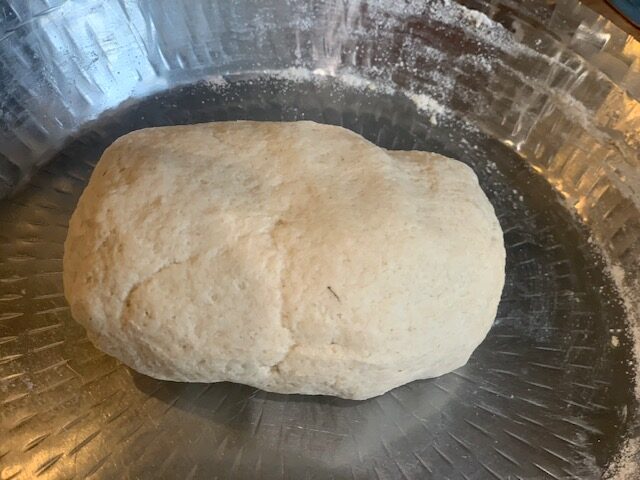
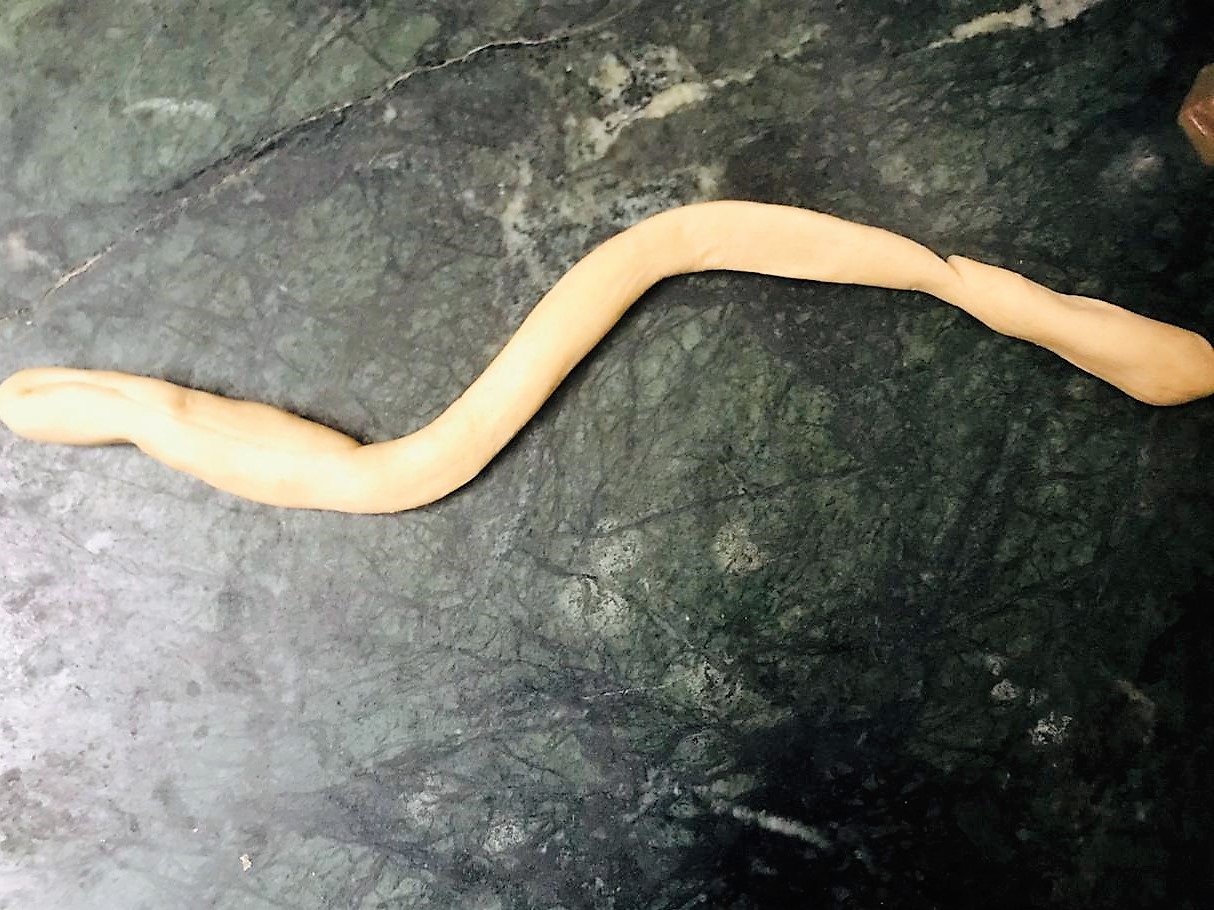
Make a soft dough using the wheat flour.
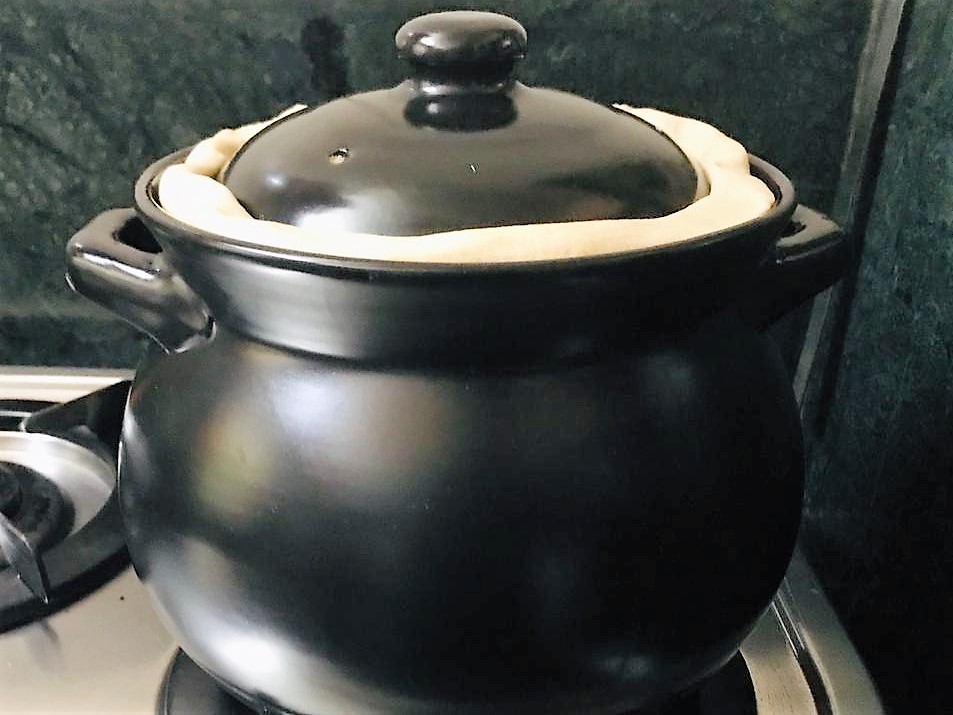
Then cover the handi/pot with a tight-fitting lid and seal the lid using the dough. Cook on a medium heat for around 15 minutes.
Serve hot!