Plain Naan
Plain Naan
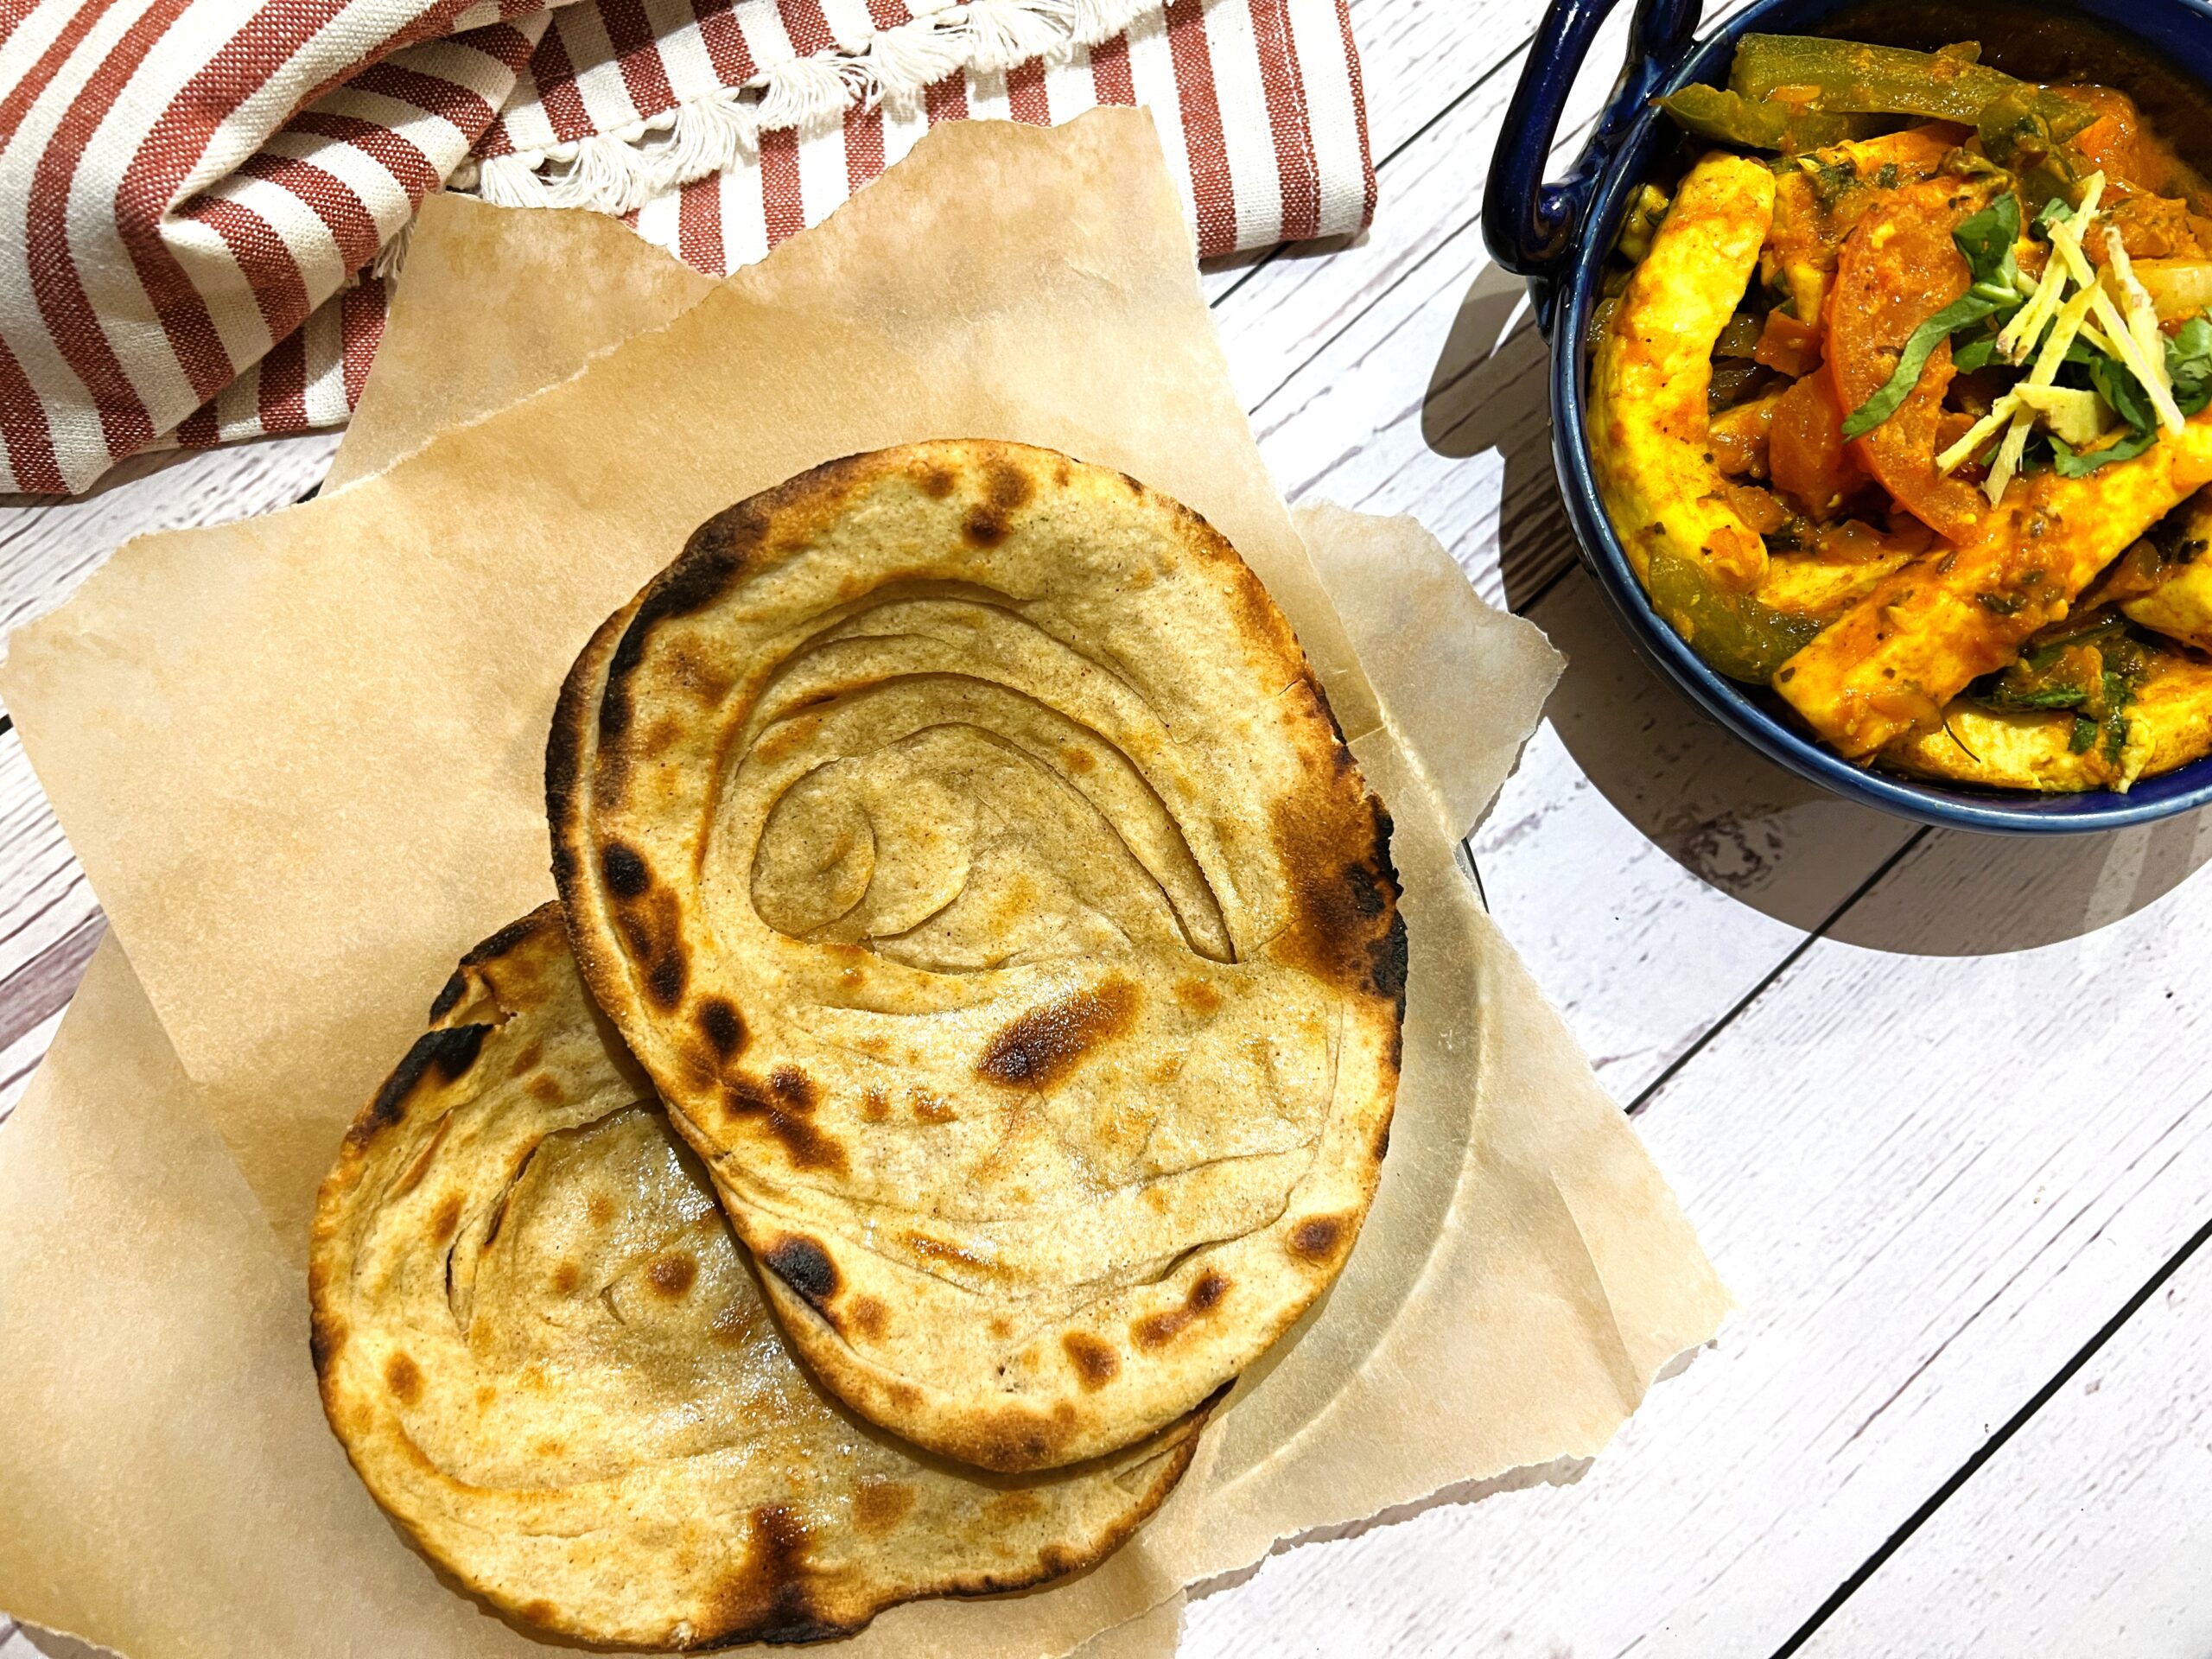
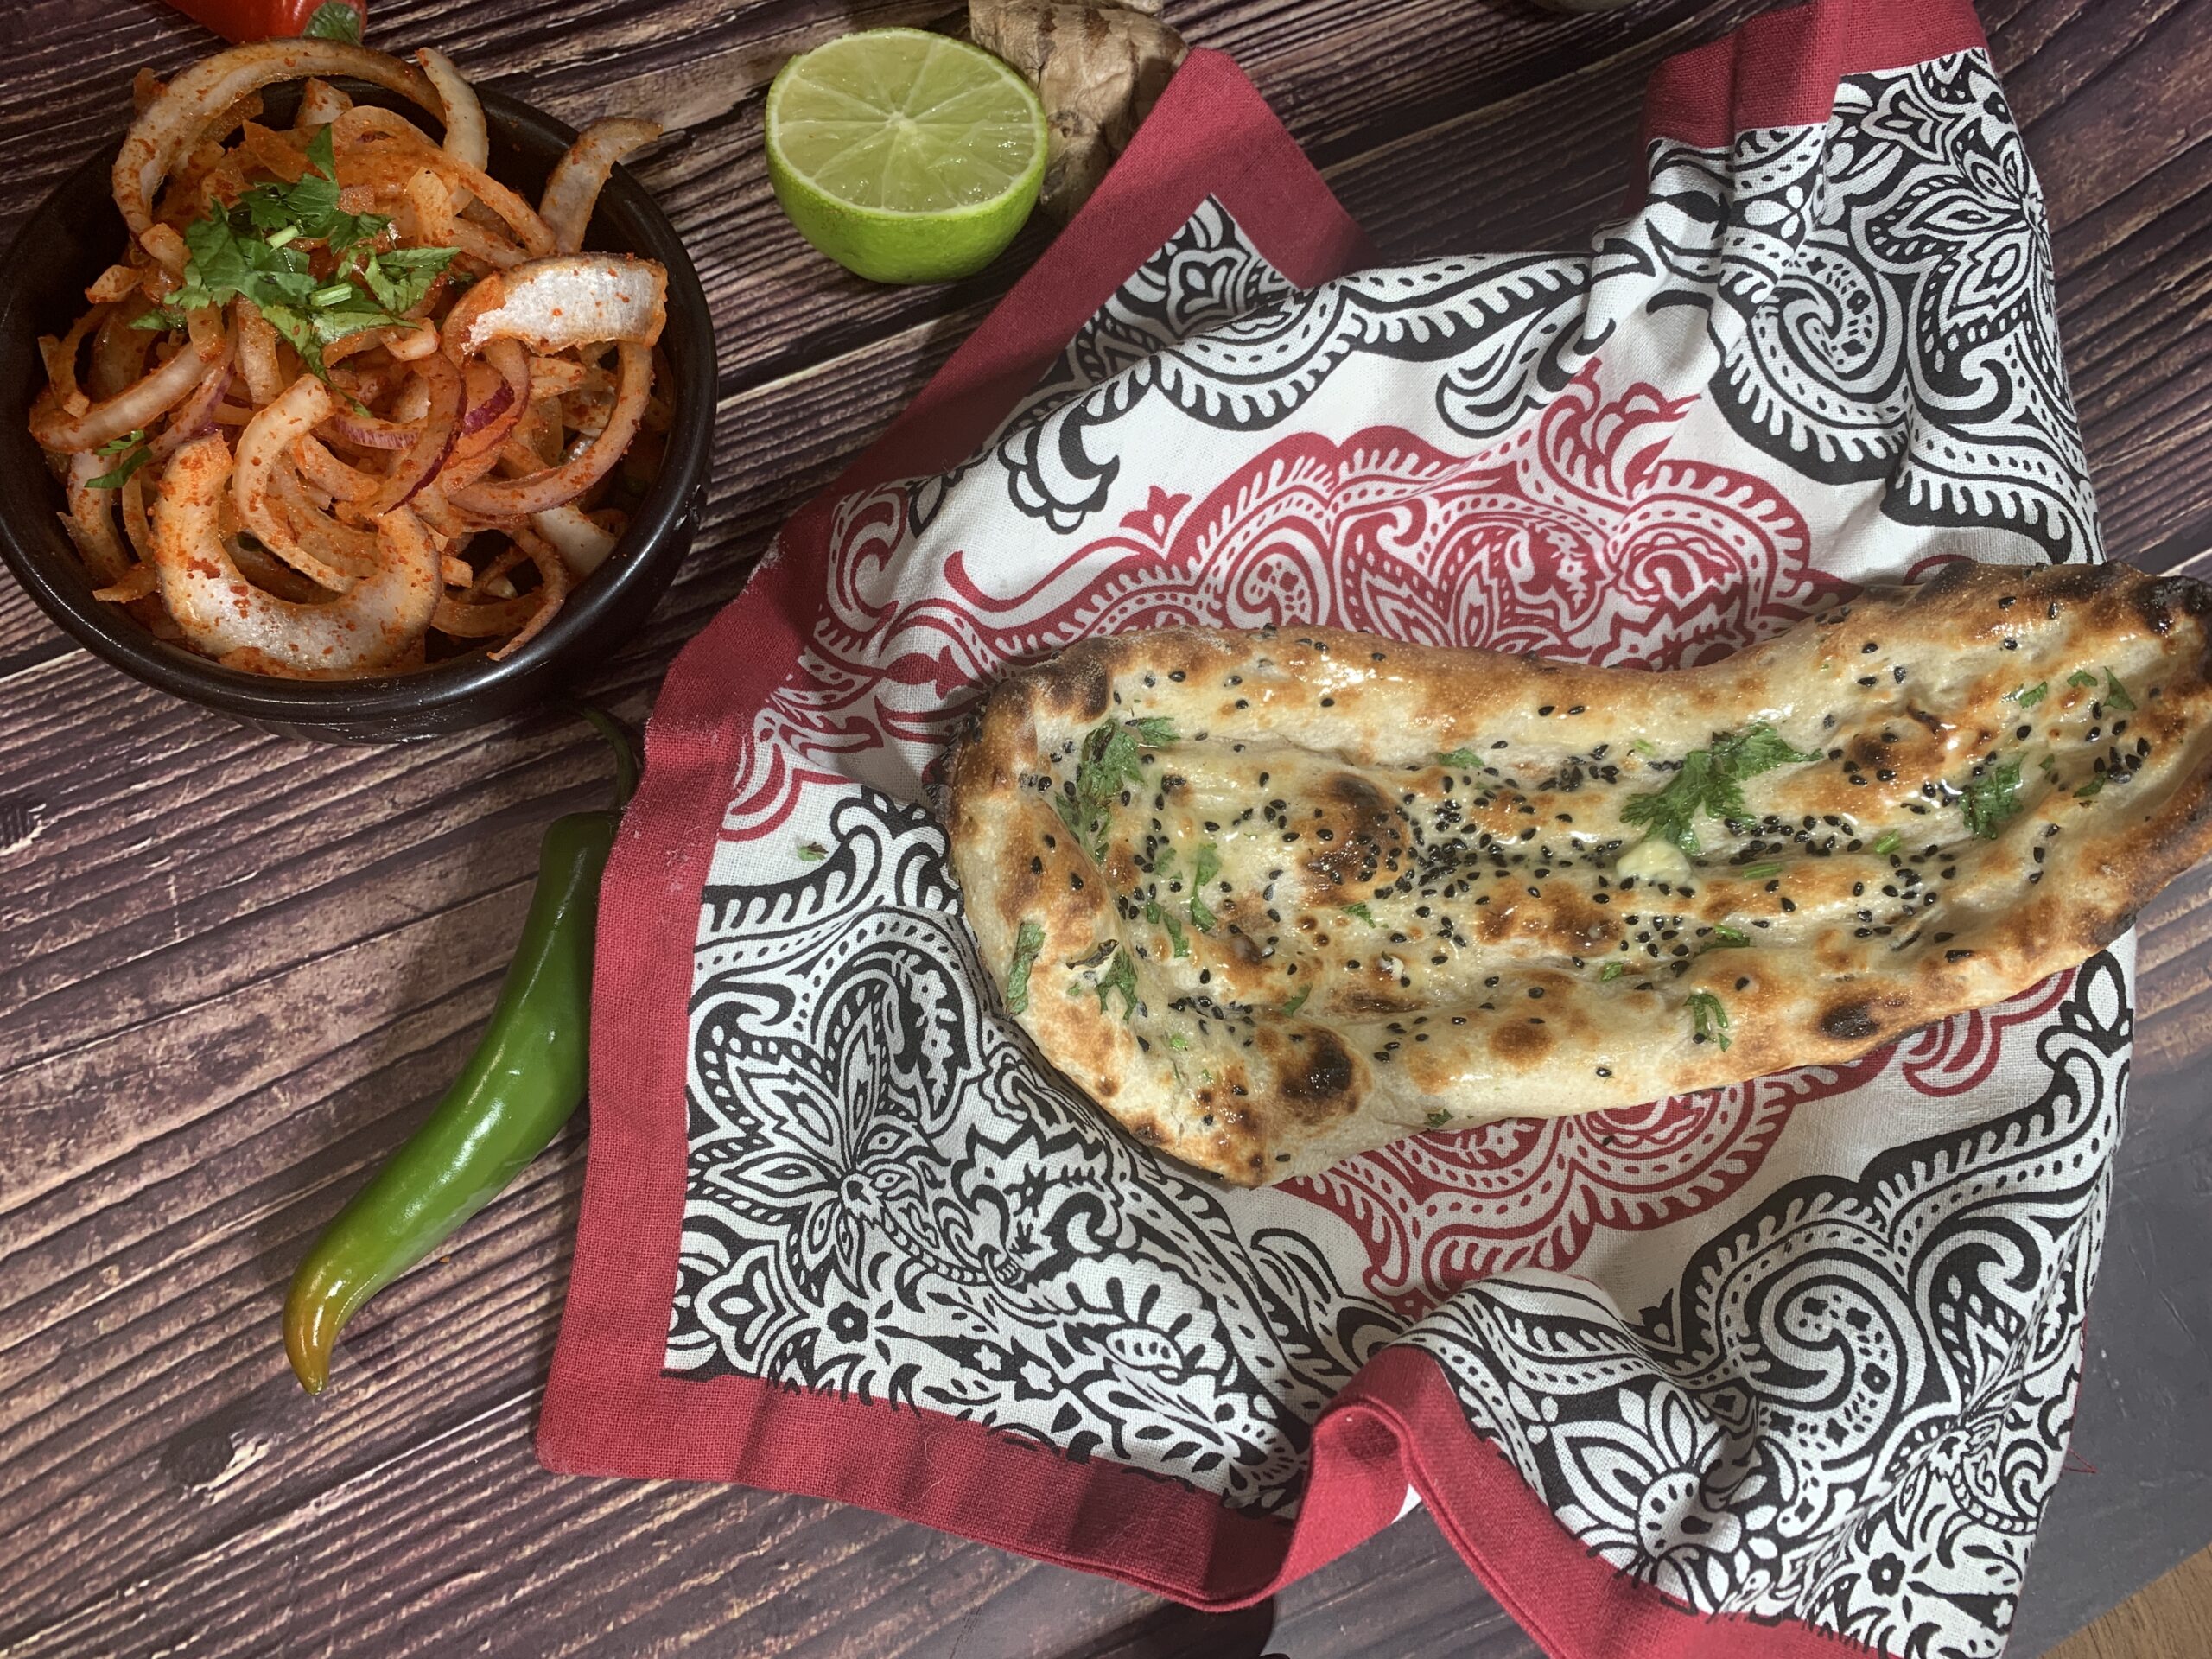
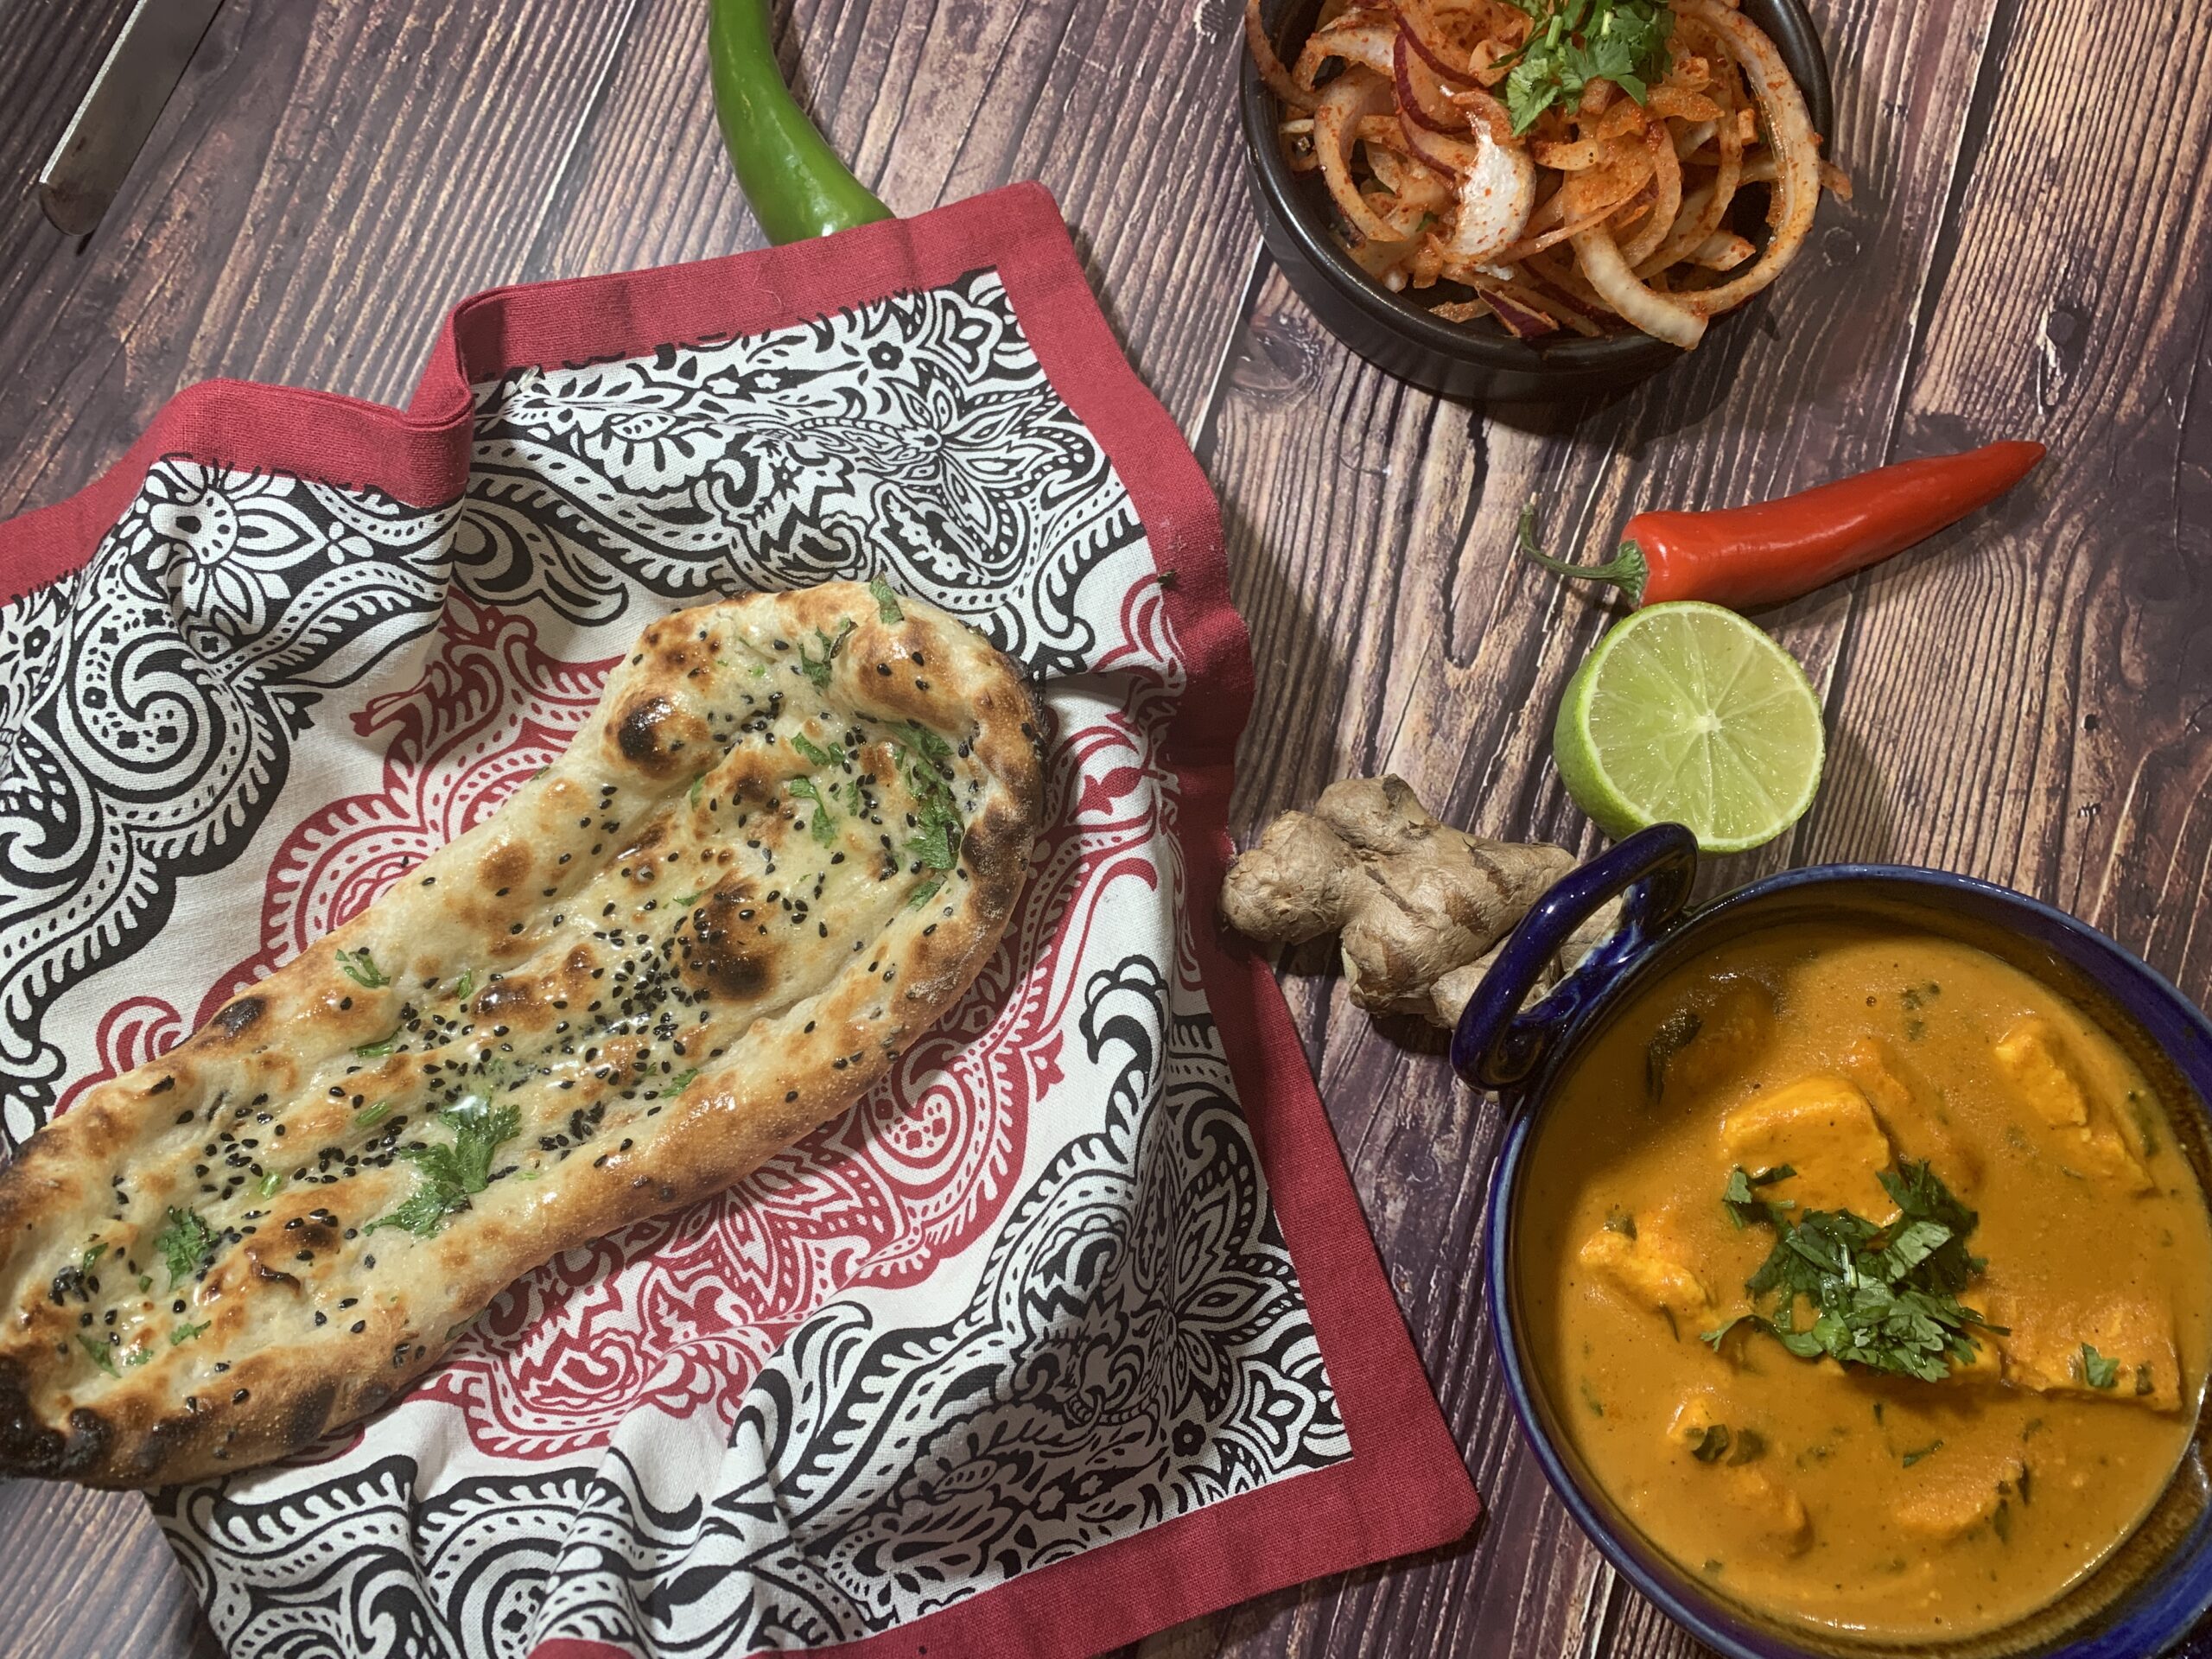
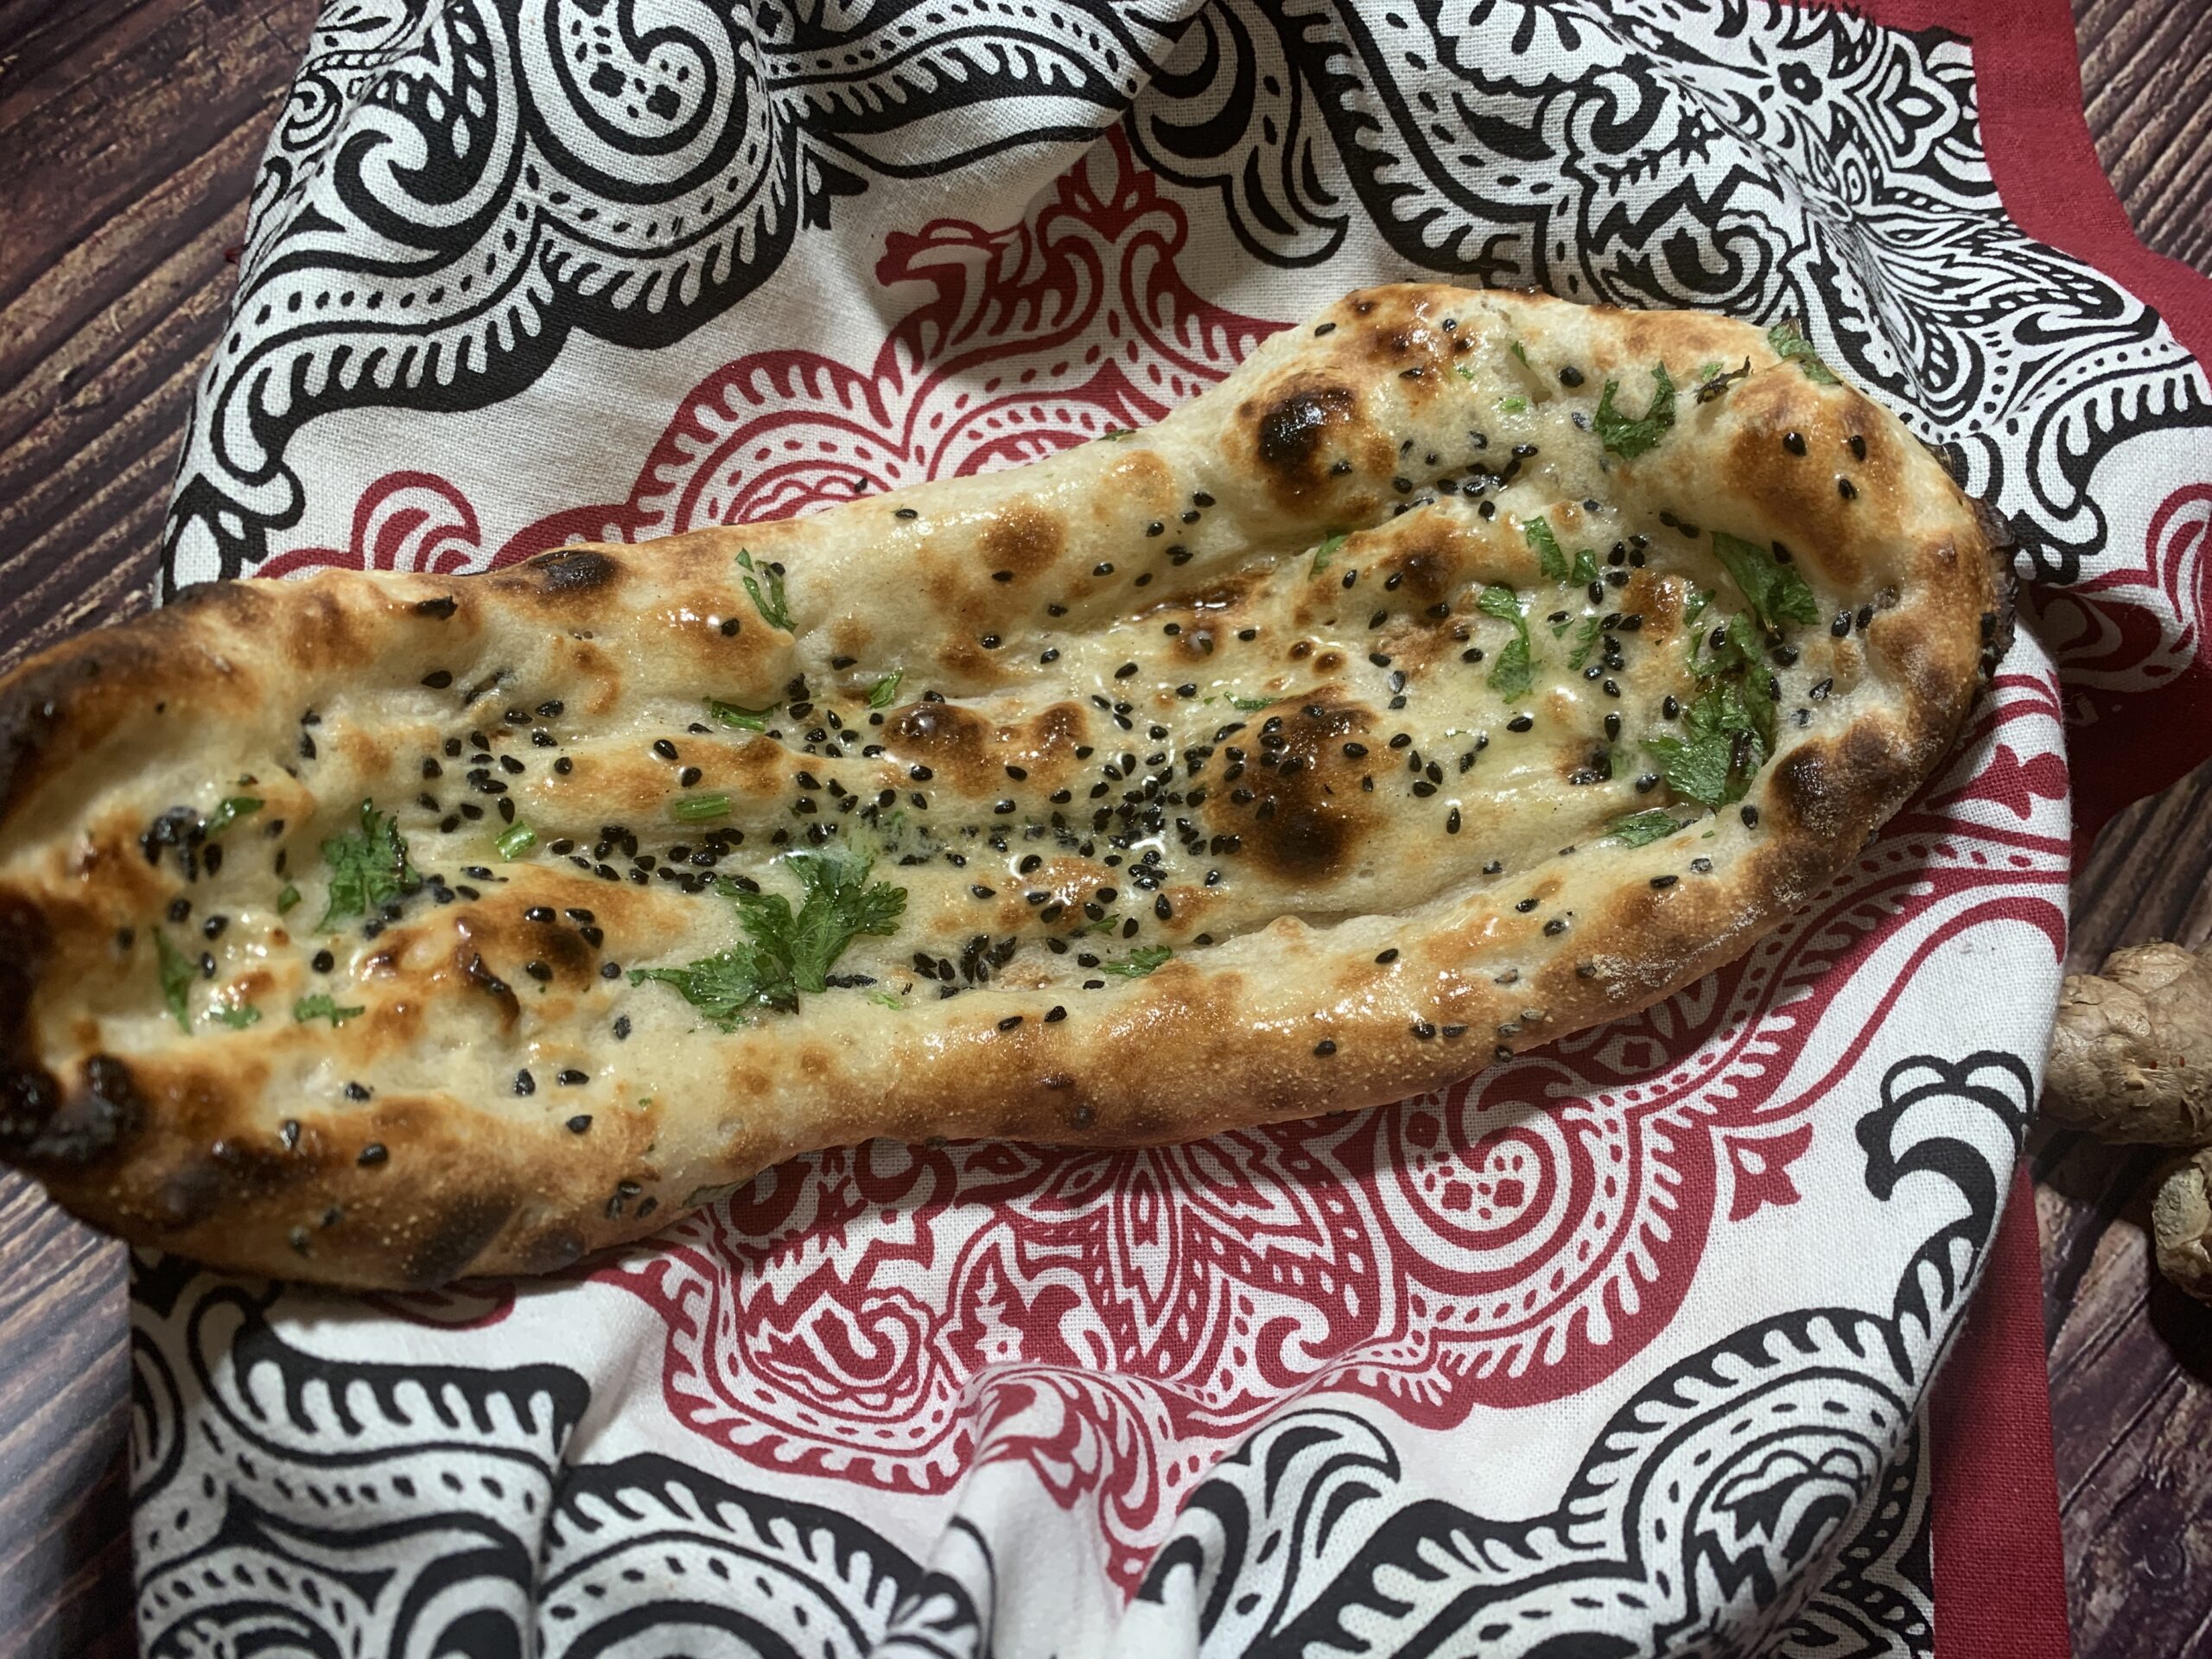
Who does not love a naan? A soft, enriched dough, mildly salty and slightly charred, flash-cooked for big bubbles with a crispy exterior and pillowy inside, it is the most indulgent flatbread to scoop up spicy Indian curries.
‘Naan’, a word that just means bread in Persian, is a flatbread native to west, central and southern Asia. It is baked in a clay oven at very high temperatures, rather than over a flame like the chapati, which gives it a crisp exterior, a fluffy core and a distinctive charred flavour.
Naan is made from an enriched dough which means that there are other ingredients added beyond the flour, water, yeast, and salt to make the bread. In naan usually you will find some sort of dairy like yogurt, milk, ghee, butter or even egg at times.
Making naan is a lot like making pizza at home. You want the oven to be heated as hot as possible, and you want the quickest transfer of heat to the dough as you can. This will create a perfectly cooked crust with a doughy interior.
You can either cook the naan in an aluminium cooker (see pictures) or in the oven to get the crispy delicious naan. I usually cook it in my cooker ( you can see the well used state of the cooker in the pictures :-)) and they turn out perfect every time. Oven results are the same and I cook the naans in oven when I have large gatherings or when my daughter insists on helping me as oven method is safer to use with children.
Ingredients
3 cups plain flour
1 tablespoon sugar
1 teaspoon salt
1 ½ teaspoon instant yeast
¼ cup plain natural yogurt
¼ cup warm milk
¾ cup warm water
2 tablespoons oil/melted ghee
1-2 teaspoons black onion seeds (kalonji)
1-2 teaspoons finely chopped coriander (optional)
Directions
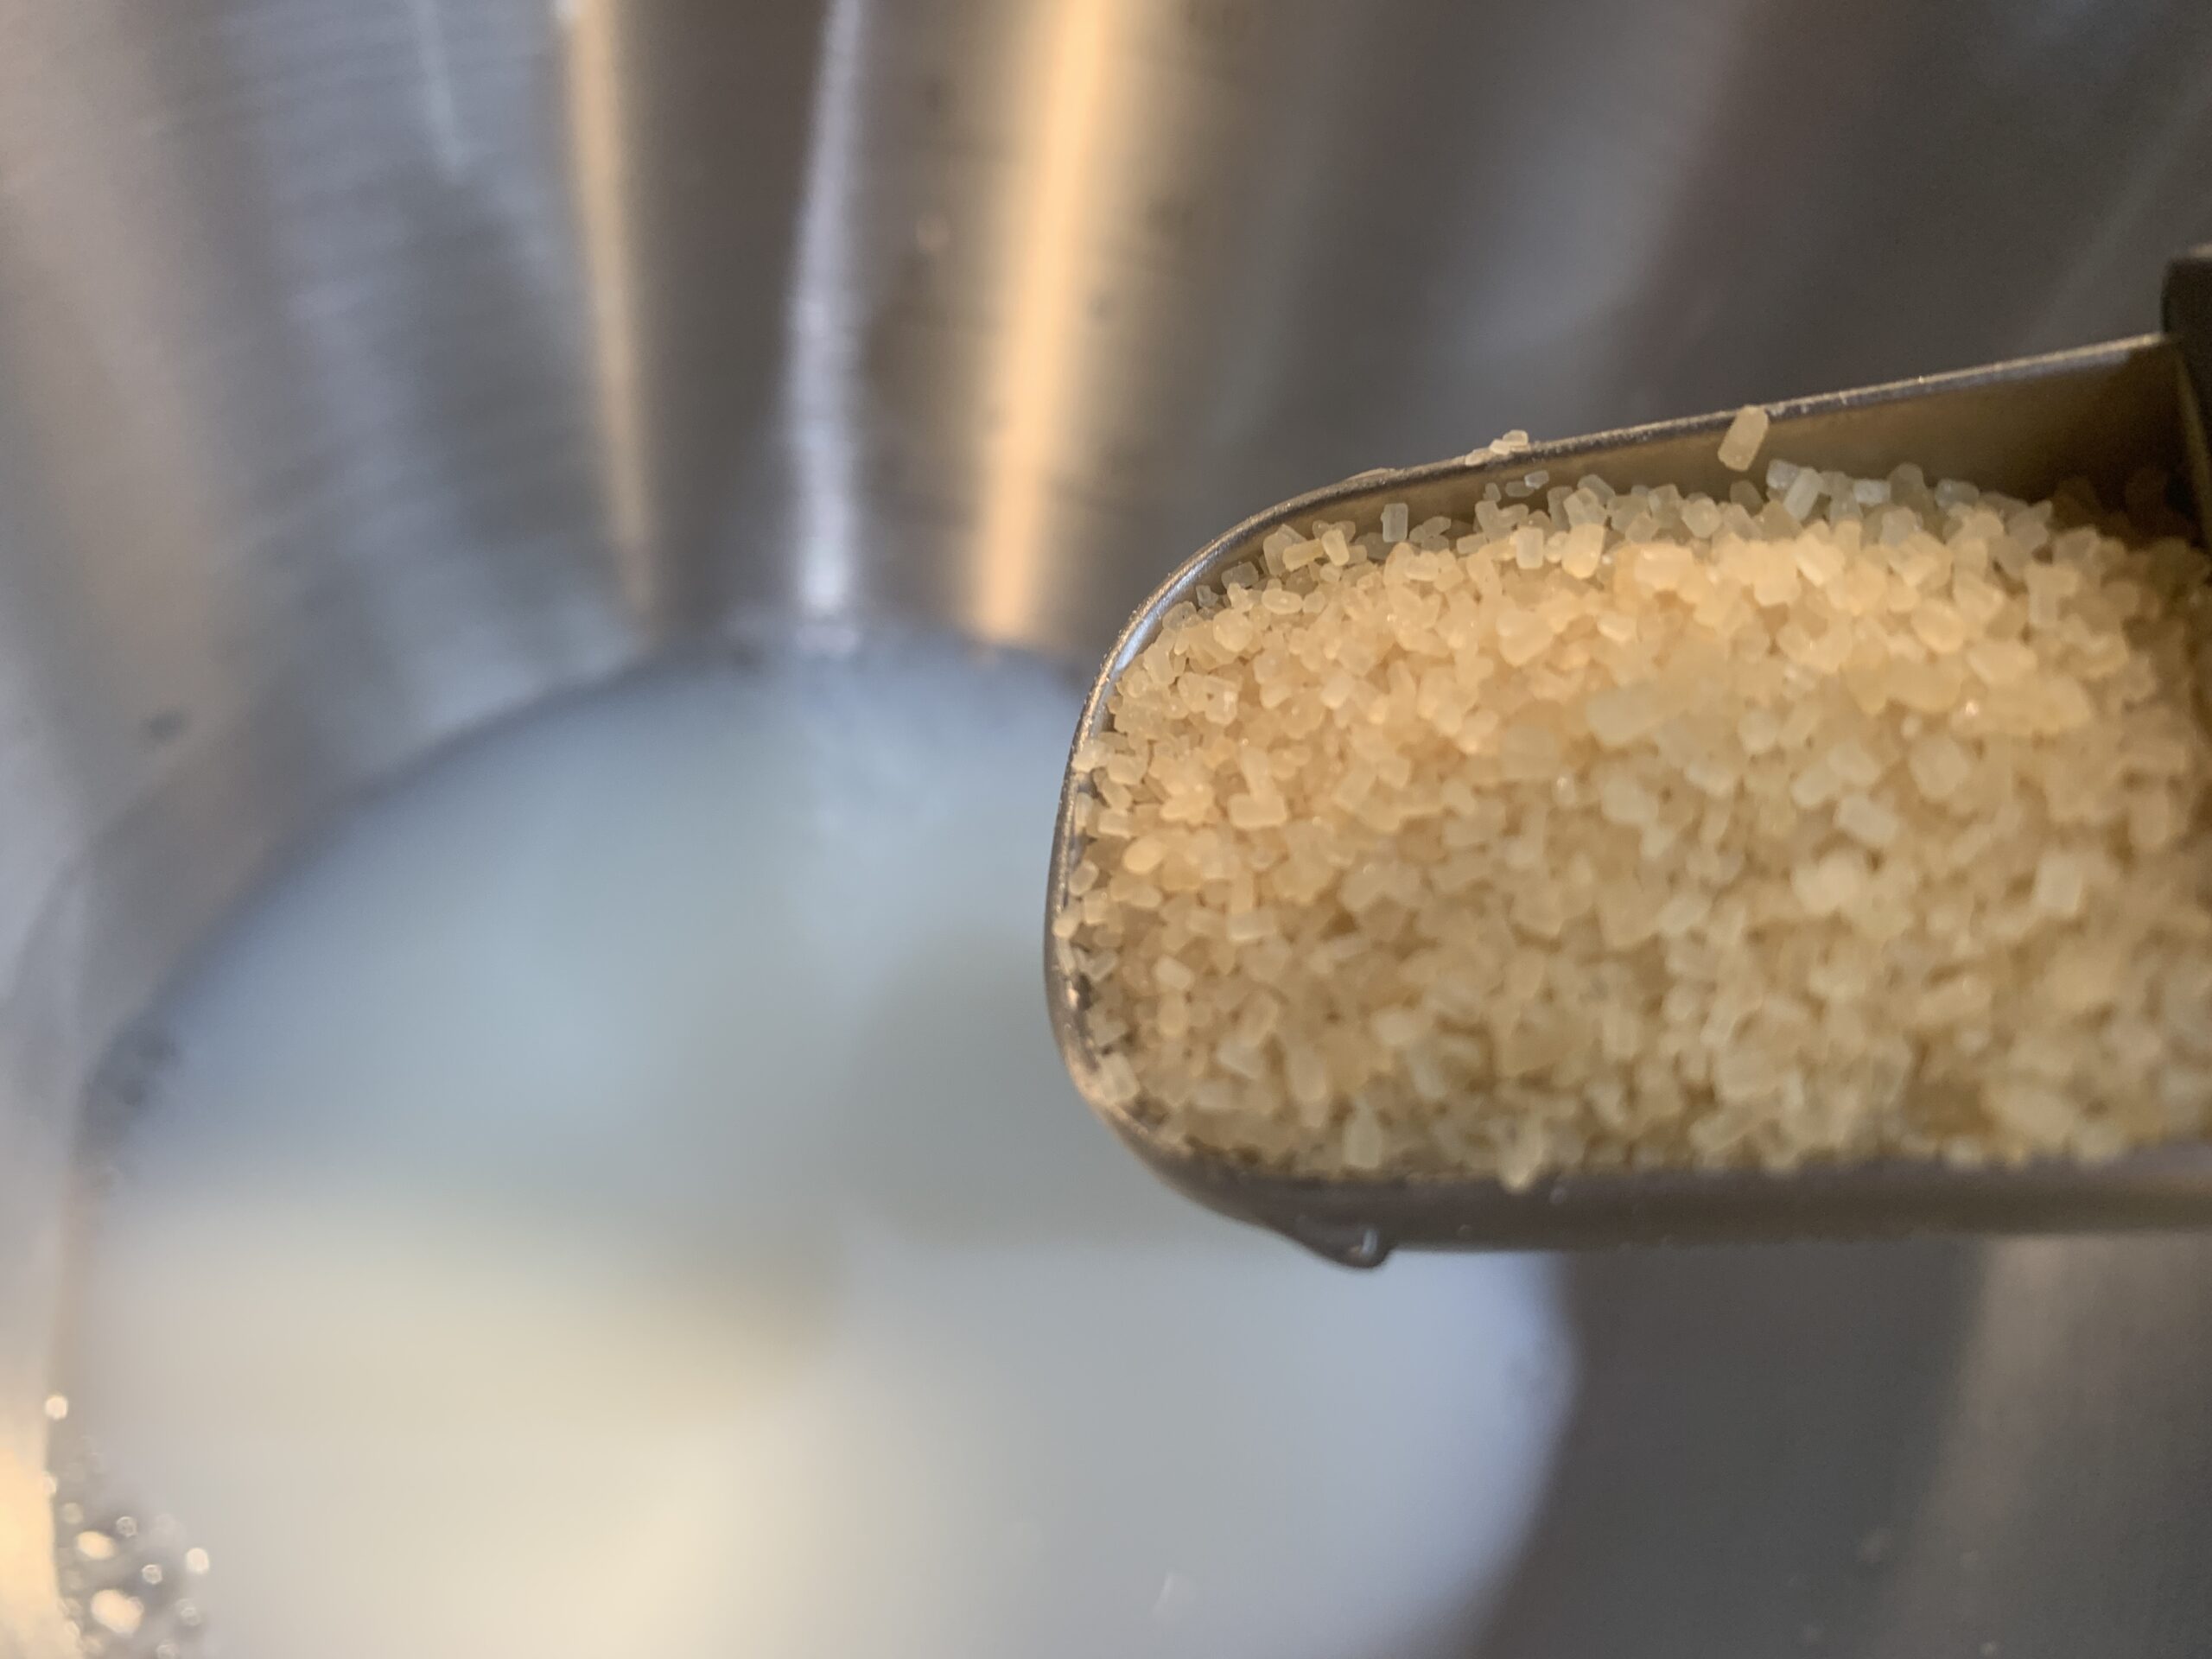

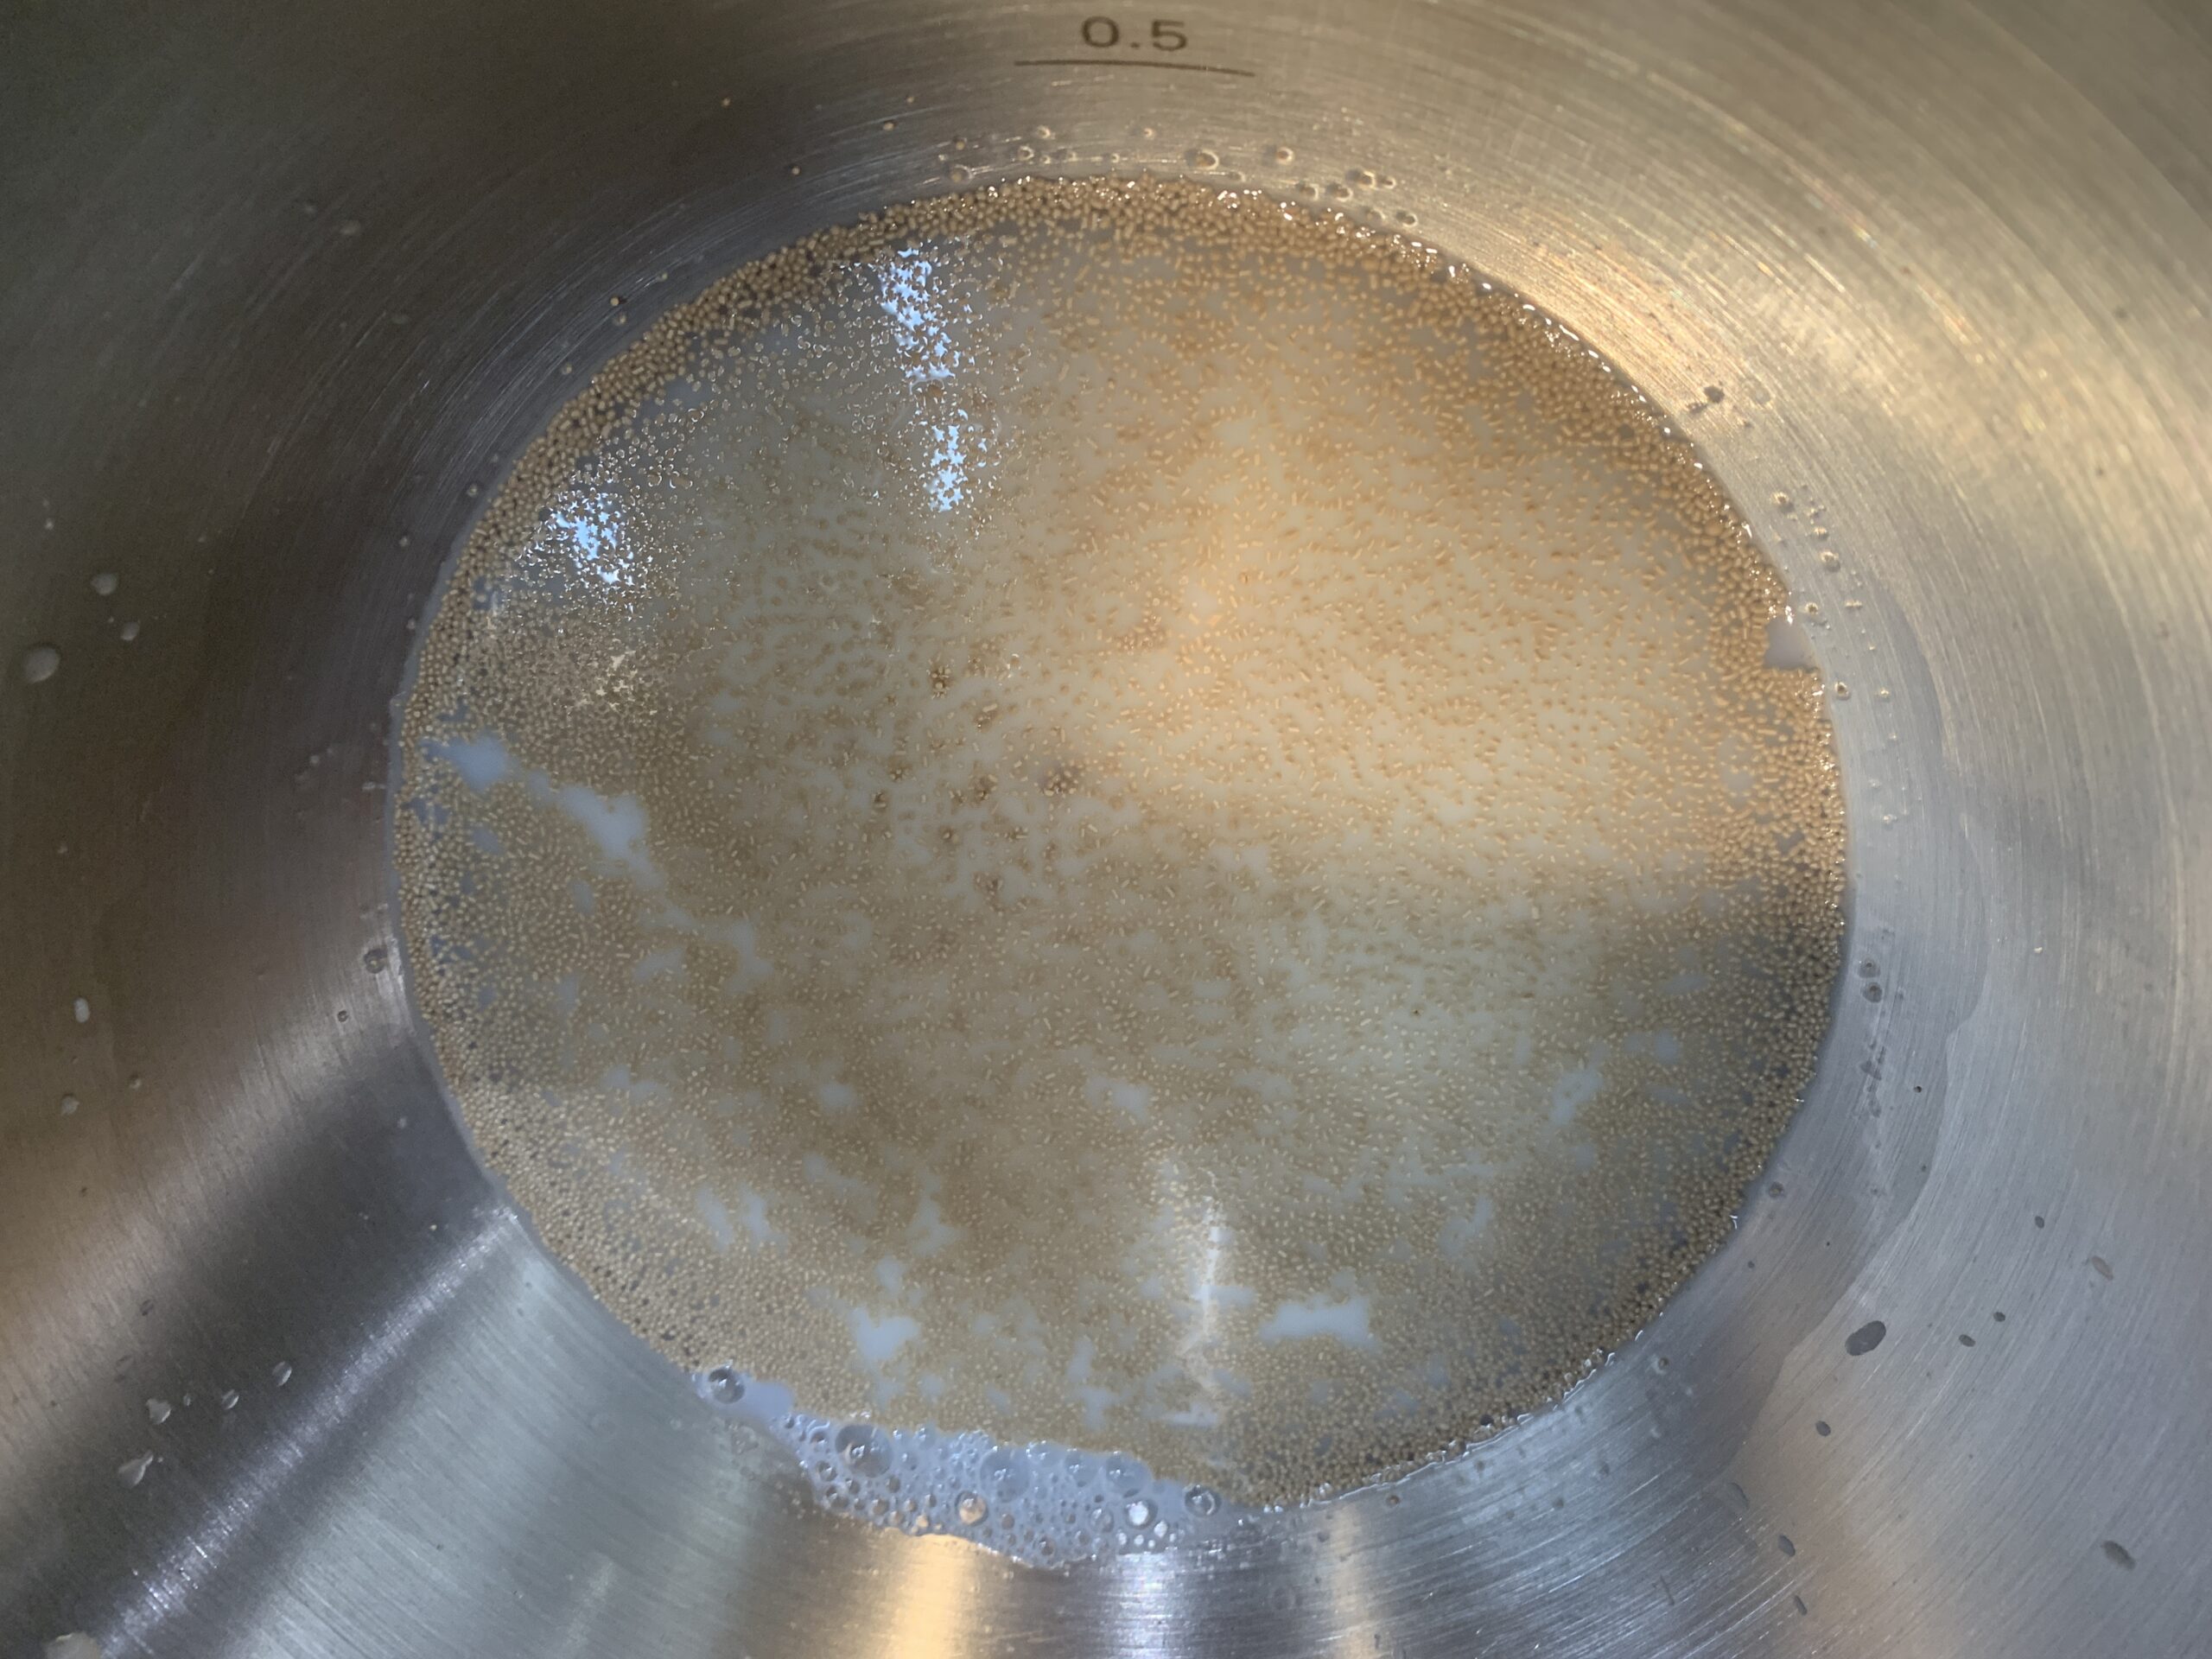
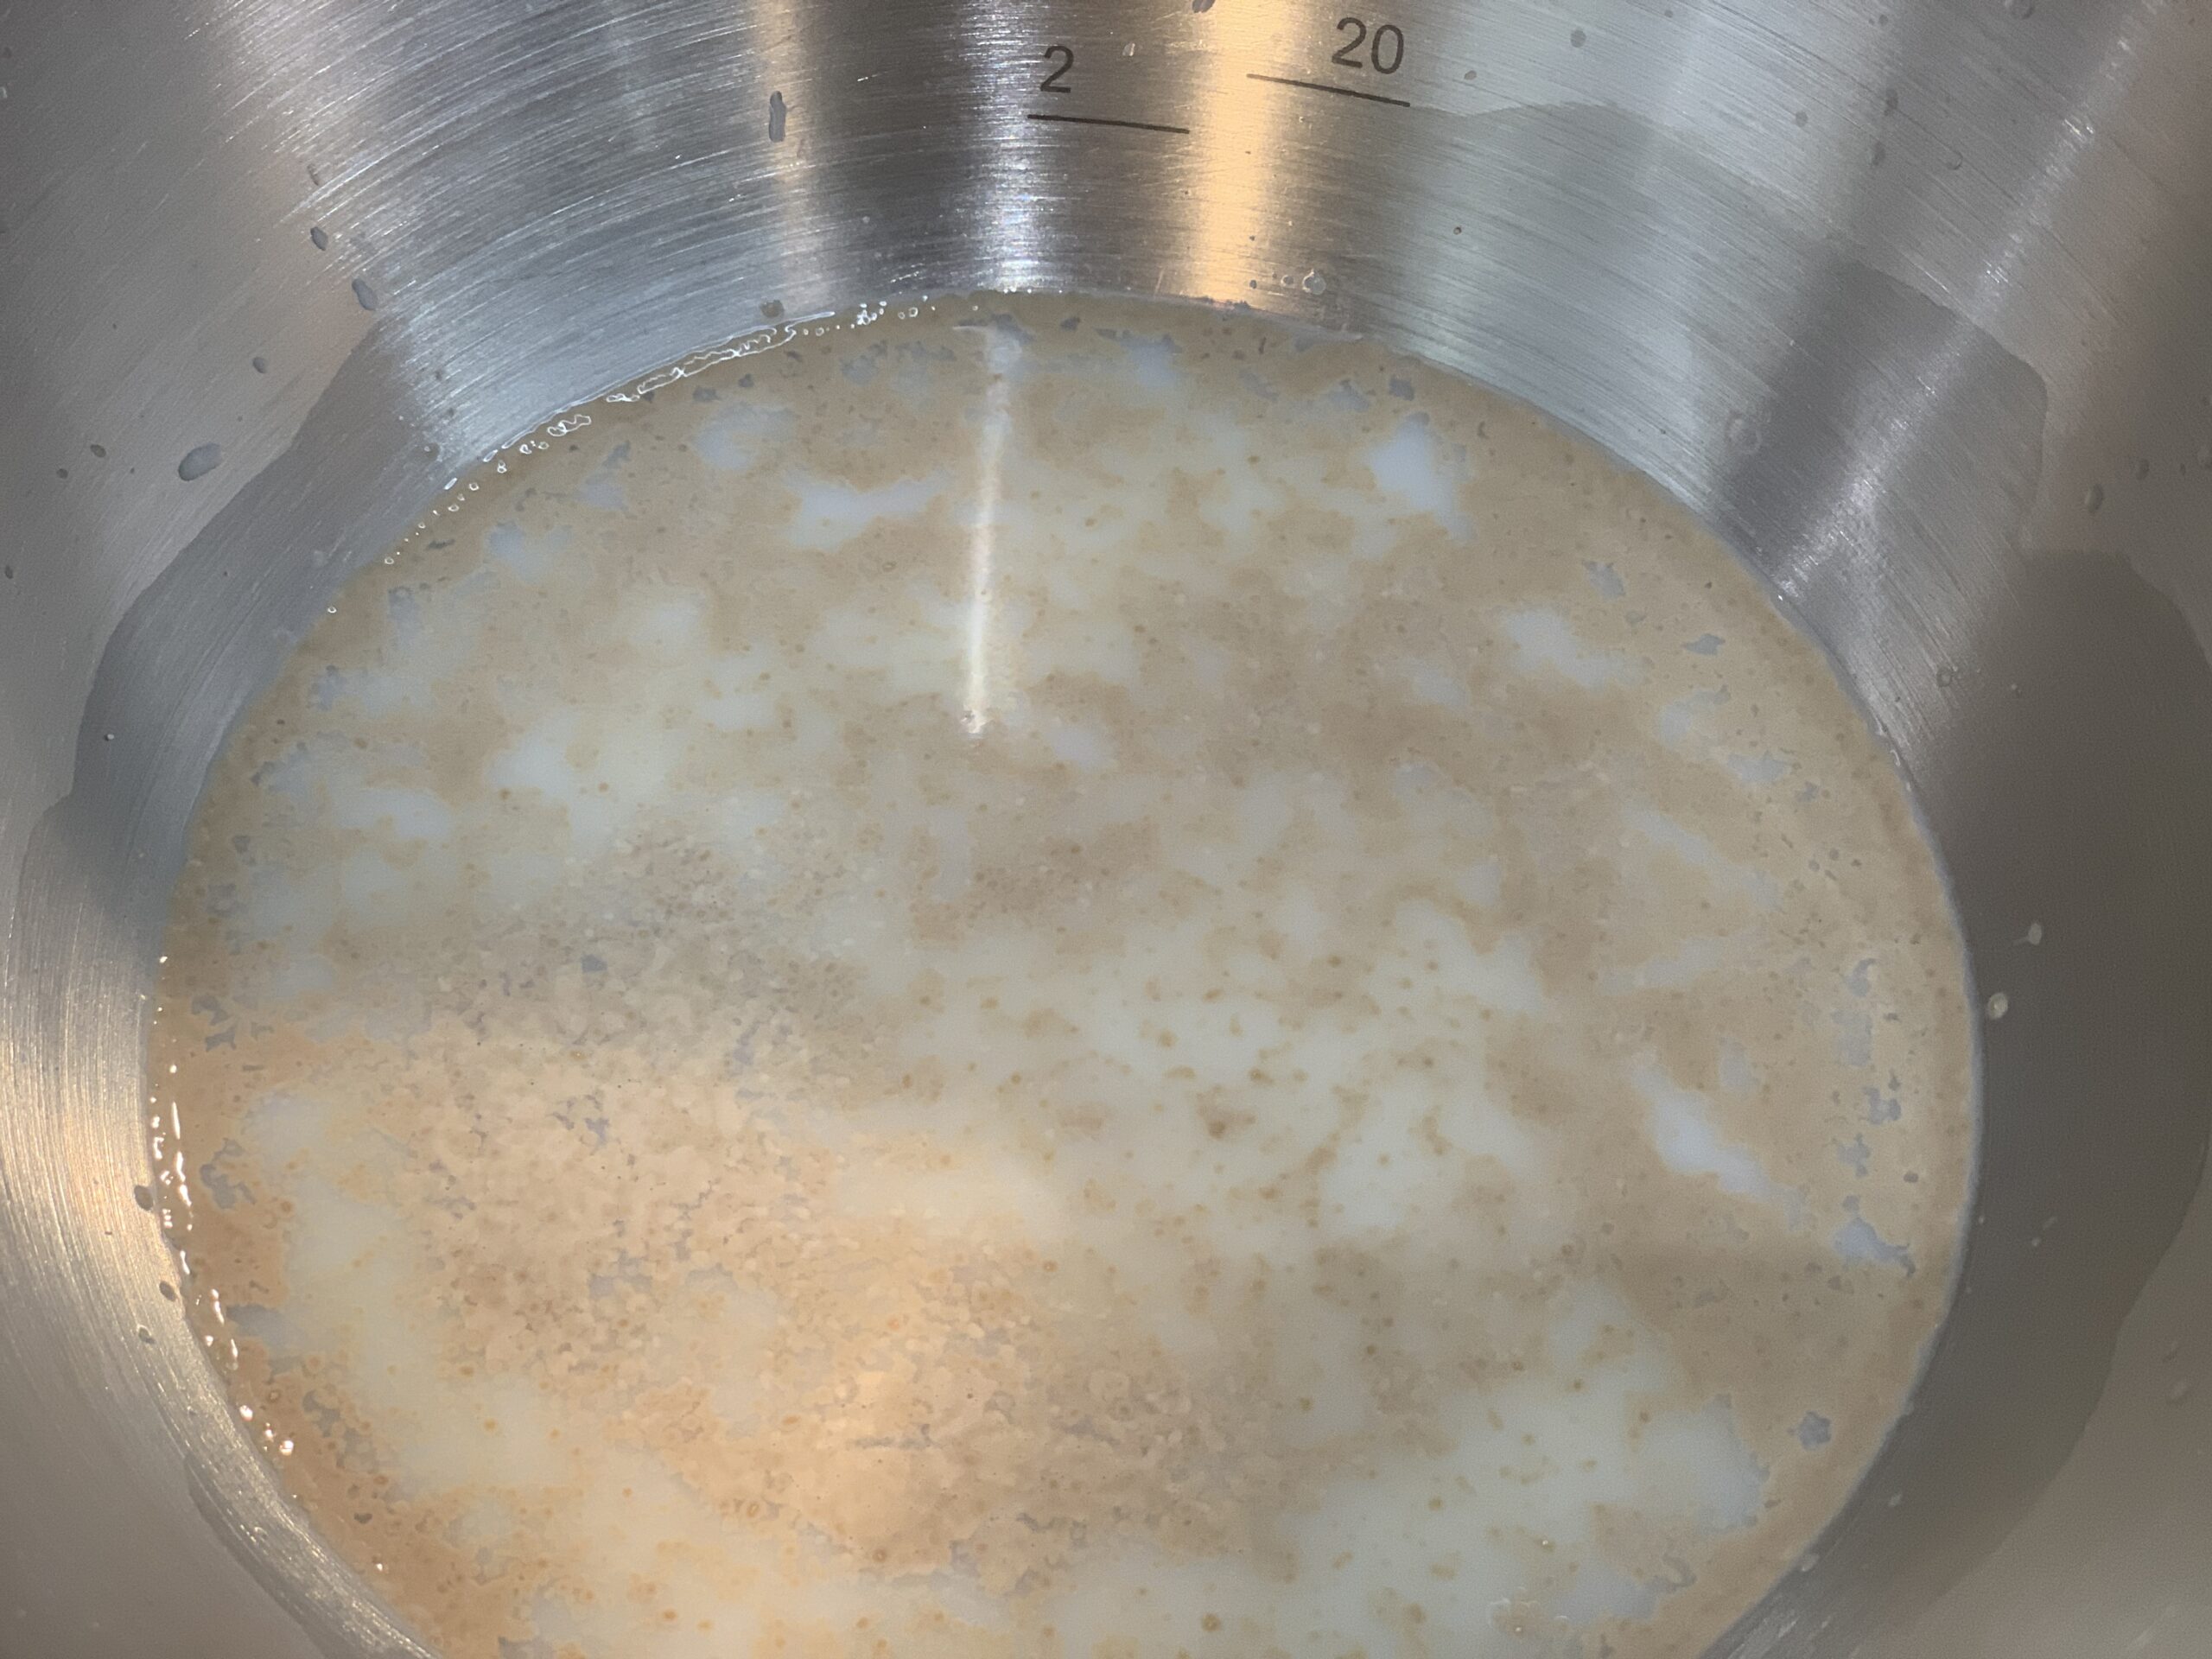
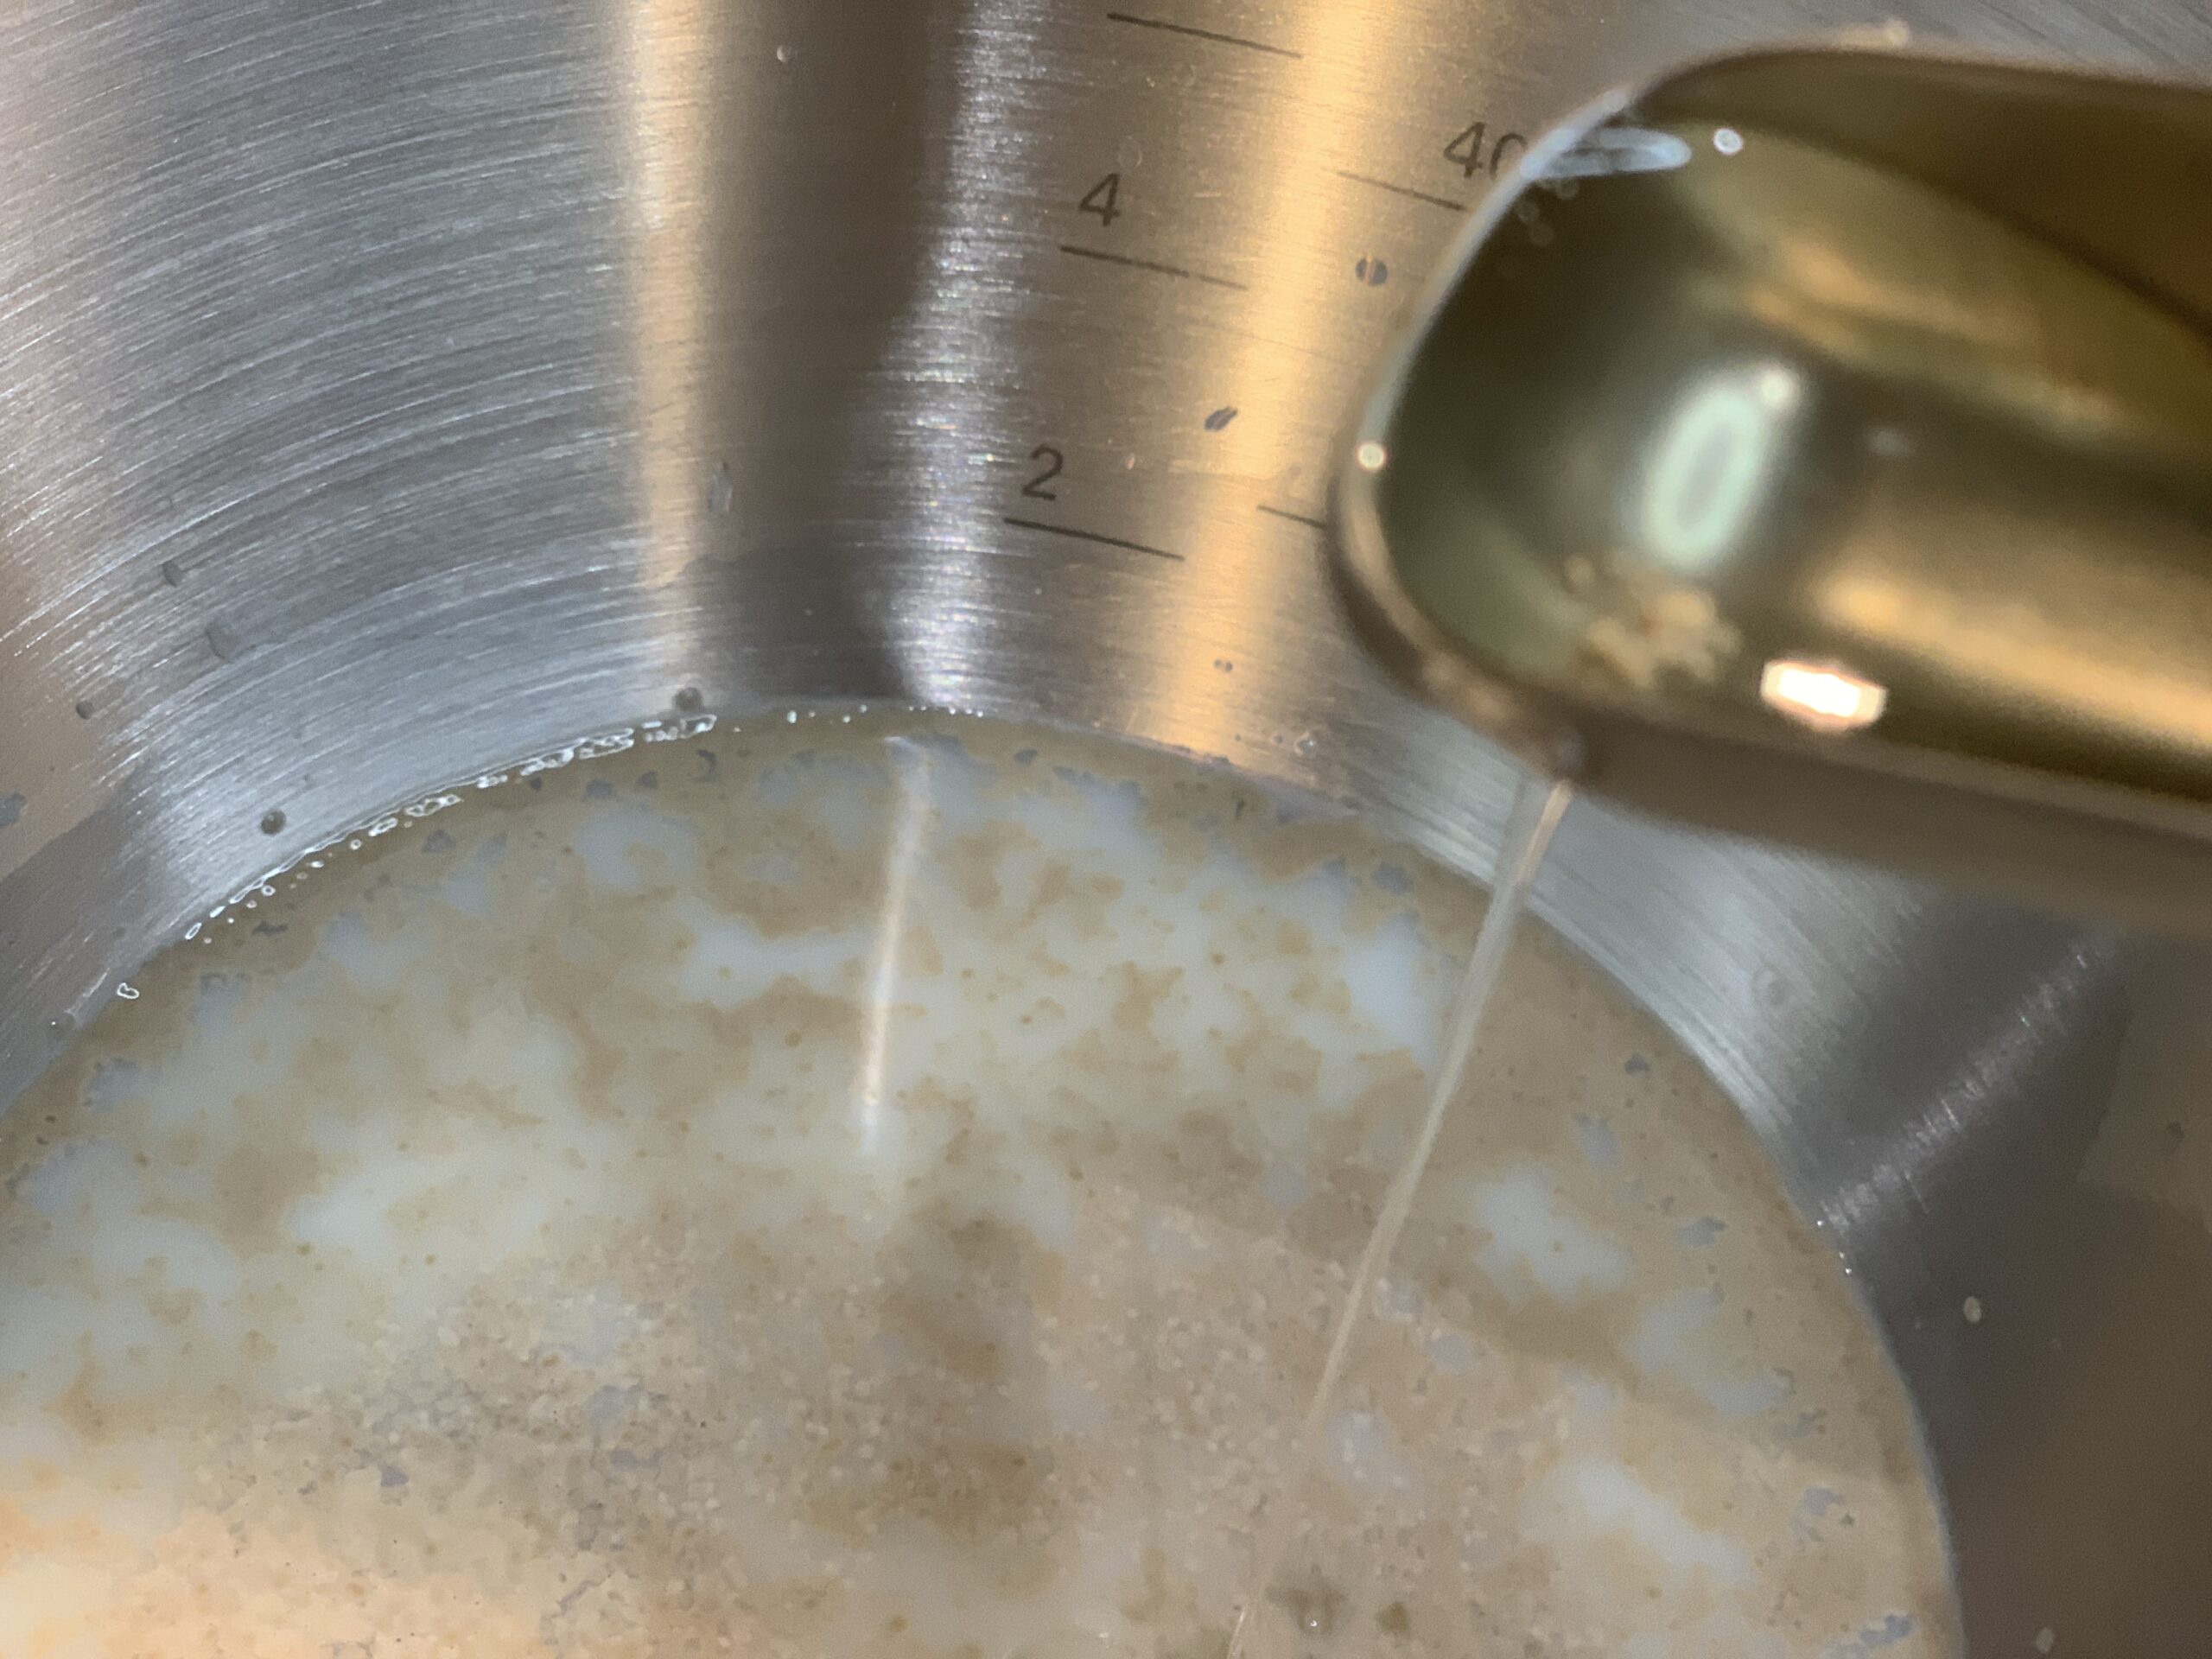
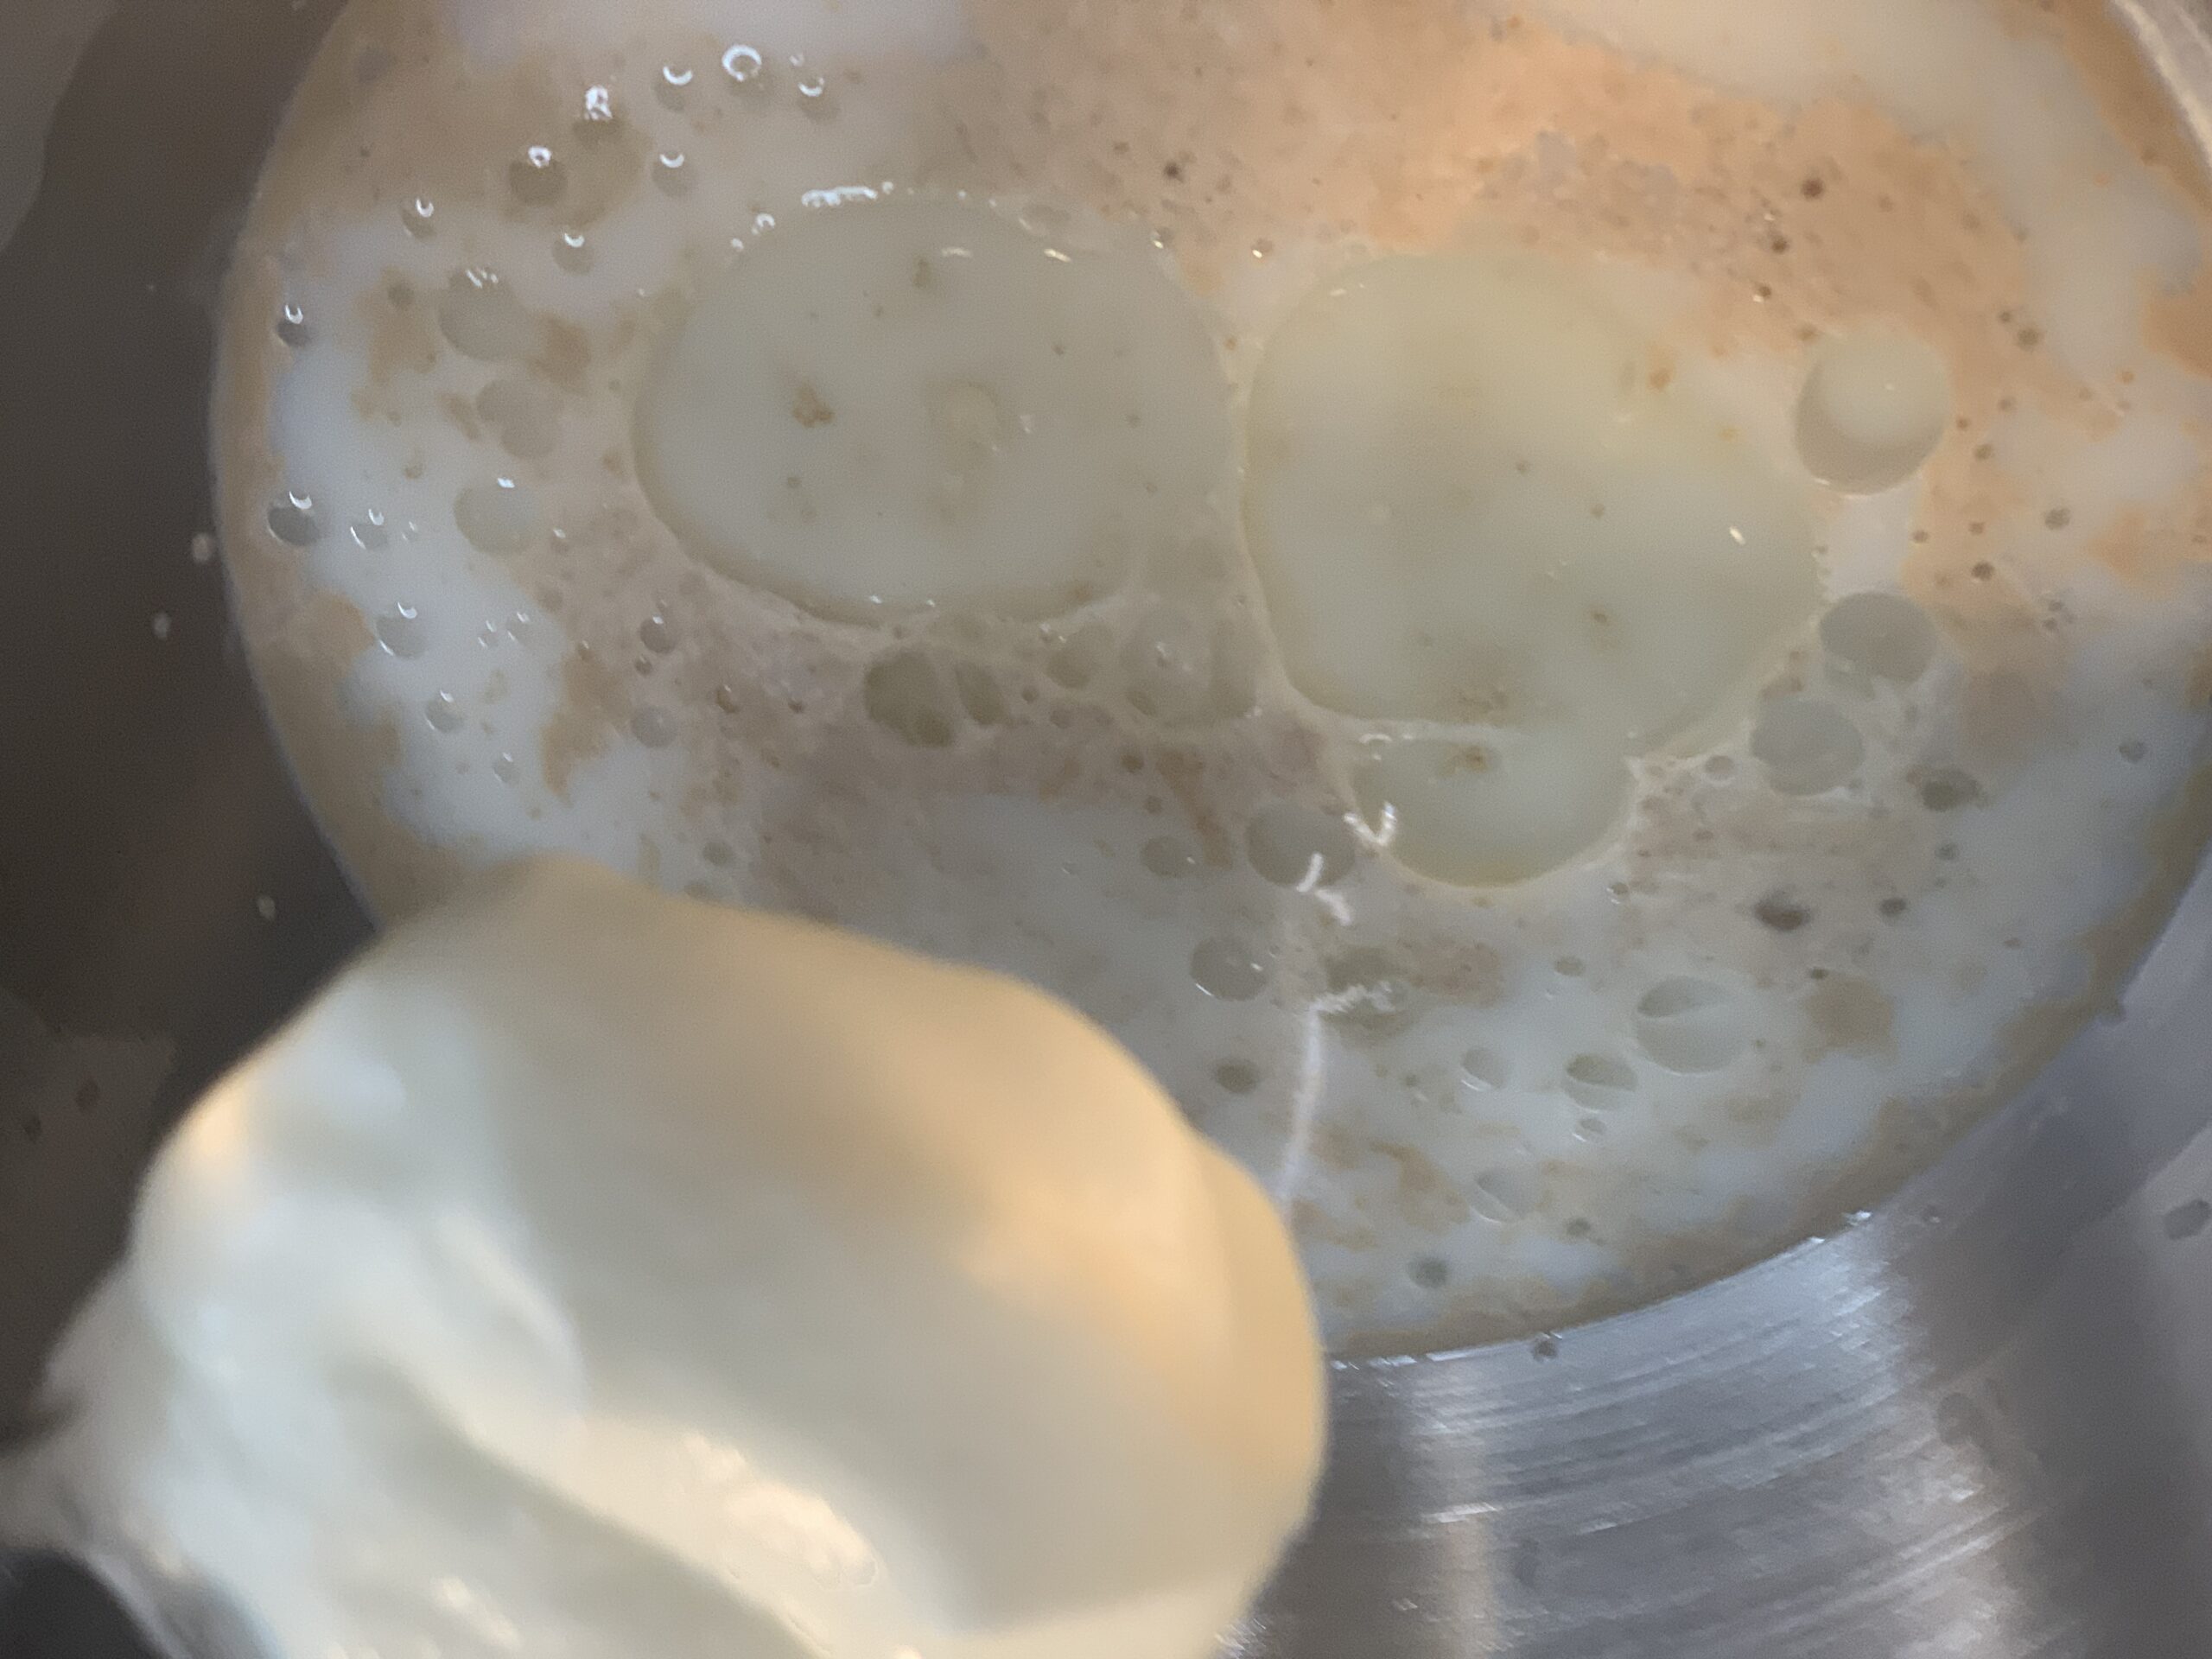
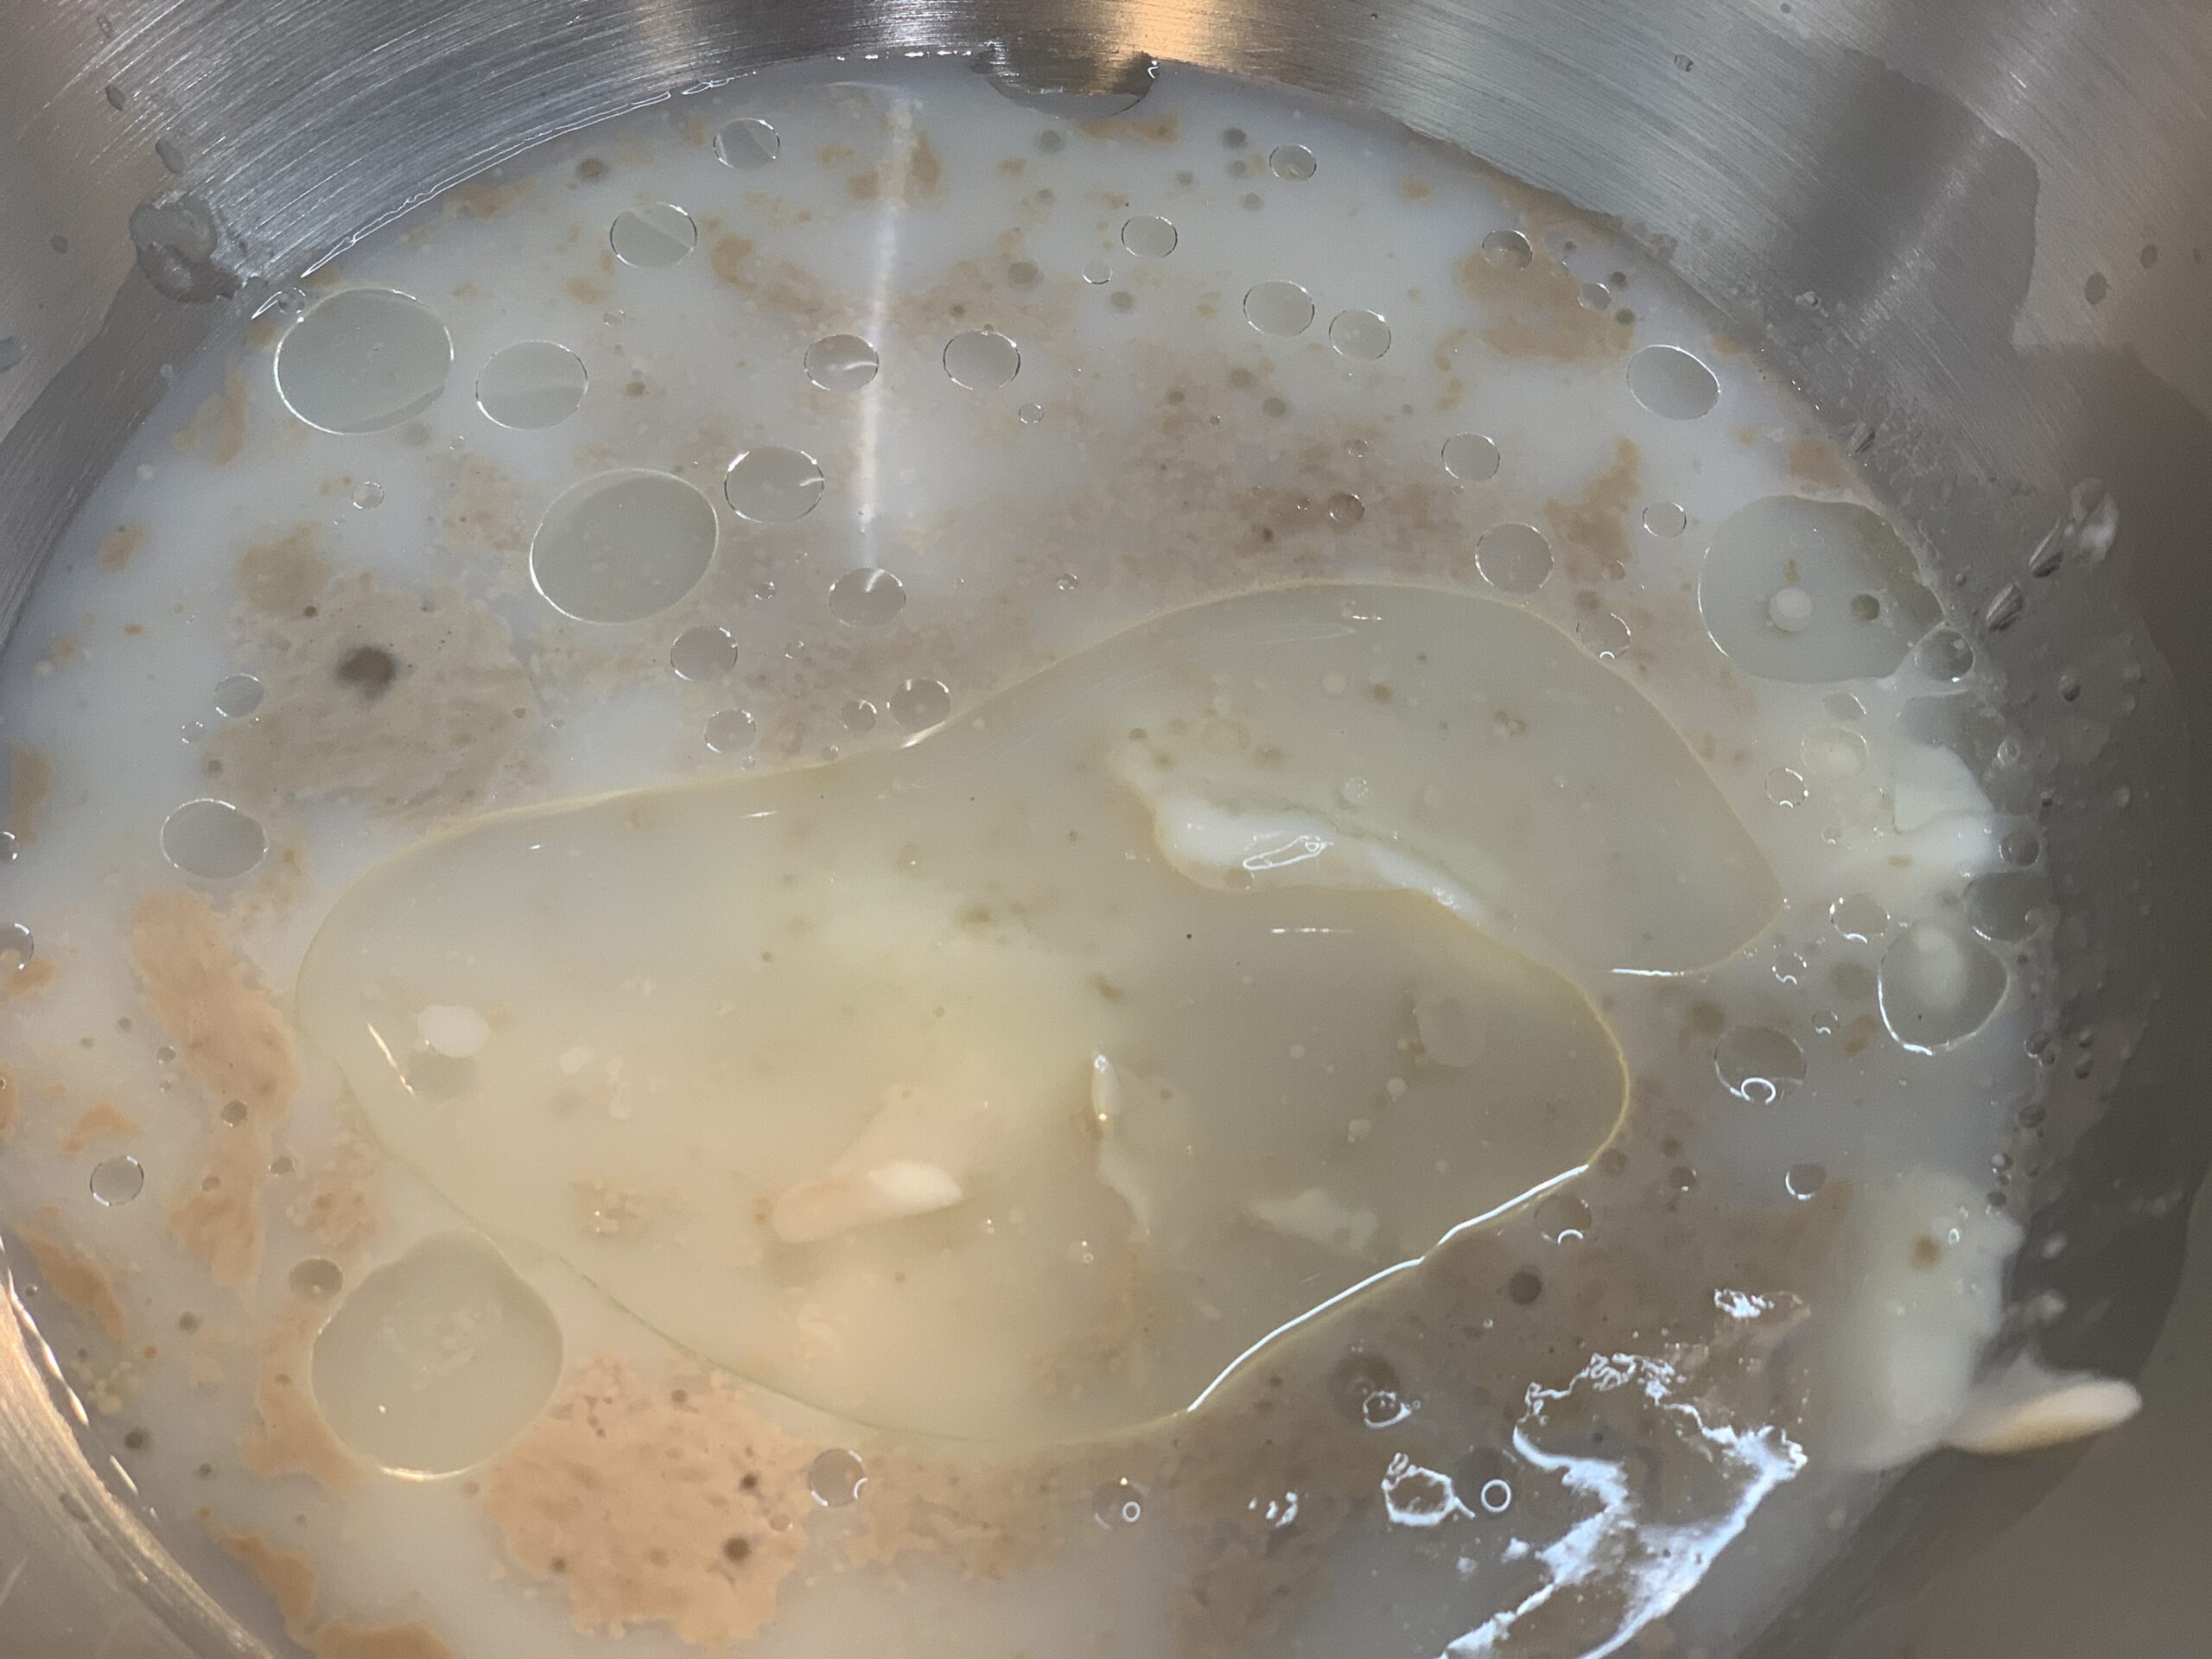
In the bowl mix the warm water, milk, sugar and yeast. Allow the mixture to sit for a few minutes until frothy. Add the oil/melted ghee and yogurt.
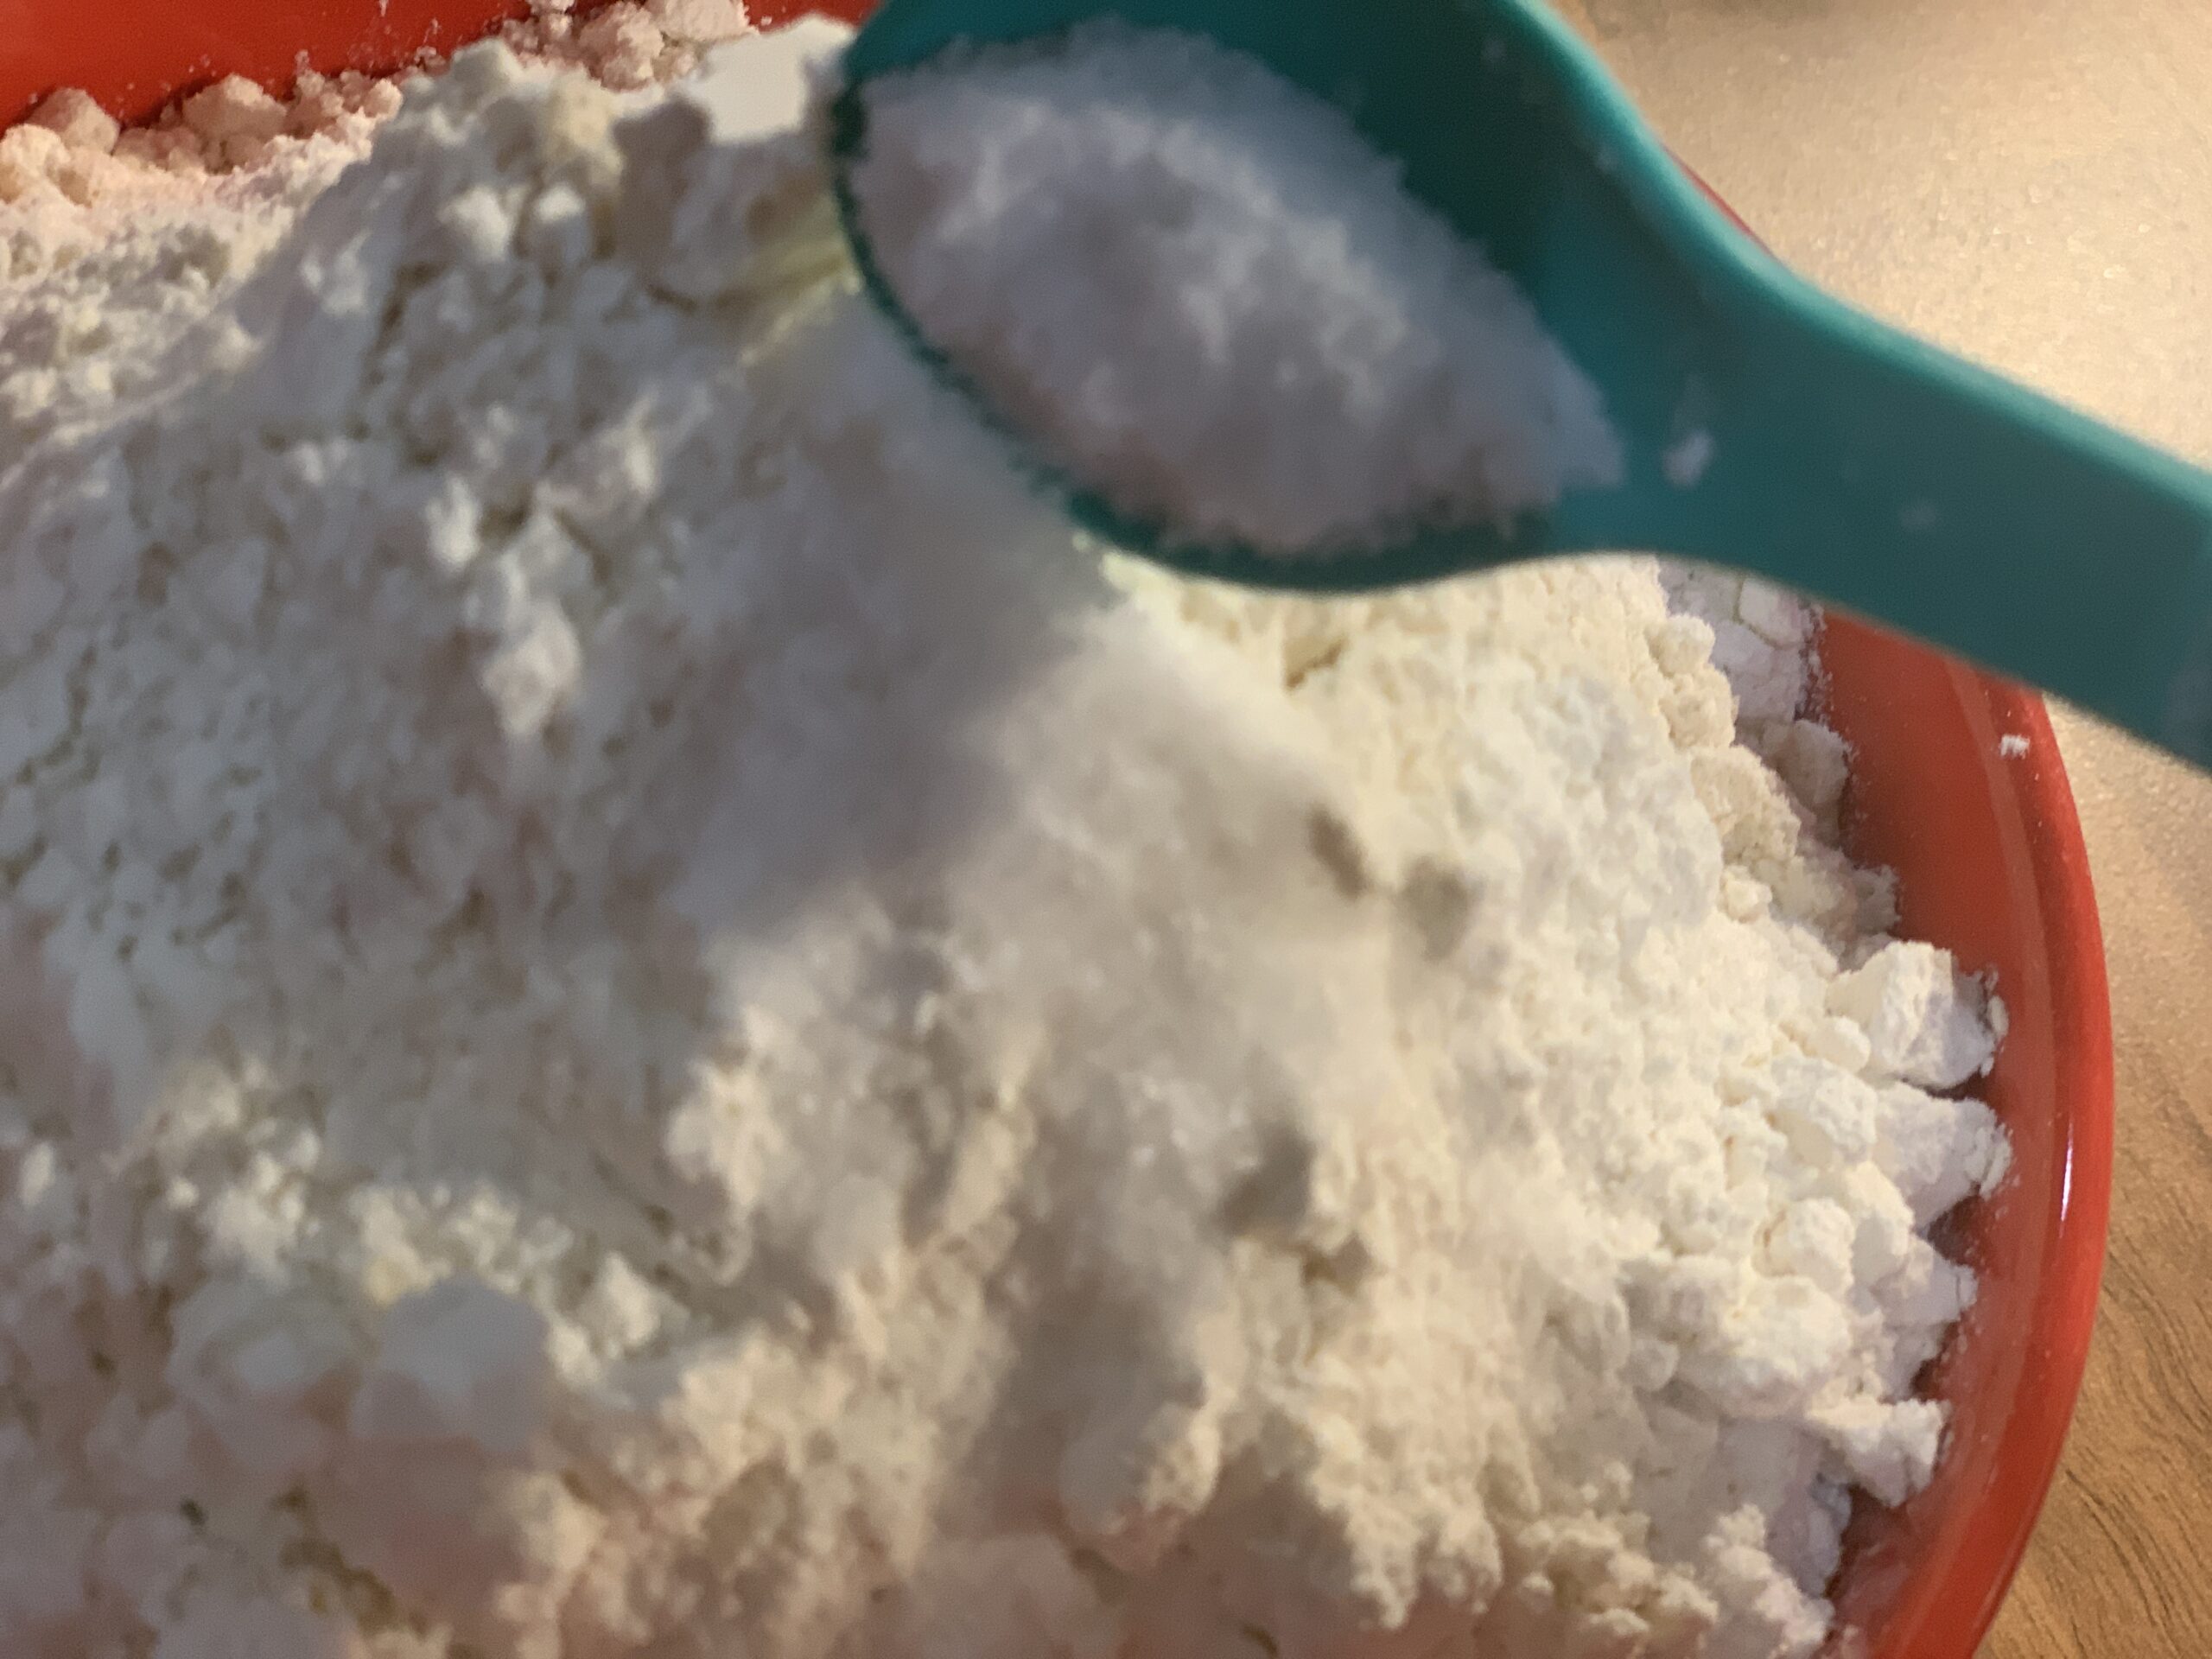
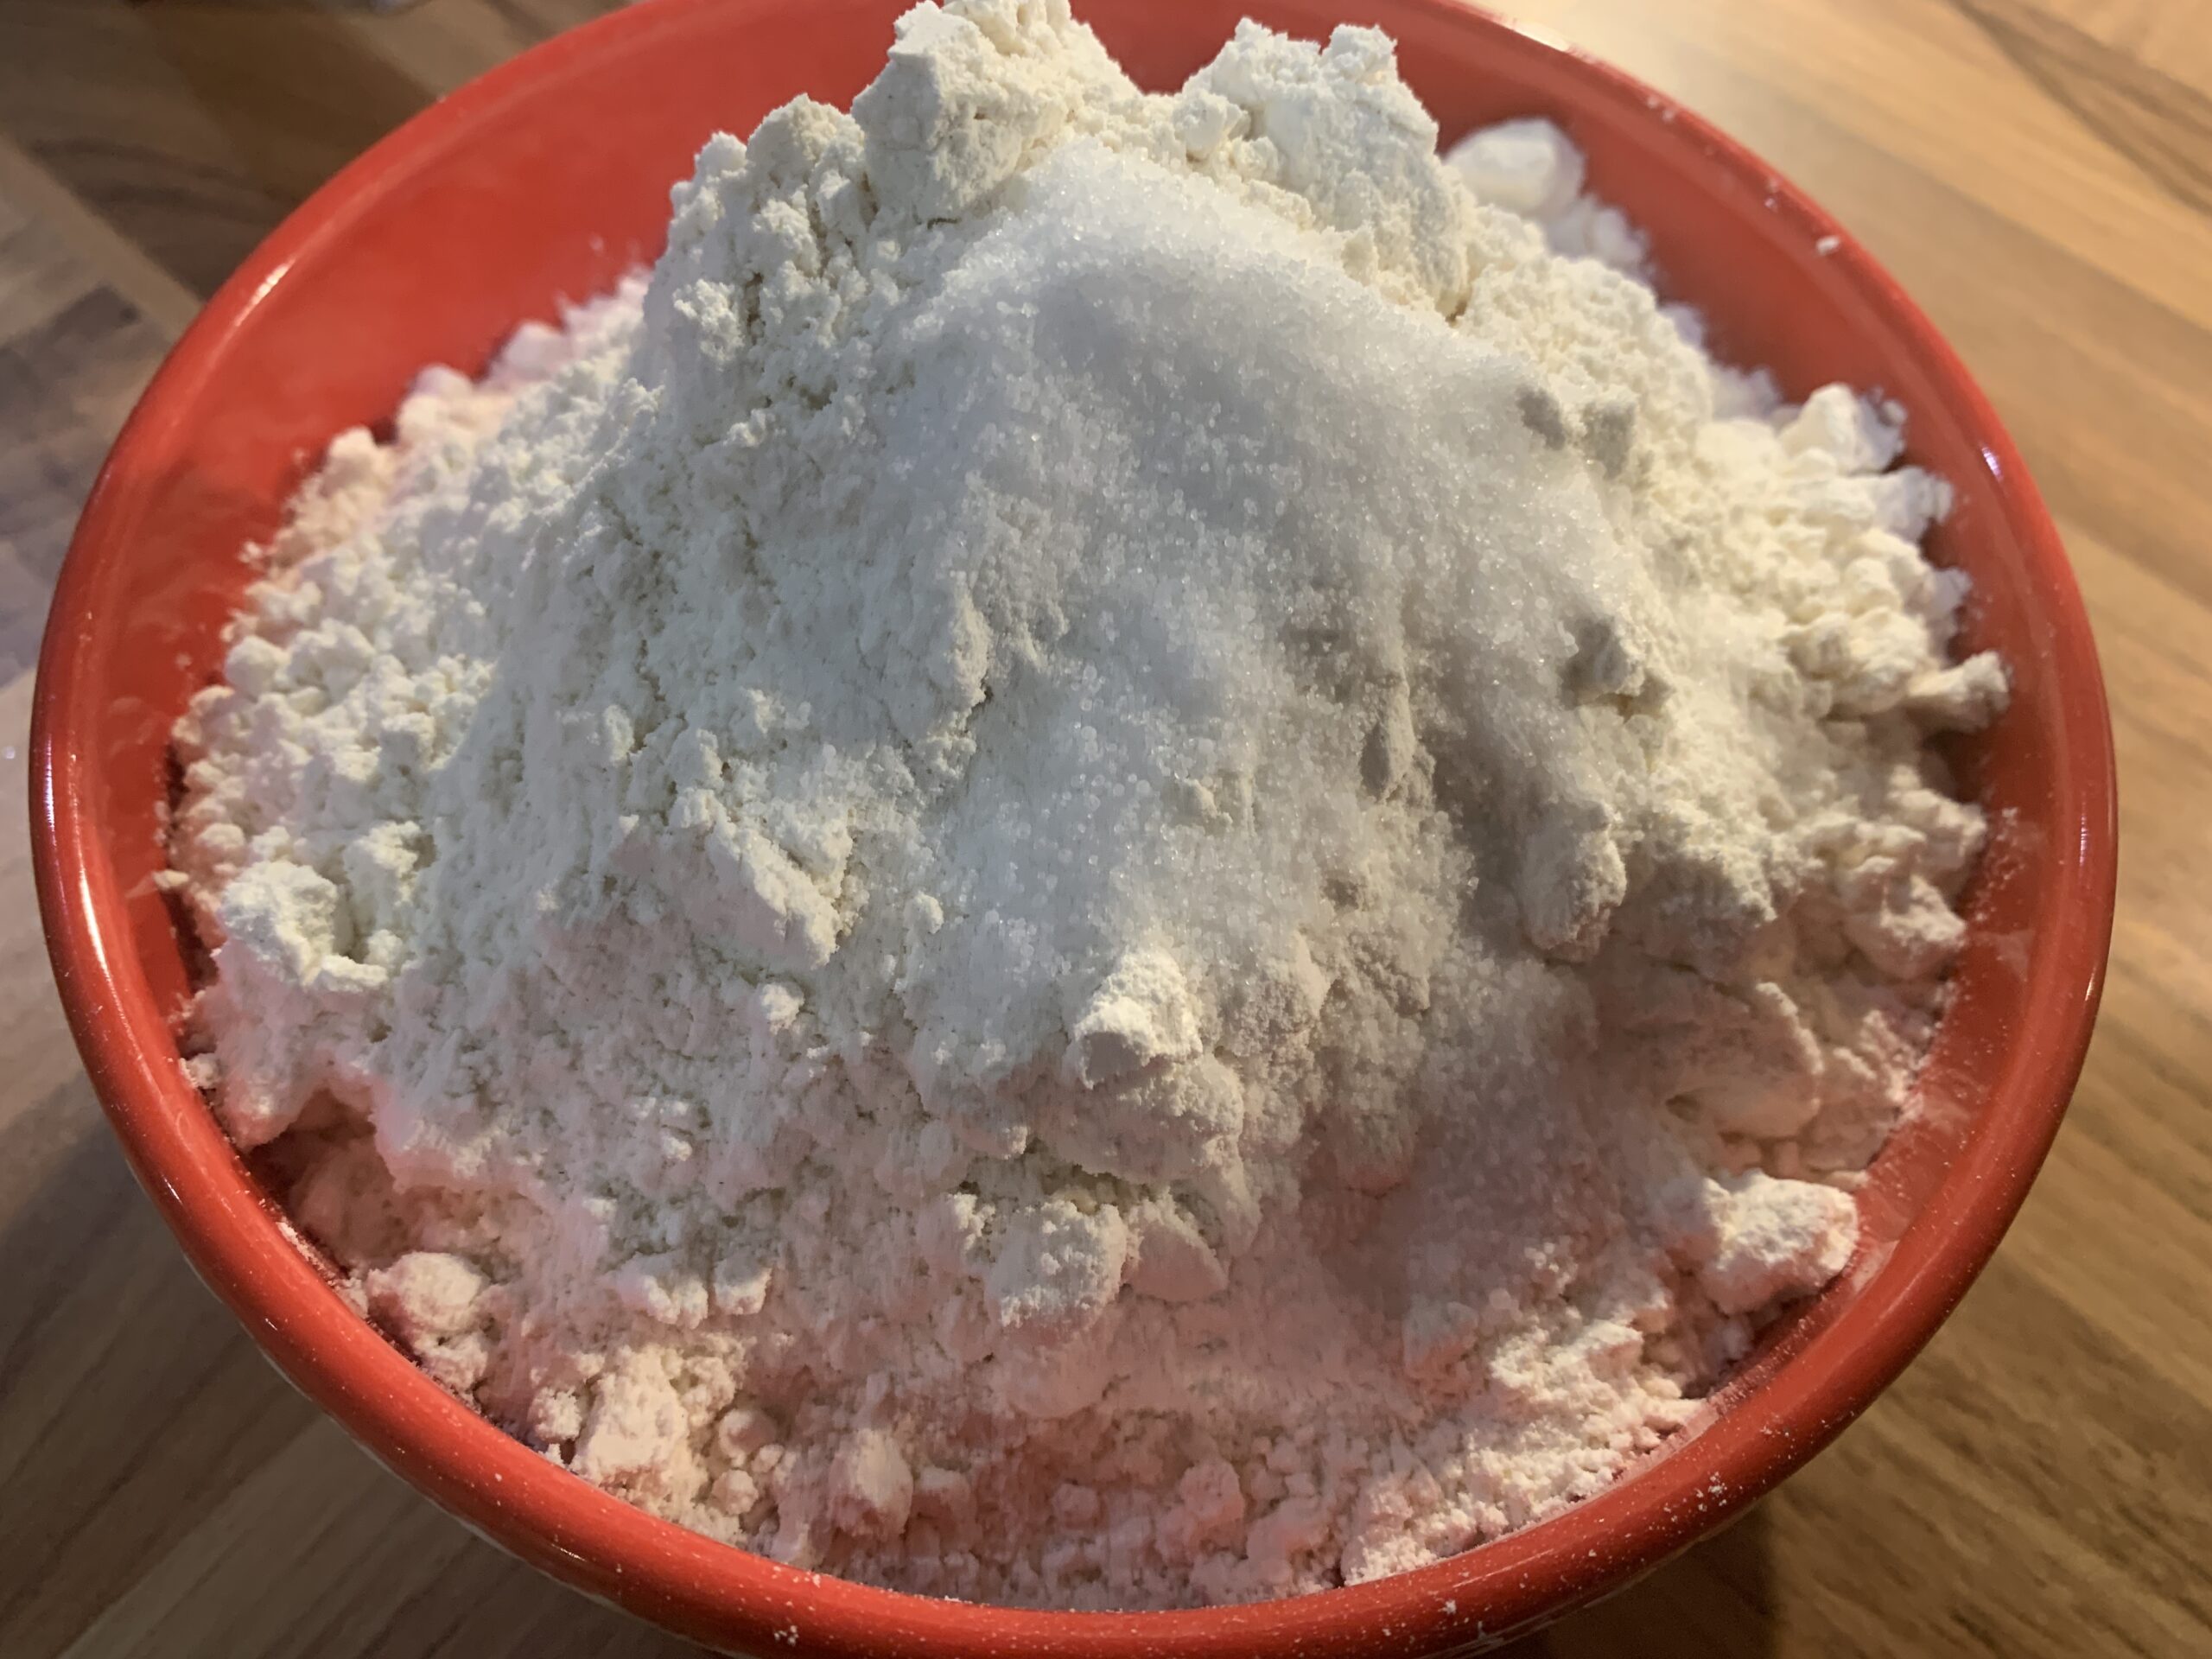

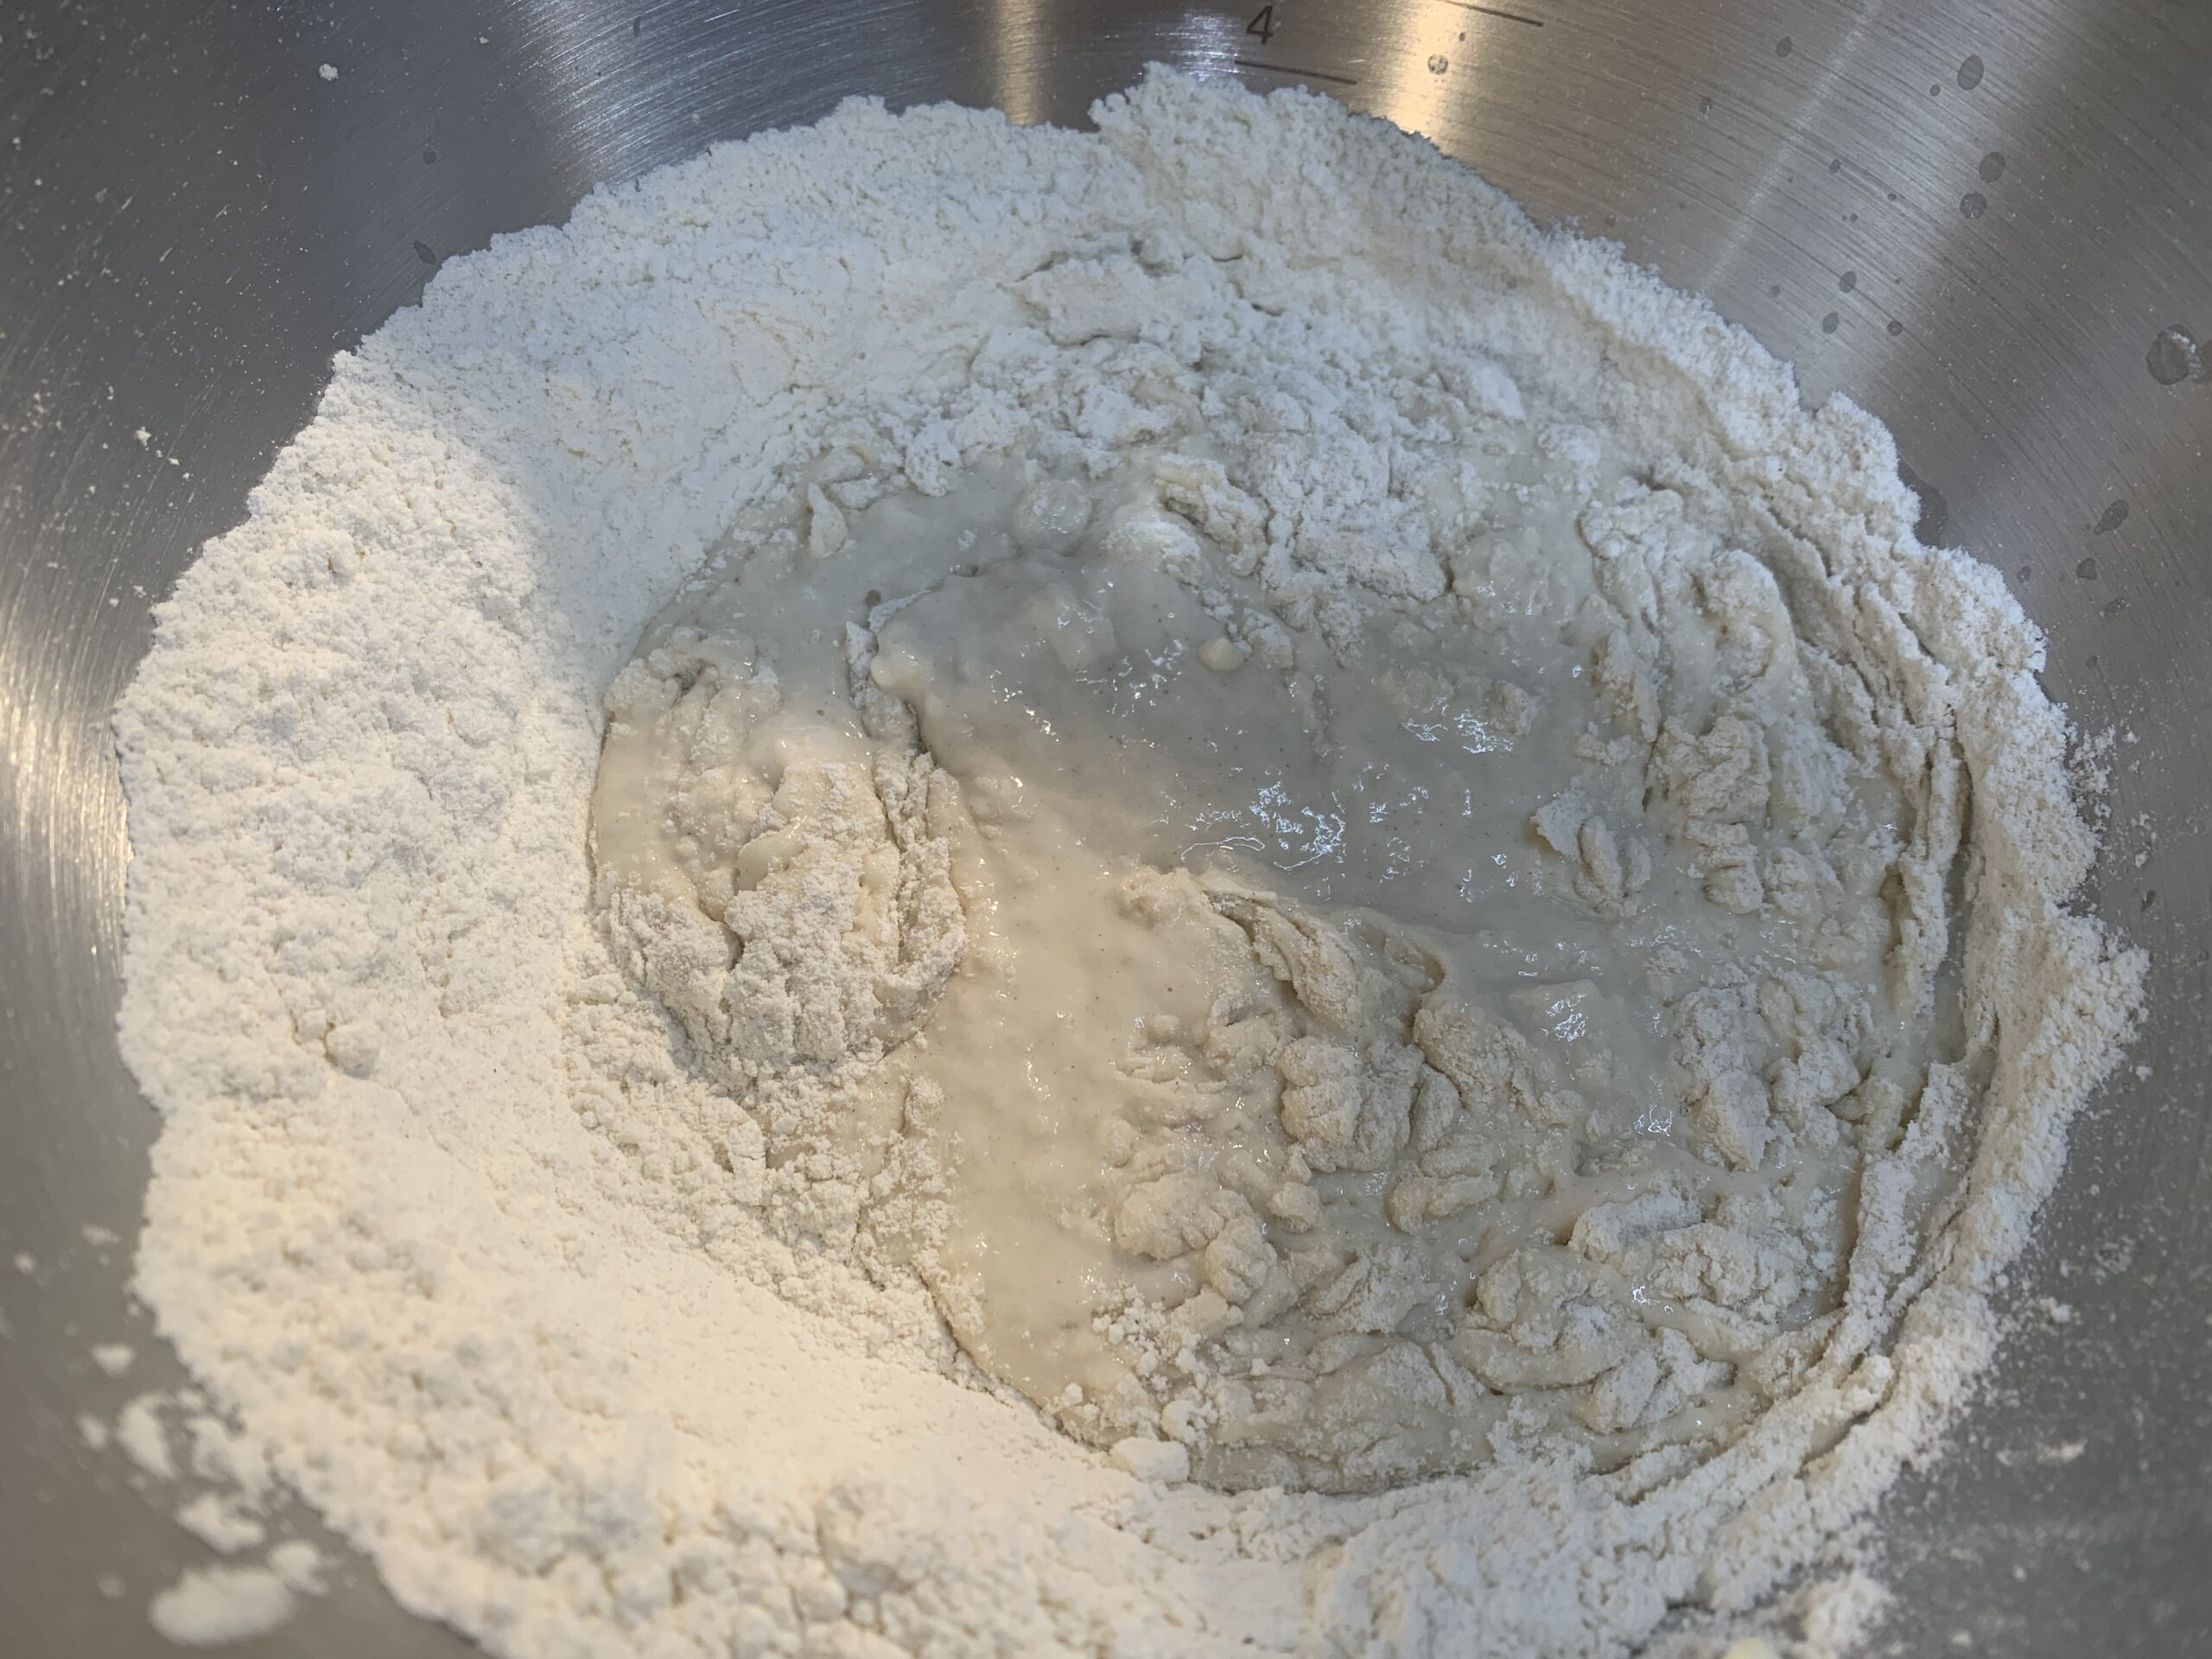
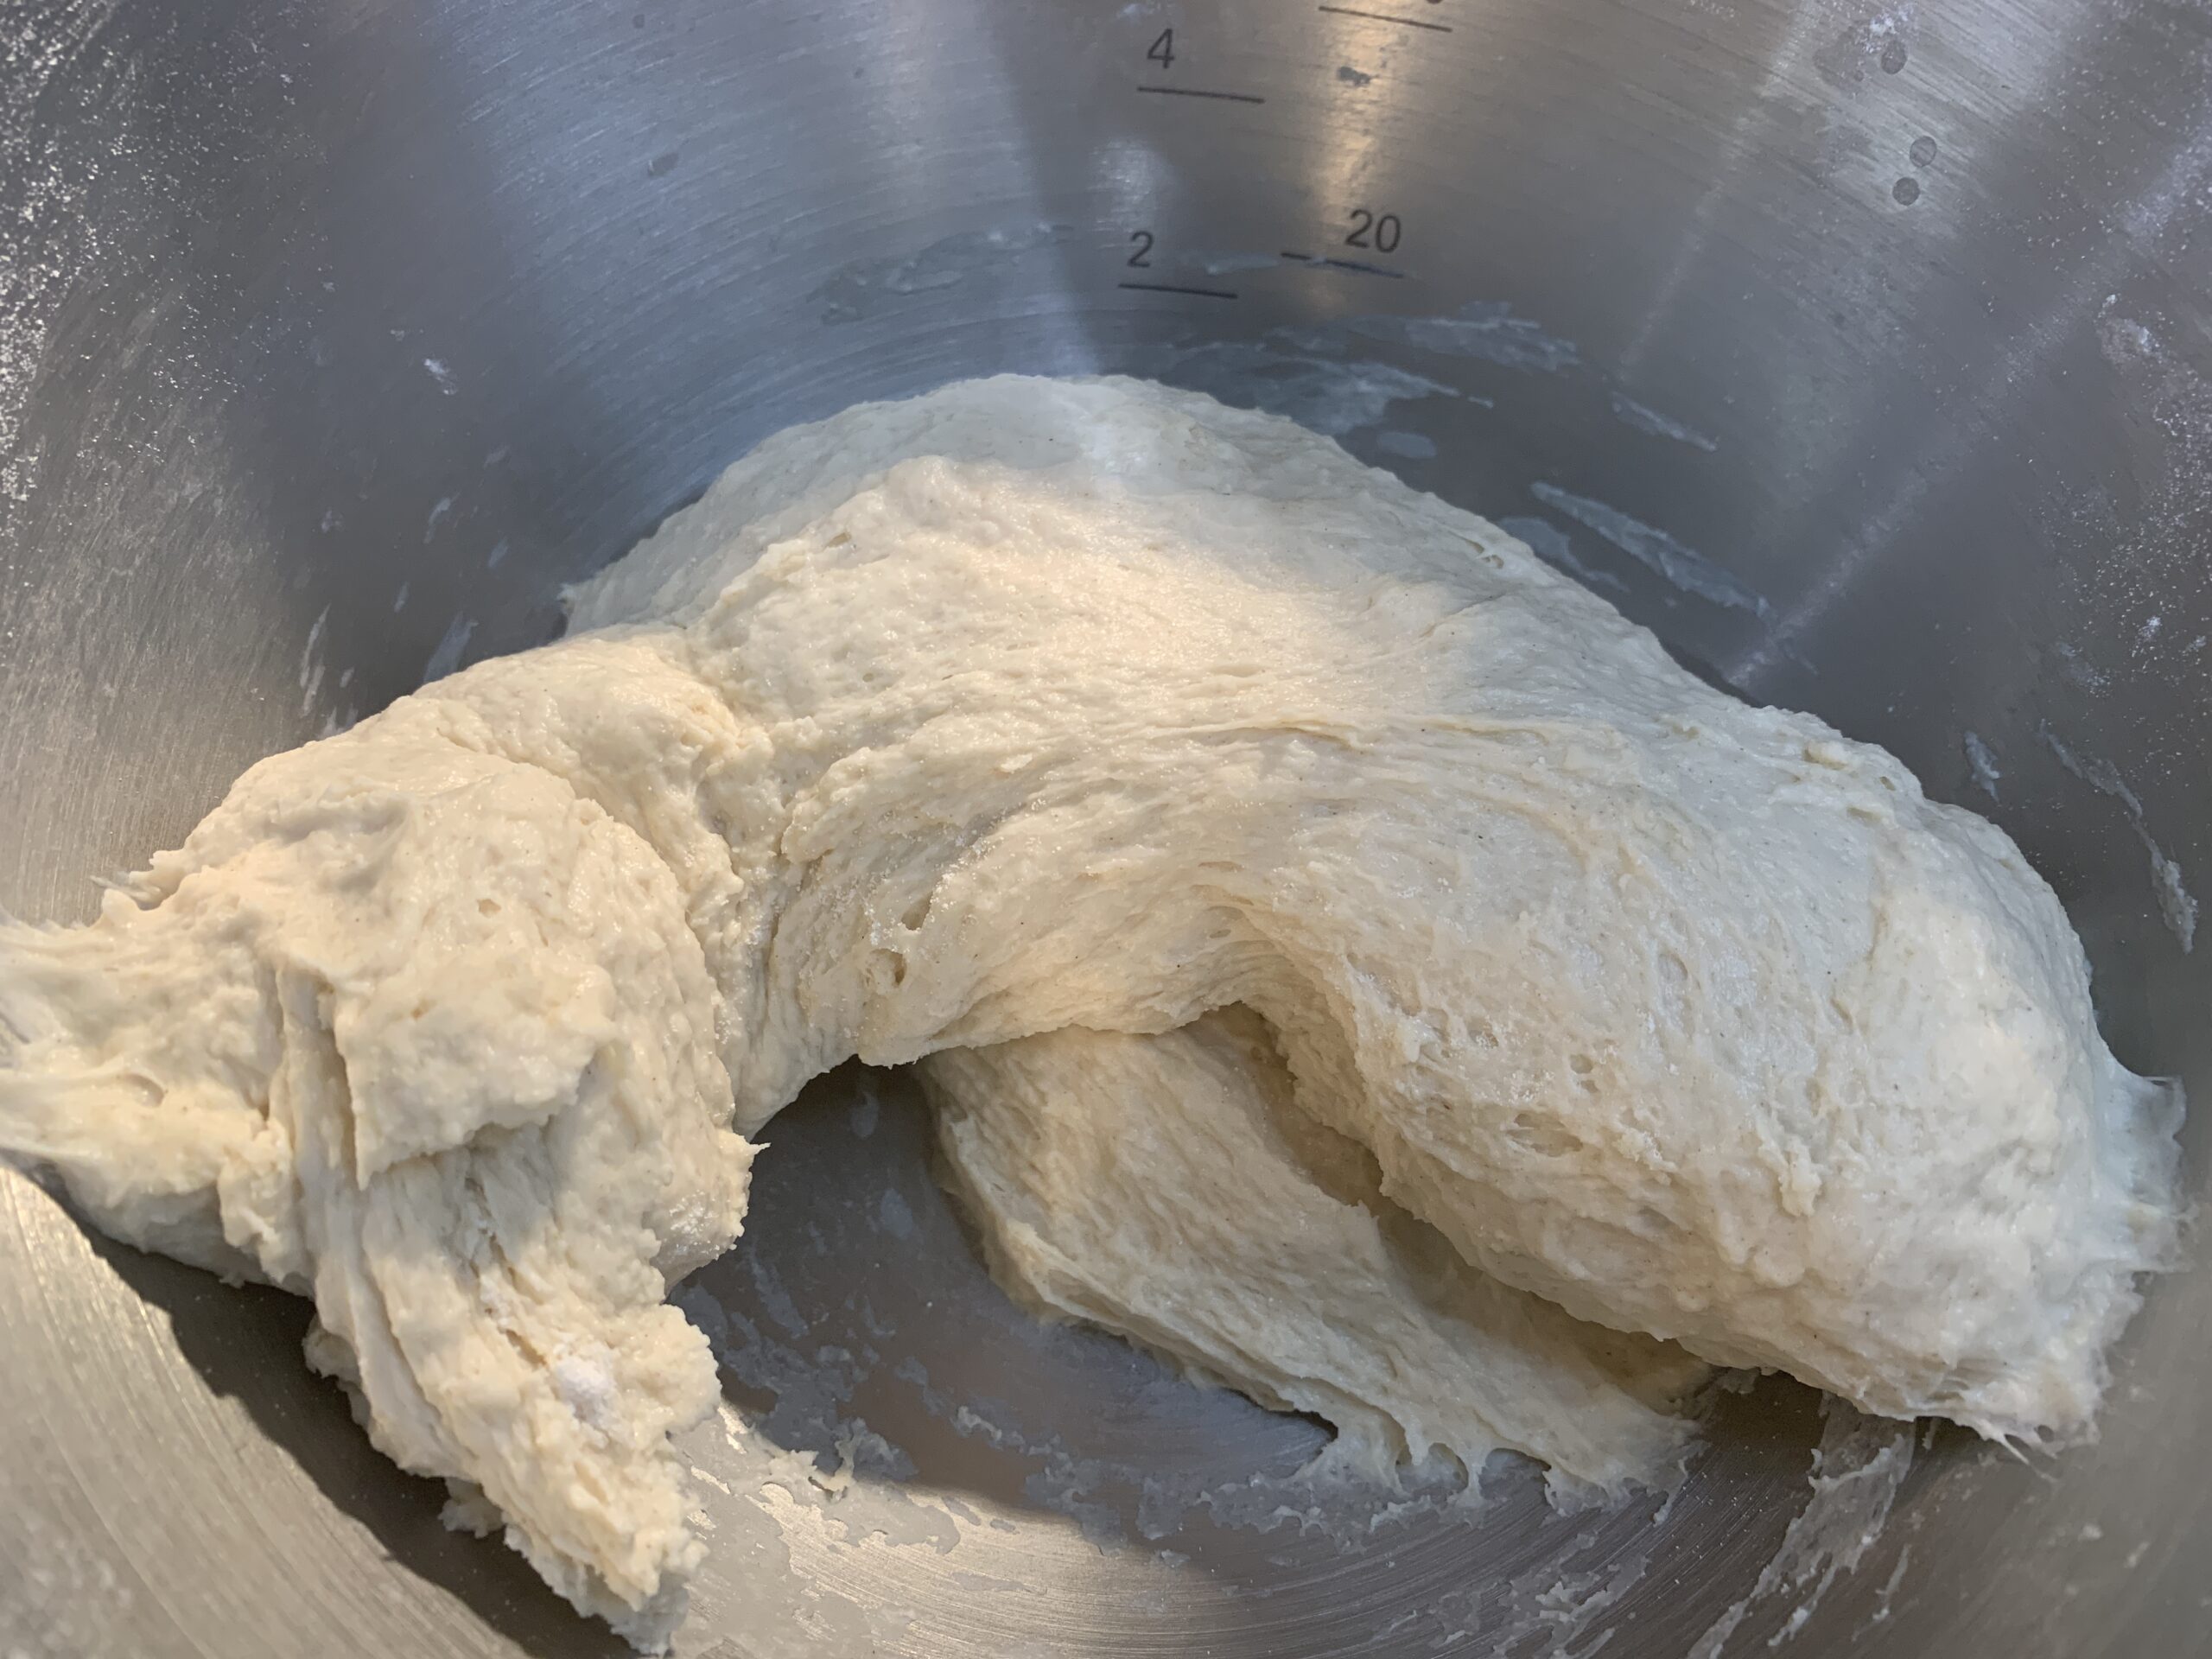
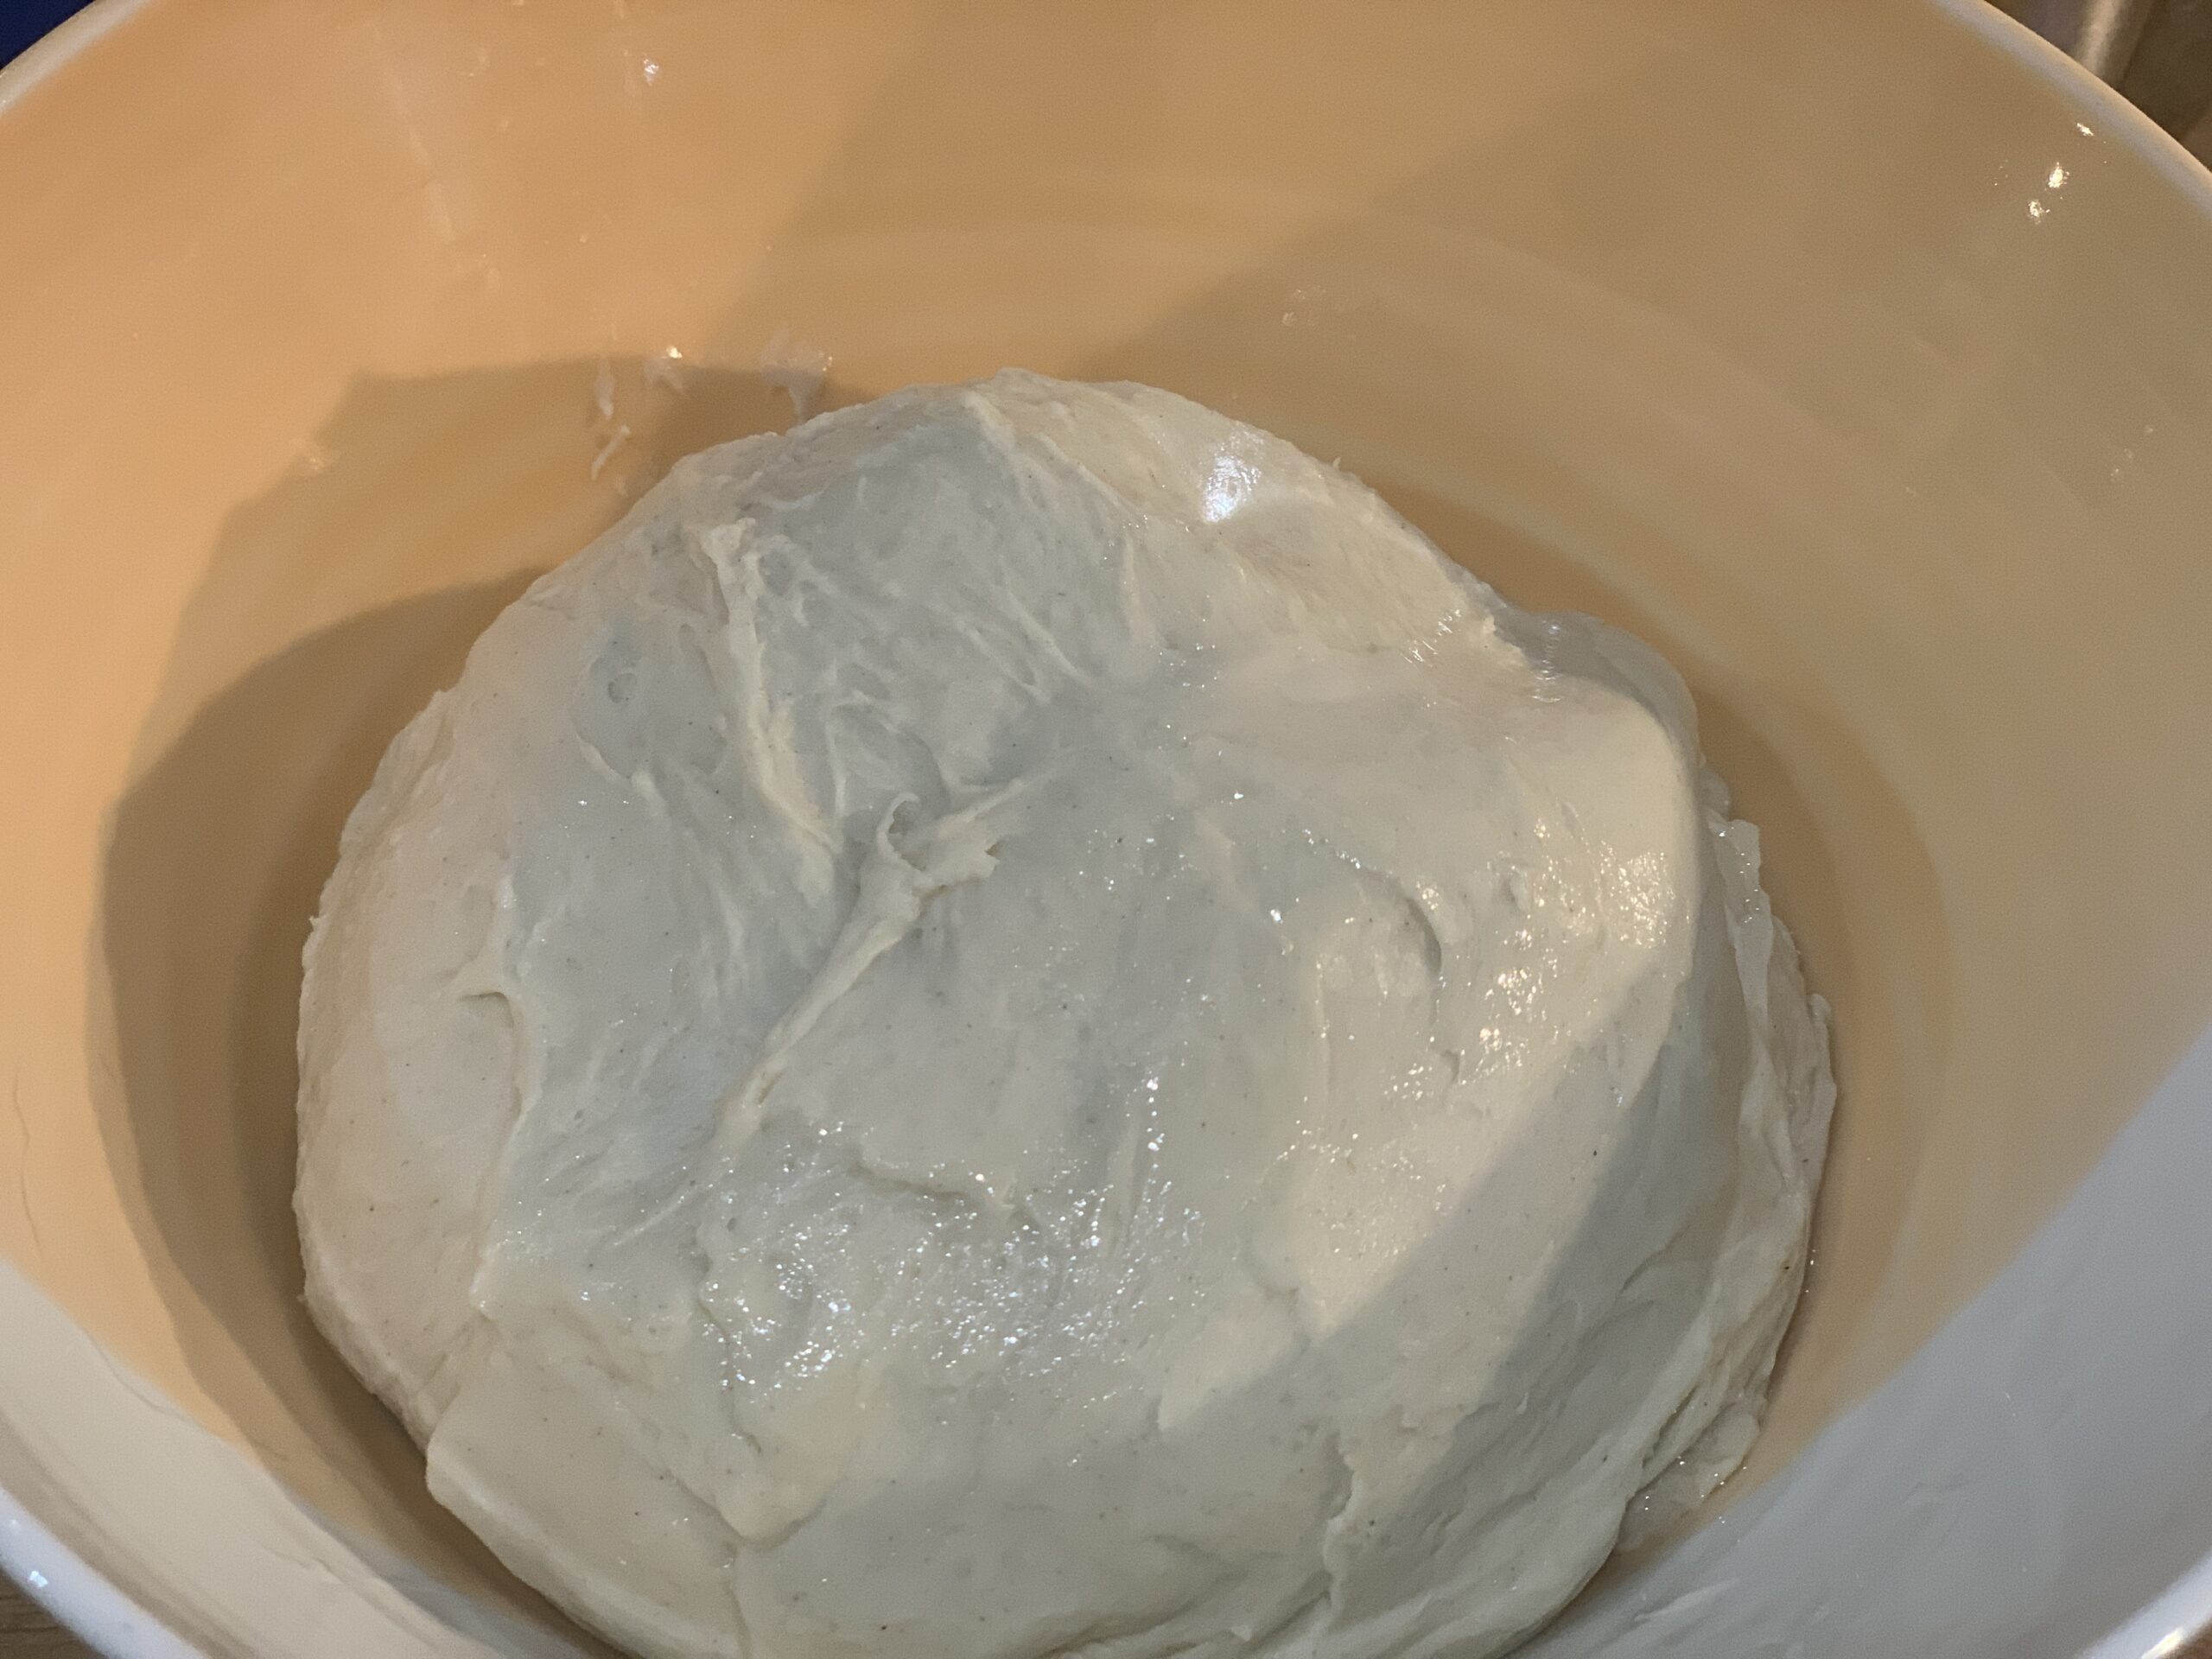
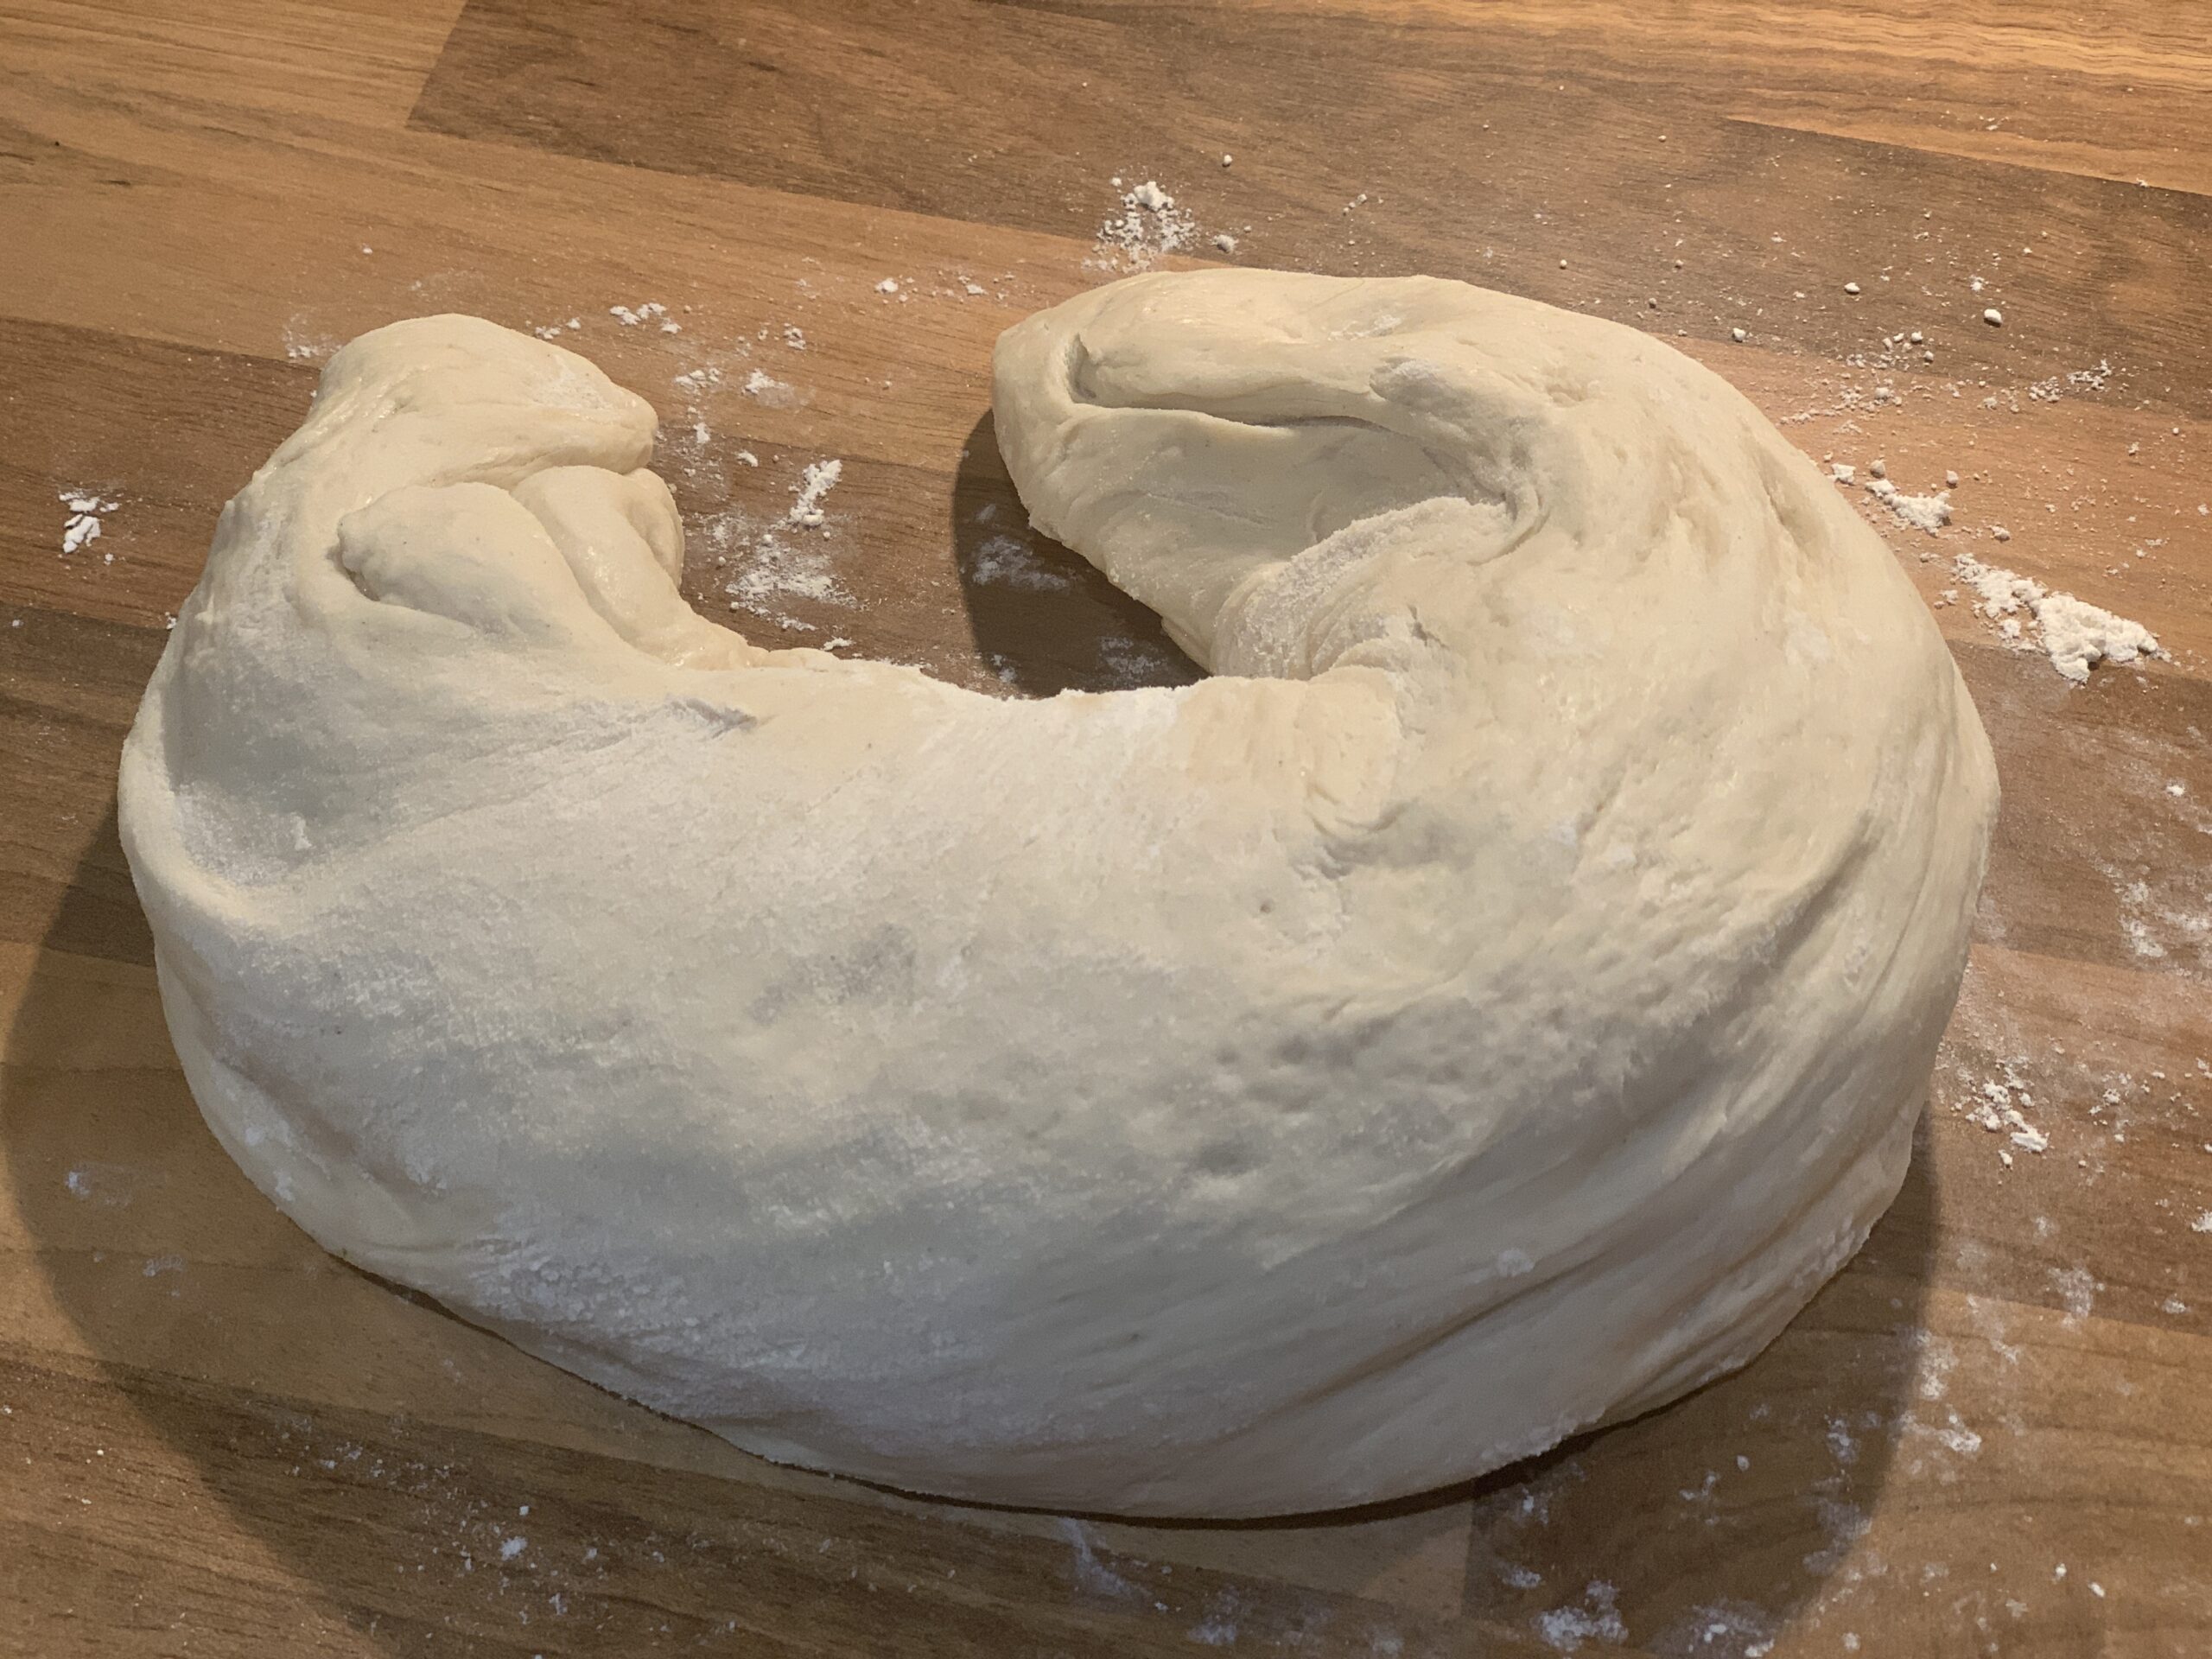
In a bowl mix the flour and salt. Gradually add the flour to the yeast mixture few tablespoons at a time, mixing and kneading between additions. Continue adding the flour until the dough can be pulled away from the sides of the bowl with a spatula, but the dough will still be quite sticky.
You may need to add in a little bit more or less flour, but the key is to remember that the dough will be slightly sticky and will stick to your fingers when you try to pull it apart.
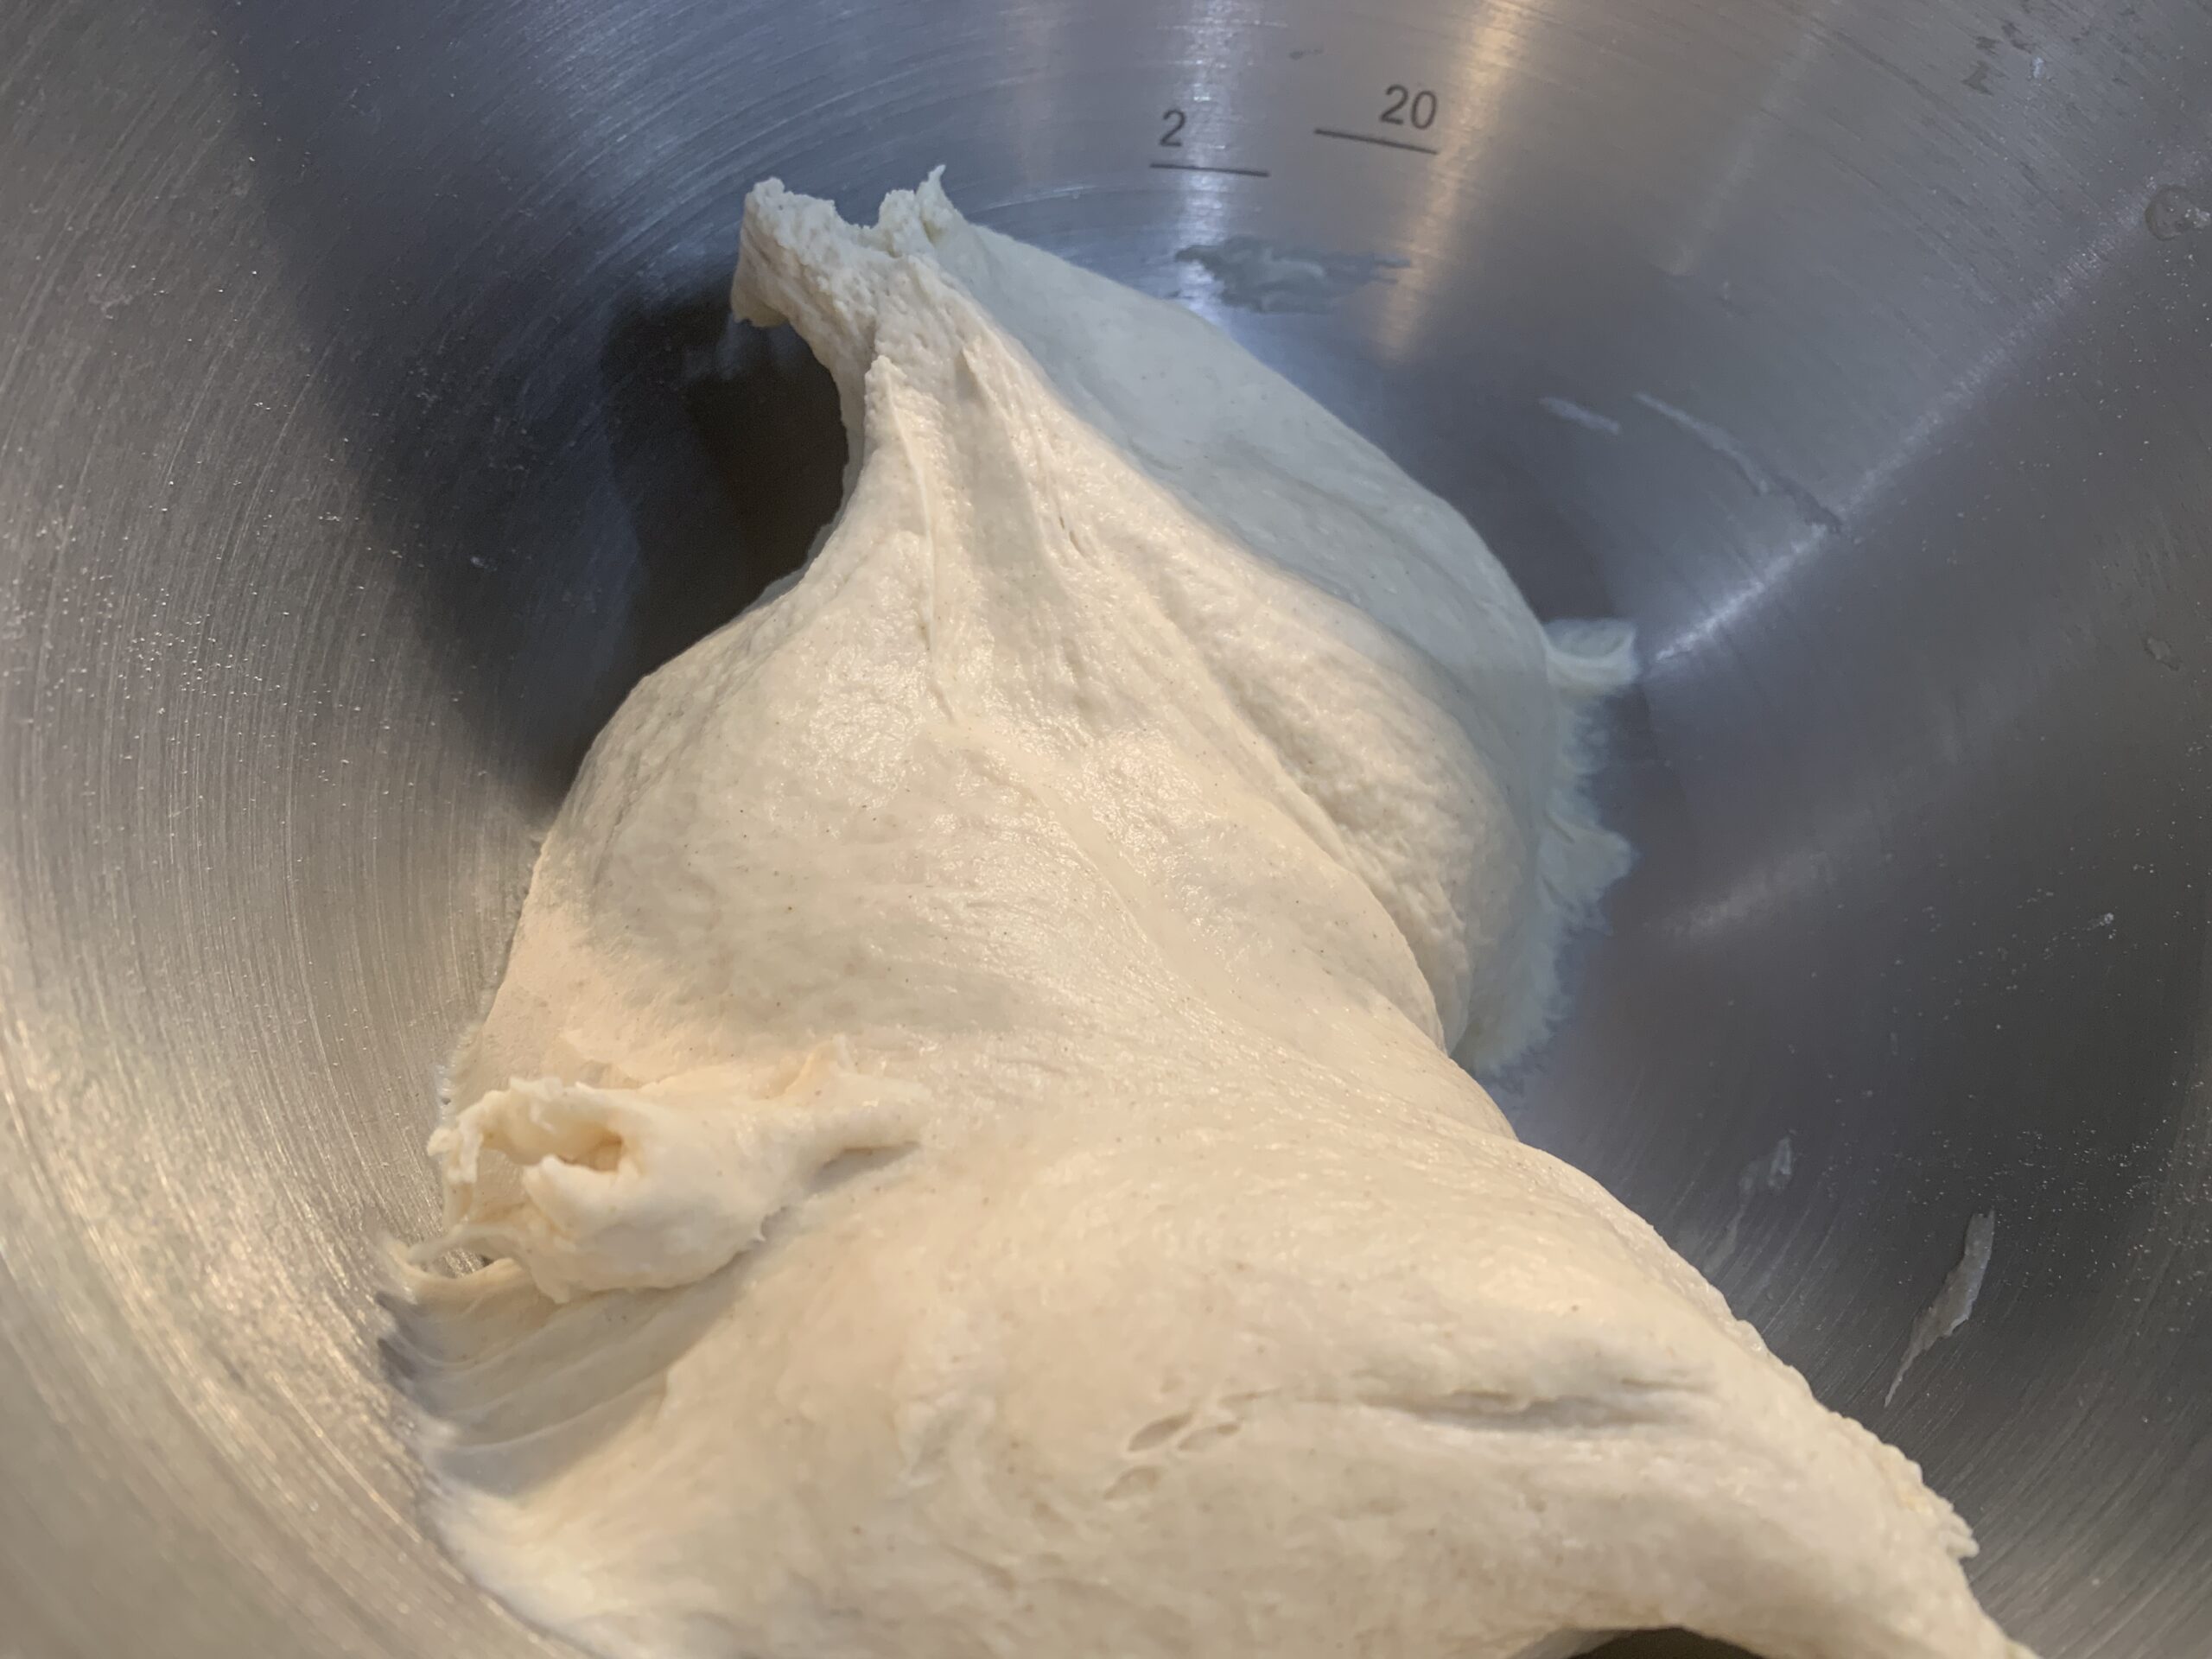
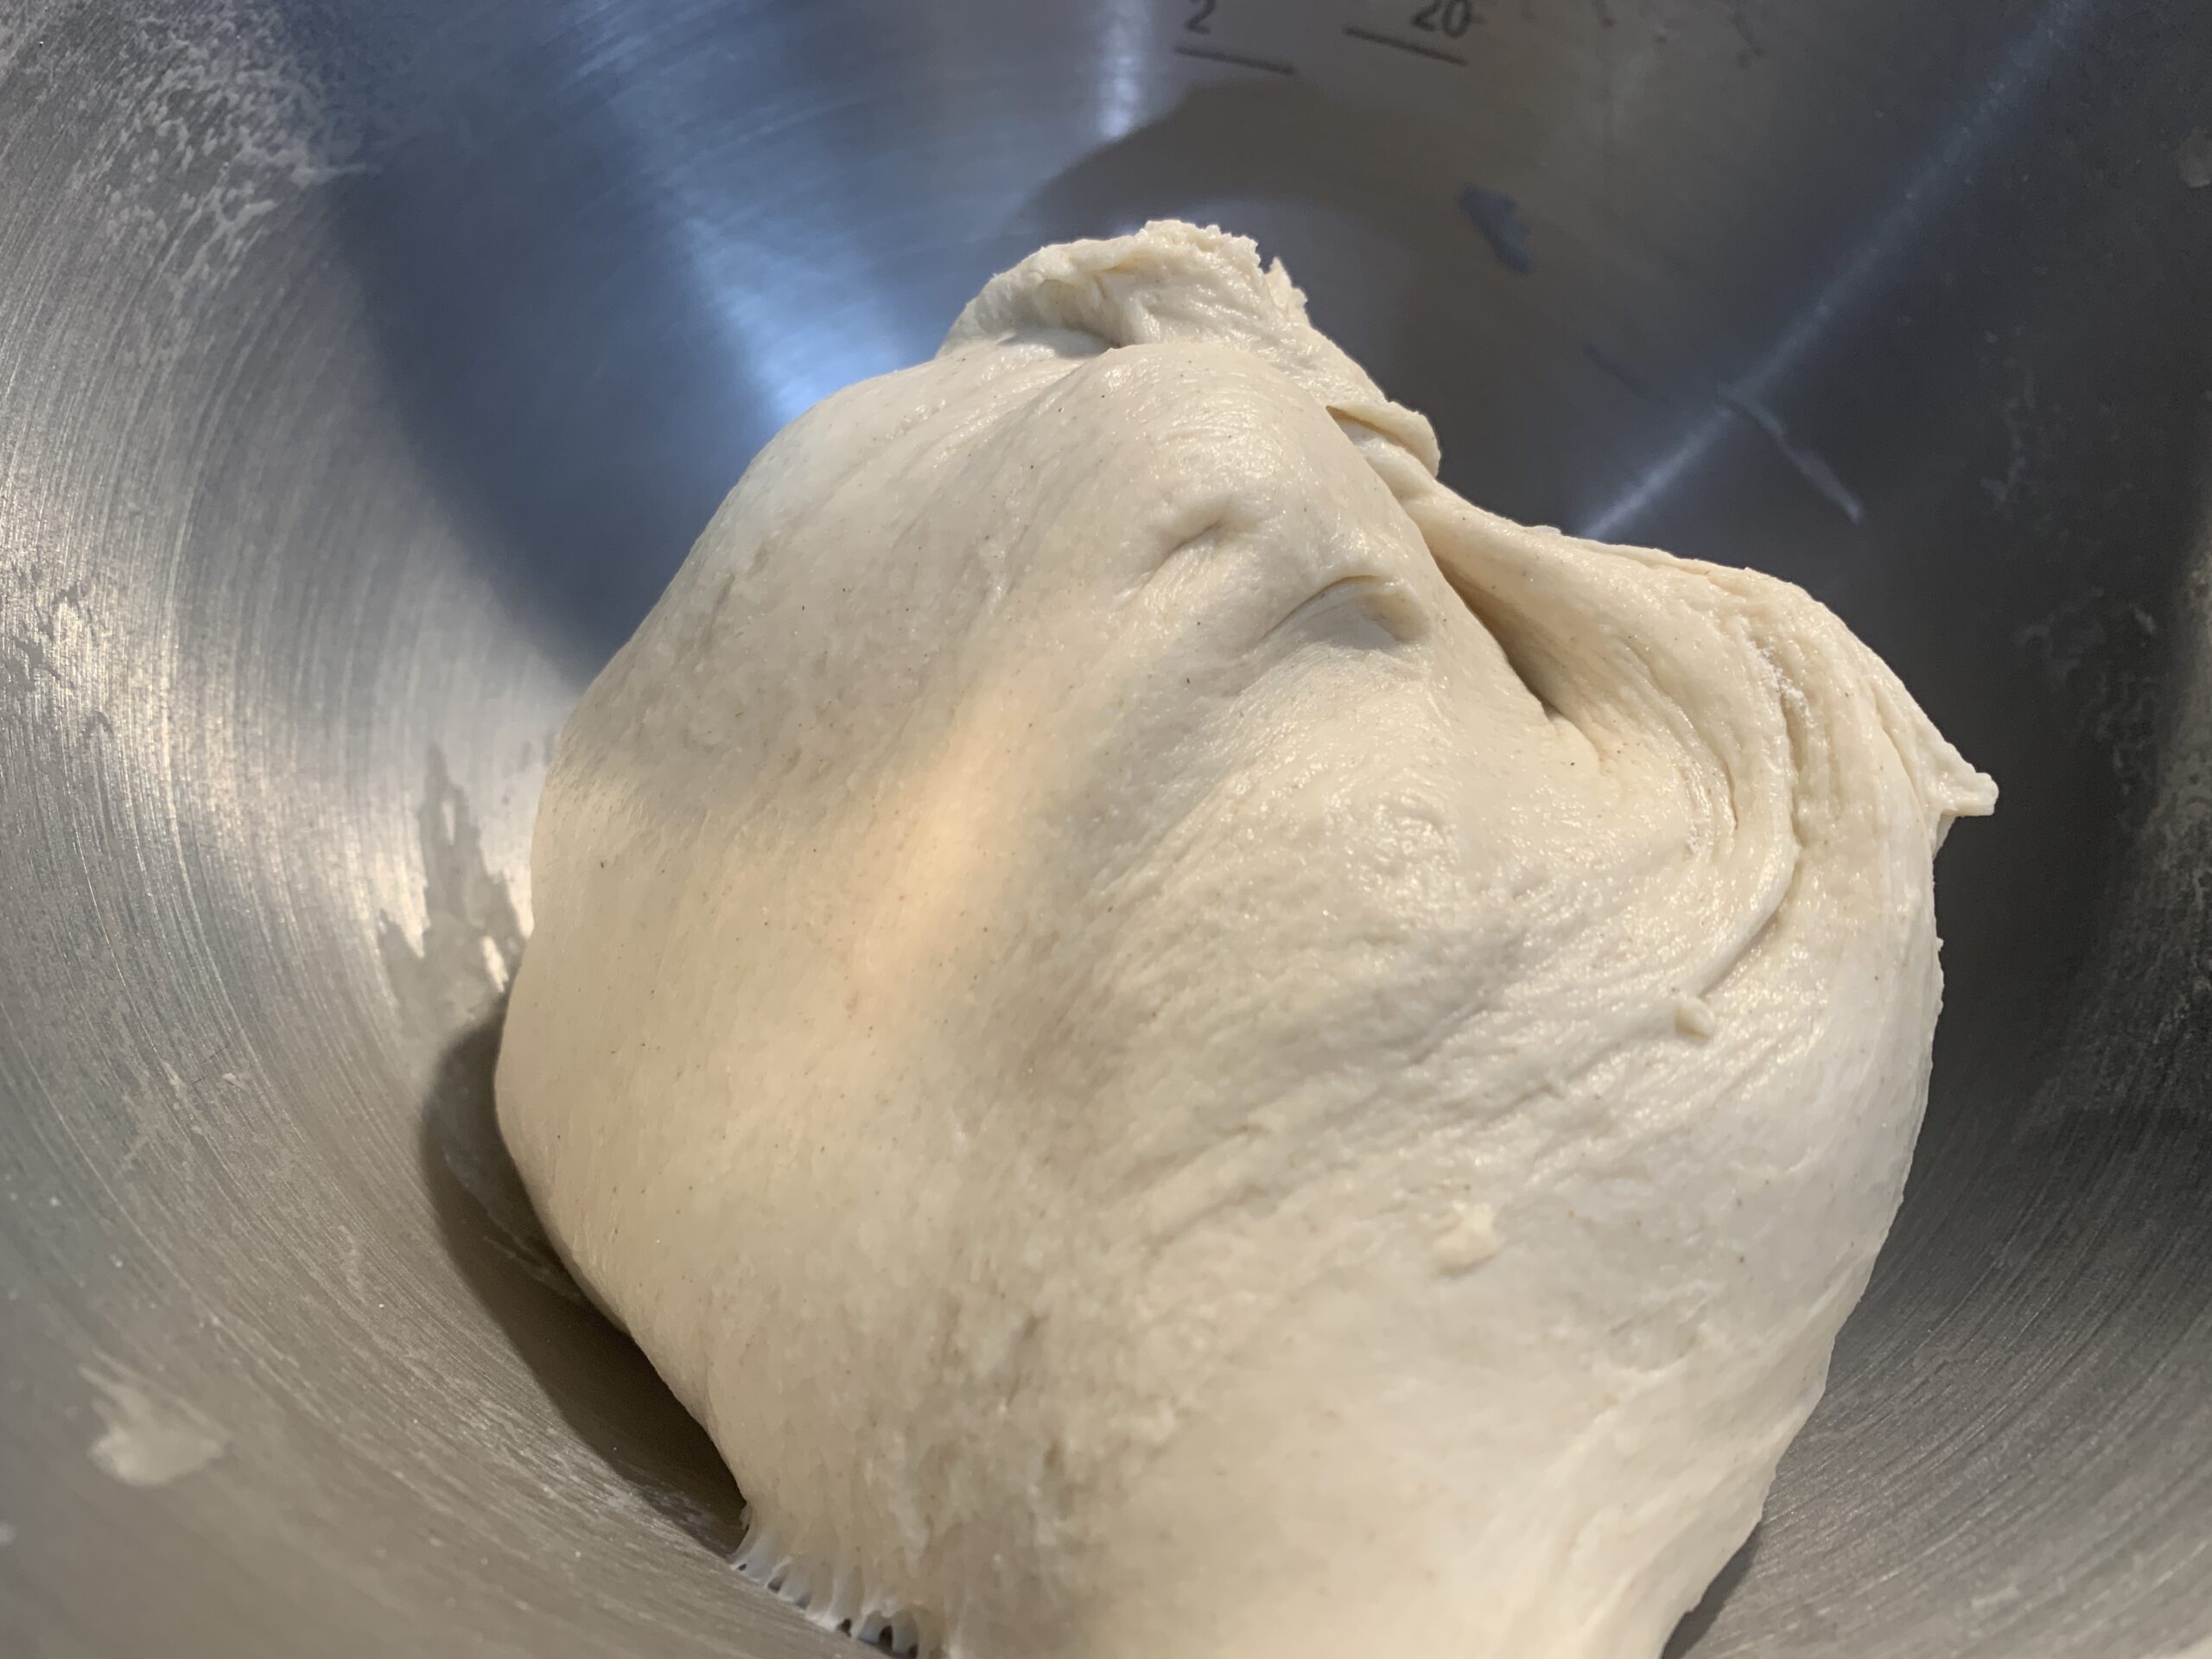
A simple test to check if the dough is ready for proofing is tear a small piece of dough off and gently stretch it so it does not tear. If you see a web like structure when held up to light, then the gluten has developed enough strands and it is ready for proofing. If it breaks apart the dough needs more kneading.

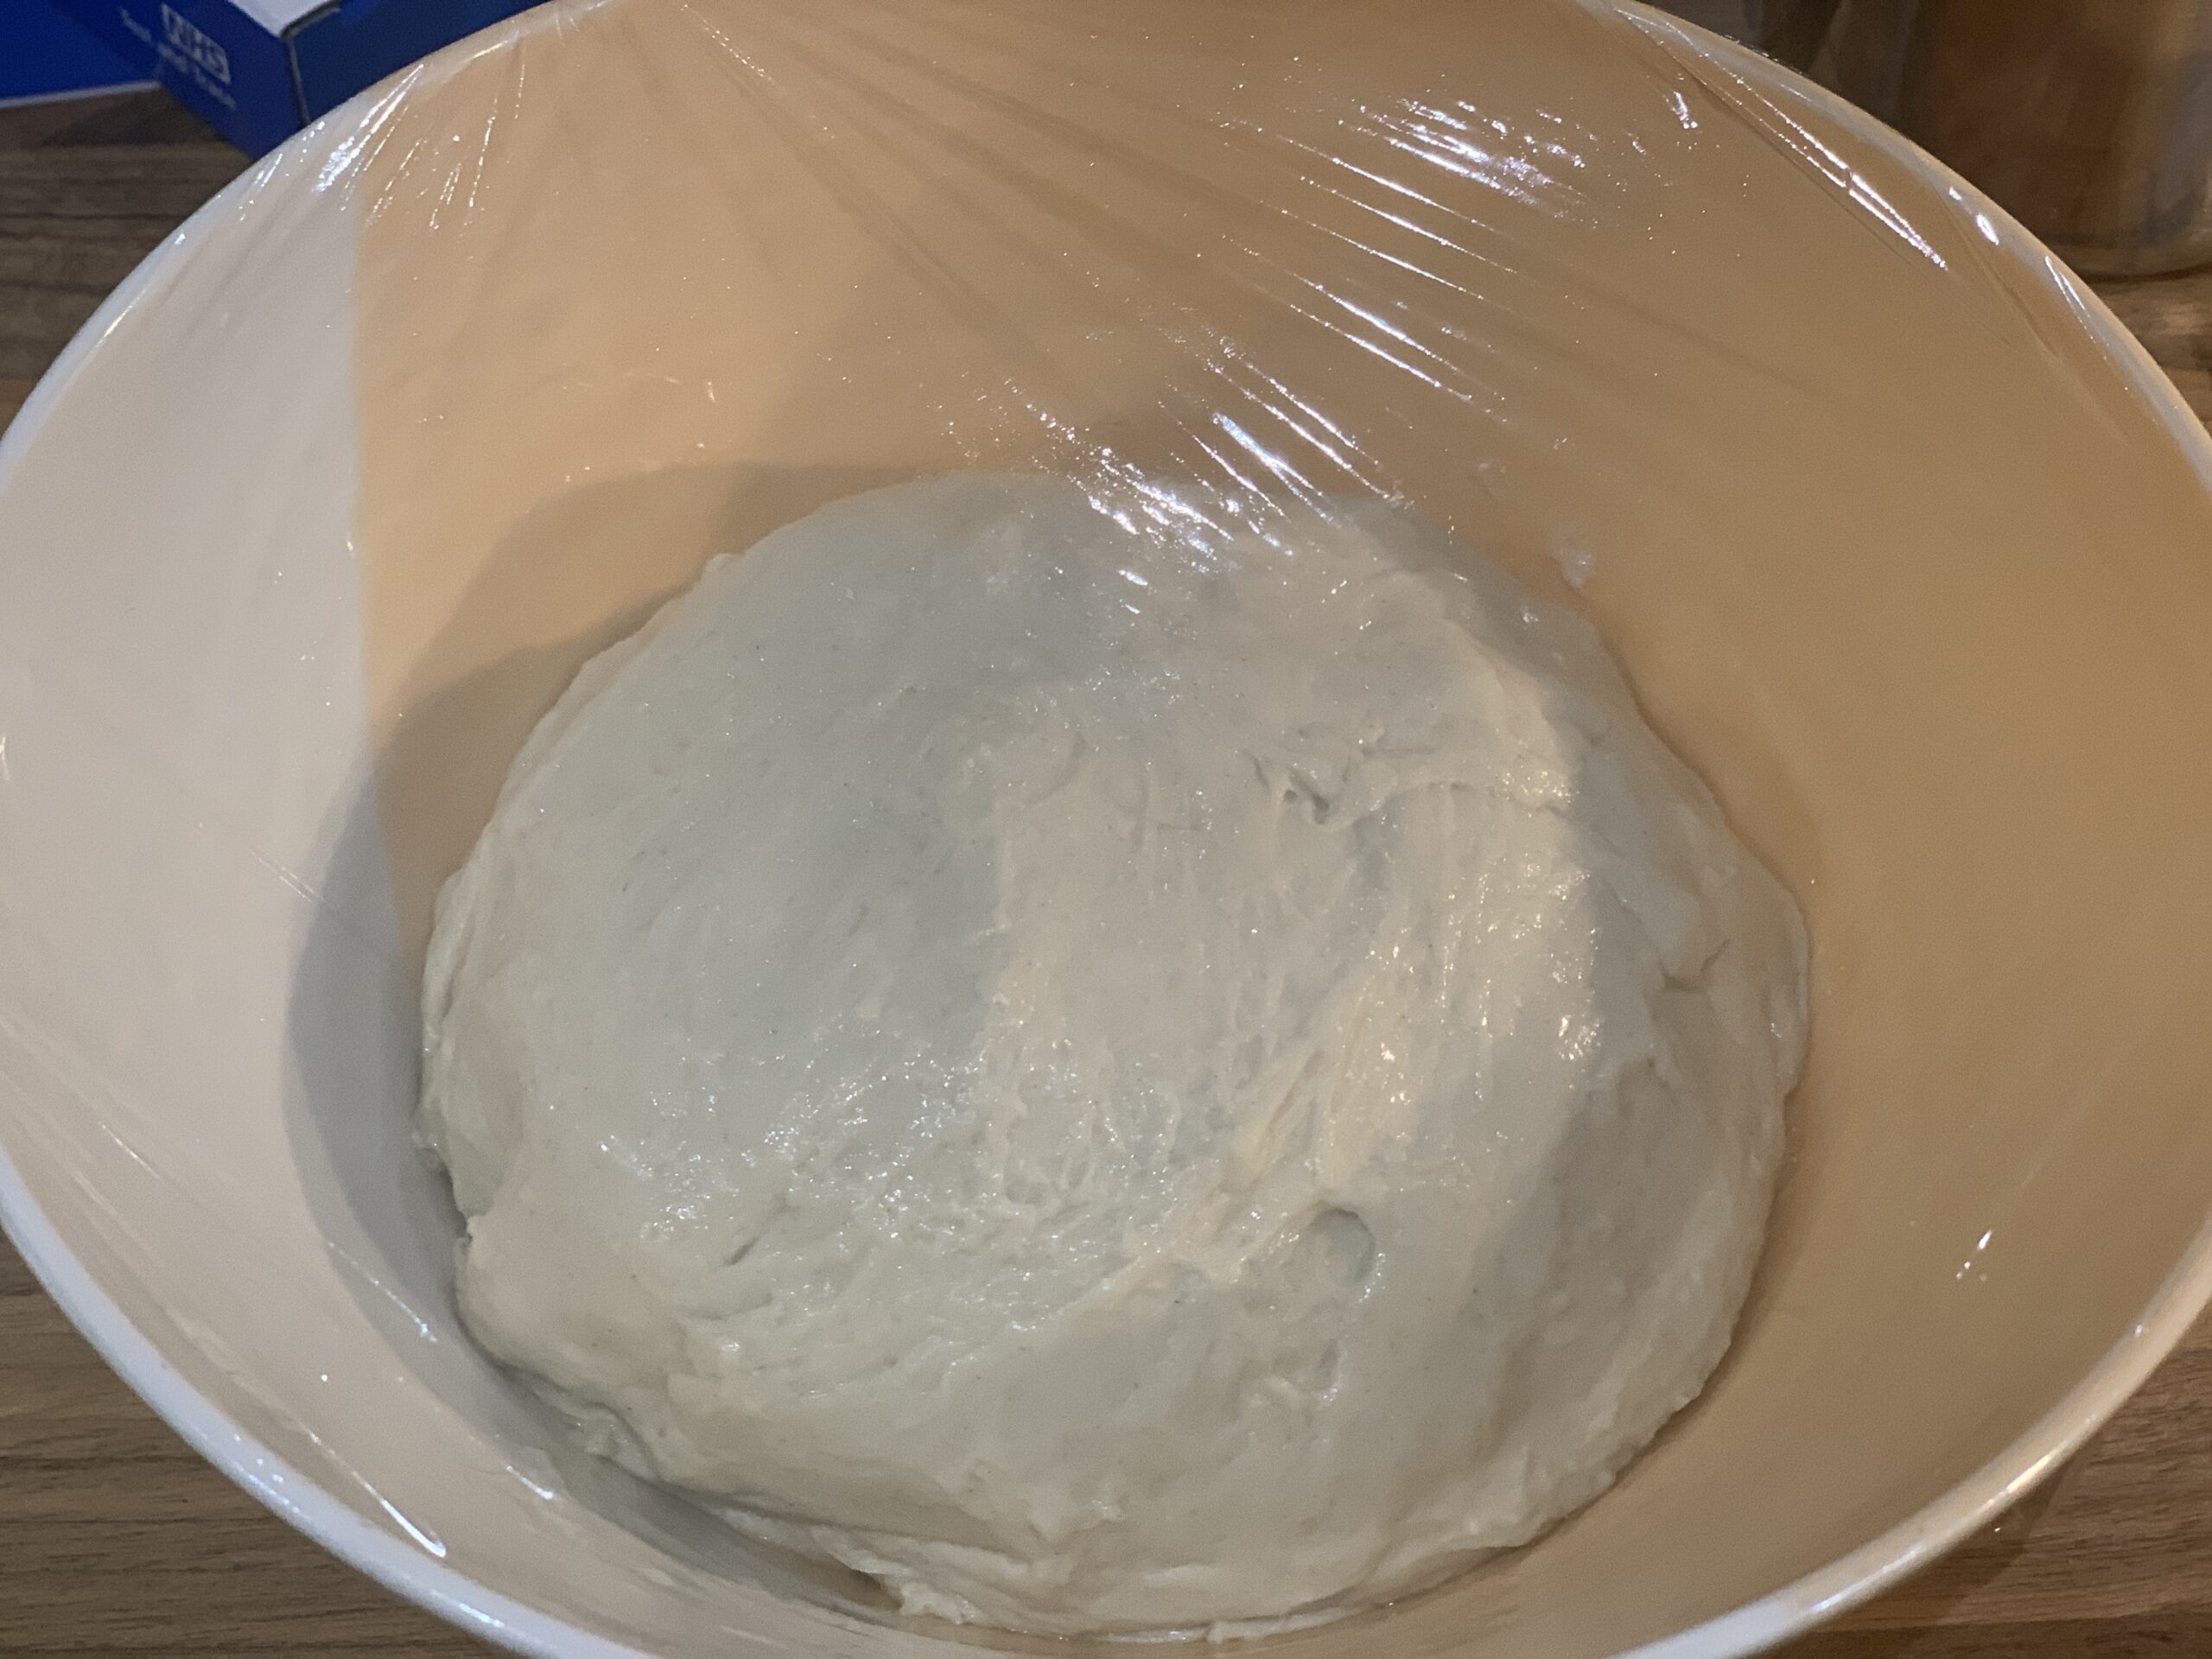
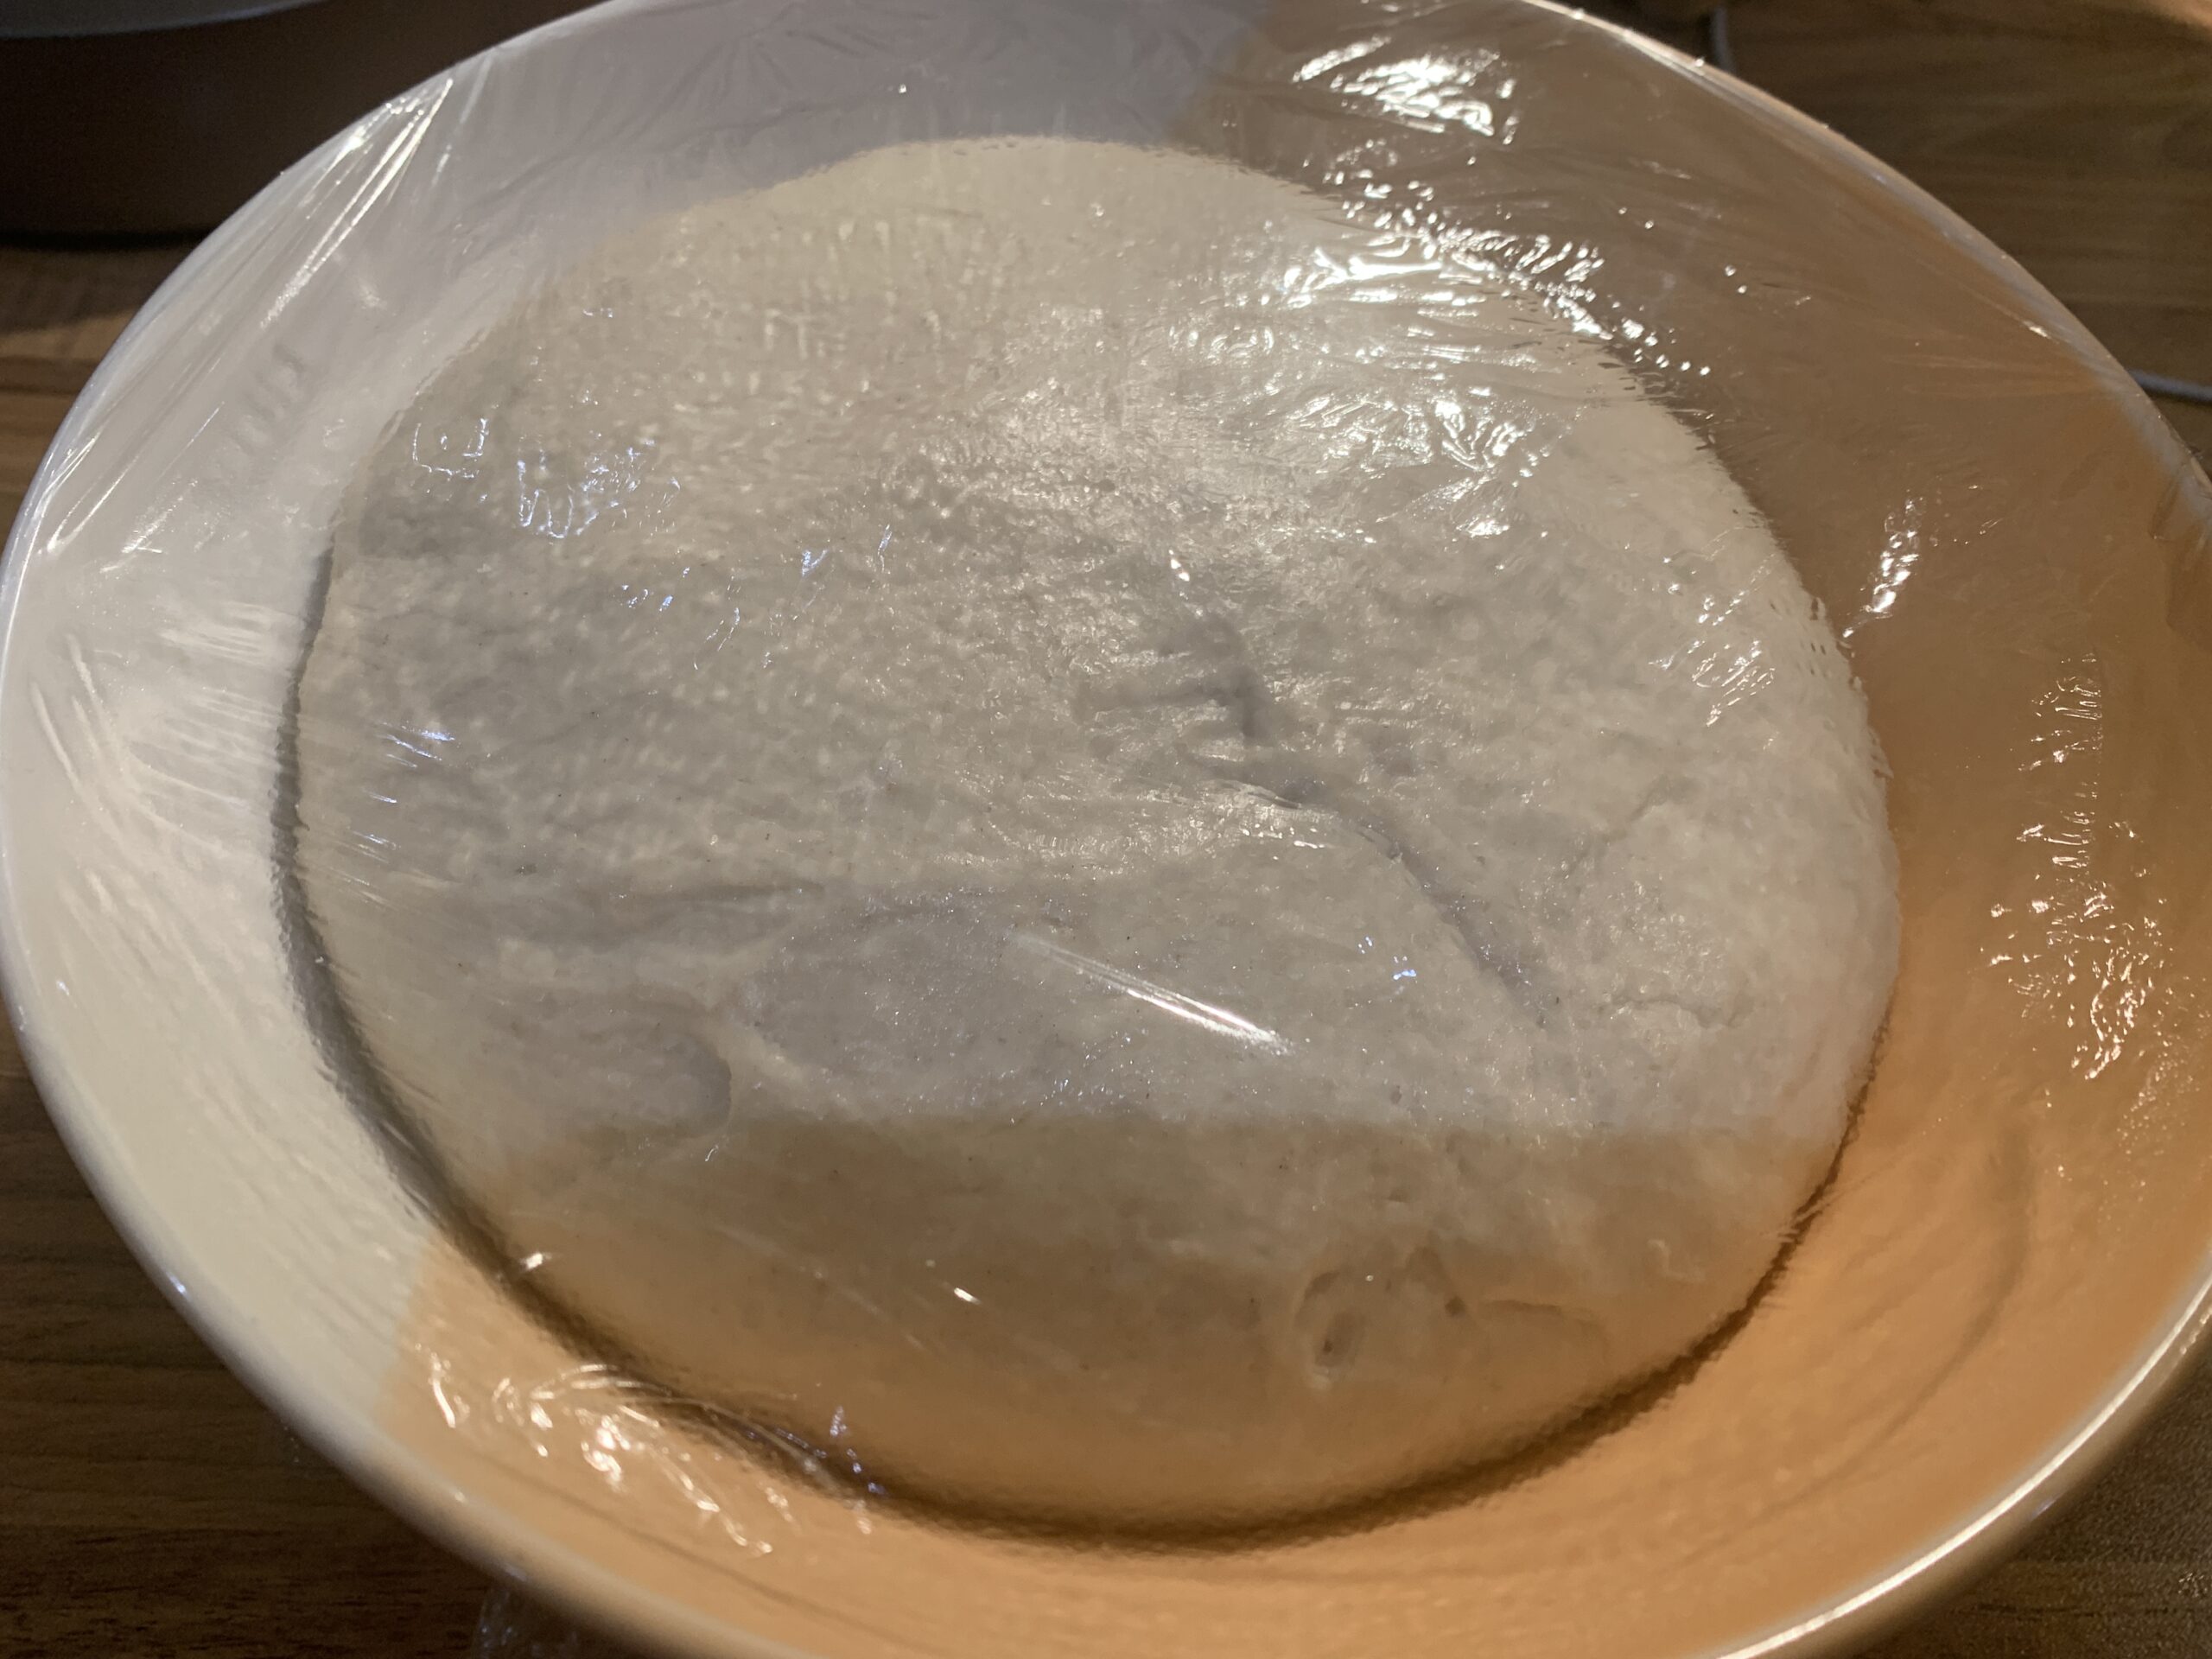
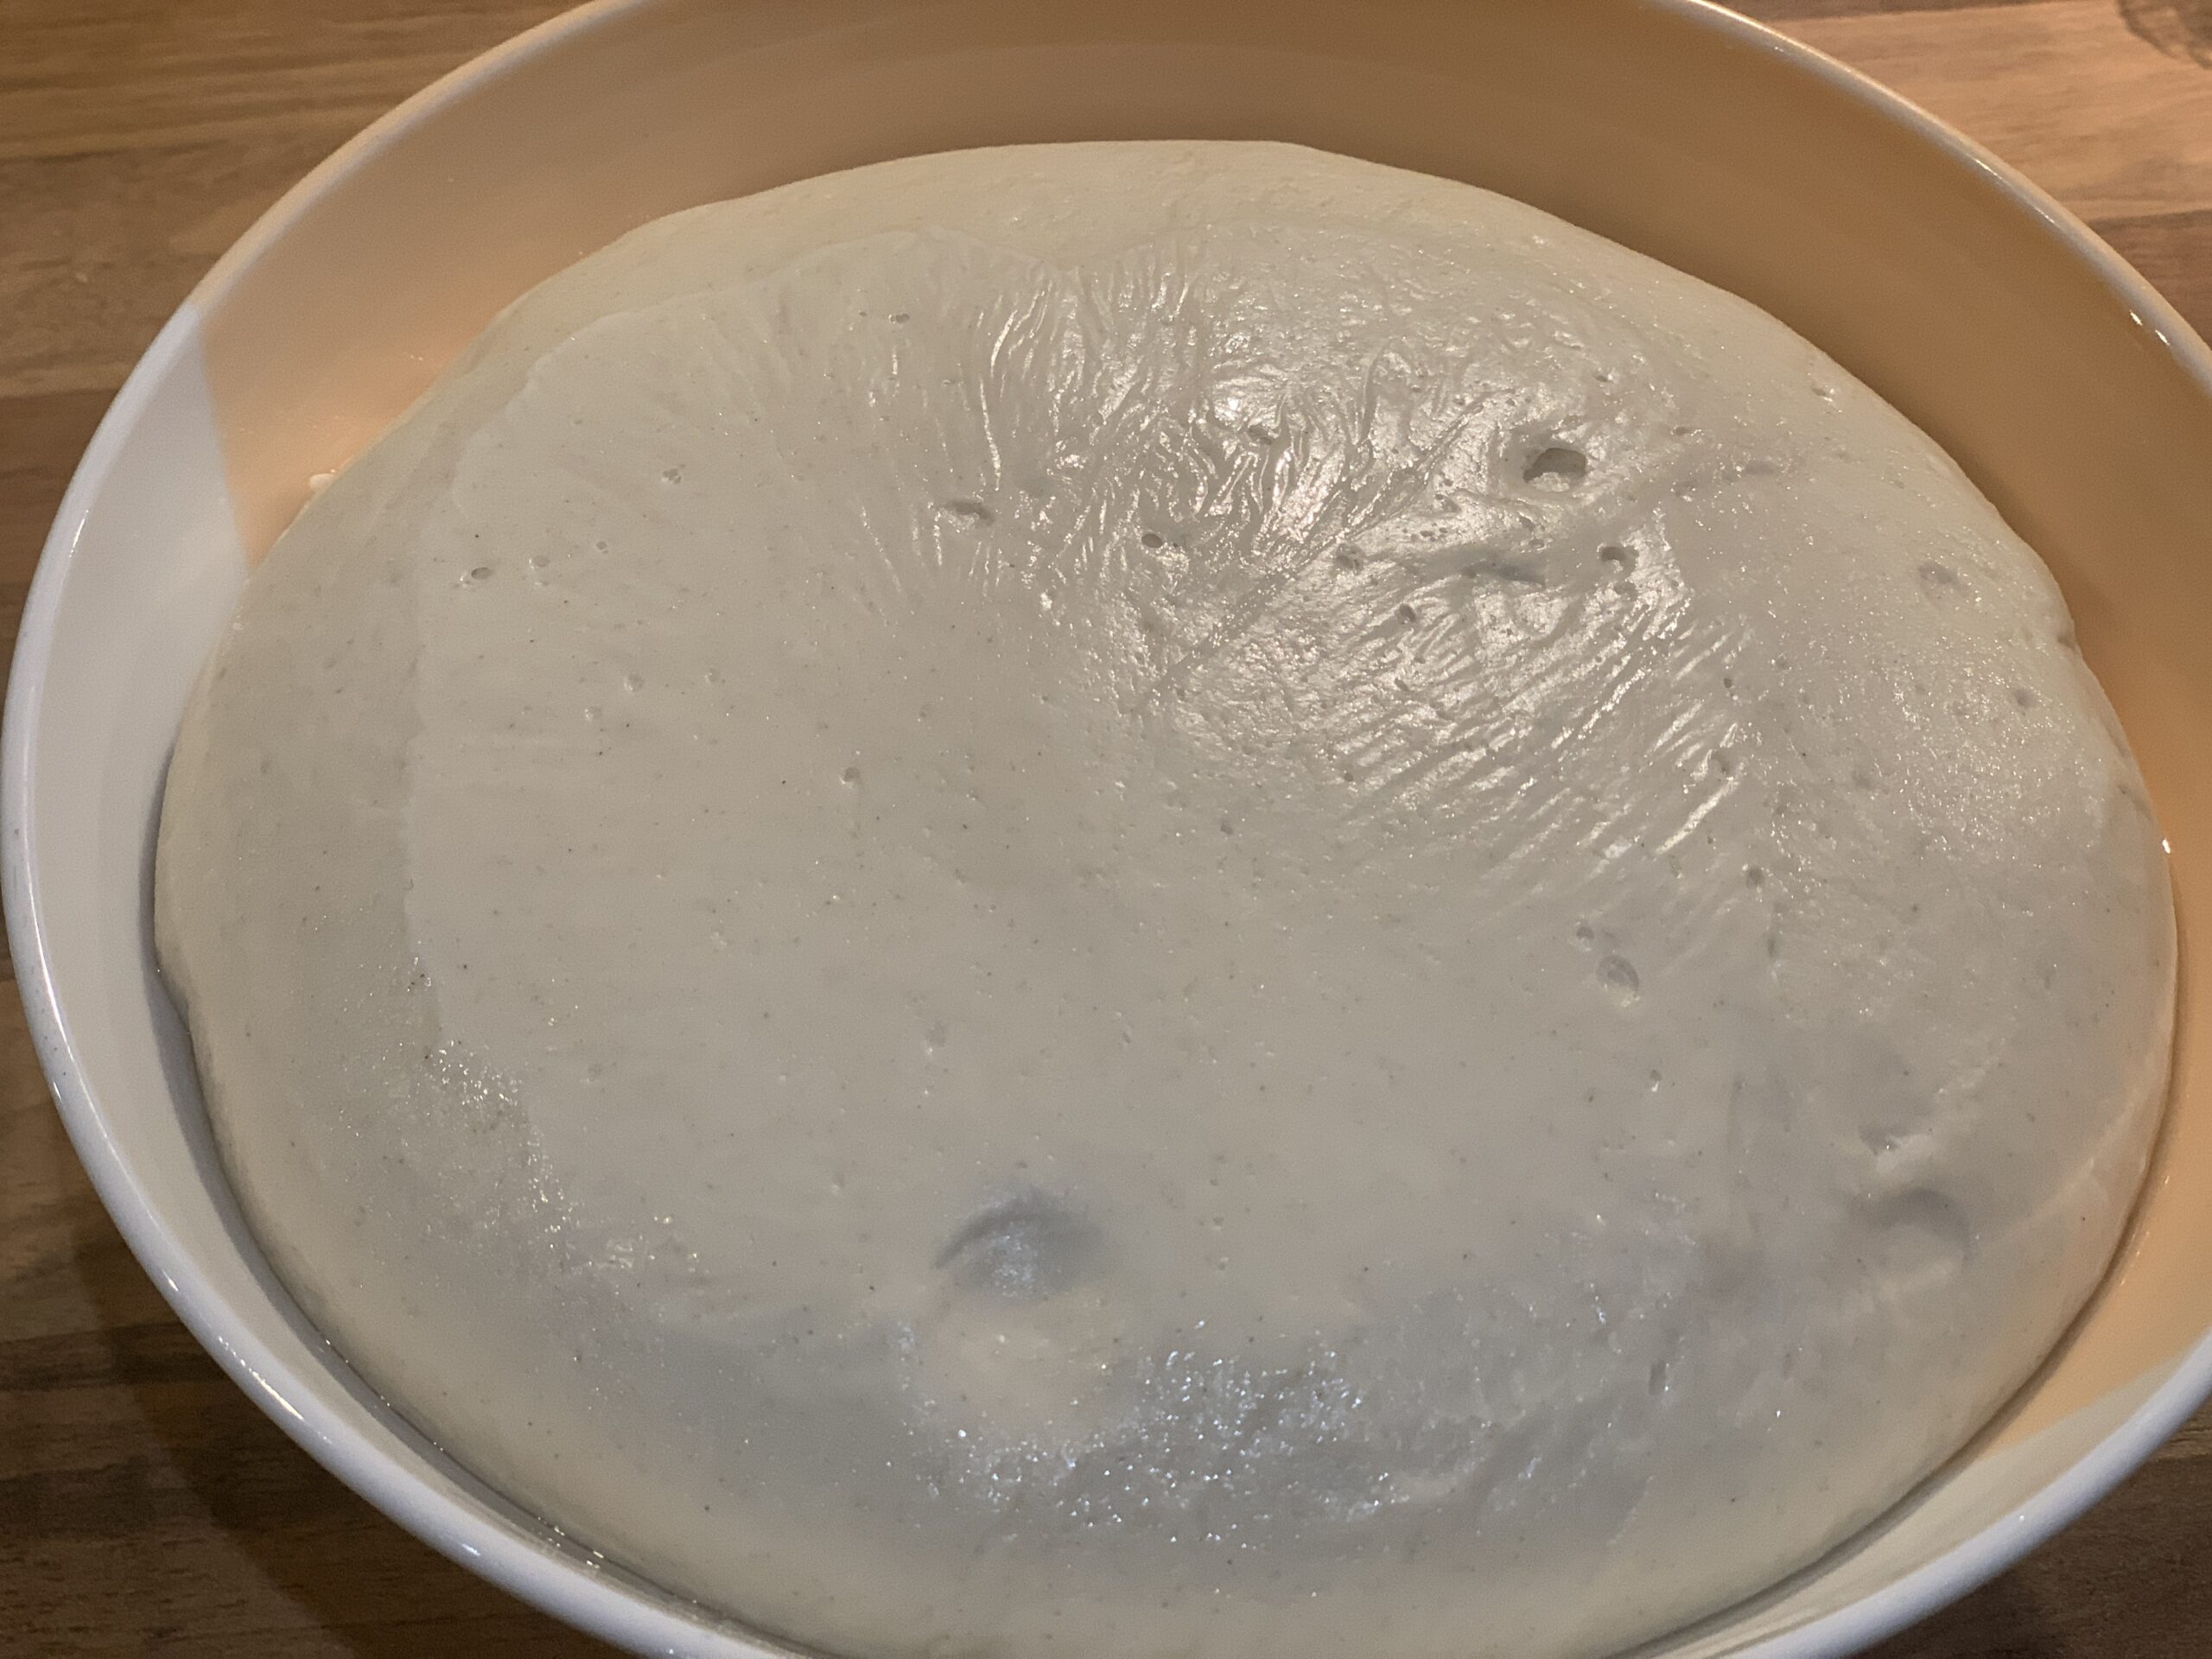
Grease a large bowl and gently scrape the dough into it. Cover the bowl and a let the dough rise at room temperature until doubled for 1-2 hours.
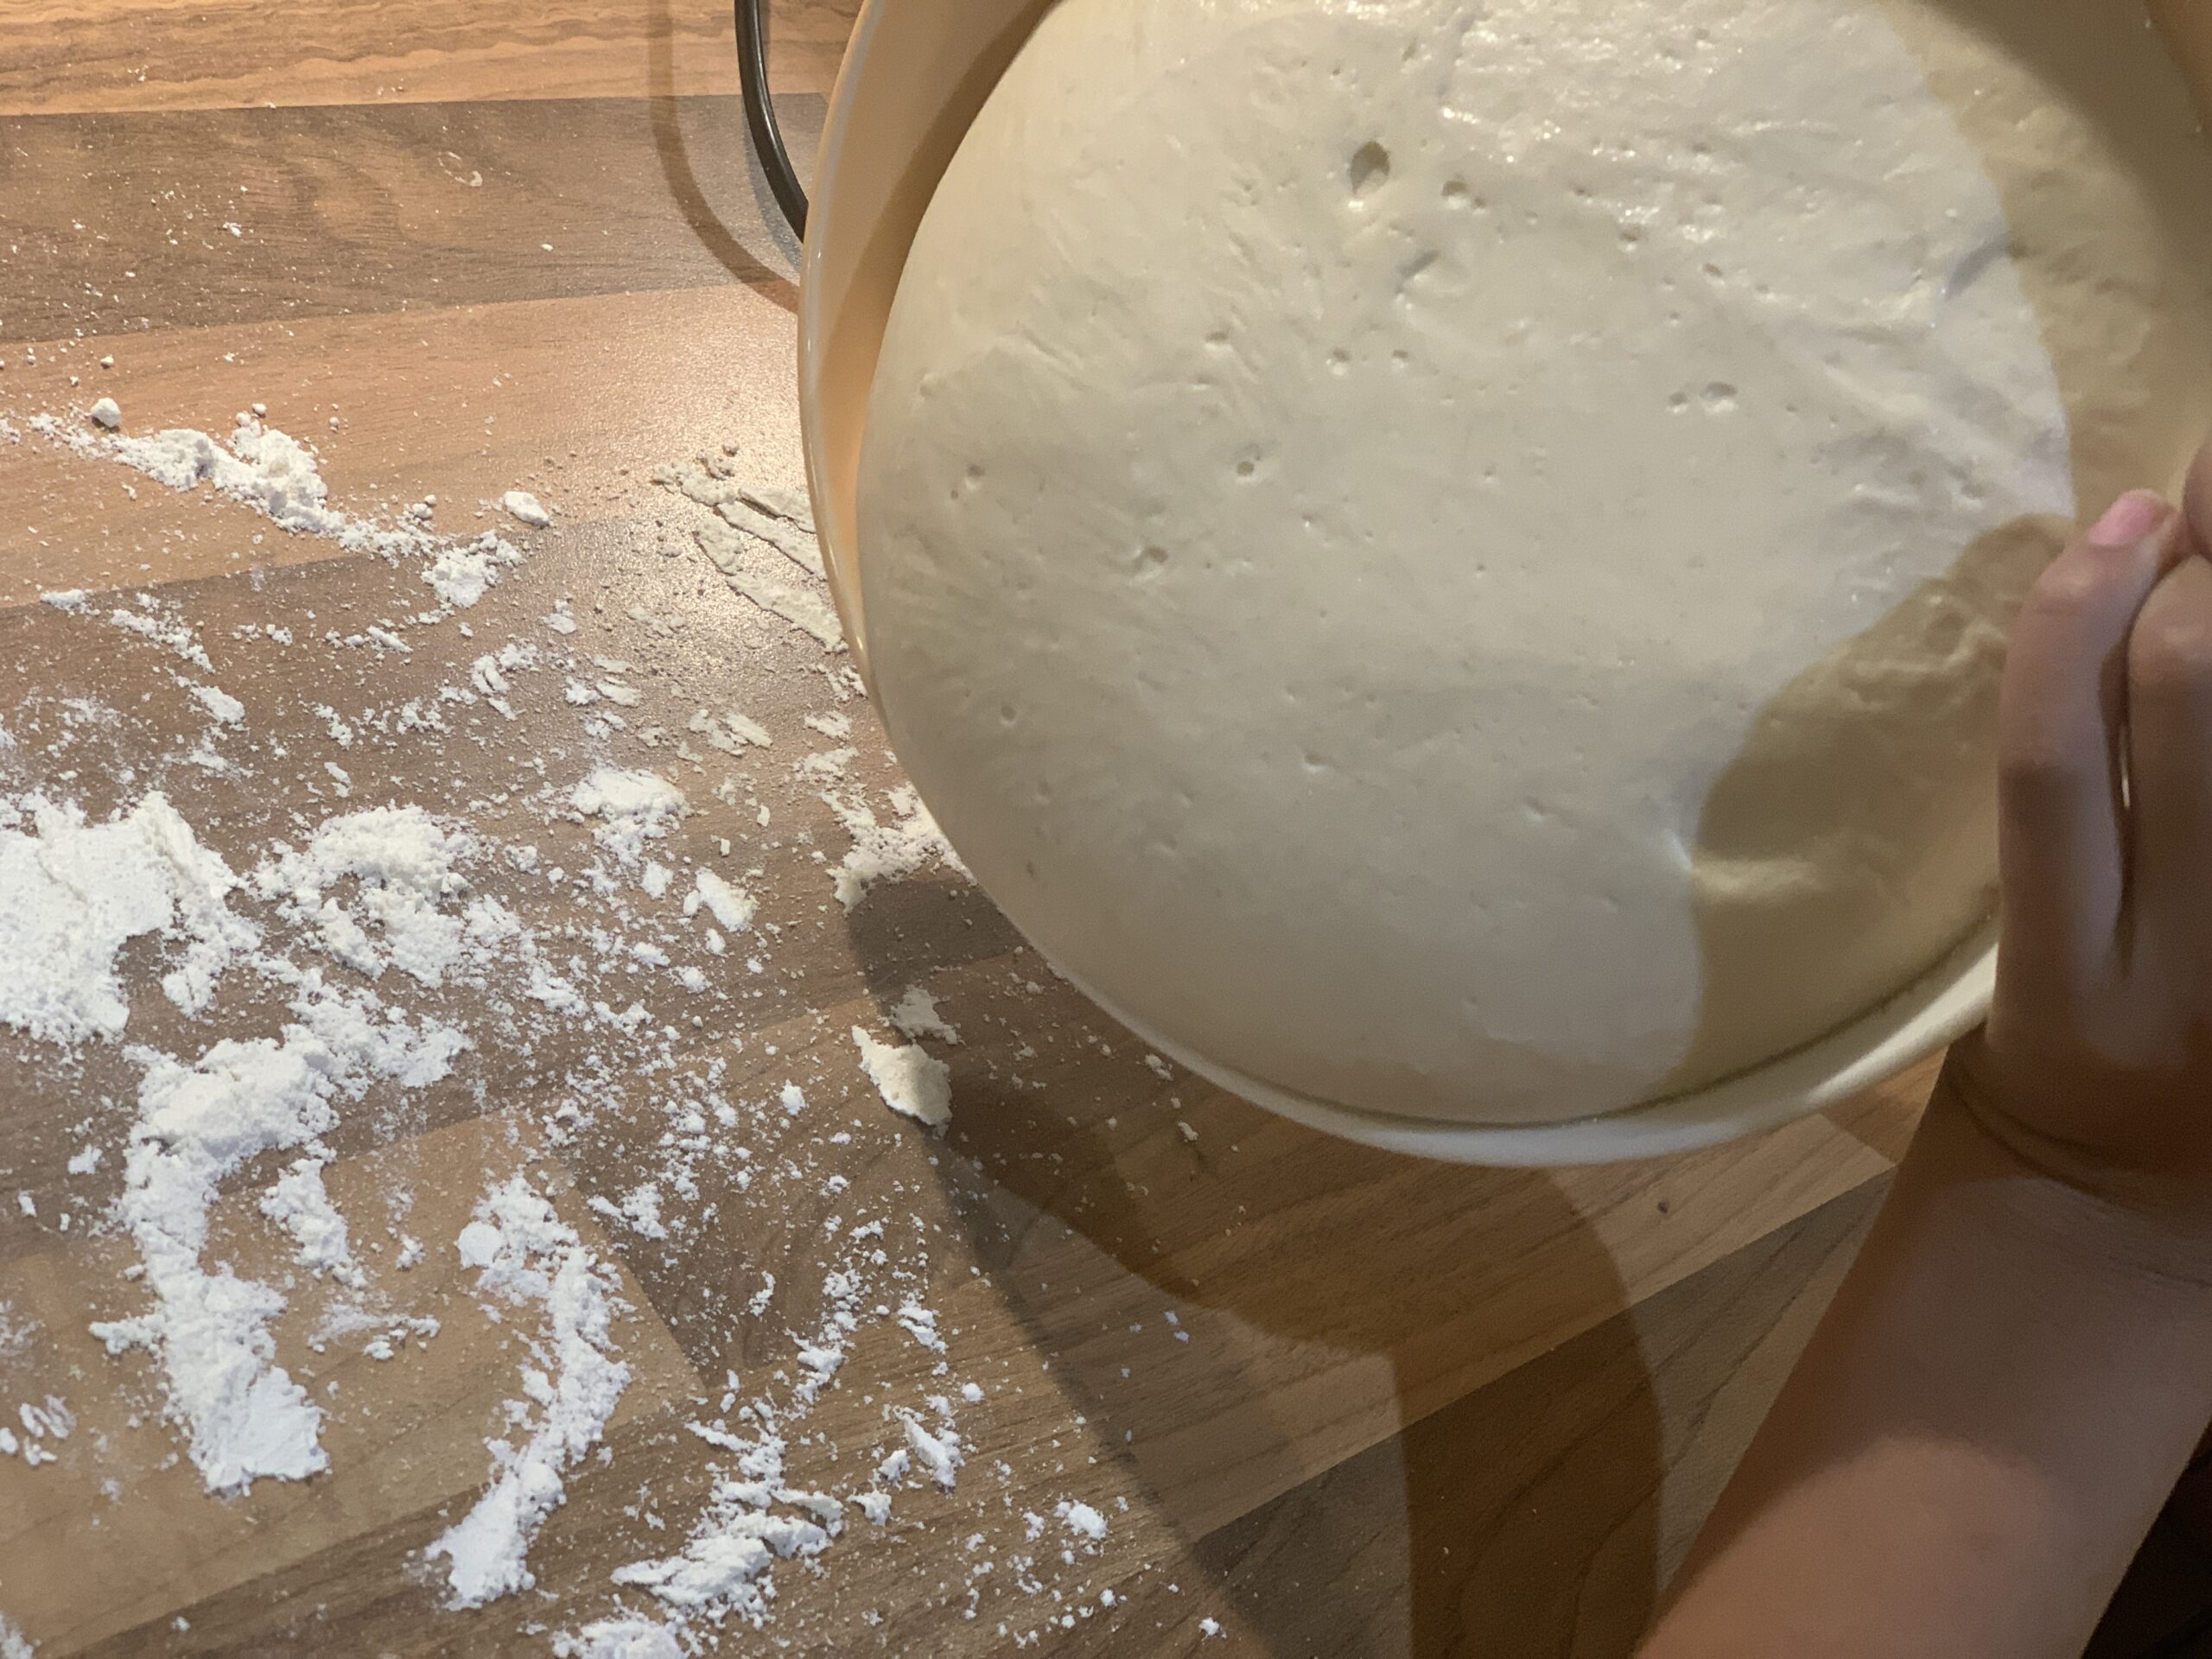
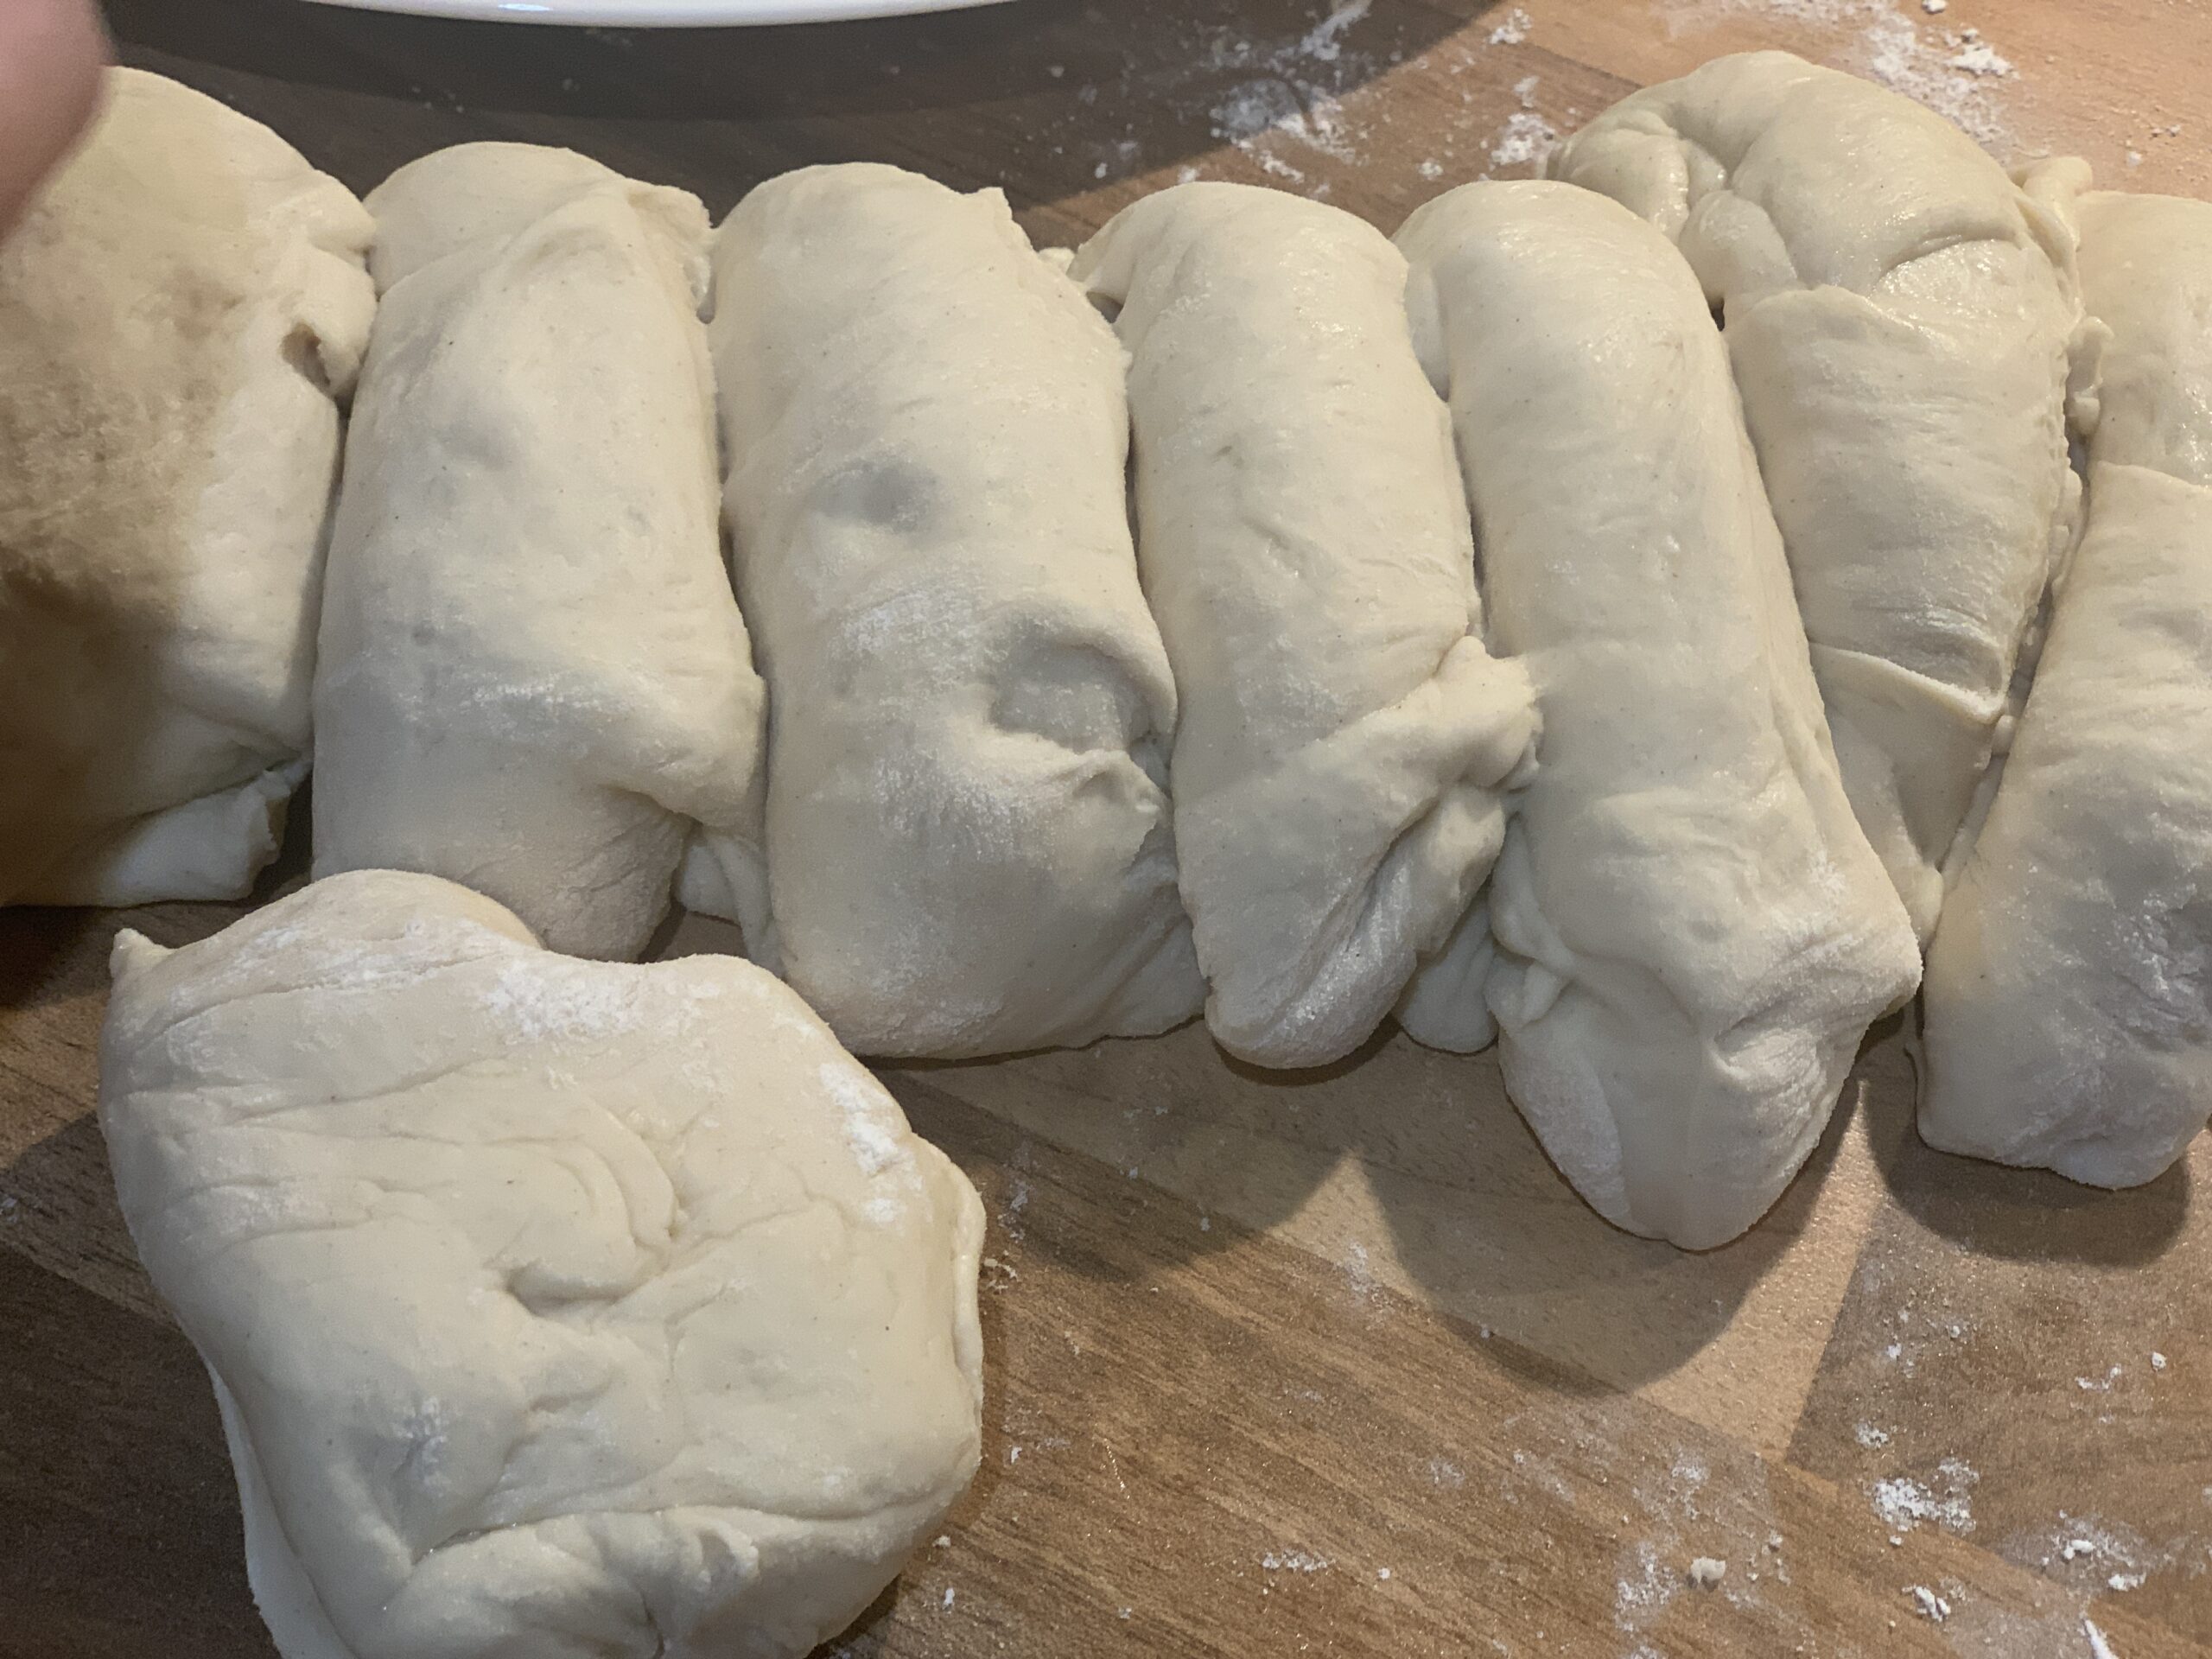
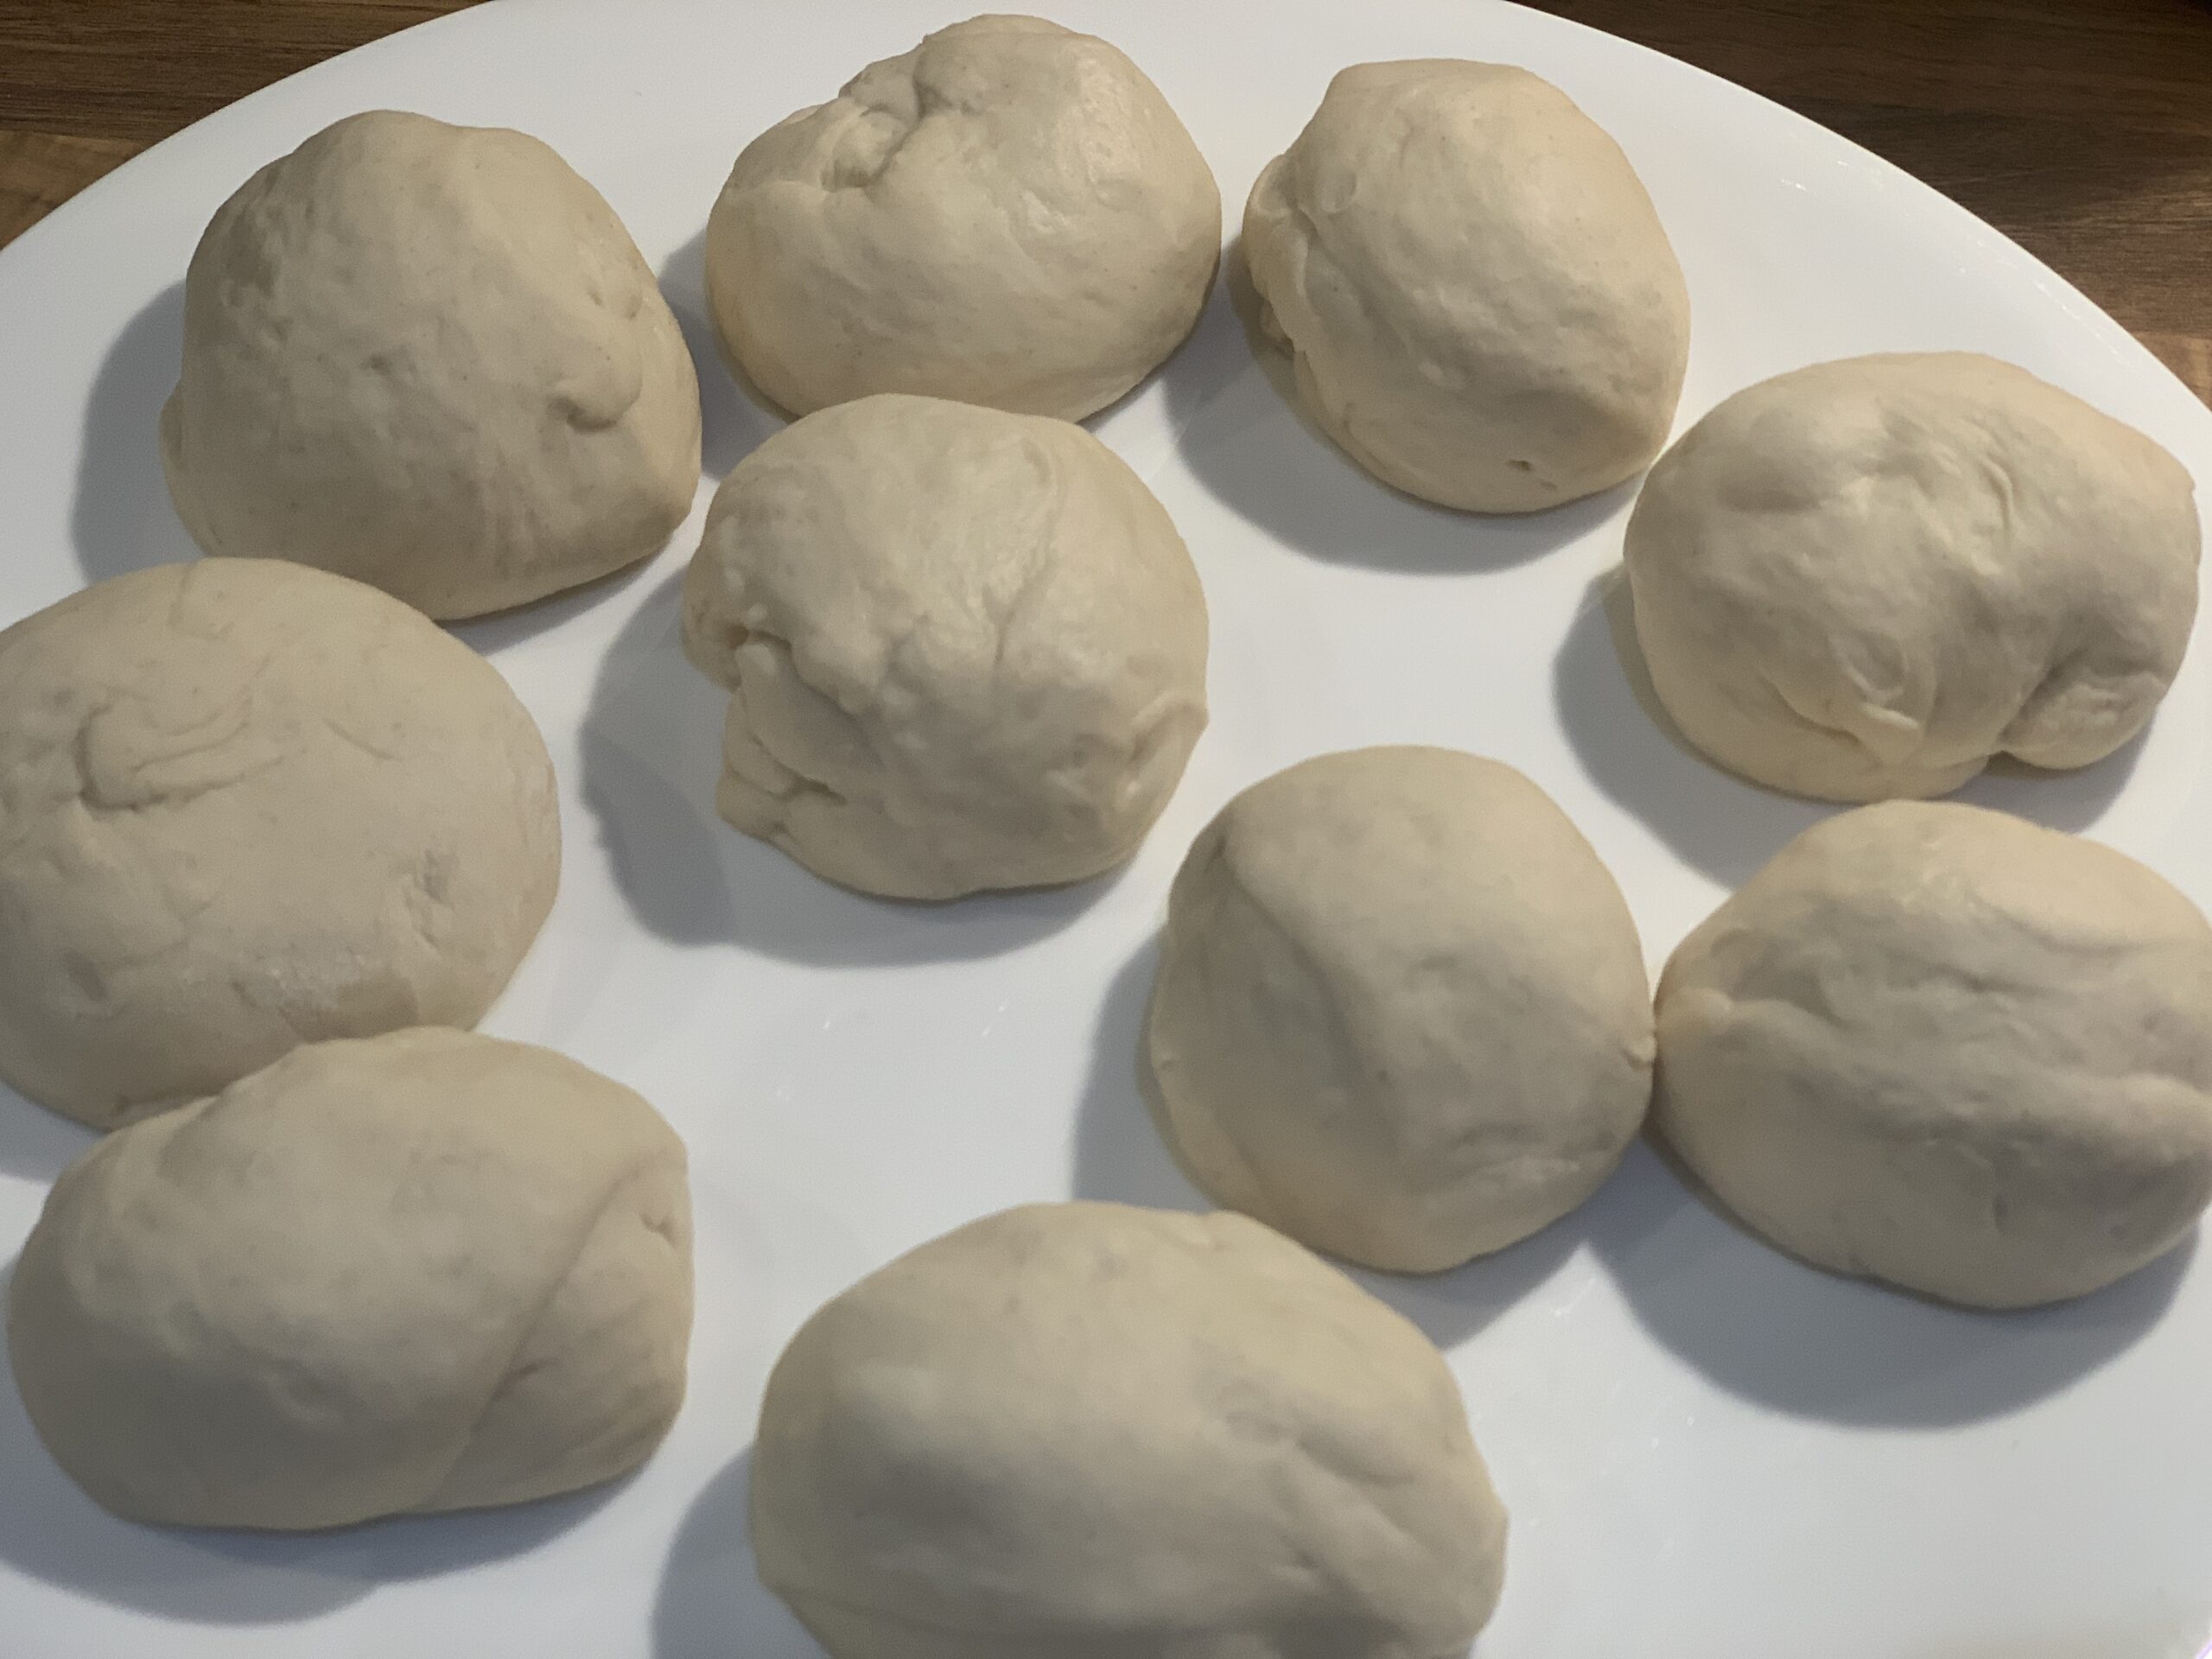
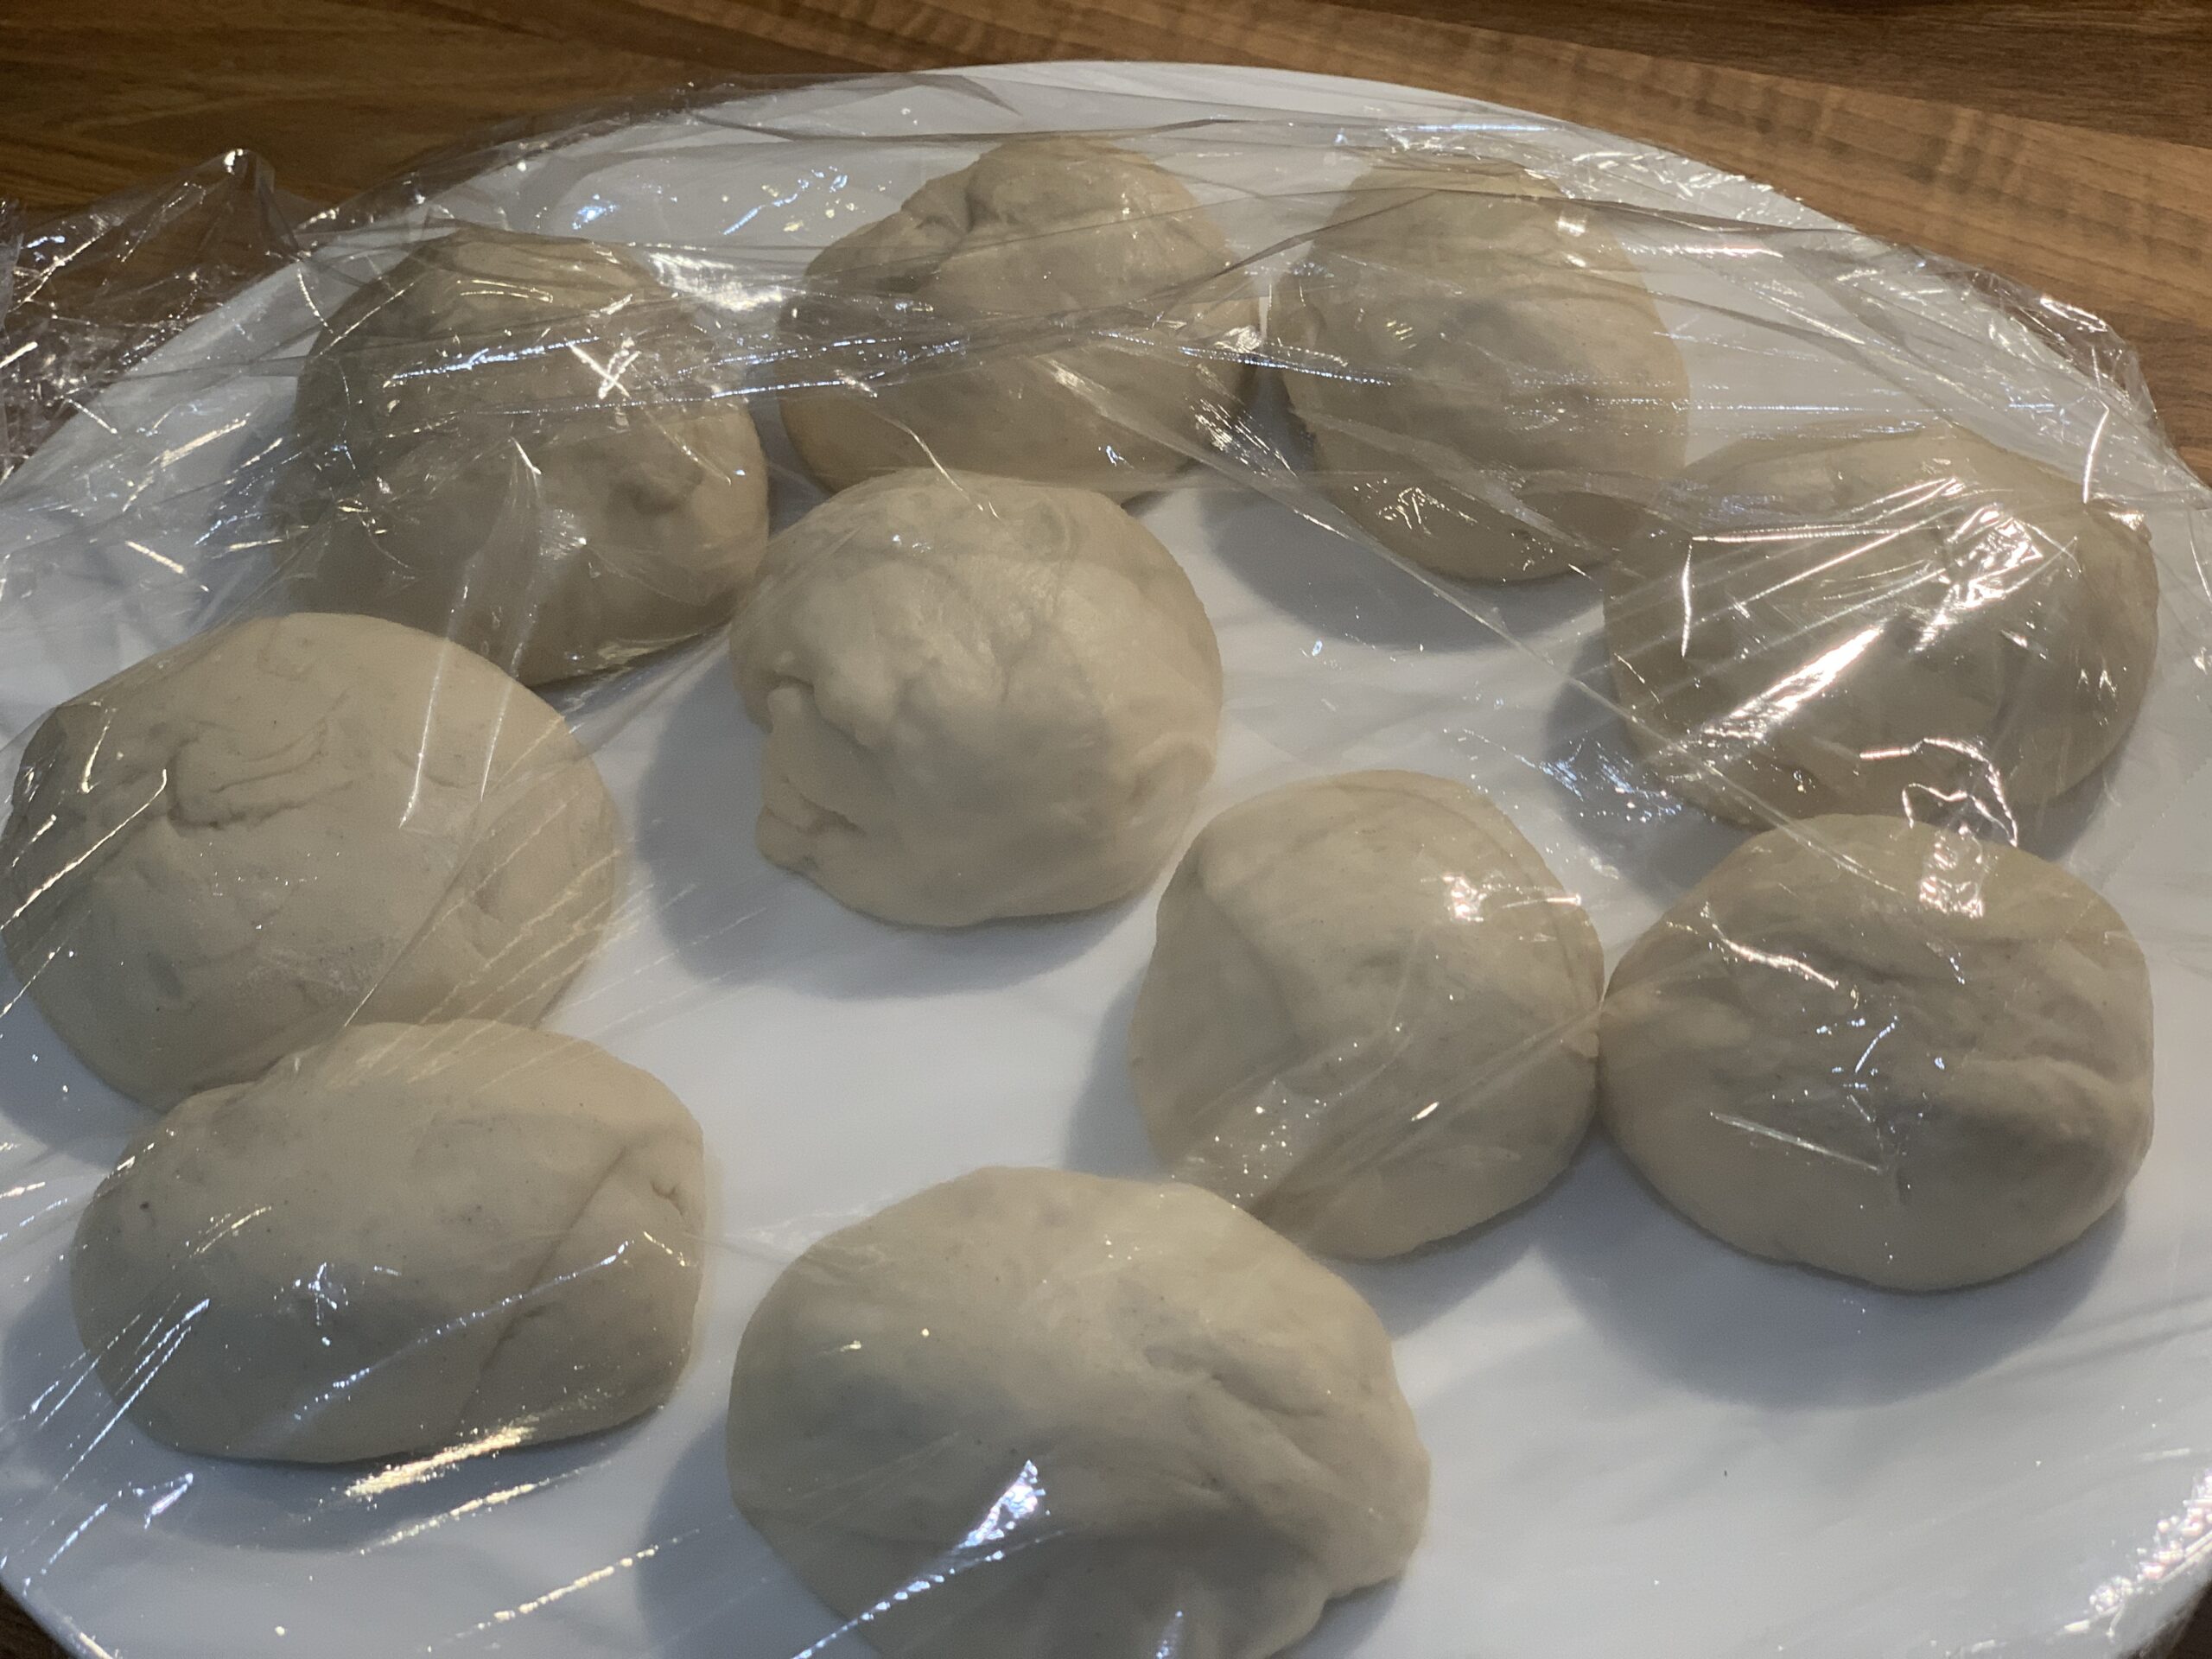
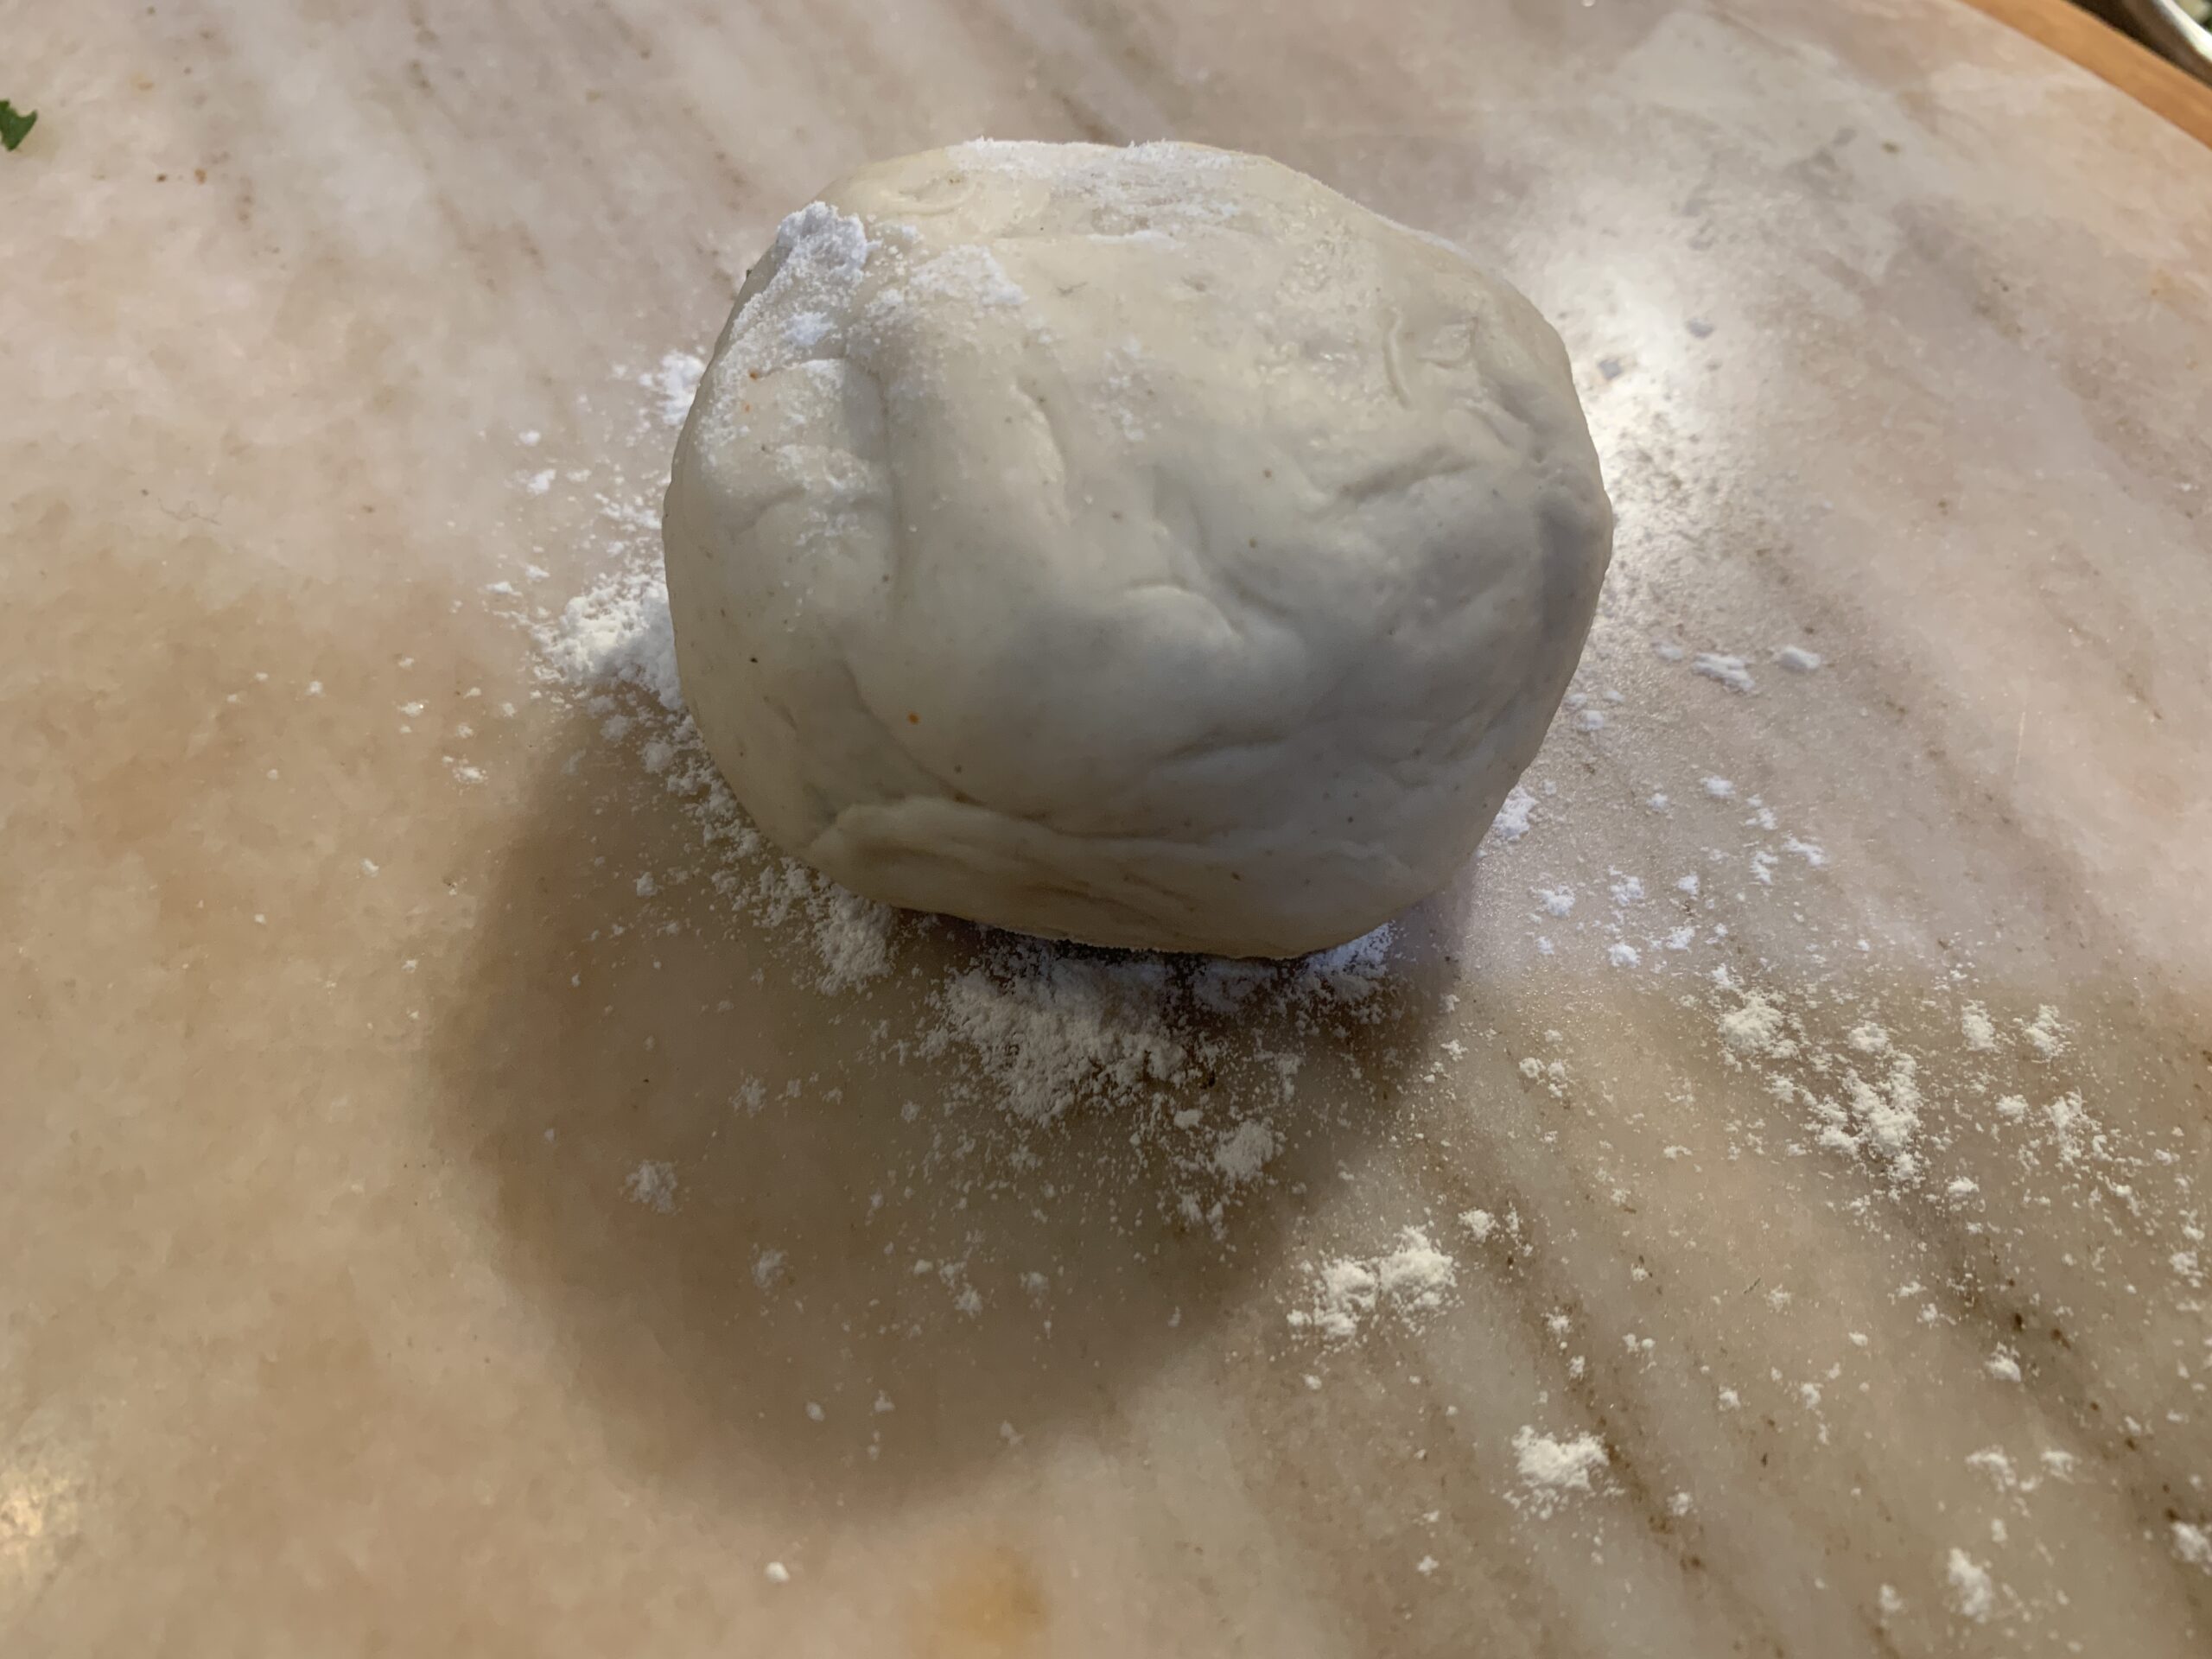
After proofing sprinkle some flour on the work surface and turn the dough on it and gently punching out the air. Divide the dough into equal 11-12 pieces and shape into balls, dusting with flour as needed to prevent sticking. Set the dough balls on a floured plate and cover with a damp kitchen cloth or cling film and leave in a warm place for 40-45 minutes for second proofing.
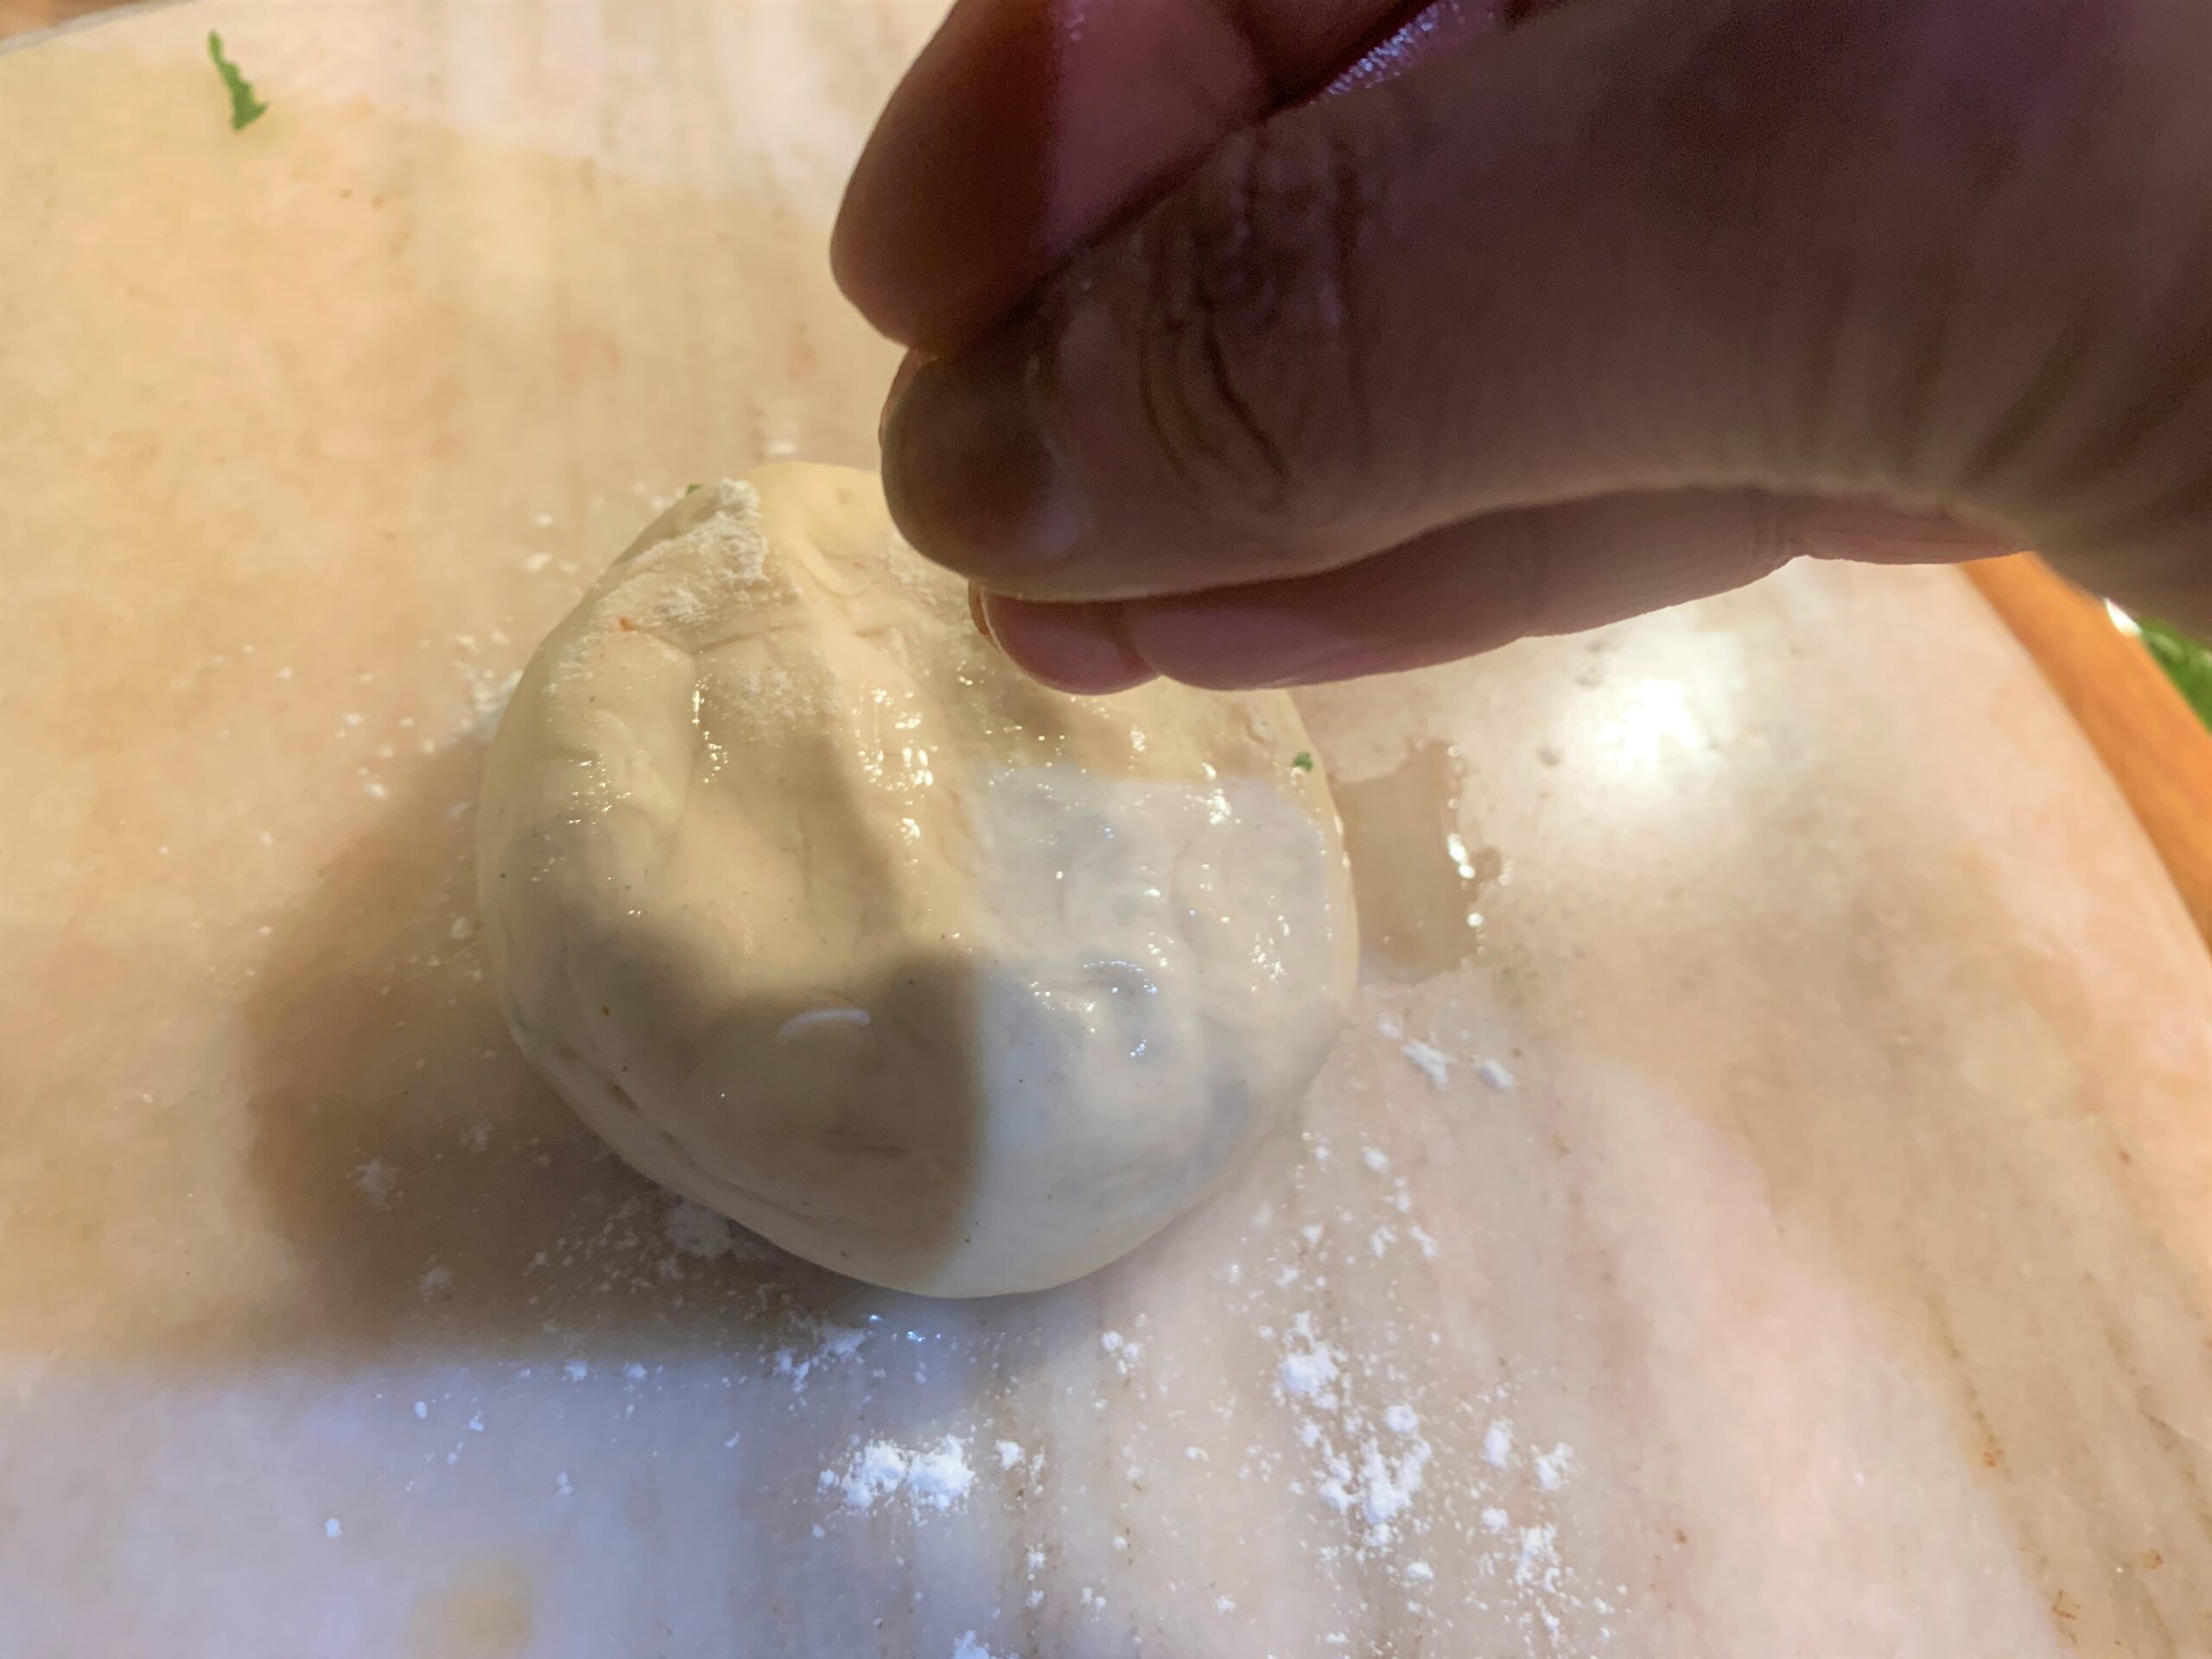
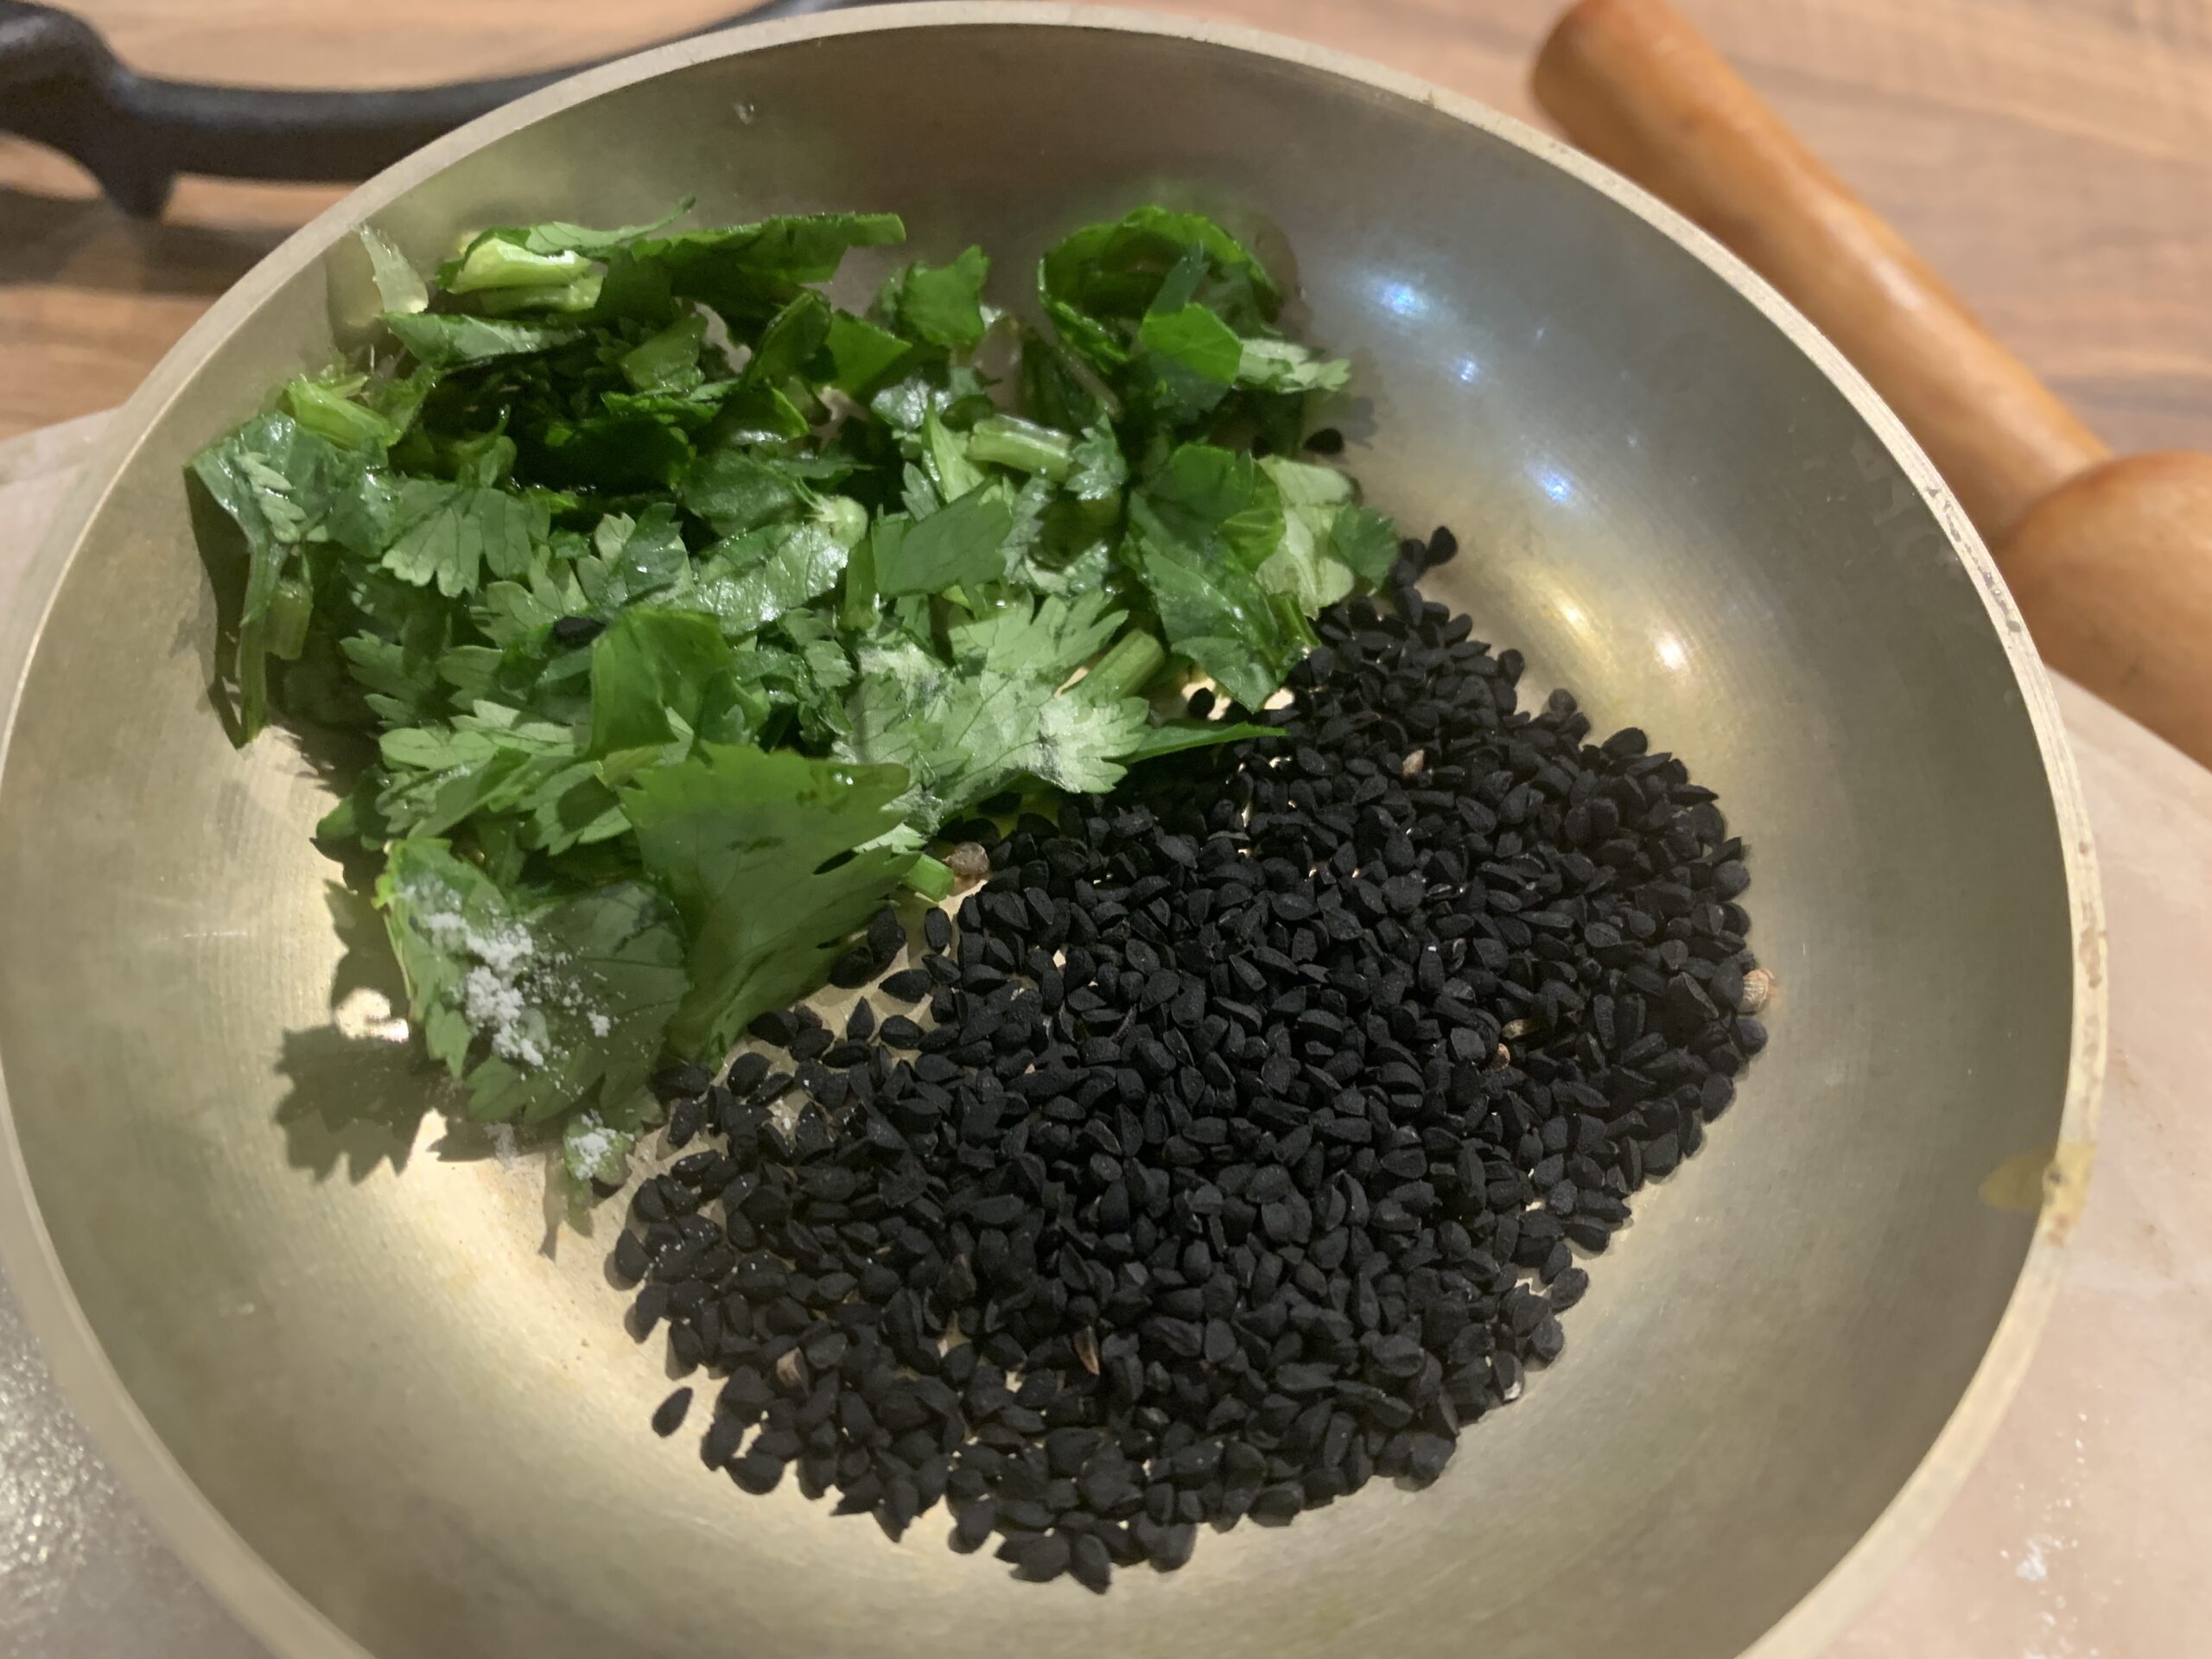
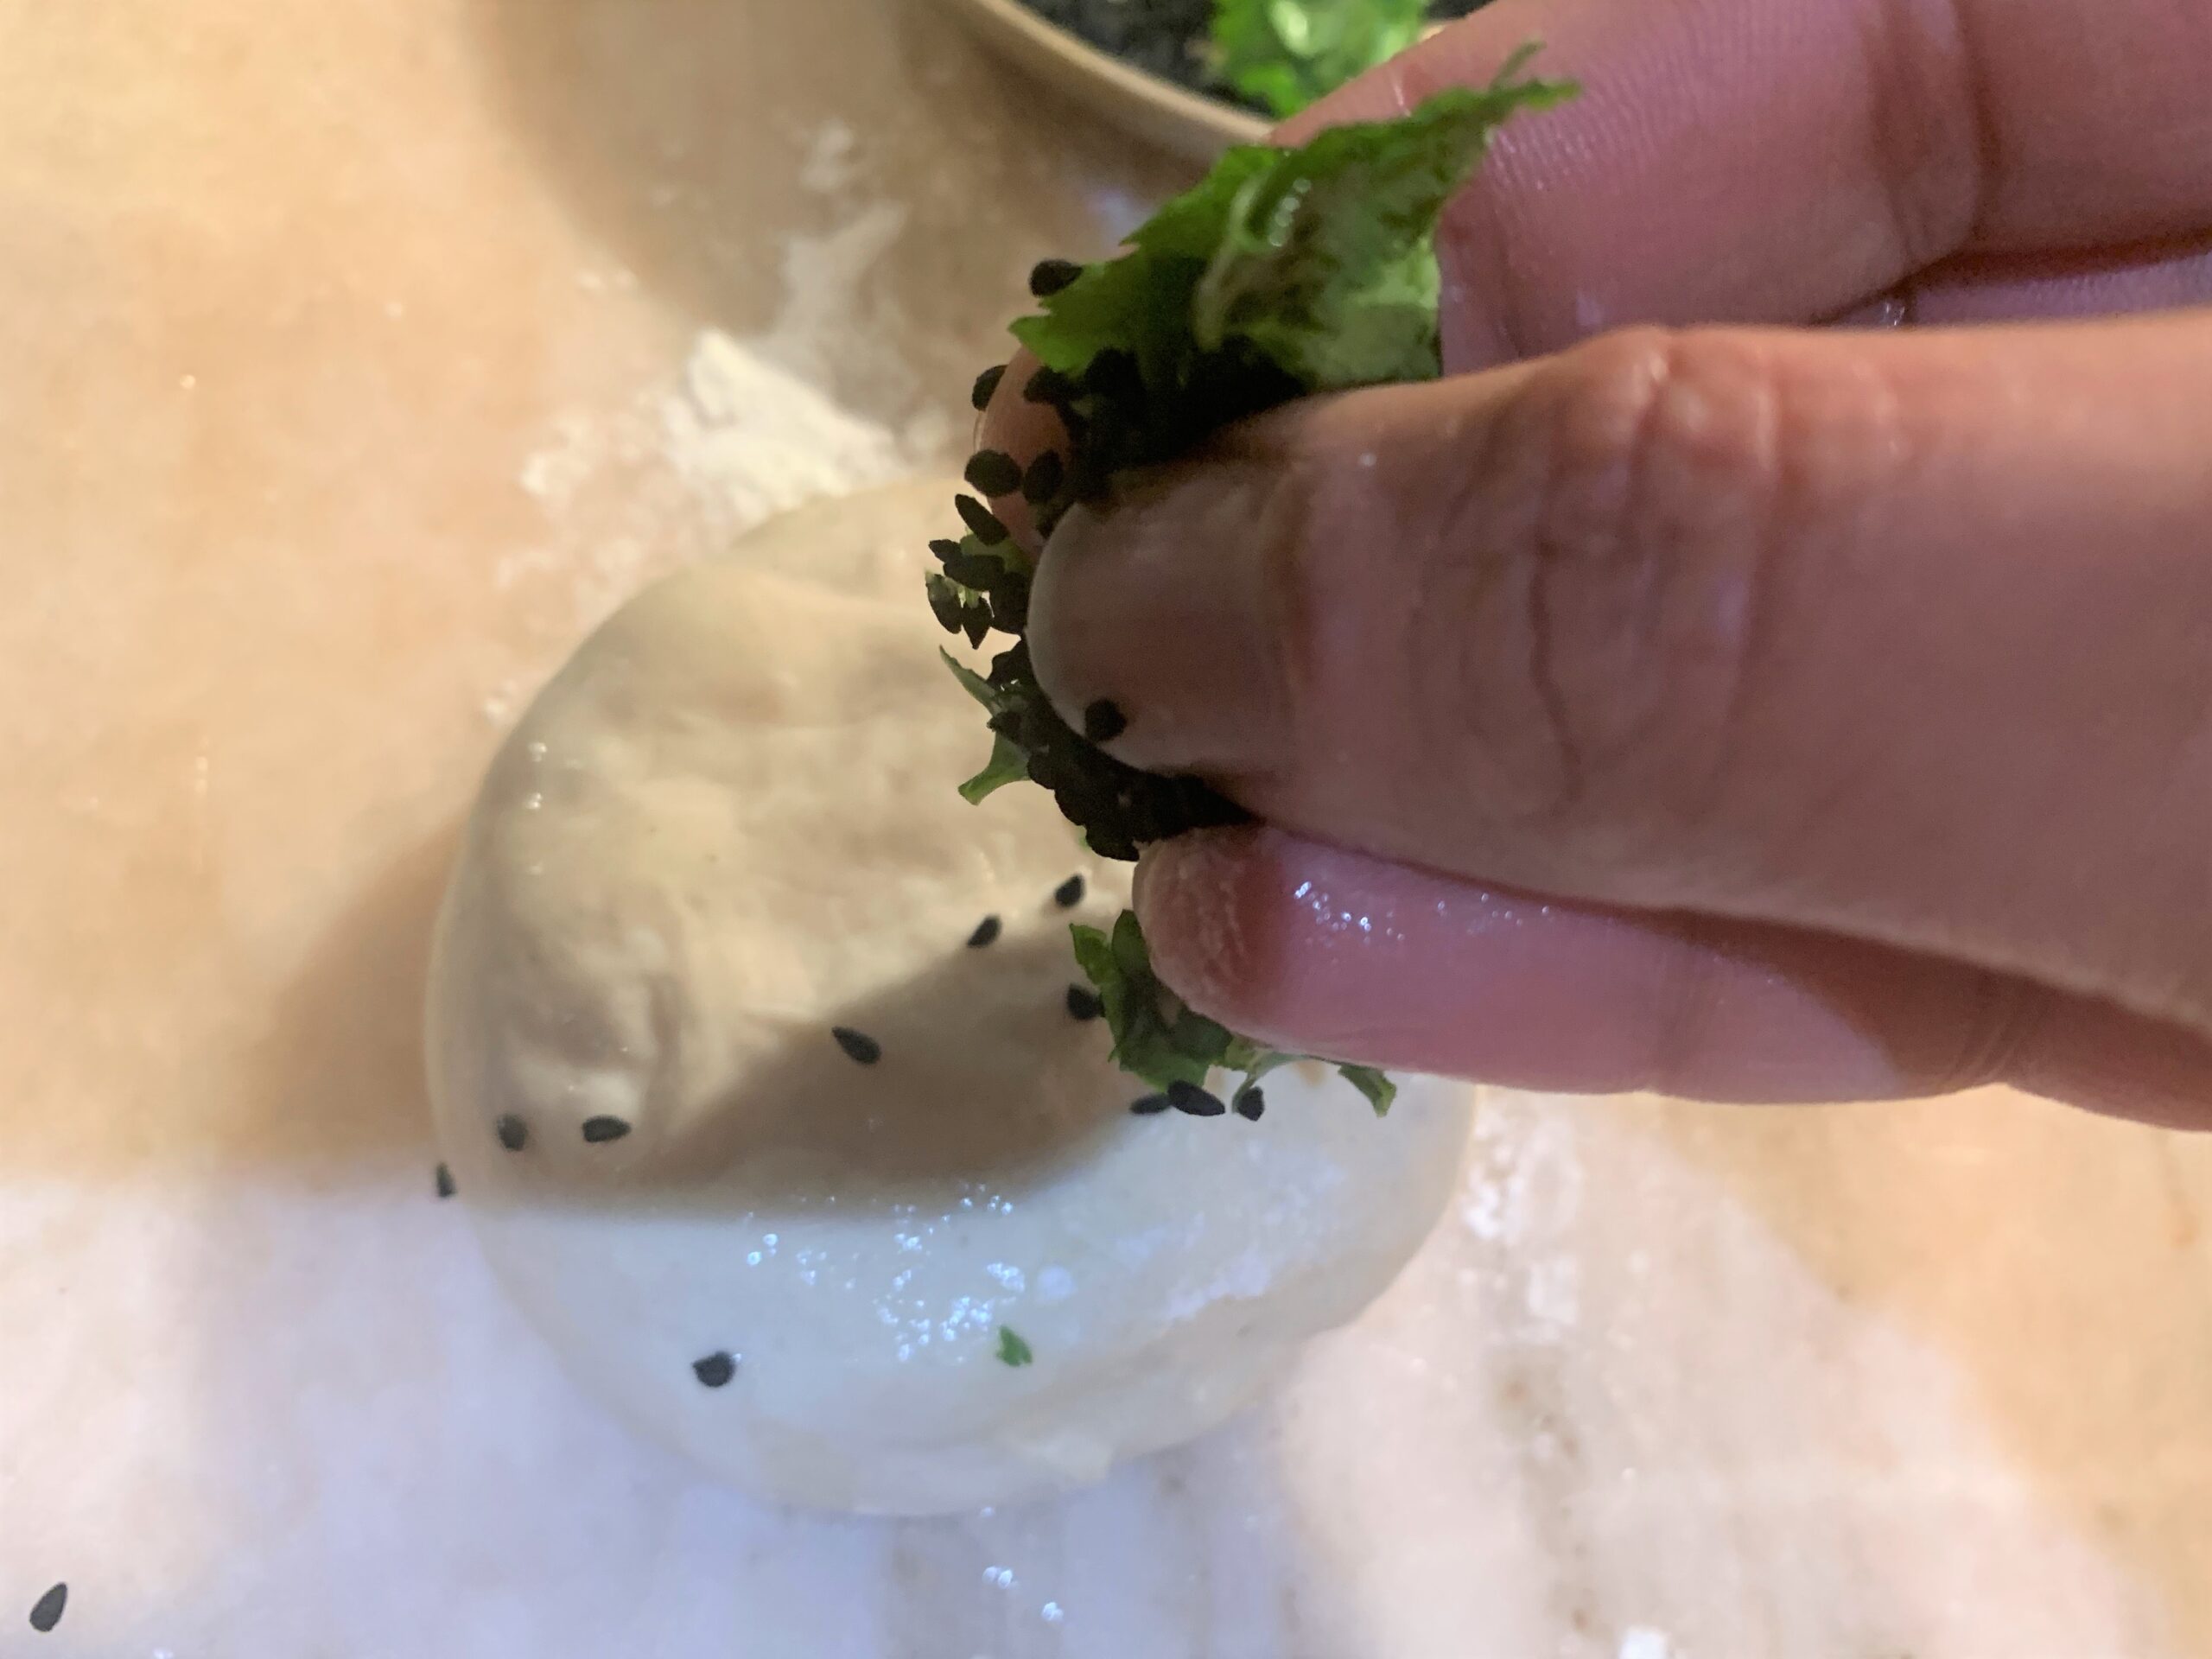
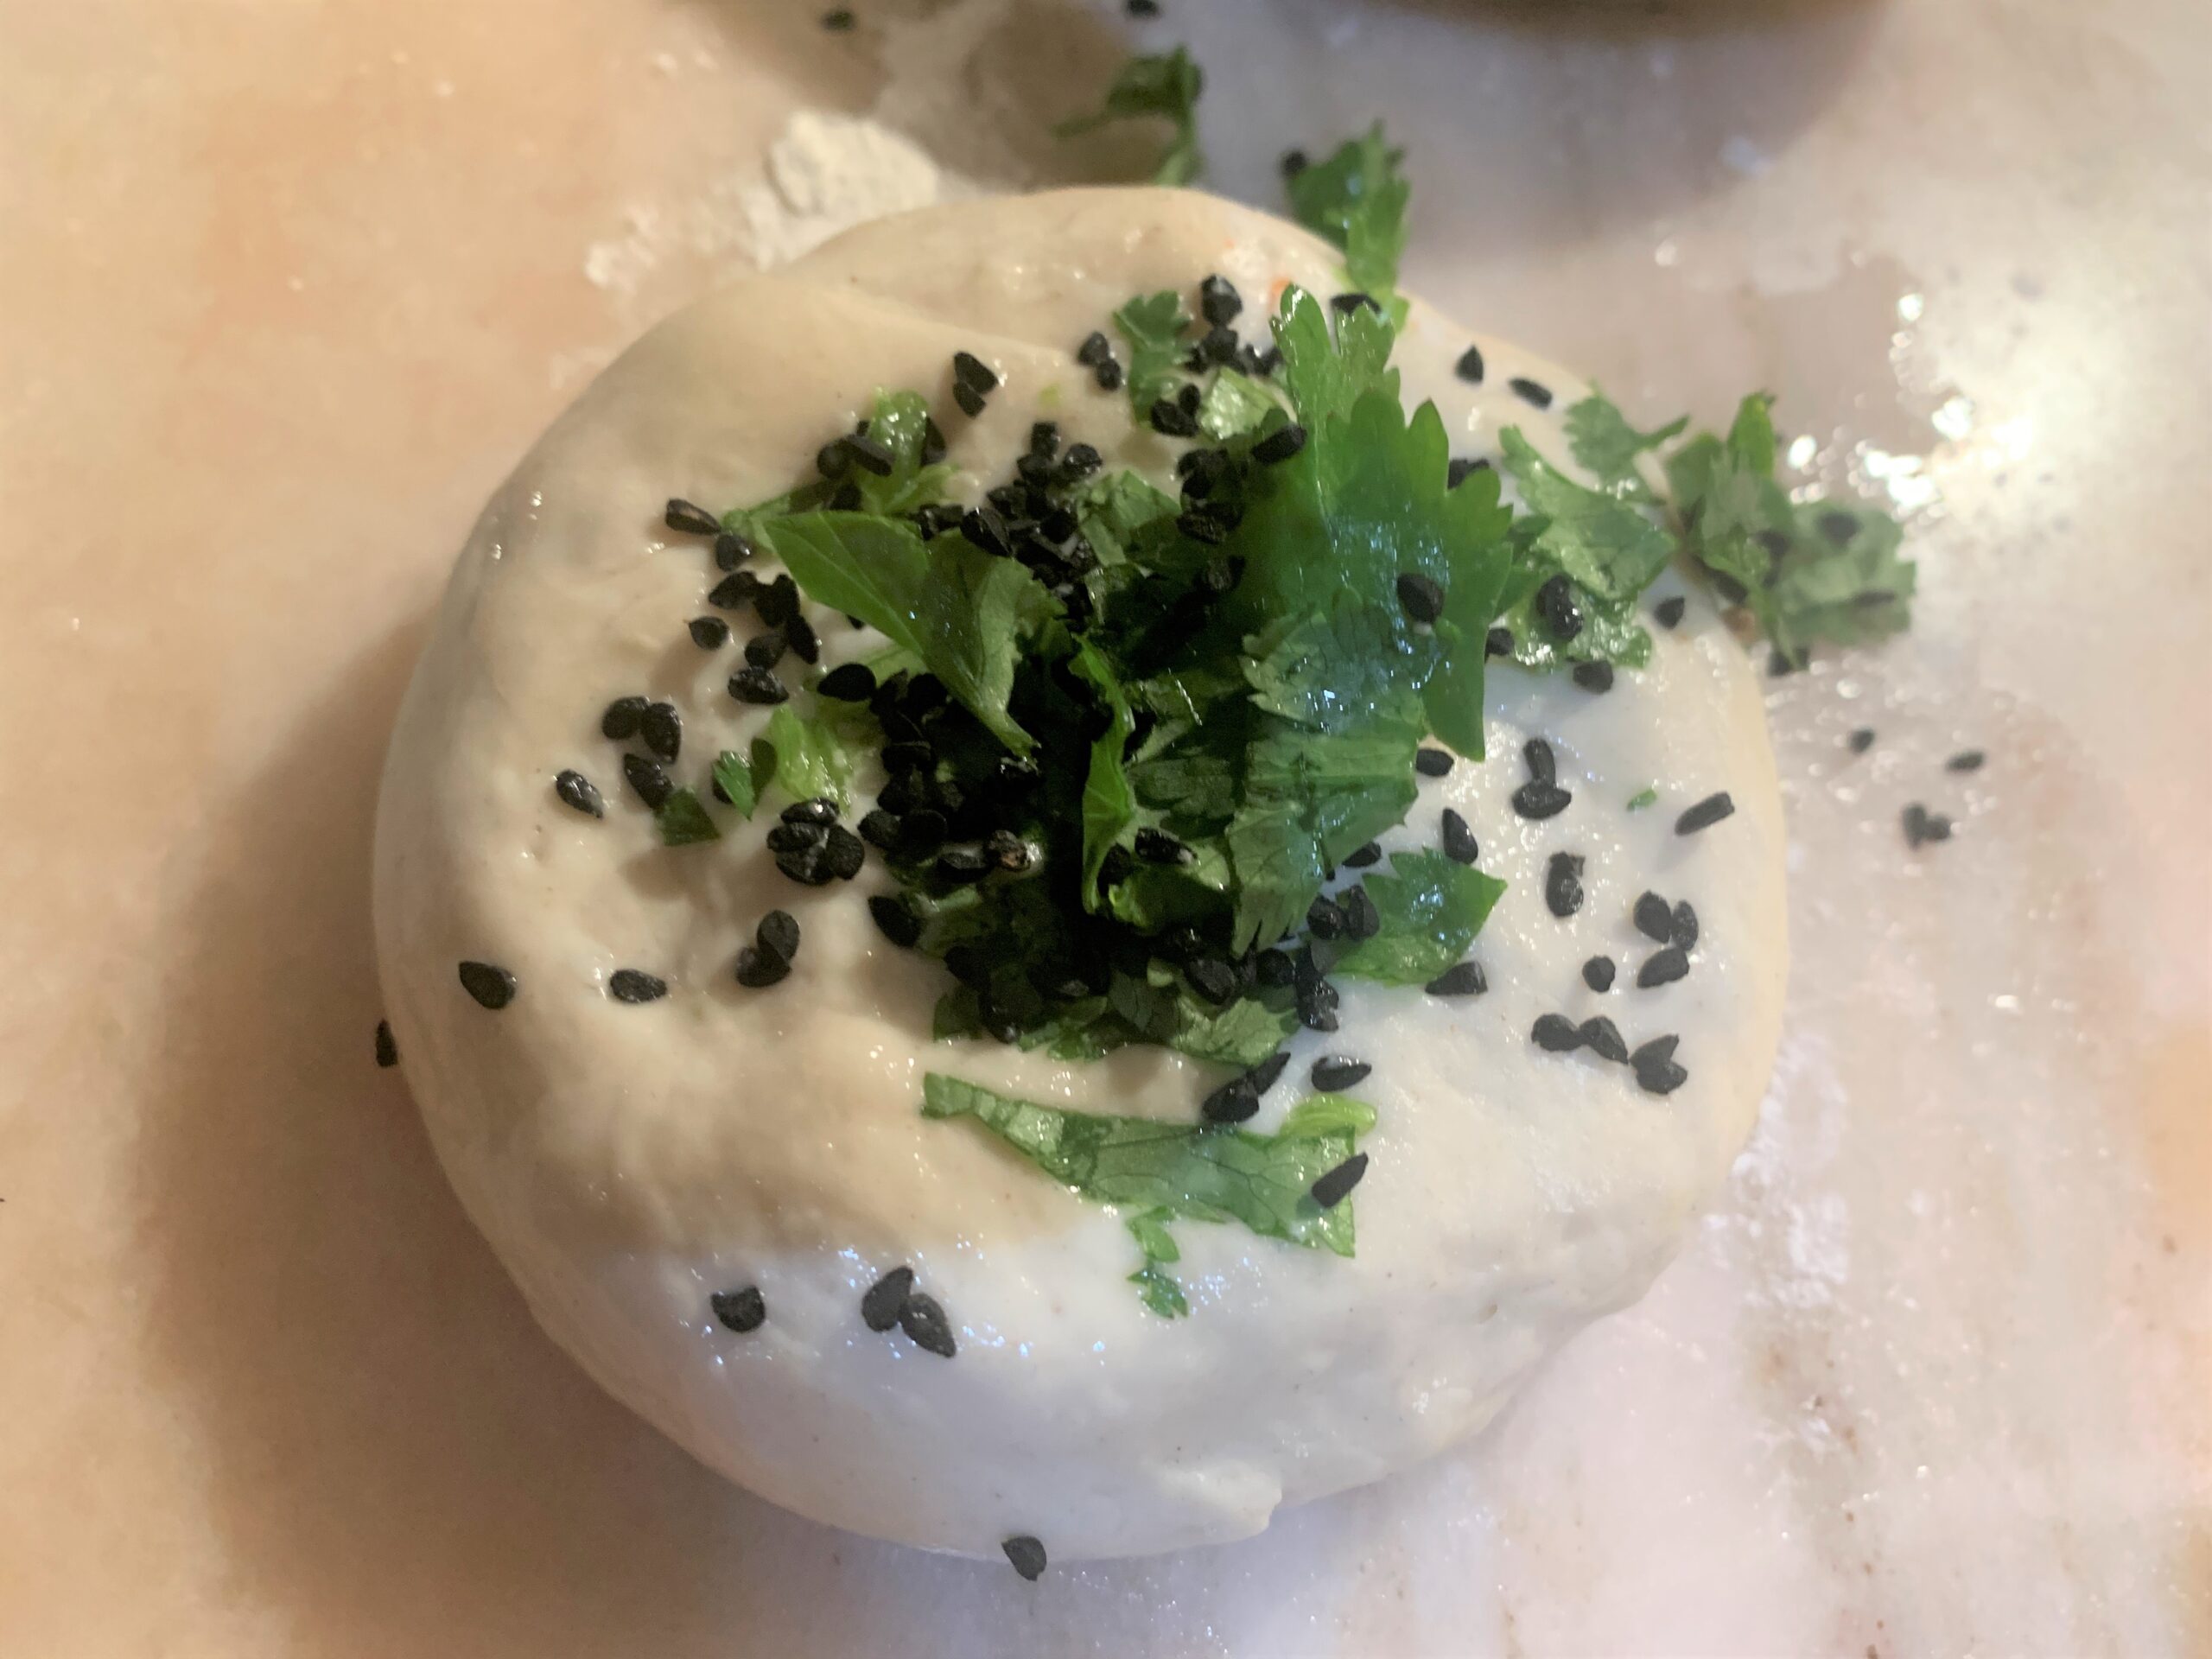
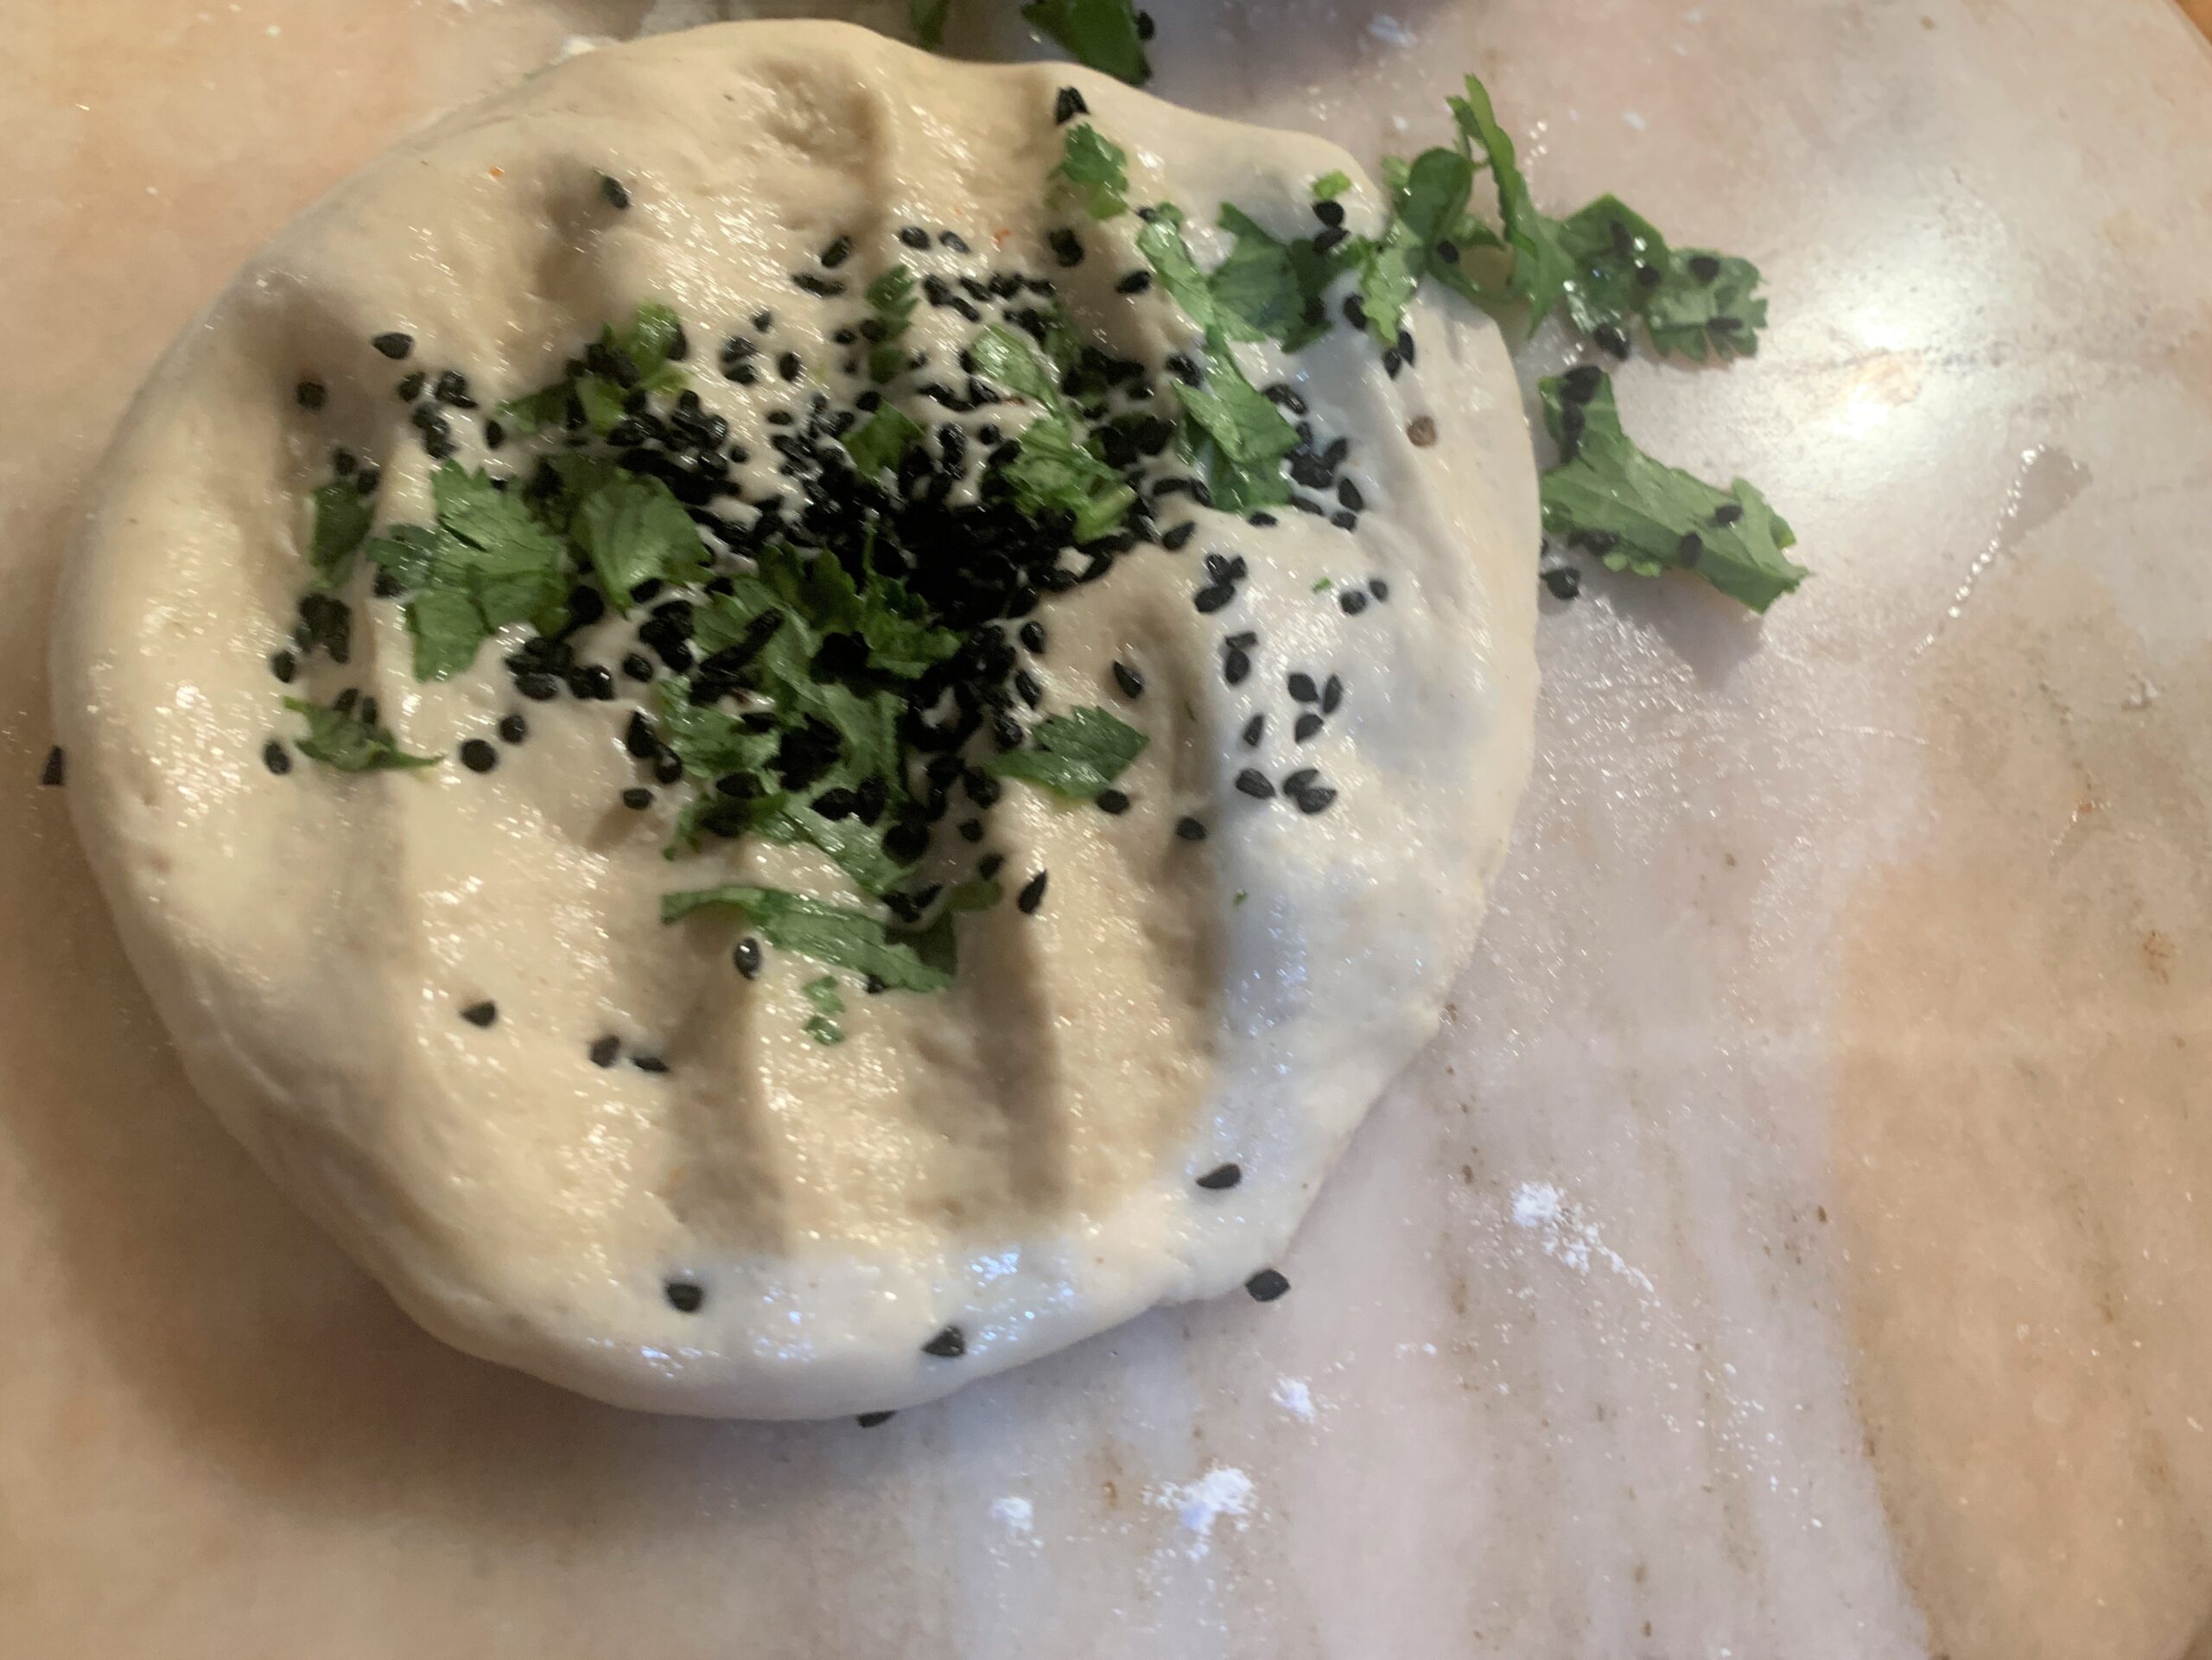
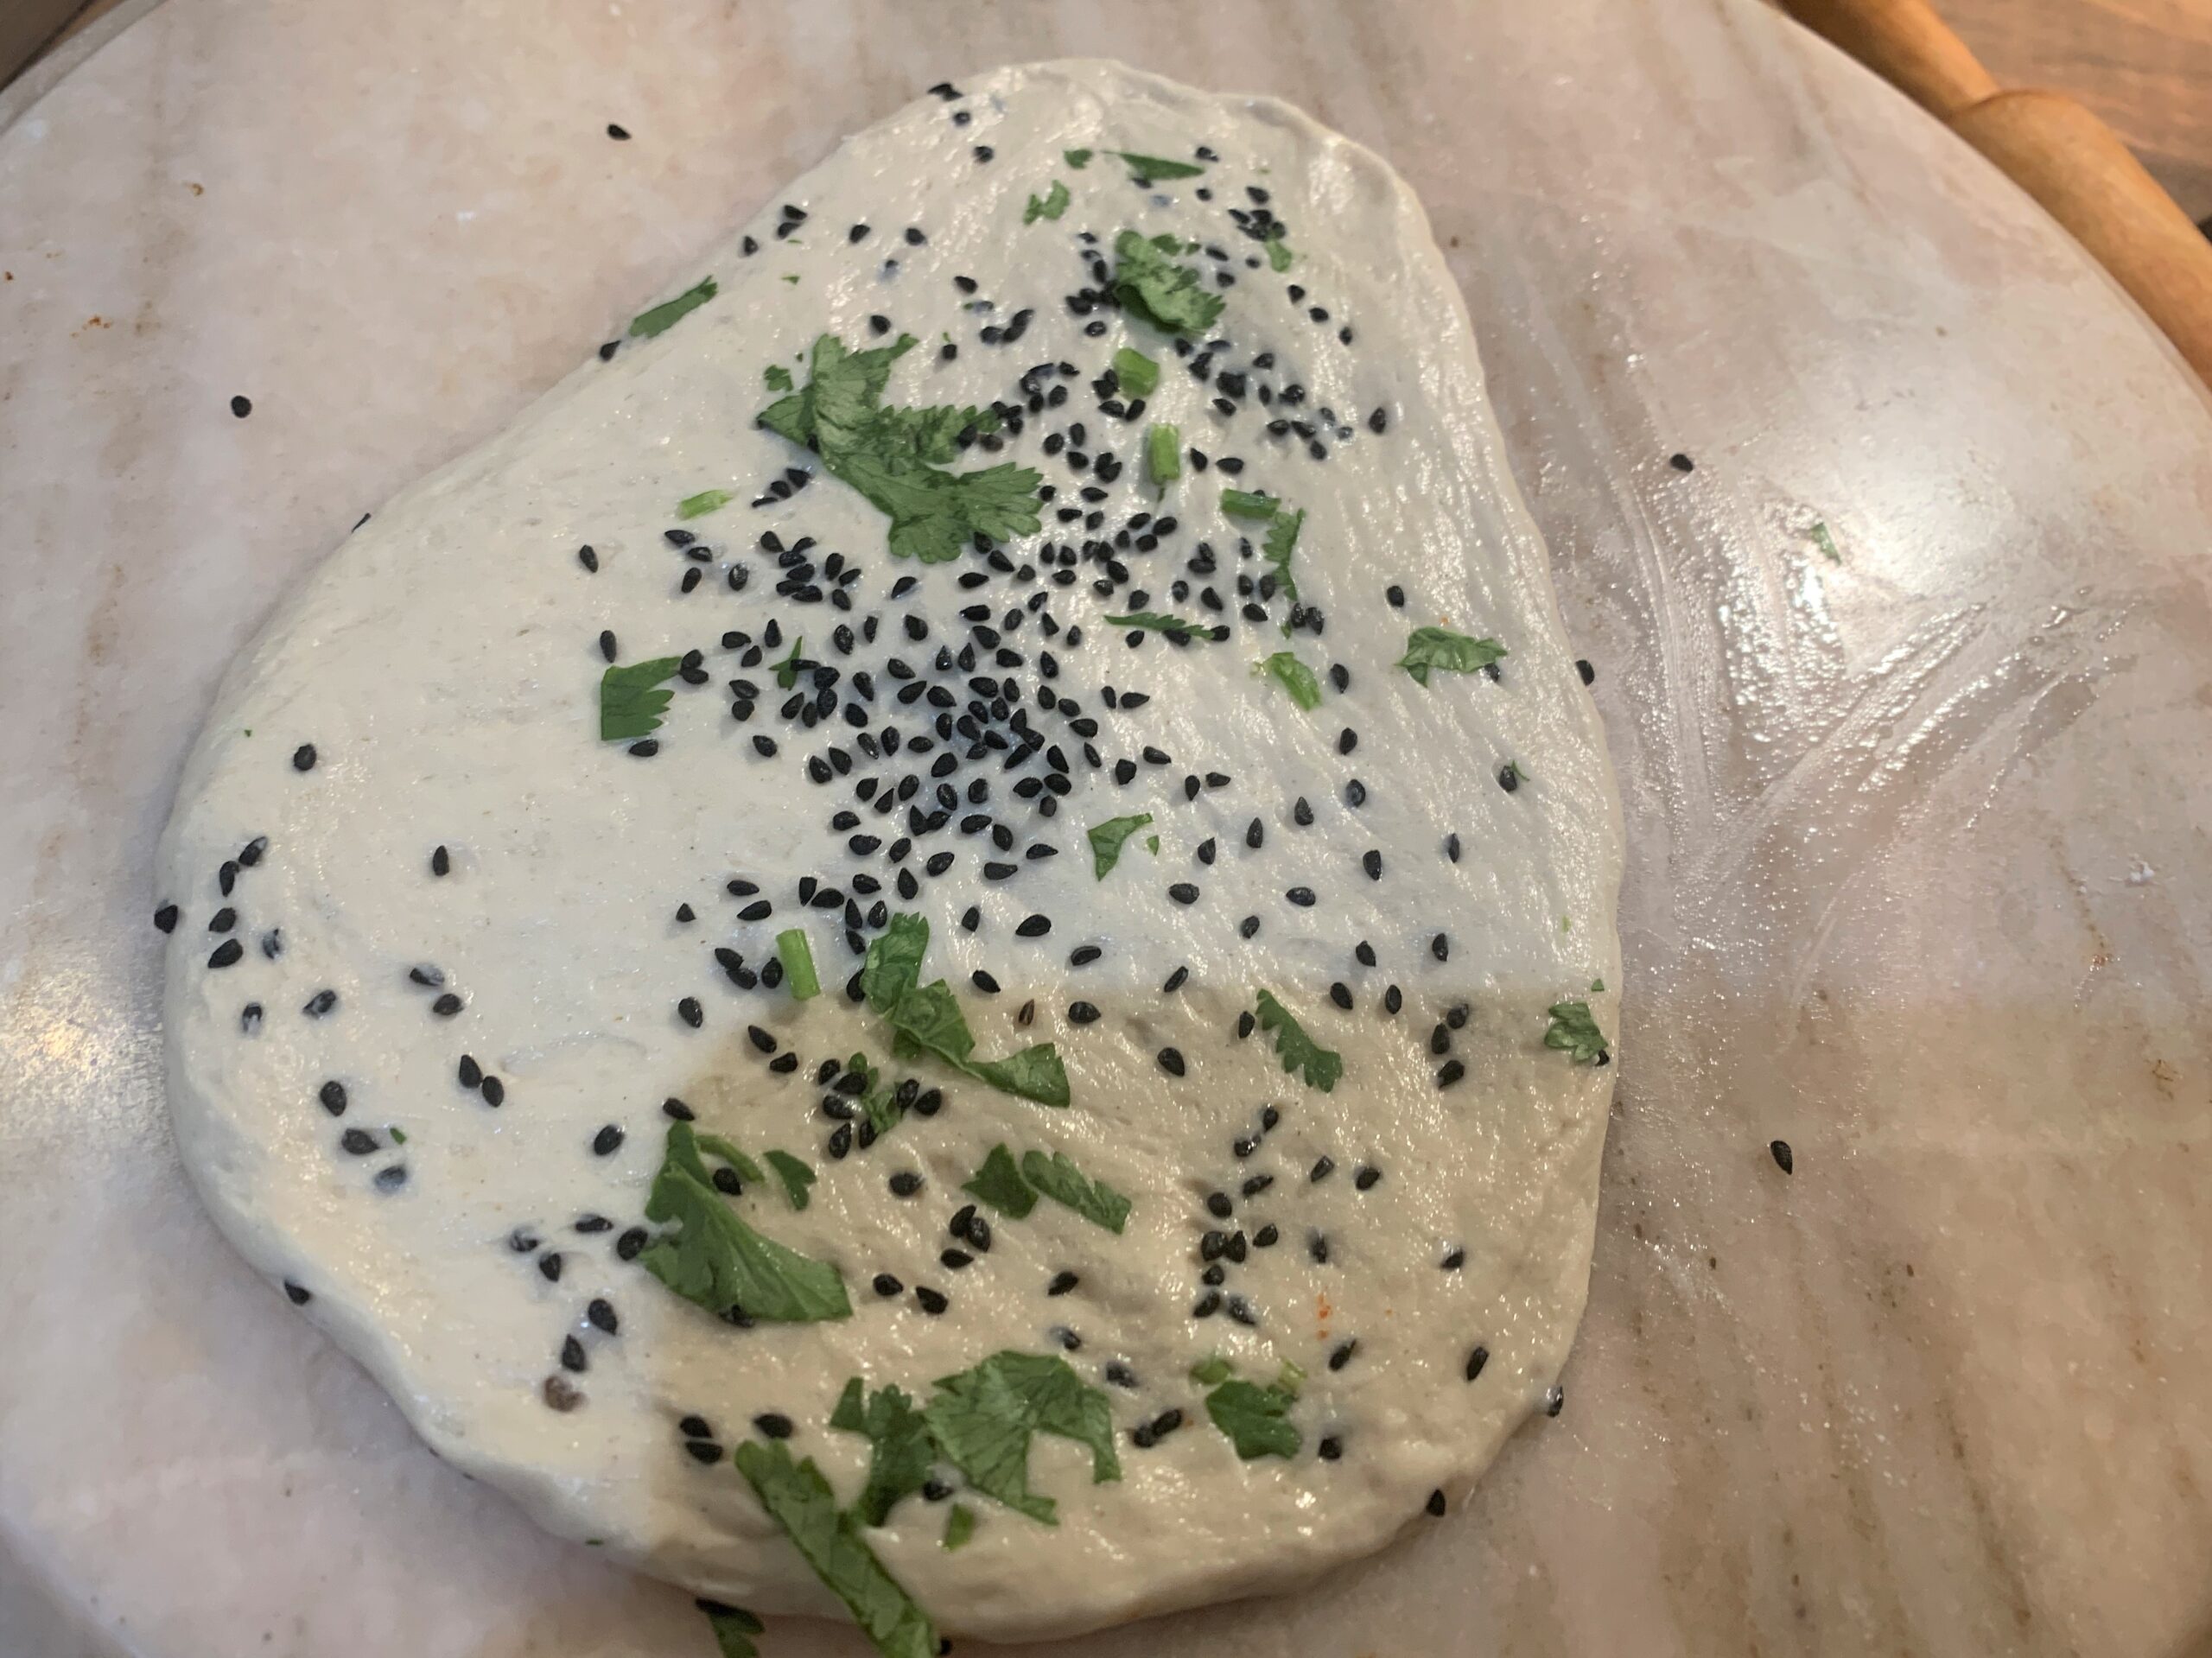
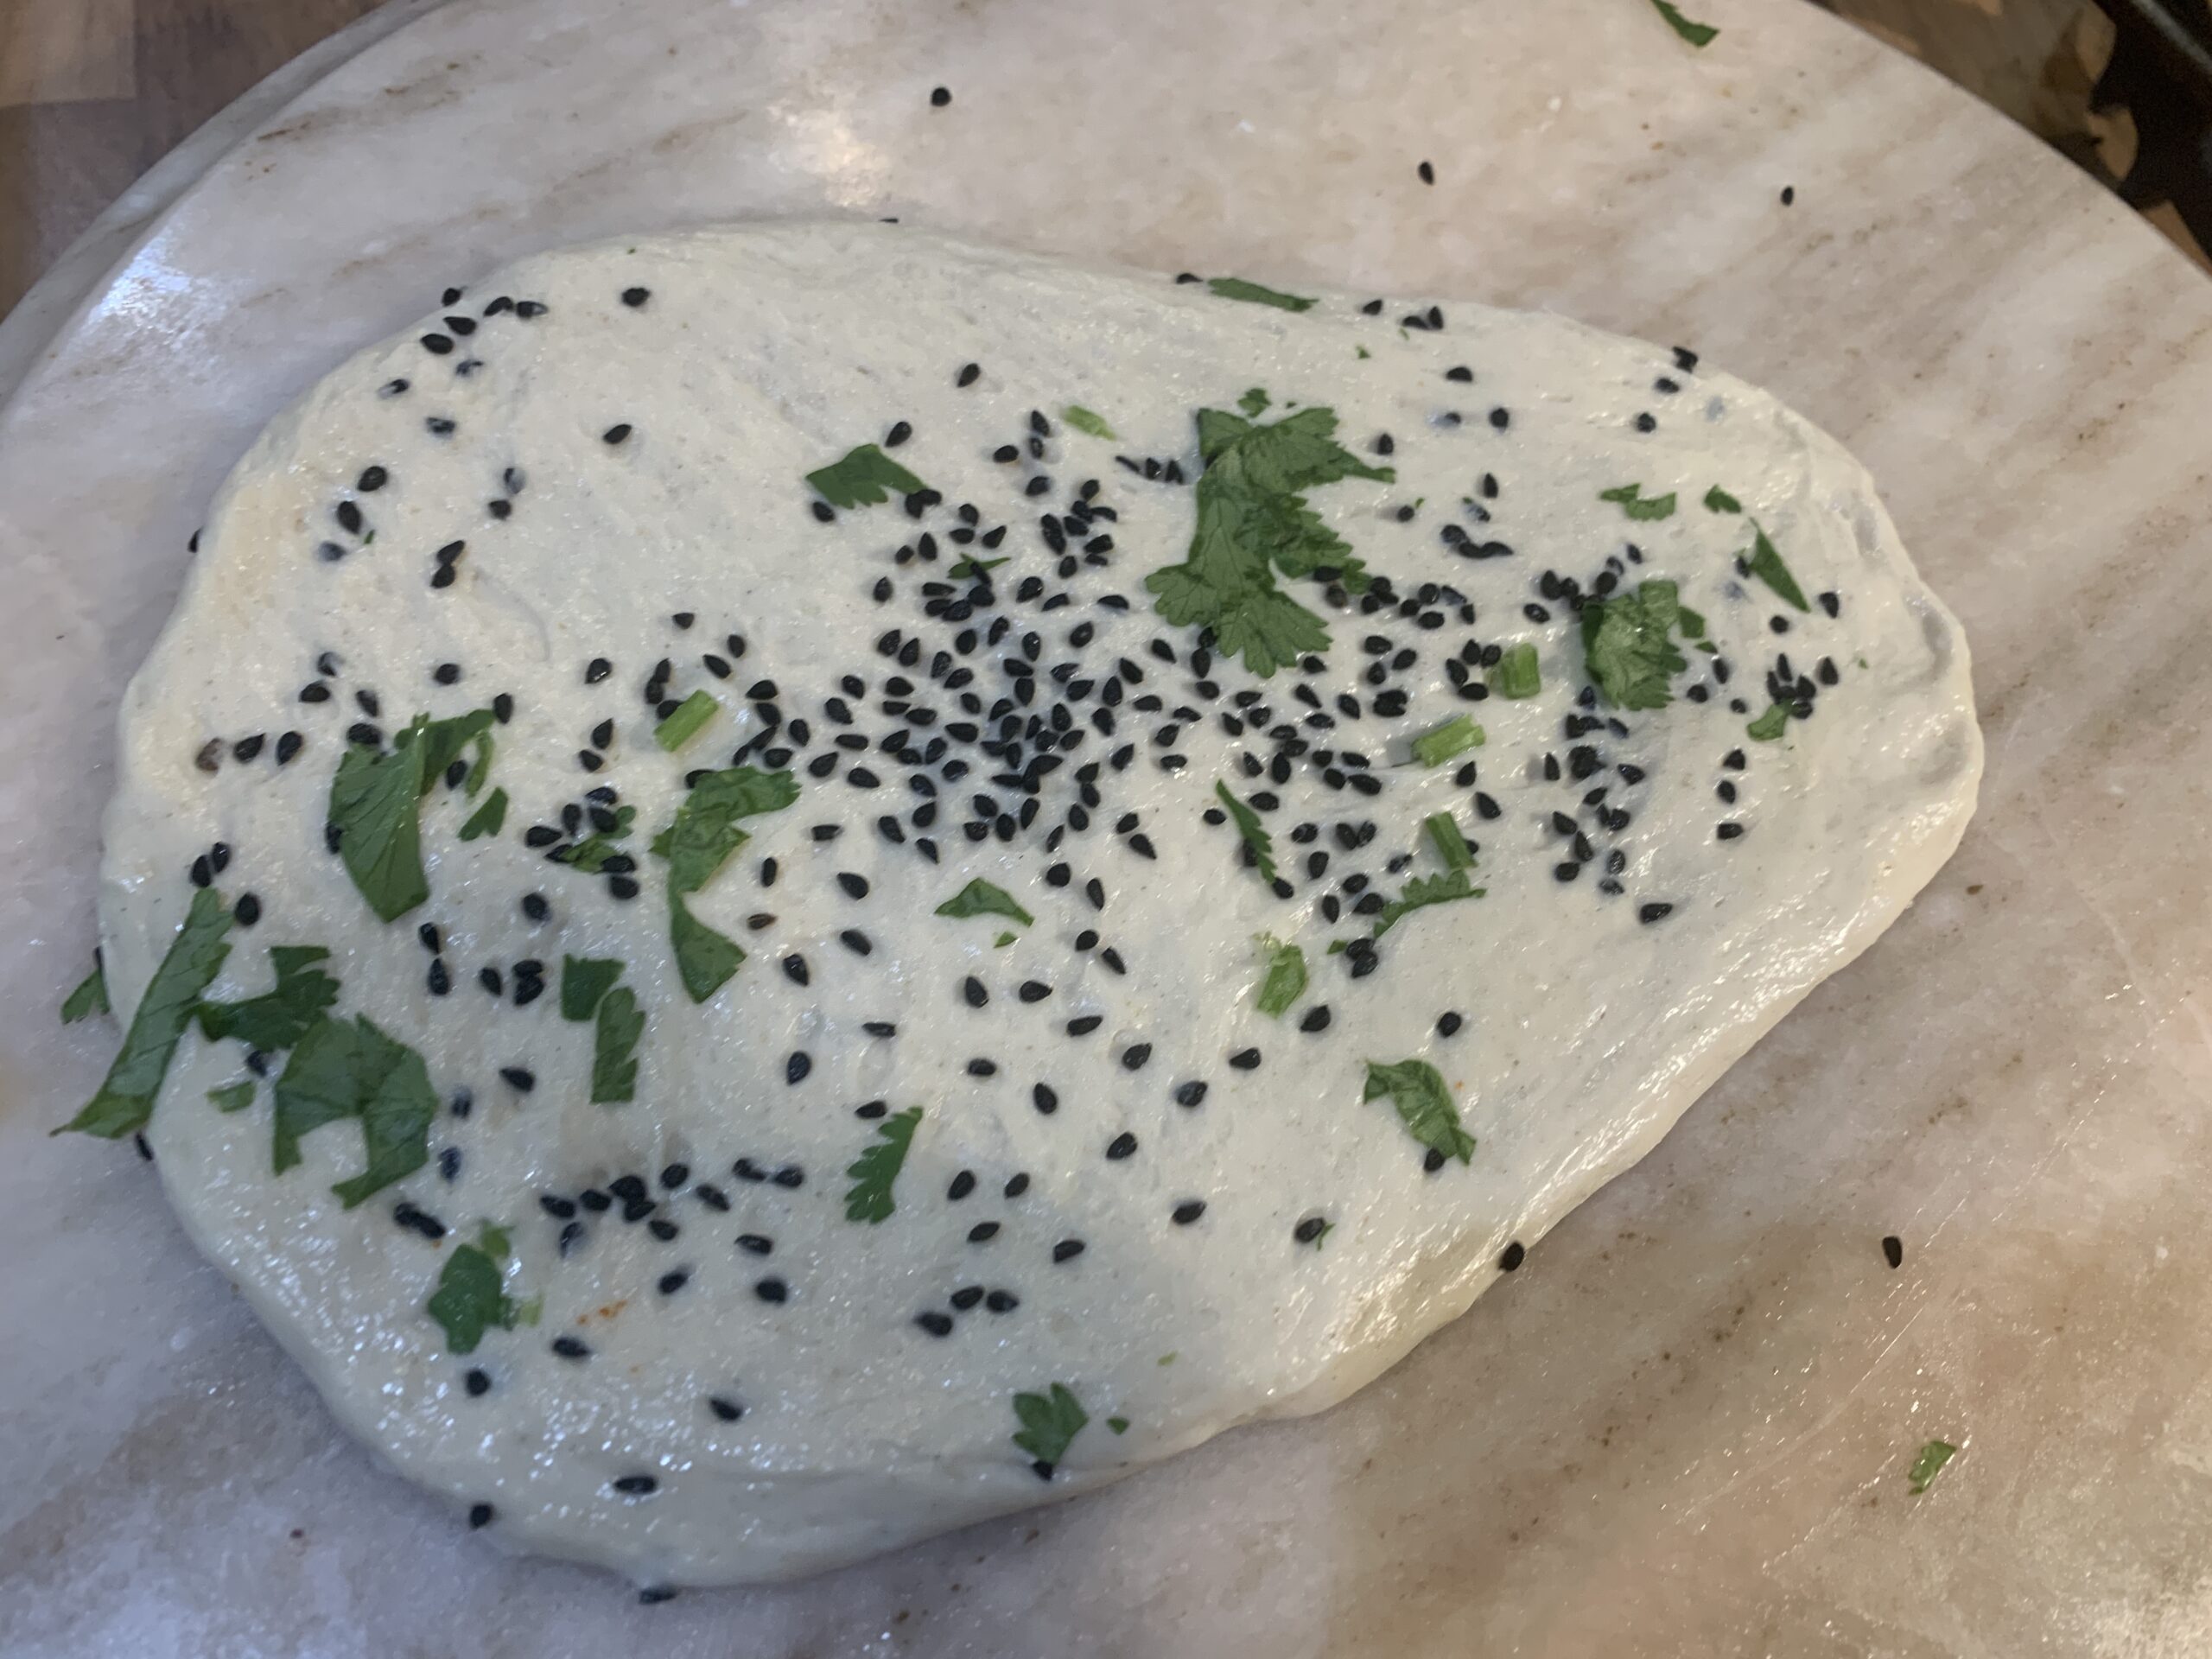
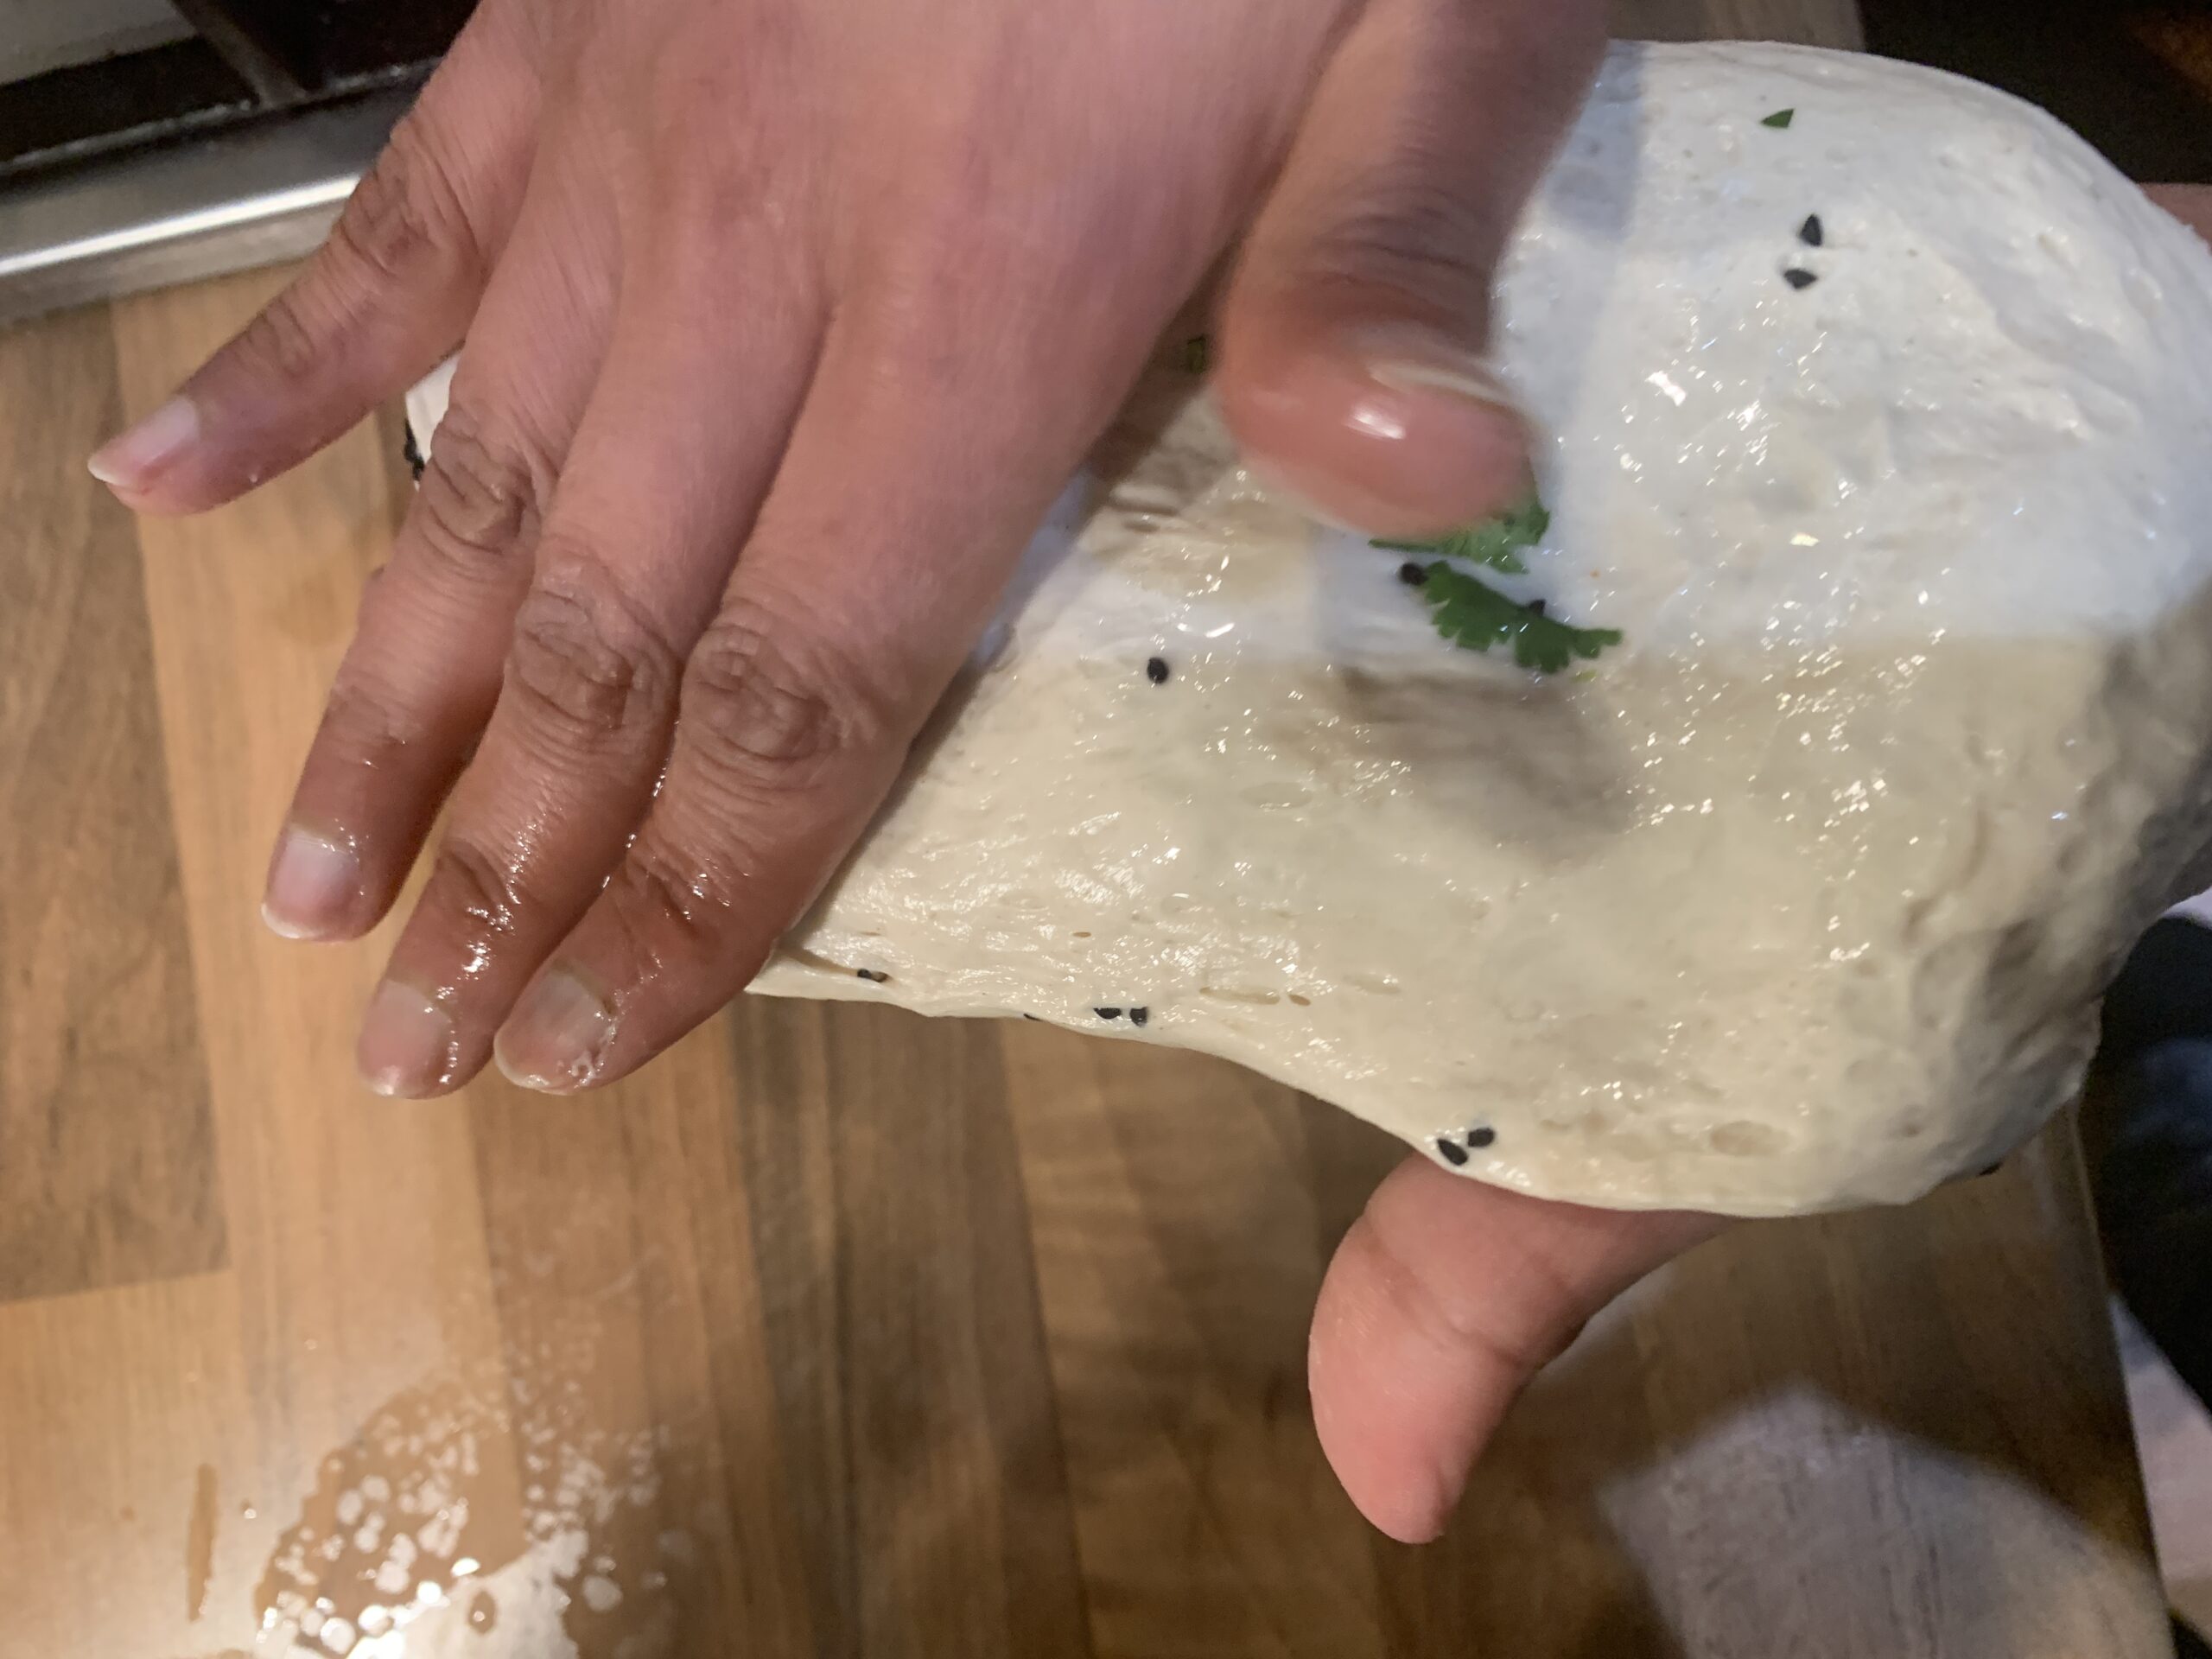
After the second rise, sprinkle some water on the dough ball and sprinkle some onion seeds and coriander. Roll the dough to shape it into a teardrop shape- roll into a rough circle, then roll one part of the circle or stretch it to make a more triangular shape (either using rolling pin or your hands). You can use little flour if needed while rolling the dough.
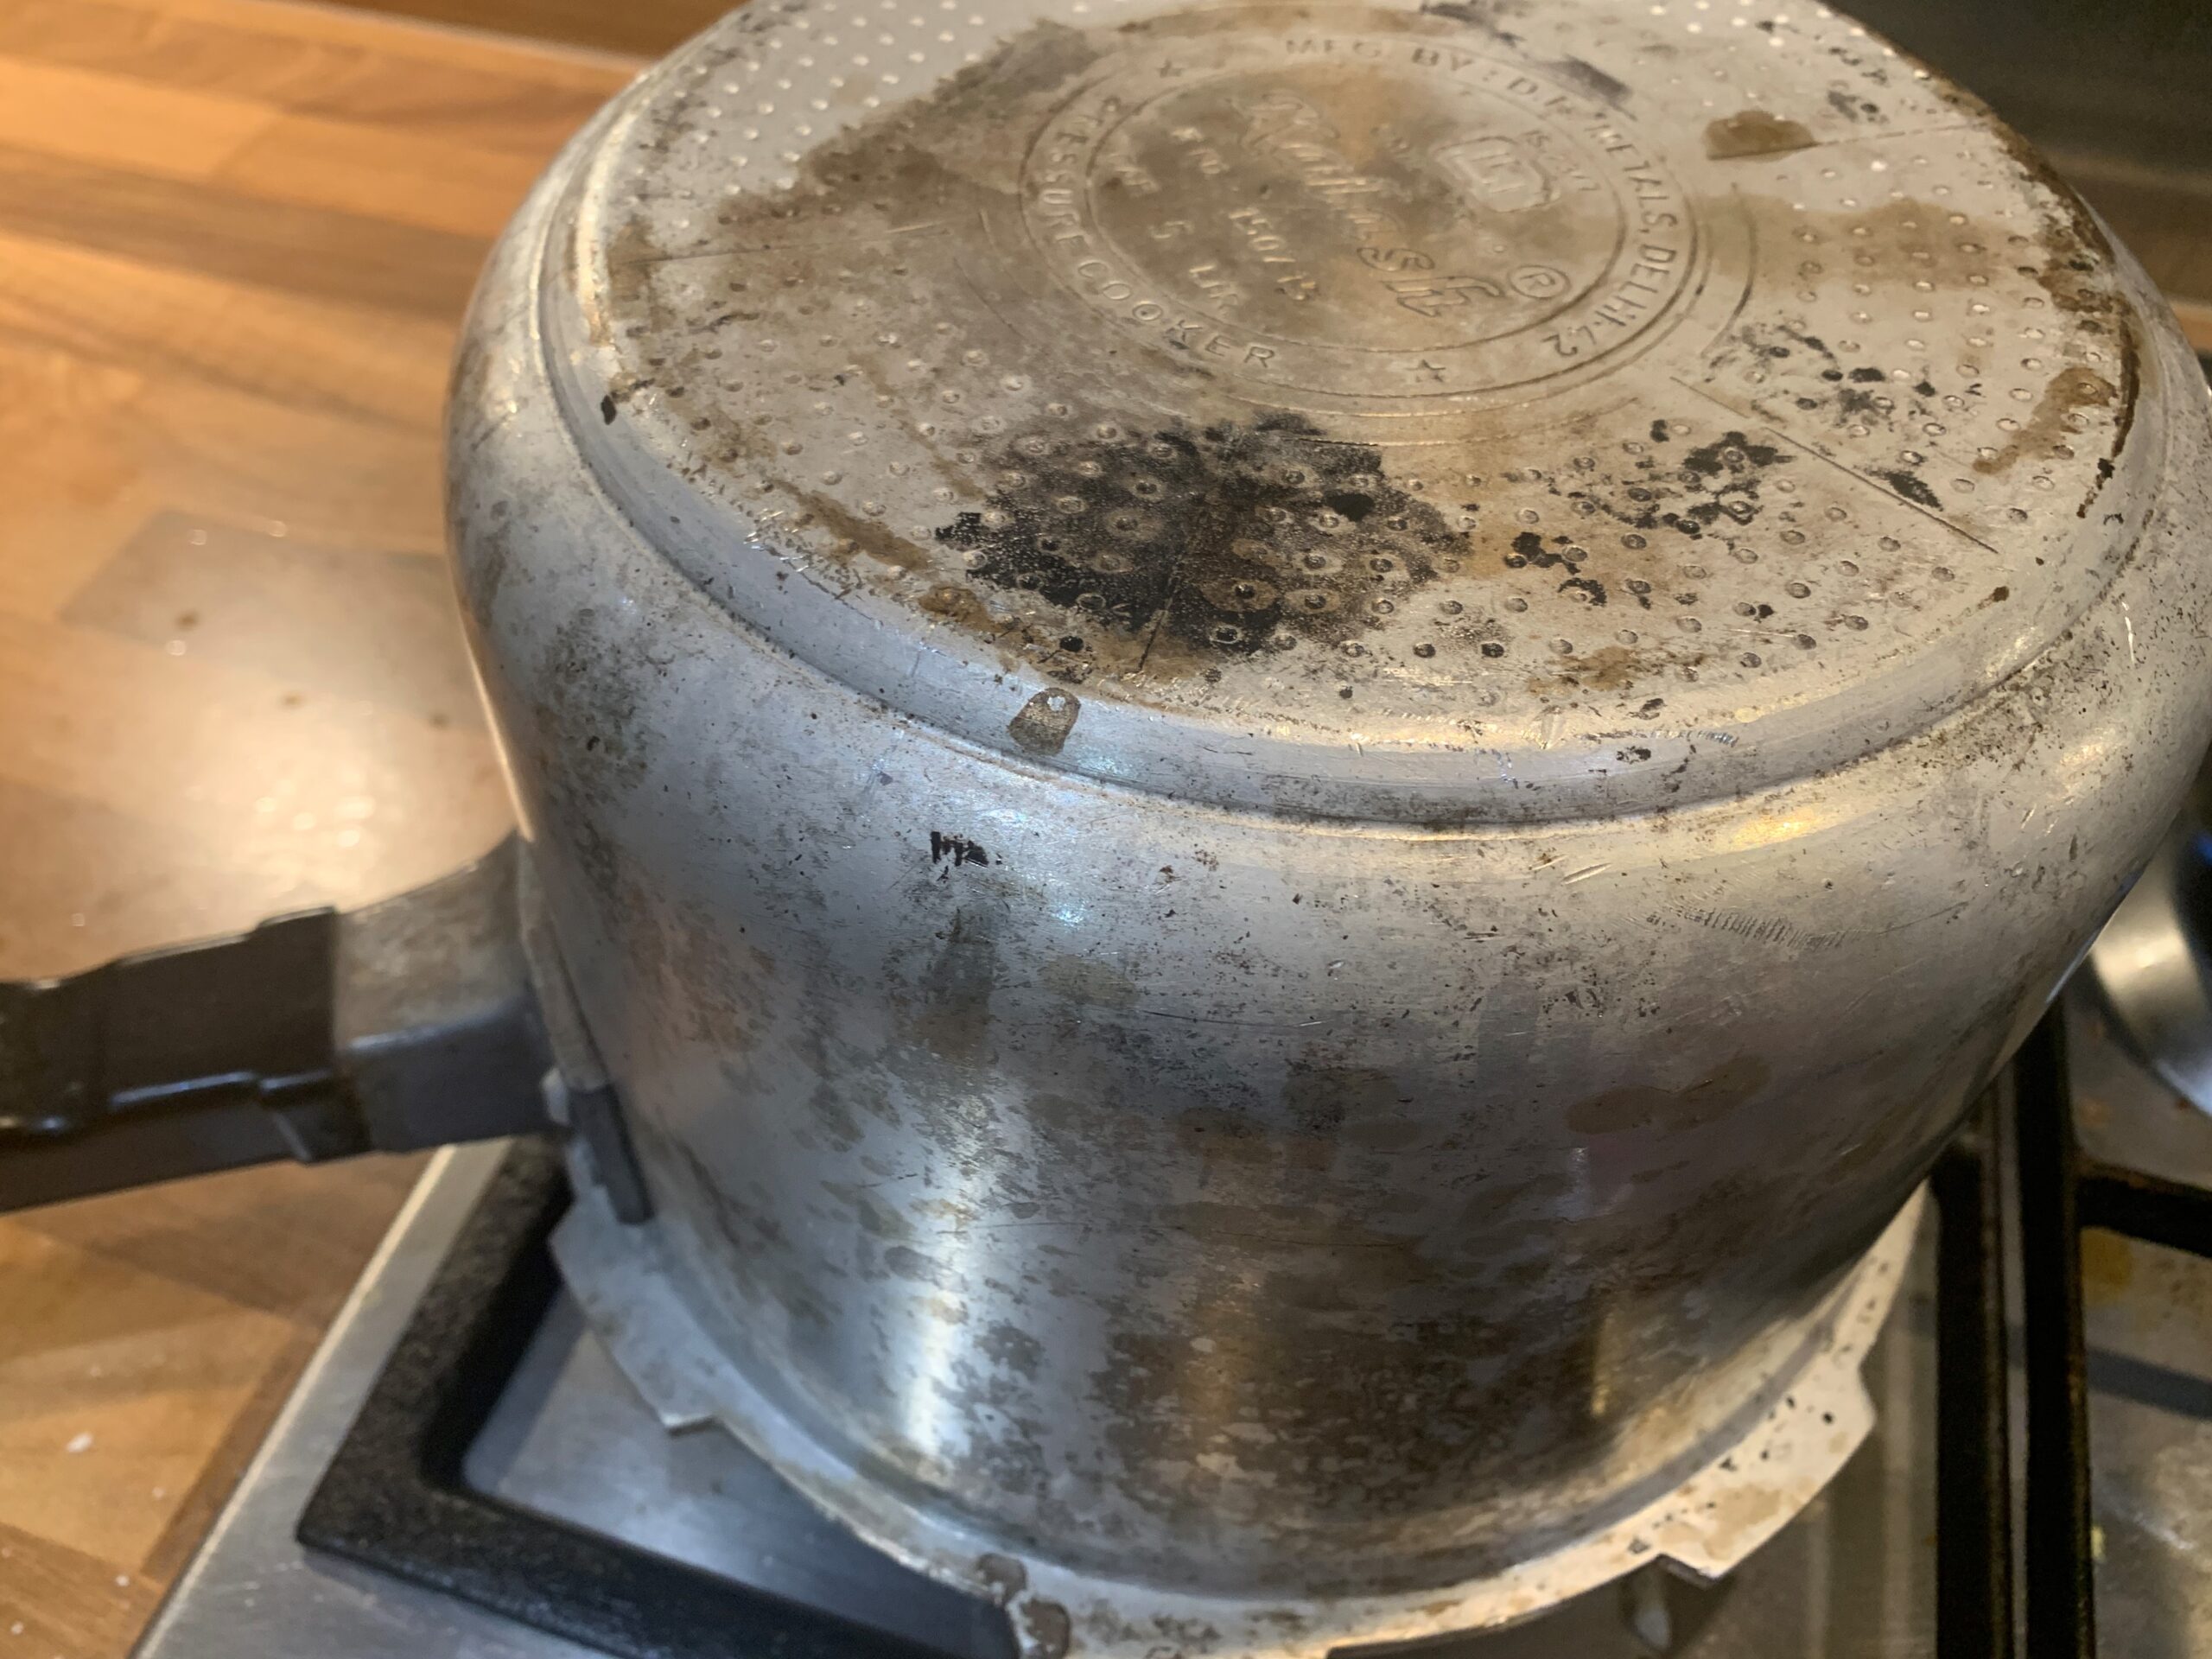
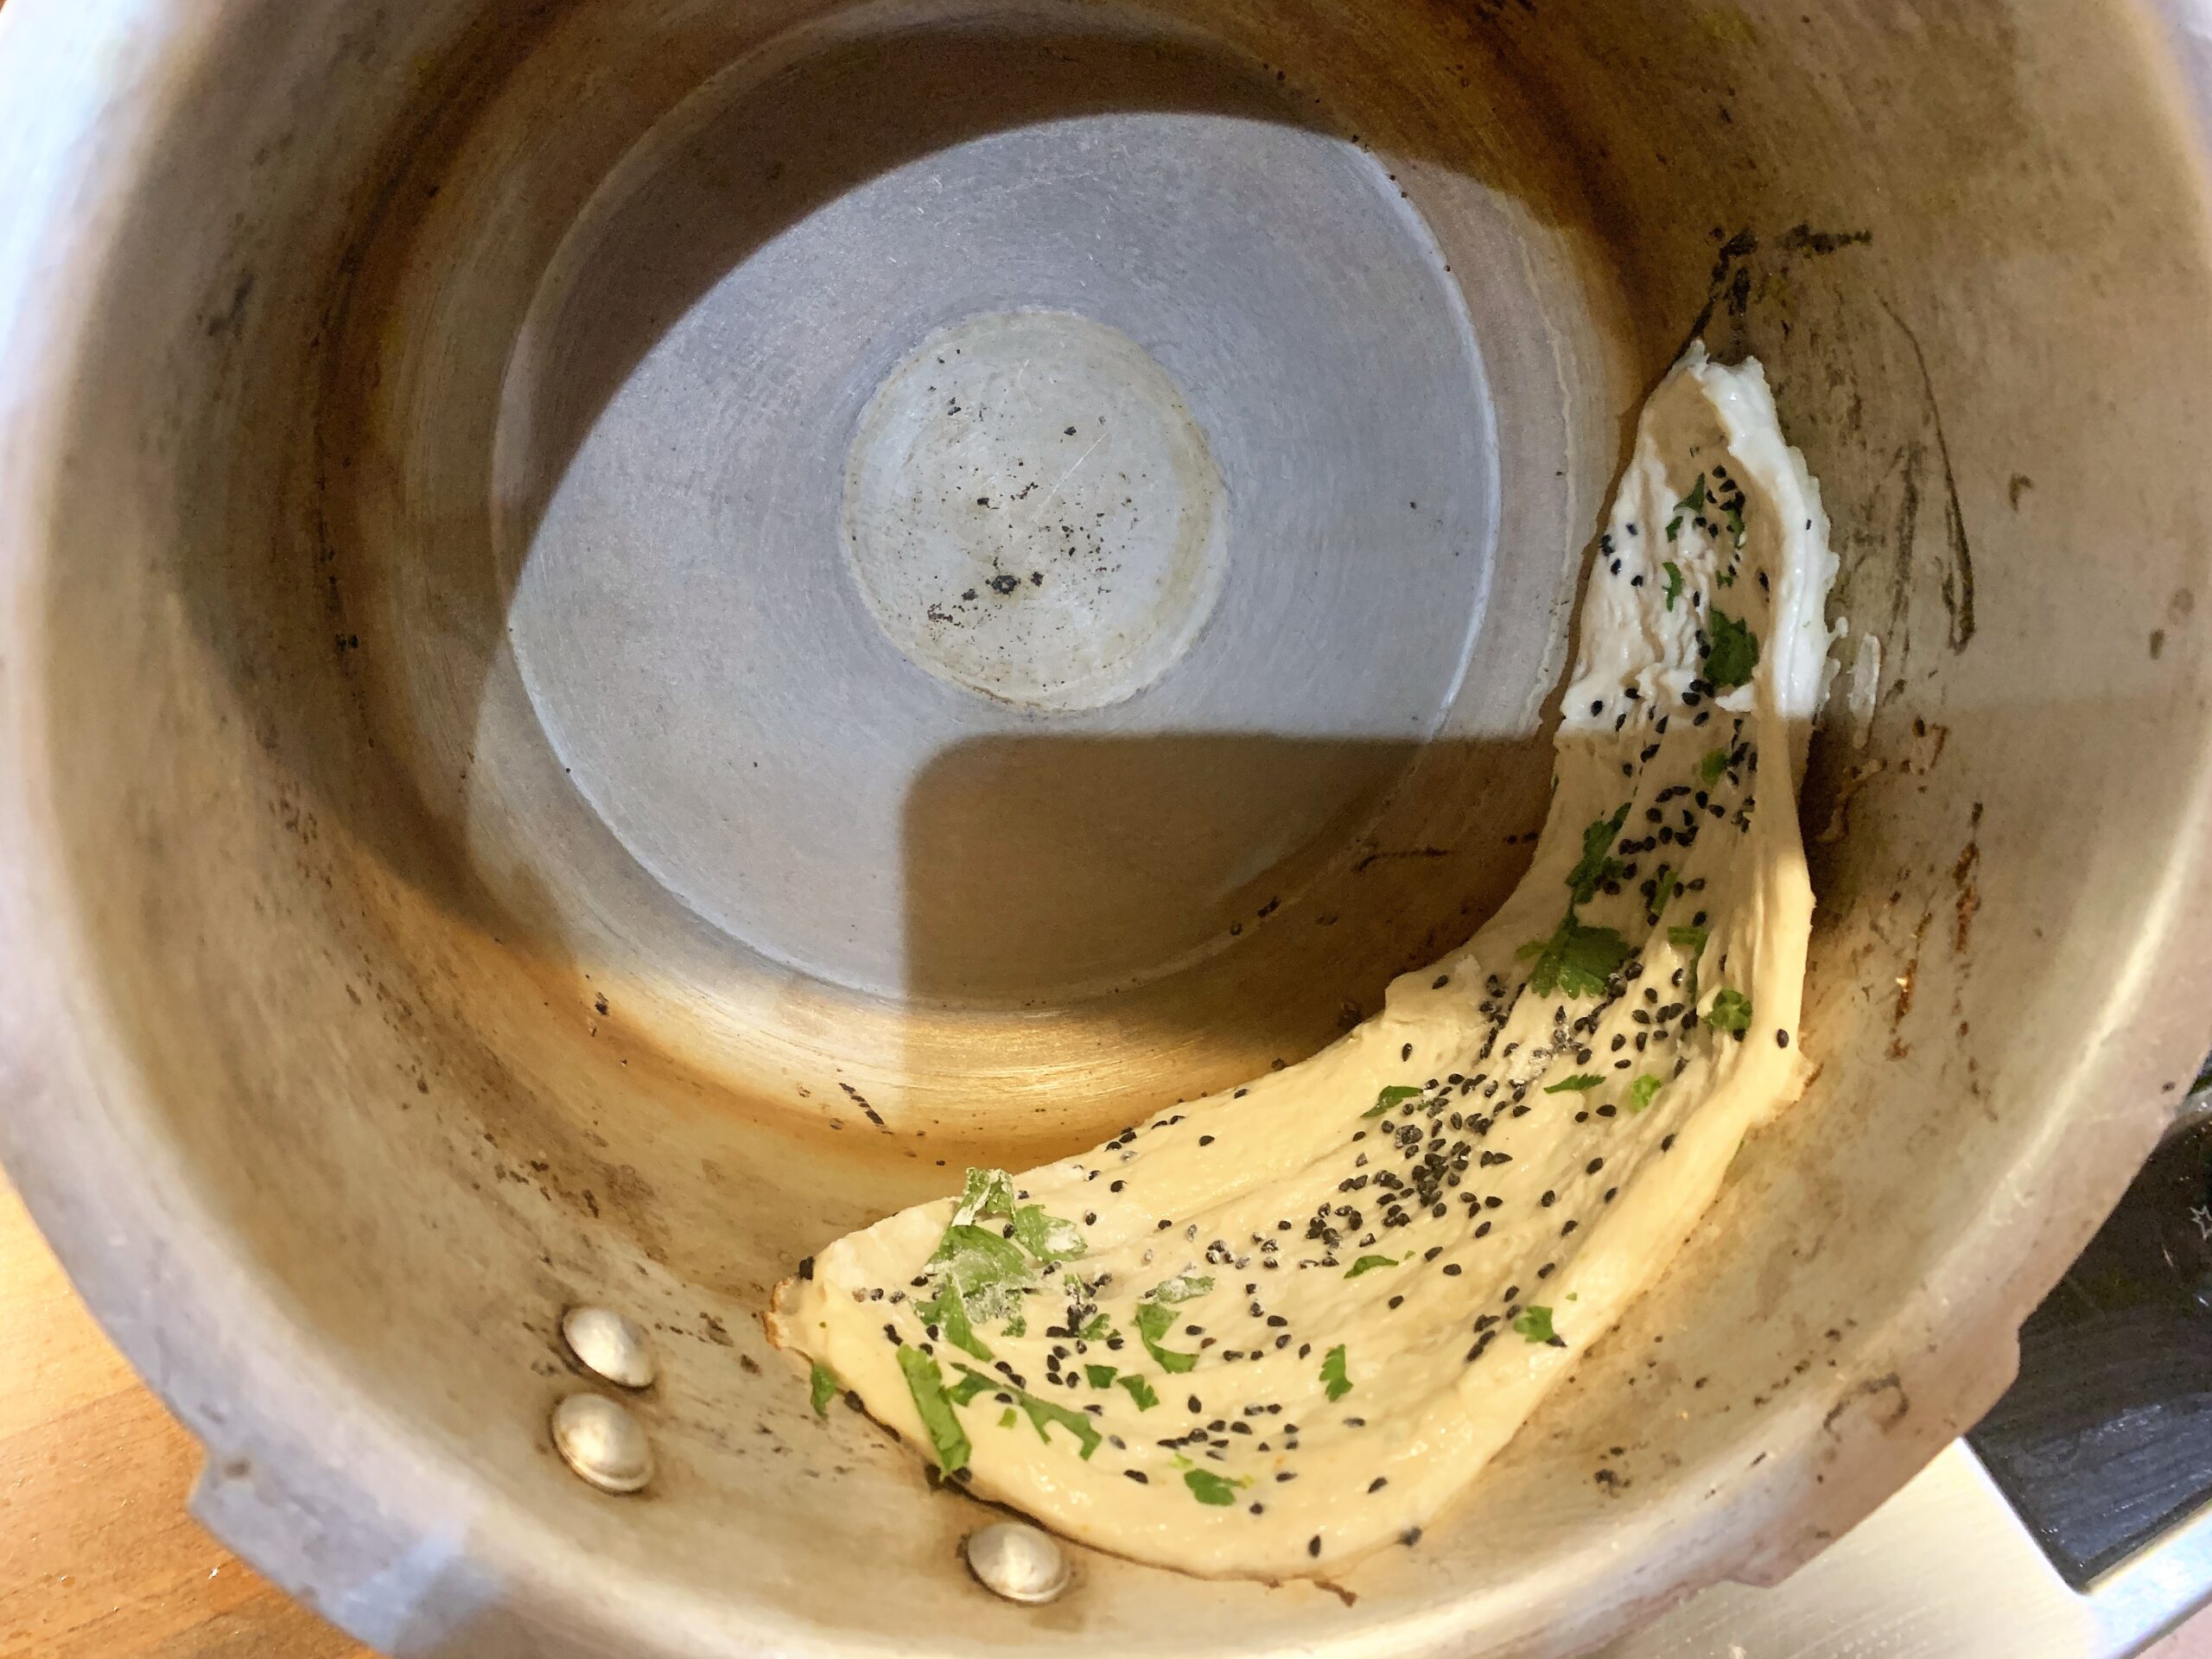
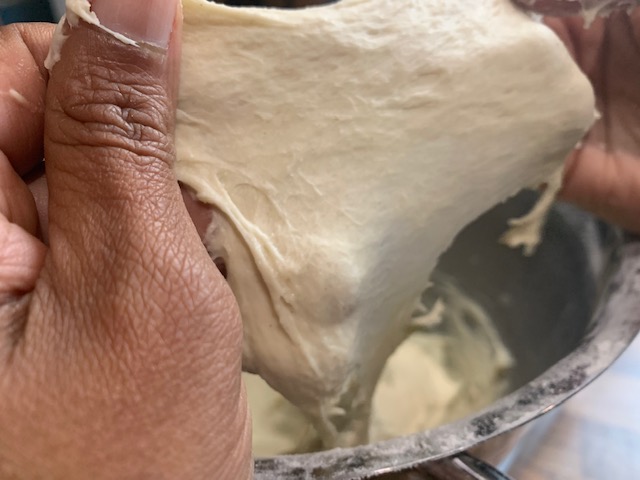
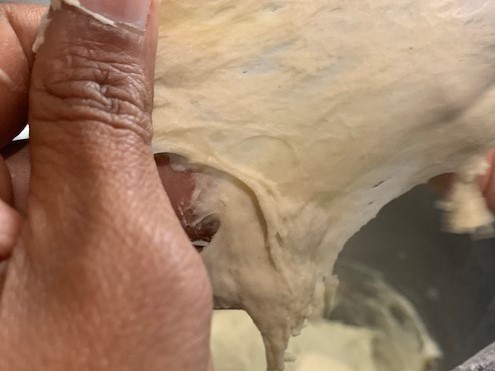
Cooking naan in an aluminium cooker
Put your aluminium cooker upside down on high flame and warm it. The cooker needs to be hot. It would take approximately 2-3 minutes on high flame for it to be that hot. Please be very careful while handling it.
Spread few drops of water on one side of the rolled naan. This side needs to stick to cooker’s wall and water will do the trick.
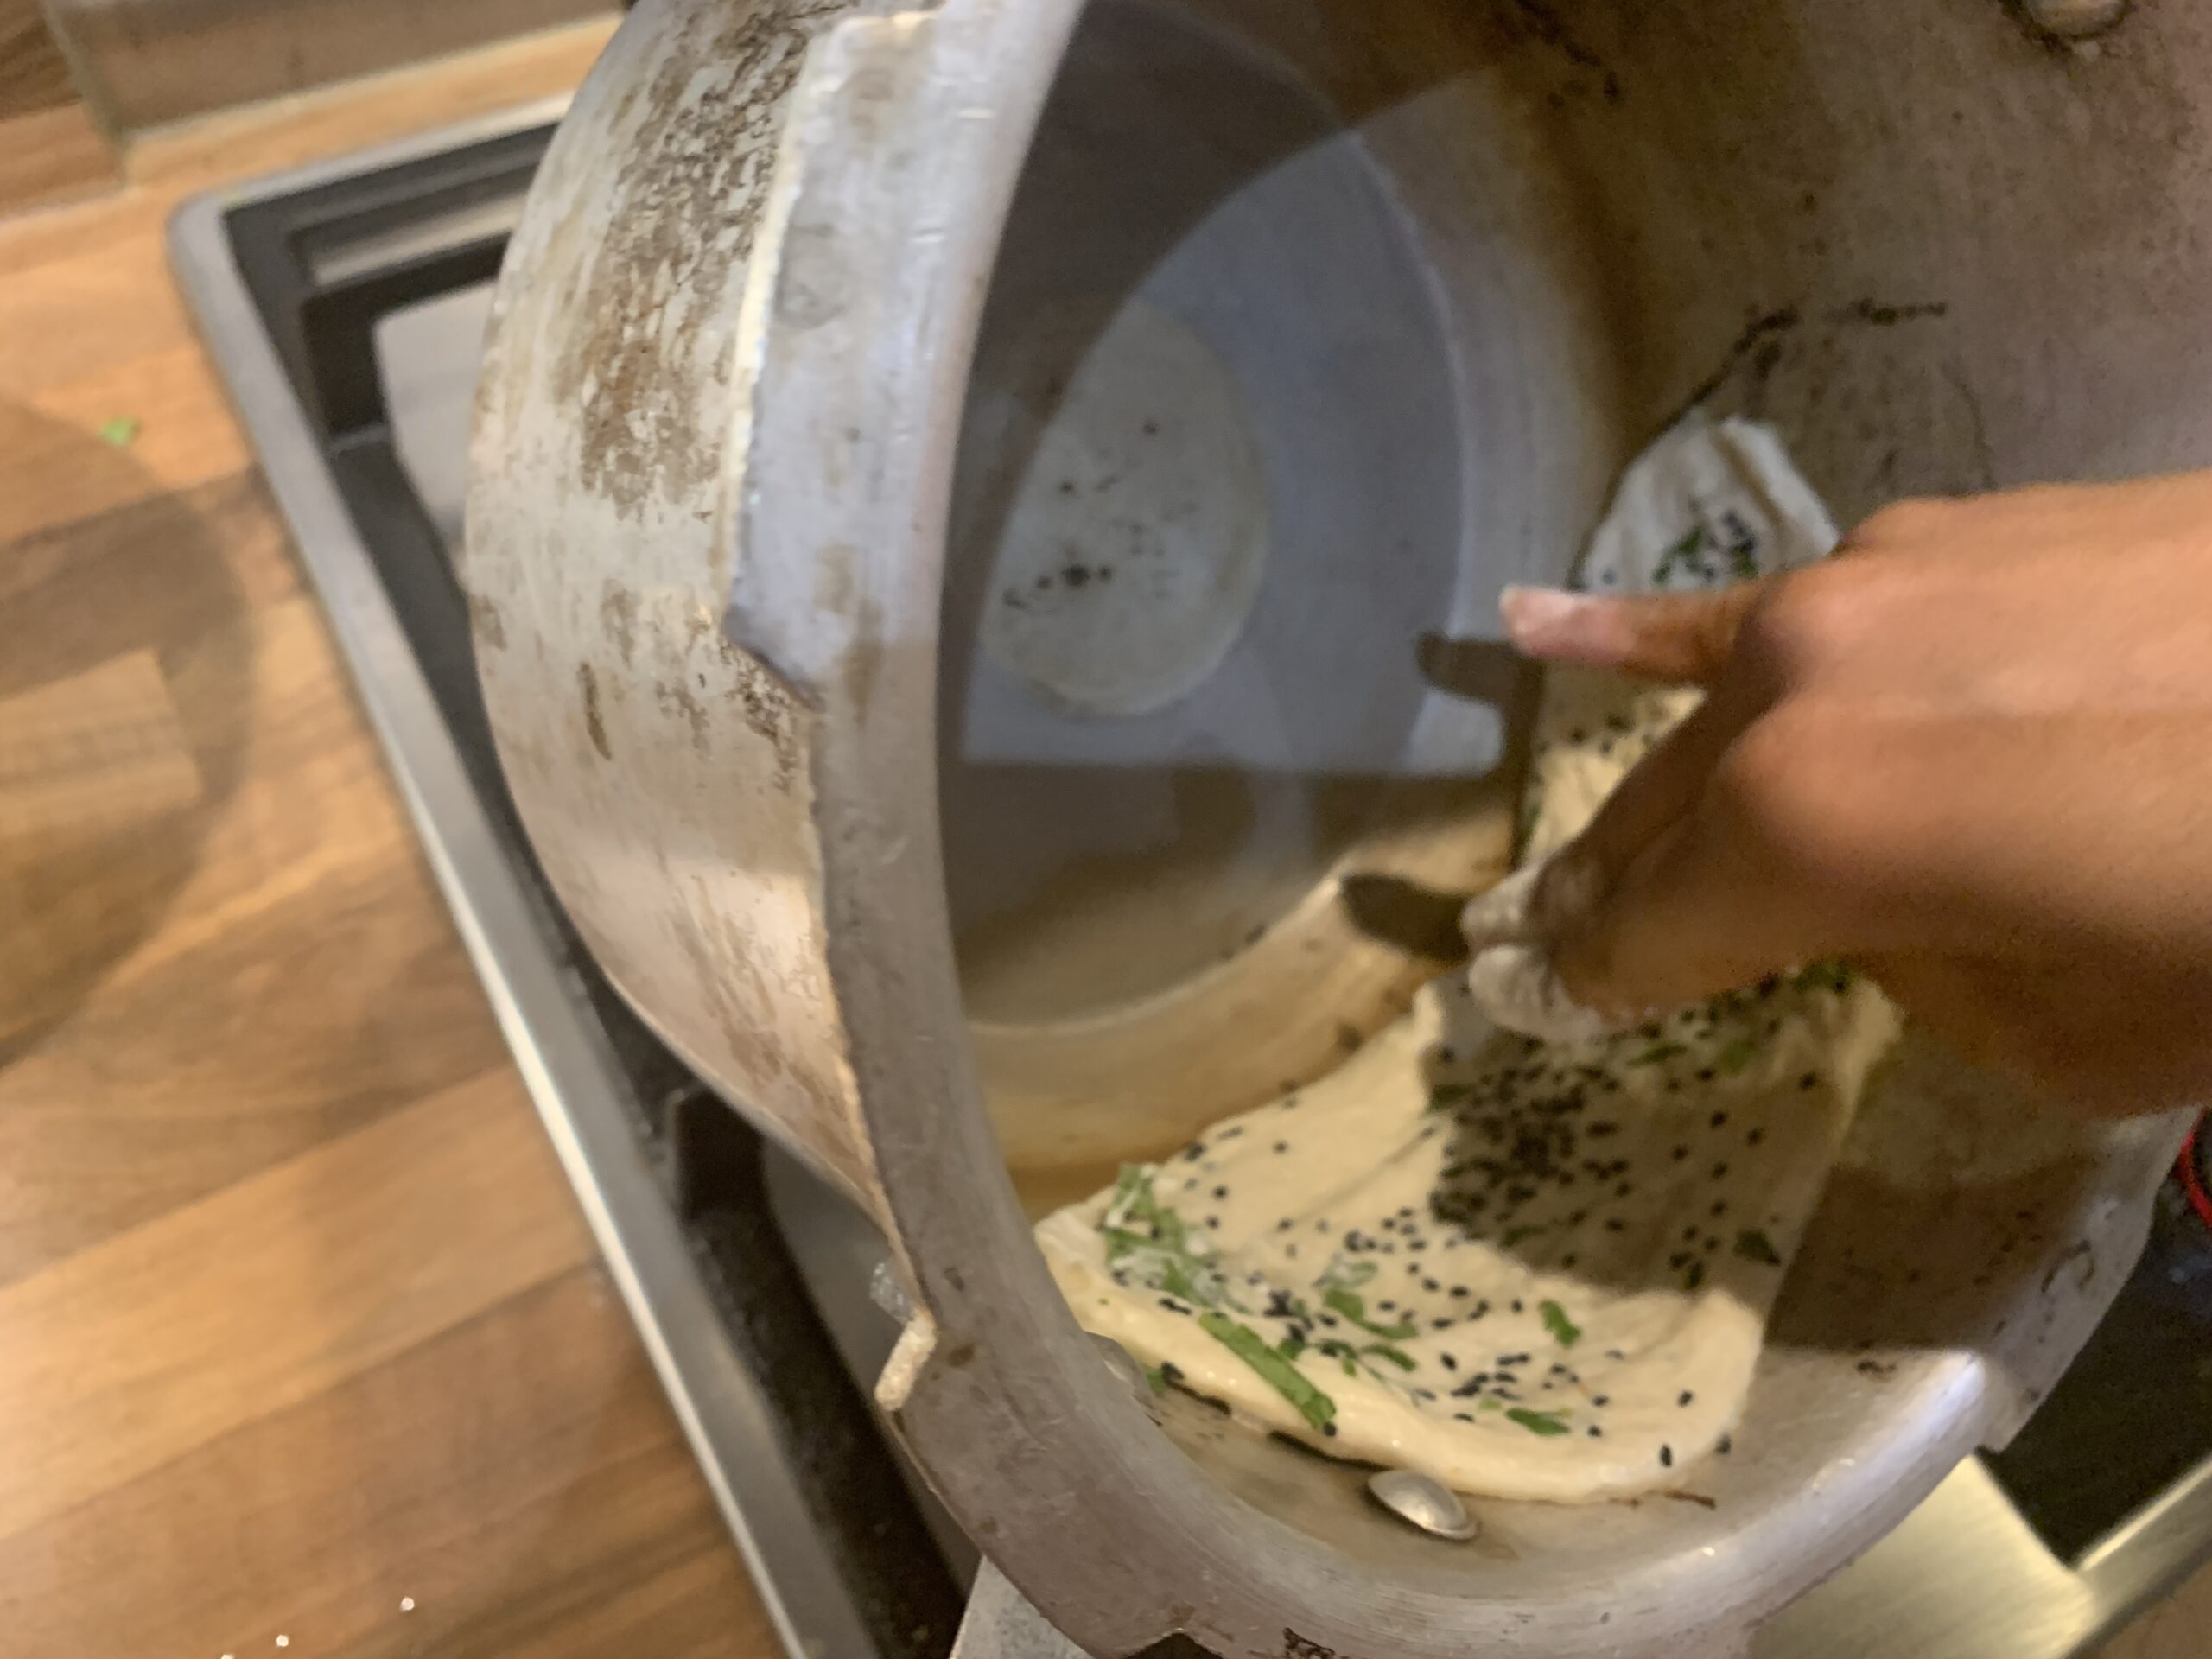
Once cooker is hot, paste the naan on its wall (as shown). Turn cooker upside down and keep the heat on medium/low. You will have to keep checking the naan by turning the cooker over to make sure that the naan is cooking evenly. Upside-down method is to help accumulate heat inside the cooker and cook the naan like in a Tandoor.
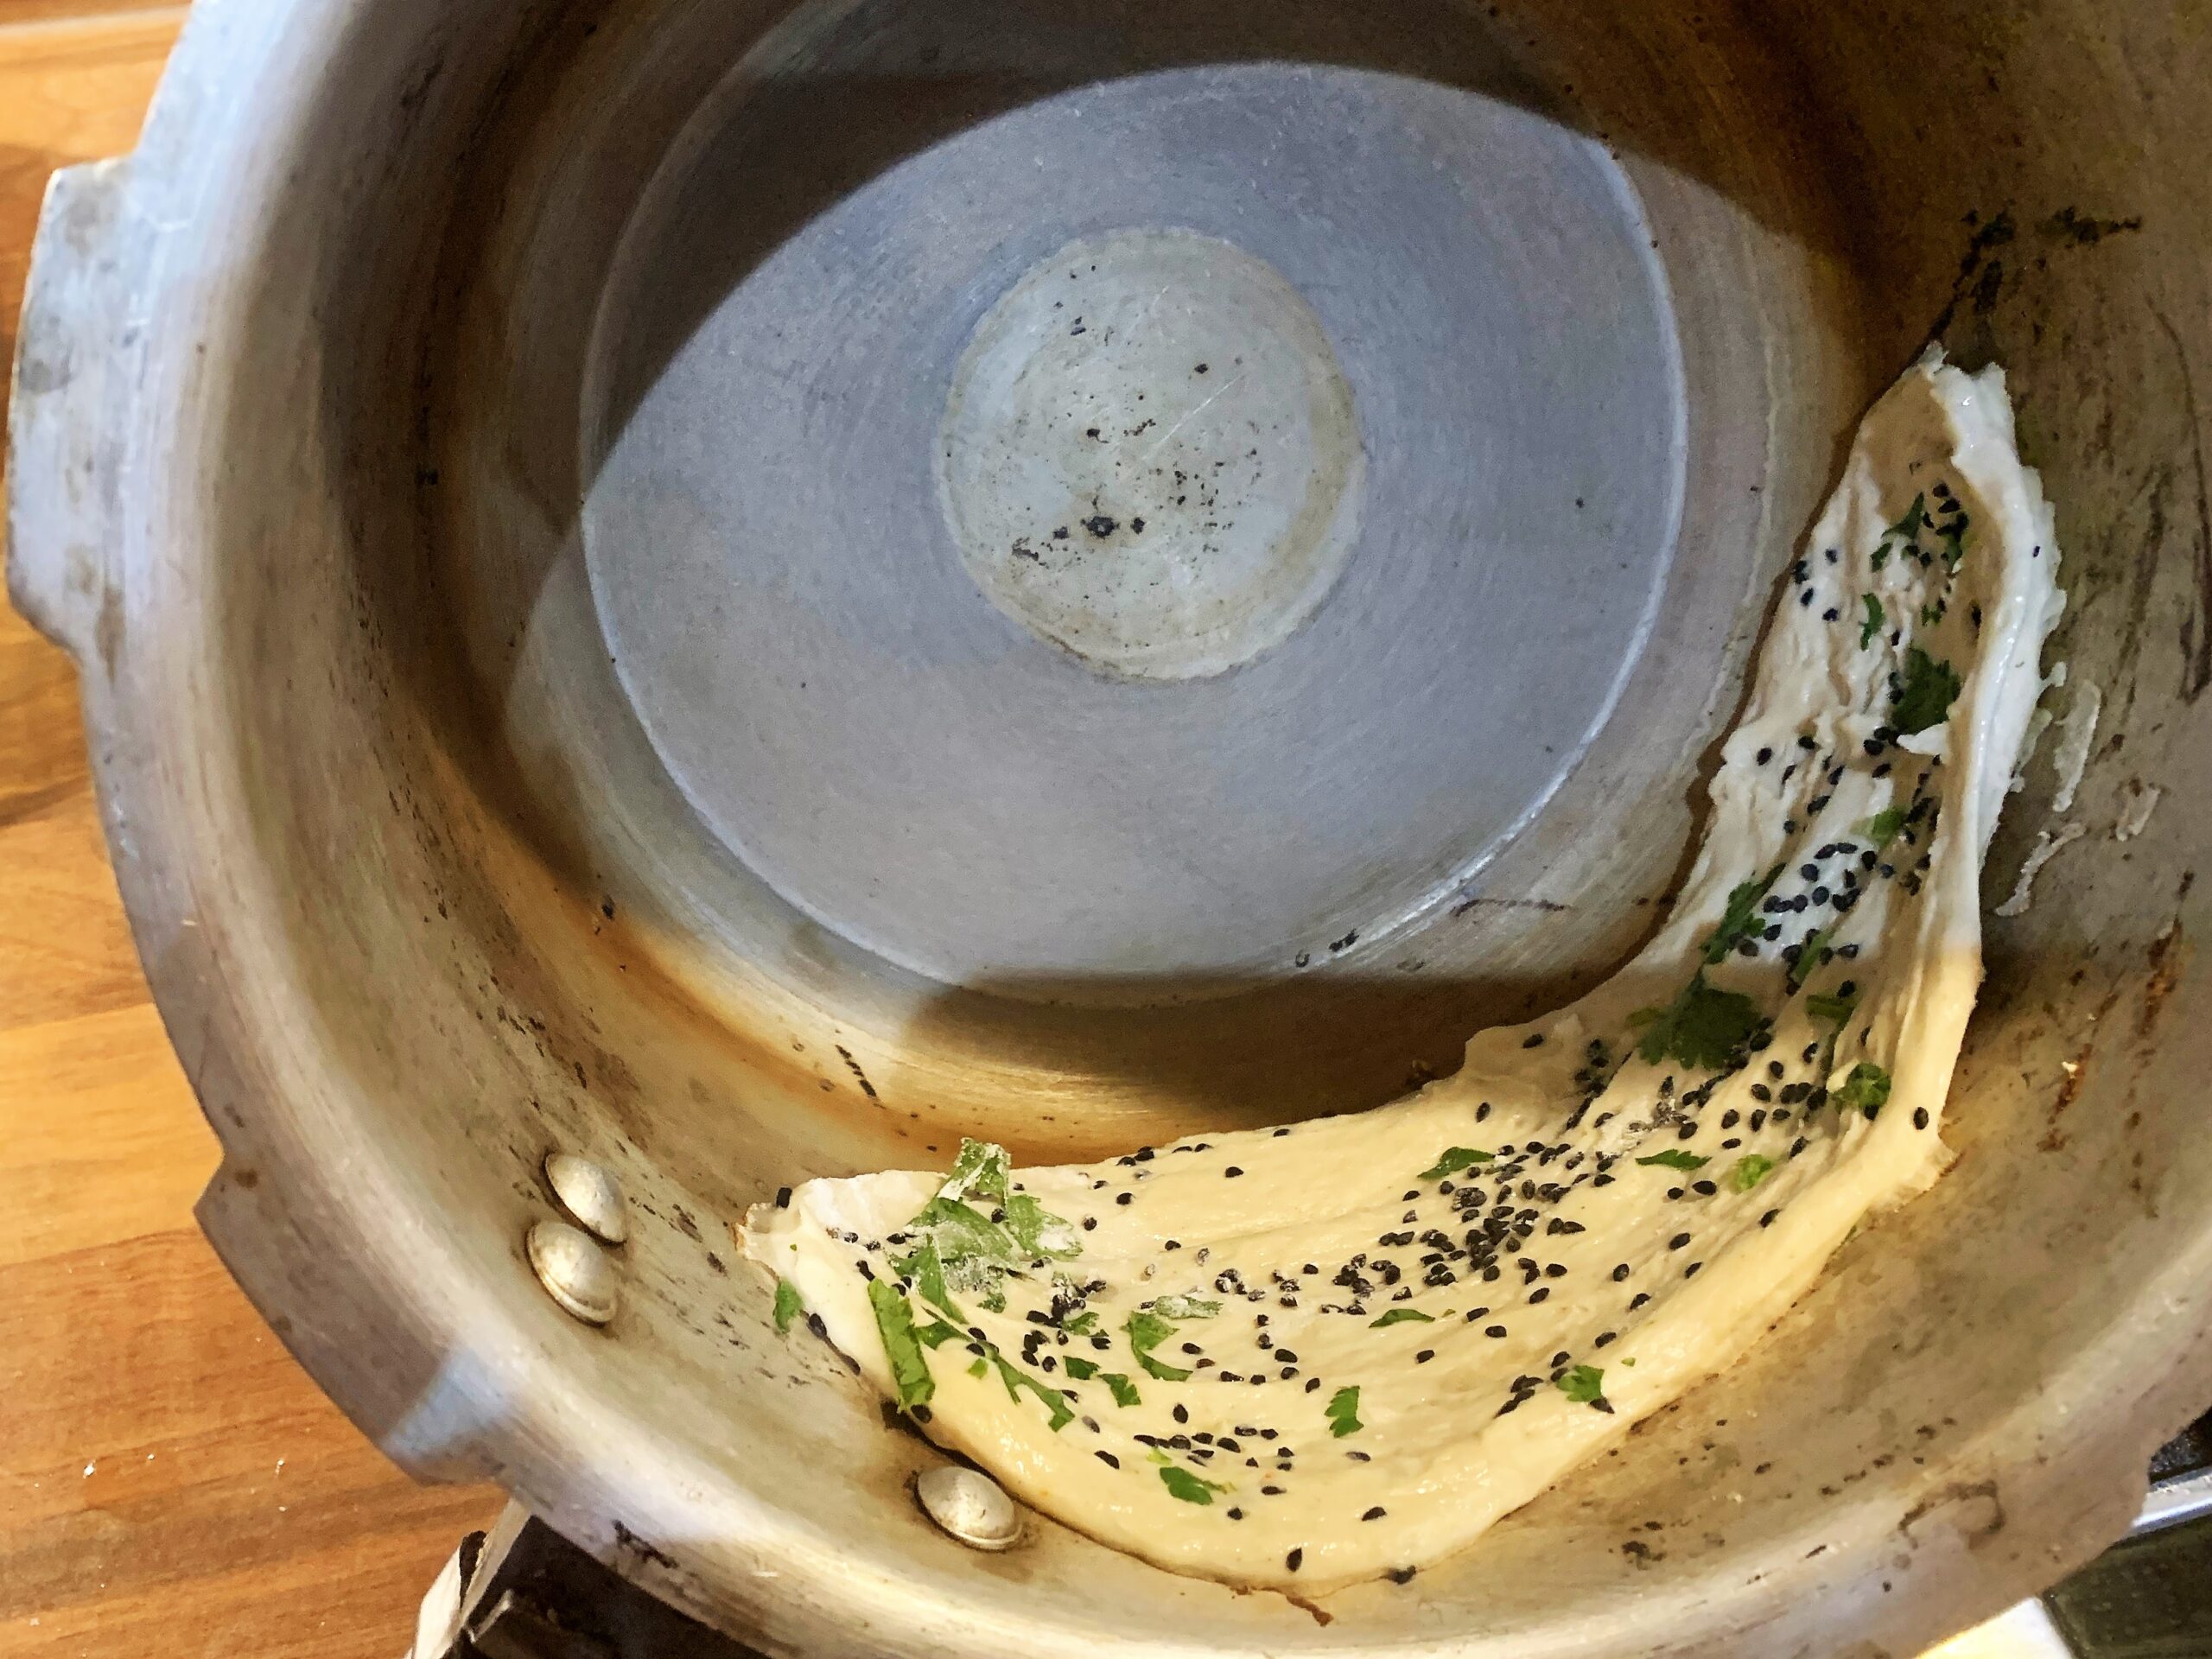
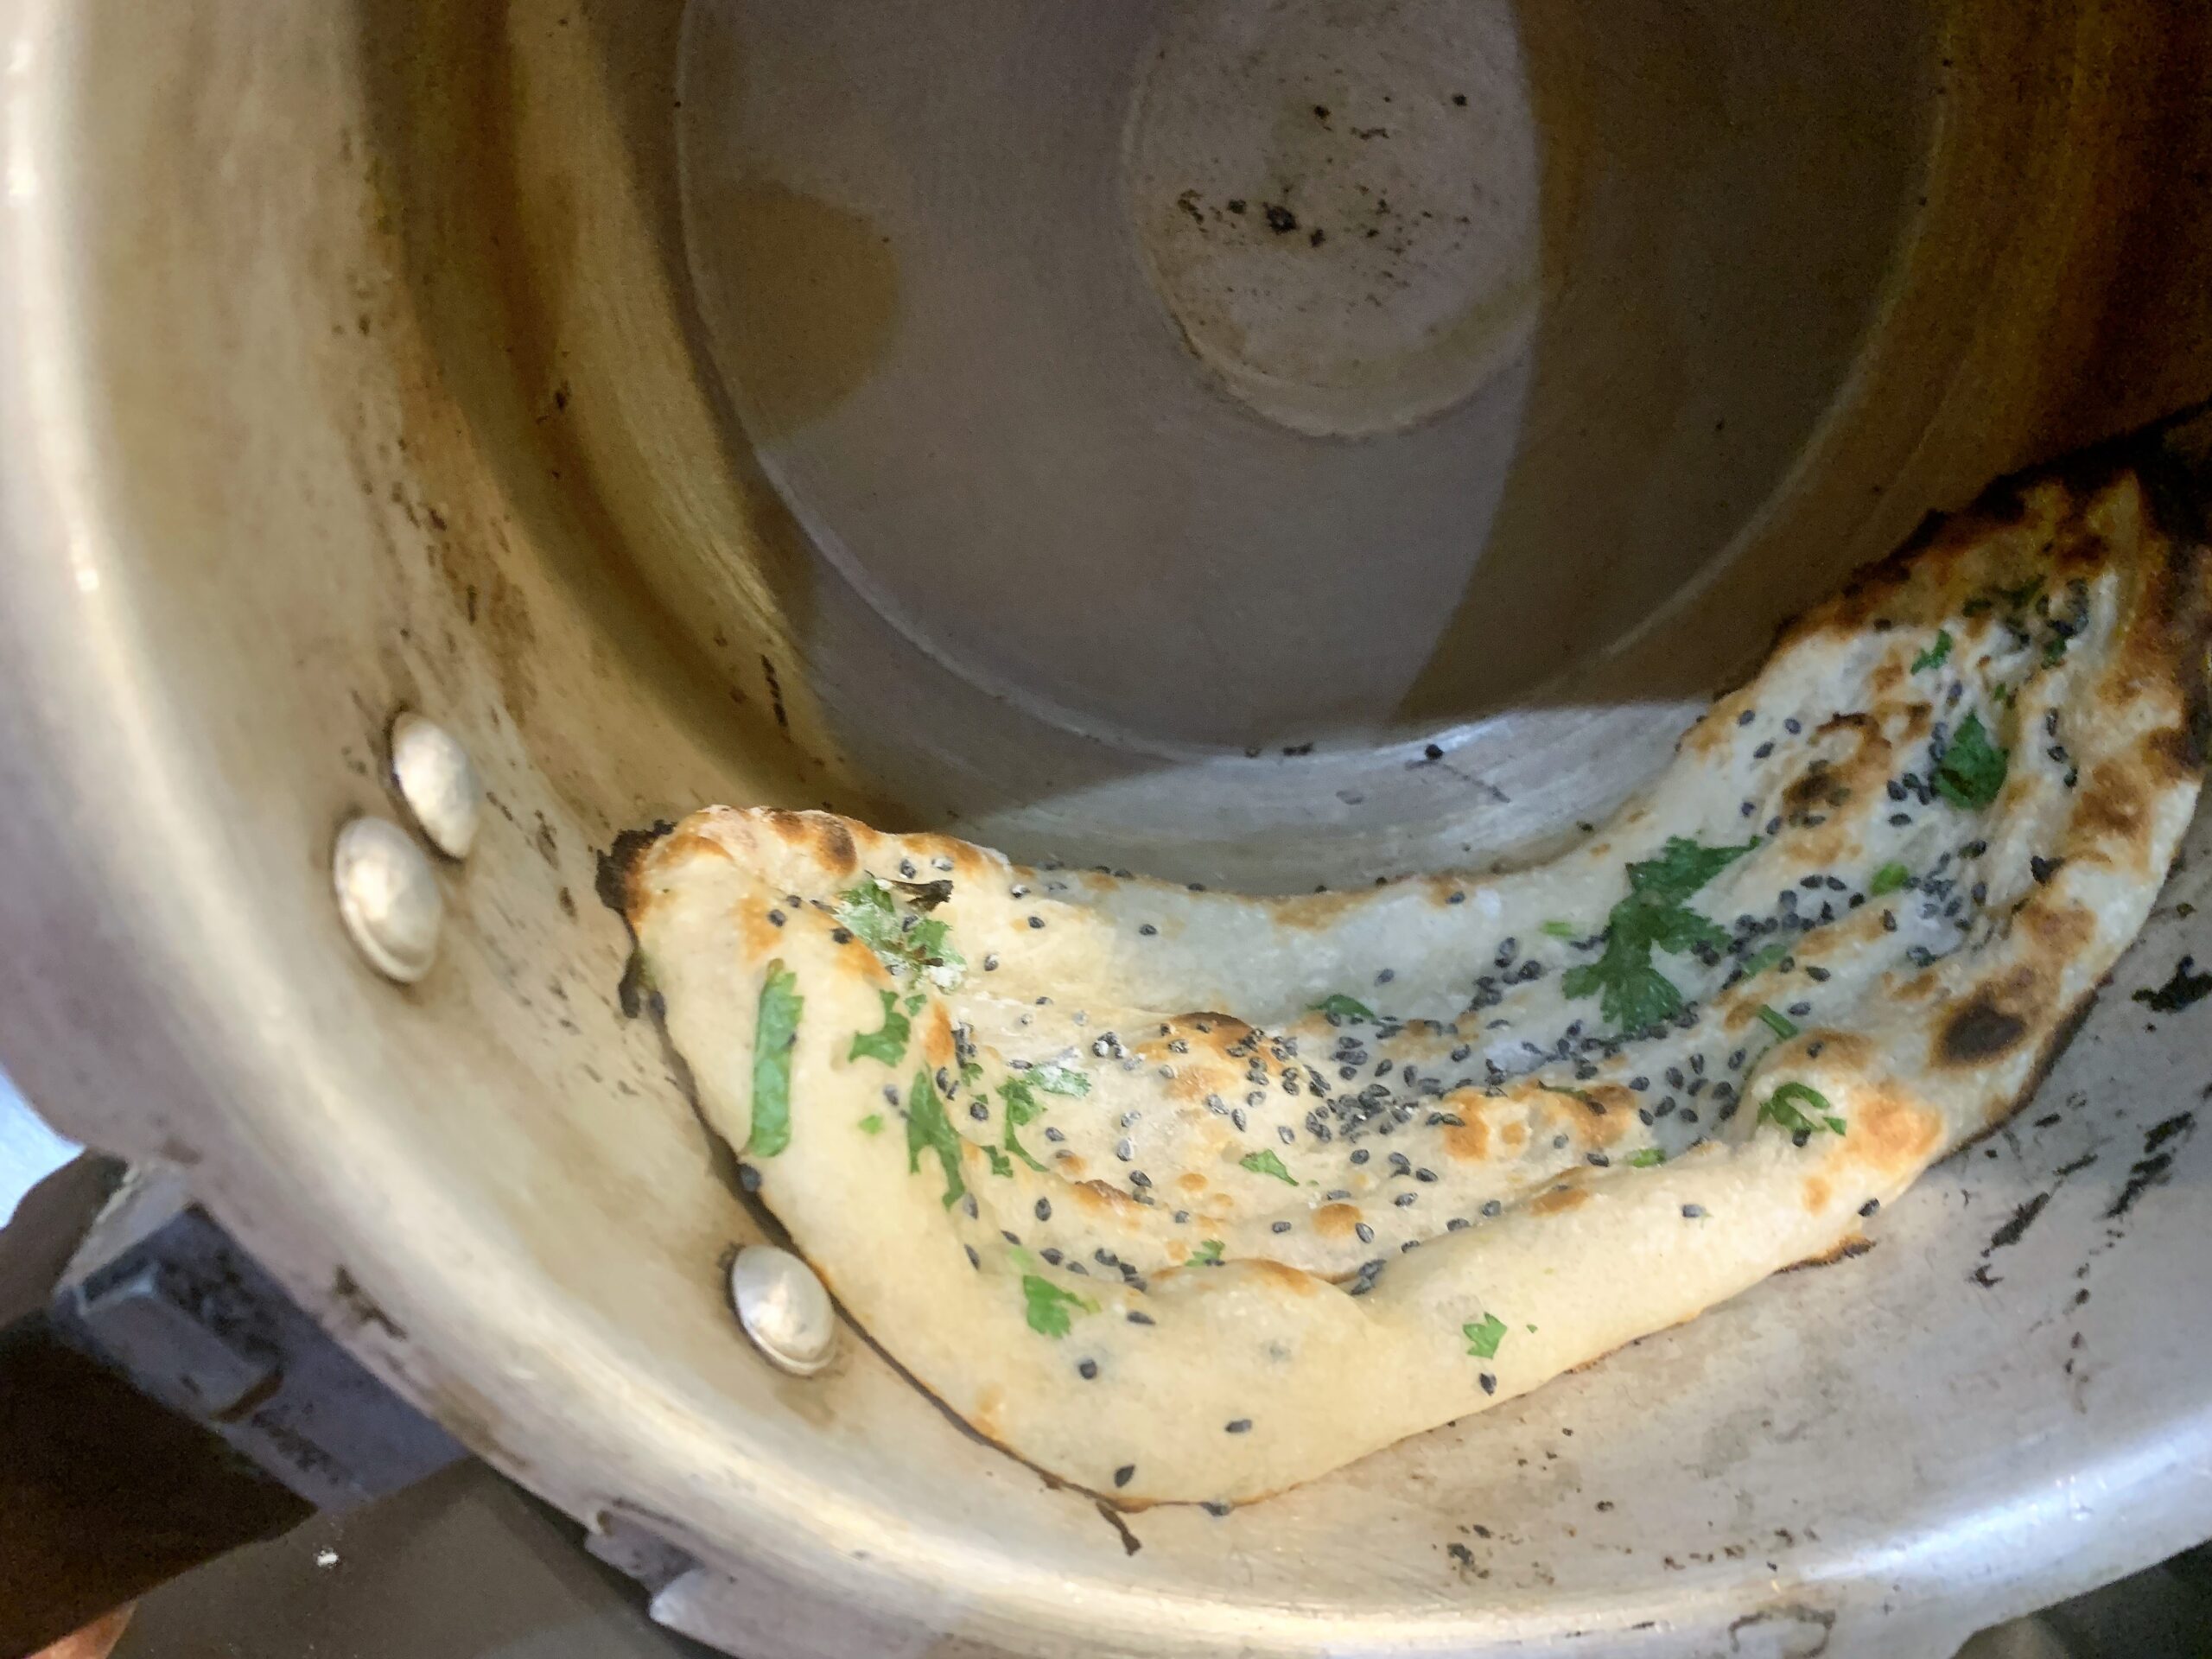
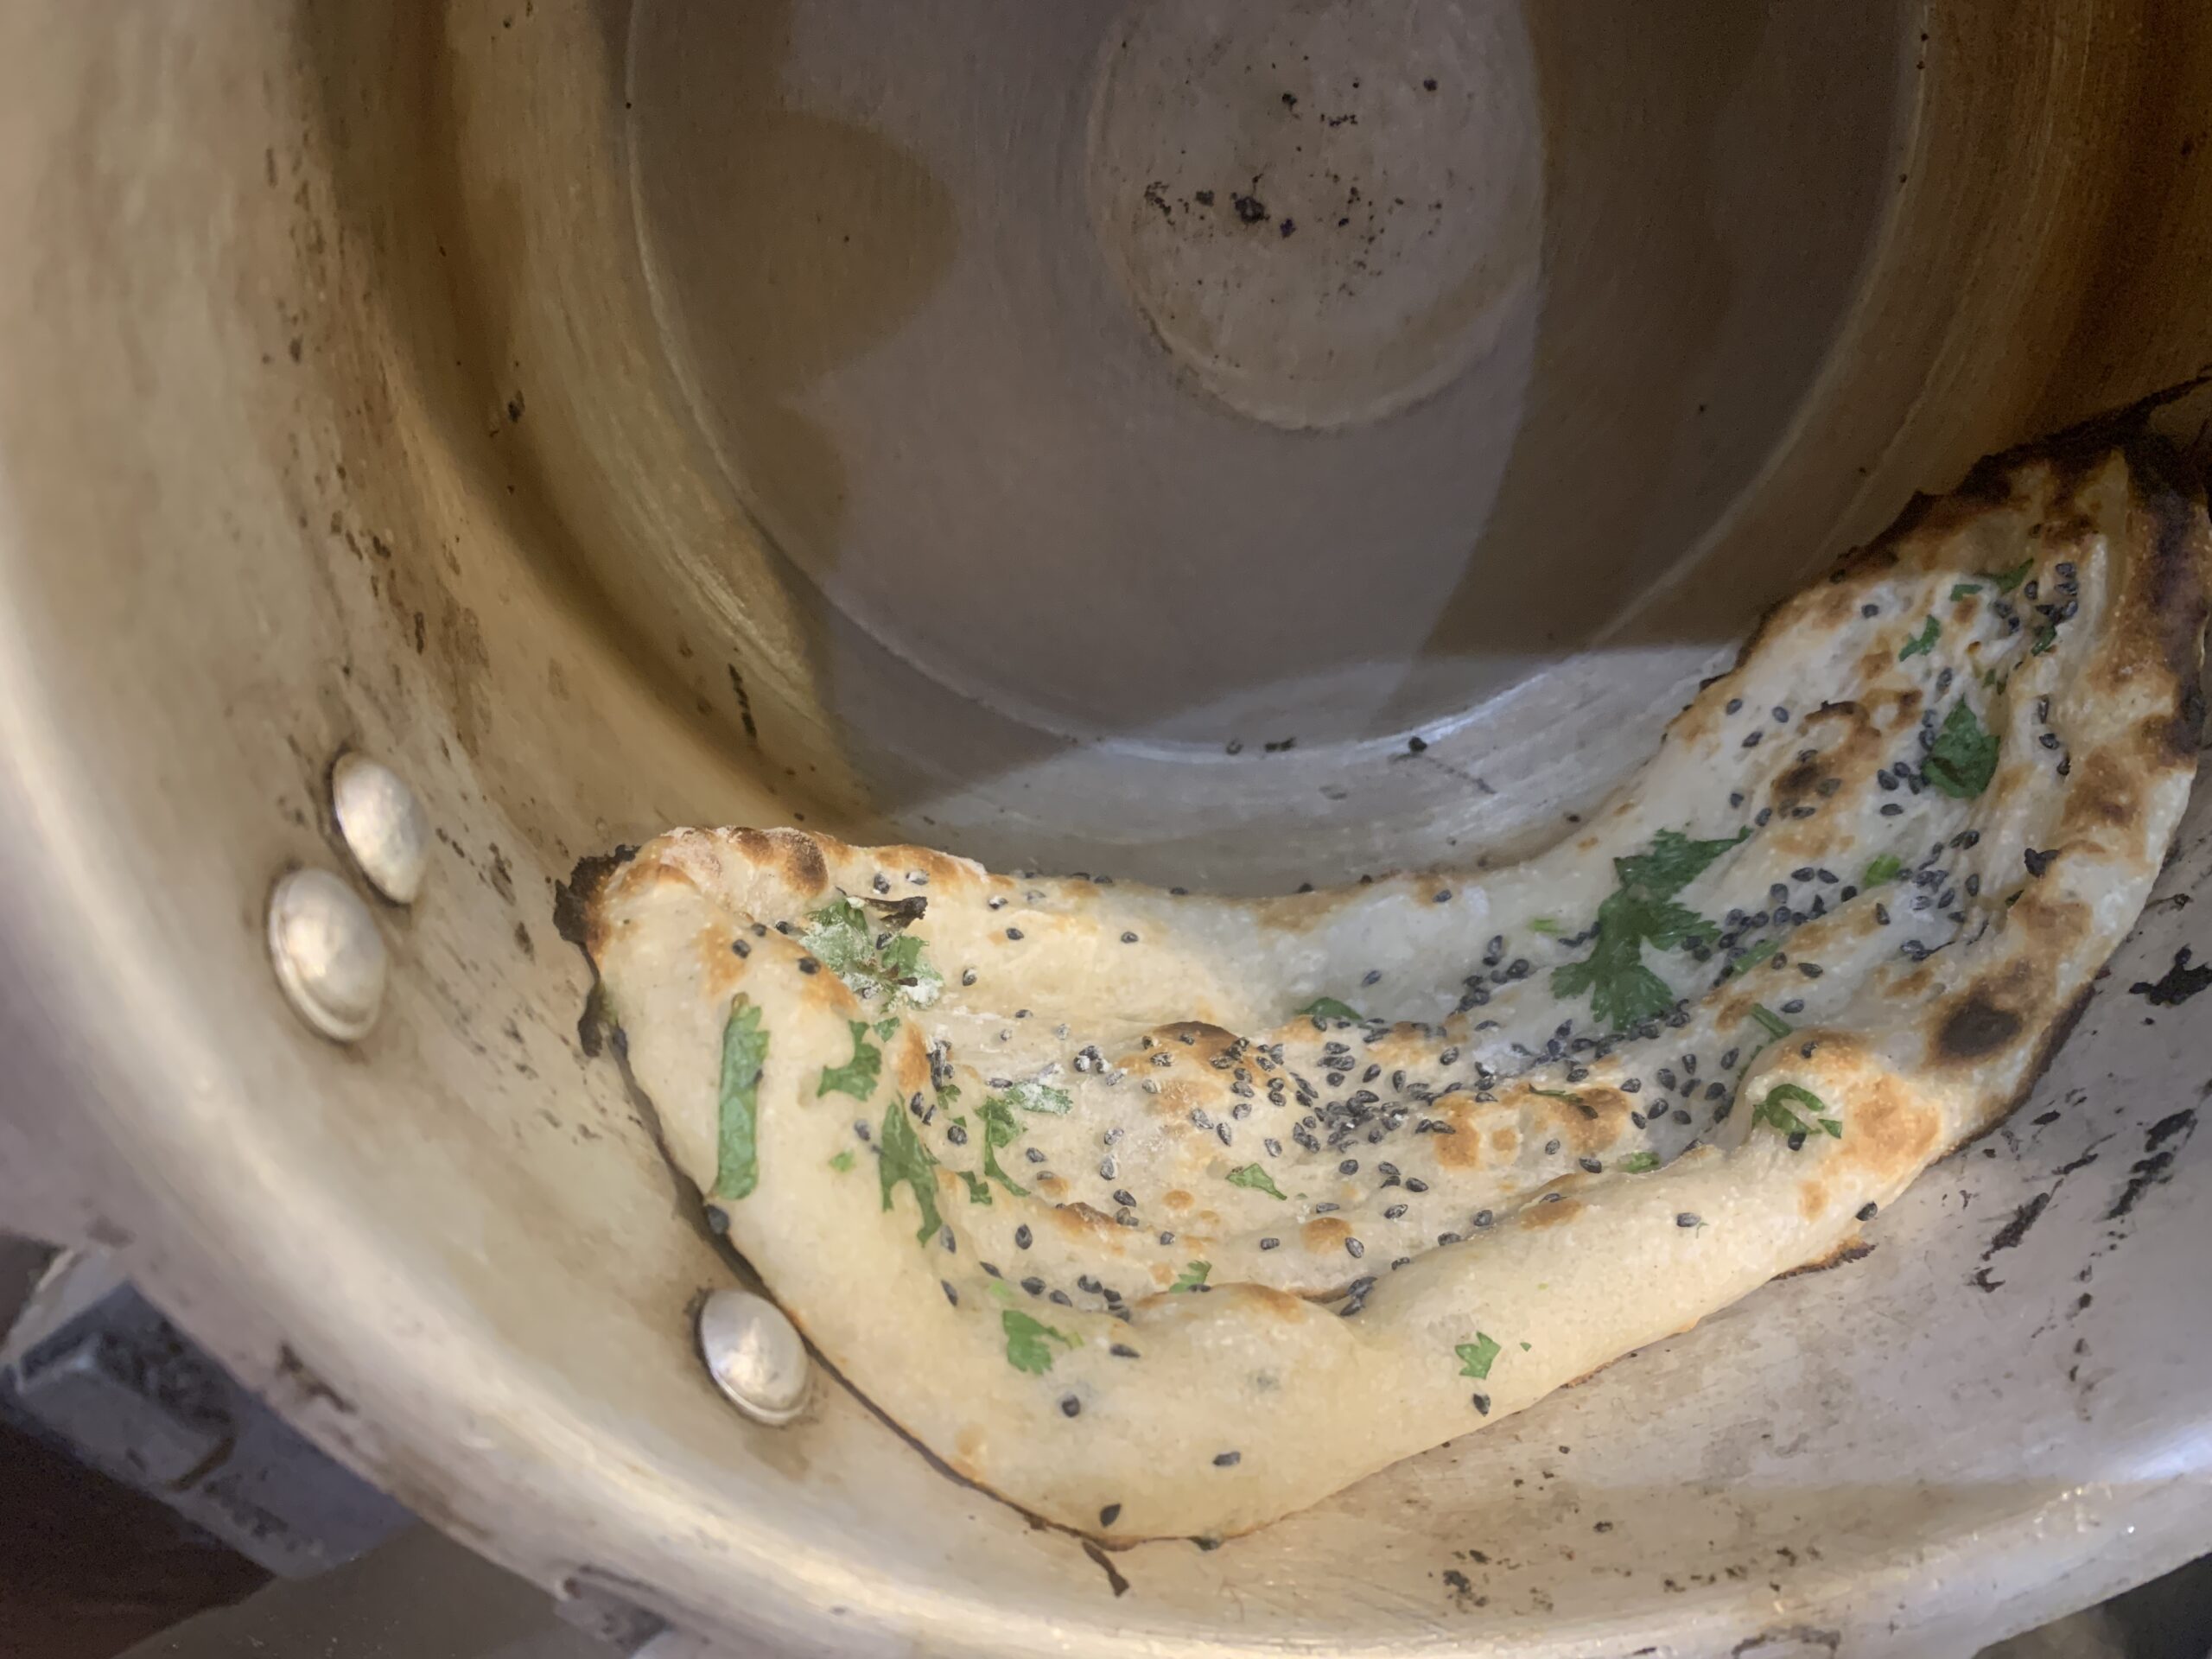
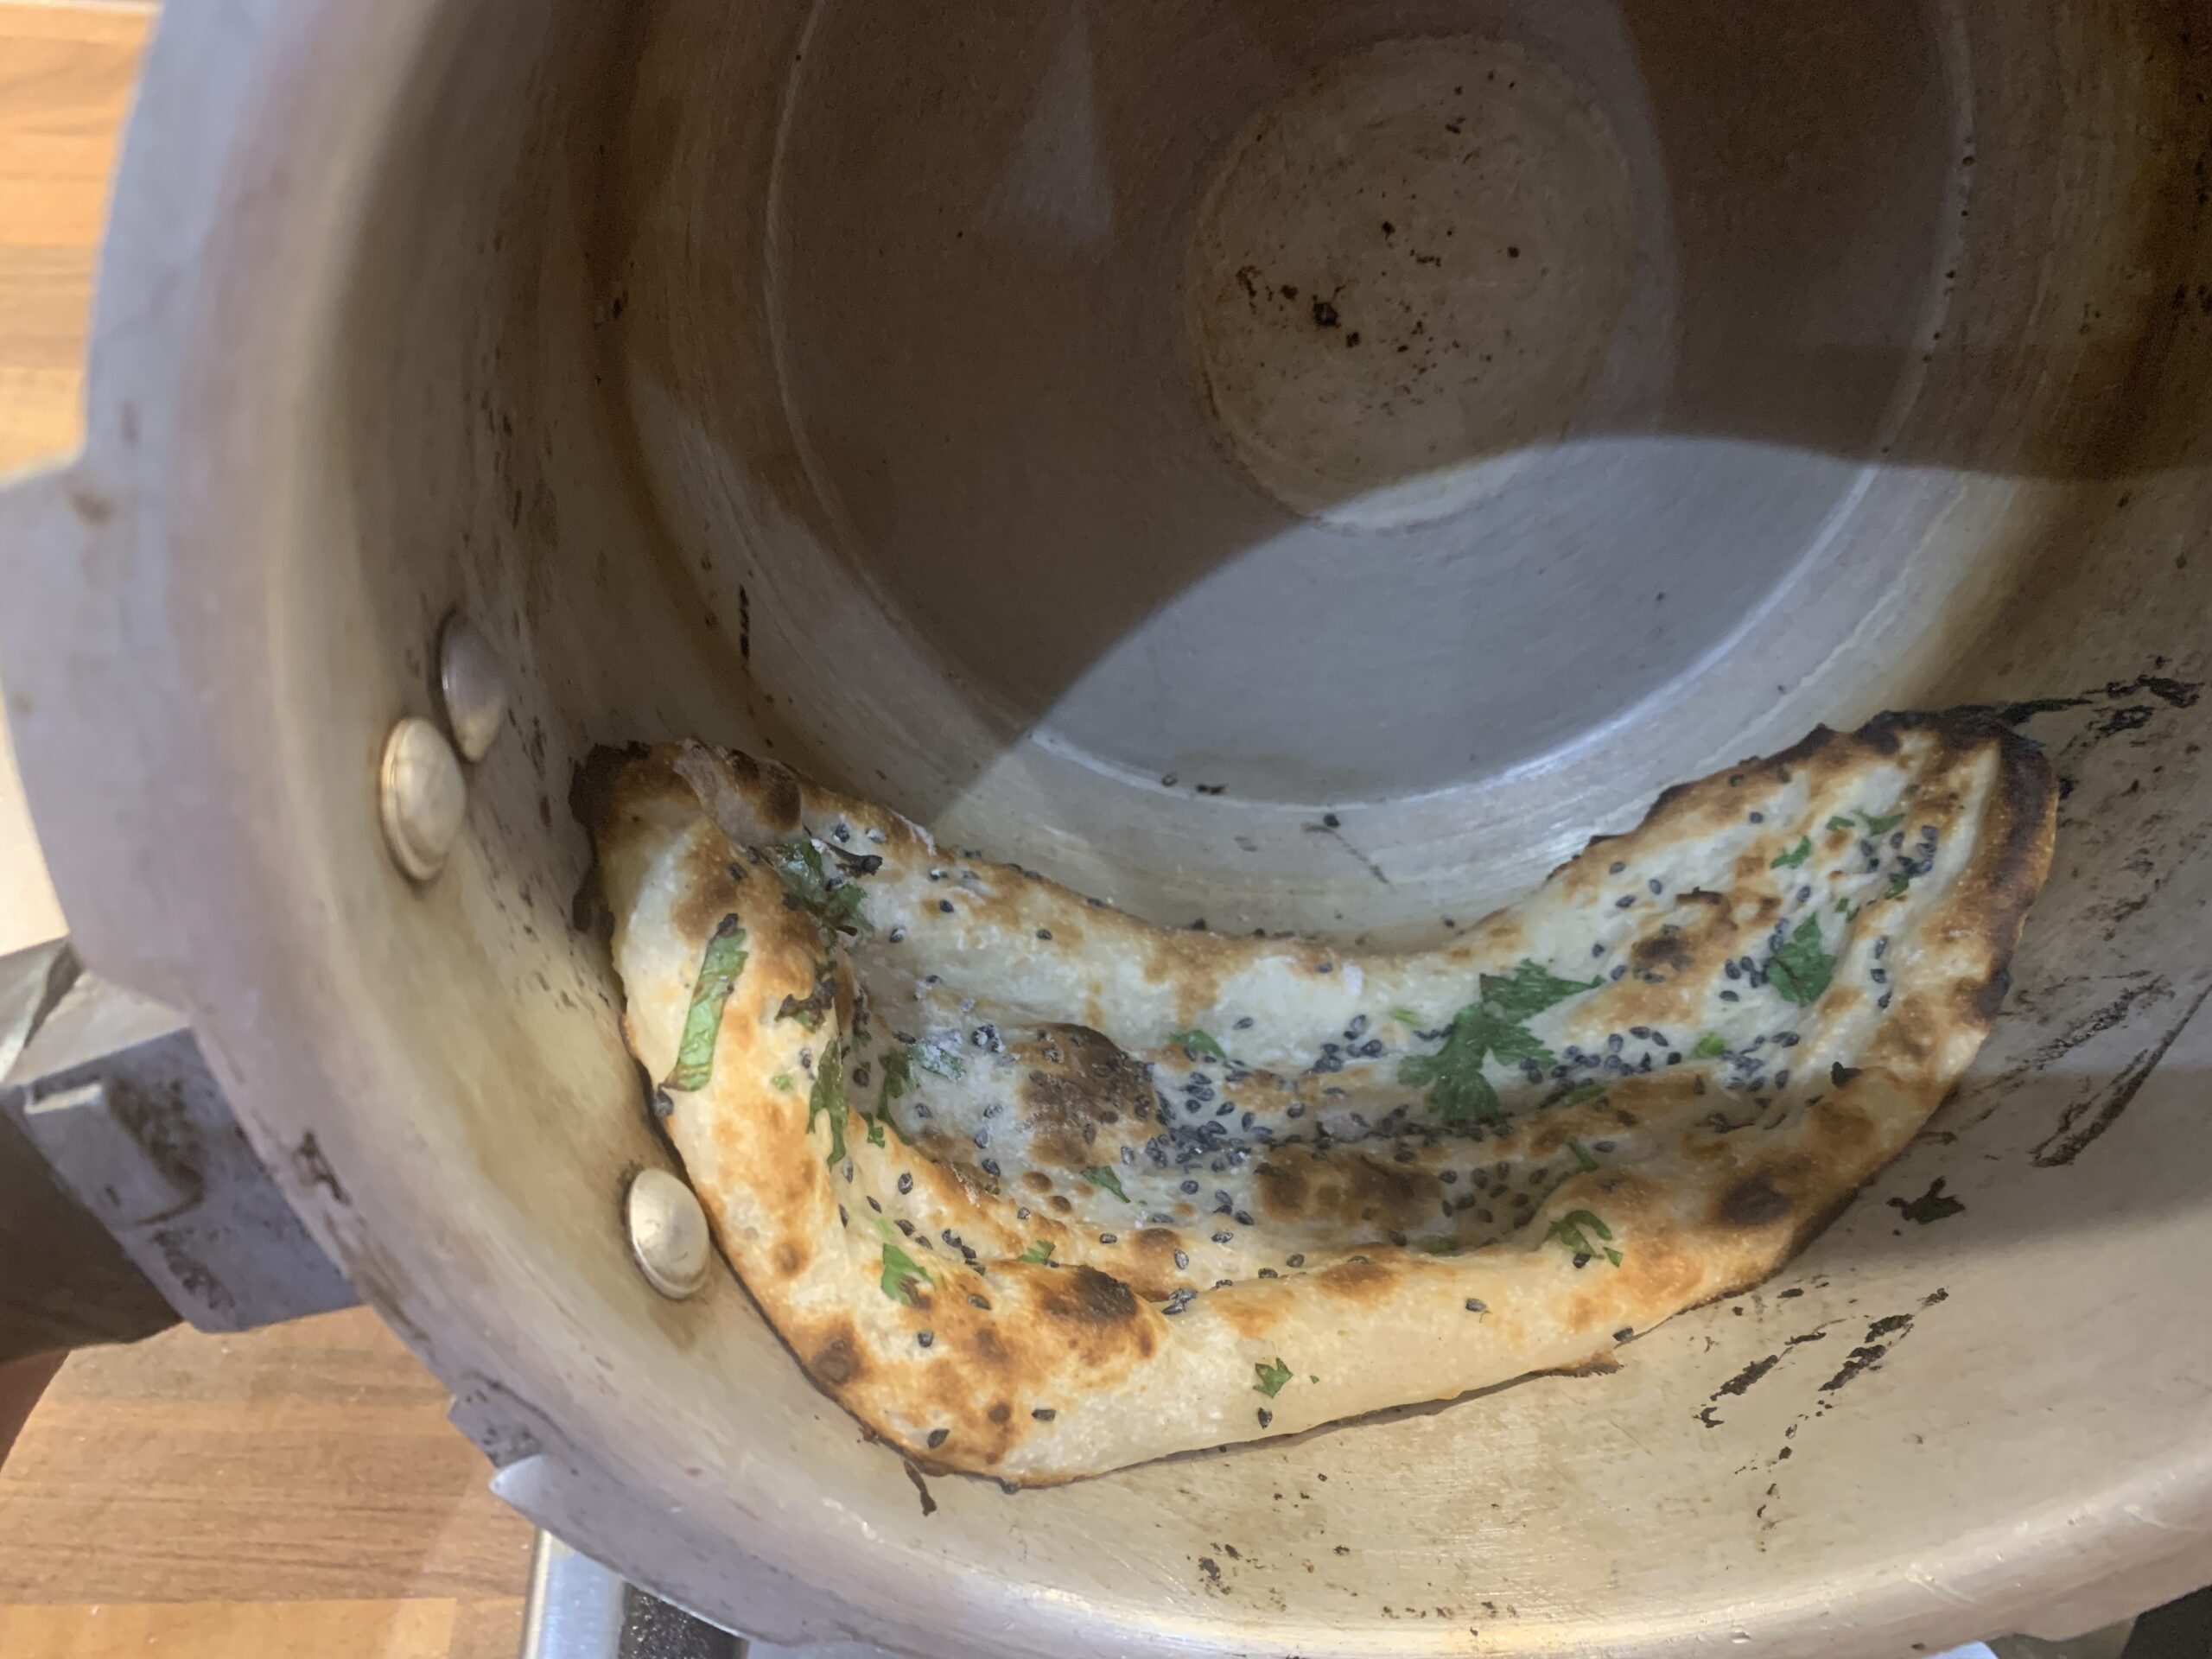
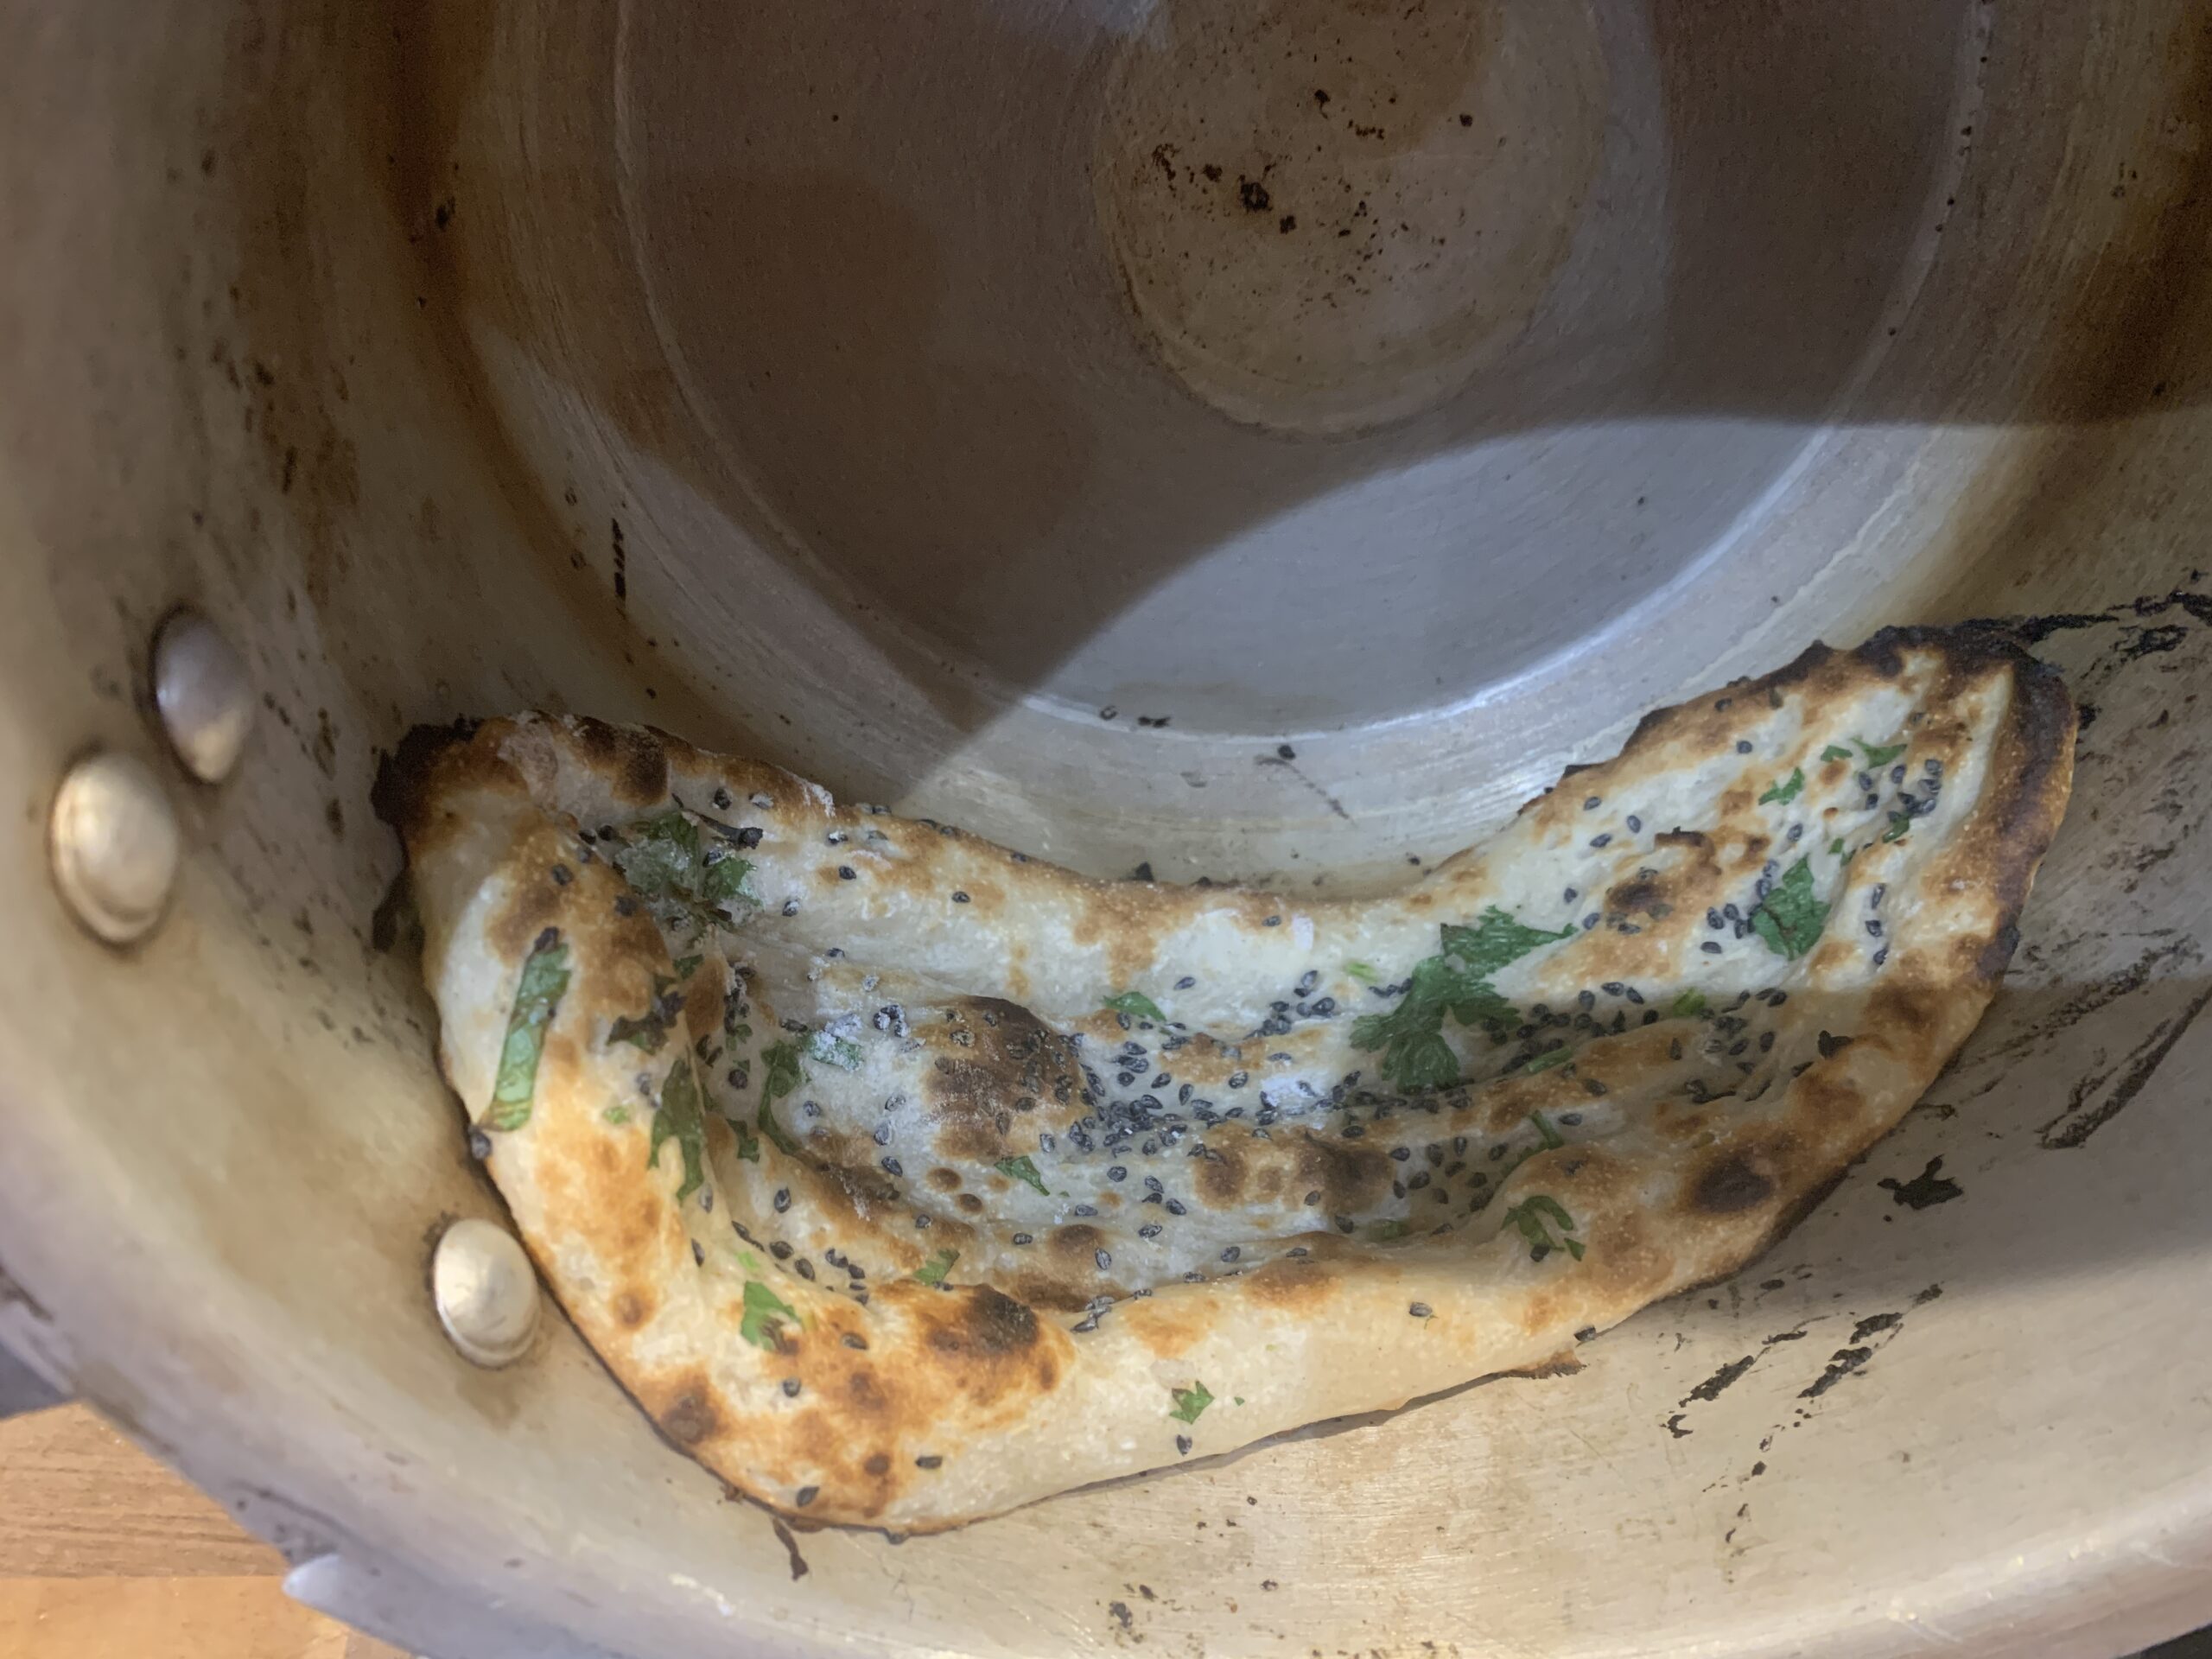
Let it cook until your naan turns light golden brown in colour and gently take it out using tongs.
If by any chance, the naan is uncooked from any of its corner, cook it on the flame directly.
Serve hot glazed with butter!