Sarson Ka Saag

Sarson Ka Saag
Sarson ka Saag is a popular Punjabi dish in the North India. ‘Sarson’ is the Hindi/Punjabi word for ‘Mustard’ and ‘Saag’ means ‘Greens’.
Raw Mustard leaves are bitter and cooking them with other green leafy vegetables balances the bitter pungency of mustard greens. Other green leaves like spinach, fenugreek, and radish greens are added to balance the bitterness of mustard leaves. My mother used to add bathua (pigweed) and spinach while making the saag. I do not always get bathua in UK hence I use mustard leaves and spinach.
Sarson ka saag is a dish which requires lots of love, patience and time while cooking it. I remember my mum used to dedicate almost half a day preparing the saag. A vegetable vendor would bring fresh mustard leaves, spinach and other greens. My mum would choose the right combination of leaves and the ‘subji wala bhaiya’ (the street vendor) would chop them finely. There are no shortcuts in making authentic sarson ka saag. It is an easy recipe where most of the time goes in preparation of the leaves and then it is smooth sailing.
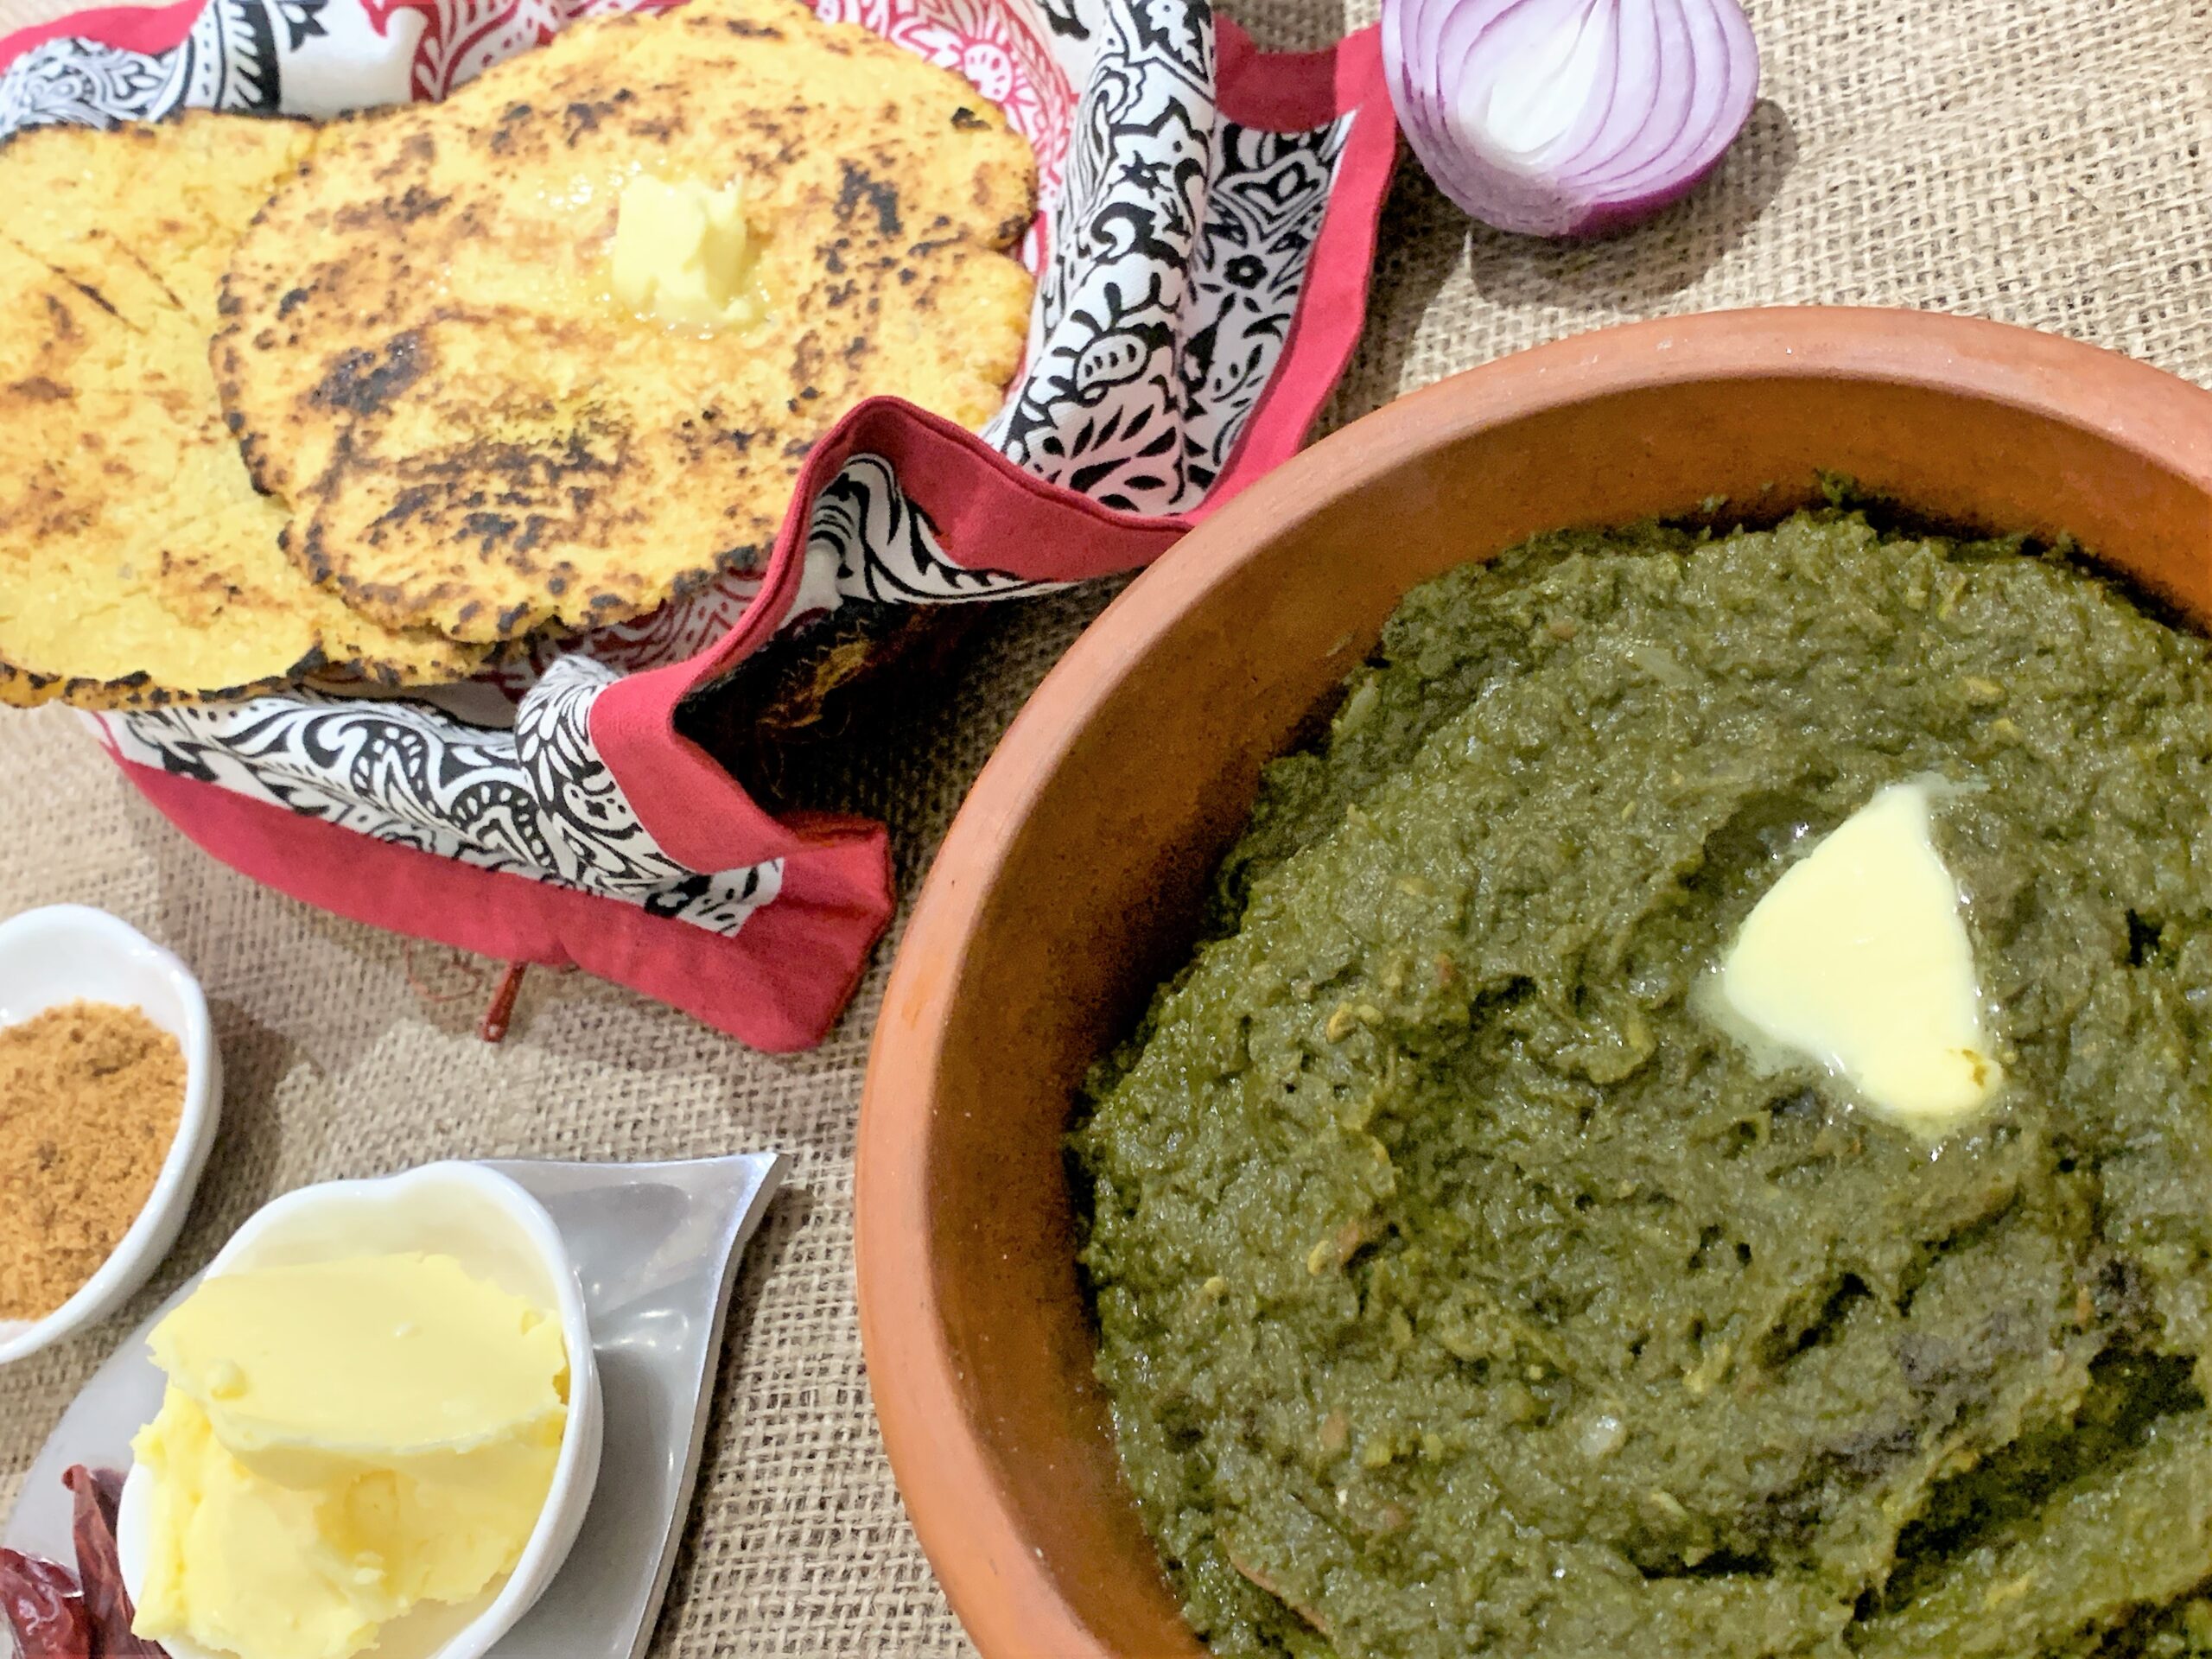
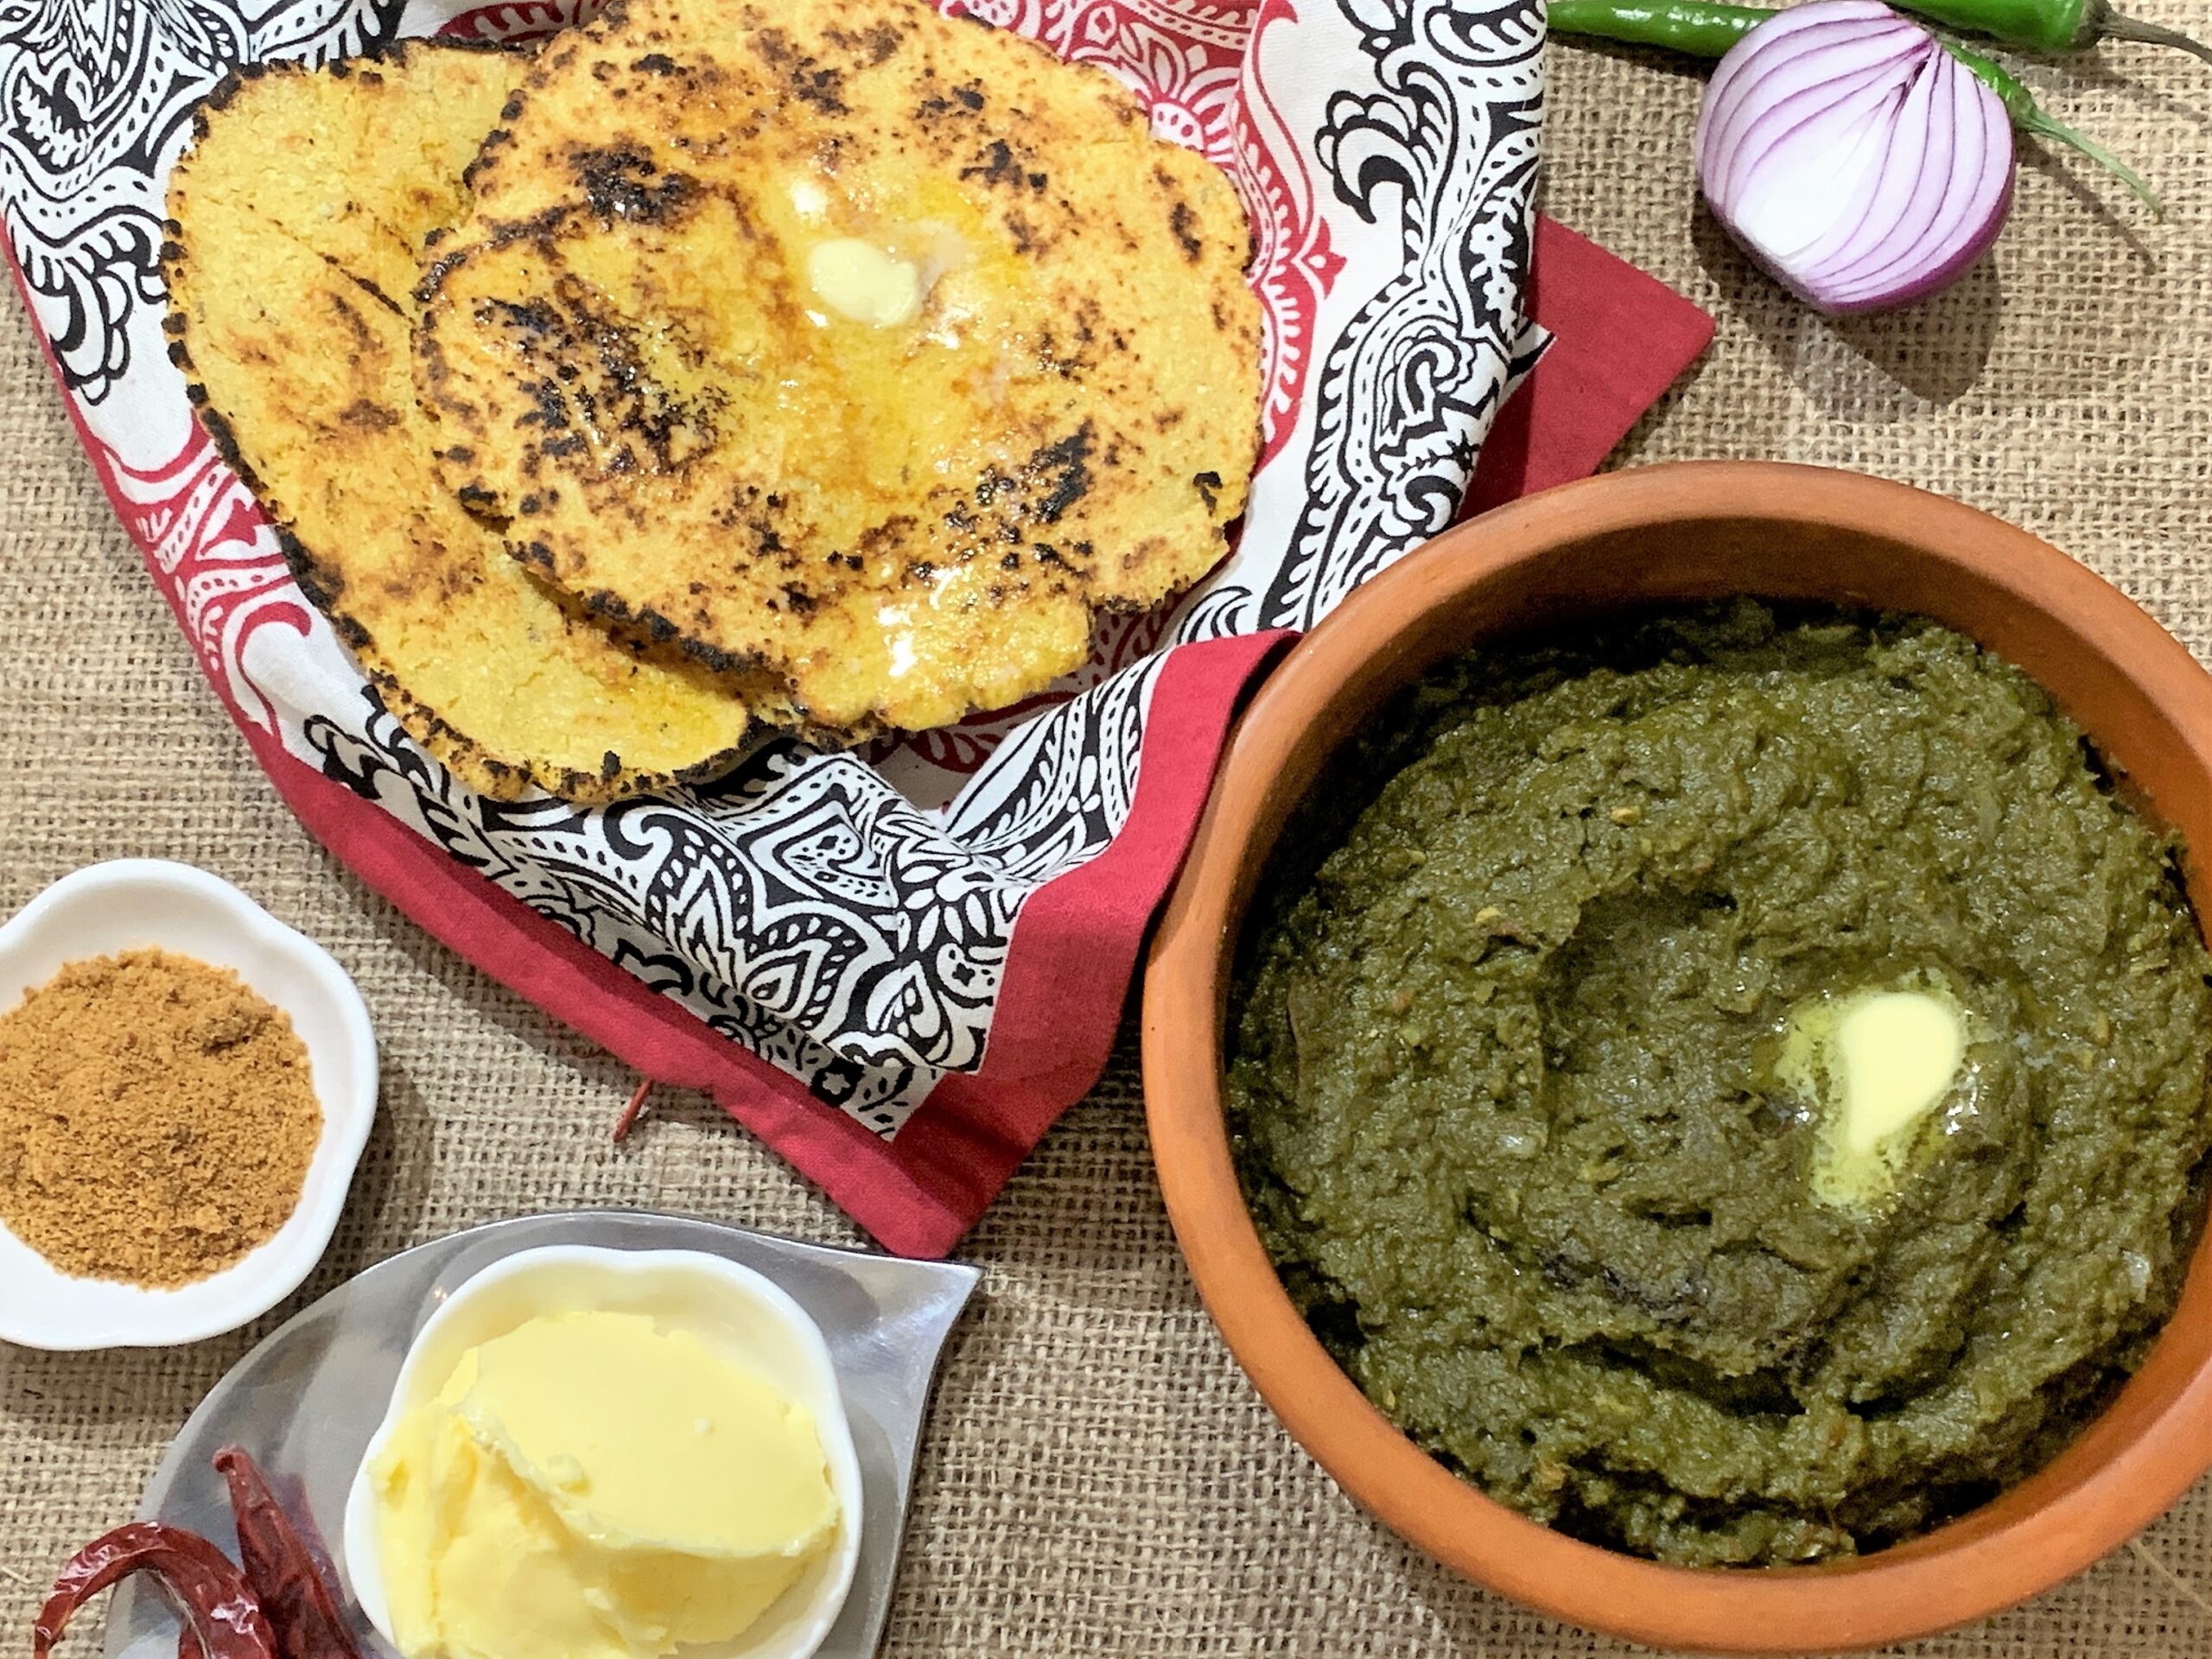
Sarson ka saag is traditionally served with with makki roti (a flatbread made with maize flour), home made butter and jaggery! My mother always made fresh butter to go with the saag too and it is a tradition I still follow. Since mustard leaves are seasonal leaves, saag was cooked 2-3 times in winters and hence it deserved all the time and patience.
Ingredients
750 gm mustard greens
250 gm spinach
4-5 large garlic cloves
1 roughly chopped green chilies
2 cups water
Salt to taste
1 teaspoon maize flour (makki ka atta)
For Tempering
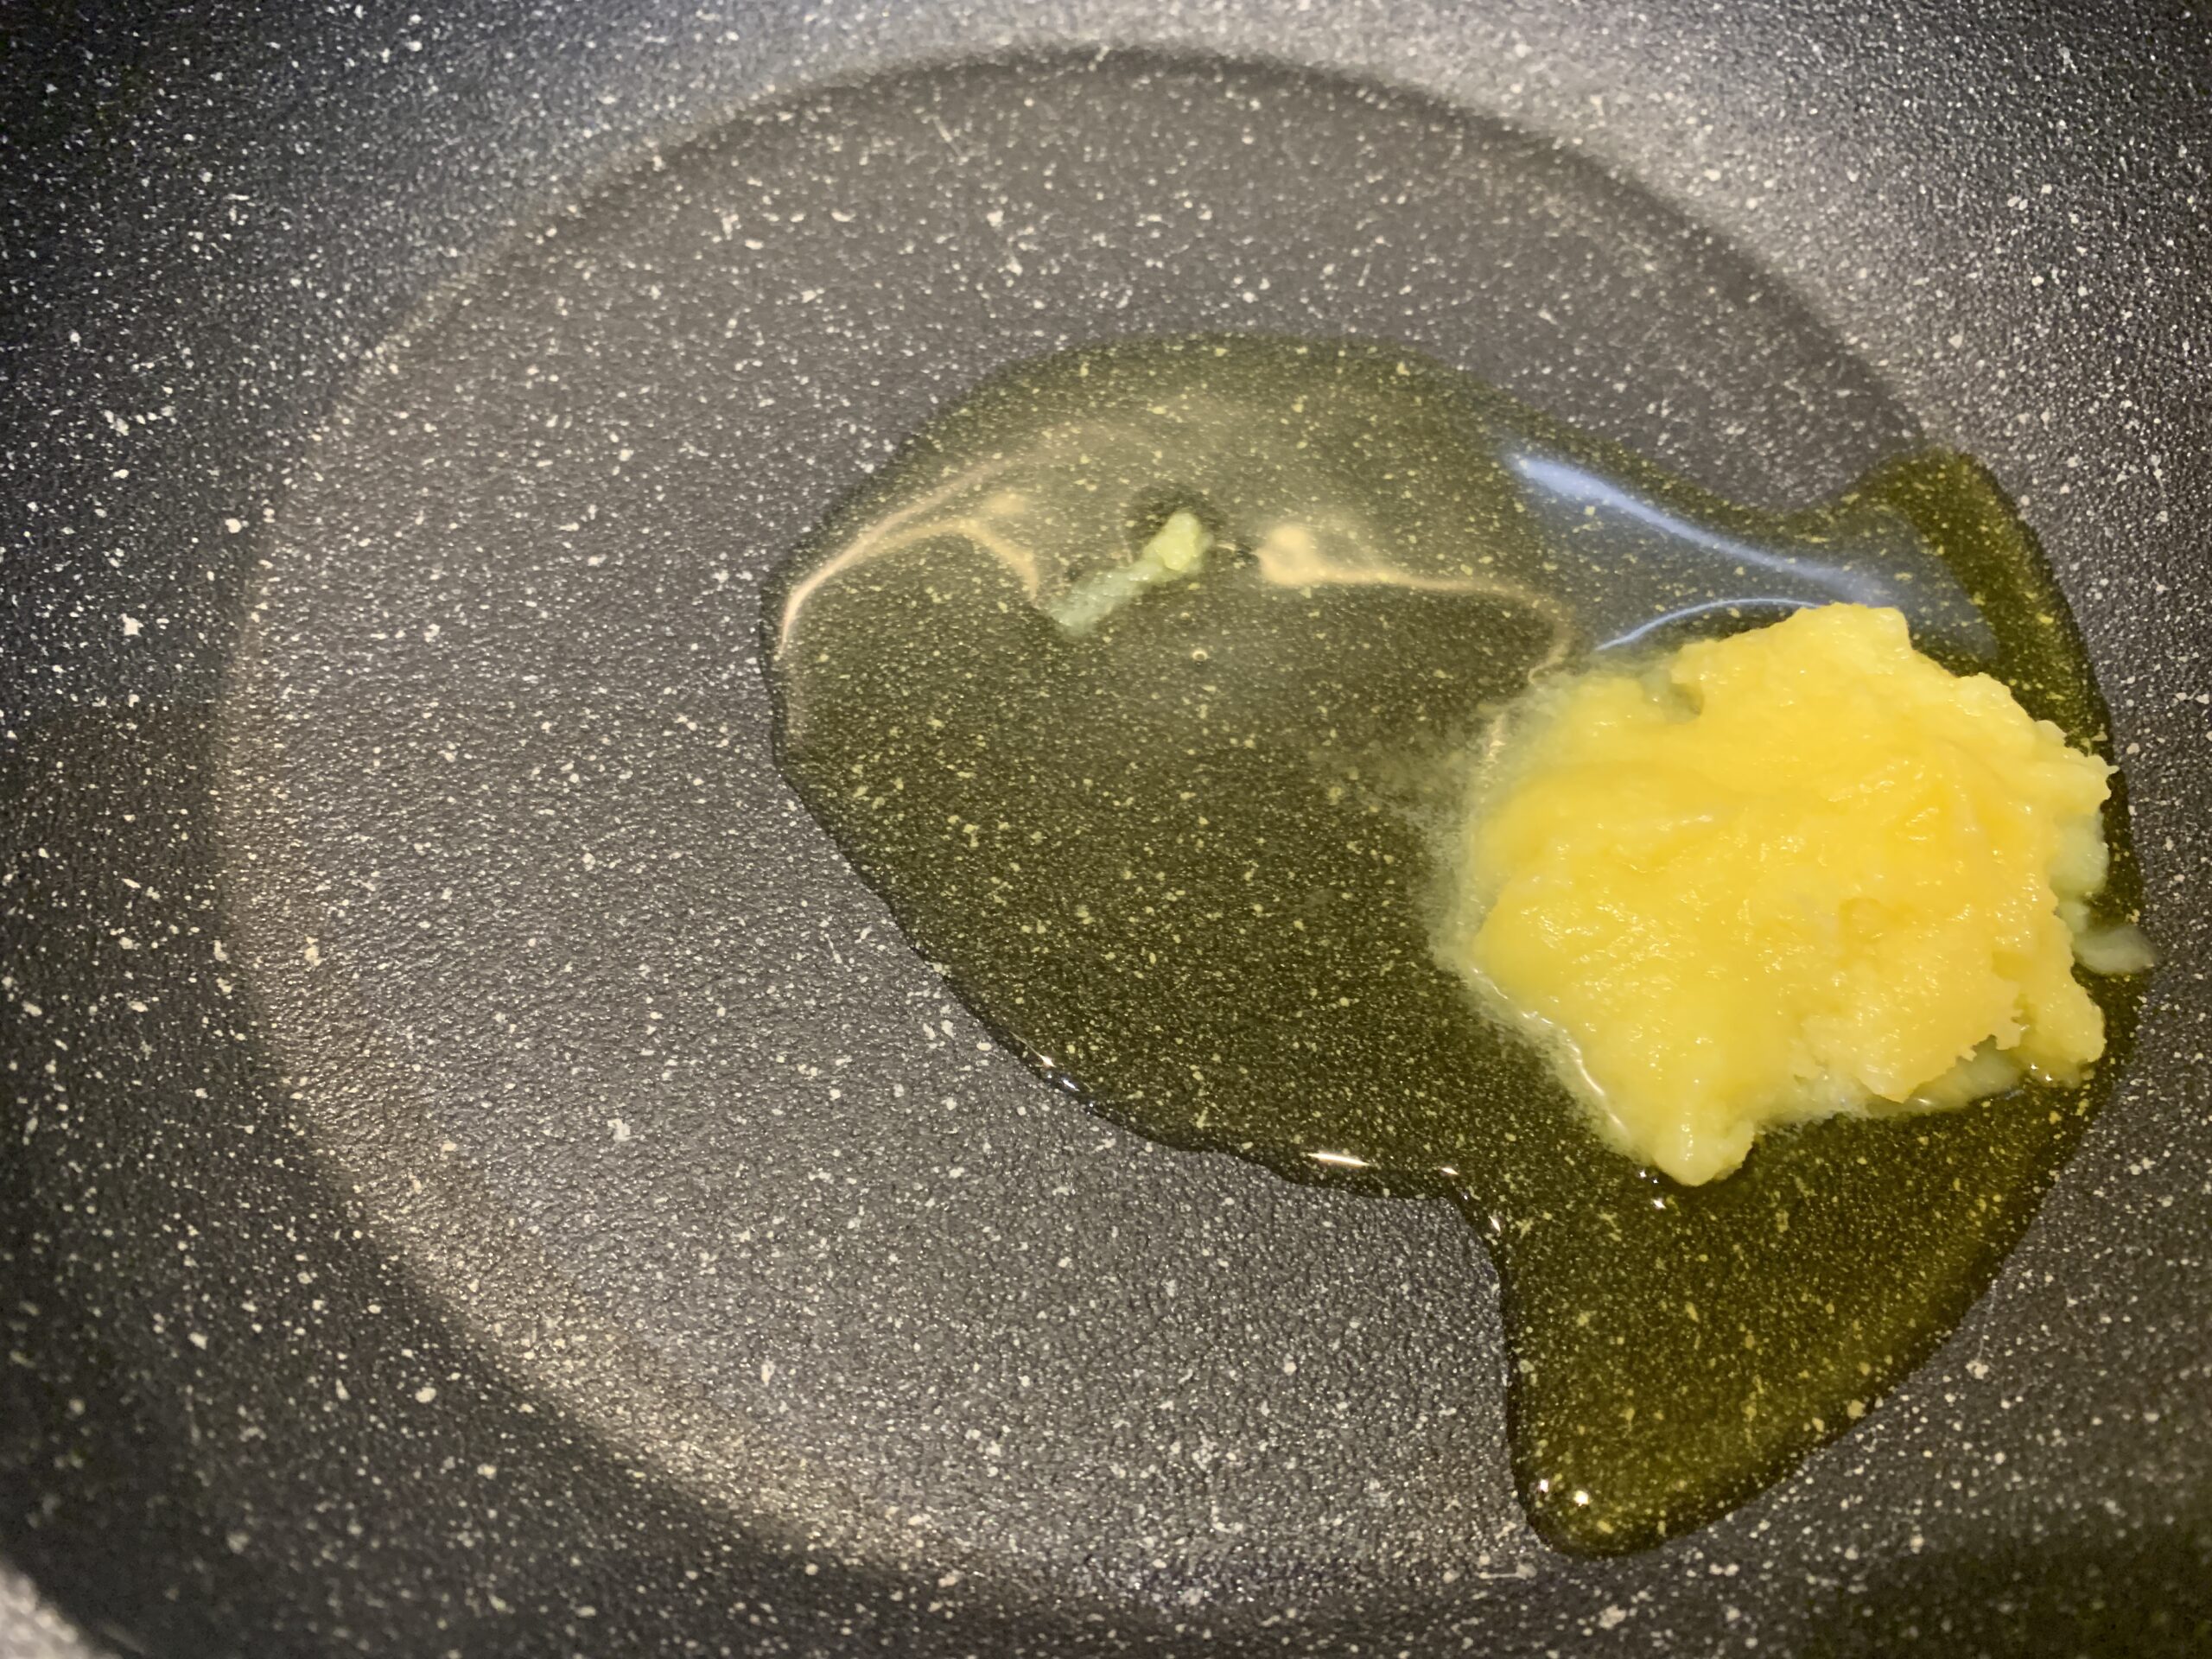
3 tablespoons ghee
1/4 teaspoon asafoetida (hing)
5-6 large garlic cloves
1-inch ginger
2-3 green chillies
1 finely chopped onion
1 finely chopped tomato
2 dried red chilies
1 teaspoon red chilli powder
½ teaspoon salt
Directions
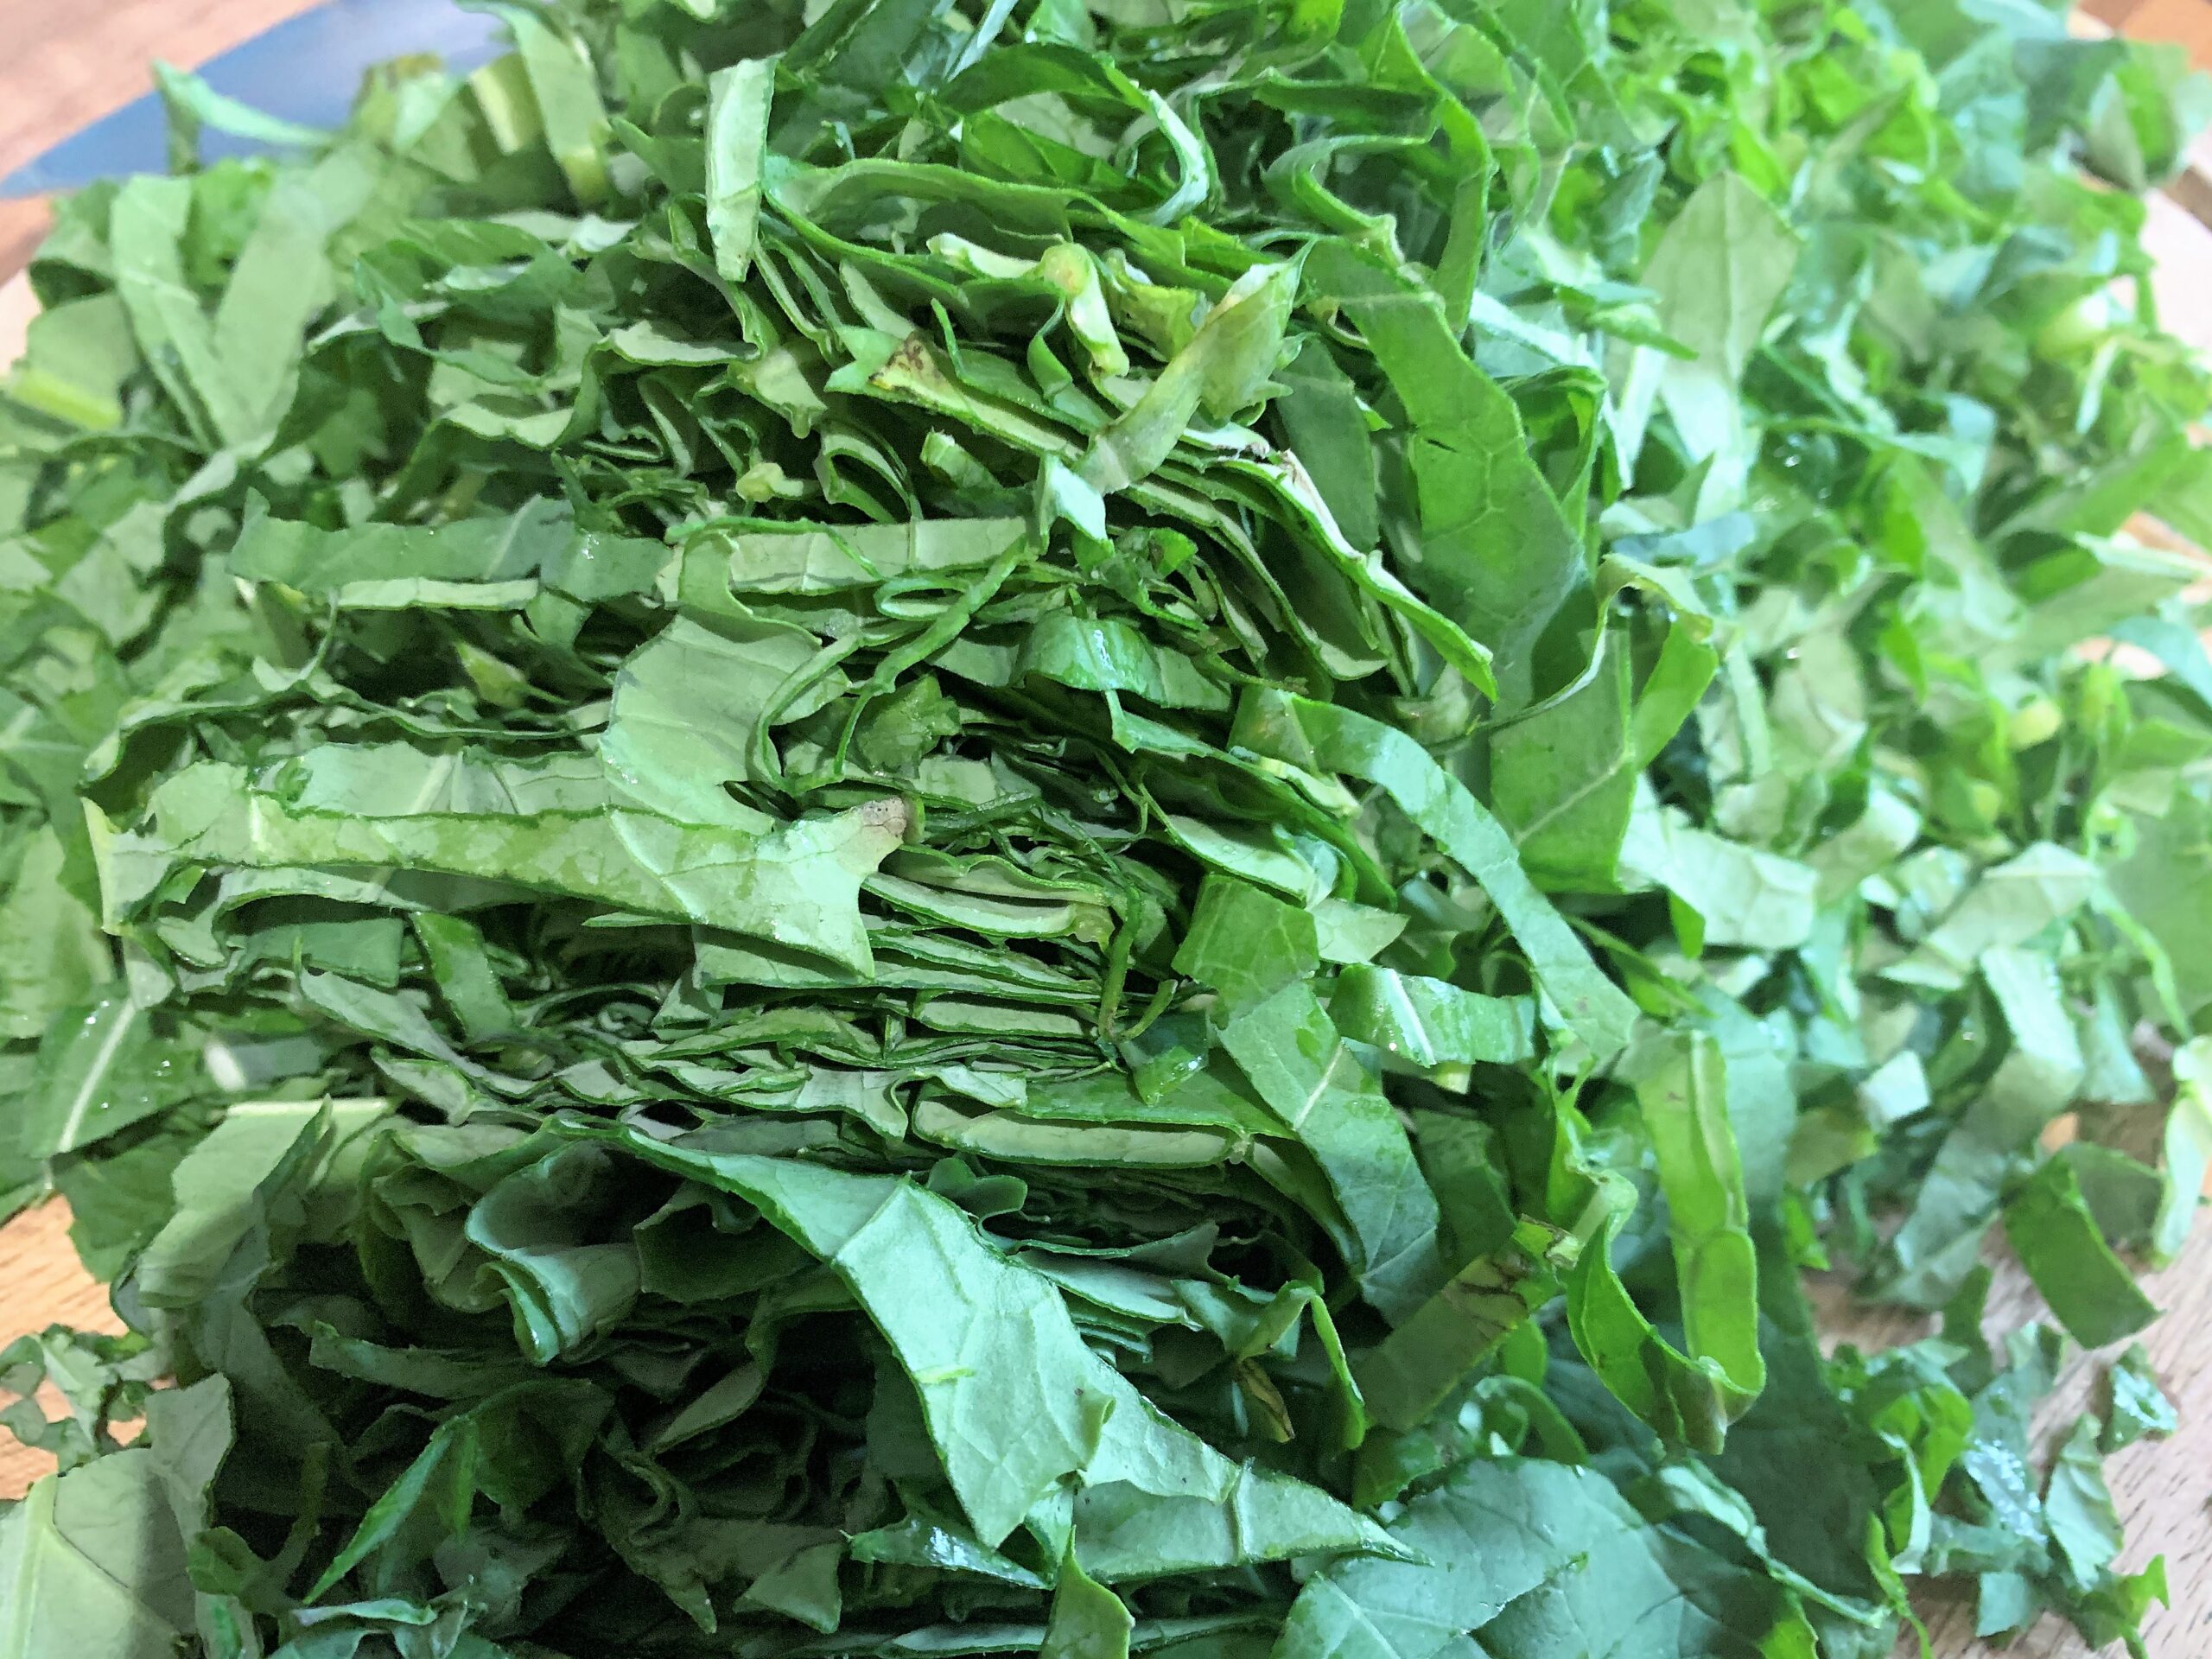
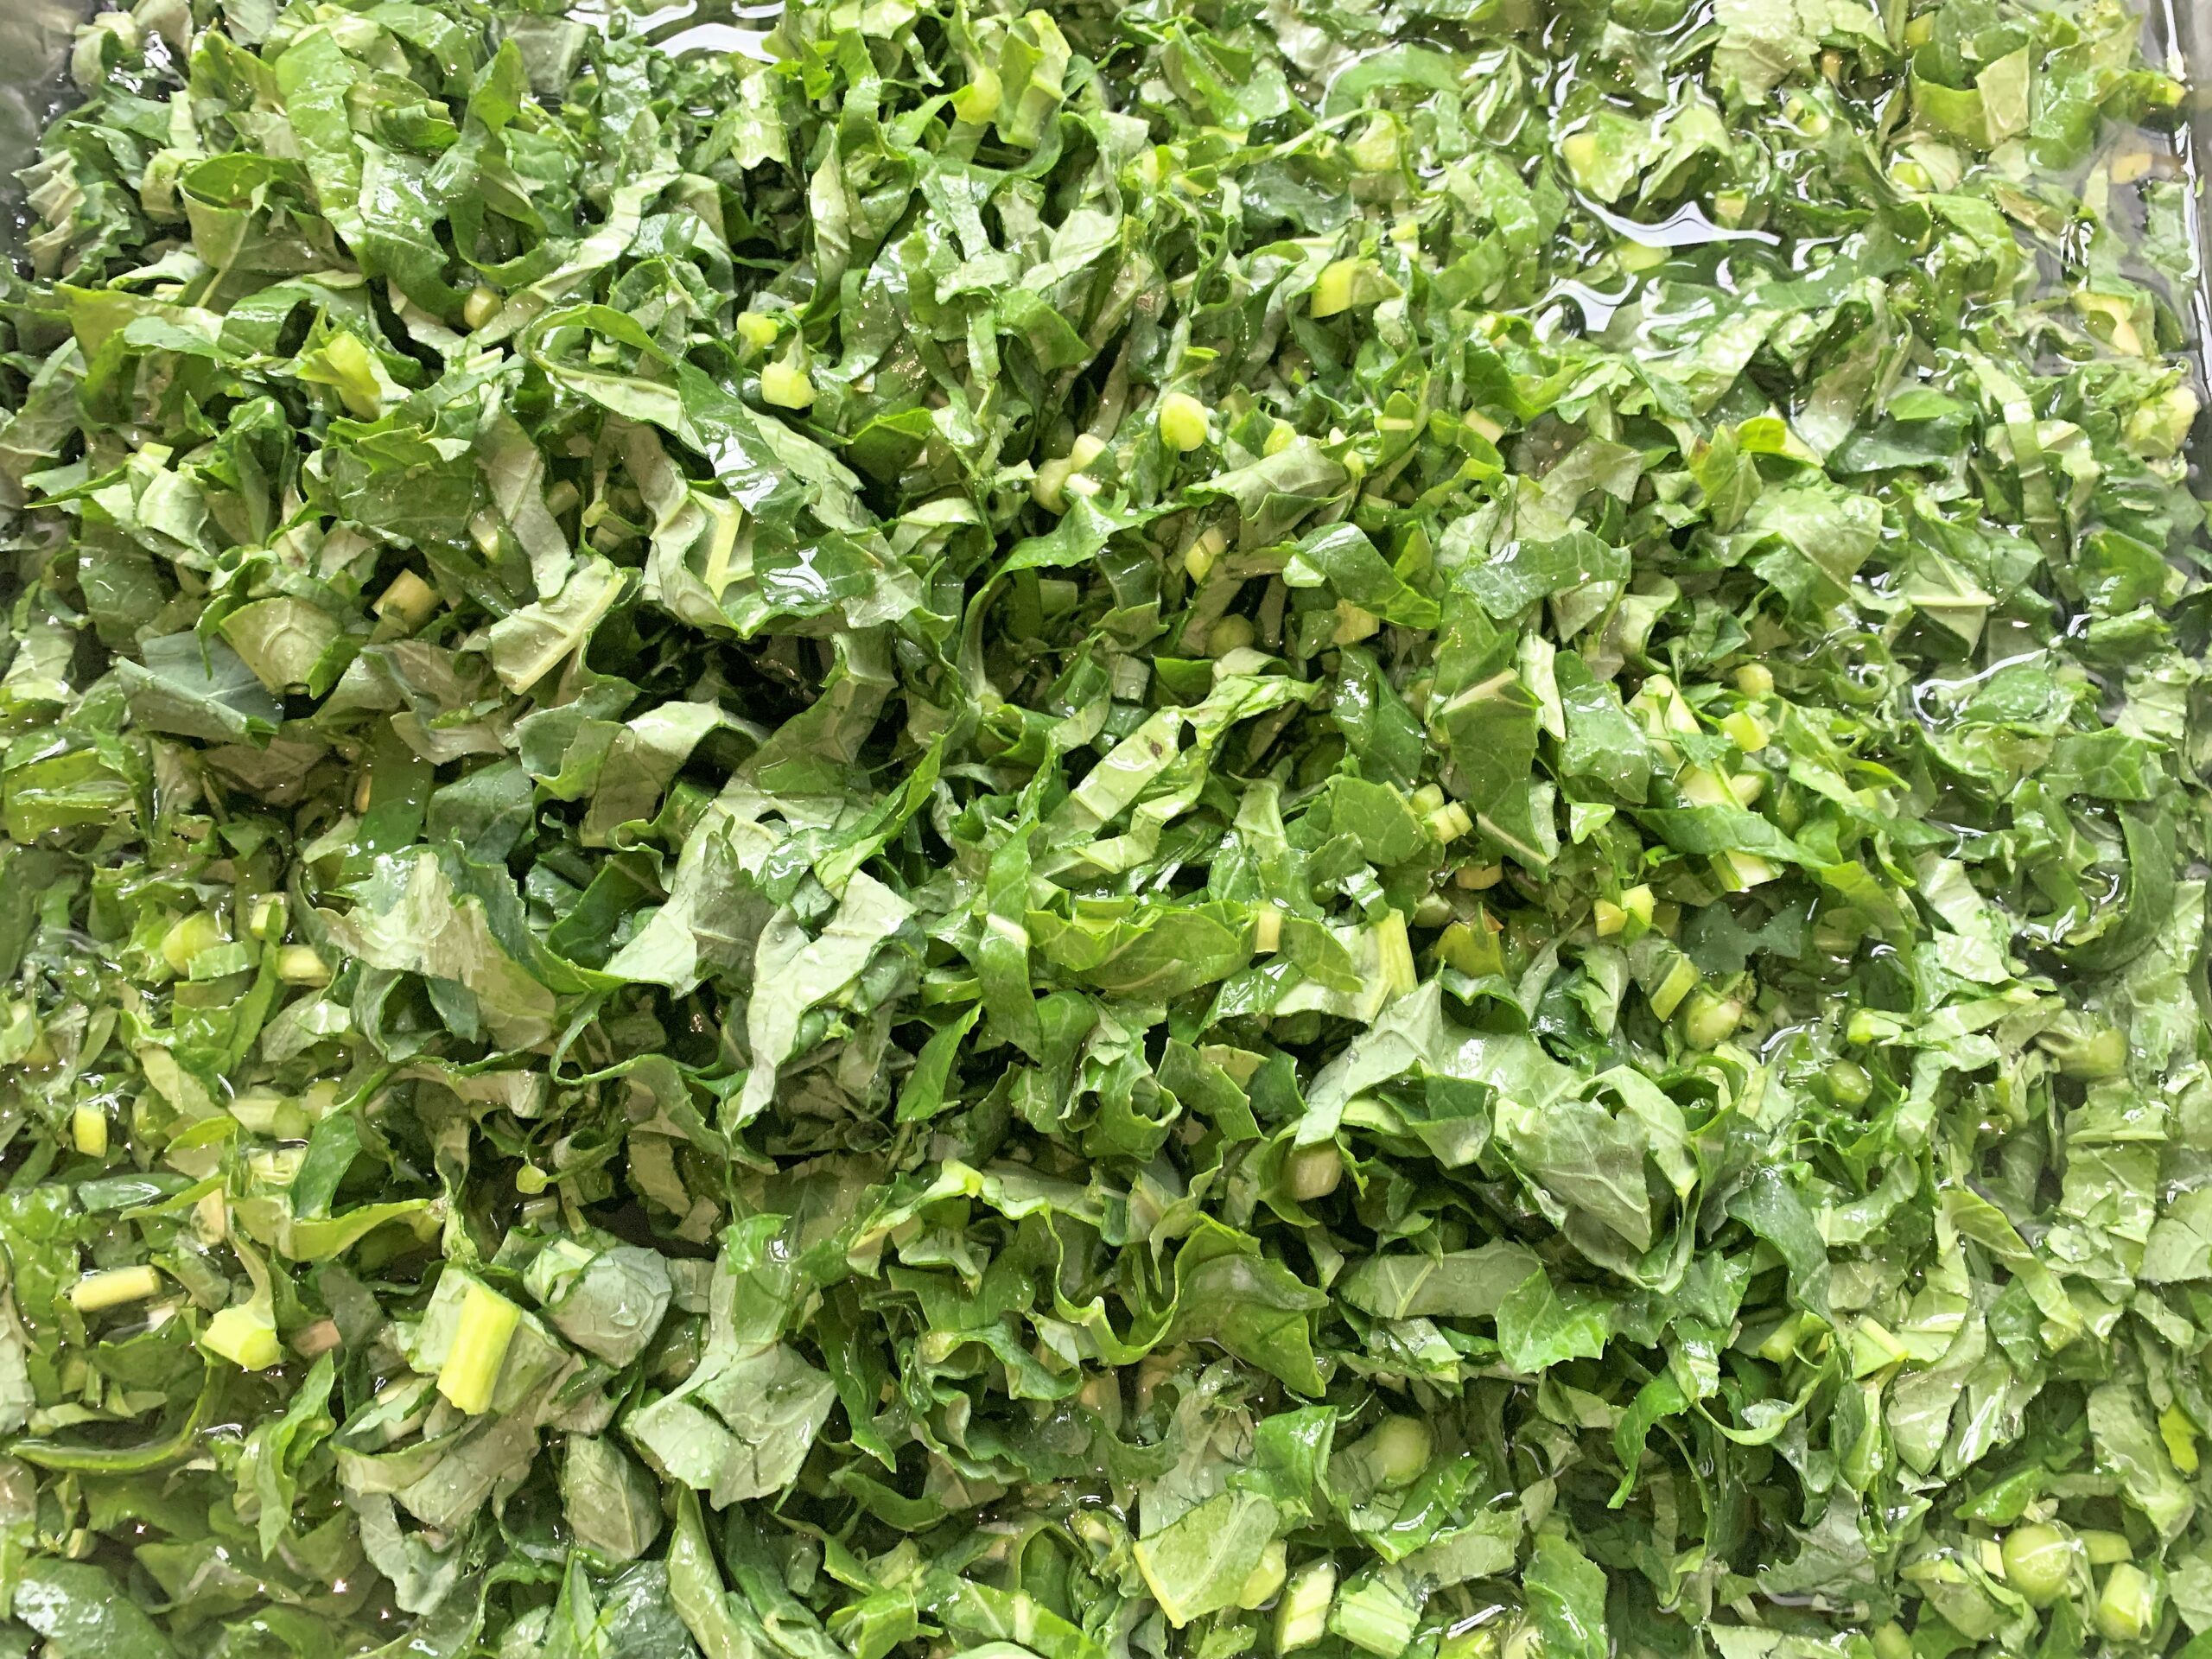
Chop the mustard leaves and spinach finely and wash them at least 2-3 times.
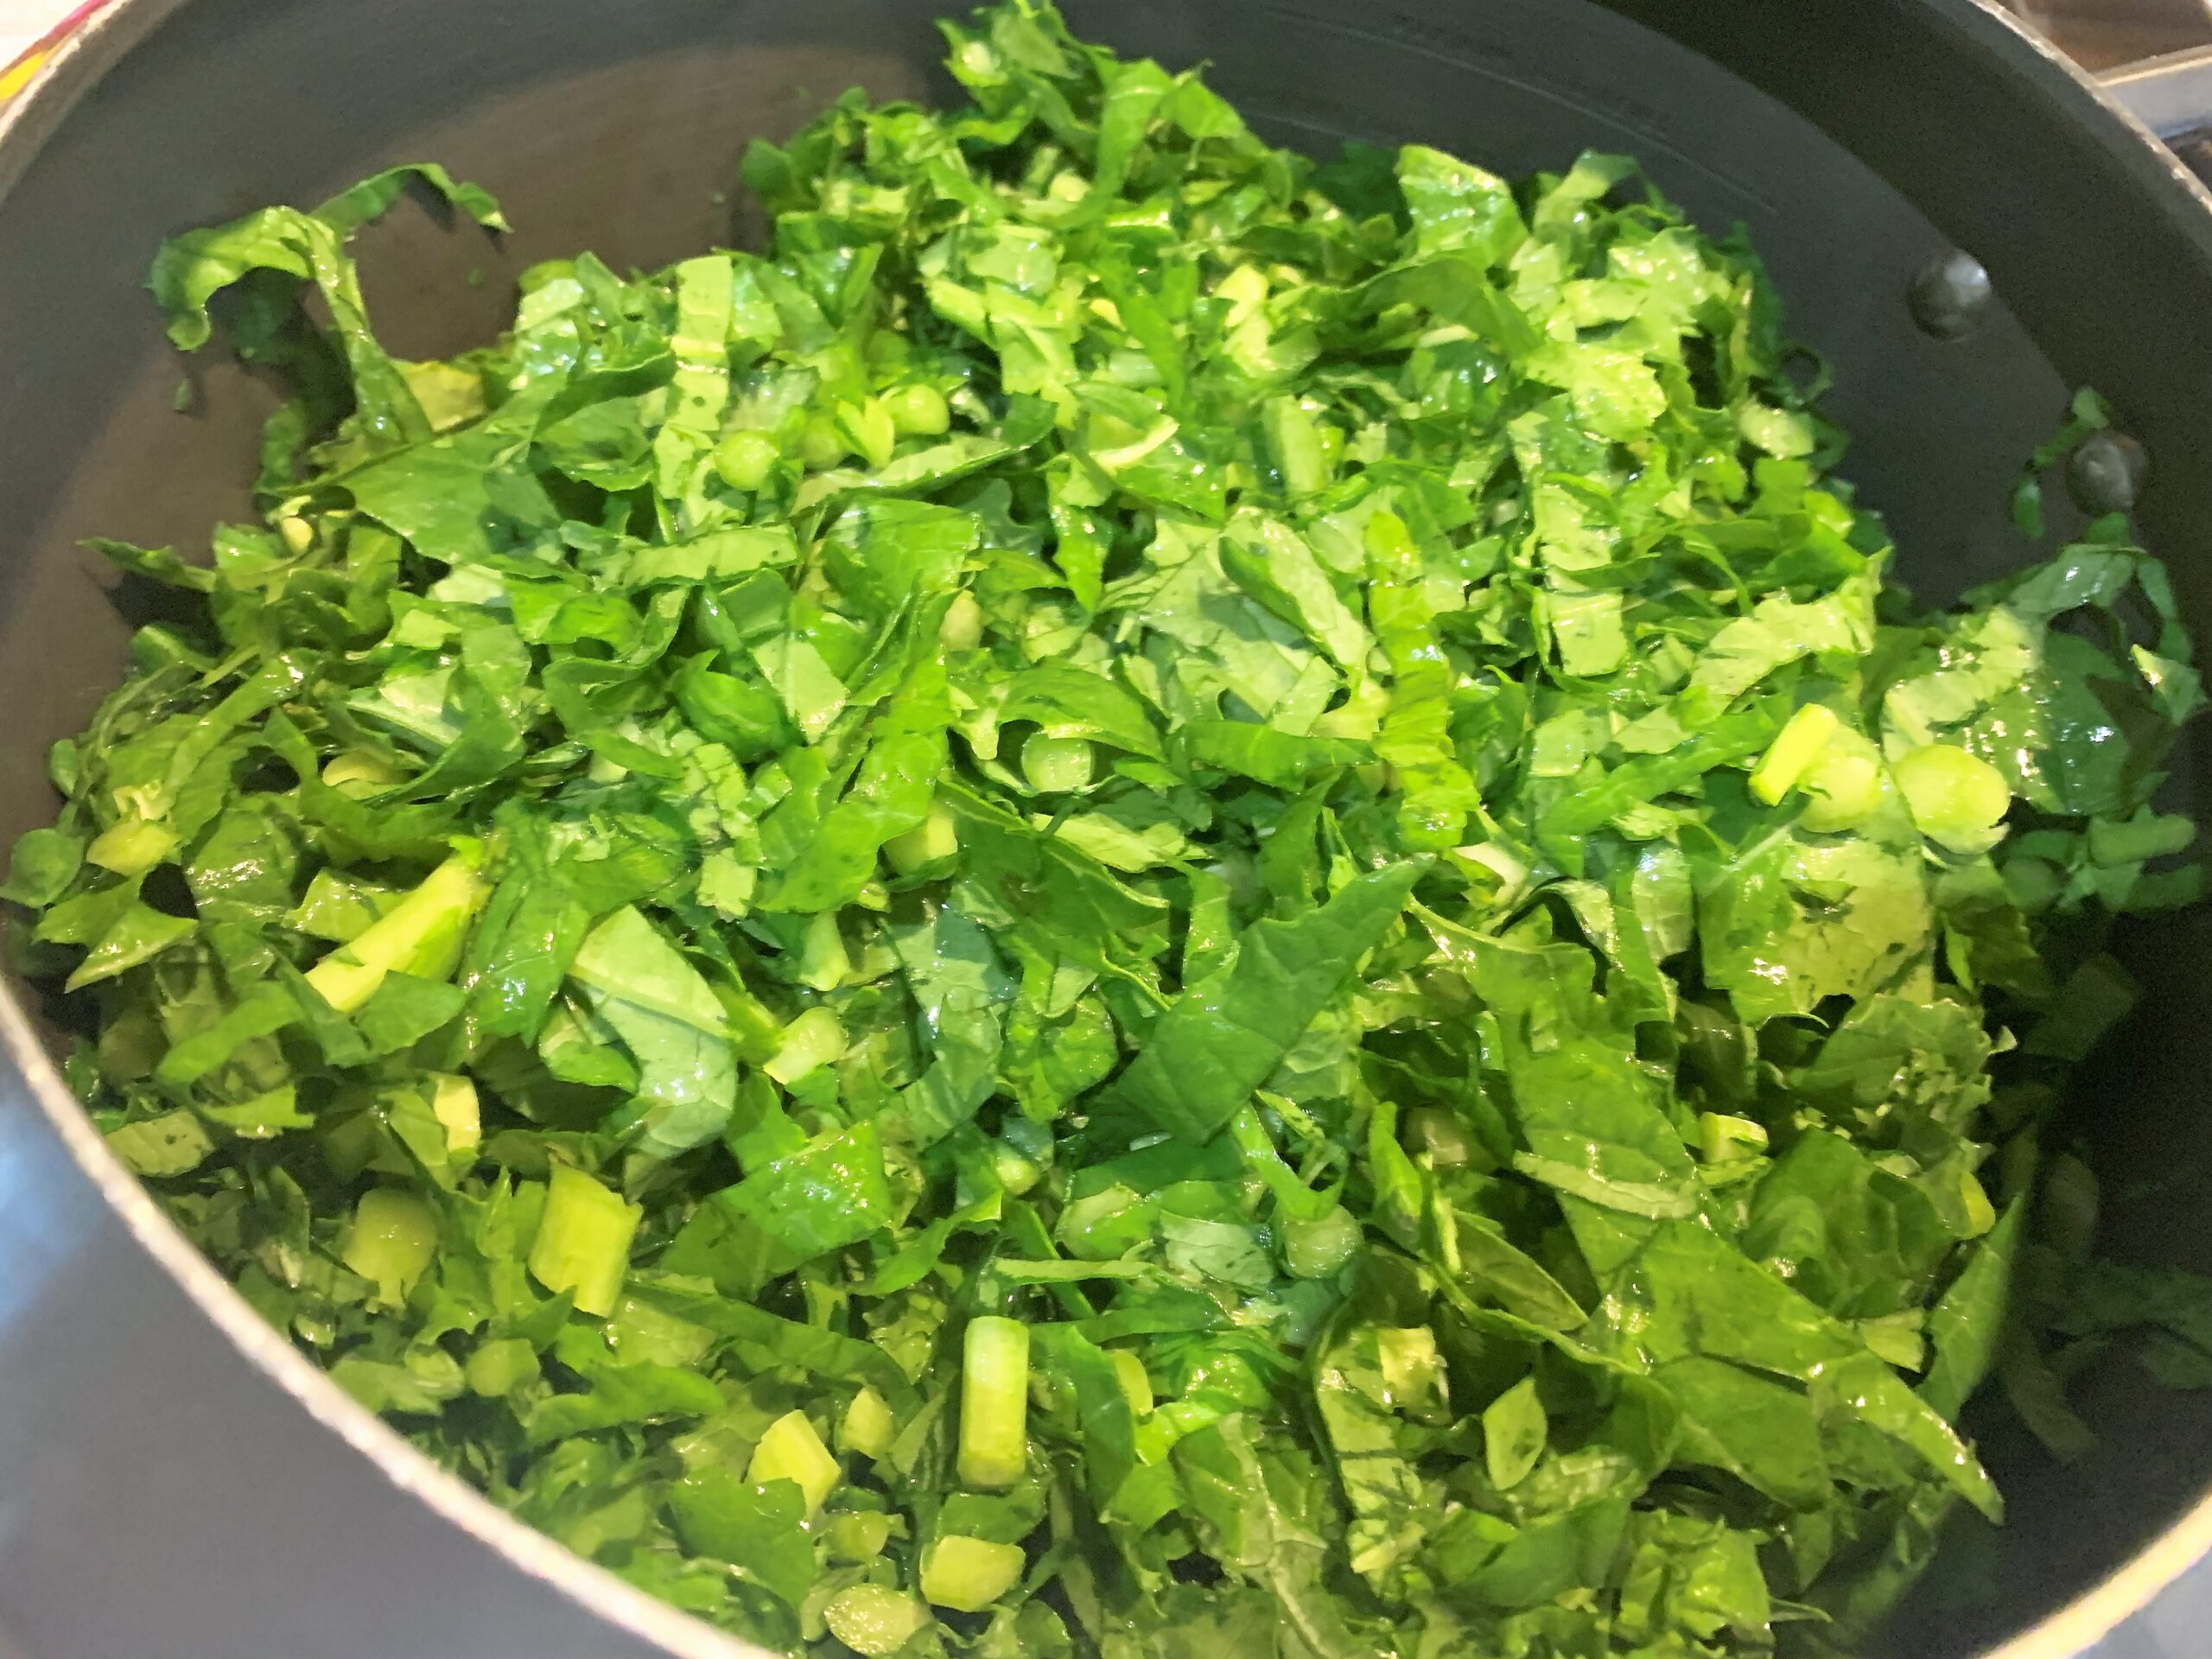
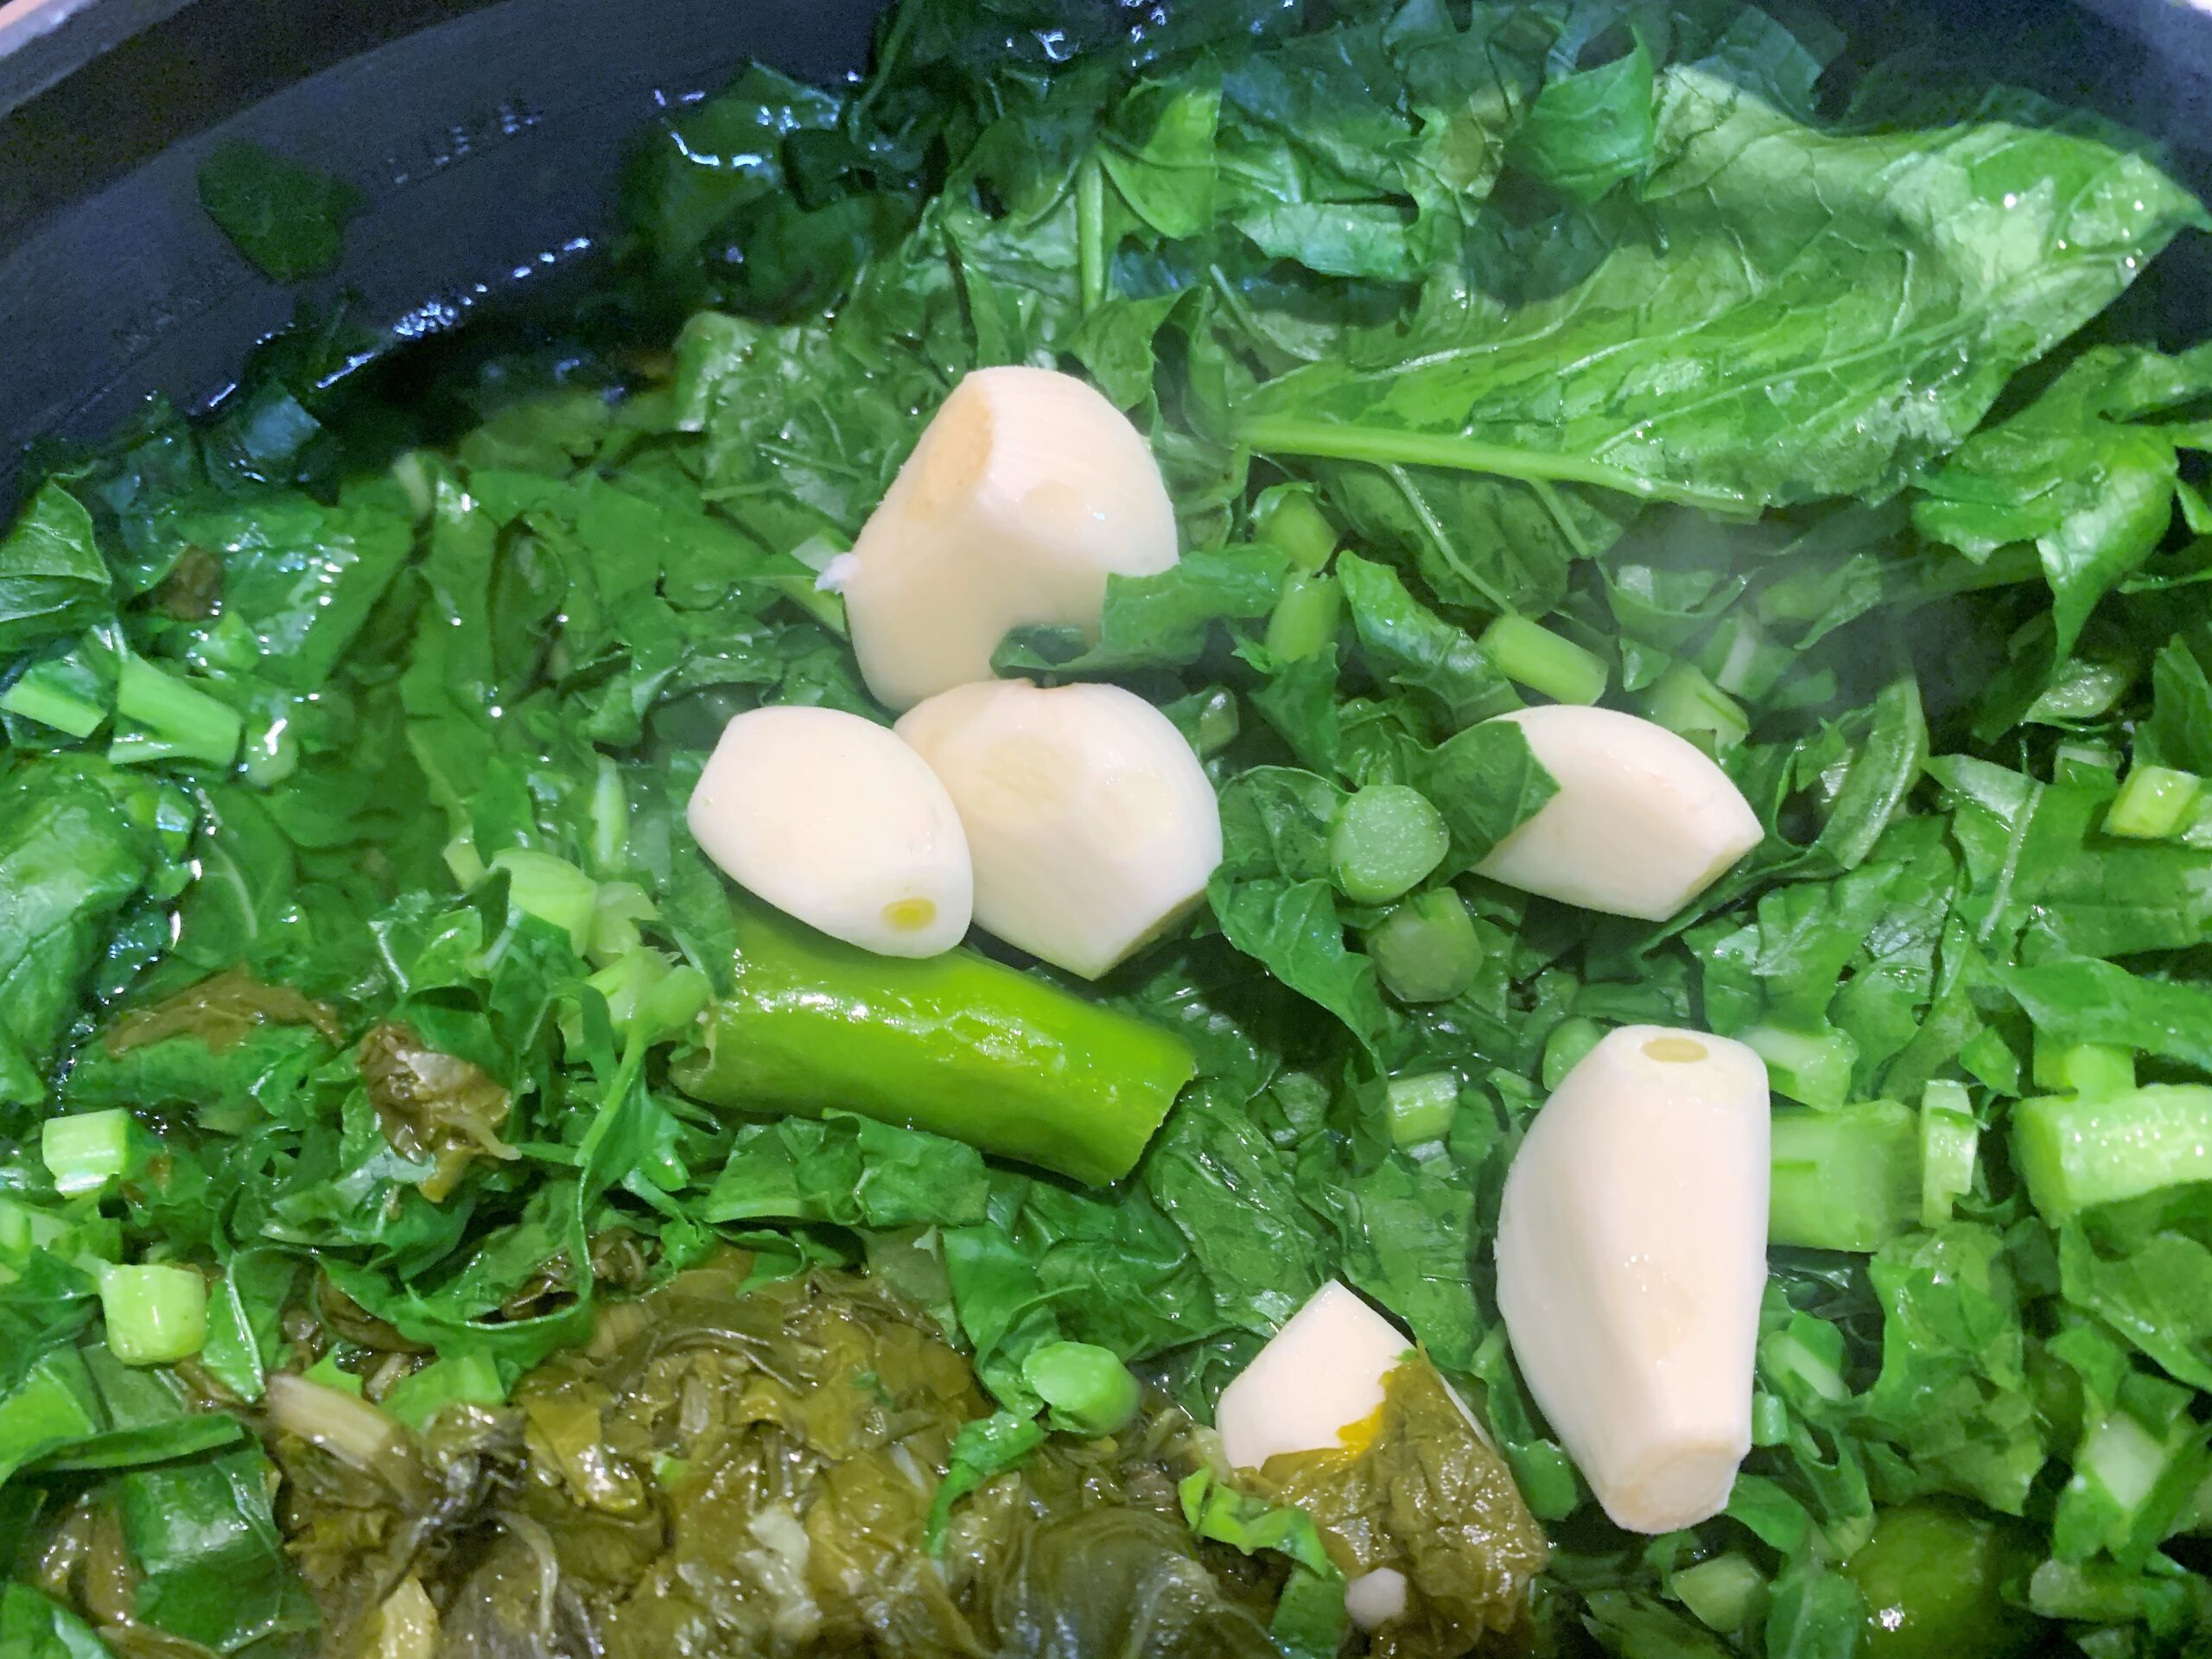
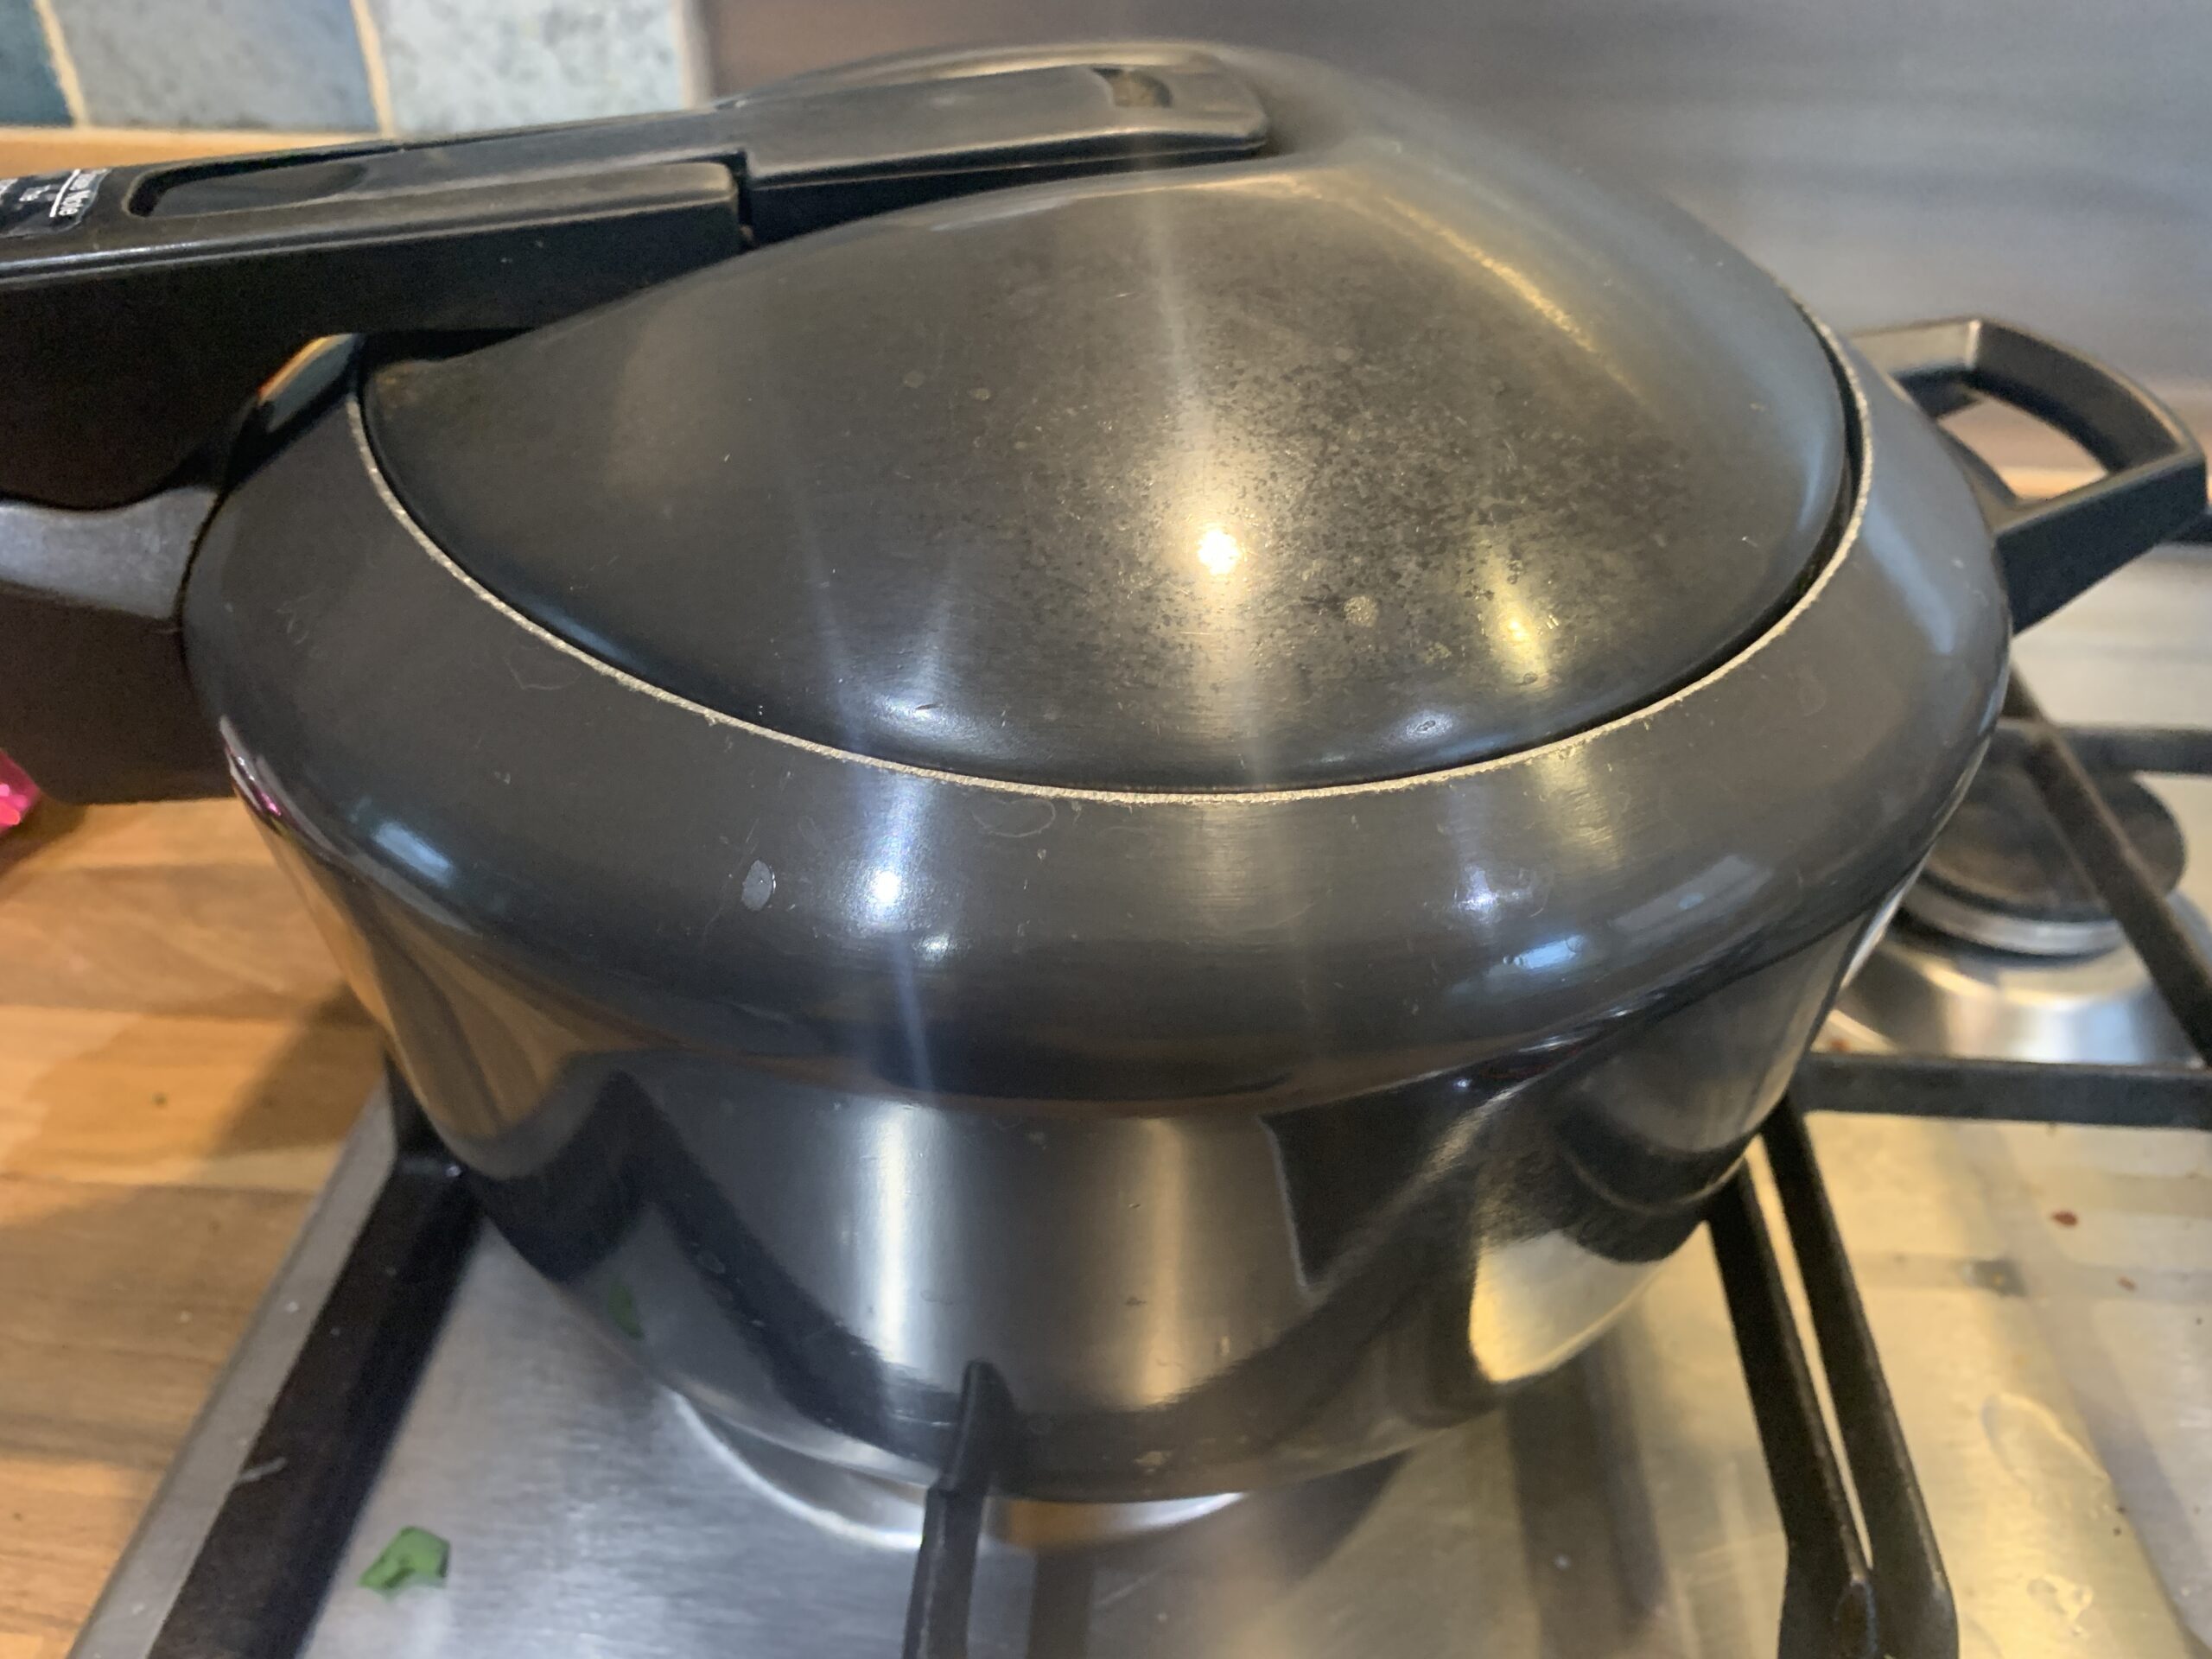
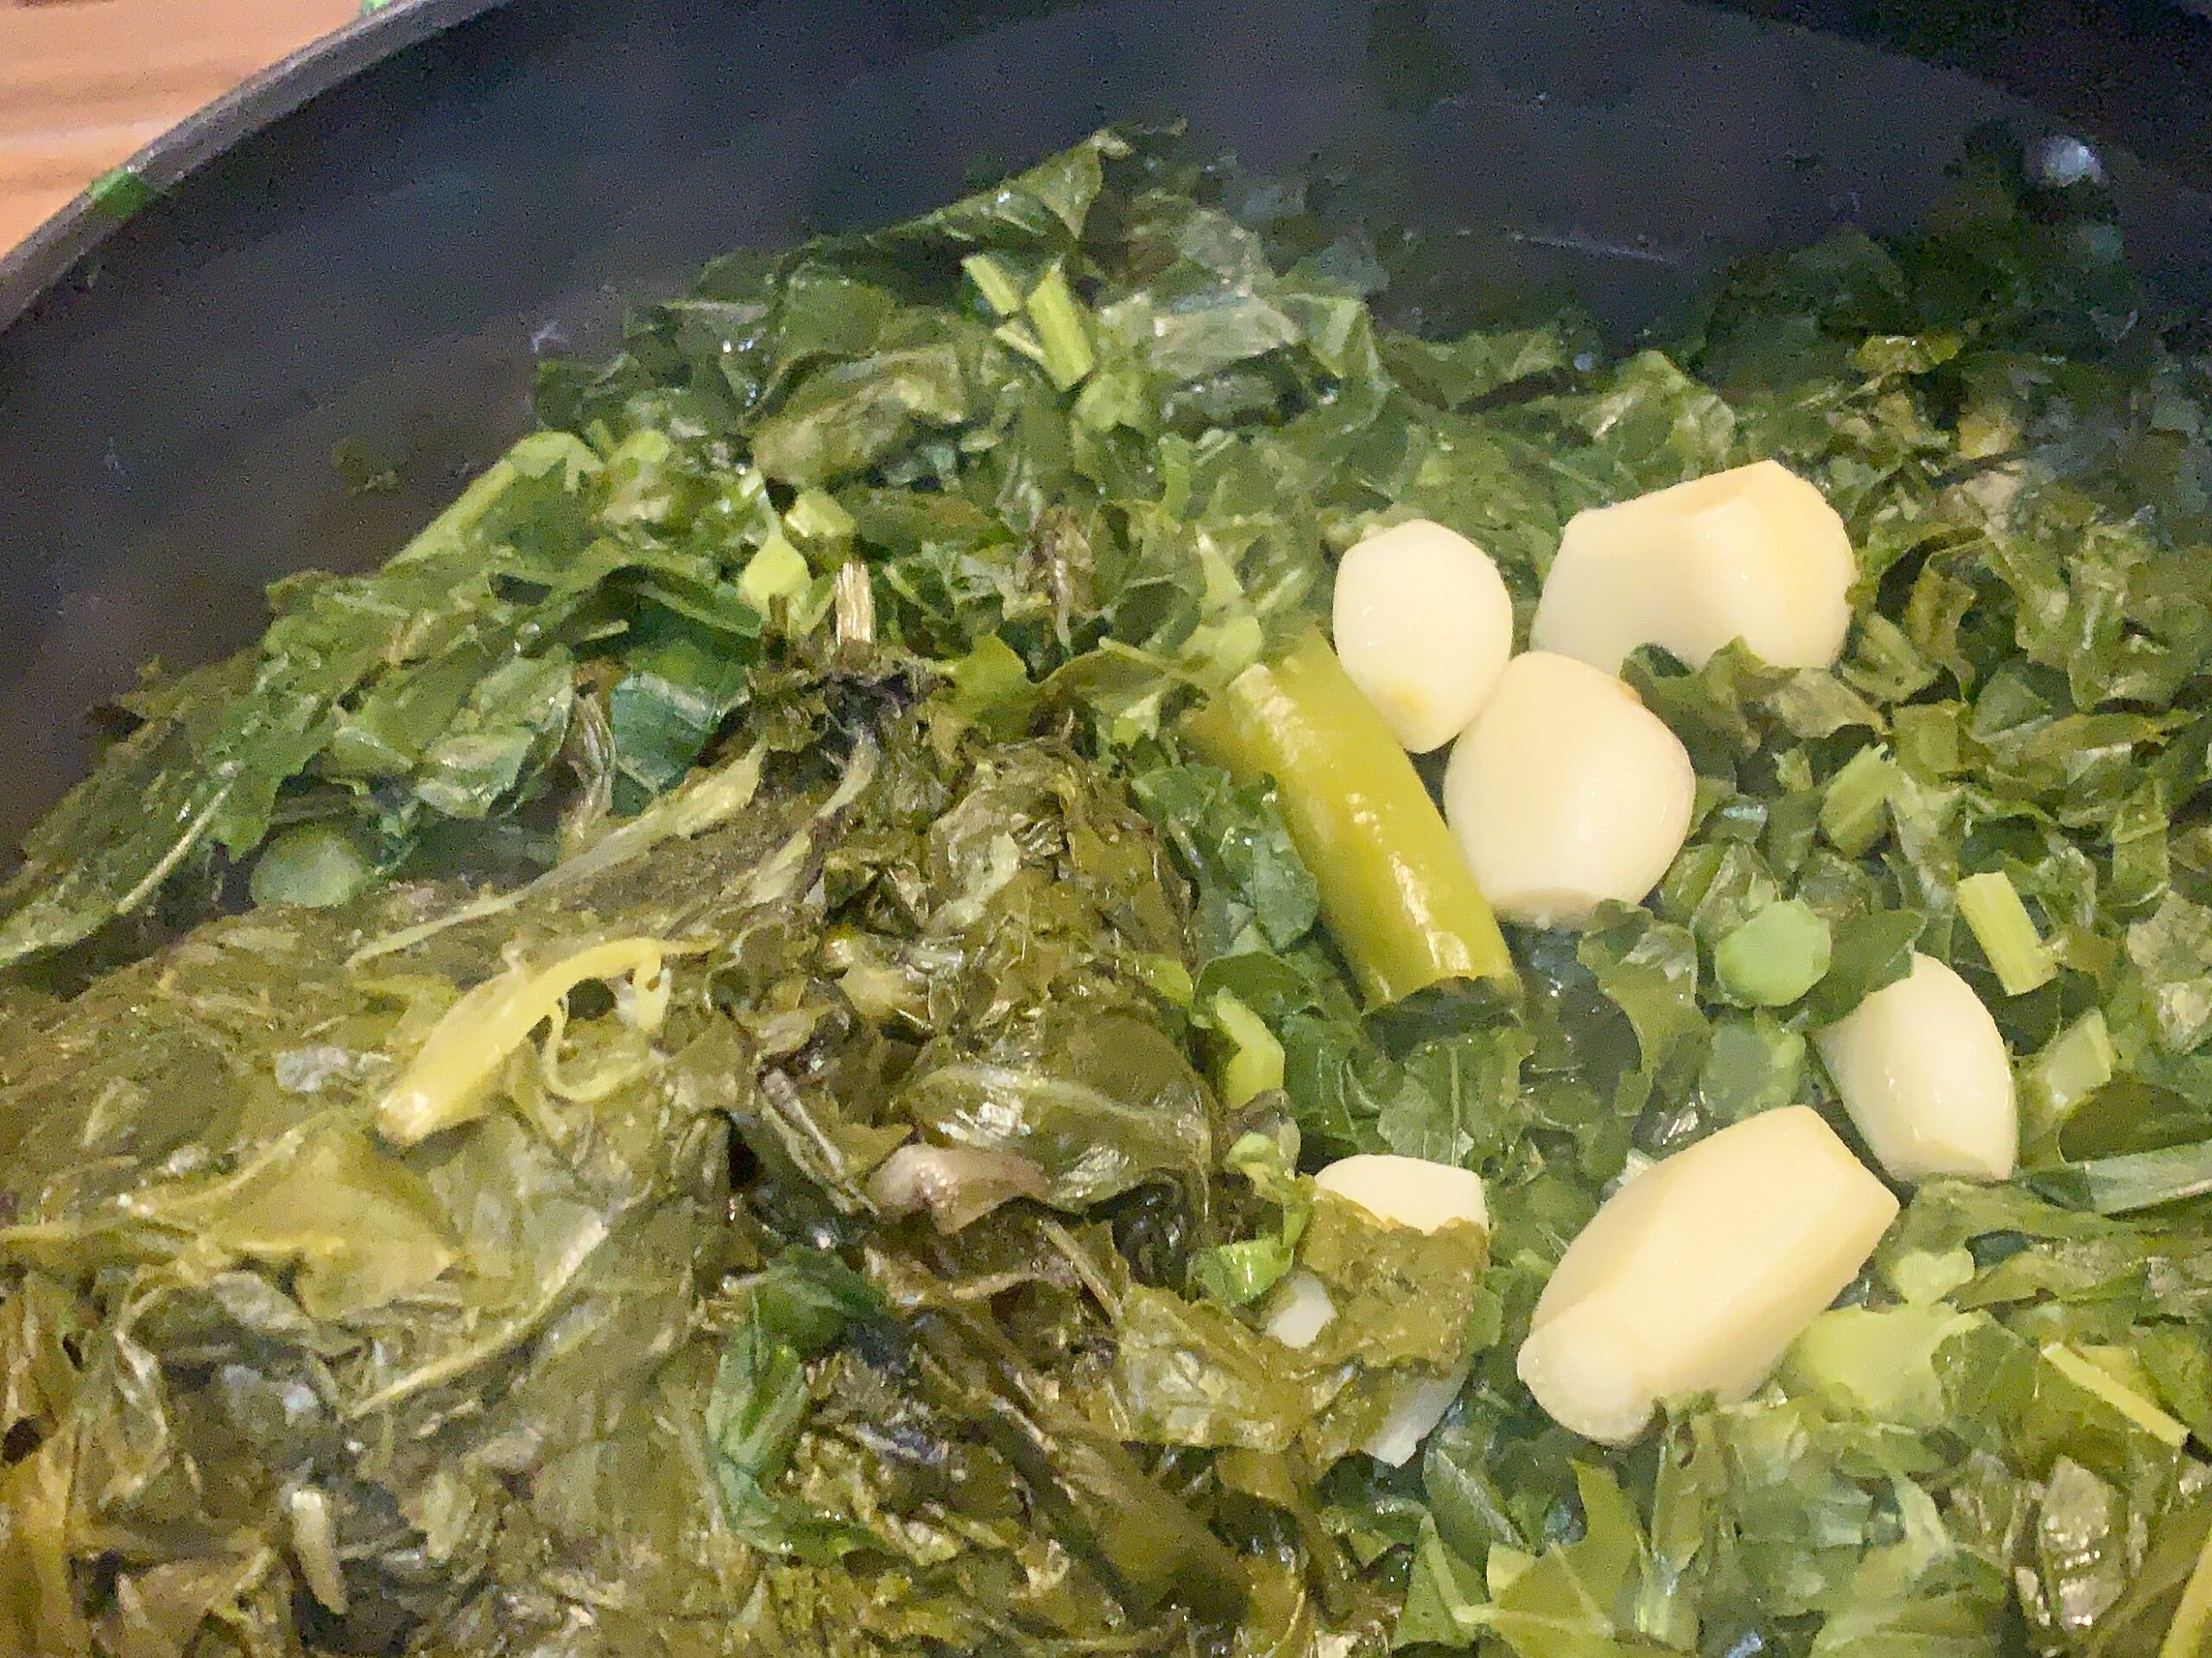
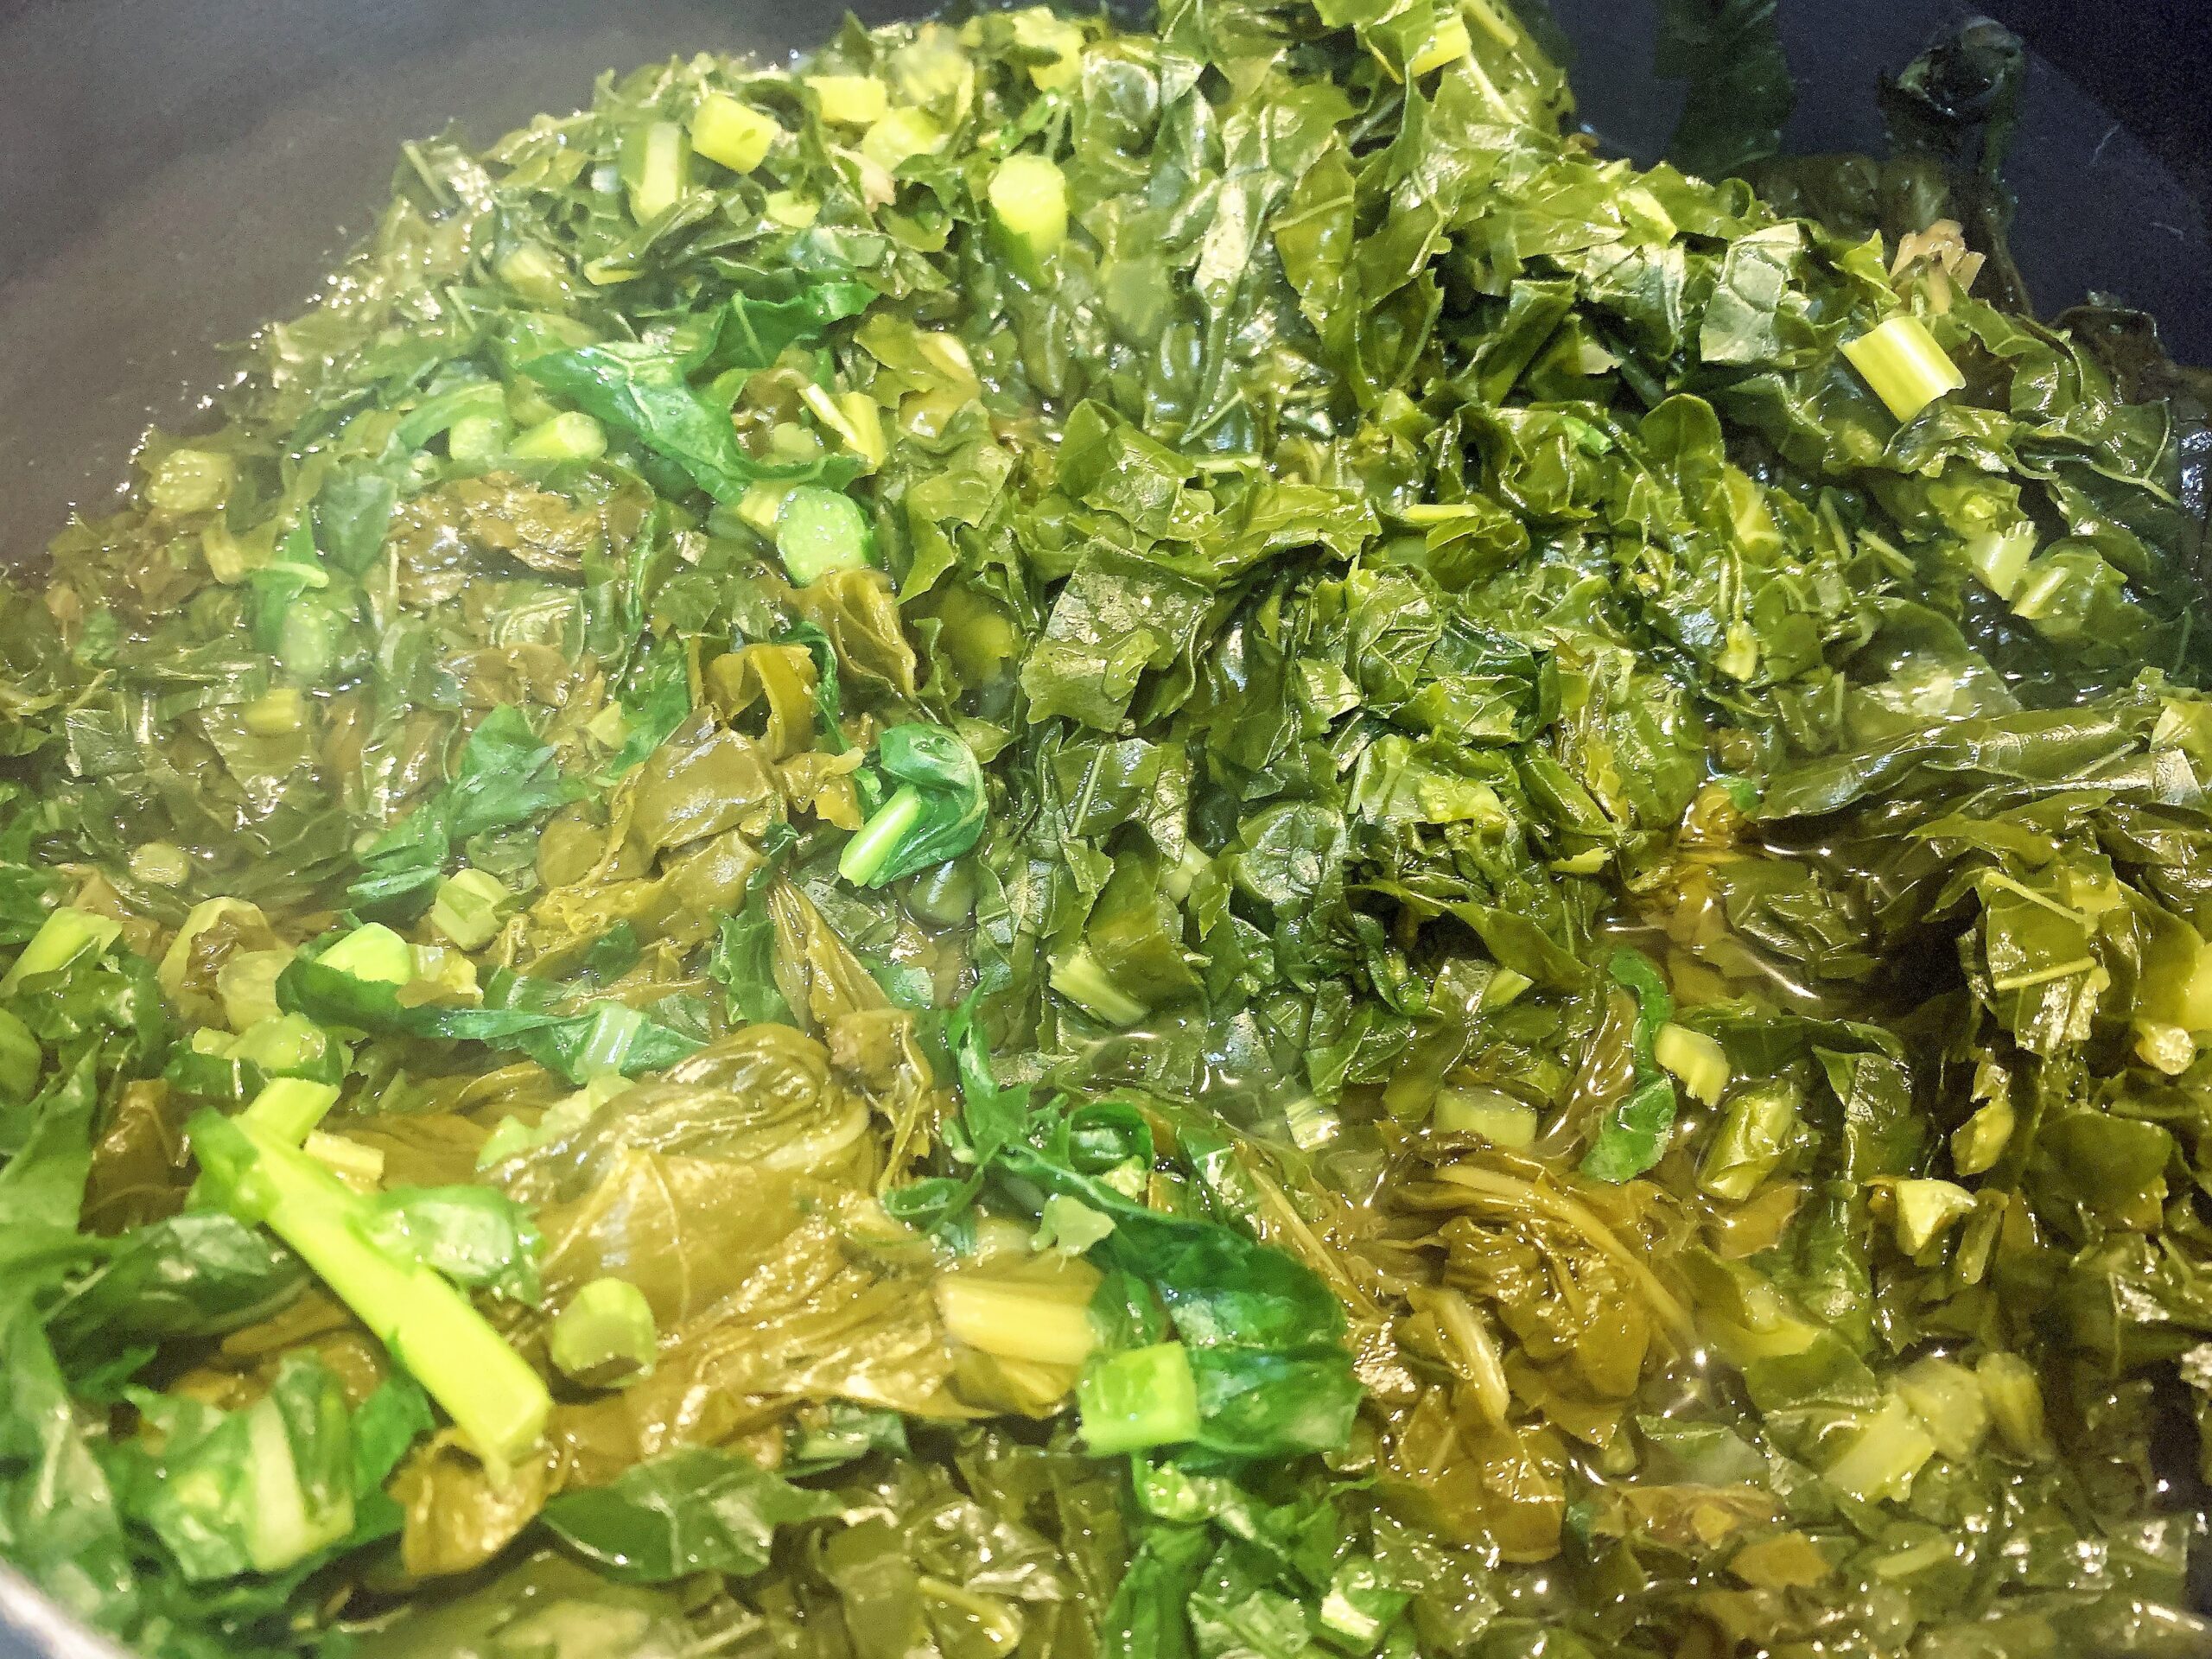
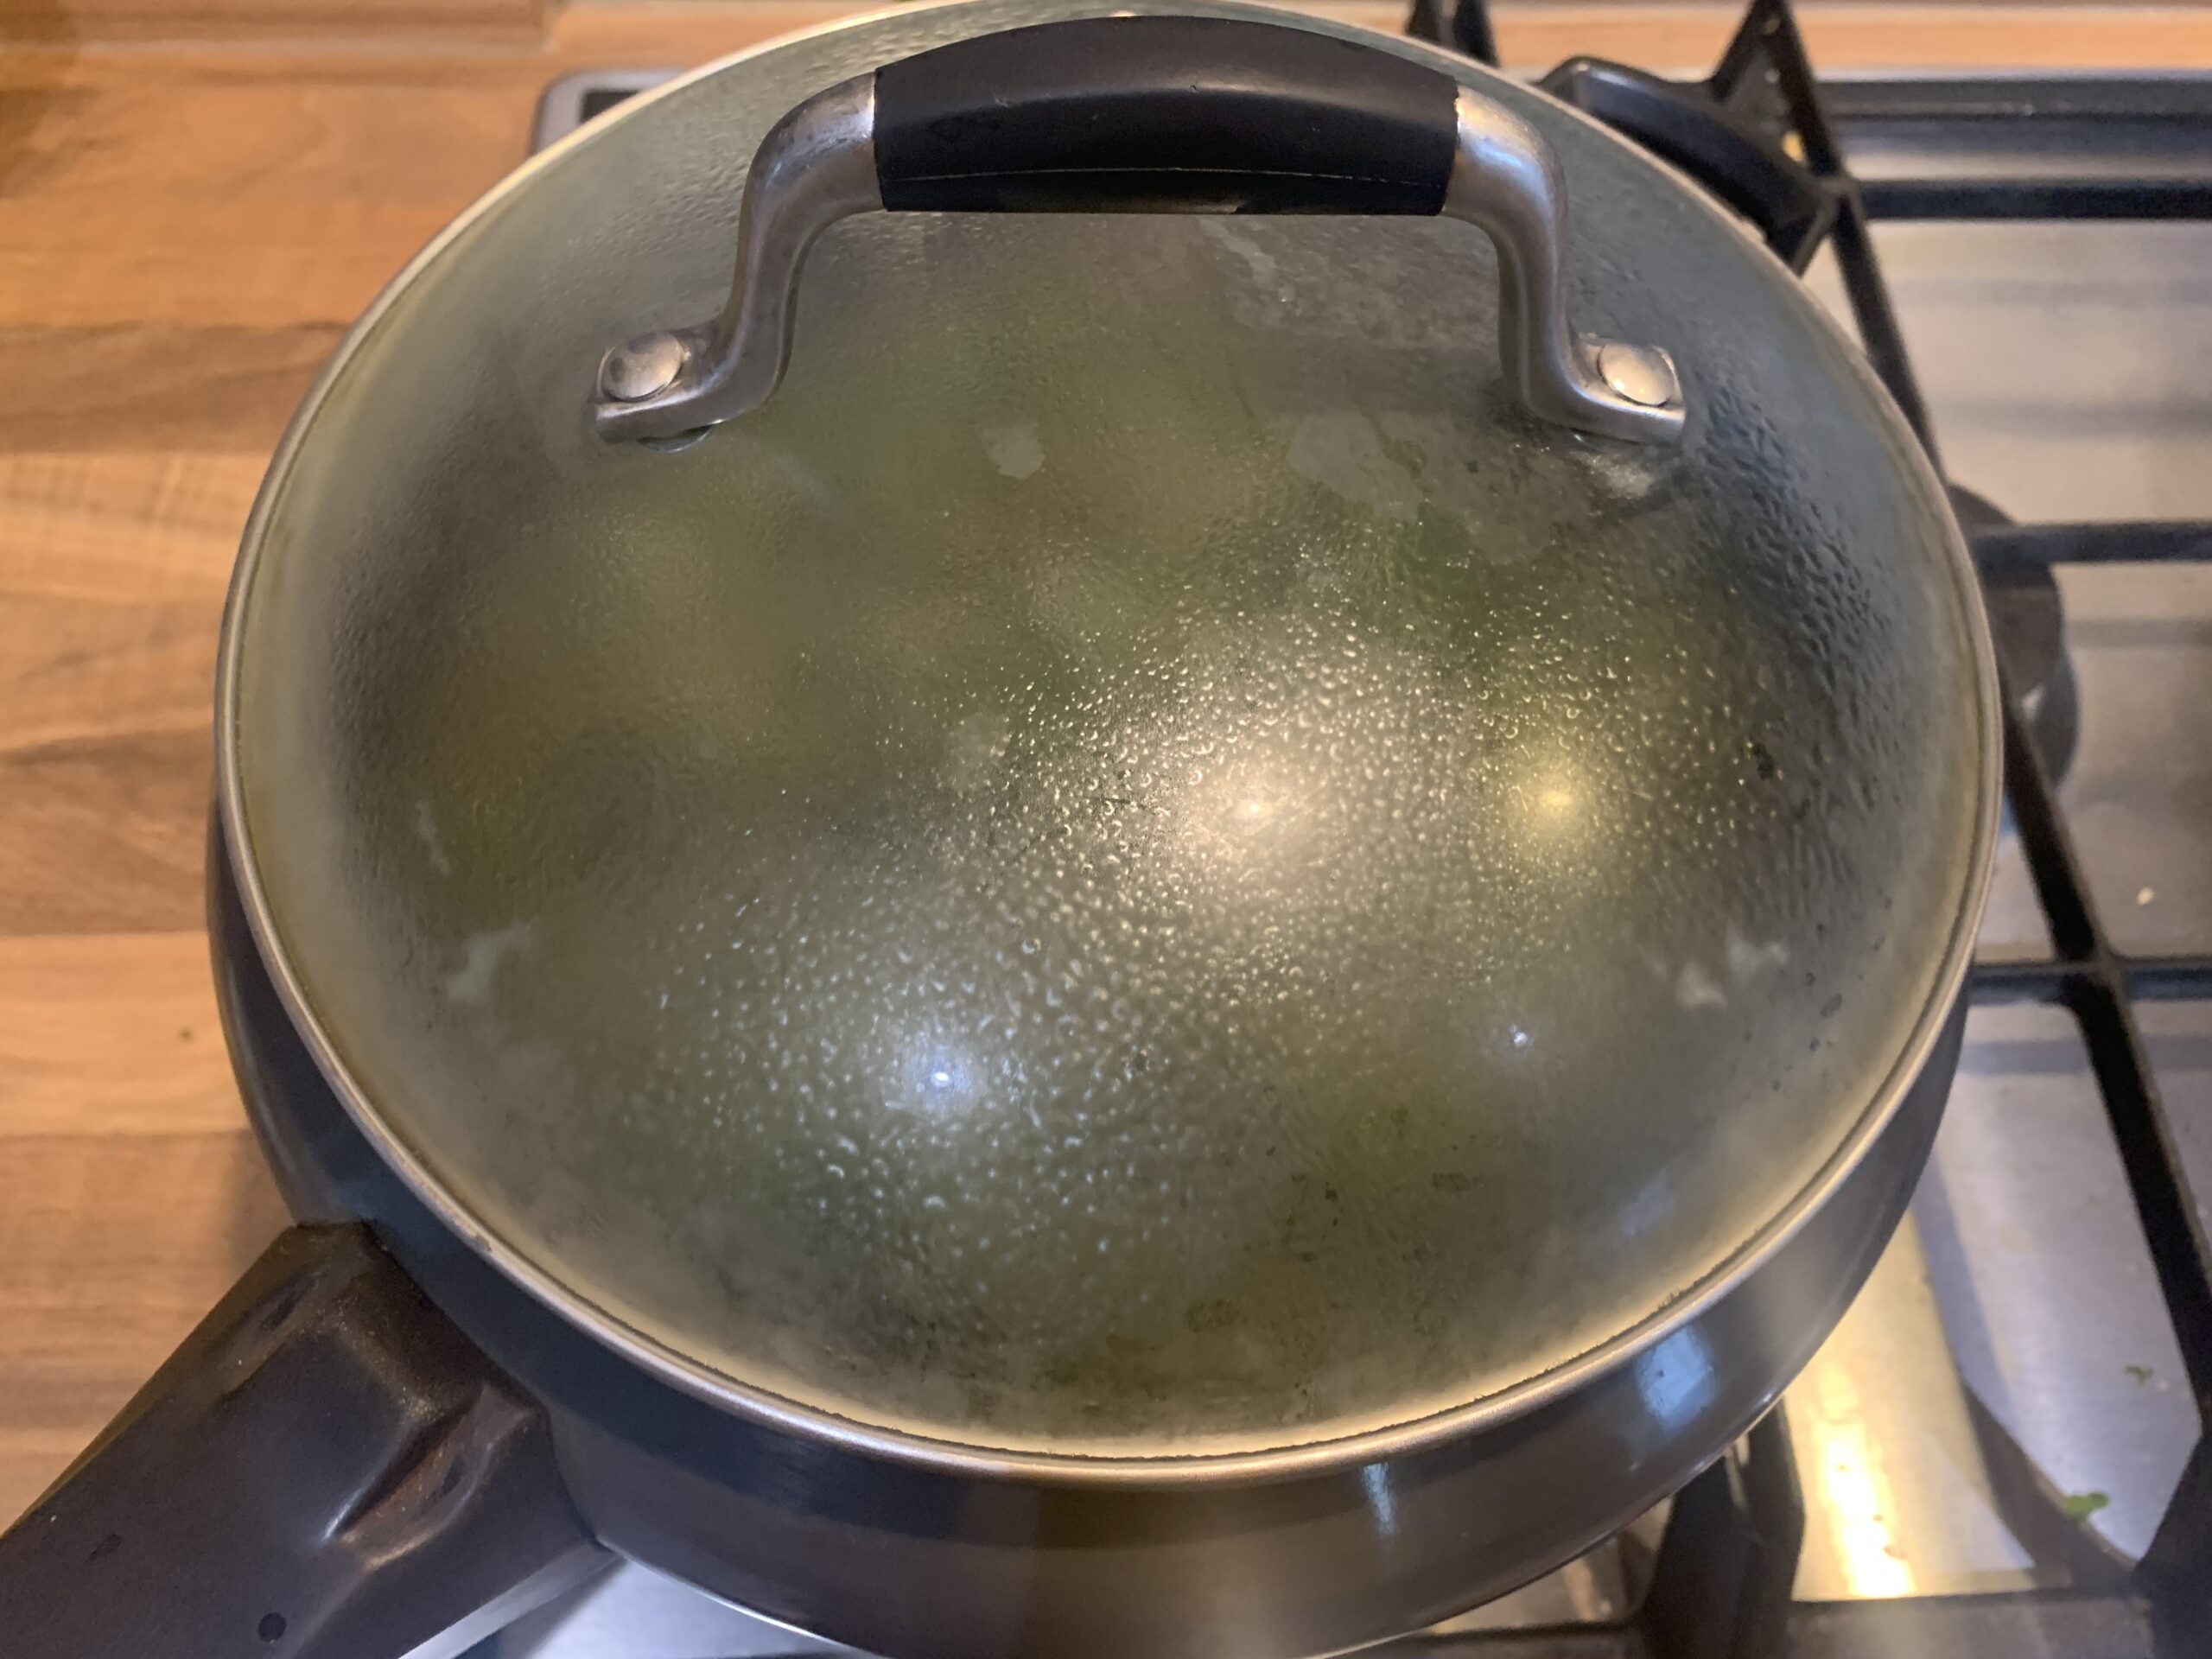
Add the mustard leaves, spinach, garlic and water to a pressure cooker/ pan with lid. If cooking in pressure cooker give it, one whistle. If in pan, then cook them covered on medium heat for 10-15 minutes until the leaves are wilted and soft.
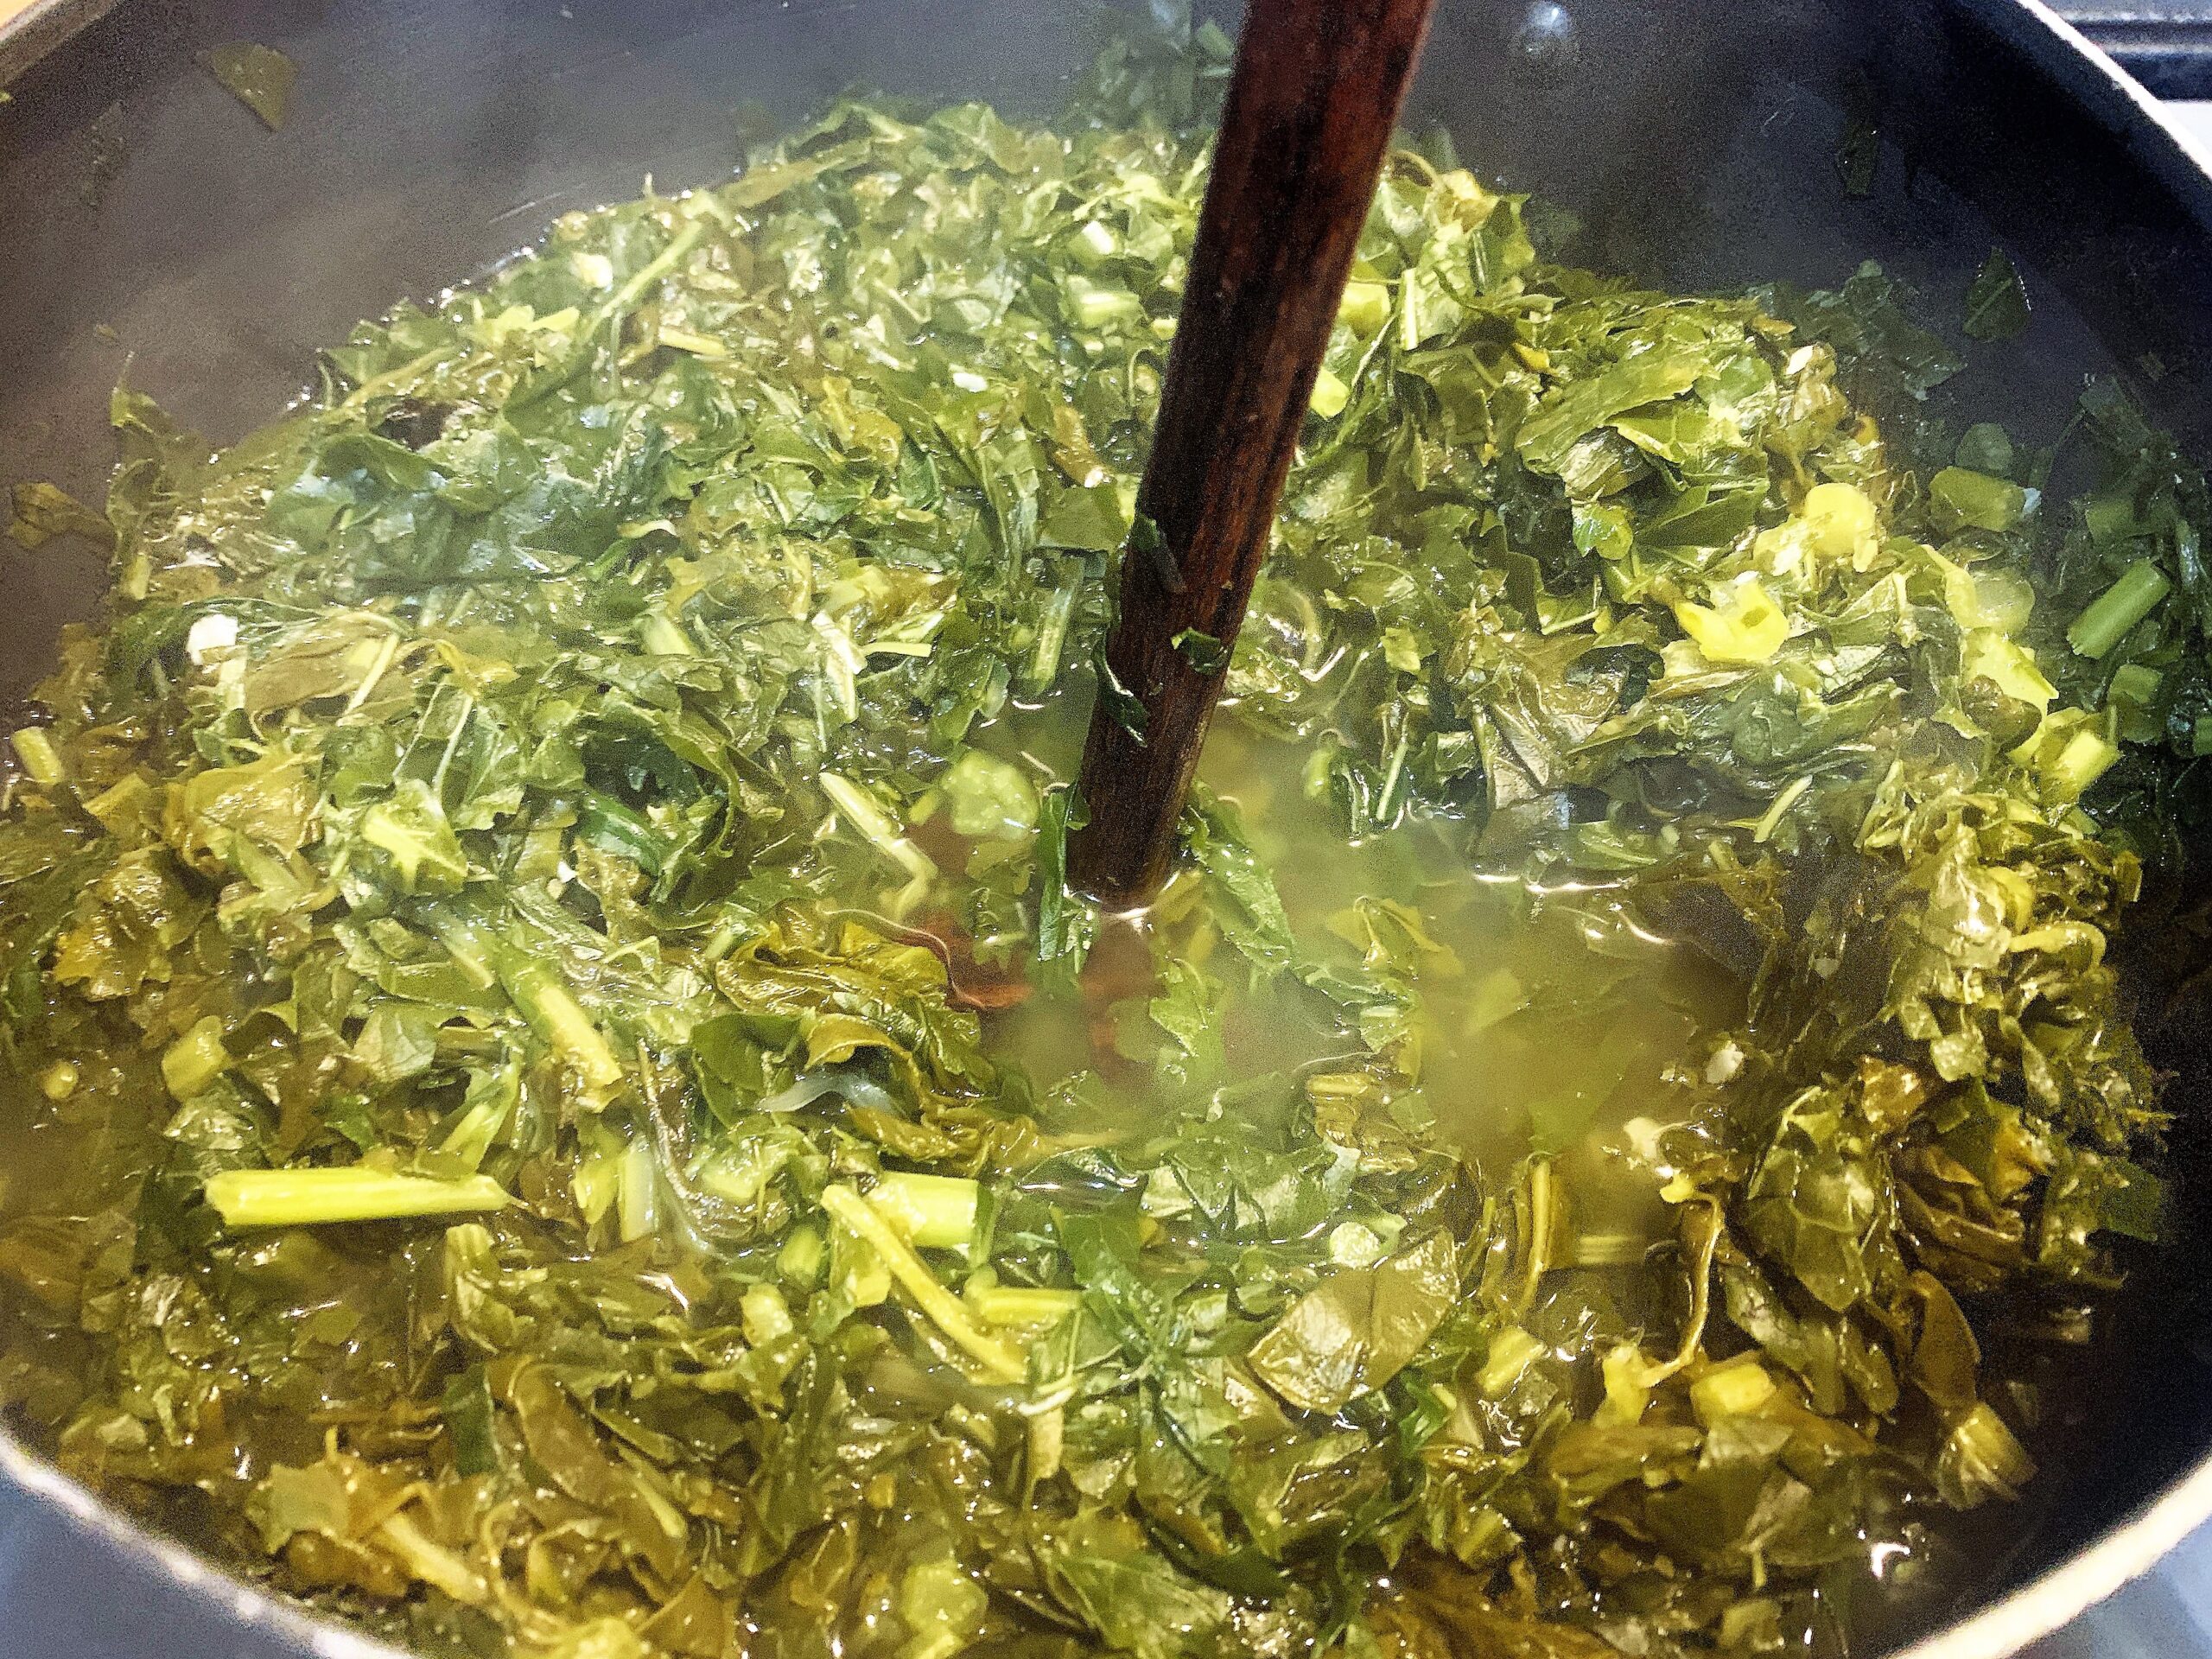
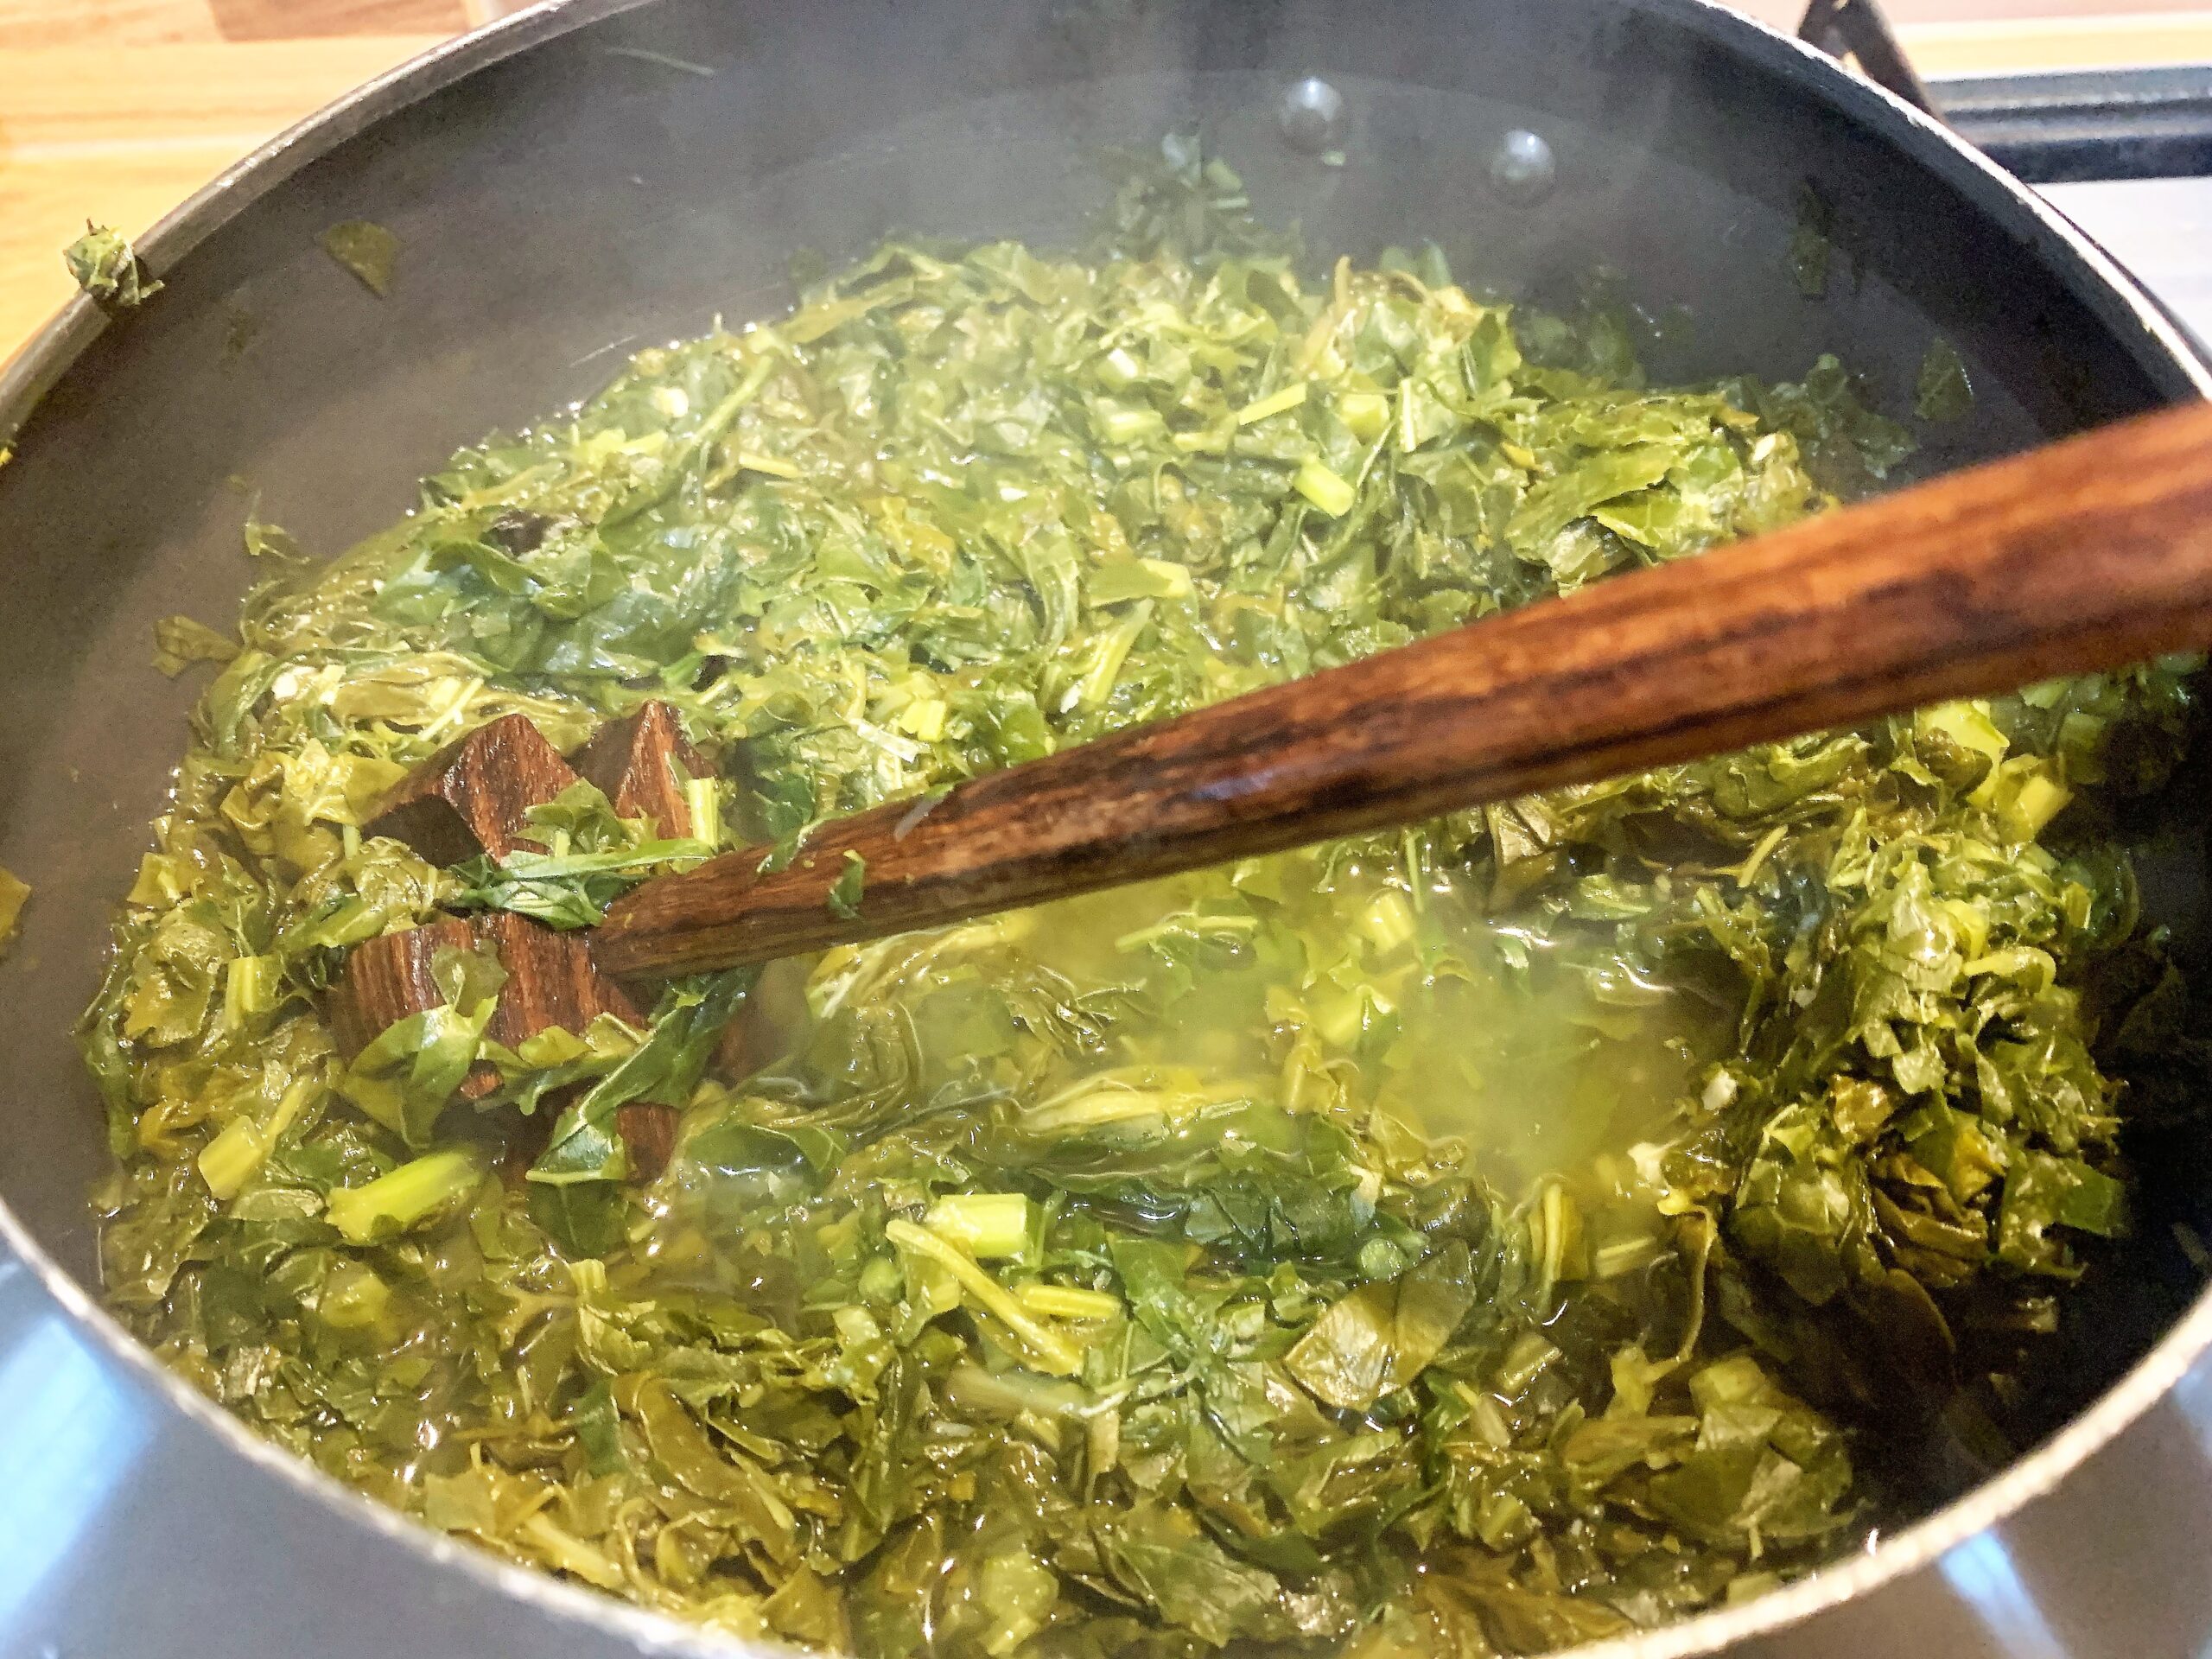
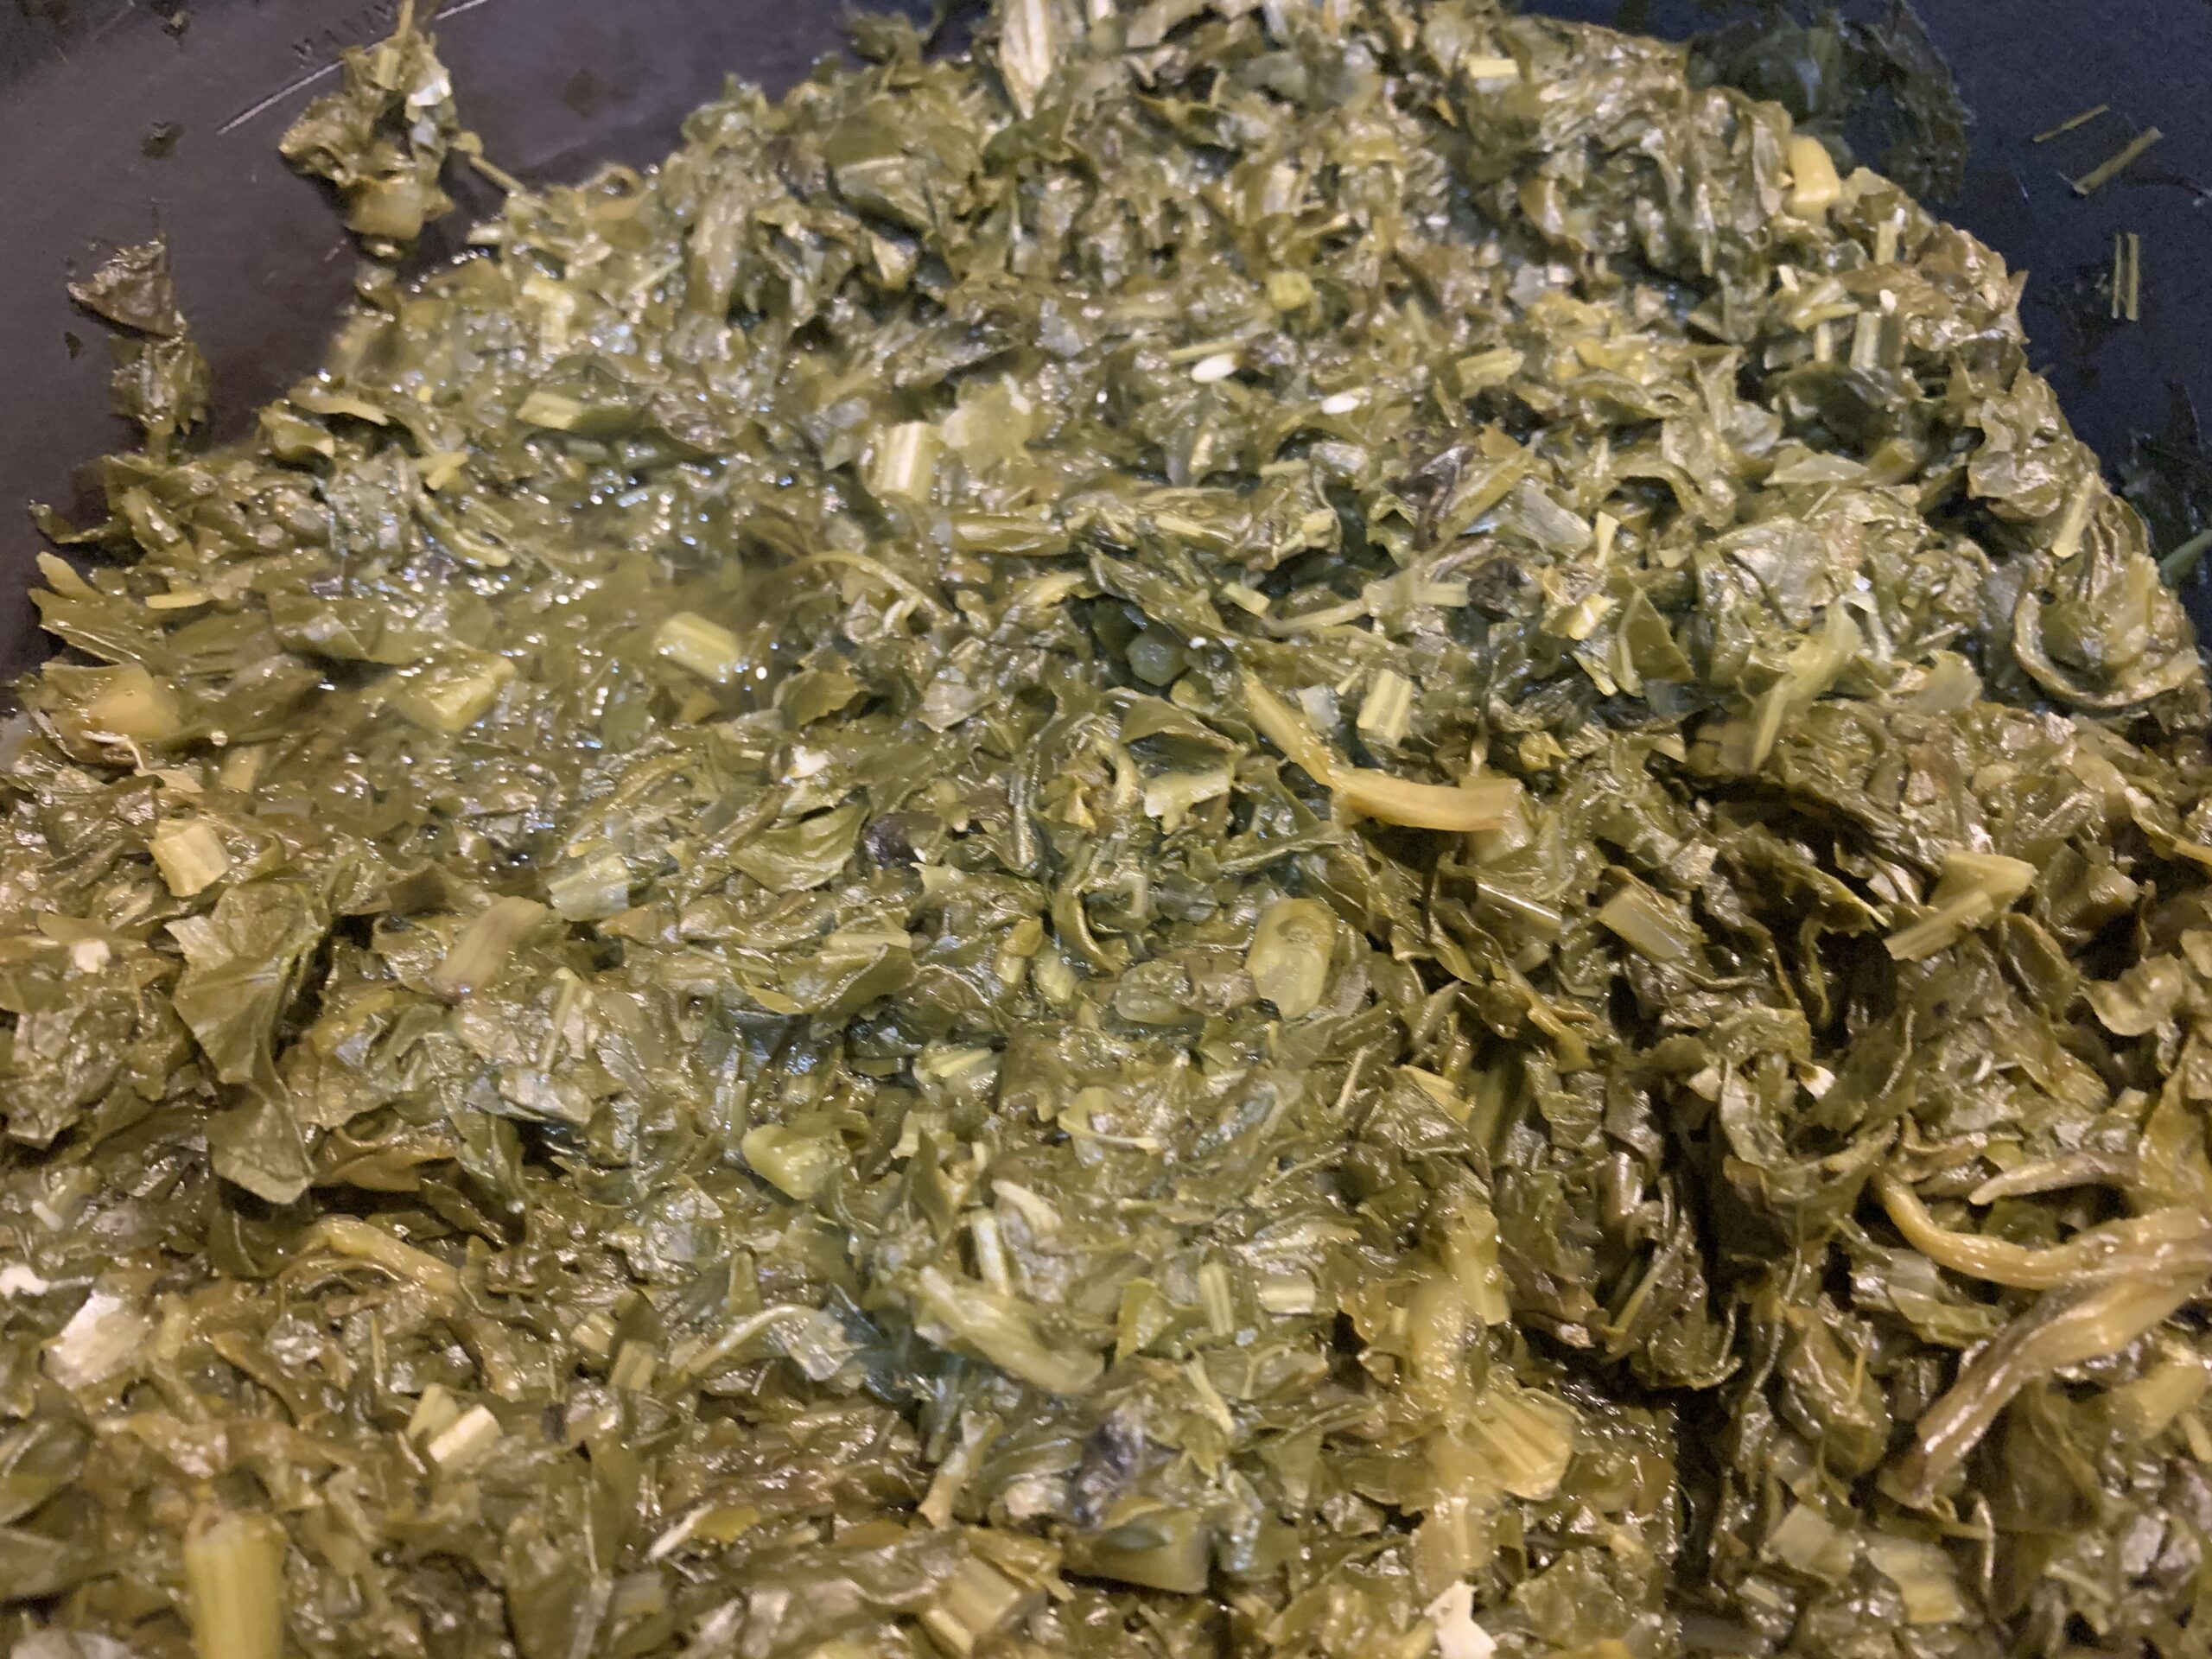
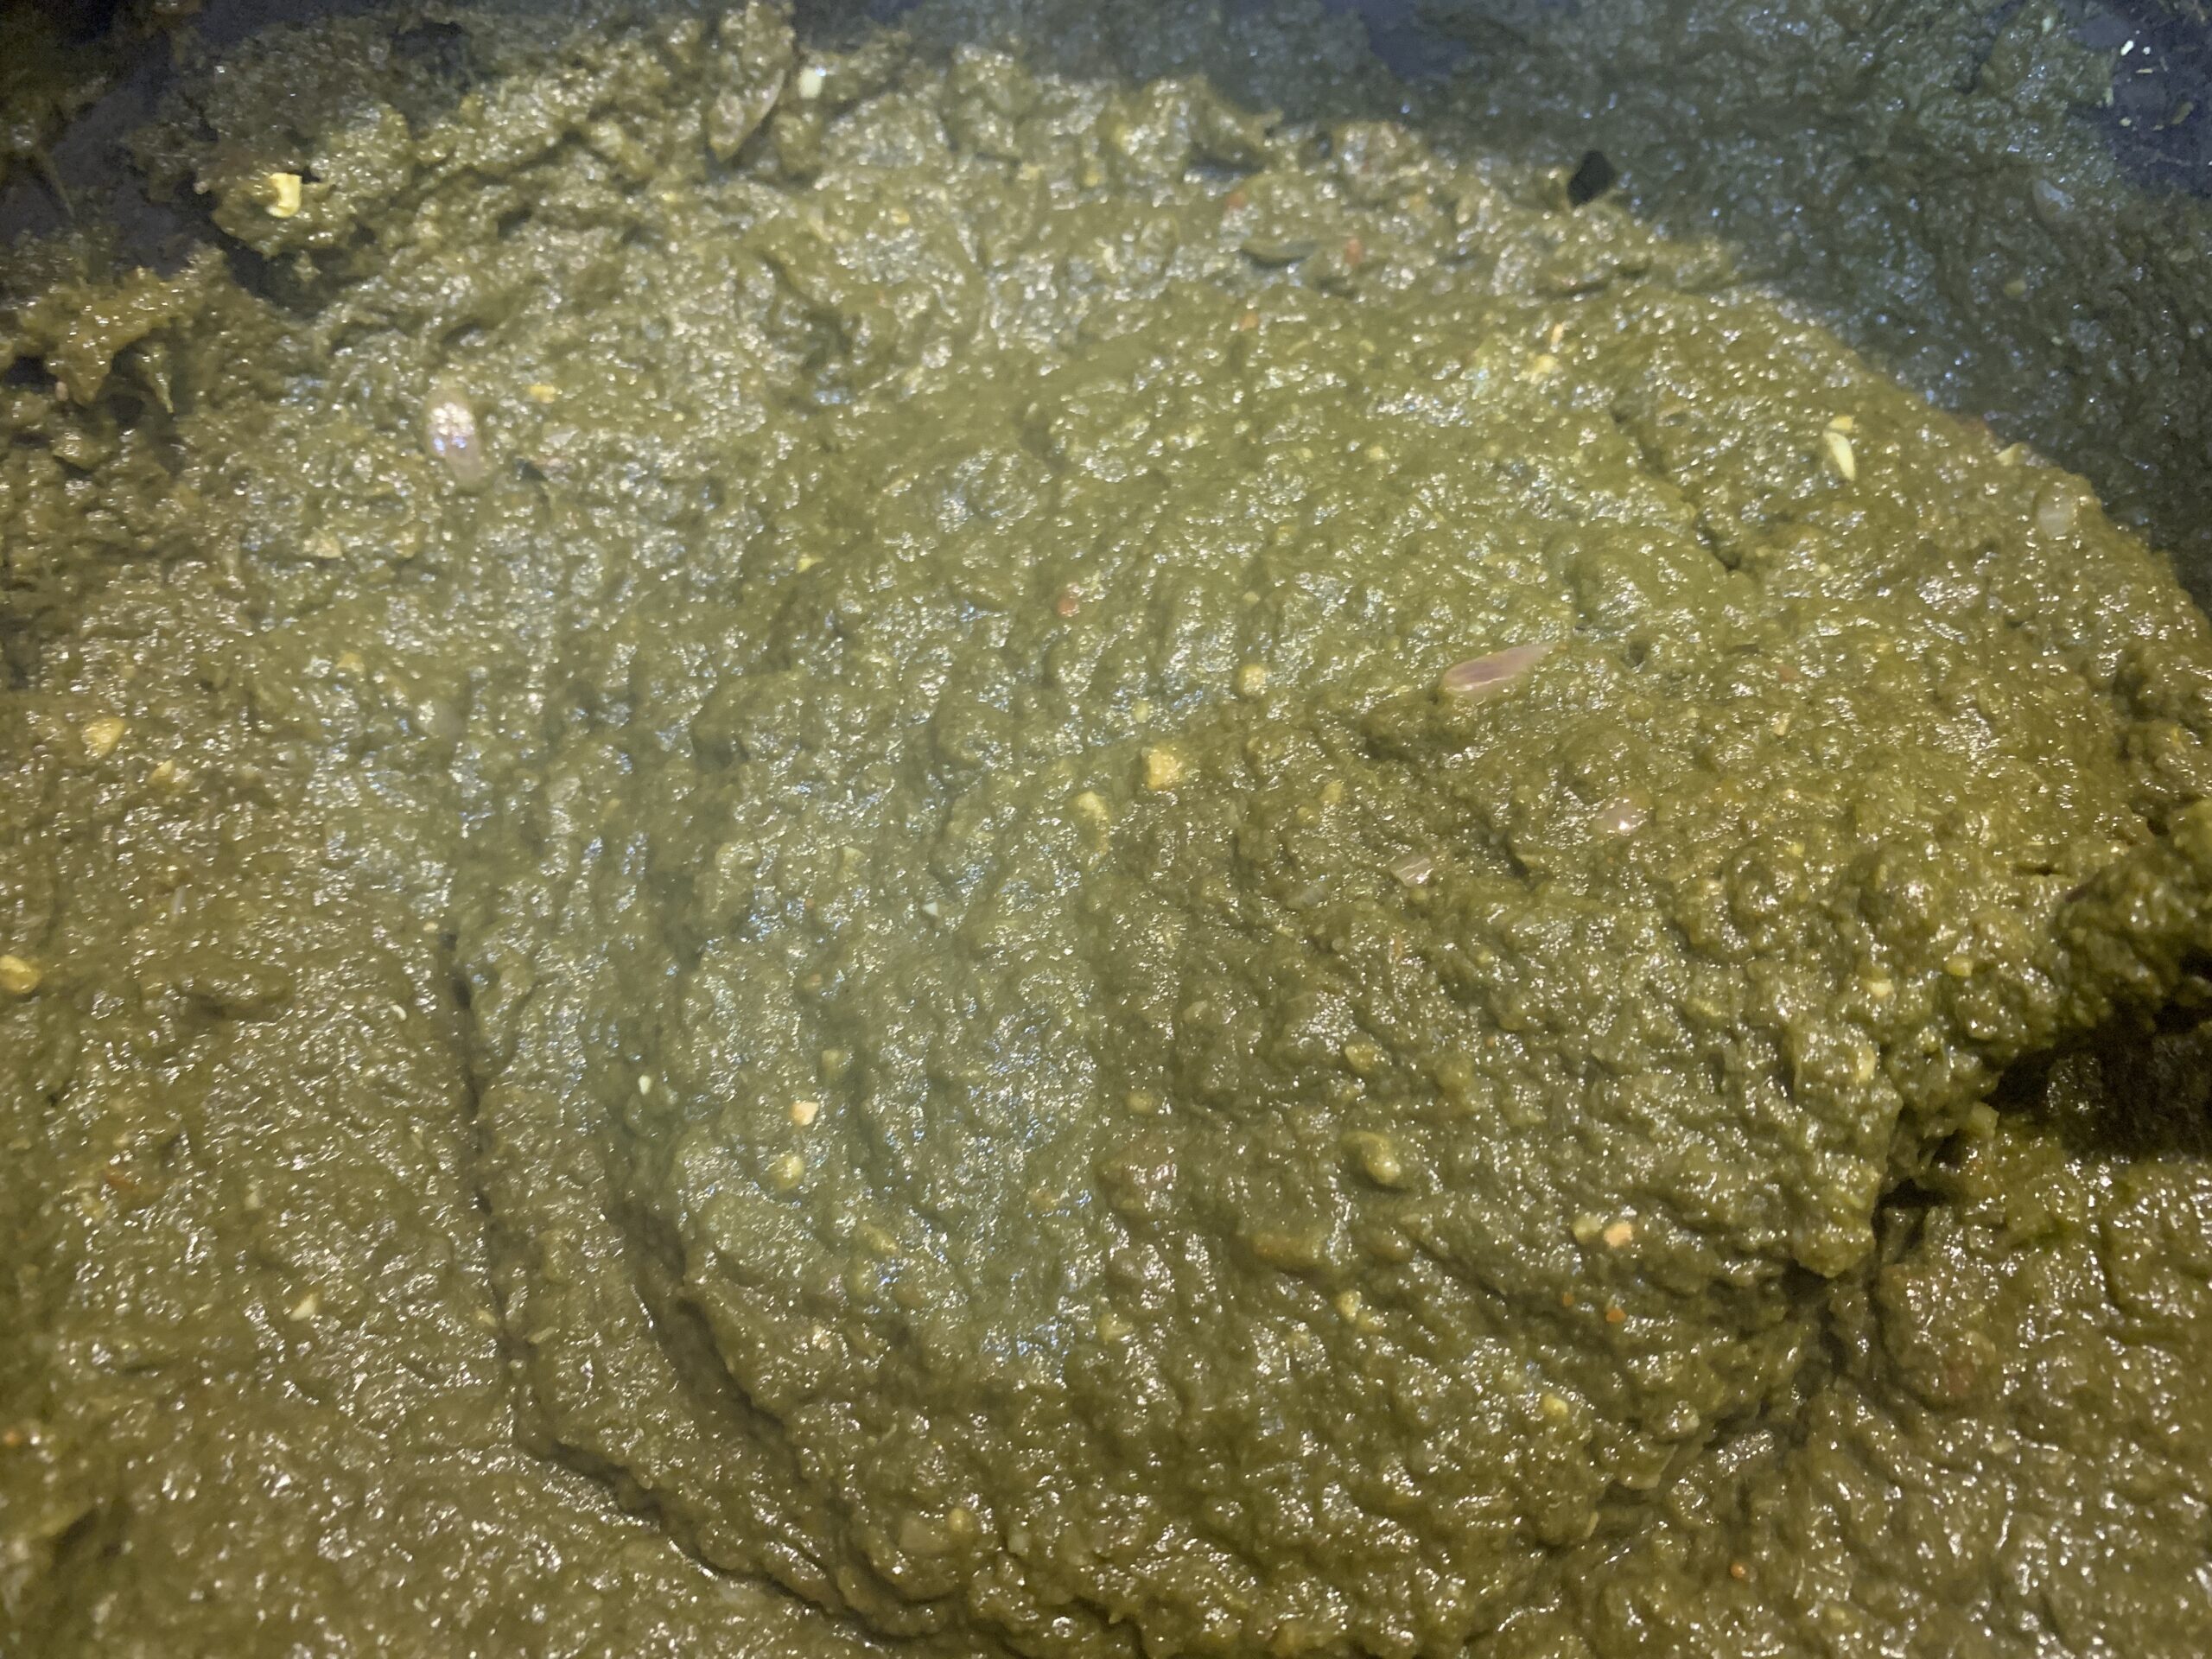
Mash the leaves using a masher on low heat. Cook it covered on low heat for 15-20 minutes. Mash the leaves every 4-5 minutes.
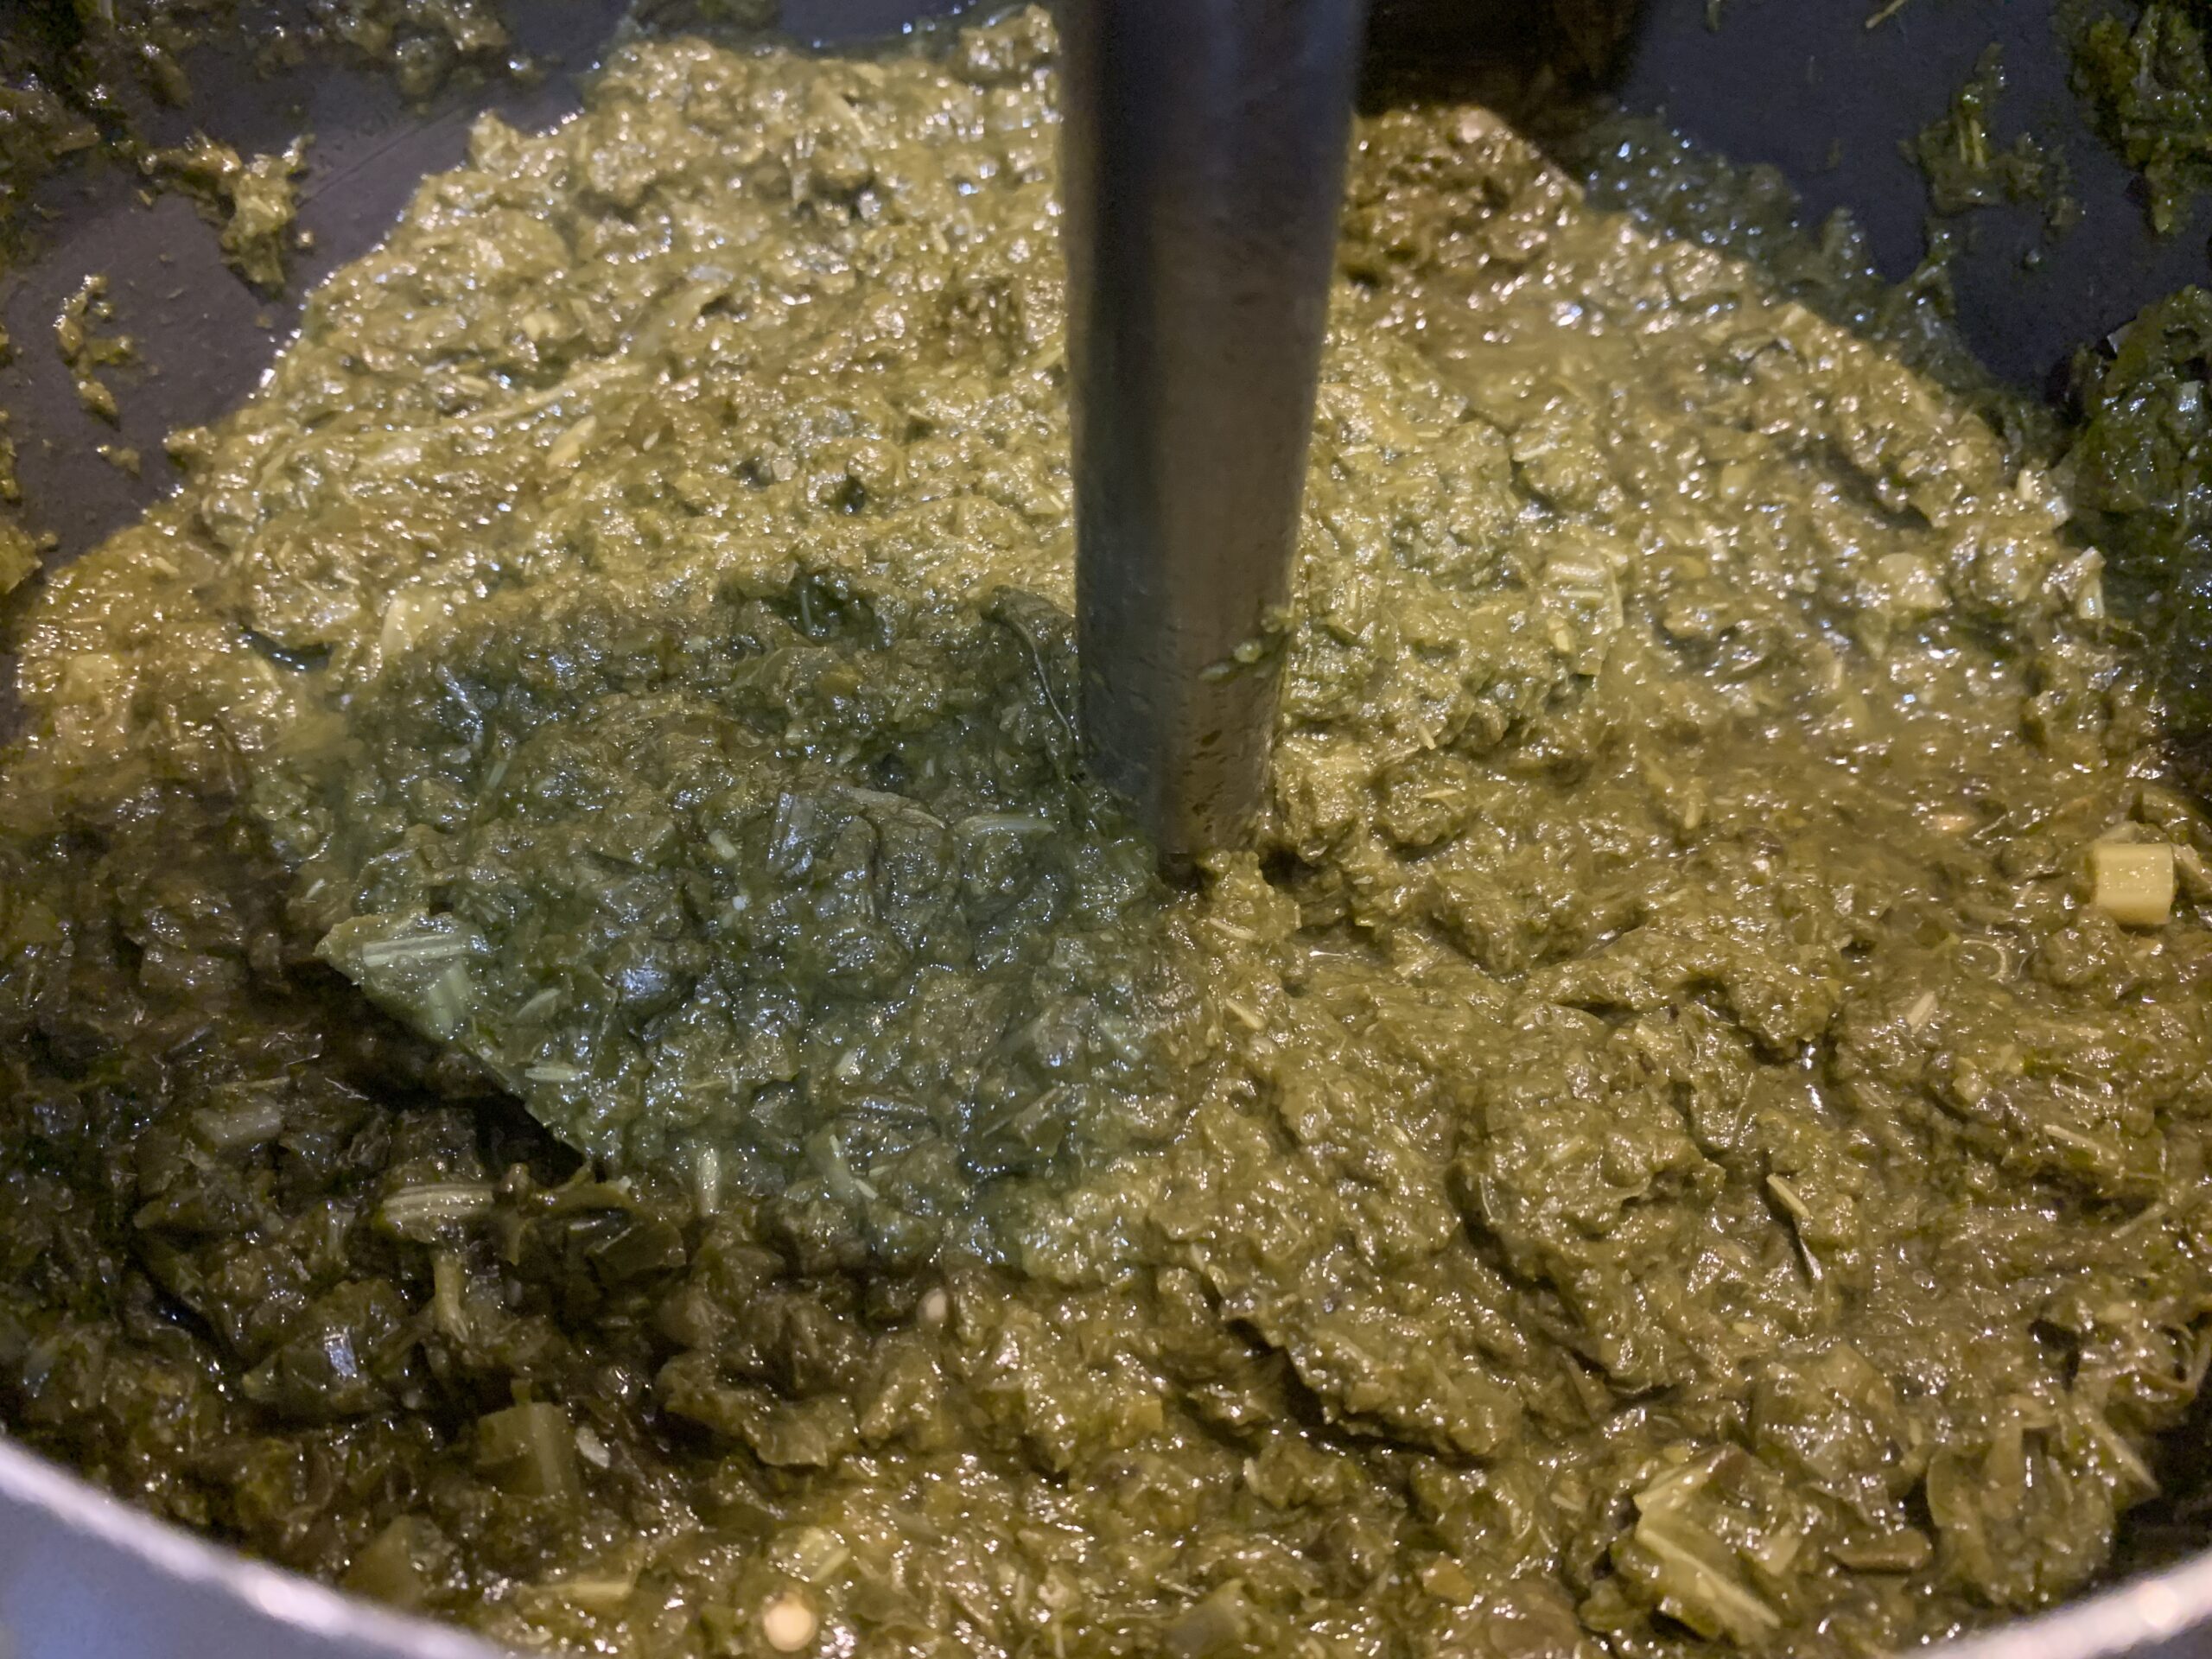
Use a handheld blender to blend the leaves to a coarse paste and let it cook on low heat for another 15-20 minutes.
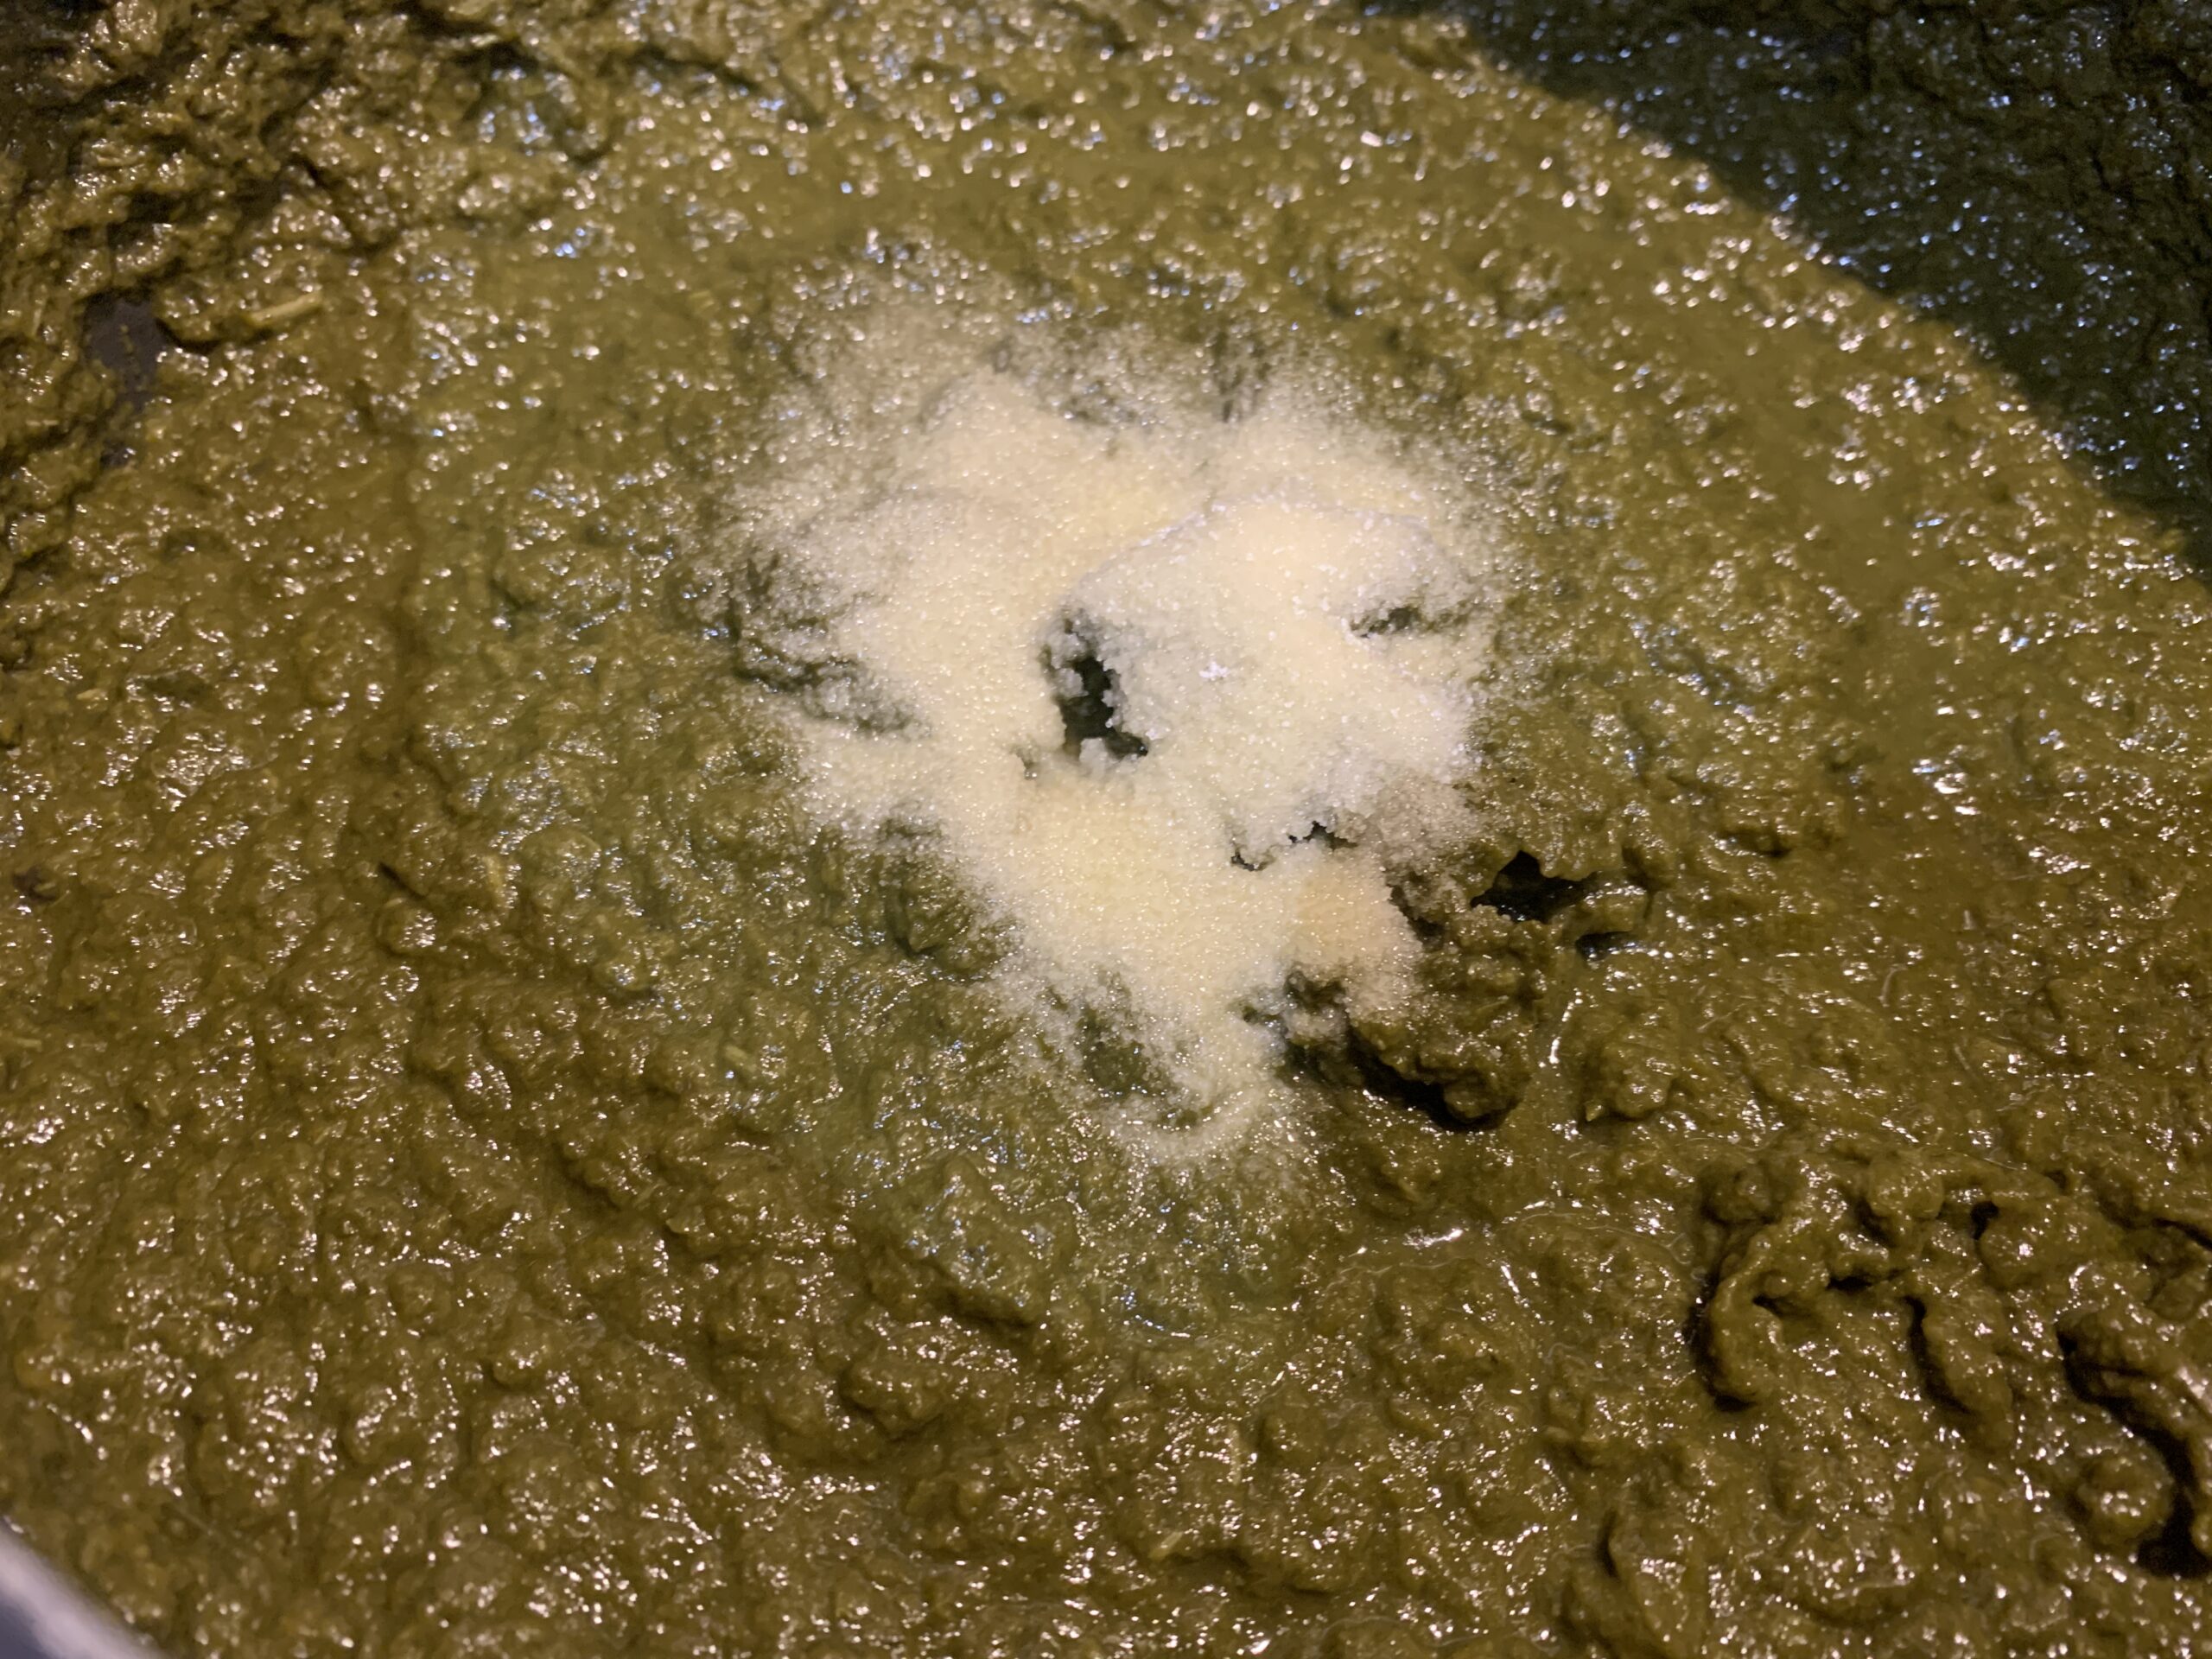

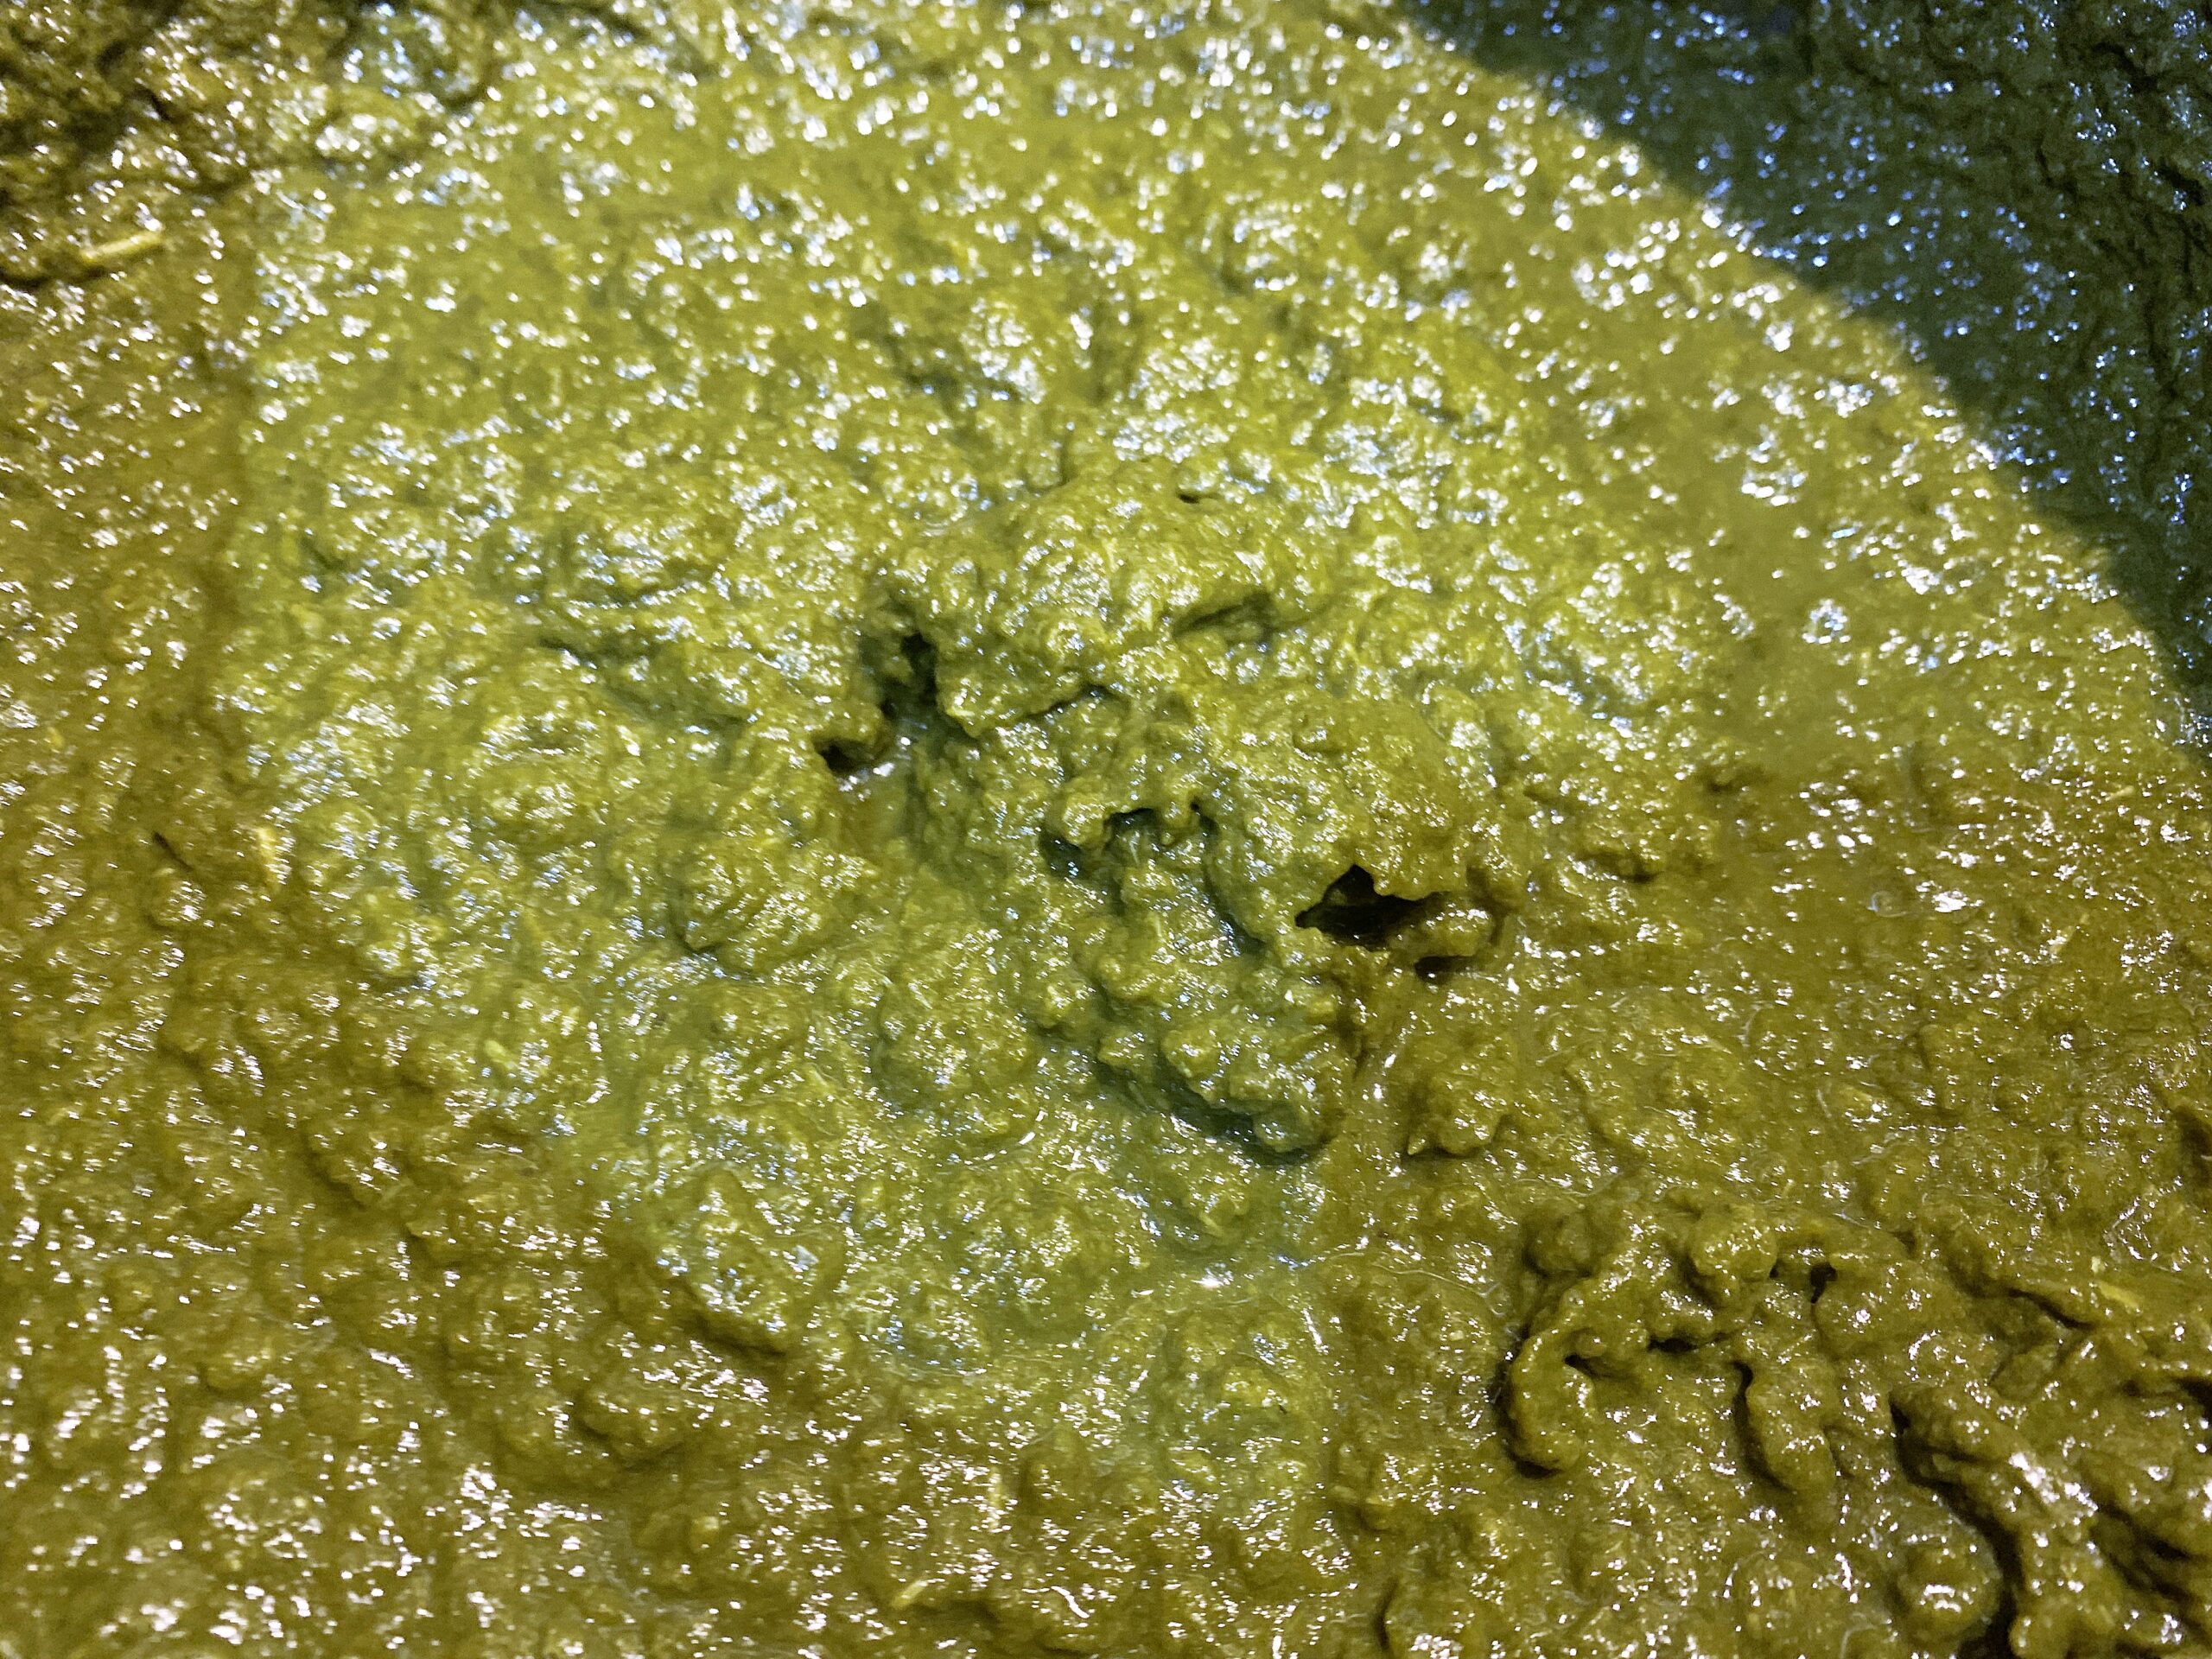
Add salt and 1 teaspoon of maize flour to the saag and mix.
Cook the saag on low heat stirring it every 5-10 minutes for 15-20 minutes.
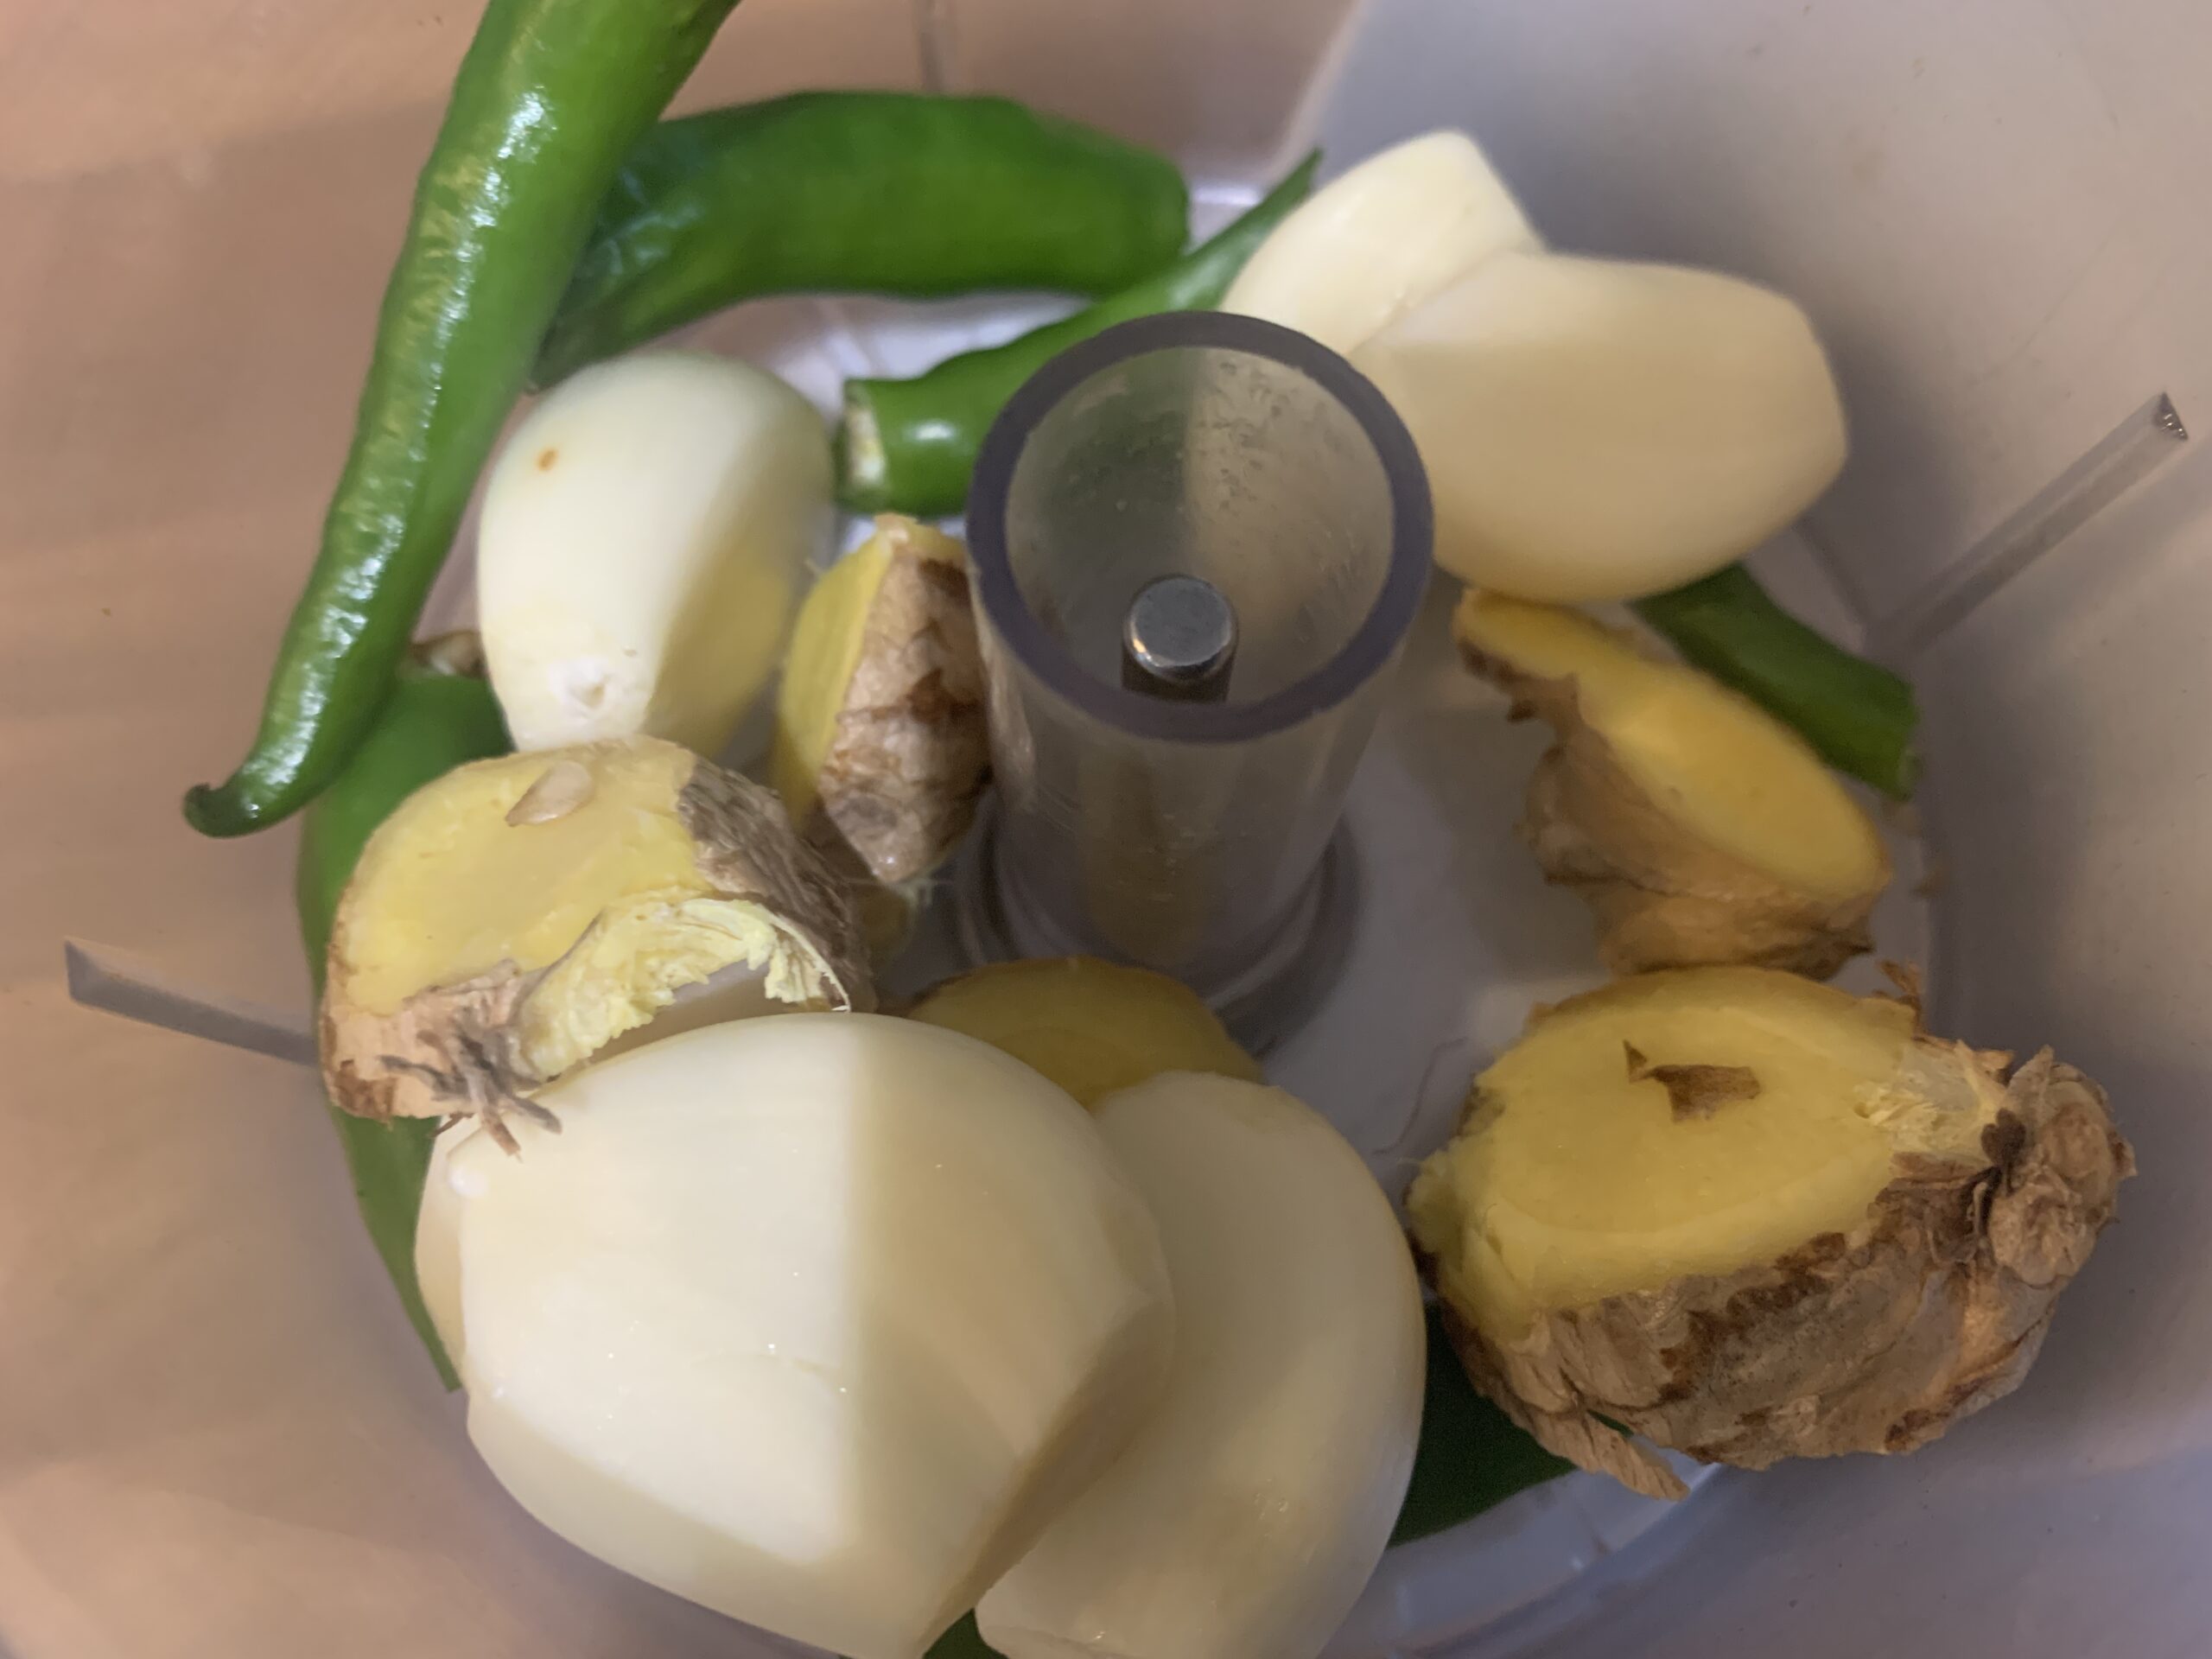
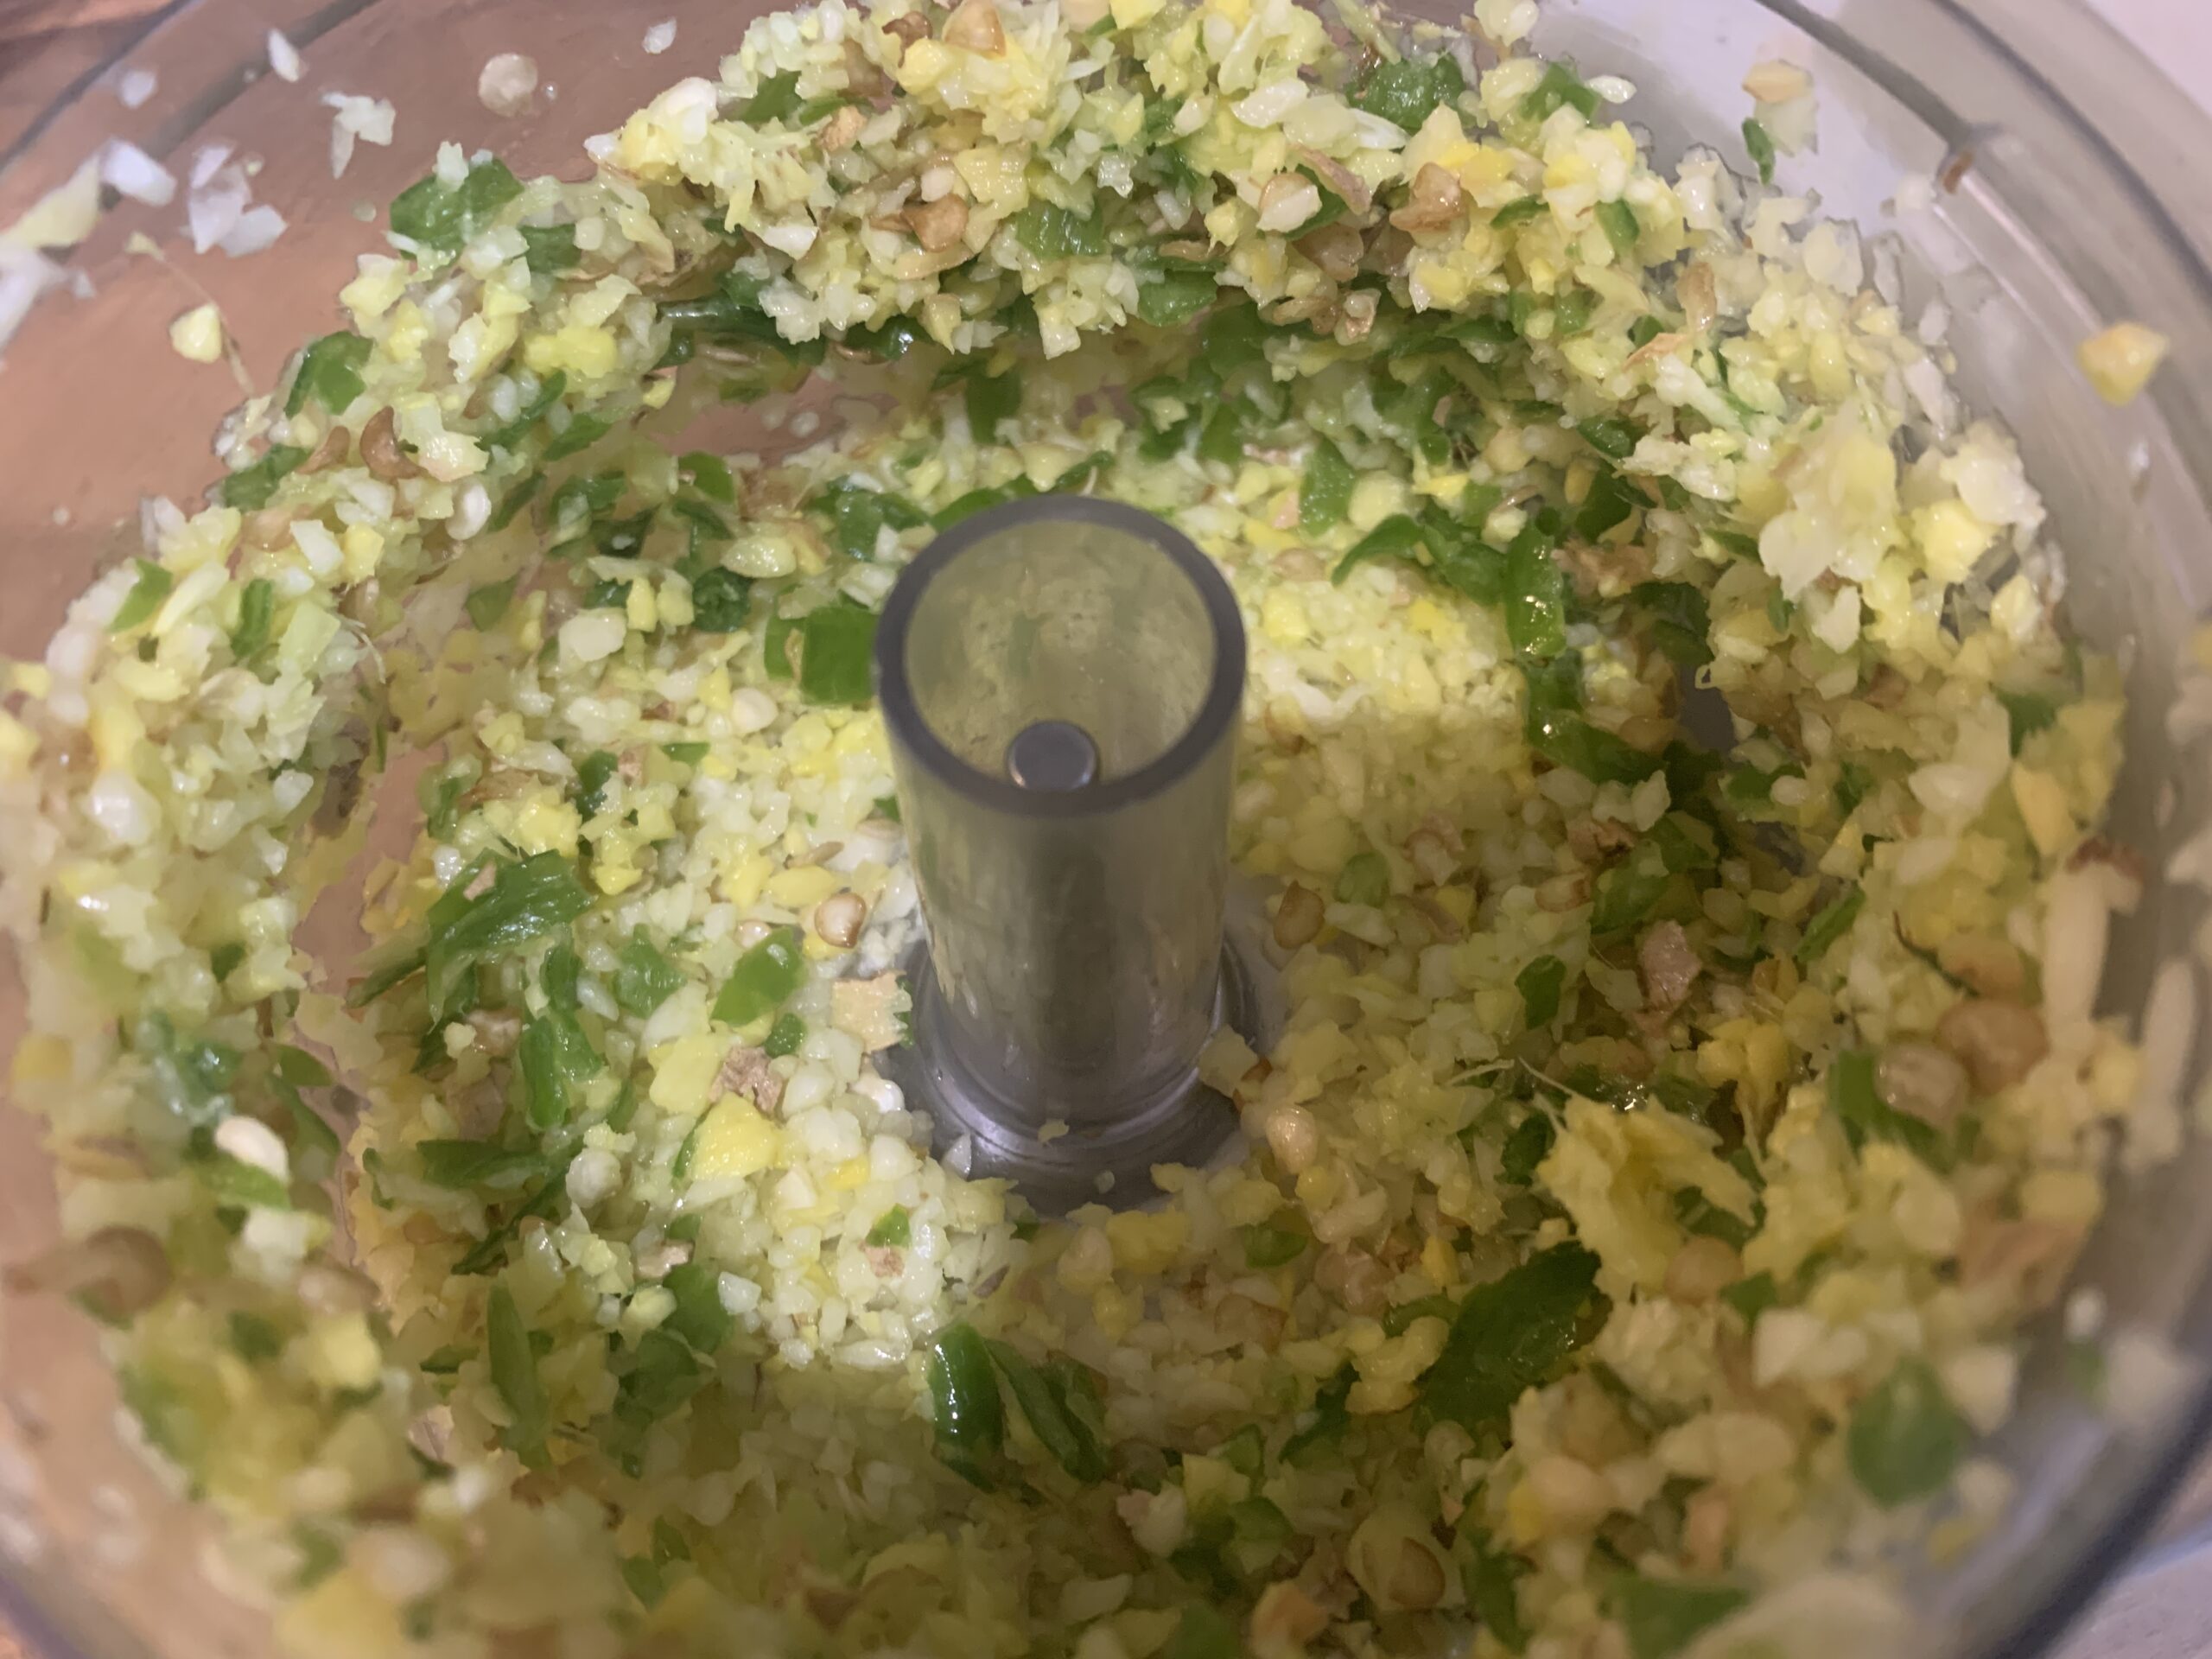
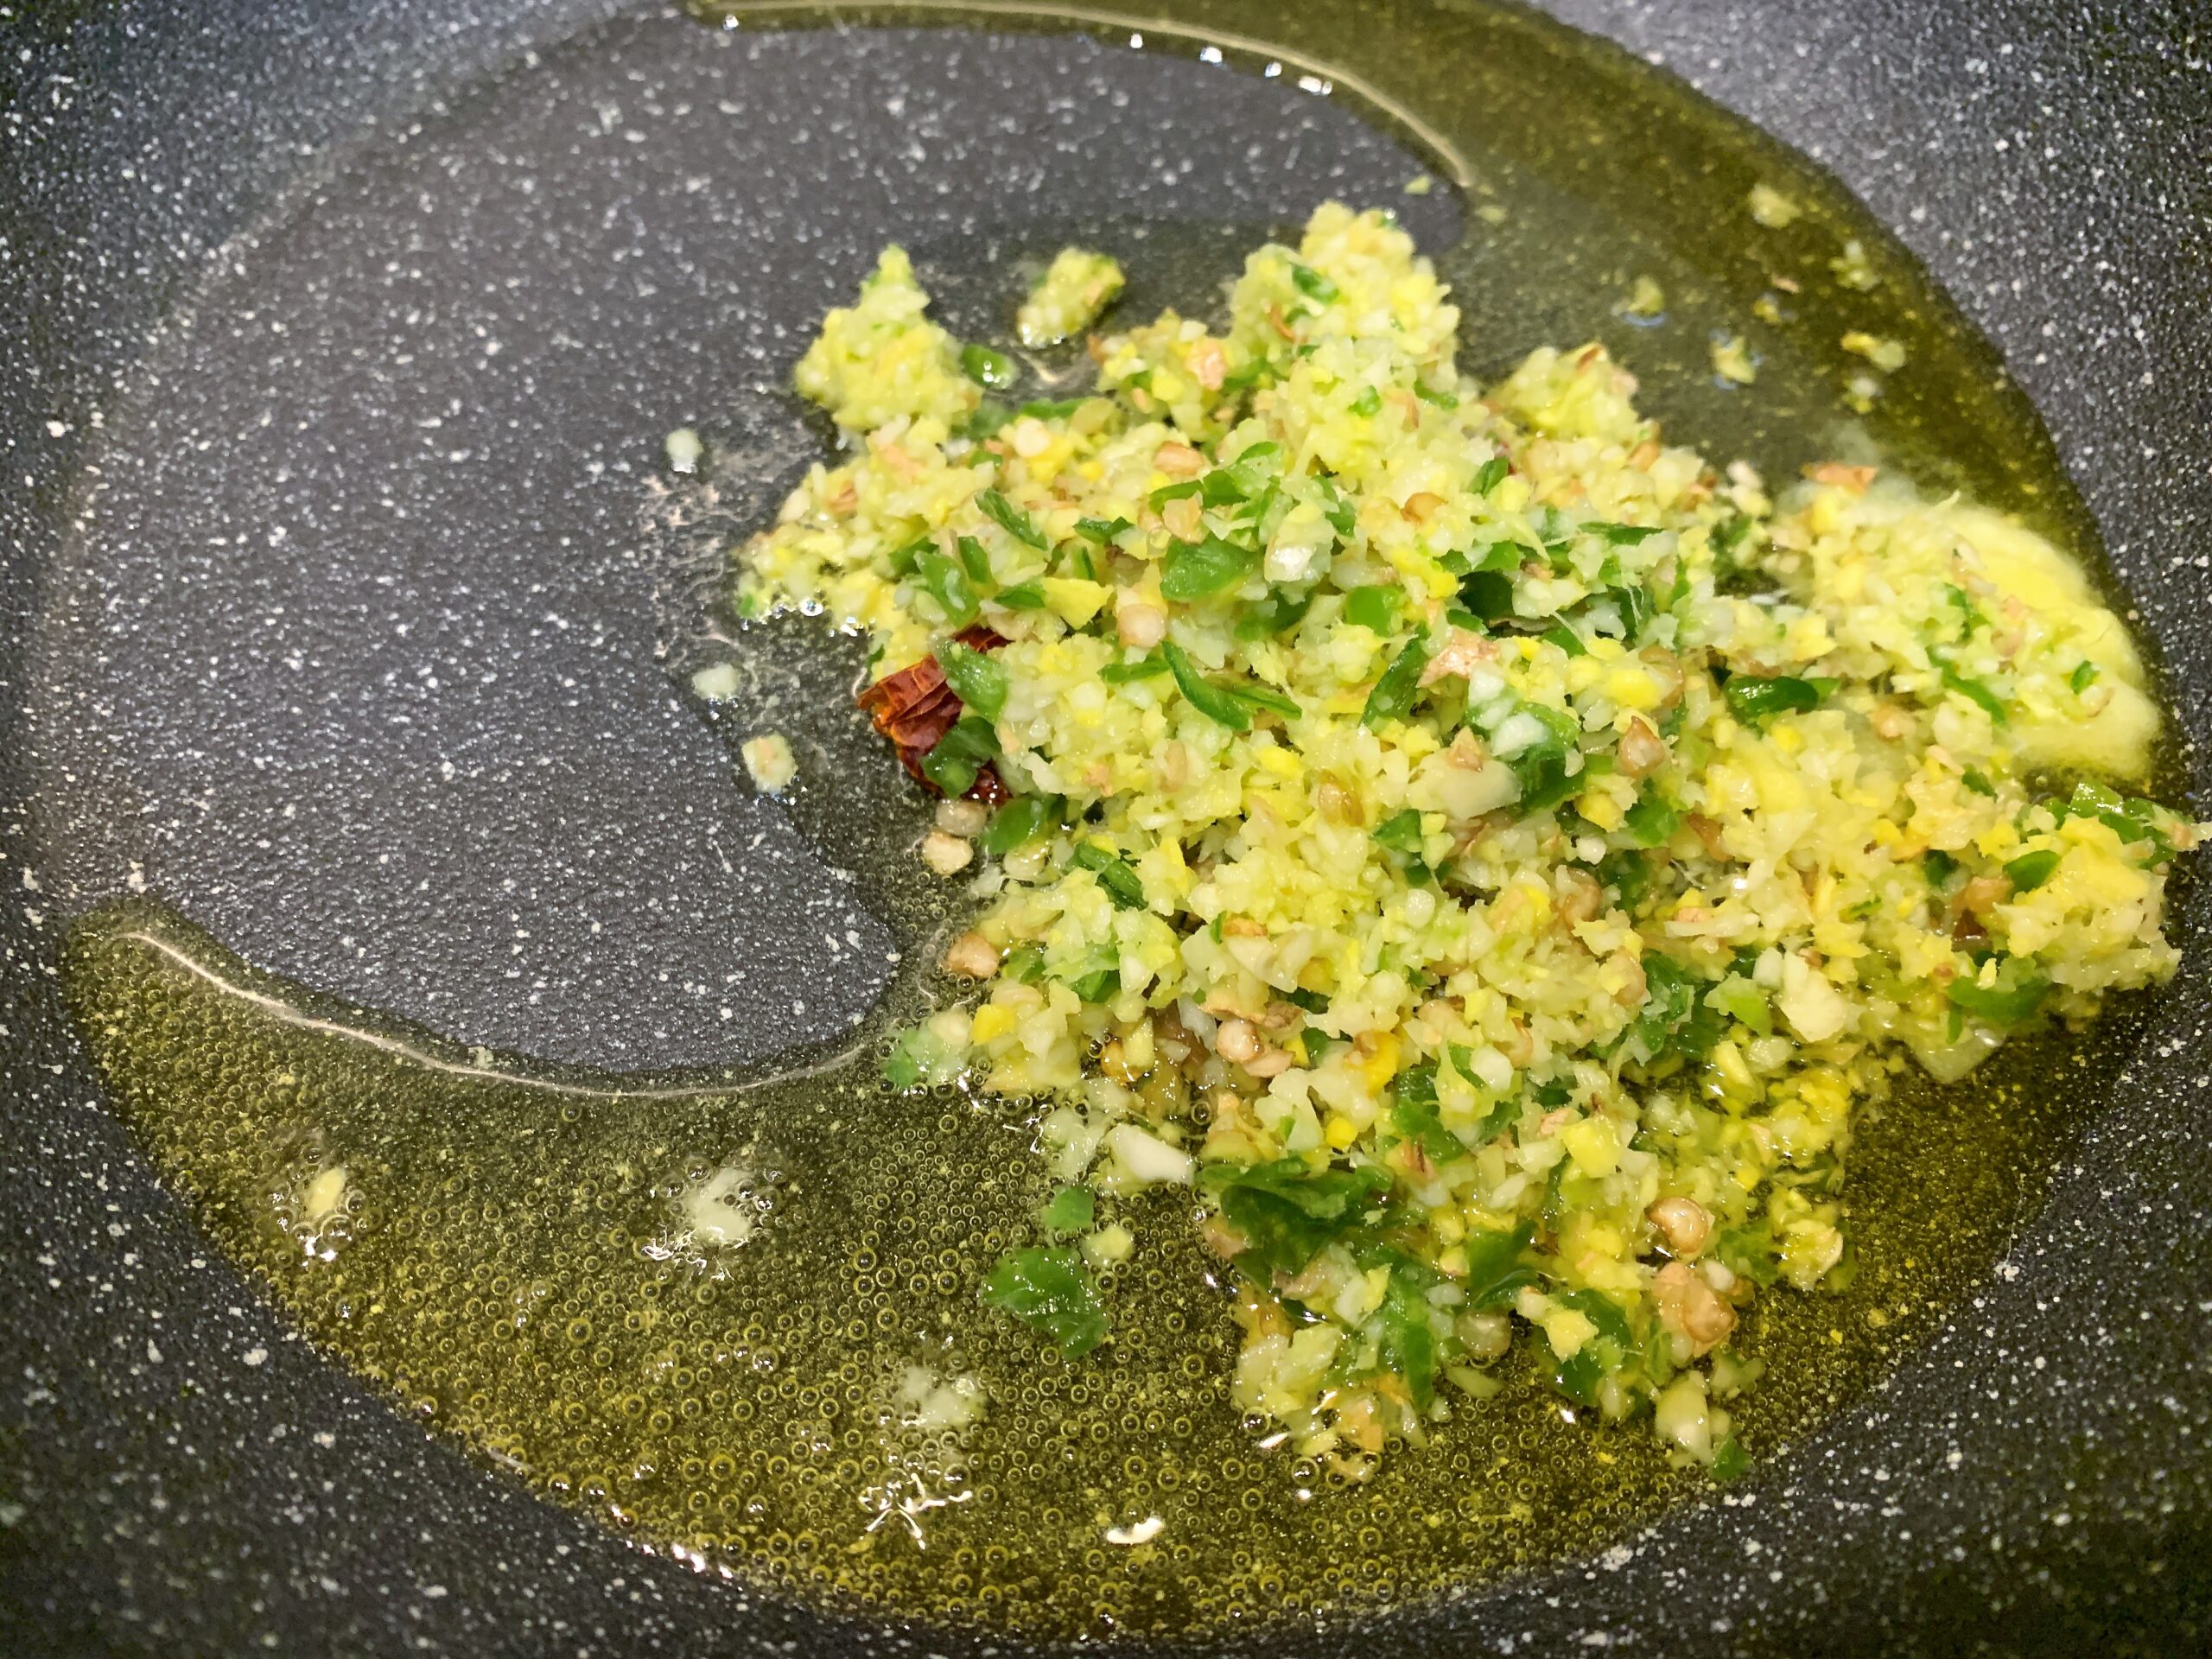
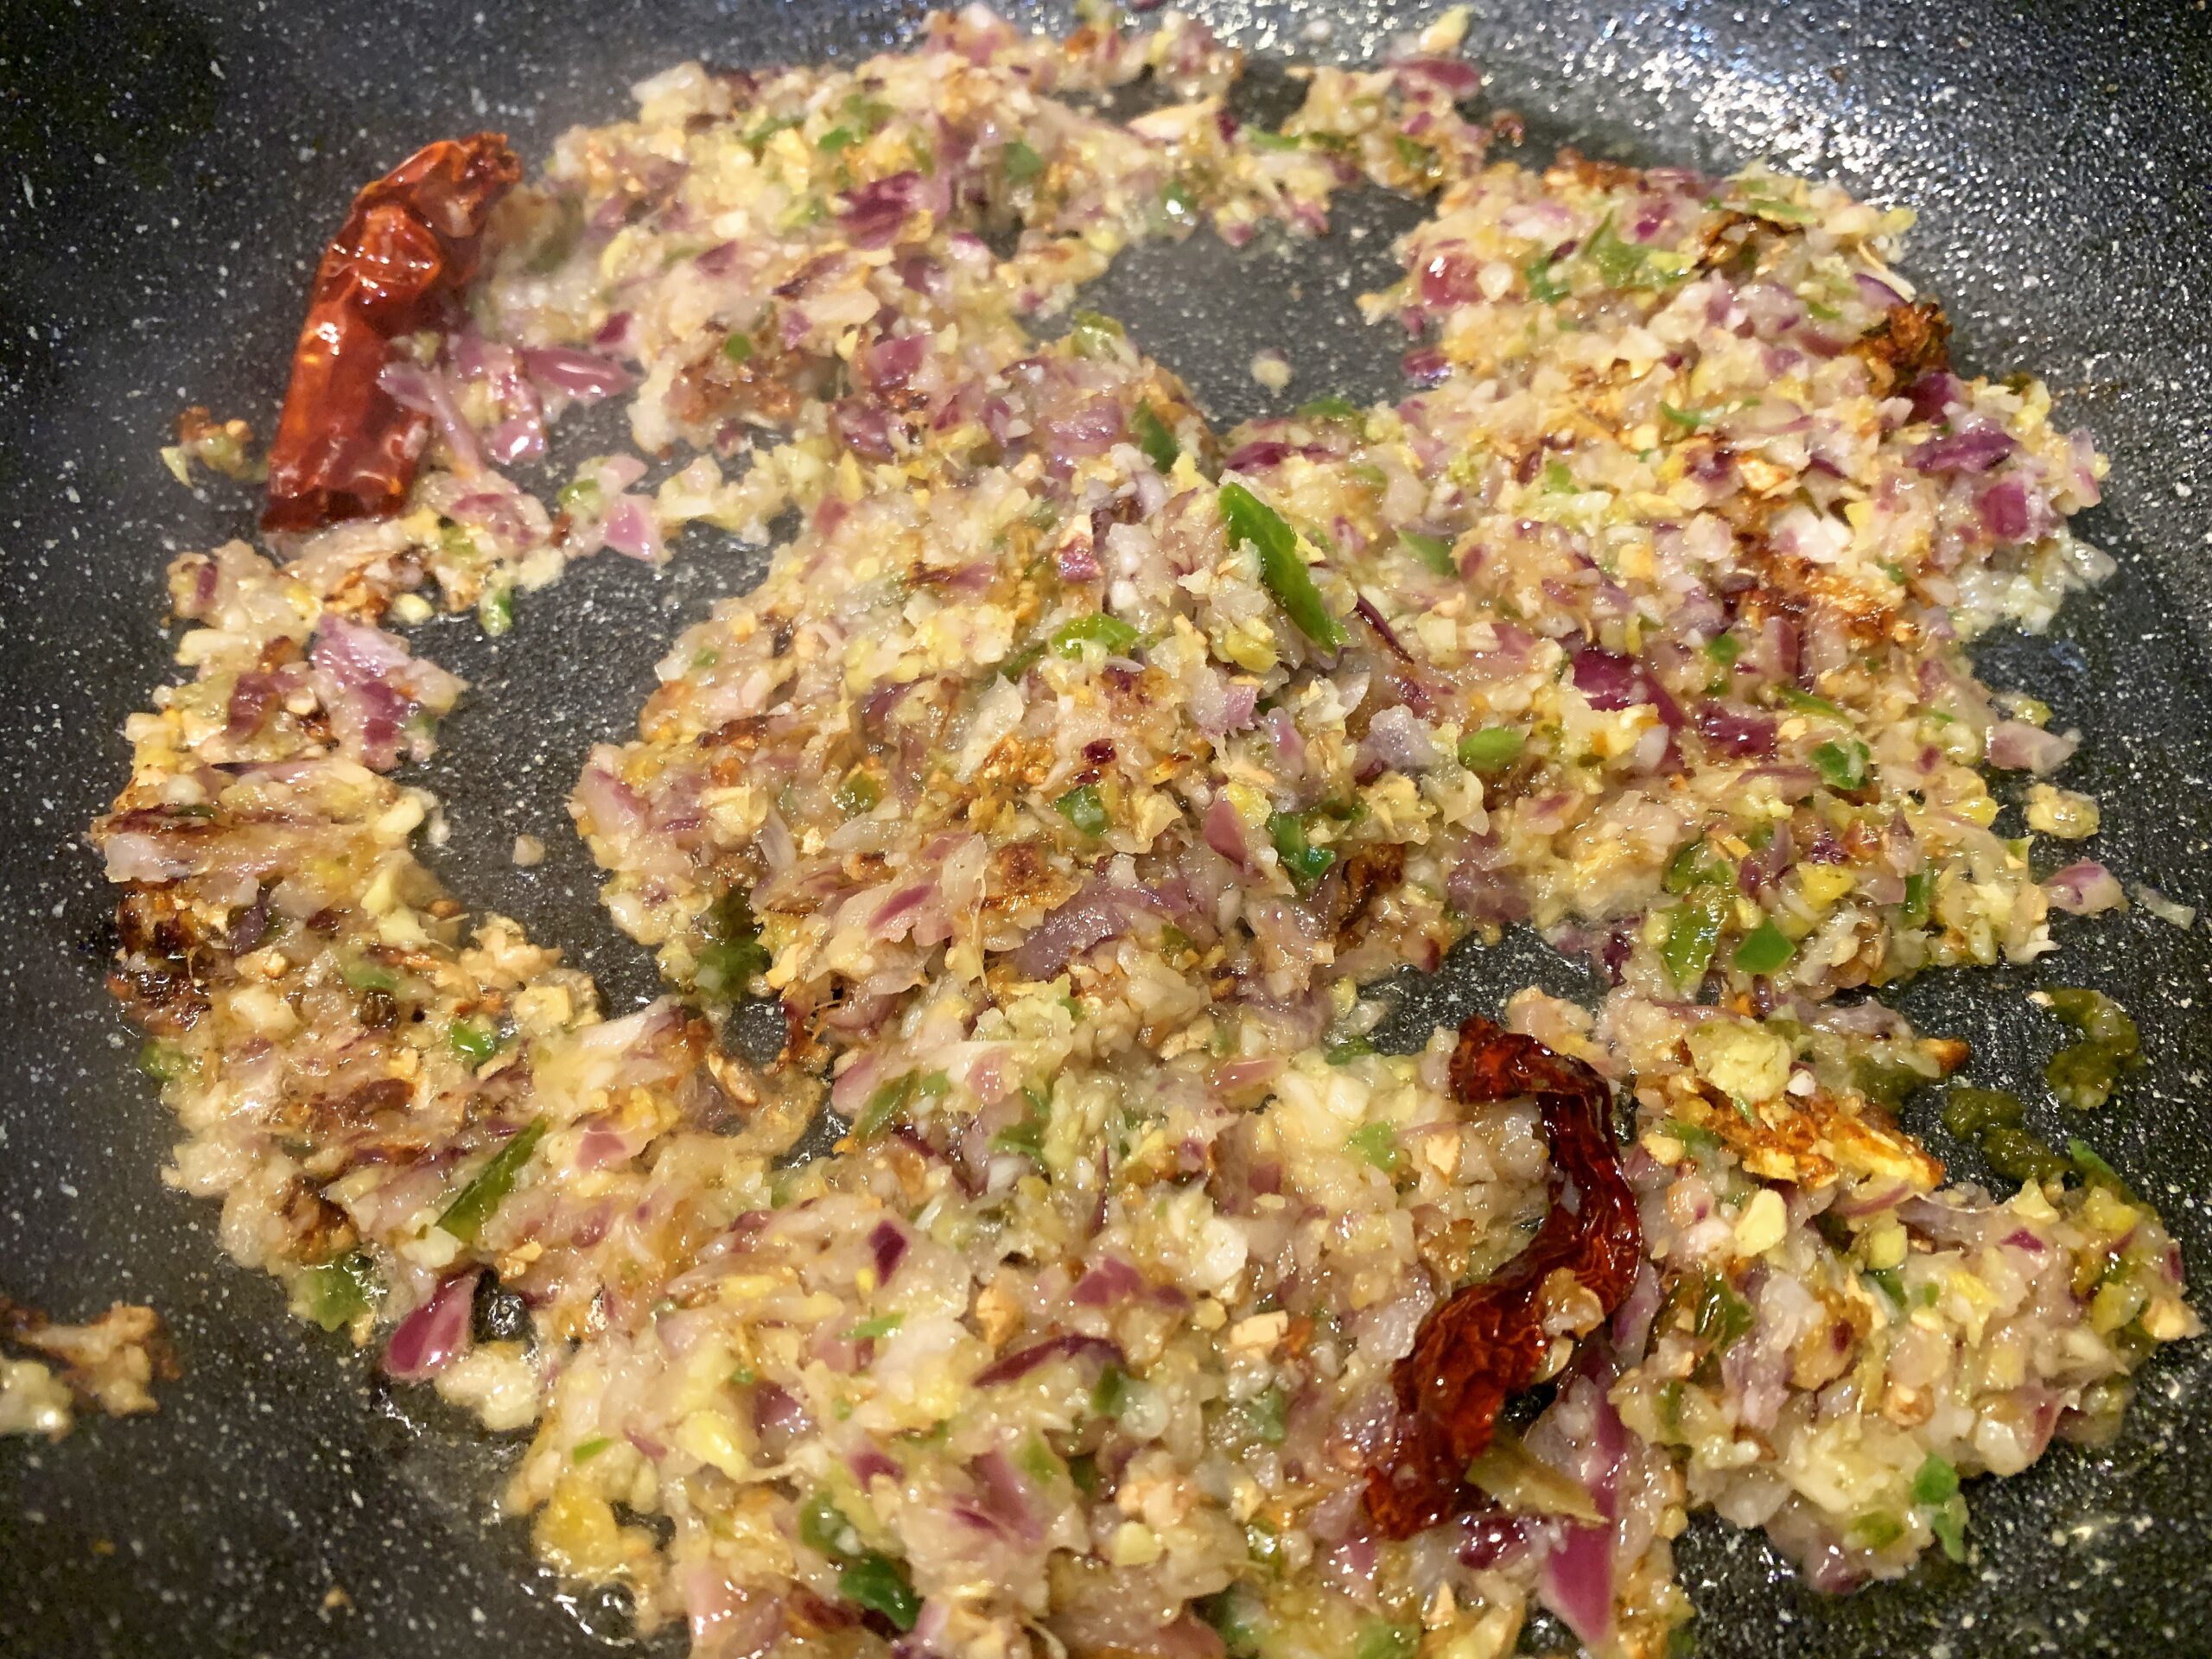
Mince the garlic, ginger and chillies into a coarse paste.
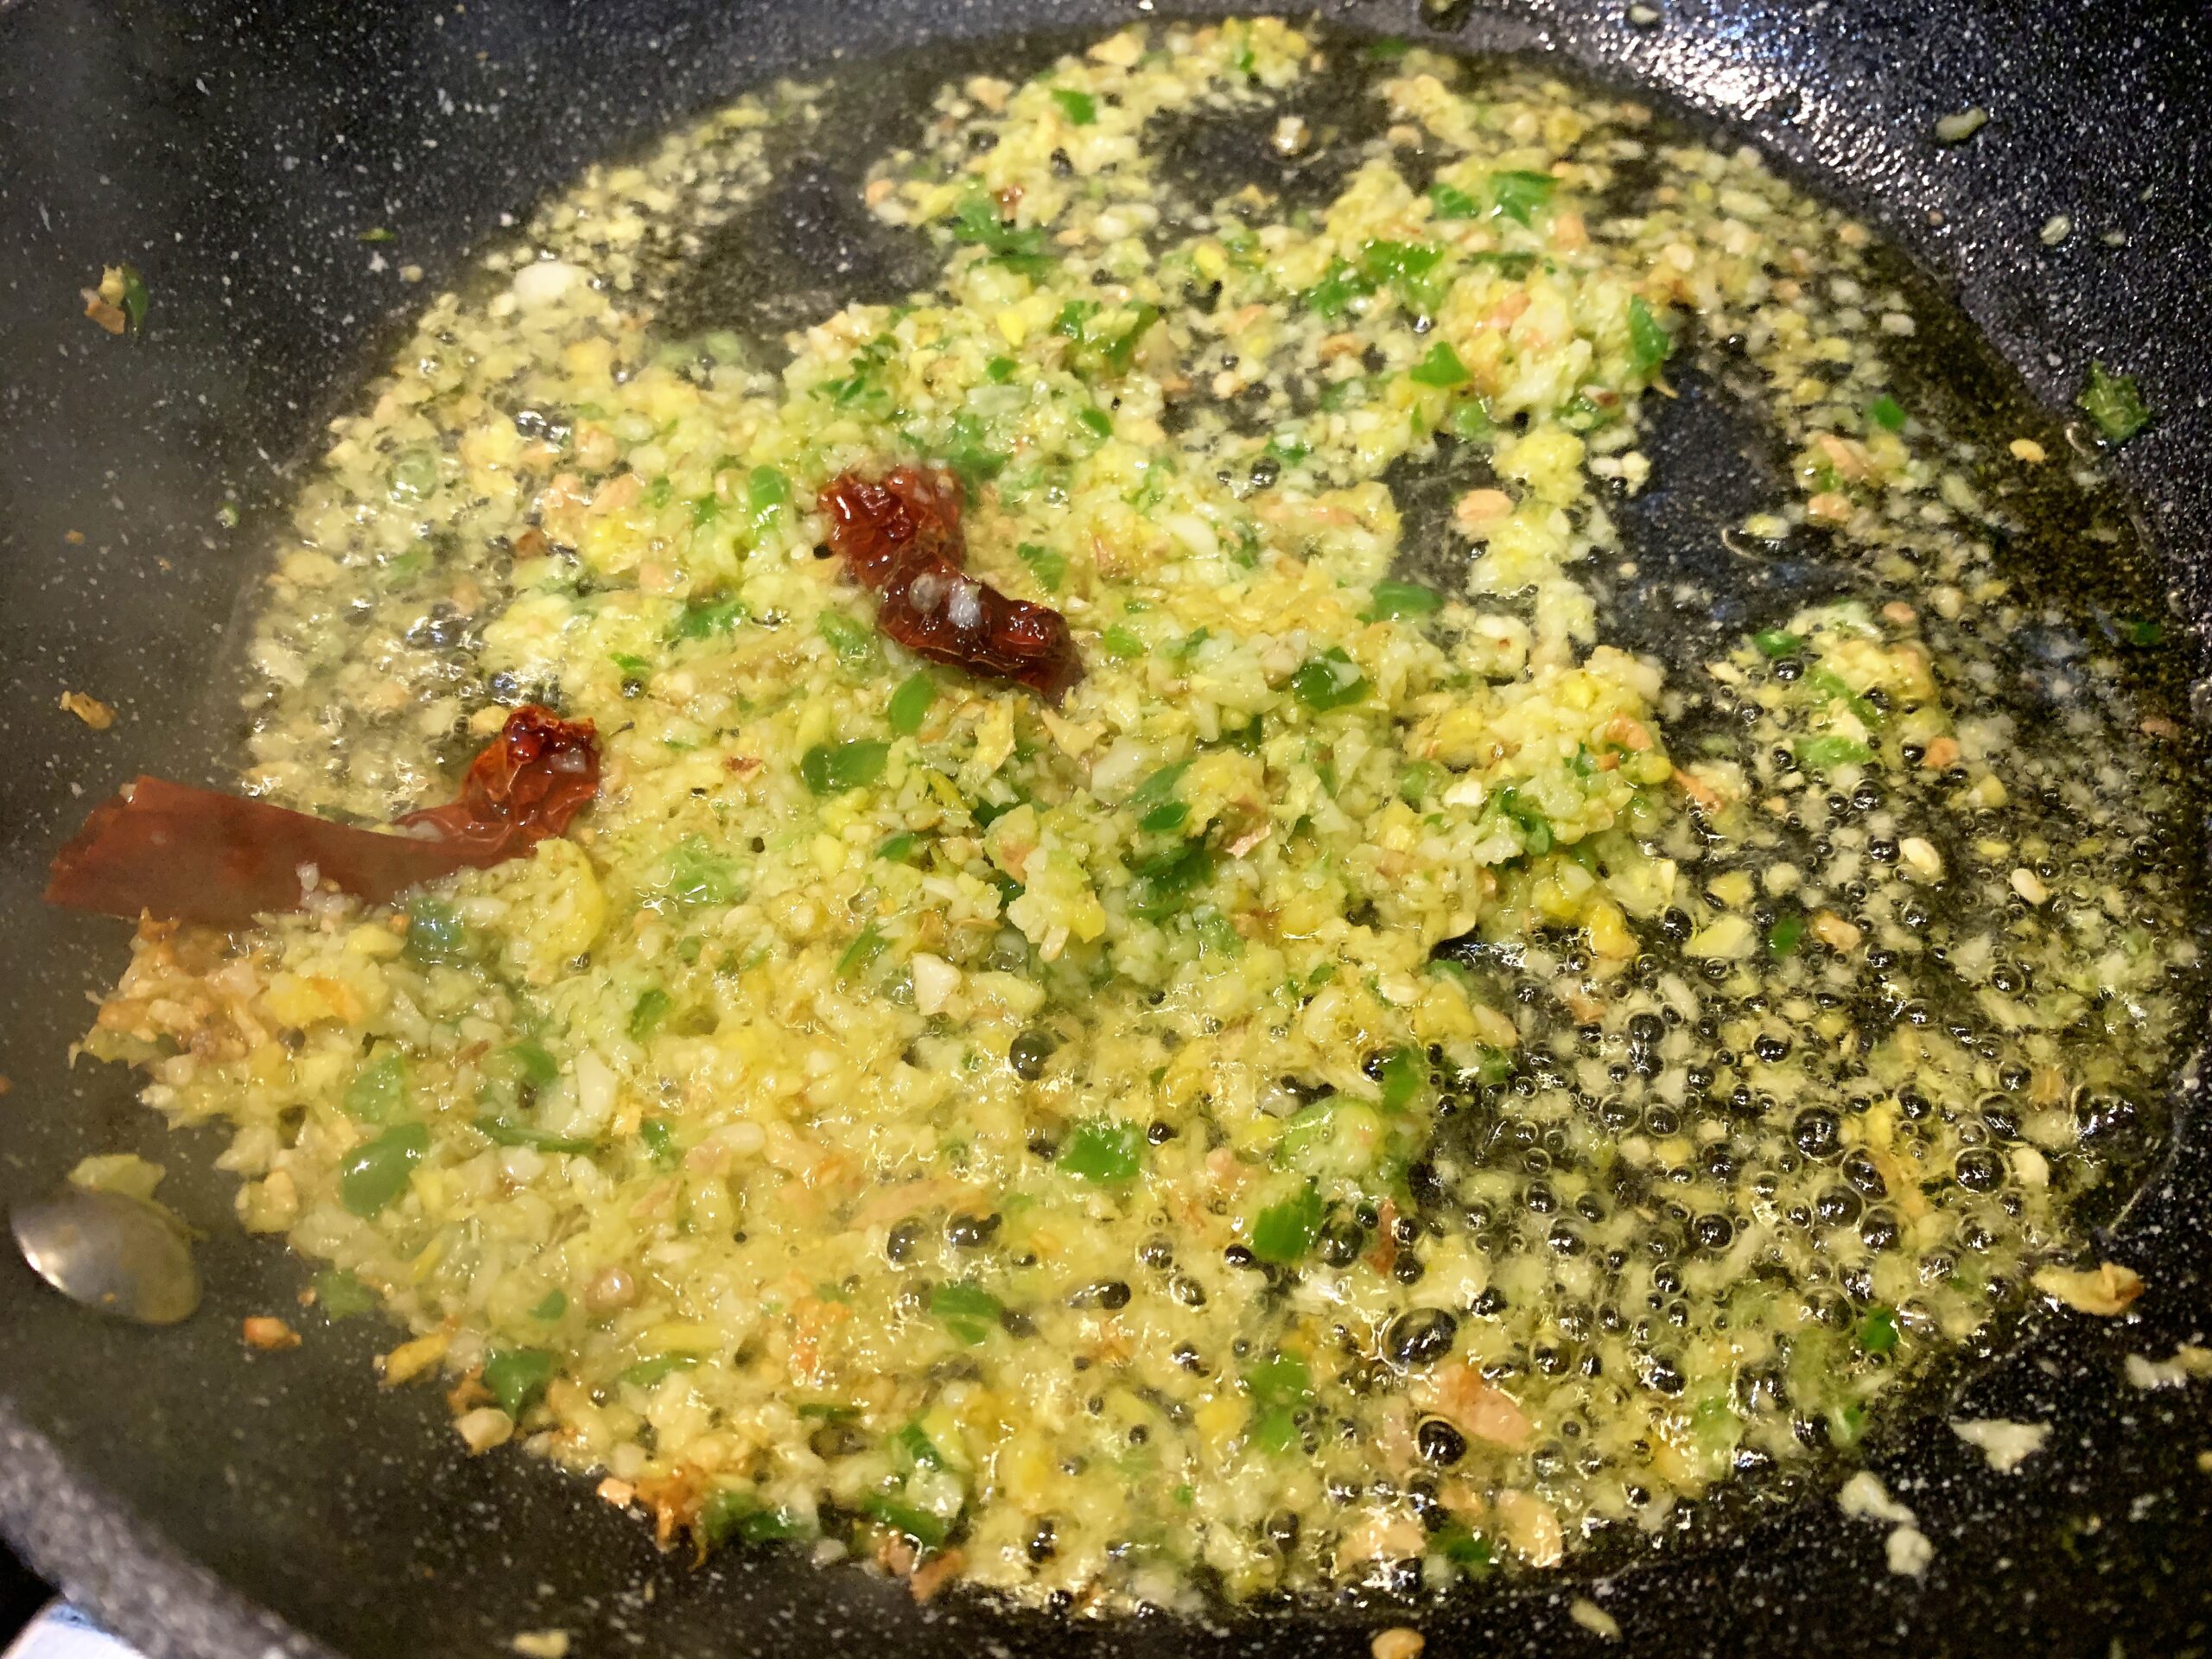
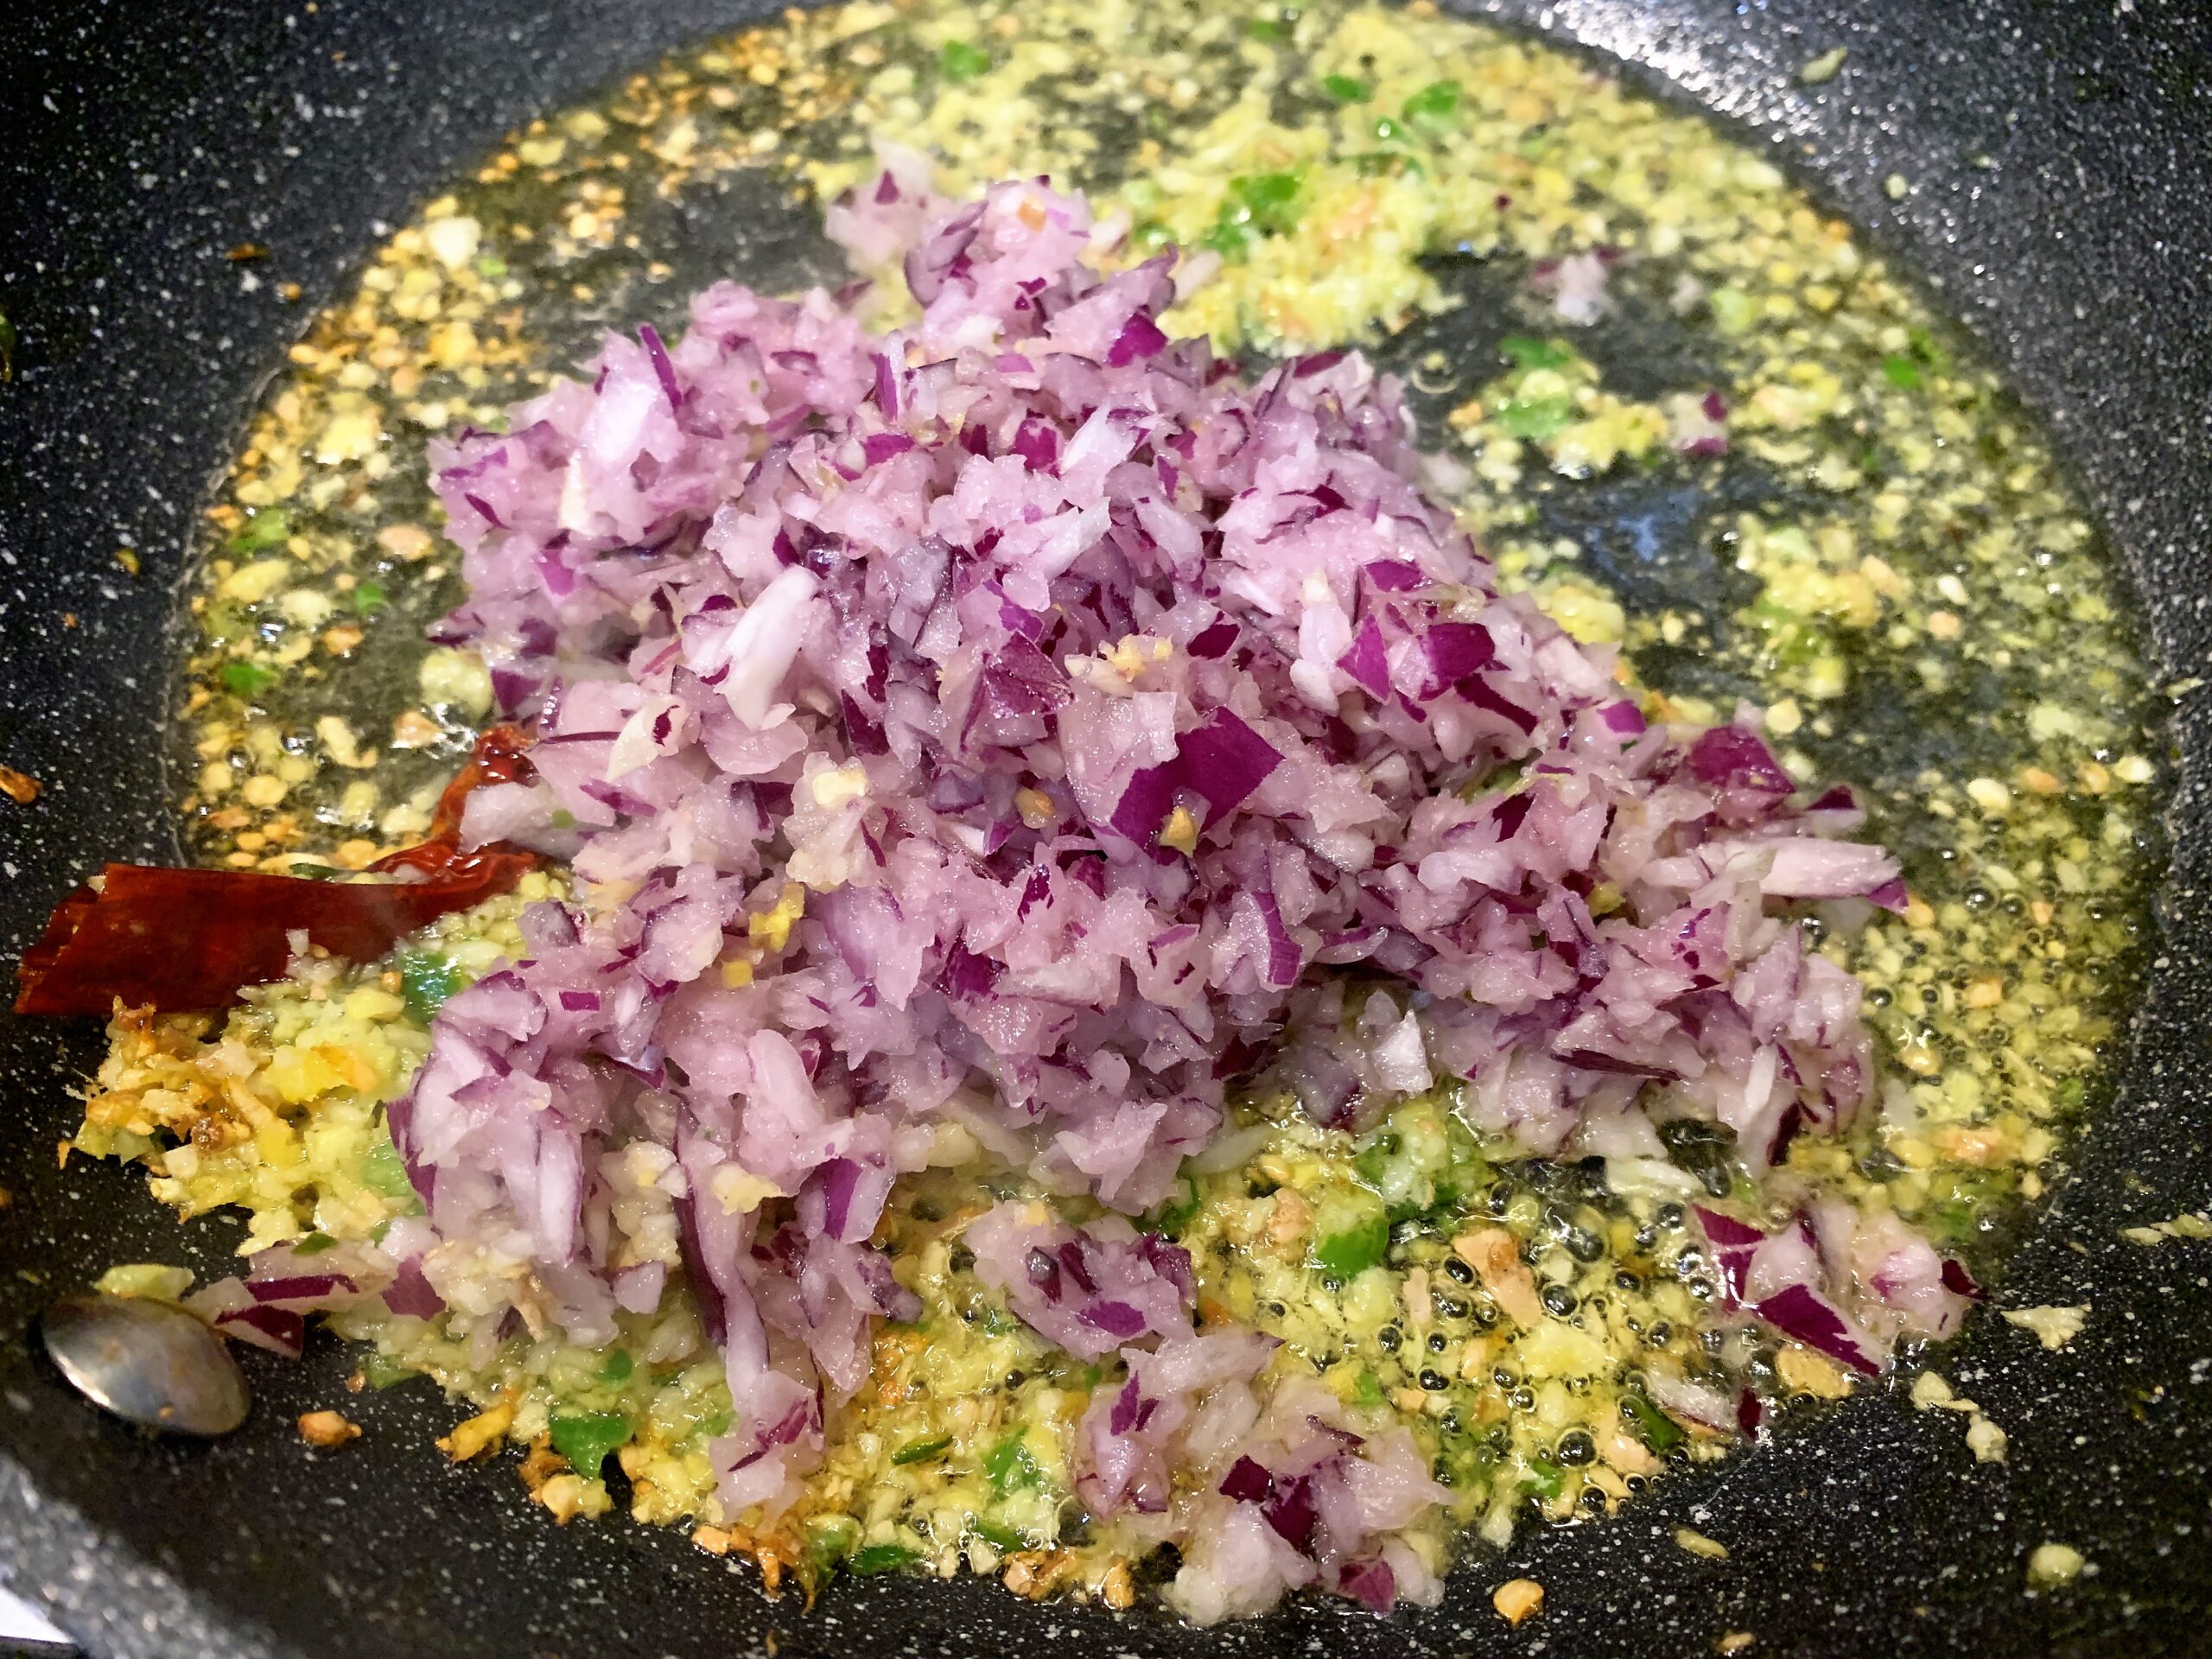
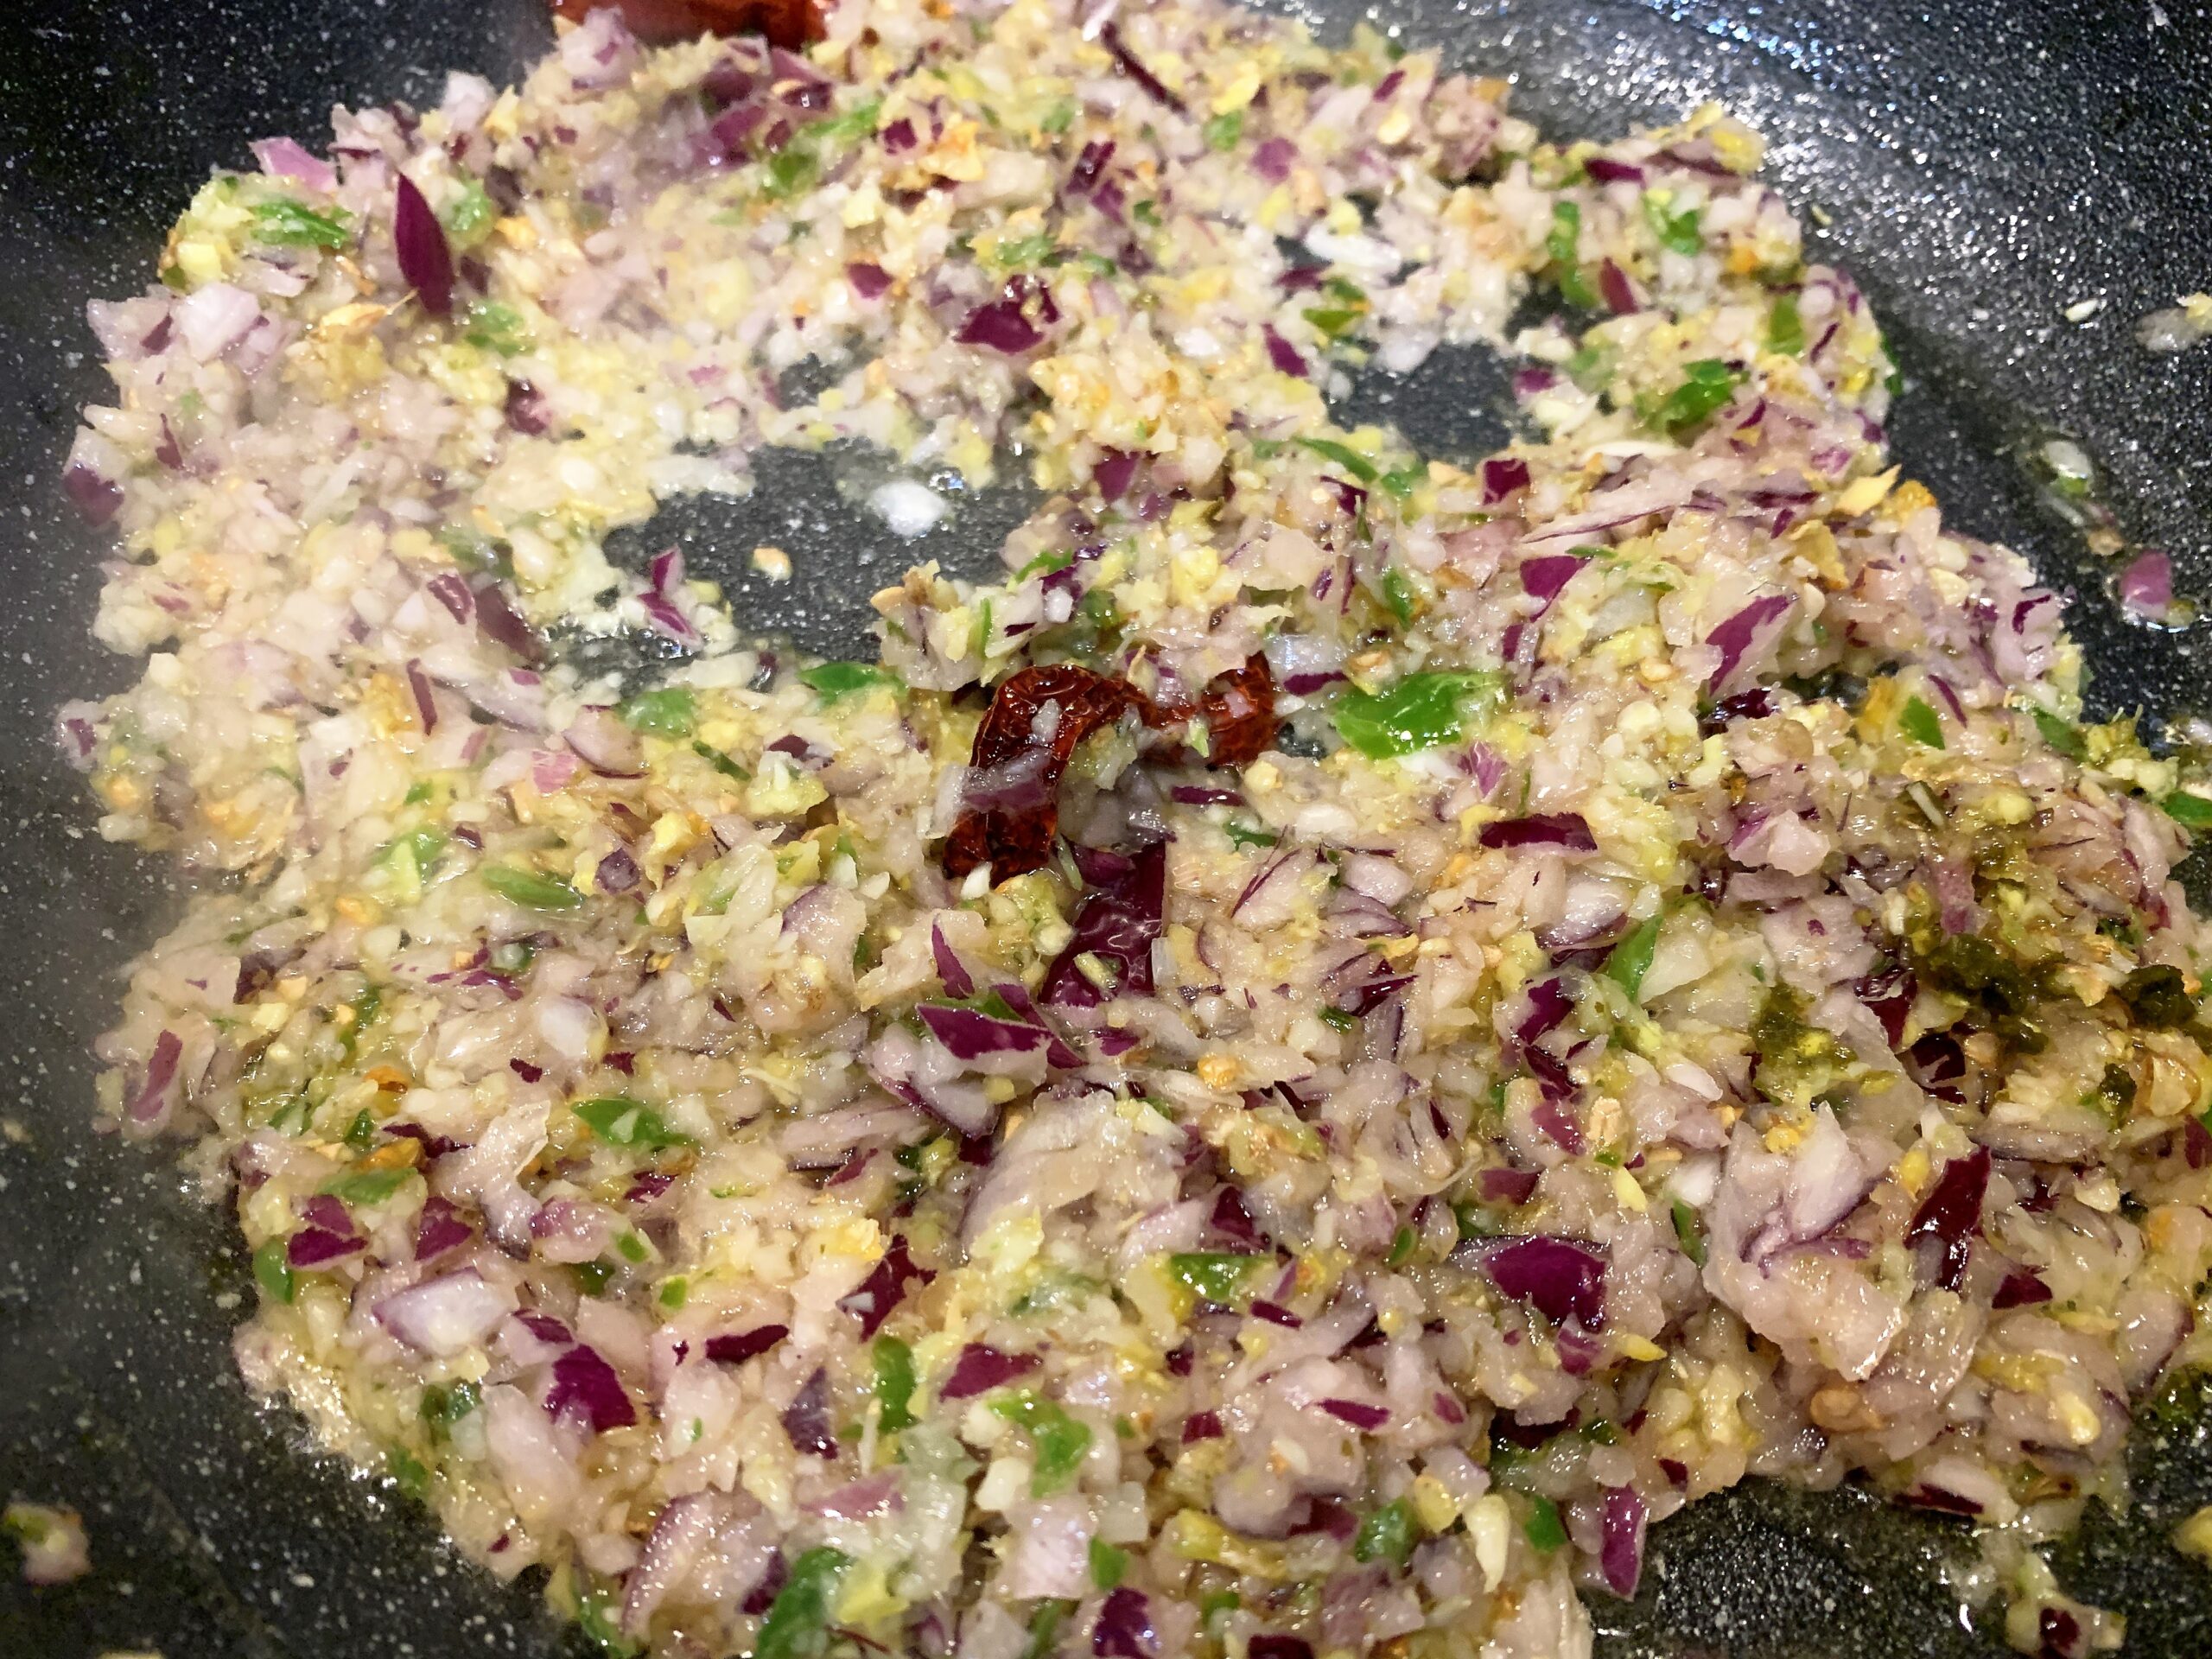
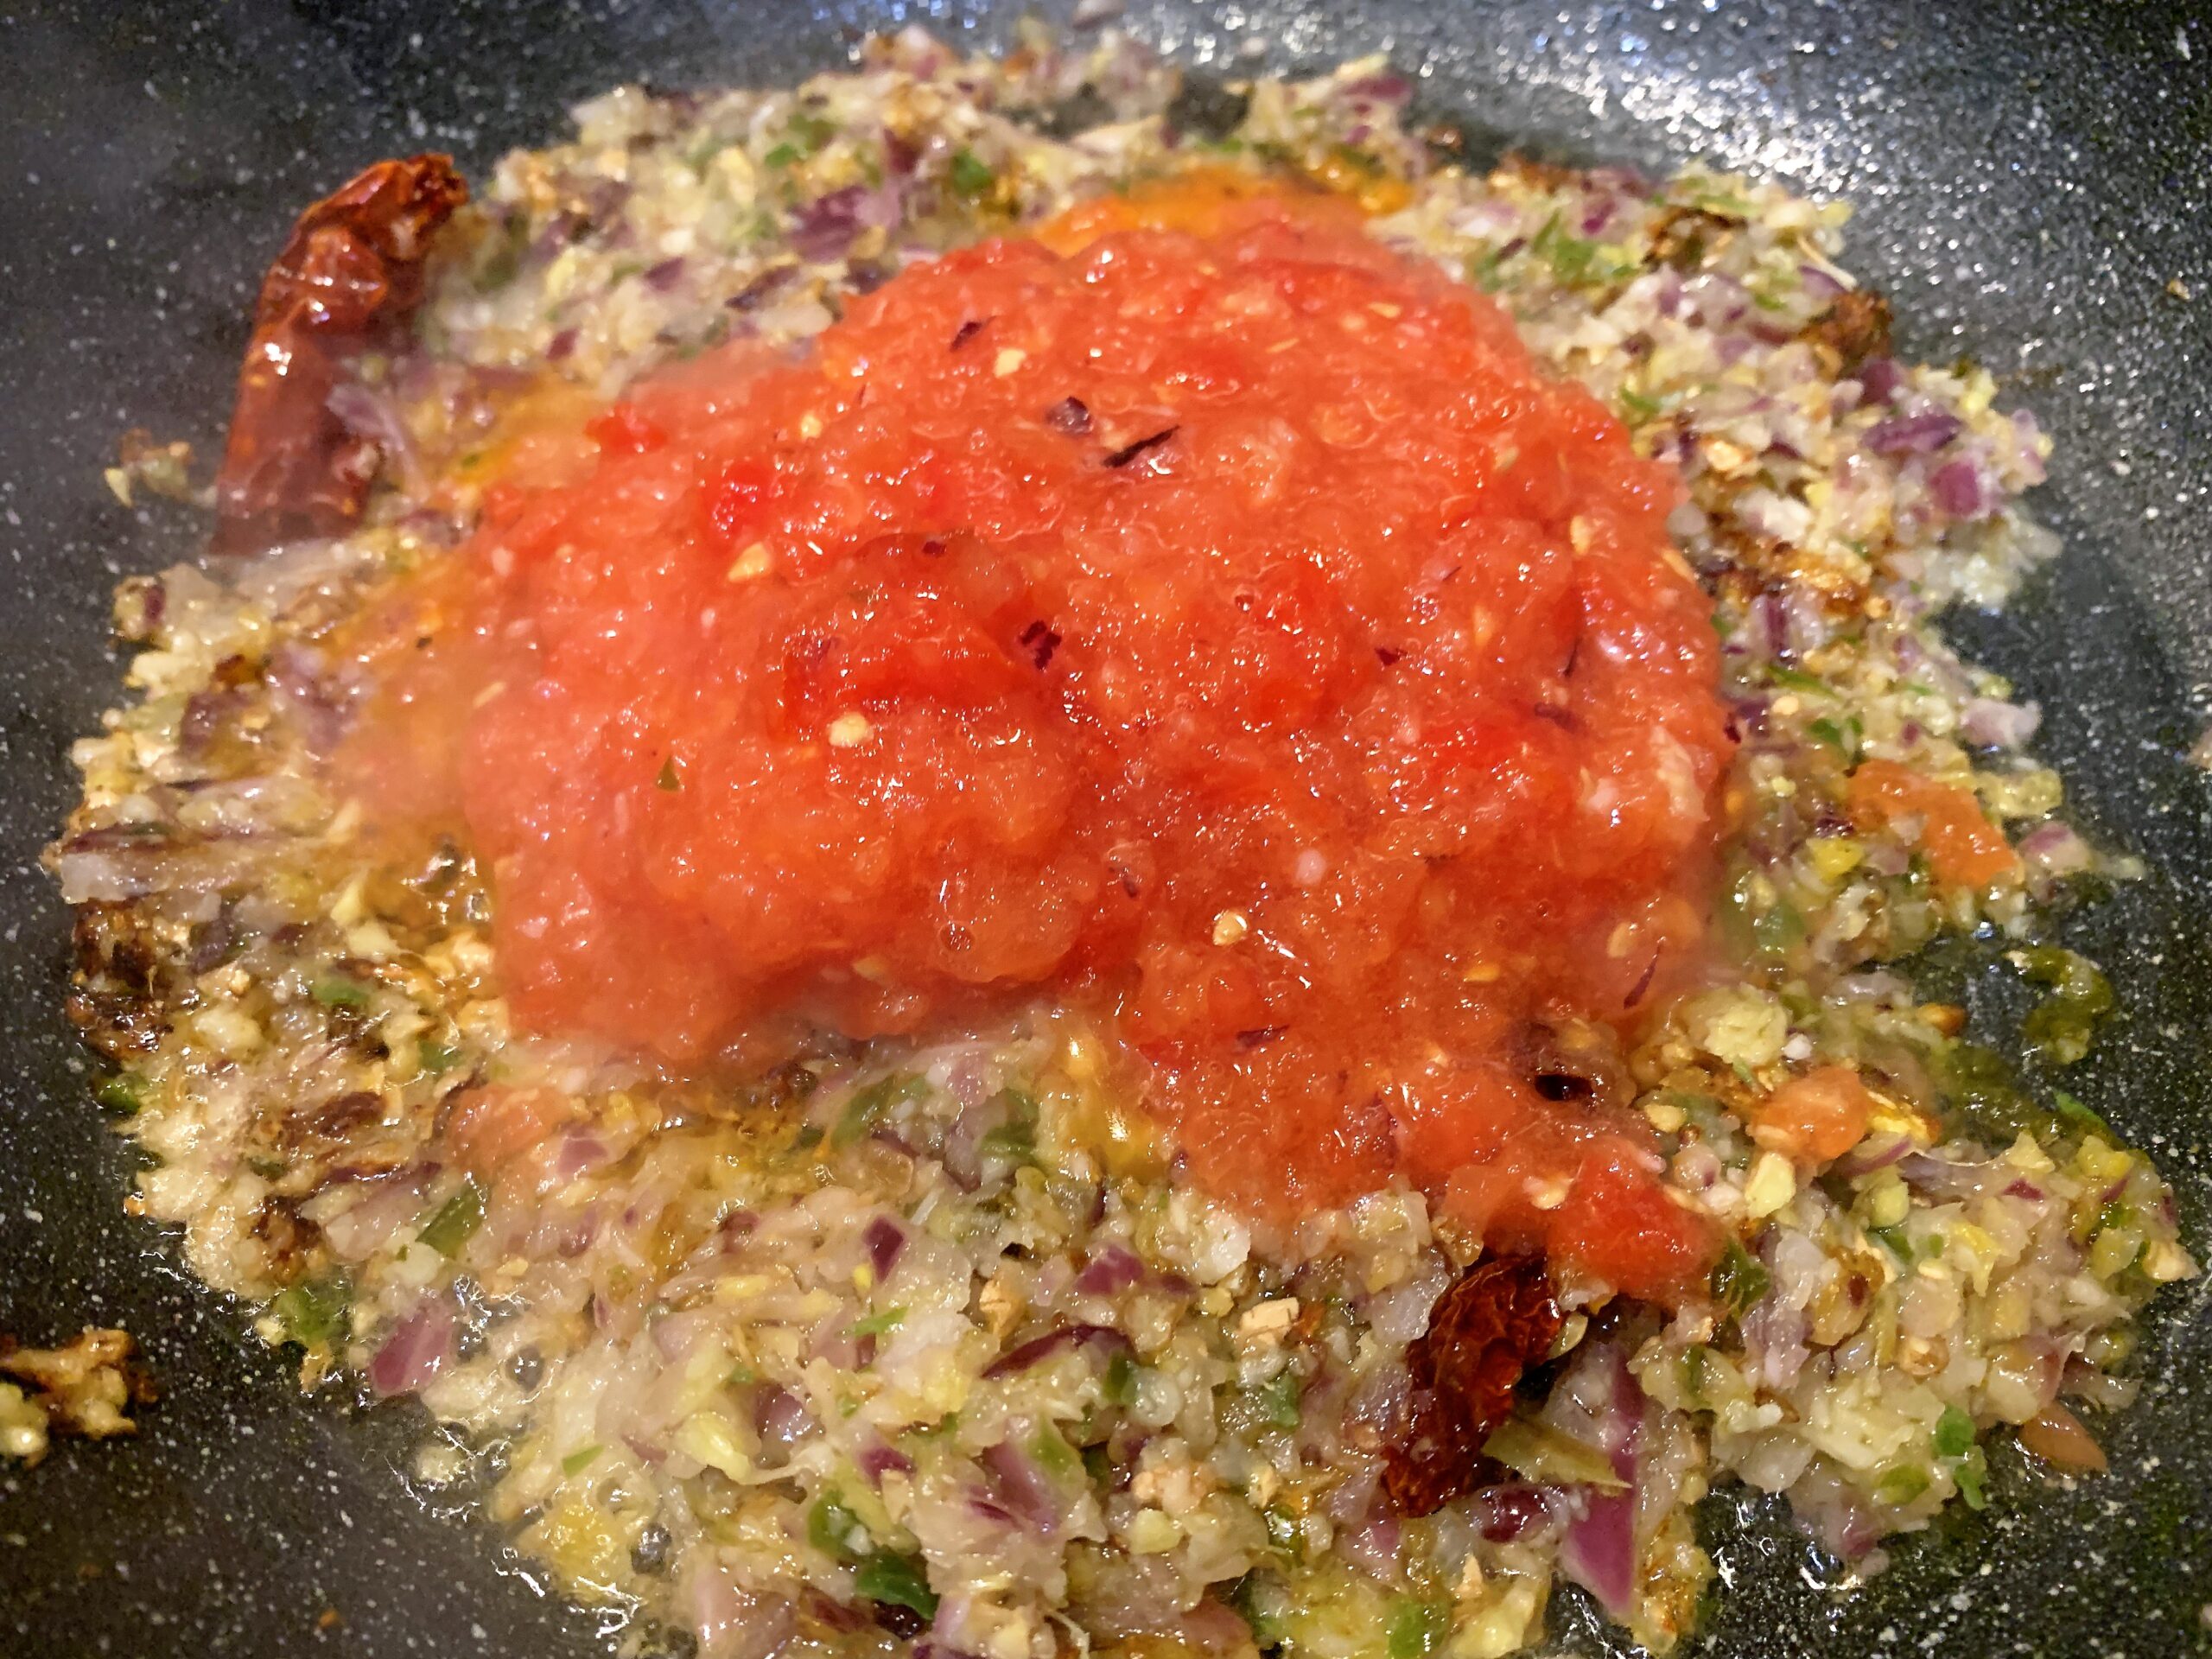
Heat ghee in a pan and add the asafoetida, whole red chillies, and the minced paste. Sauté for a minute and then add the chopped onion. Cook until the onions turn light golden brown and add the tomato.
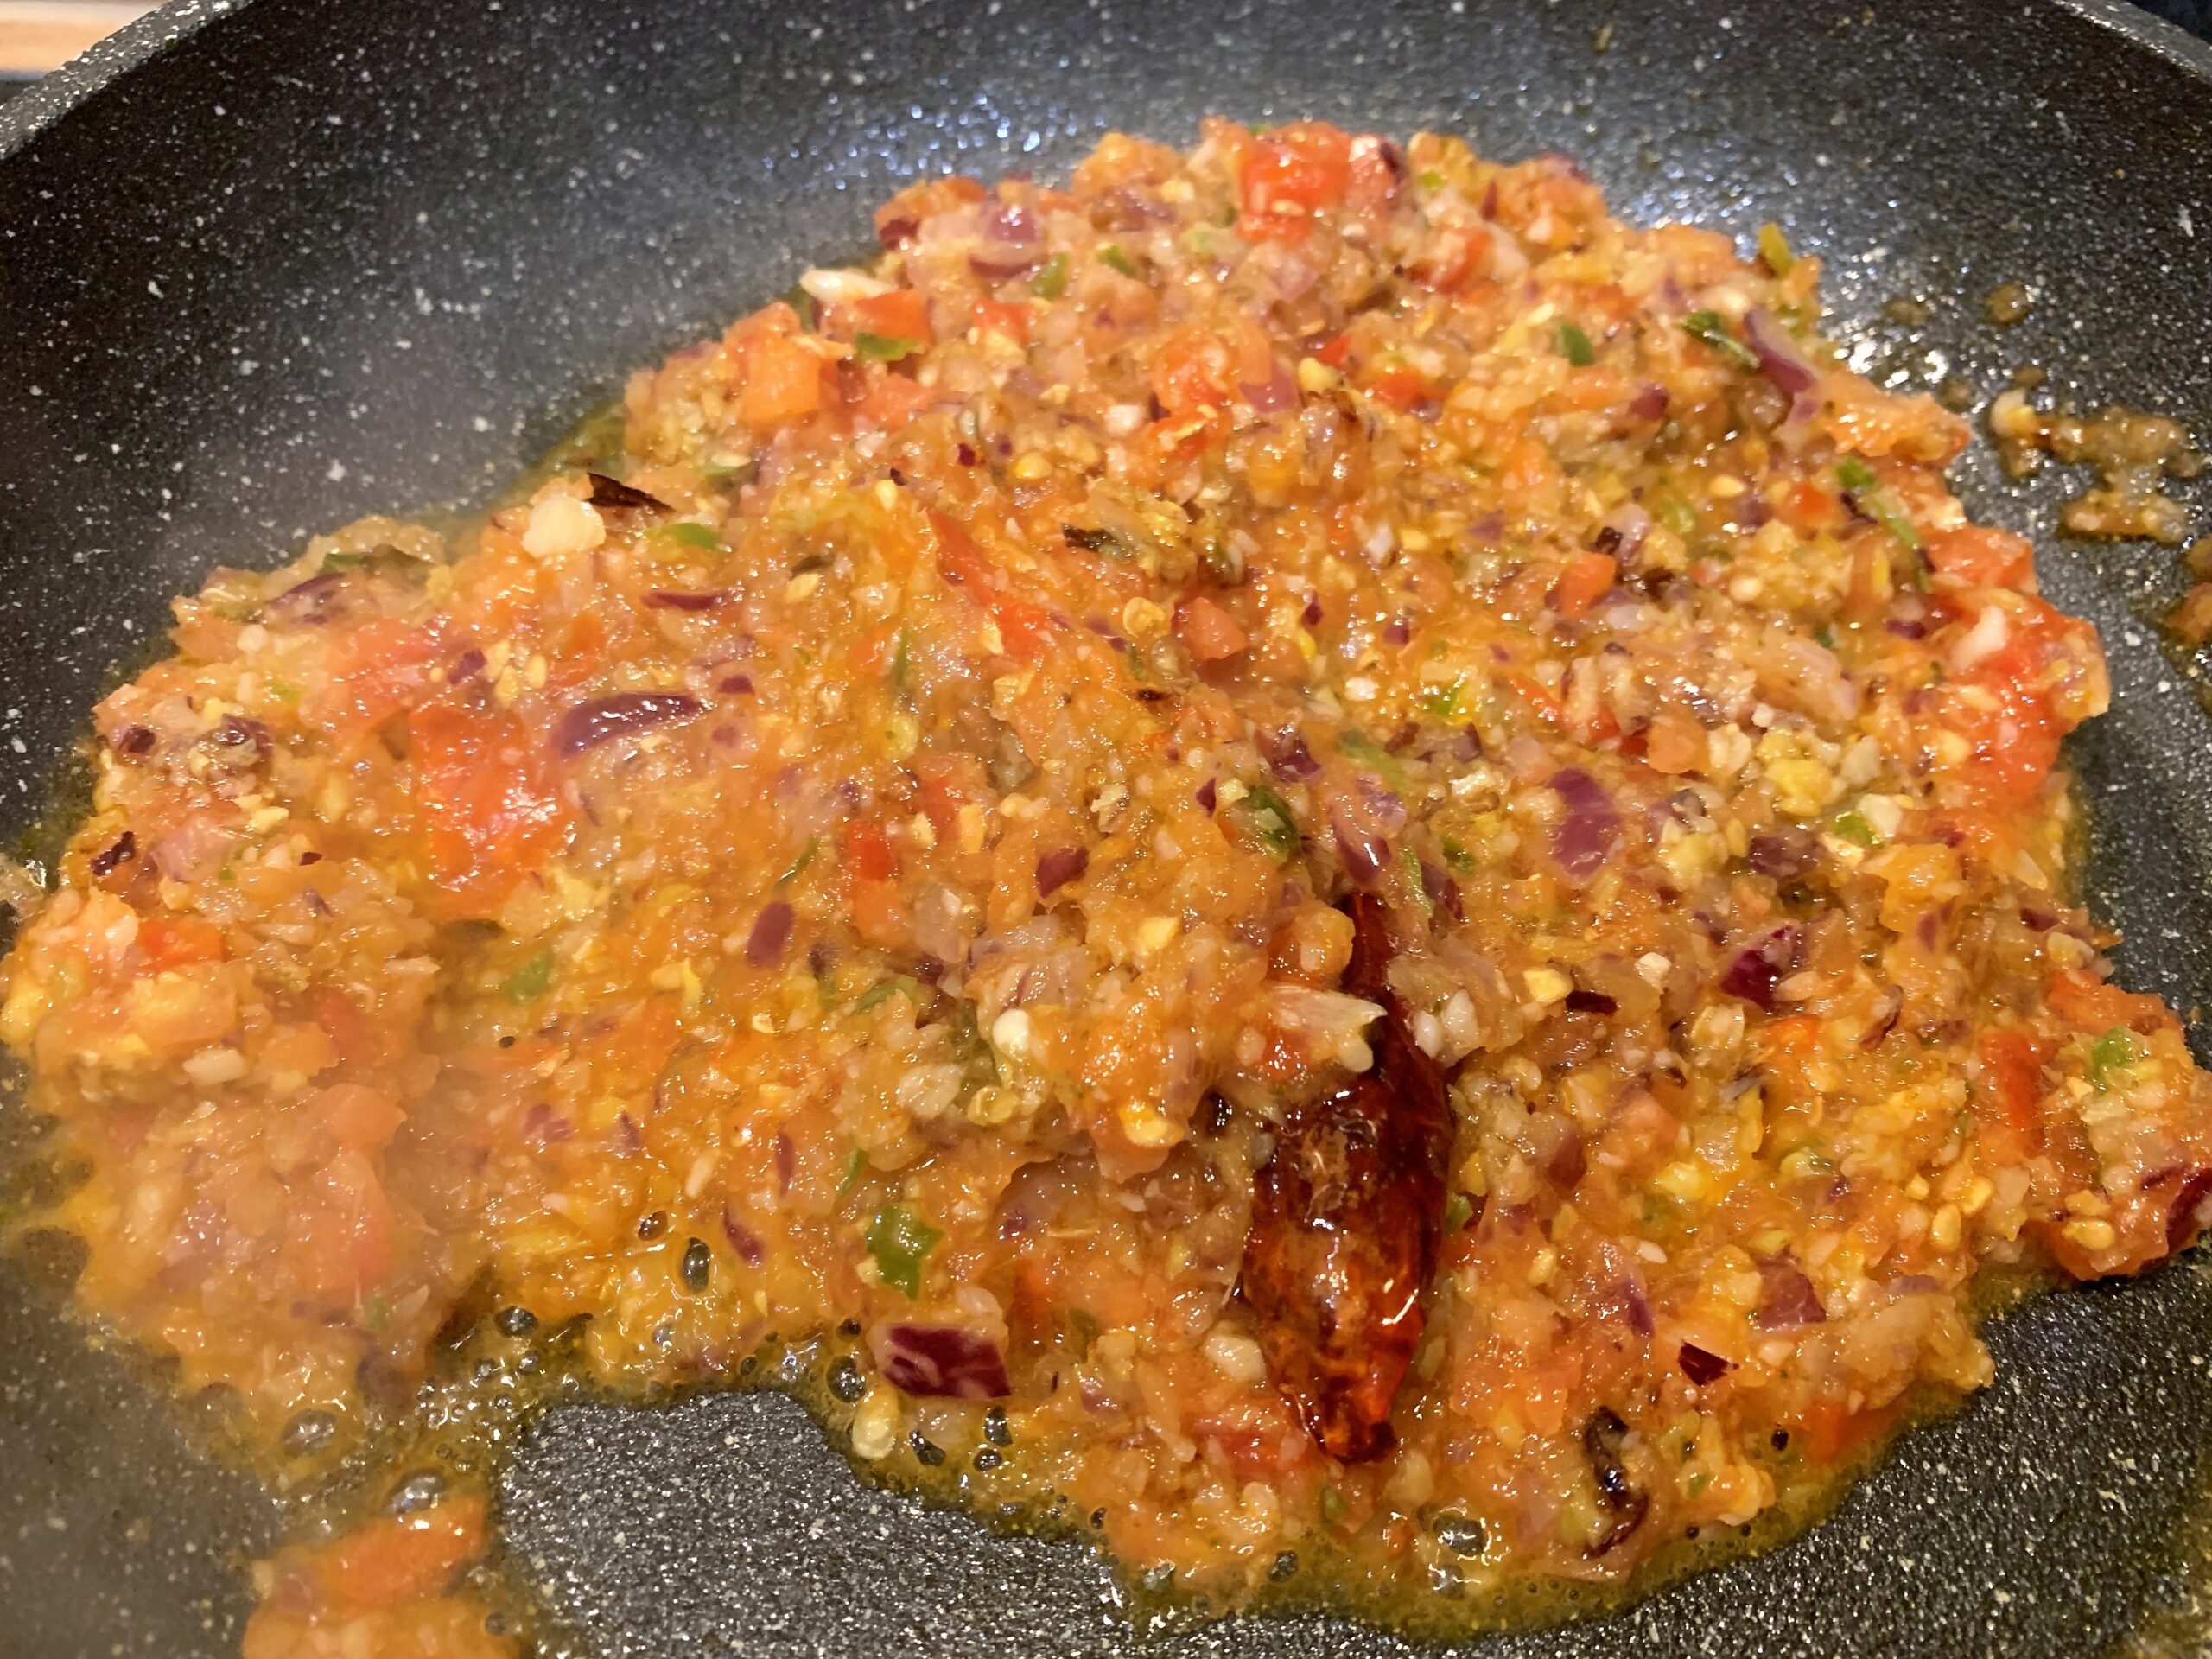
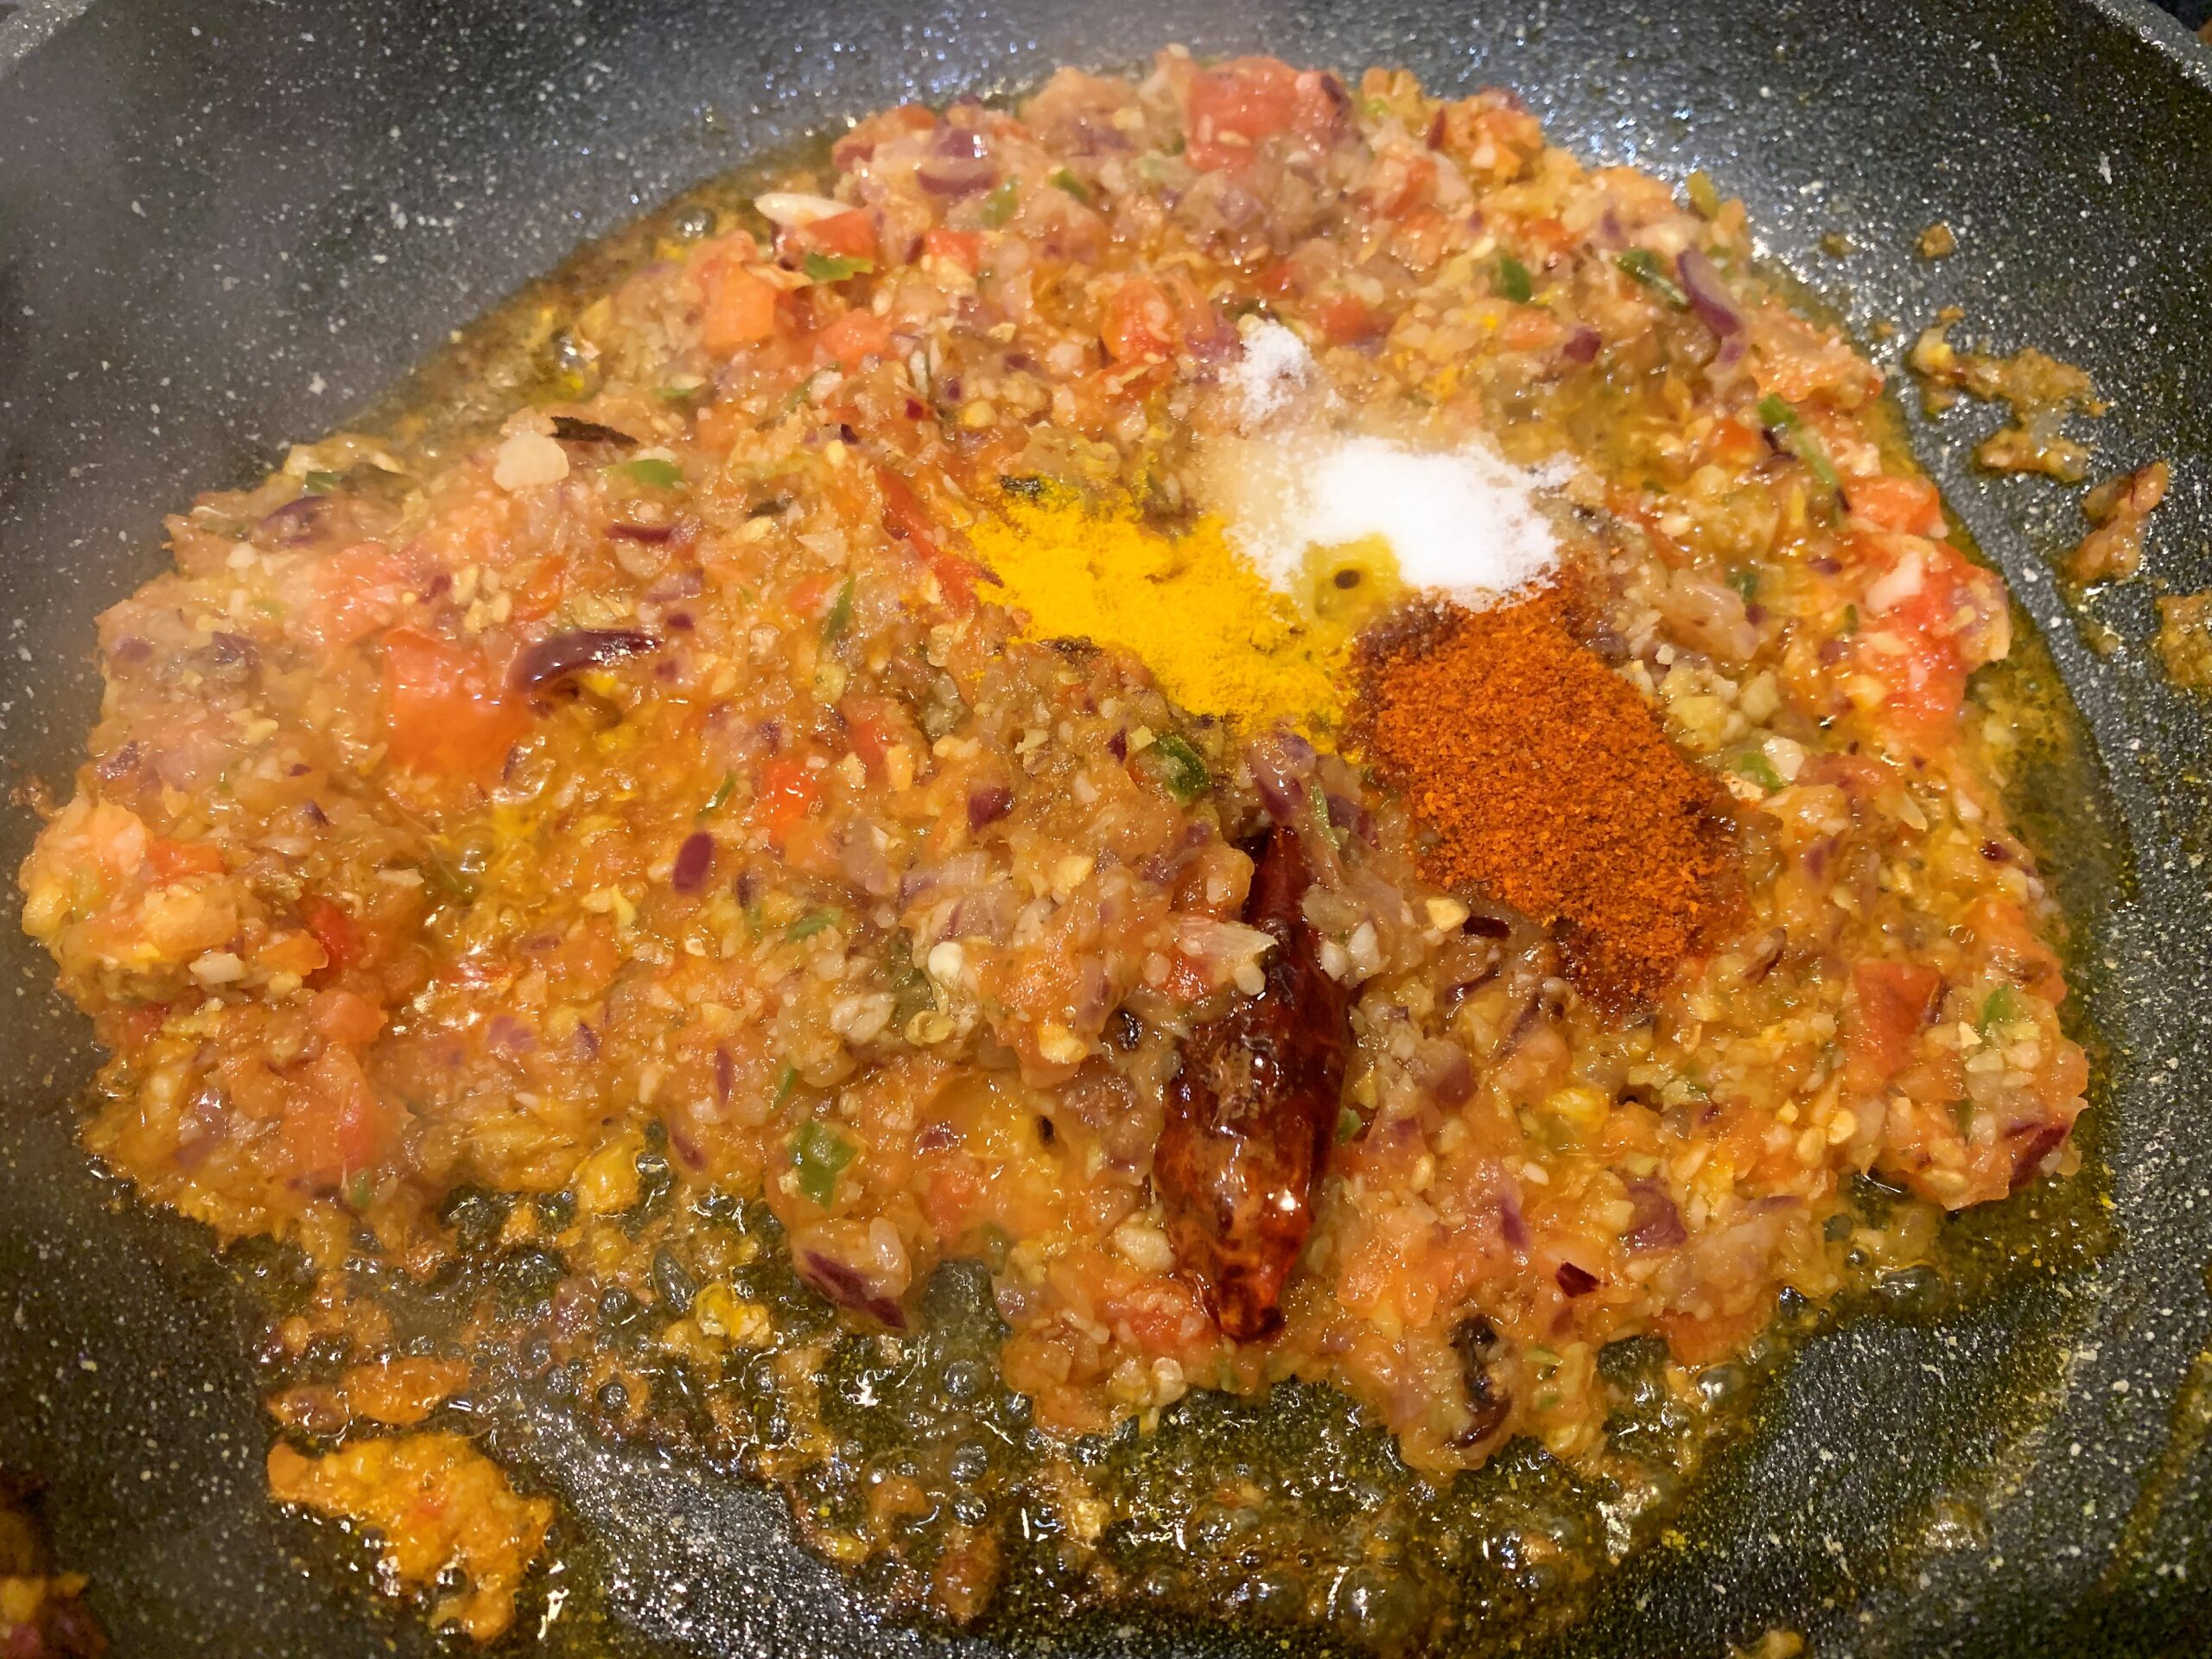
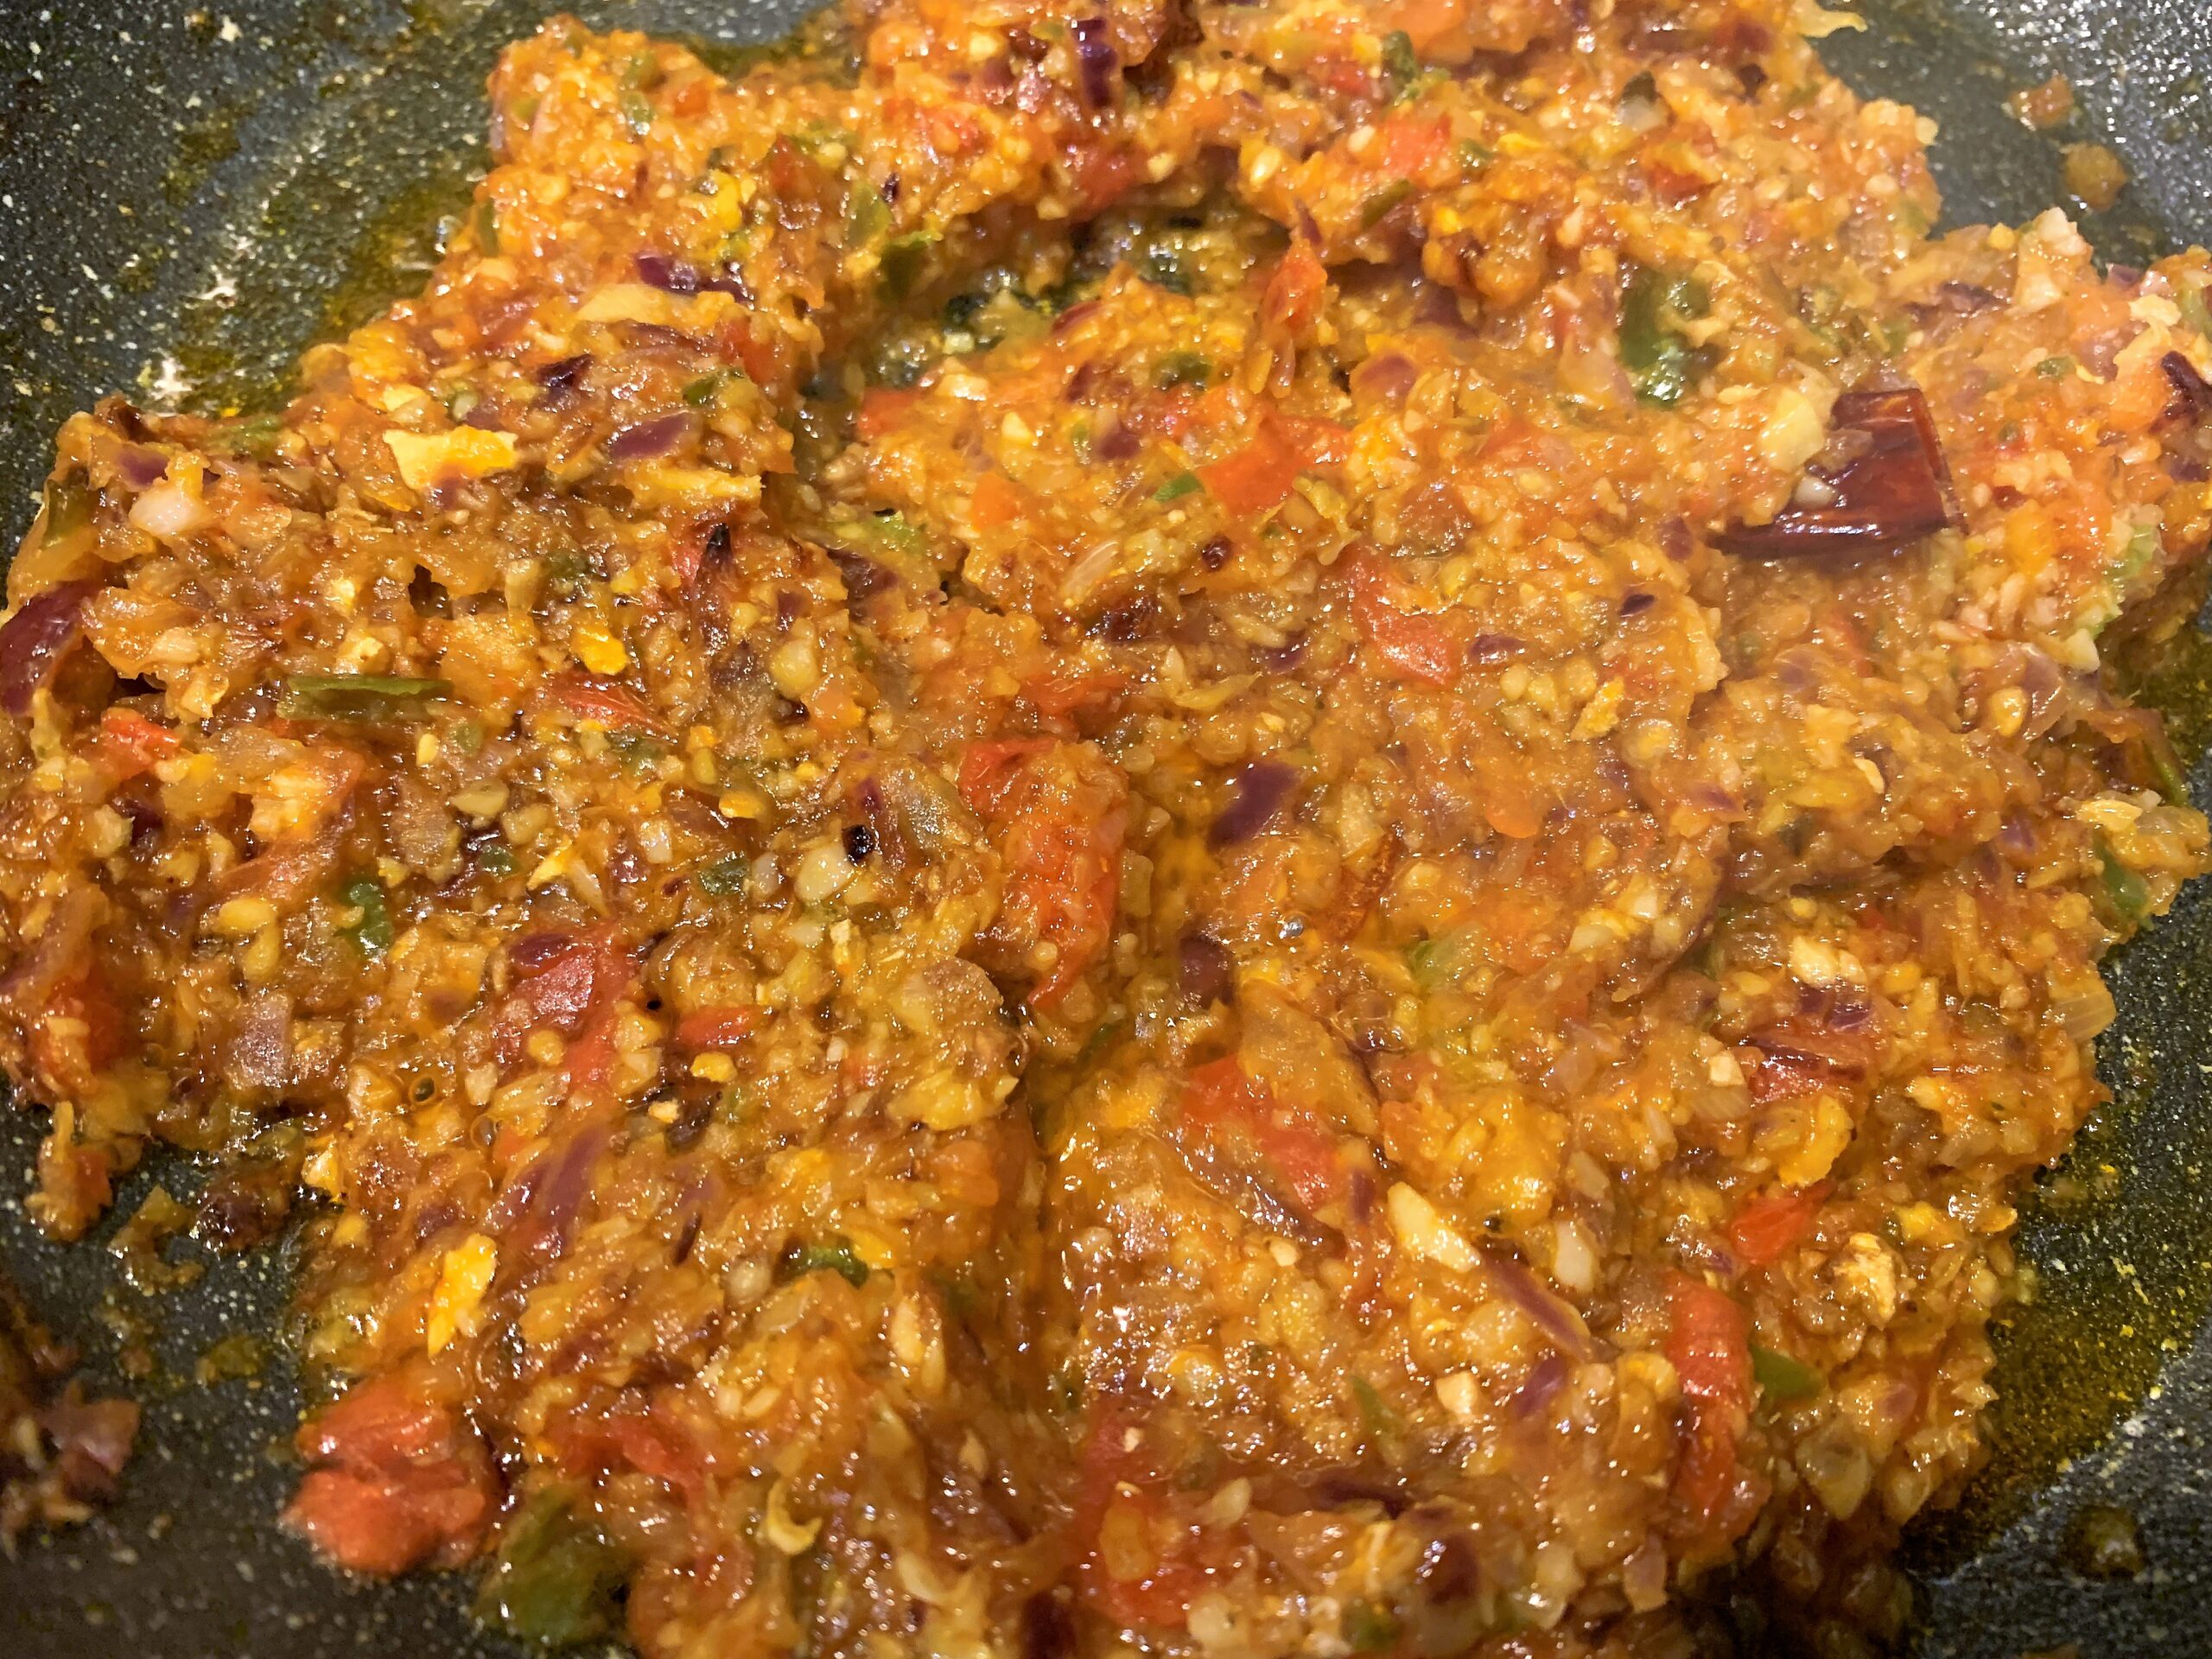
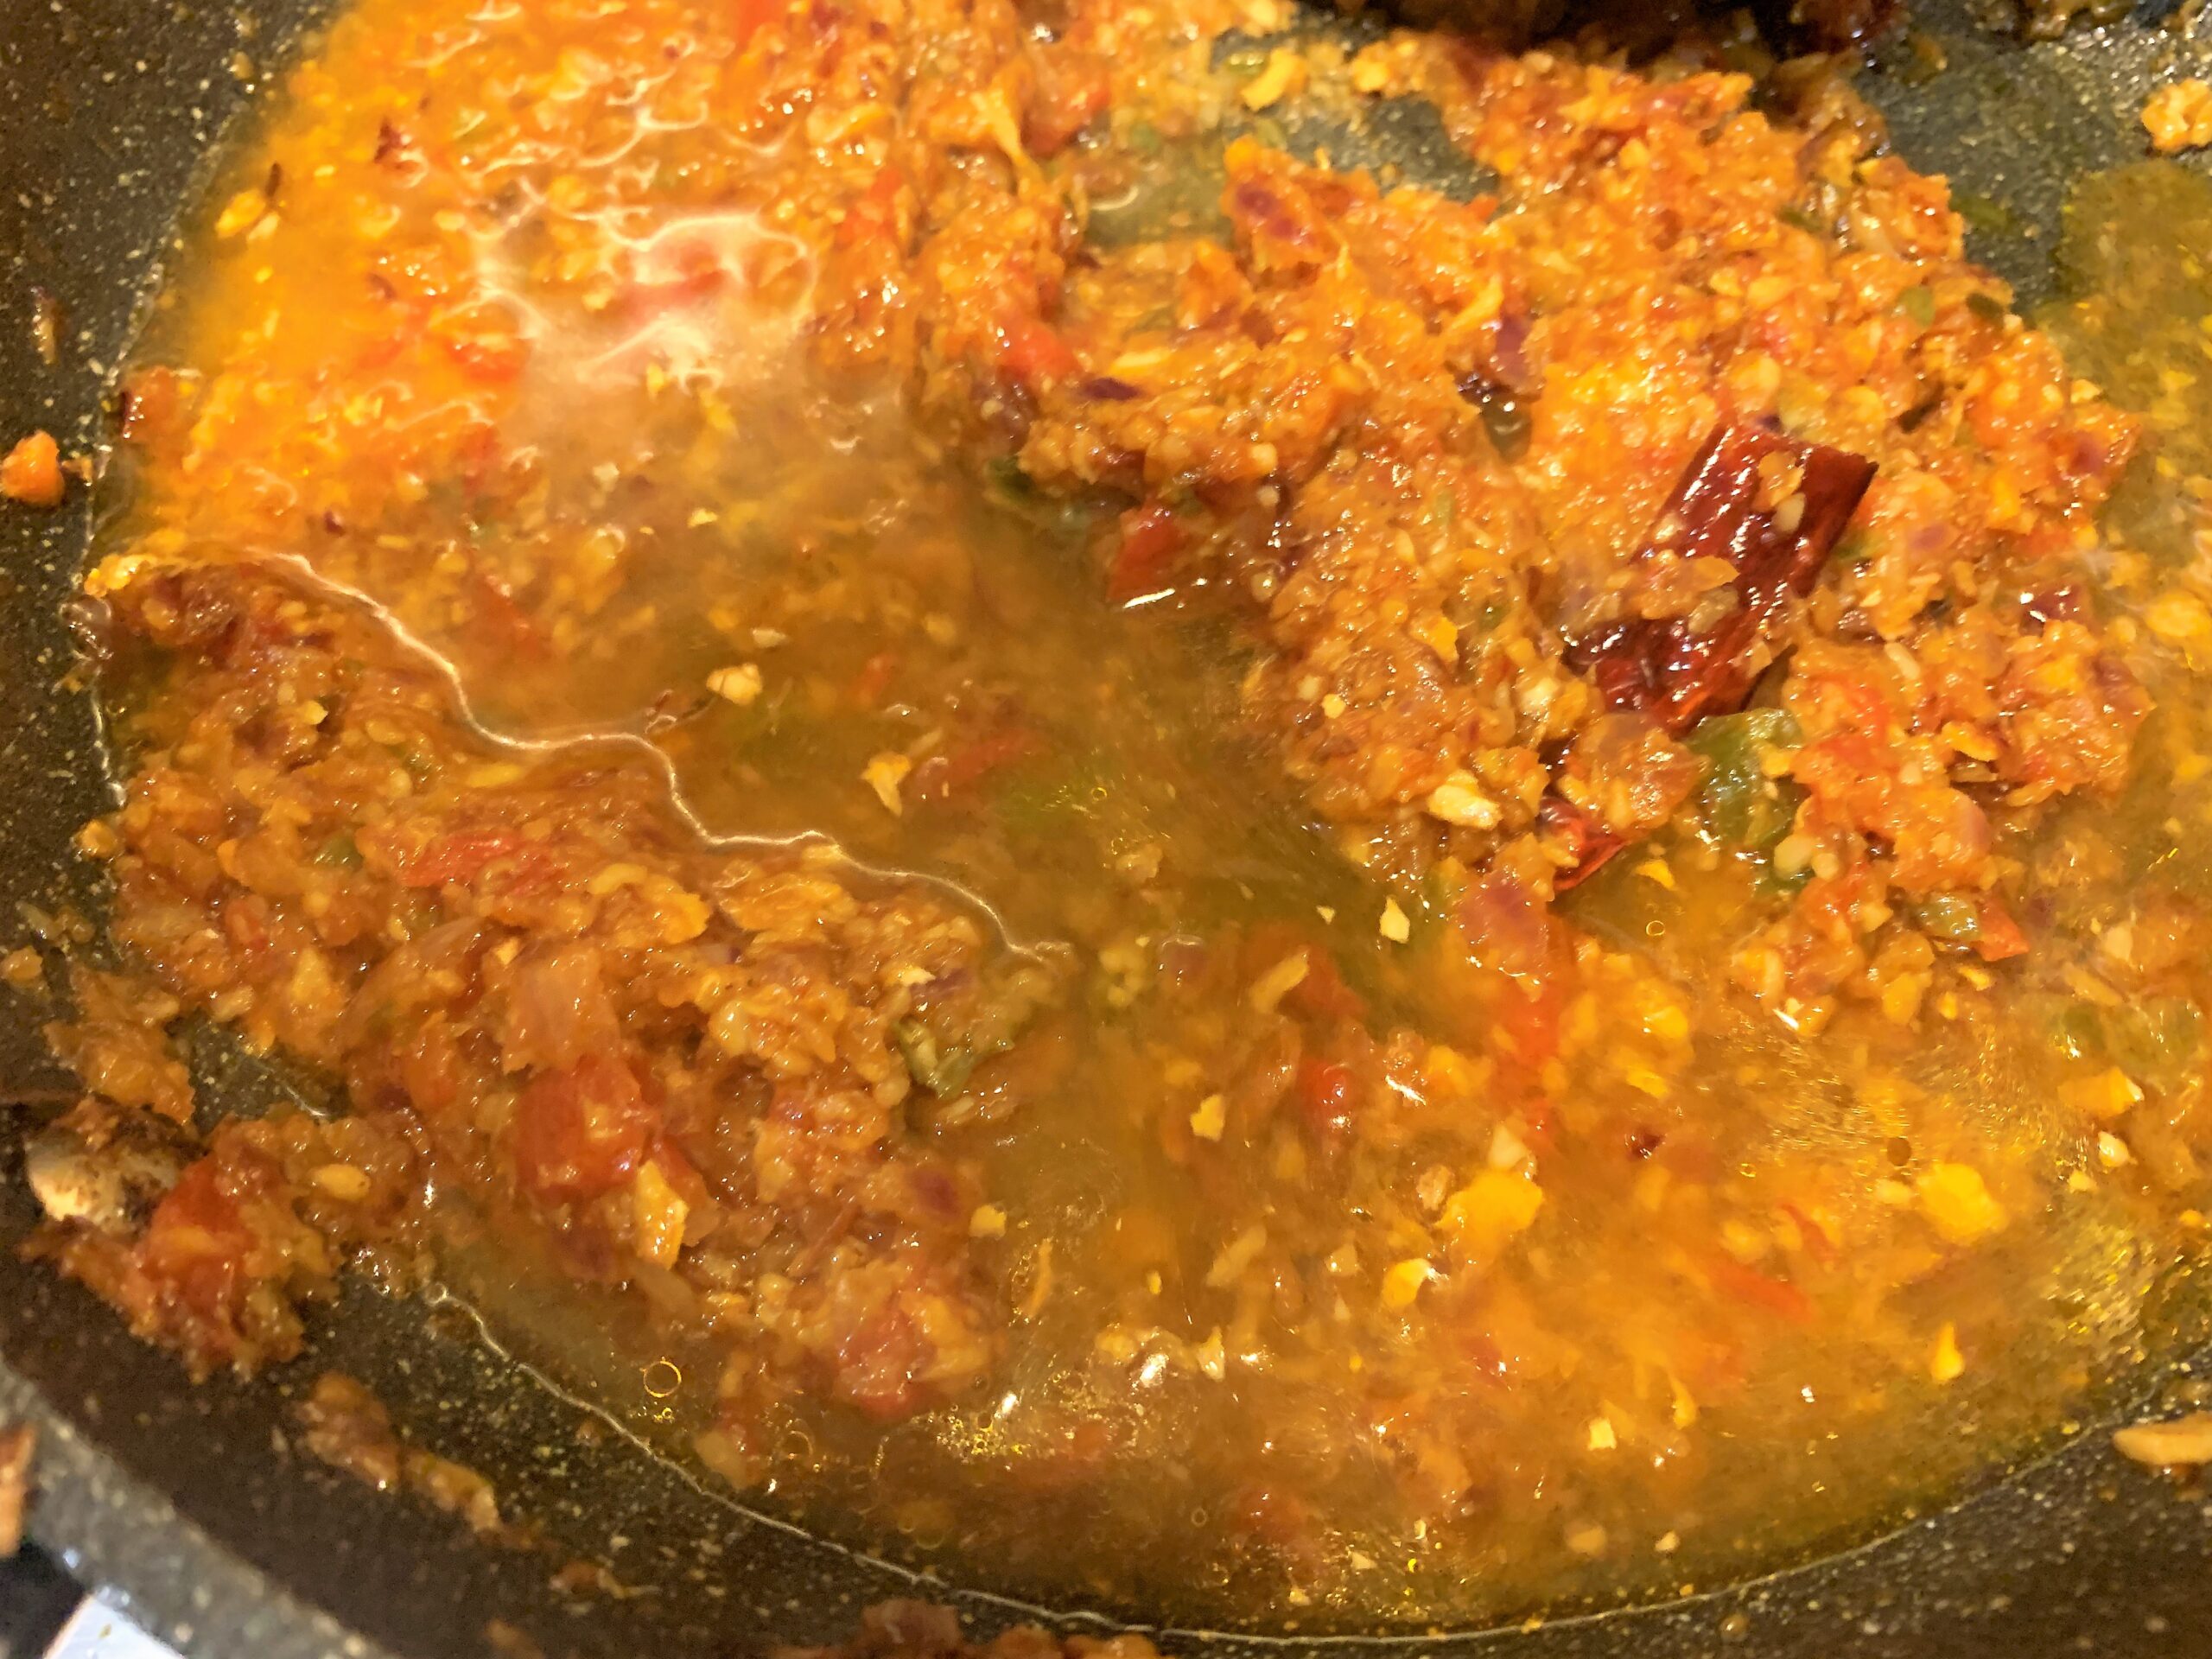

Cook the tomatoes for 2-3 minutes and add salt, turmeric powder and red chilli powder and mix.
Add ½ cup water and let it simmer.
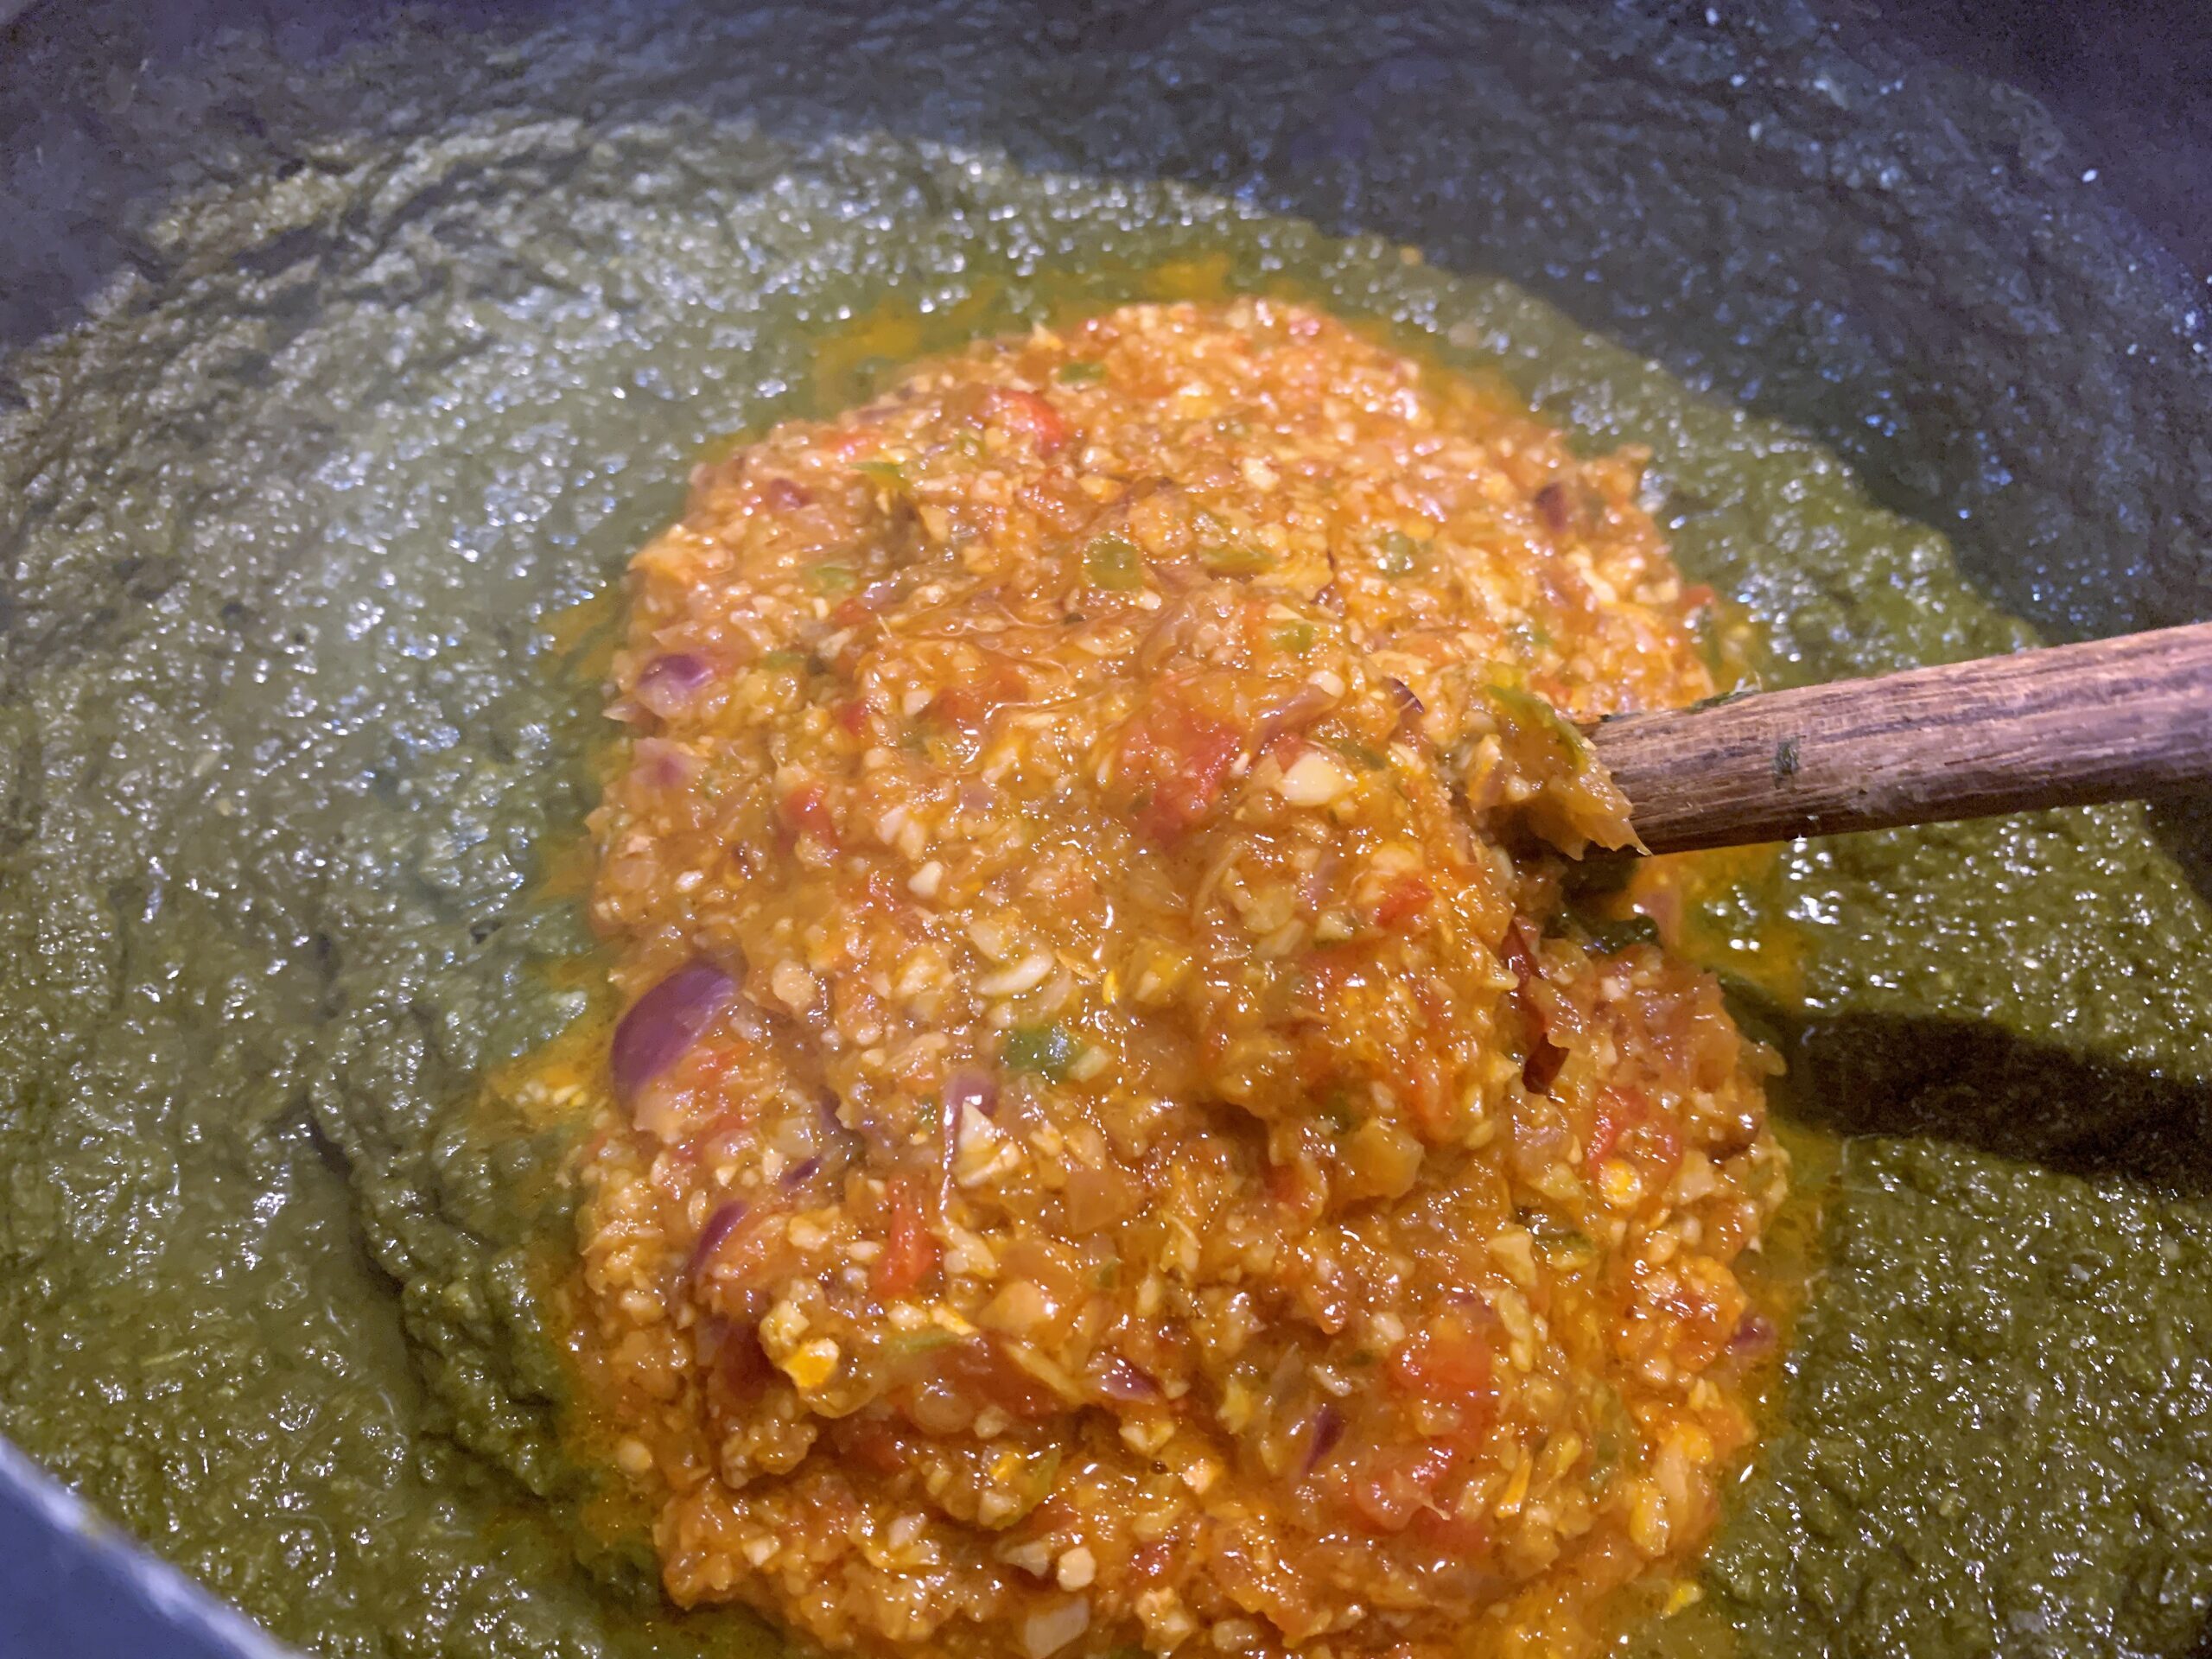
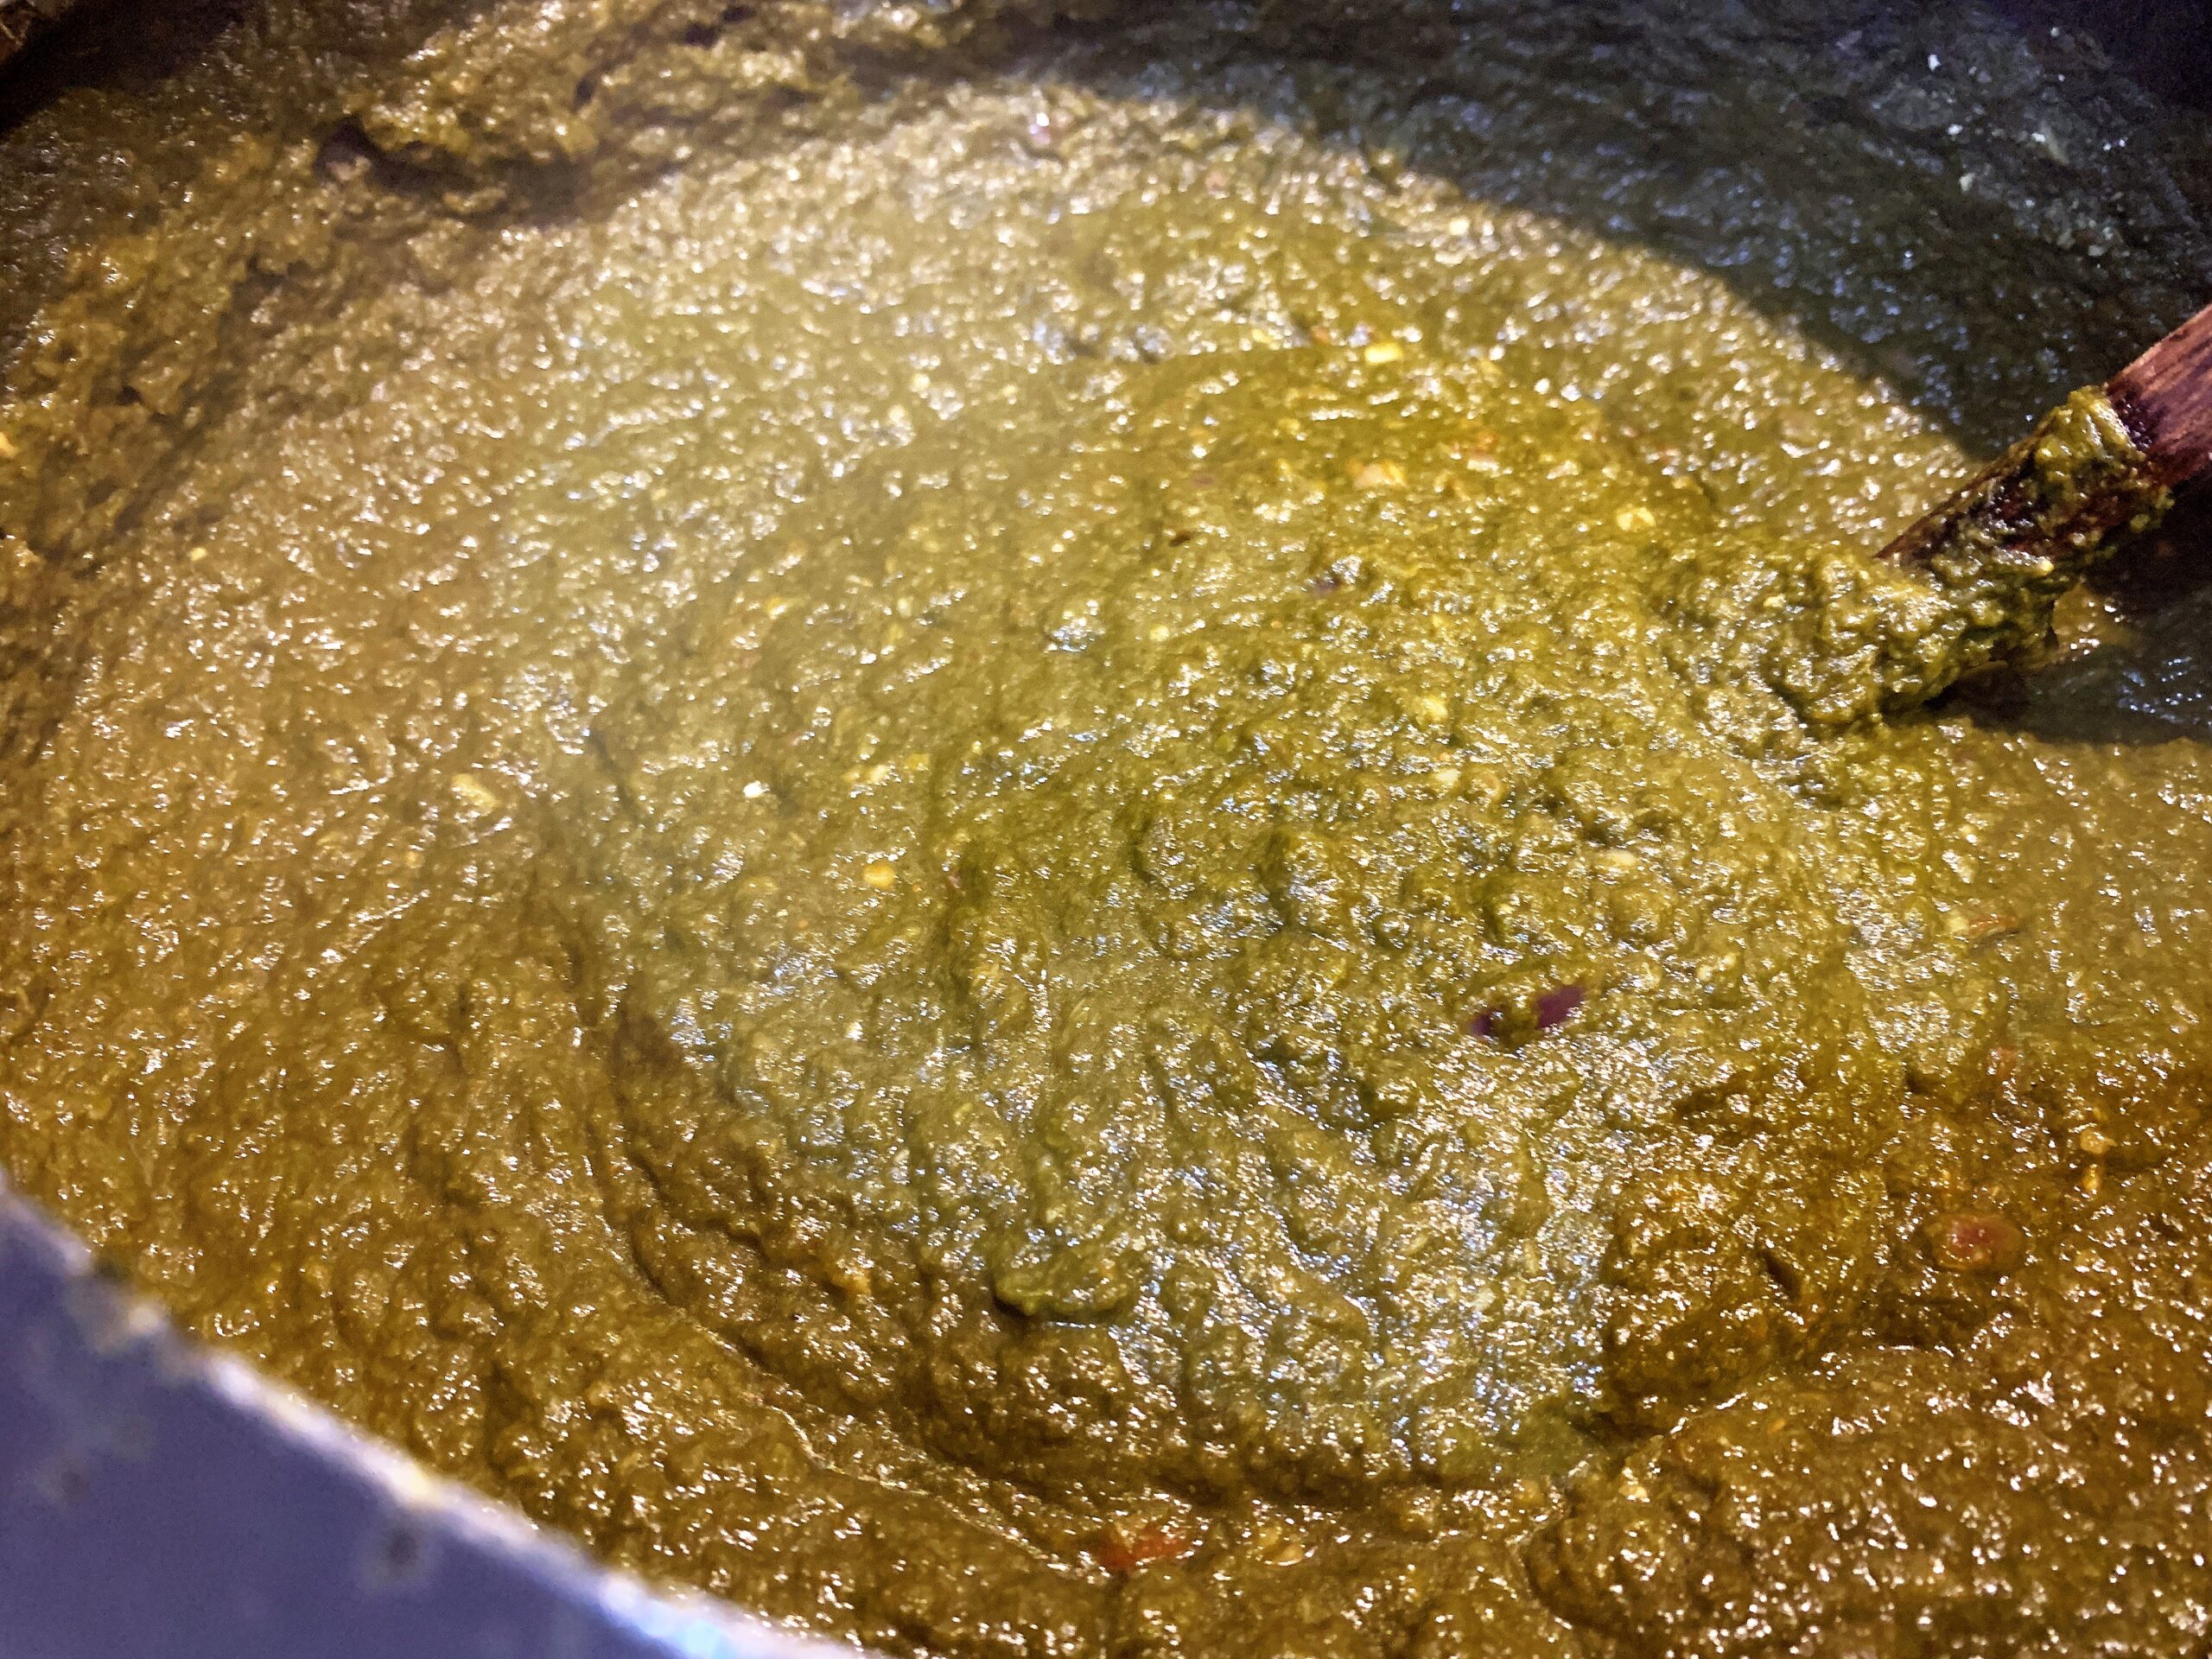

Transfer the onion tomato tempering to the saag and mix. Let it cook for another 10-15 minutes on low heat. Keep it covered while cooking or the saag might splatter everywhere.
Serve the saag hot with makki ki roti, jaggery and white butter!