Mini Pizza Cups
Mini Pizza Cups
Pizza Cups is a quick and easy snack, or part of a main meal when that pizza craving hits. These mini pizza cups are made with homemade tortilla wraps stuffed into a muffin tin to make little cups, and then filled with pizza sauce loaded with vegetables, and then topped with cheese.
These Pizza Cups are not only super easy to make, but full of vegetables and I bet the whole family will go crazy for them. You can’t go wrong with pizza, right? And anything that is mini, and bite sized is always better, because it means one can eat more of them (at least my theory! ?).
These Mini Pizza Cups are easy to adapt as the filling is very versatile and children will love making their own. You can basically do whatever you would do for a normal pizza. I have included measurements and instructions for a vegetable supreme version loaded with vegetables, but feel free to change up the filling to your favourite pizza toppings.
These Pizza Cups are perfect for pizza night, or for a great after school snack. We have pizza night often and indulge in making fresh pizza sauce and pizza from scratch. I find it very satisfying to prepare fresh pizzas at home as I know what’s going in them and can give it a healthy twist by using fresh healthy ingredients. I love making Mini Pizza Cups to change it up from your typical pizza night. They are a great way to reinvent that pizza!
These Mini Pizza Cups are a simple and healthy bite-sized pizza, that the whole family will love.
Ingredients
For The Dough
1 cup plain flour
½ teaspoon salt
2 teaspoons oil
¼ cup water
For The Filling
2 teaspoons oil
2 tablespoons finely chopped onion
2 tablespoons finely chopped baby corn
2 tablespoons finely chopped green pepper
2 tablespoons finely chopped mushroom
2 tablespoons pizza sauce
1 tablespoon tomato ketchup
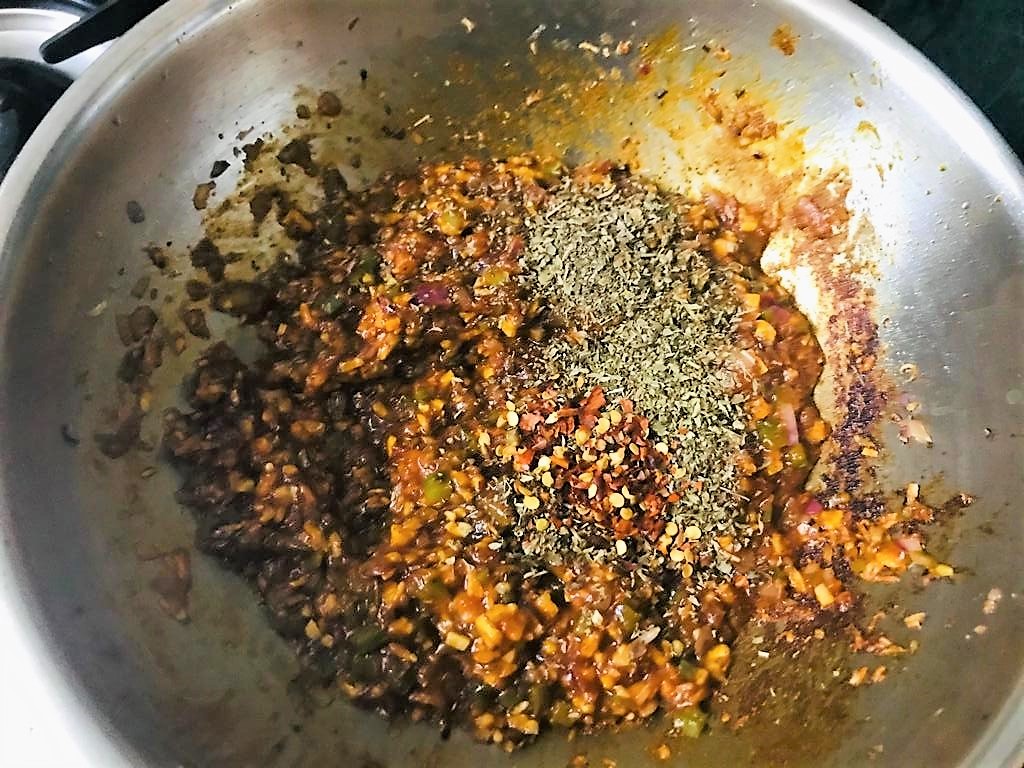
1 teaspoon salt
1 teaspoon white pepper
1 teaspoon oregano
1 teaspoon chili flakes
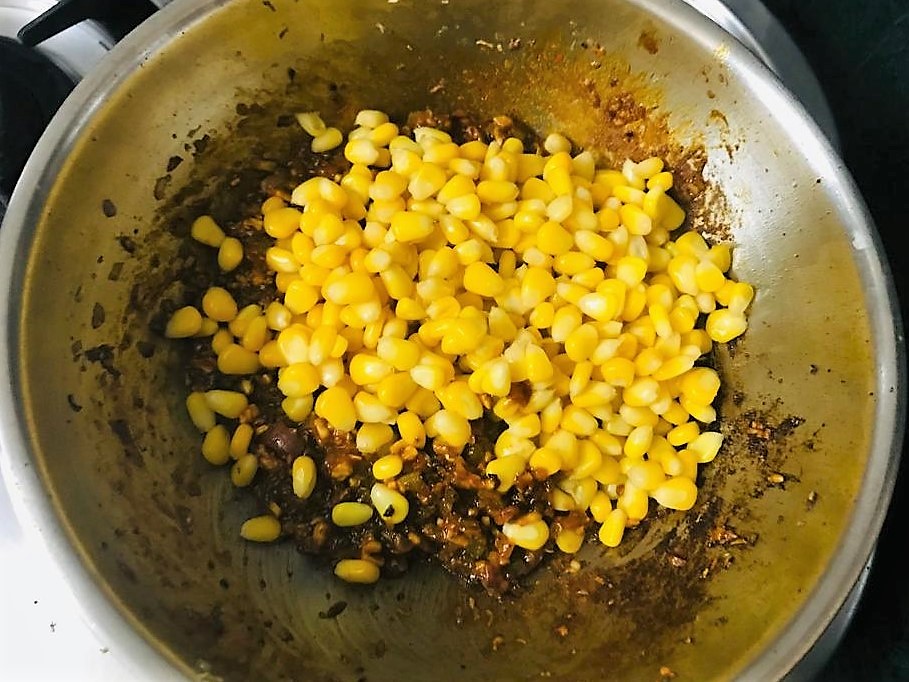
½ cup boiled sweet corn kernels
½ cup mozzarella cheese
½ cup grated cheddar cheese
Other Ingredients
½ cup grated mozzarella cheese
Directions
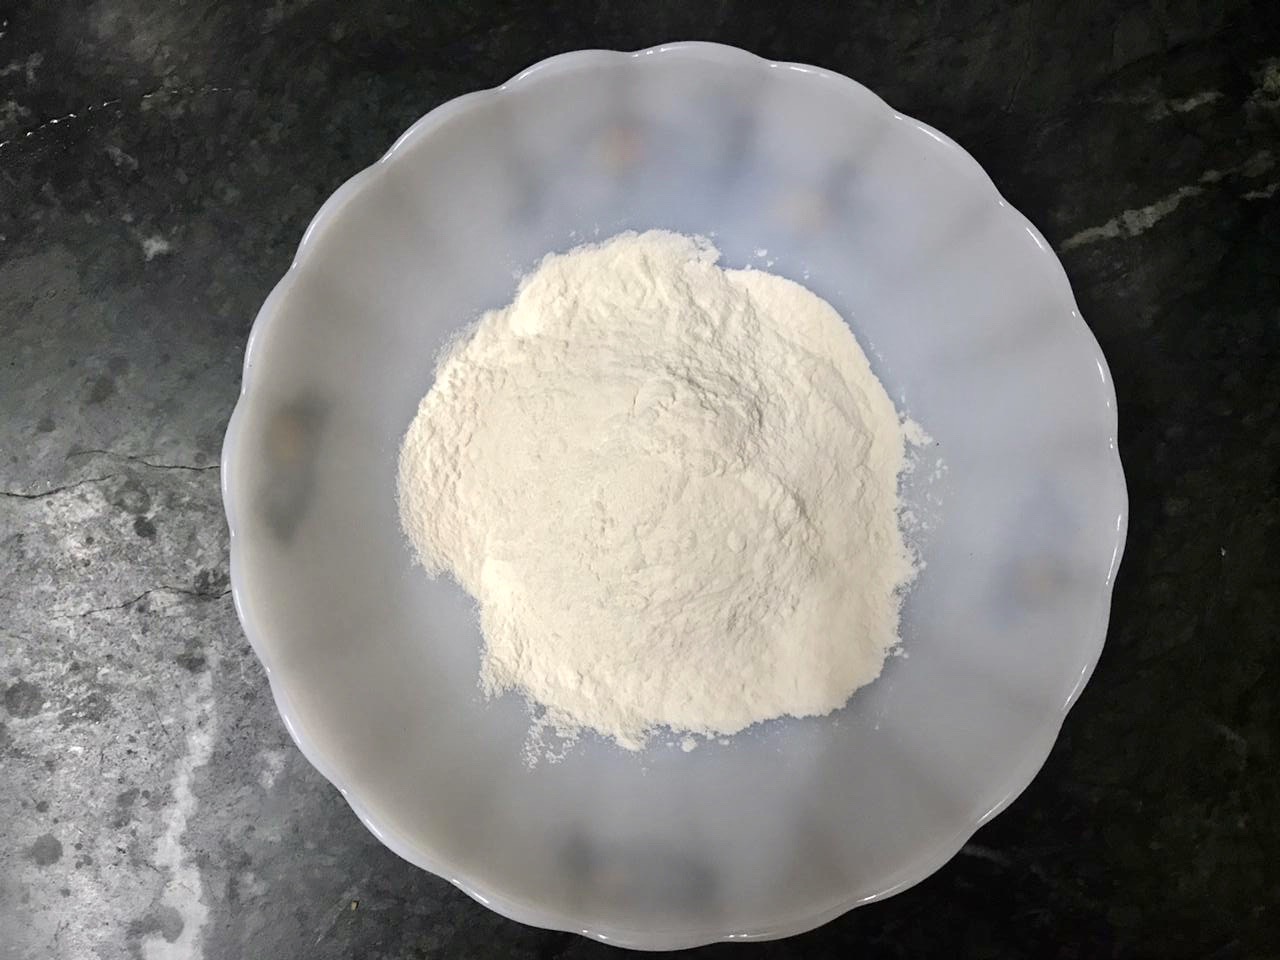
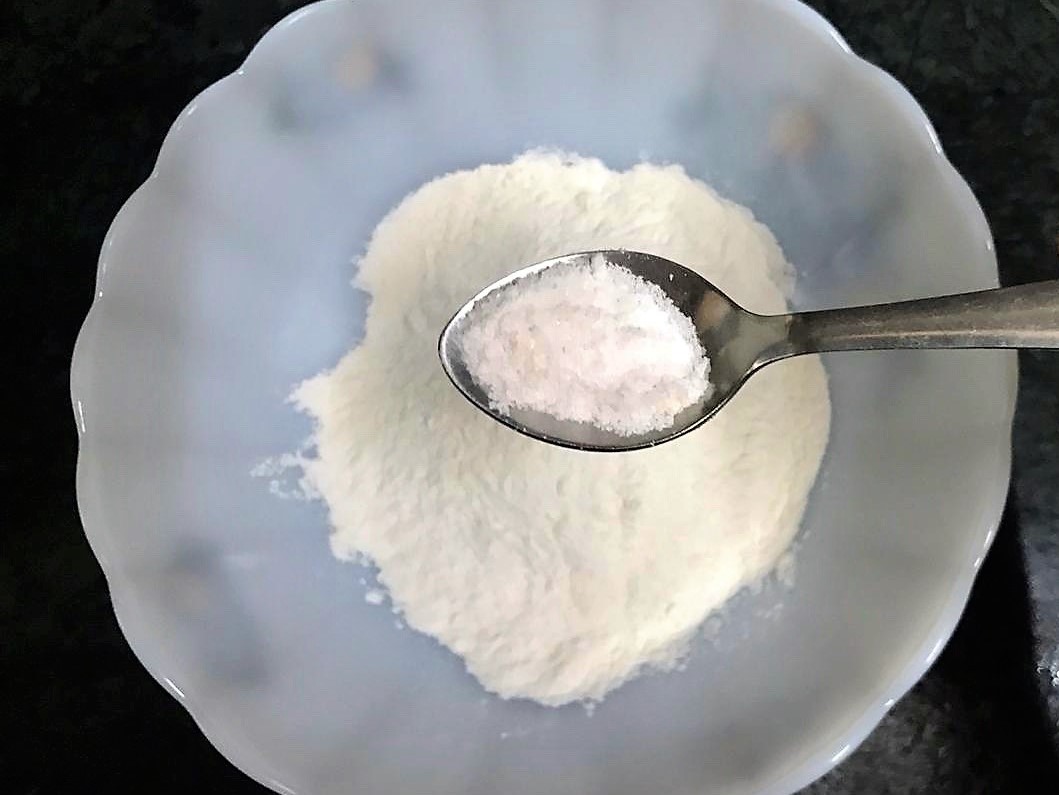
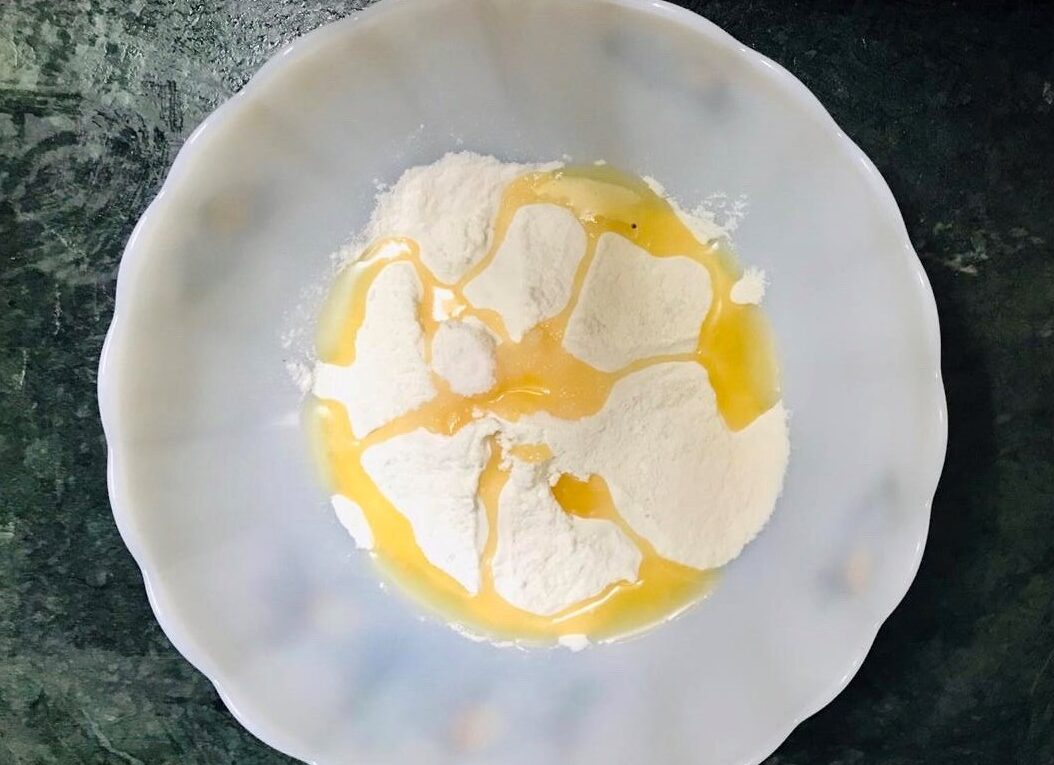
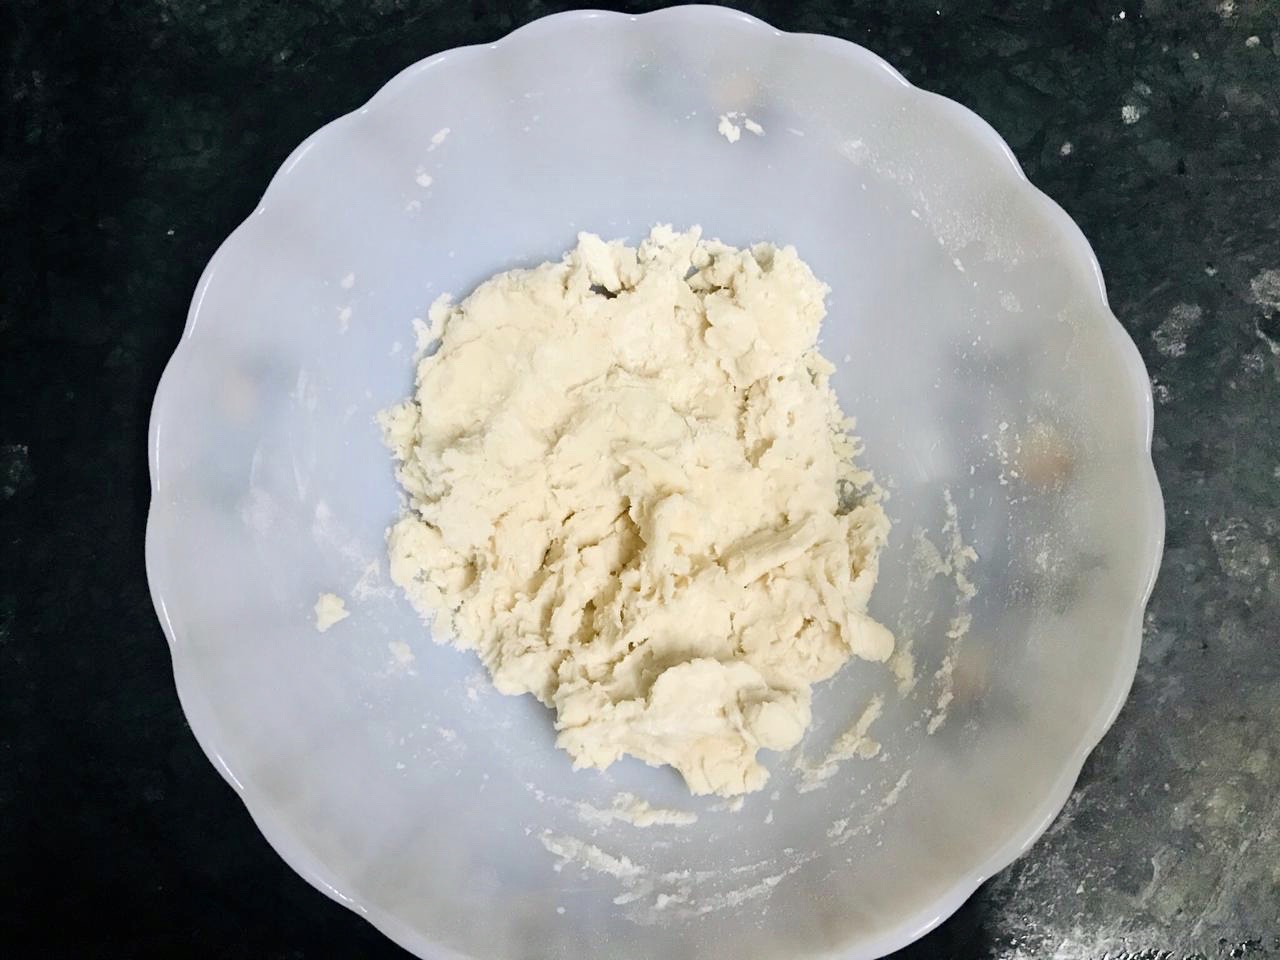
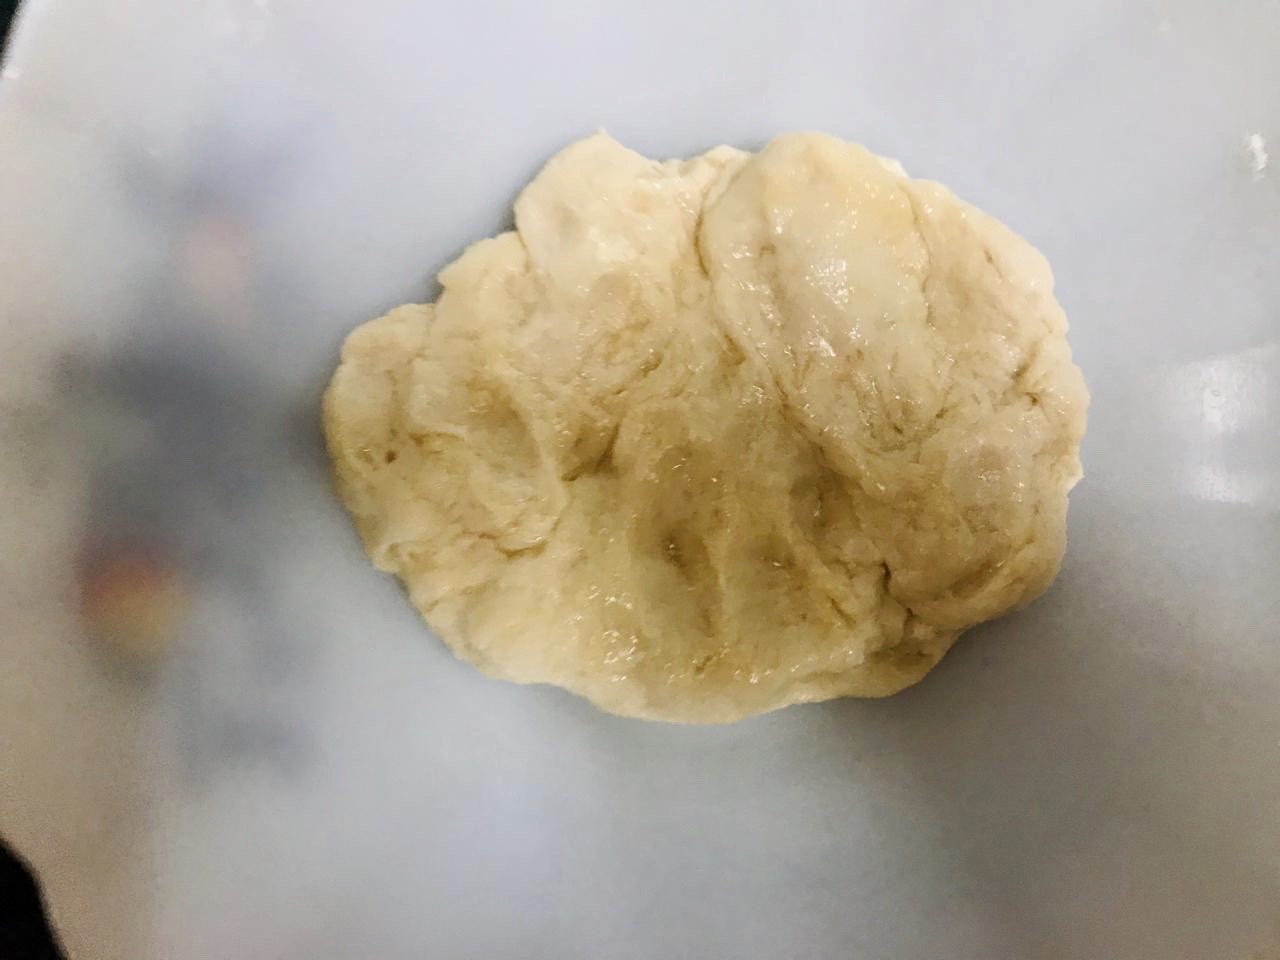
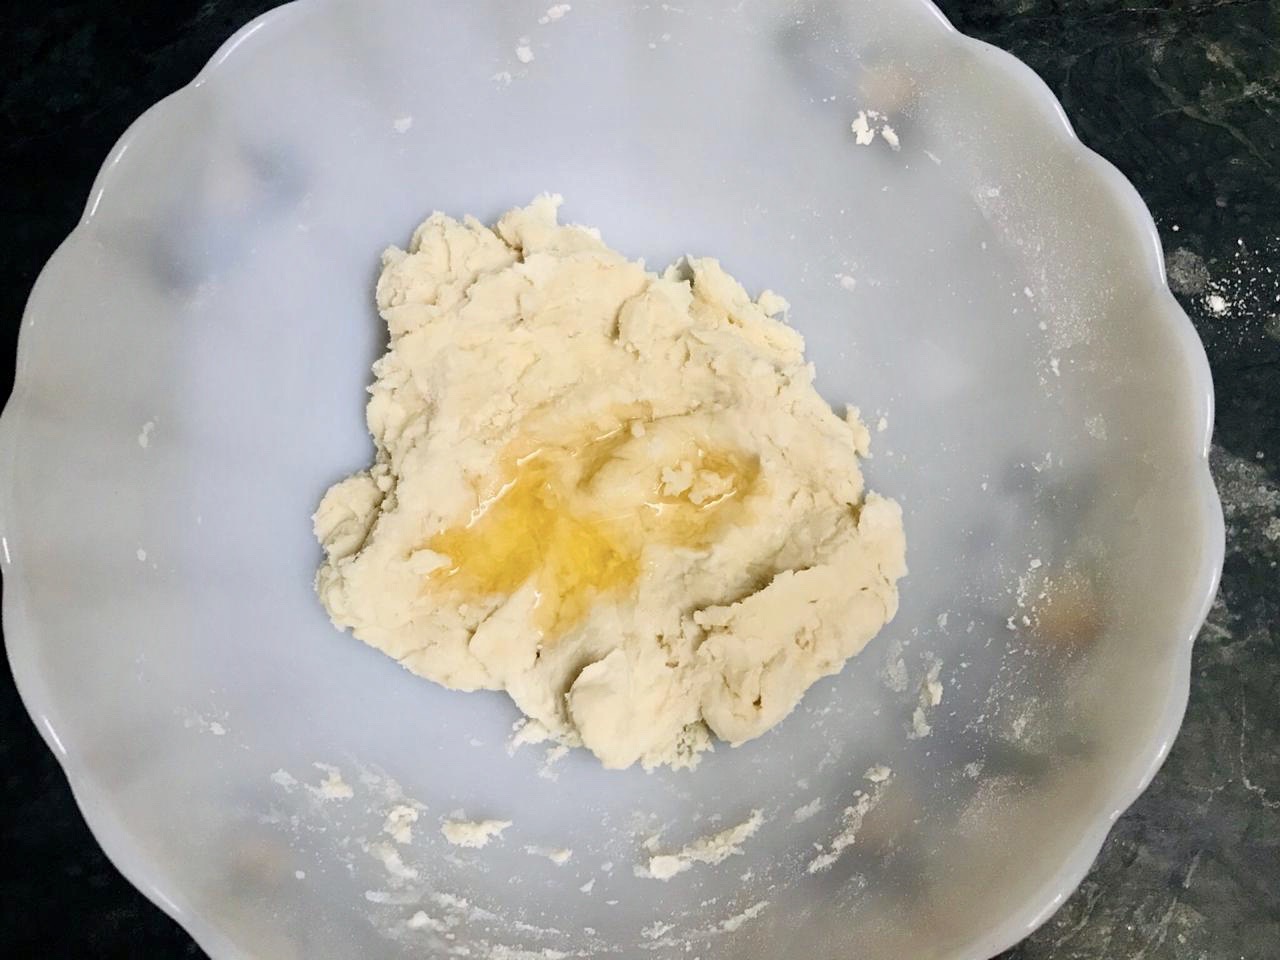
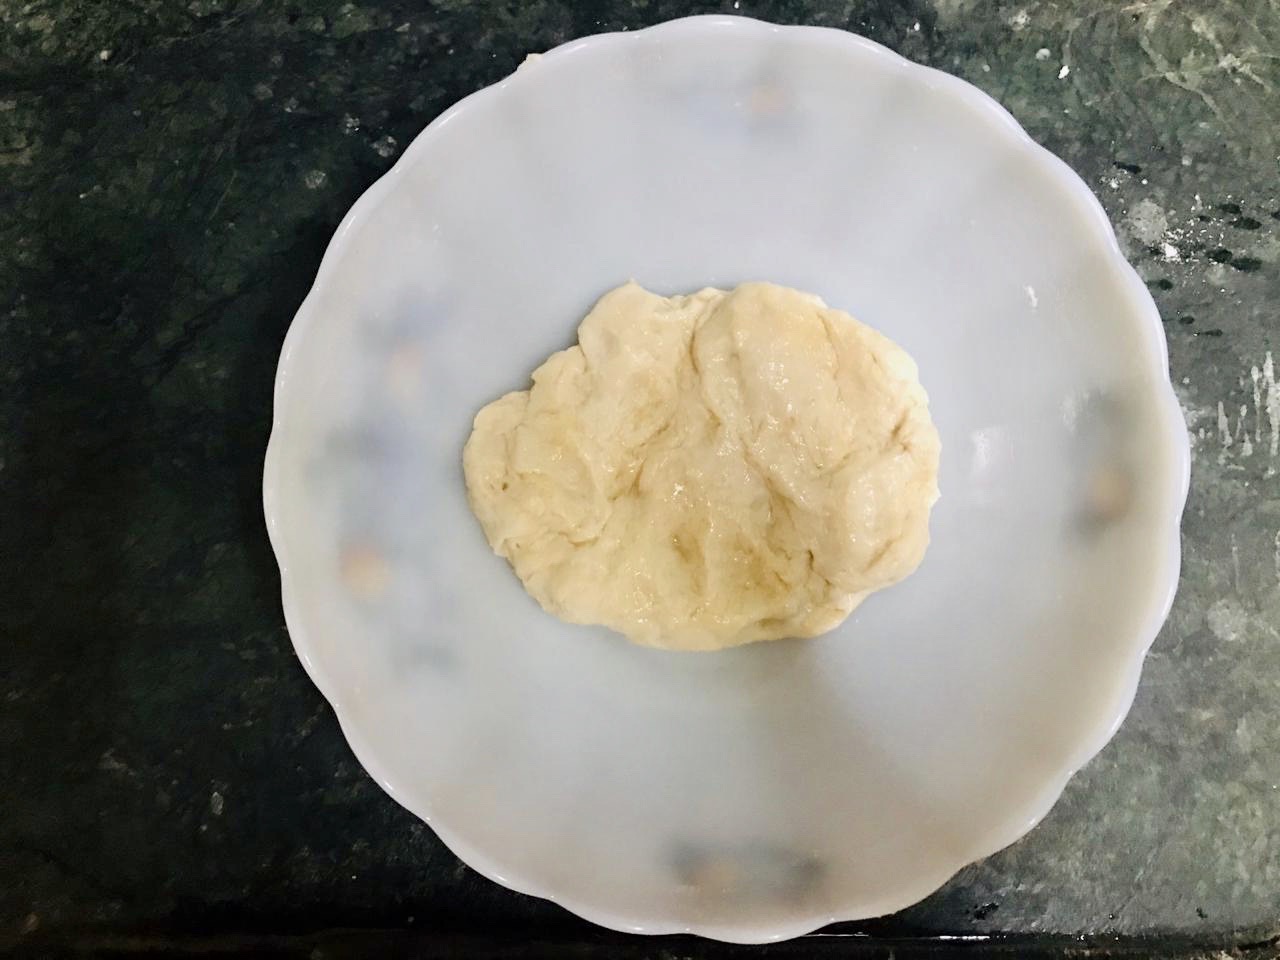
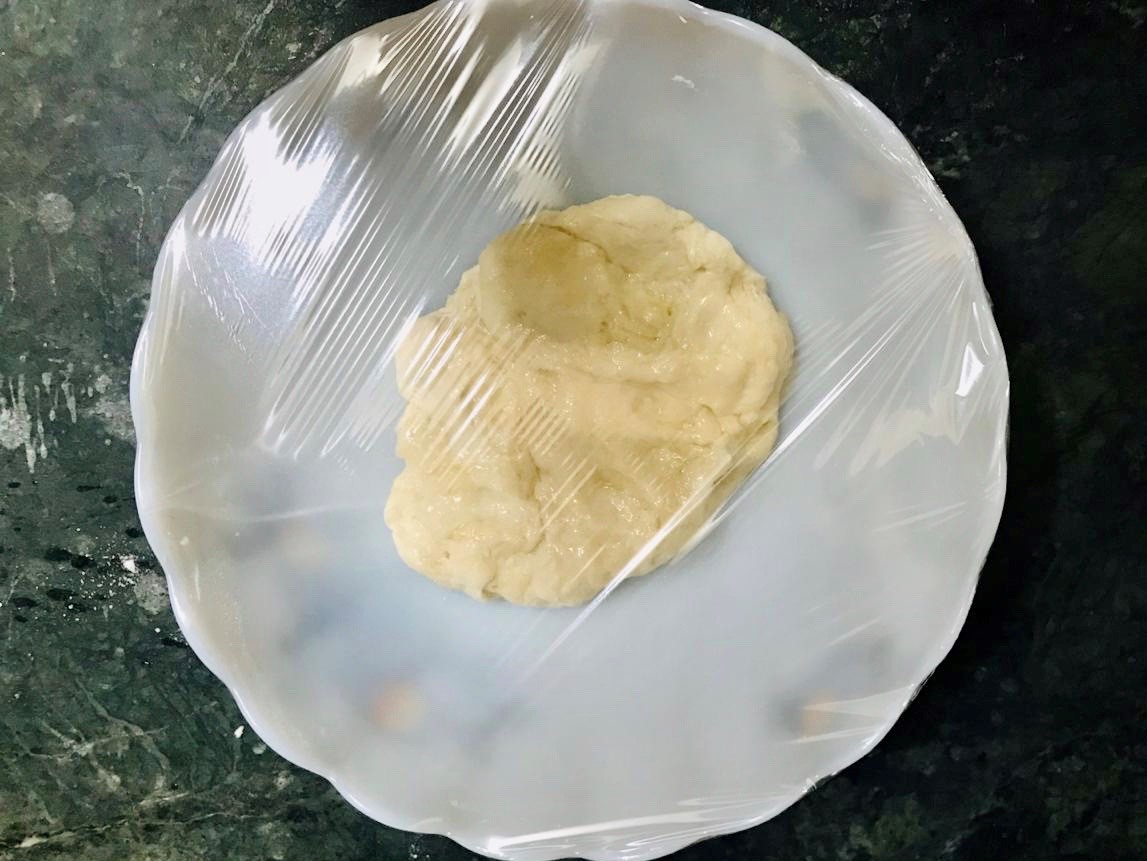
In a bowl add the plain flour, salt, oil and gradually add water to knead a soft dough. Drizzle few drops of oil and knead again. Cover and let the dough rest for 15-20 minutes.
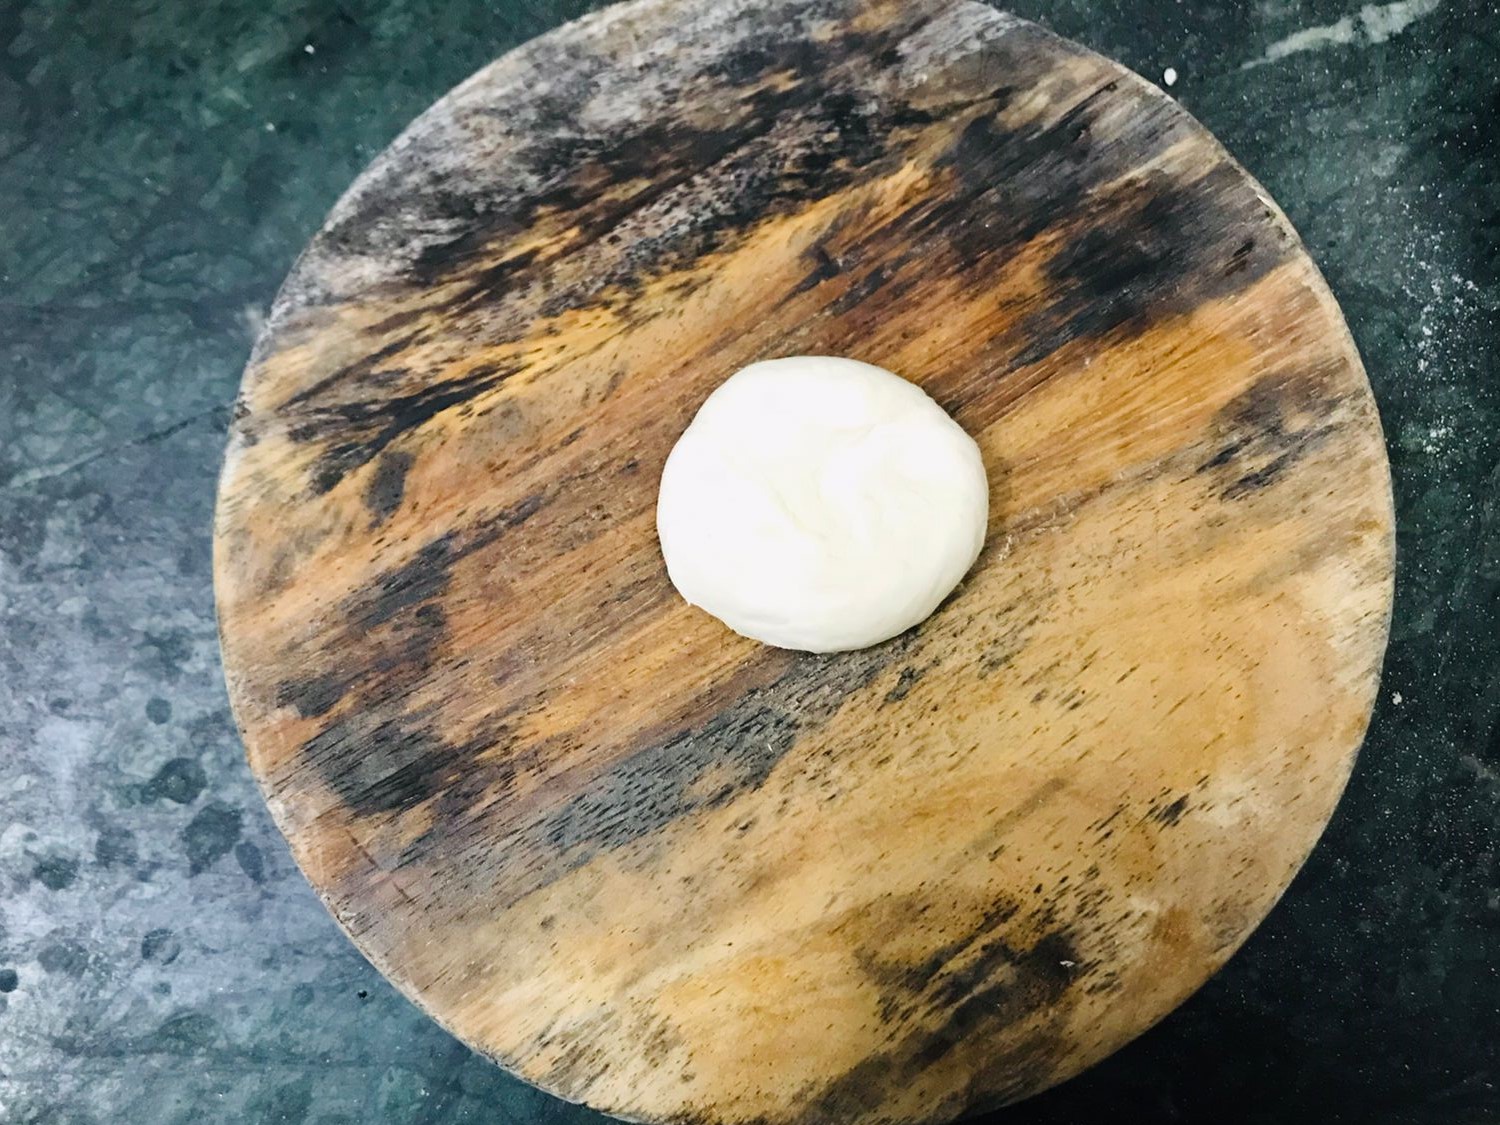
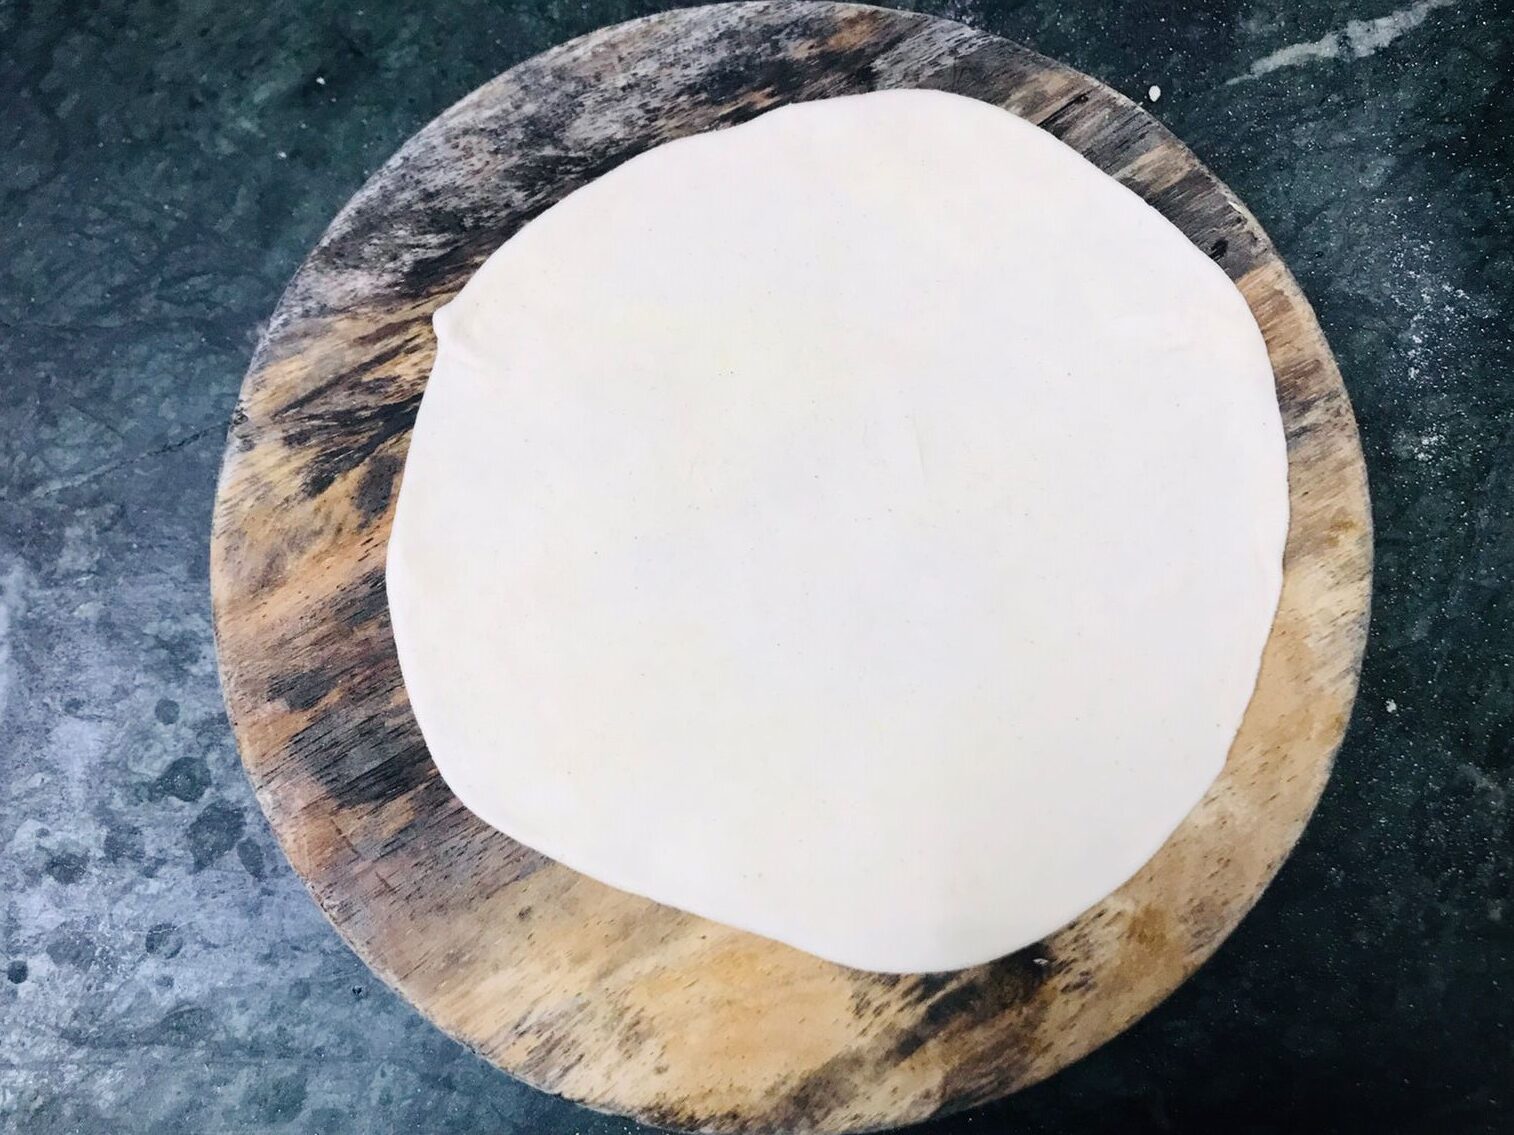
After resting the dough for 15-20 minutes, divide the dough into 6-8 equal portions and make small balls out of the dough. Place the ball on the rolling board, dust some flour over the ball and roll it in thin circle of 8 to 10 inches.
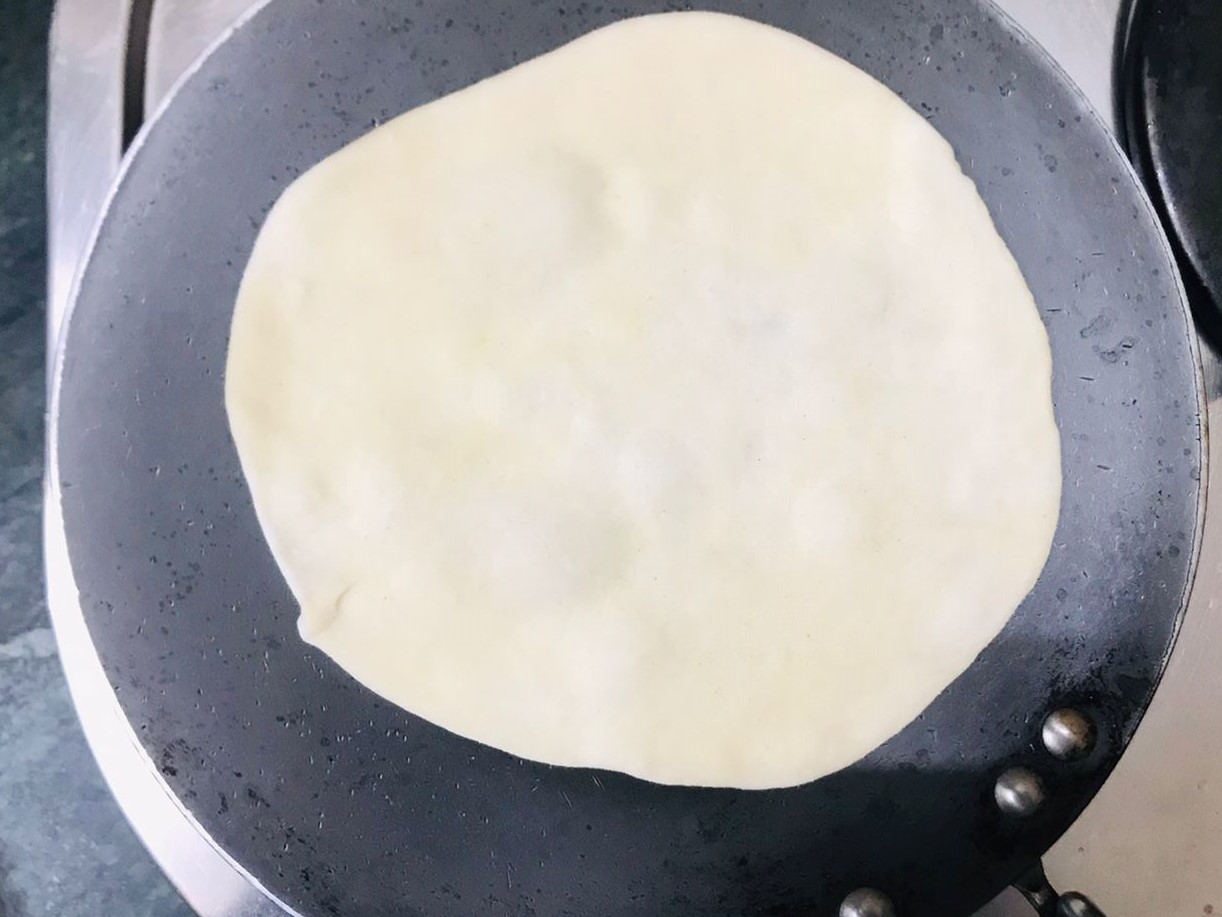
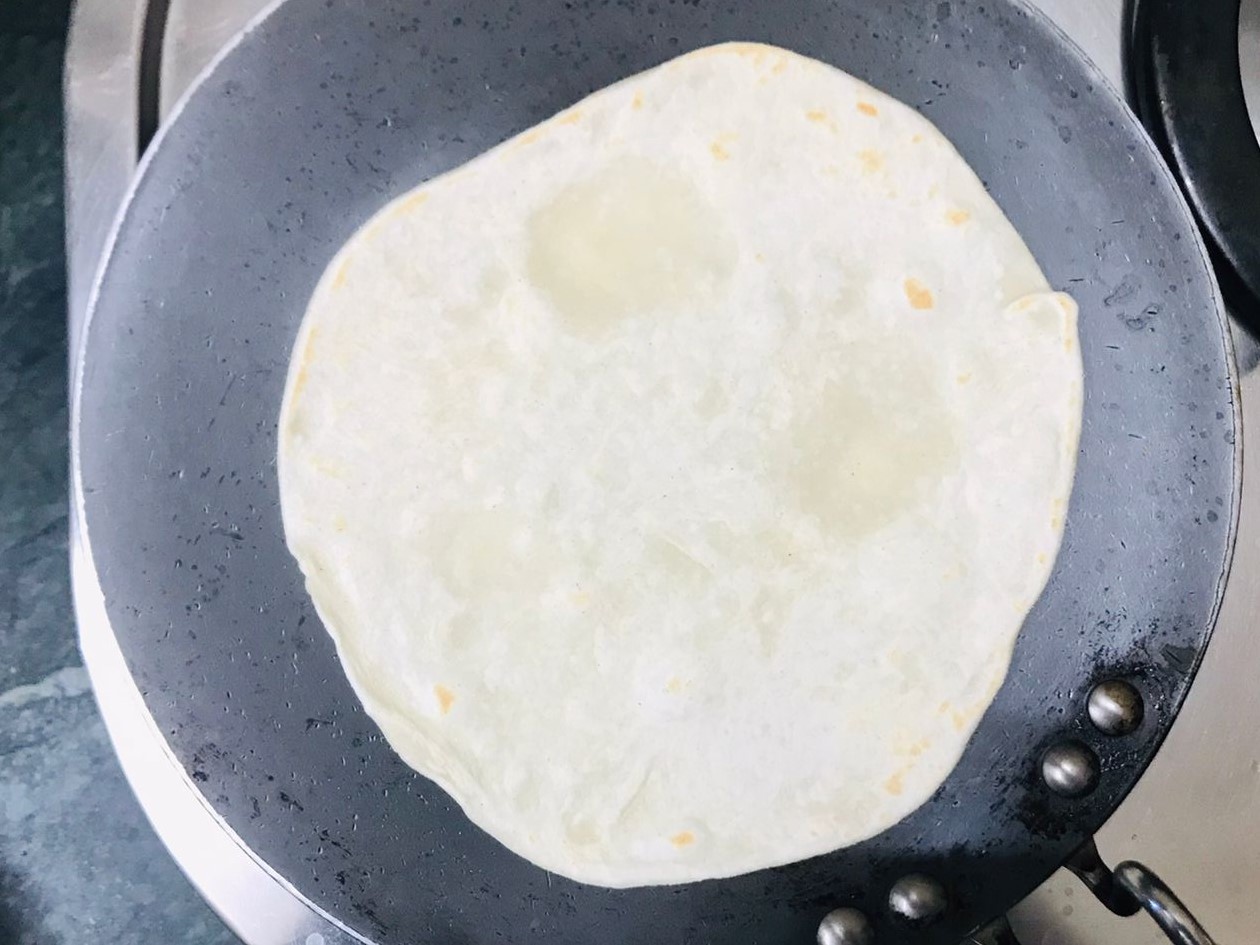
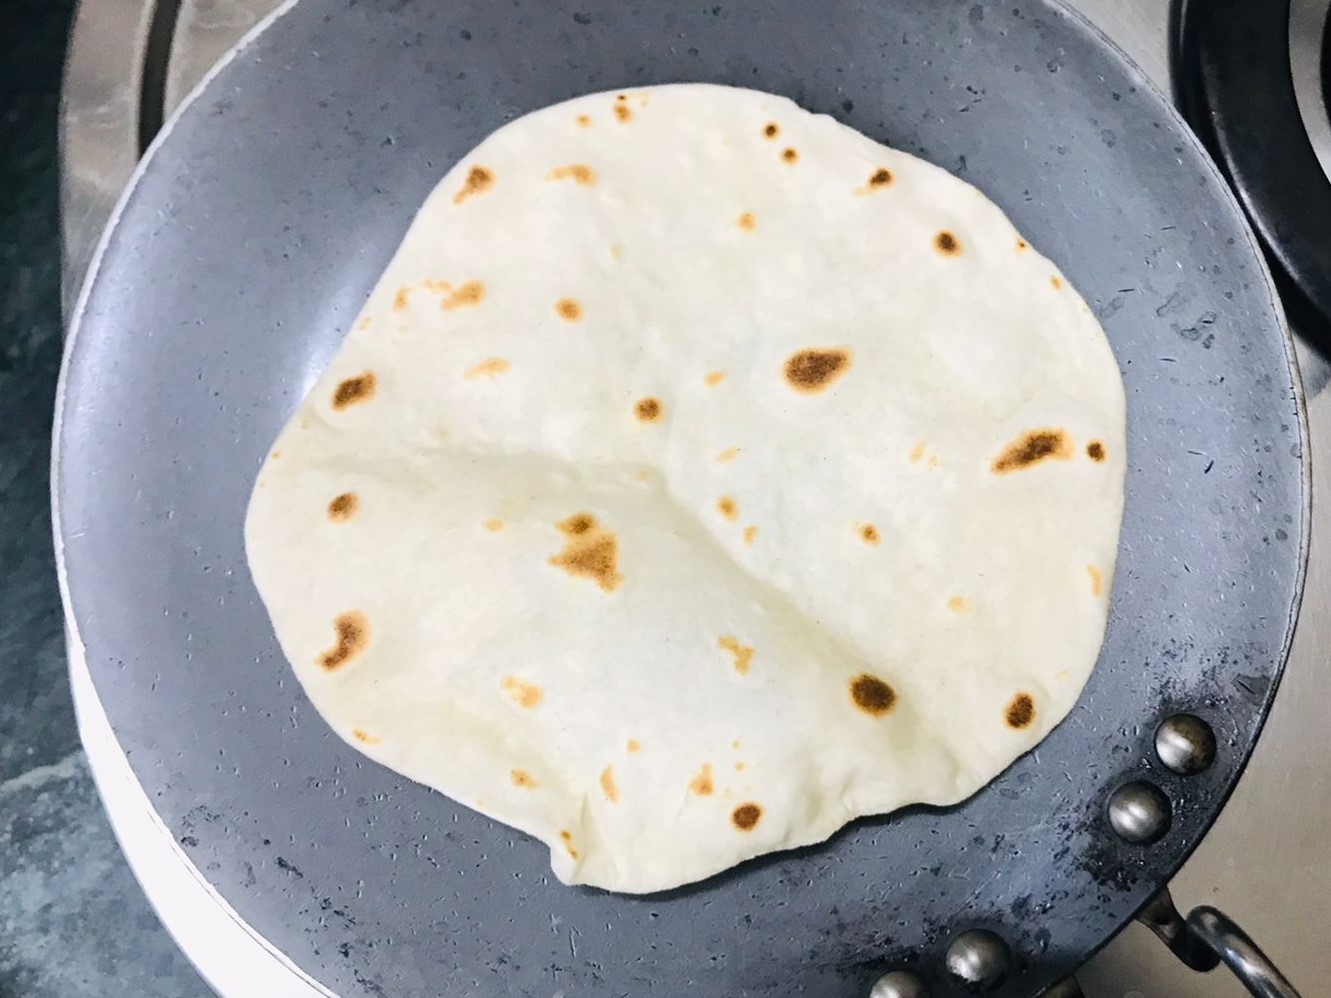
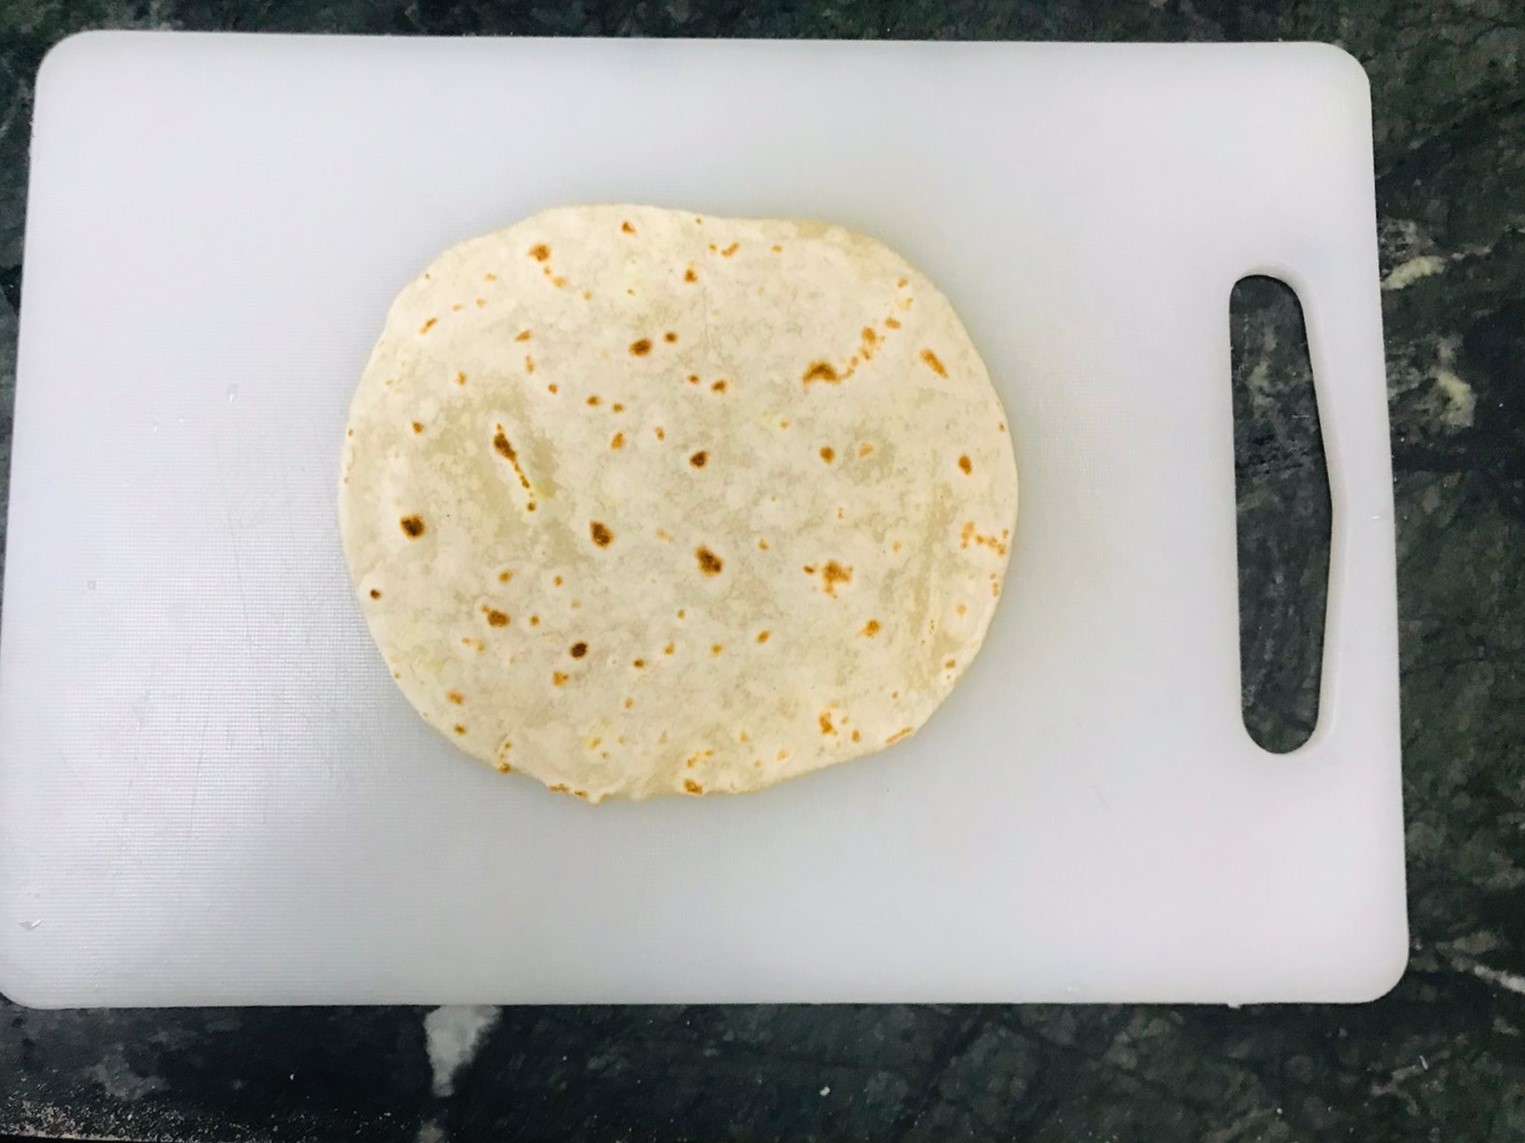
Heat a pan and add this wrap to the pan. Cook it on low heat and flip it to the other side and cook it until golden brown spots appear on the wrap.
Repeat the same with the other wraps and keep them aside.
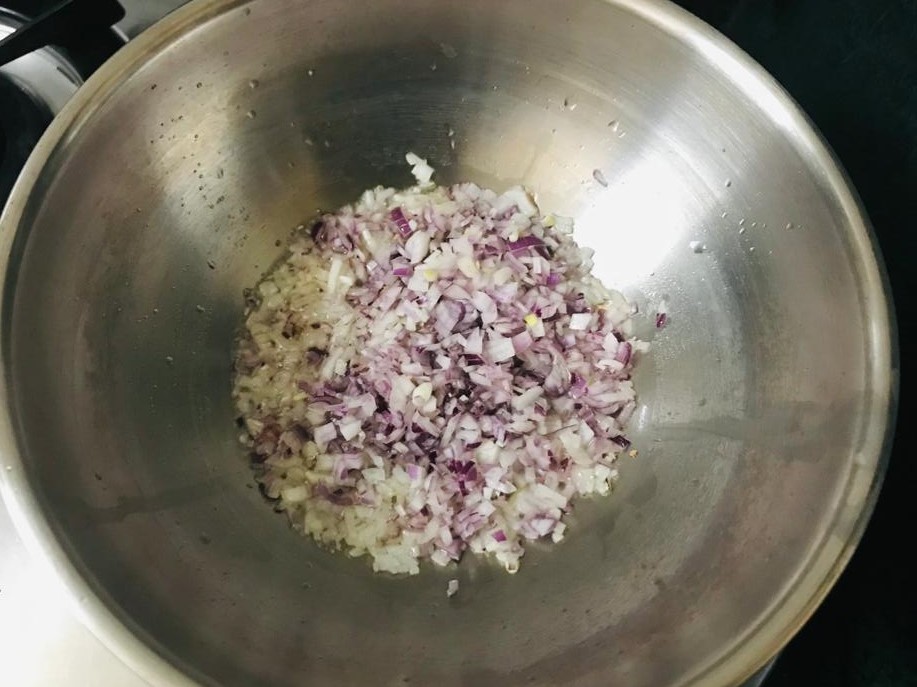
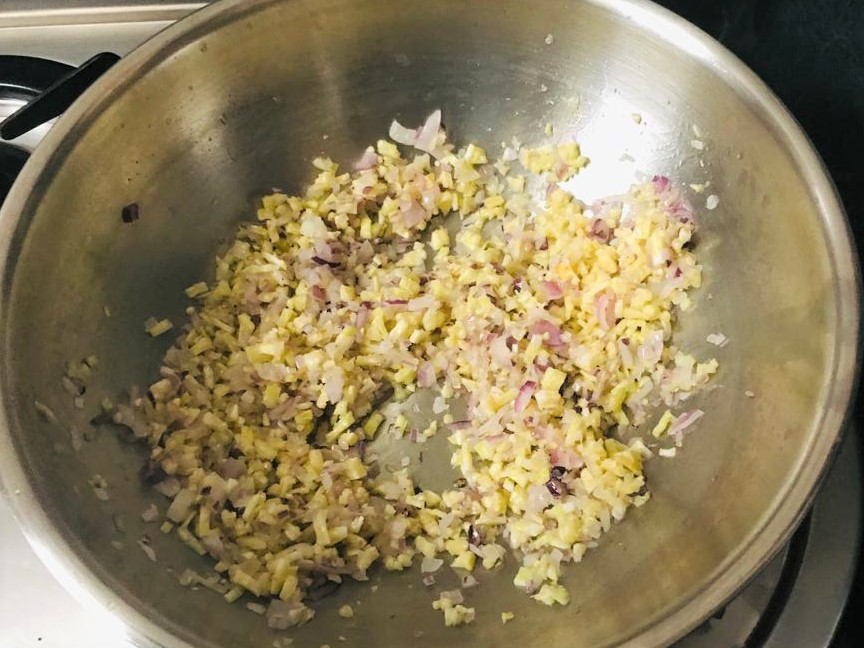
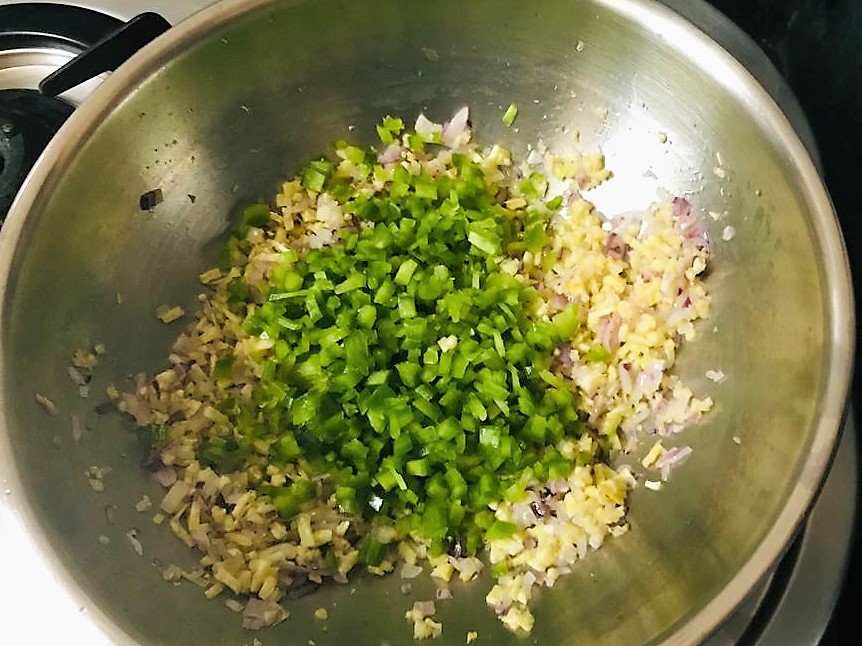
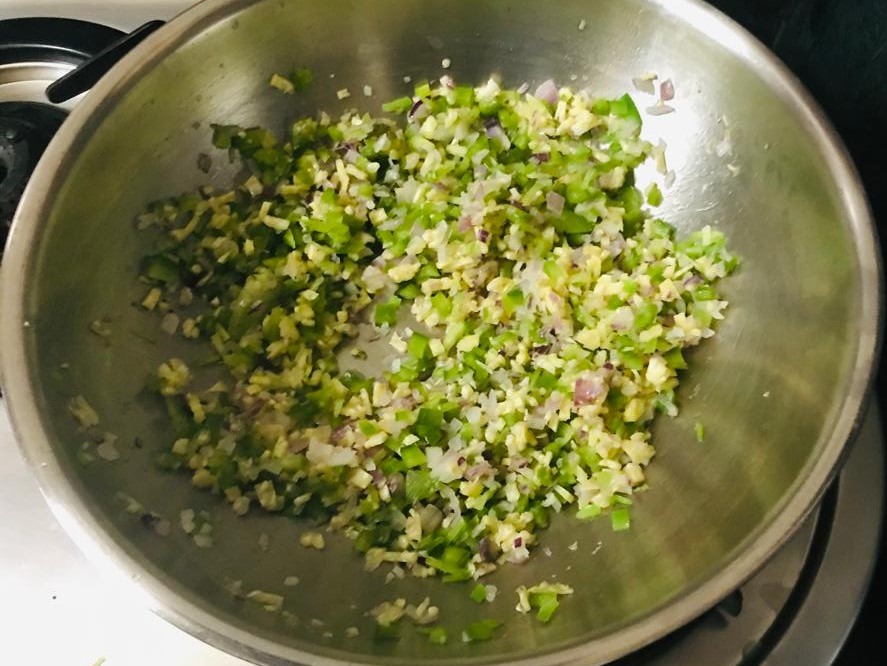
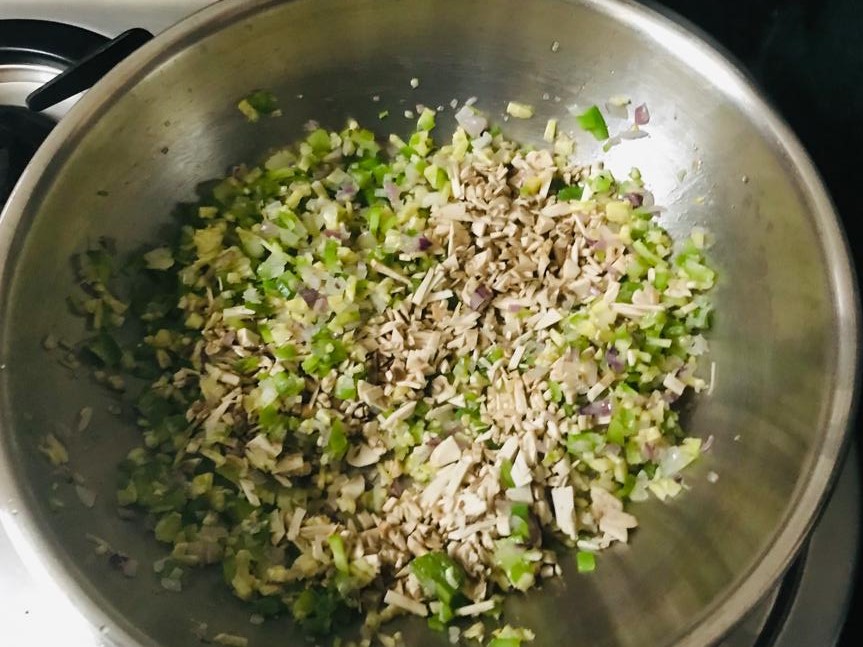
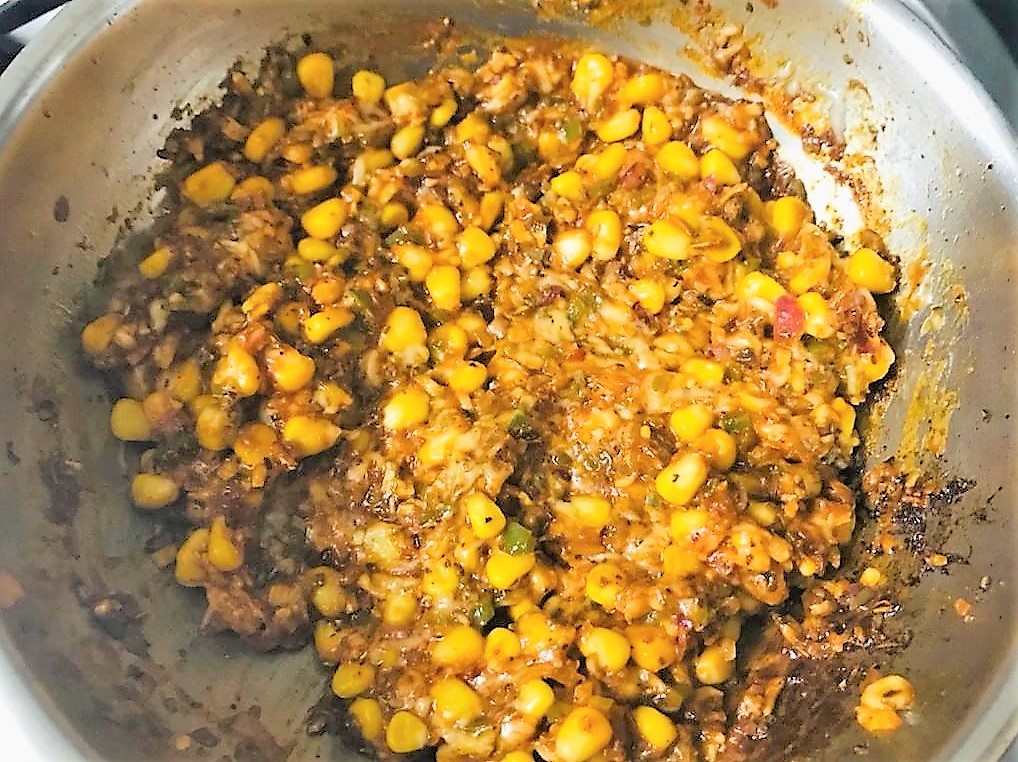
Heat oil in a pan and add the onions and sauté for 2-3 minutes on medium heat or until they turn translucent. Then add the baby corns, pepper and mushroom and sauté on medium heat for 1-2 minutes.
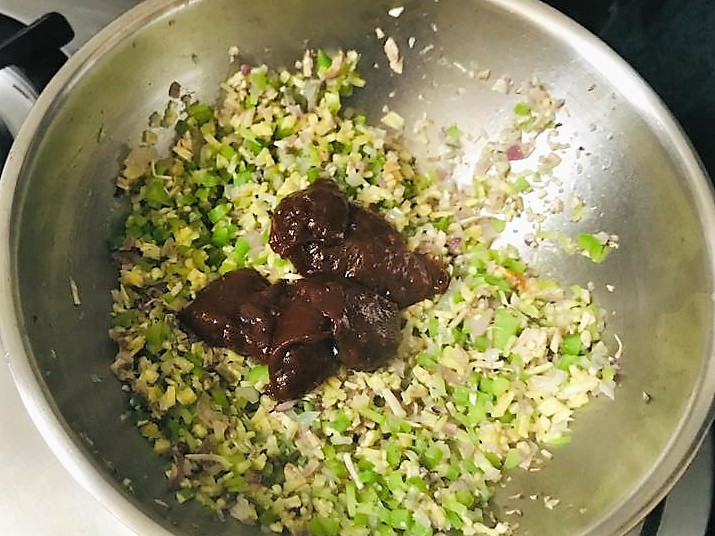
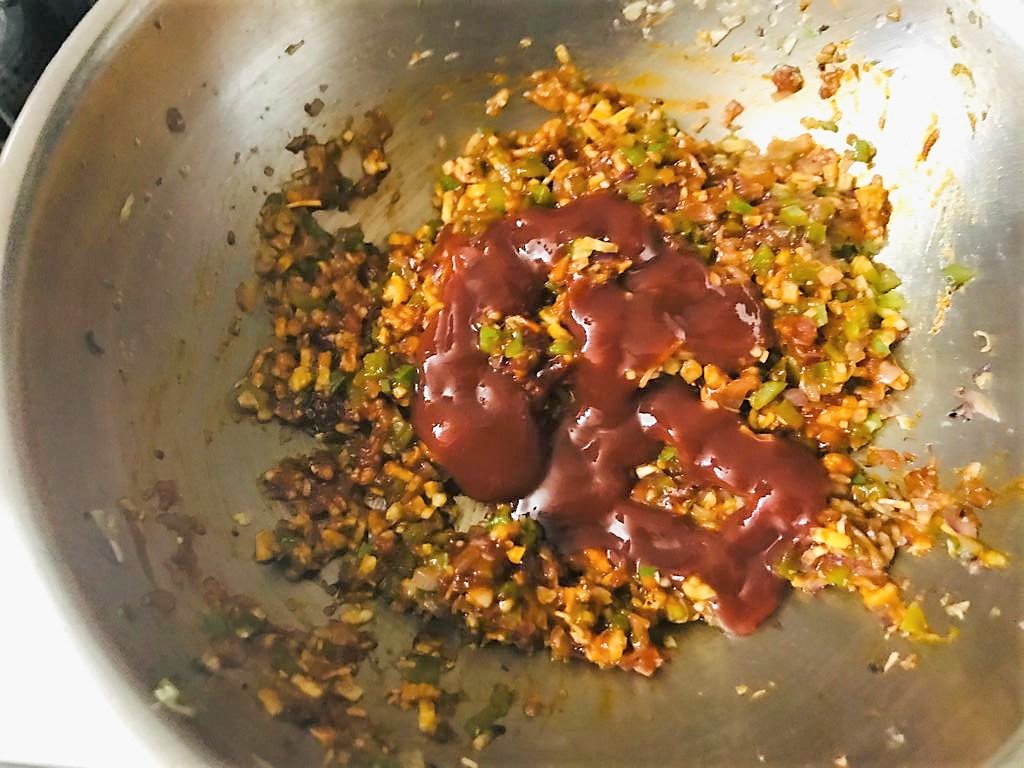
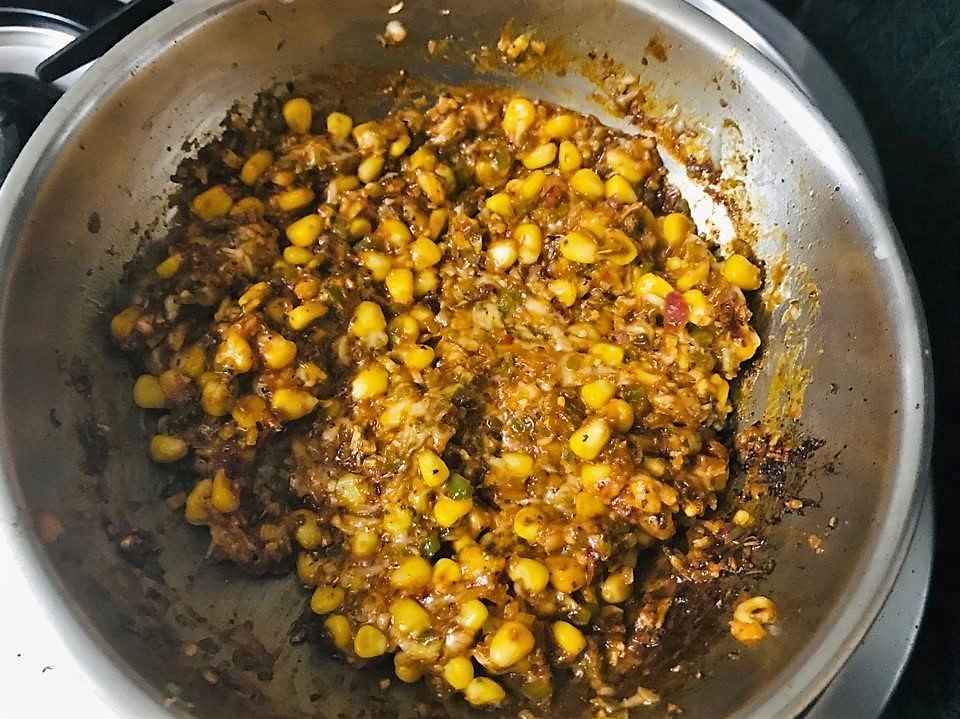
Add the pizza sauce and tomato ketchup and mix.
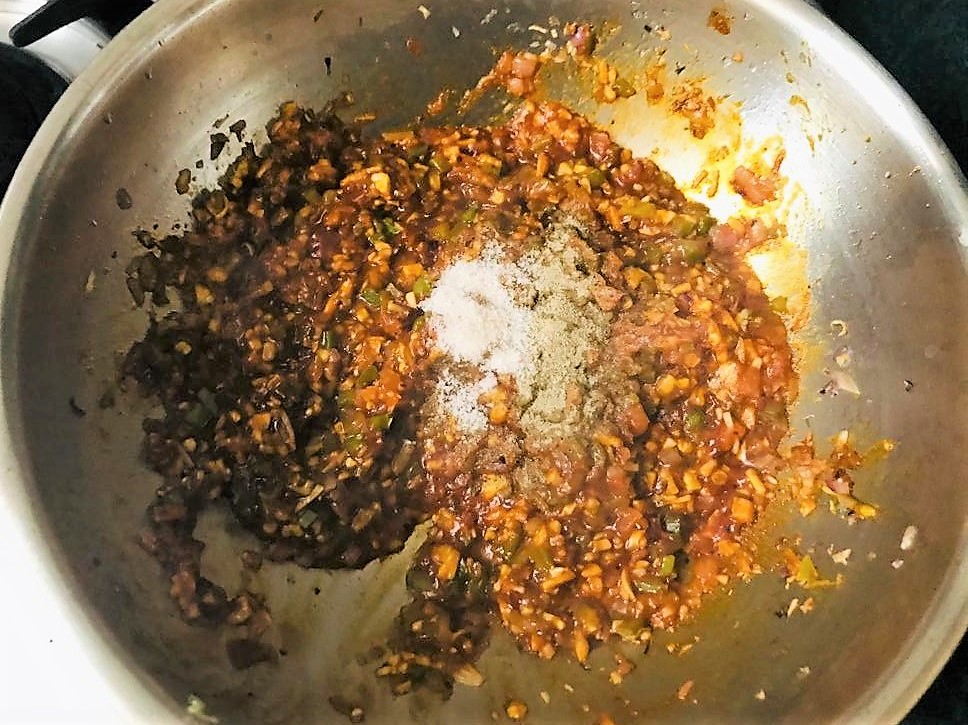
Next add the salt, white pepper, oregano, chilli flakes and boiled corn and mix until well combined.
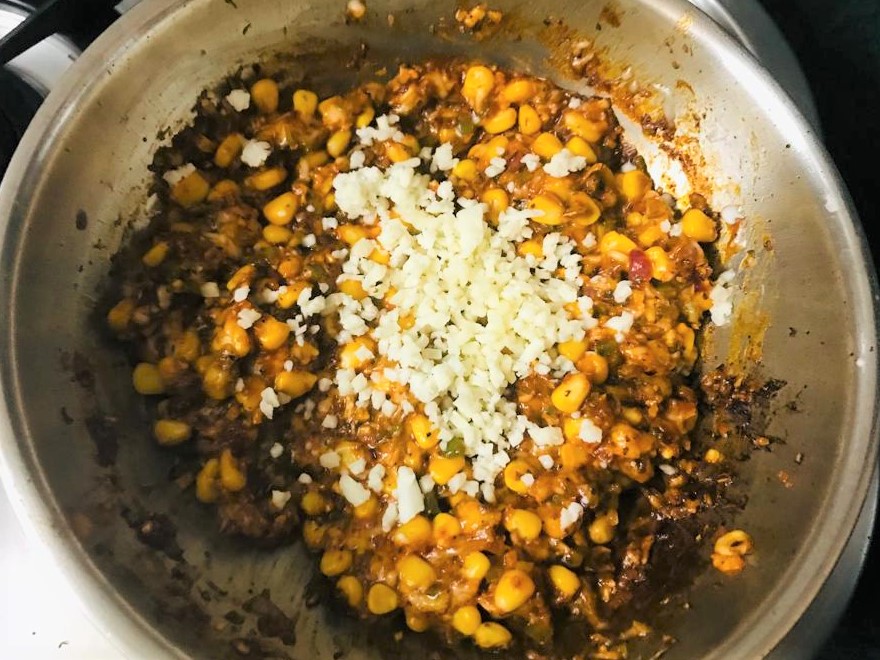
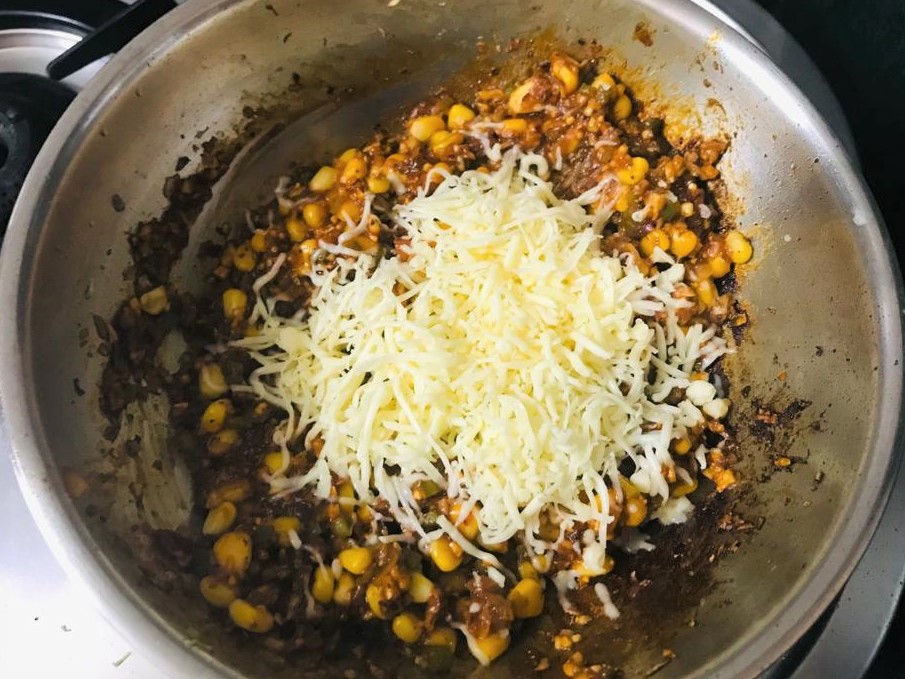
Finally turn the heat off and add the mozzarella and cheddar and mix. Keep the pizza filling aside.
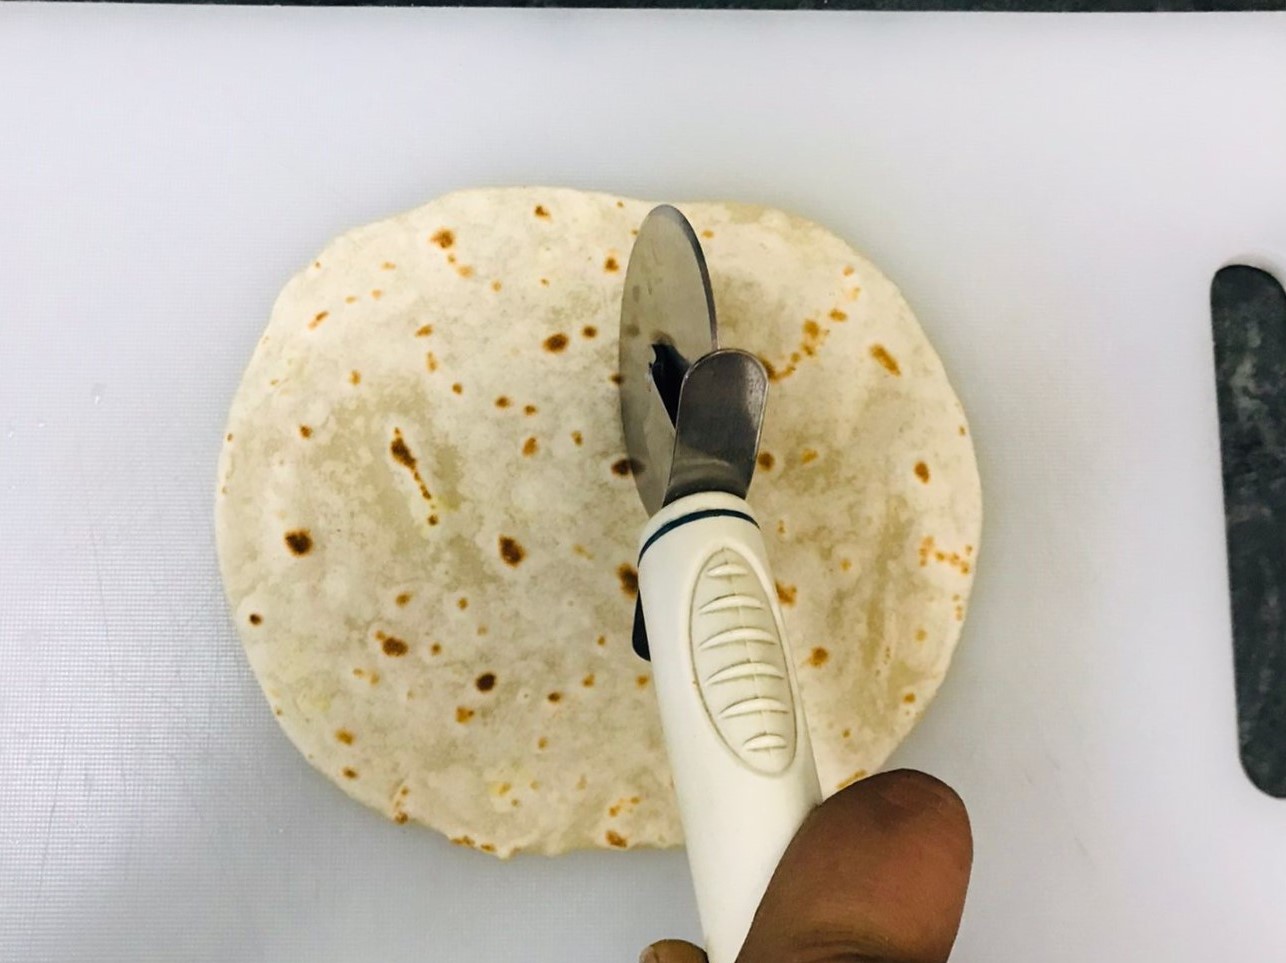
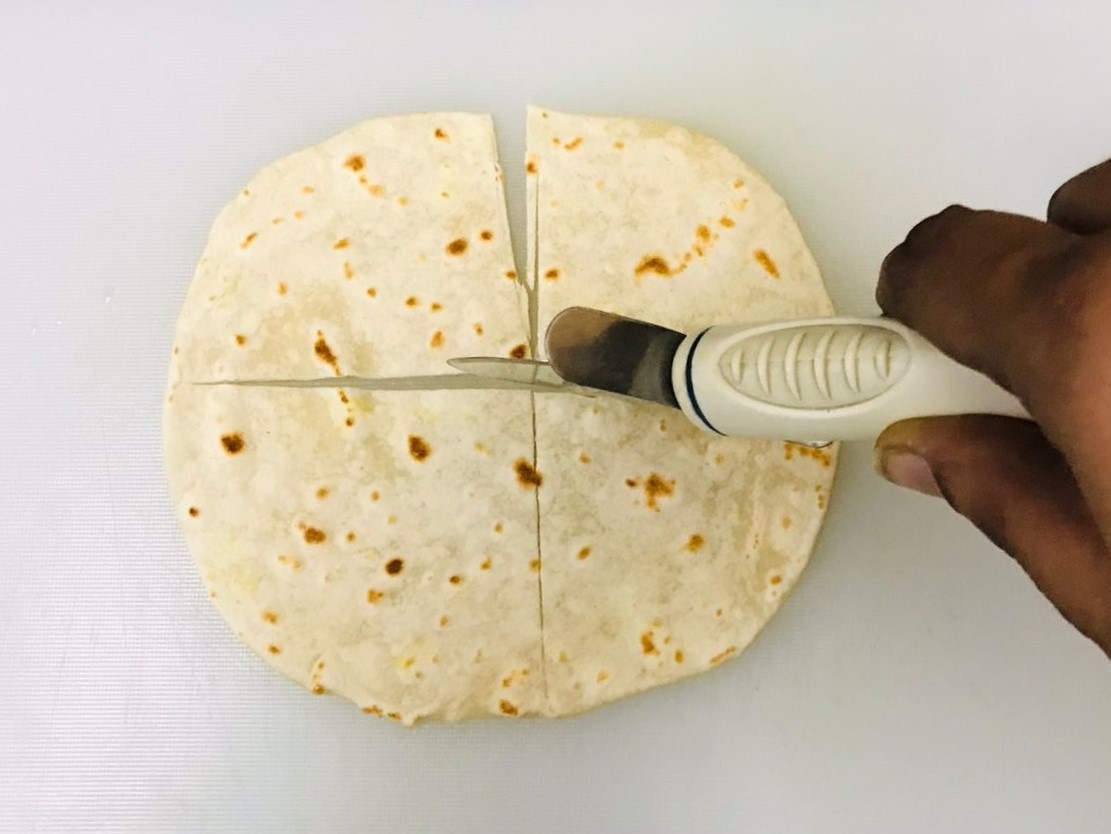
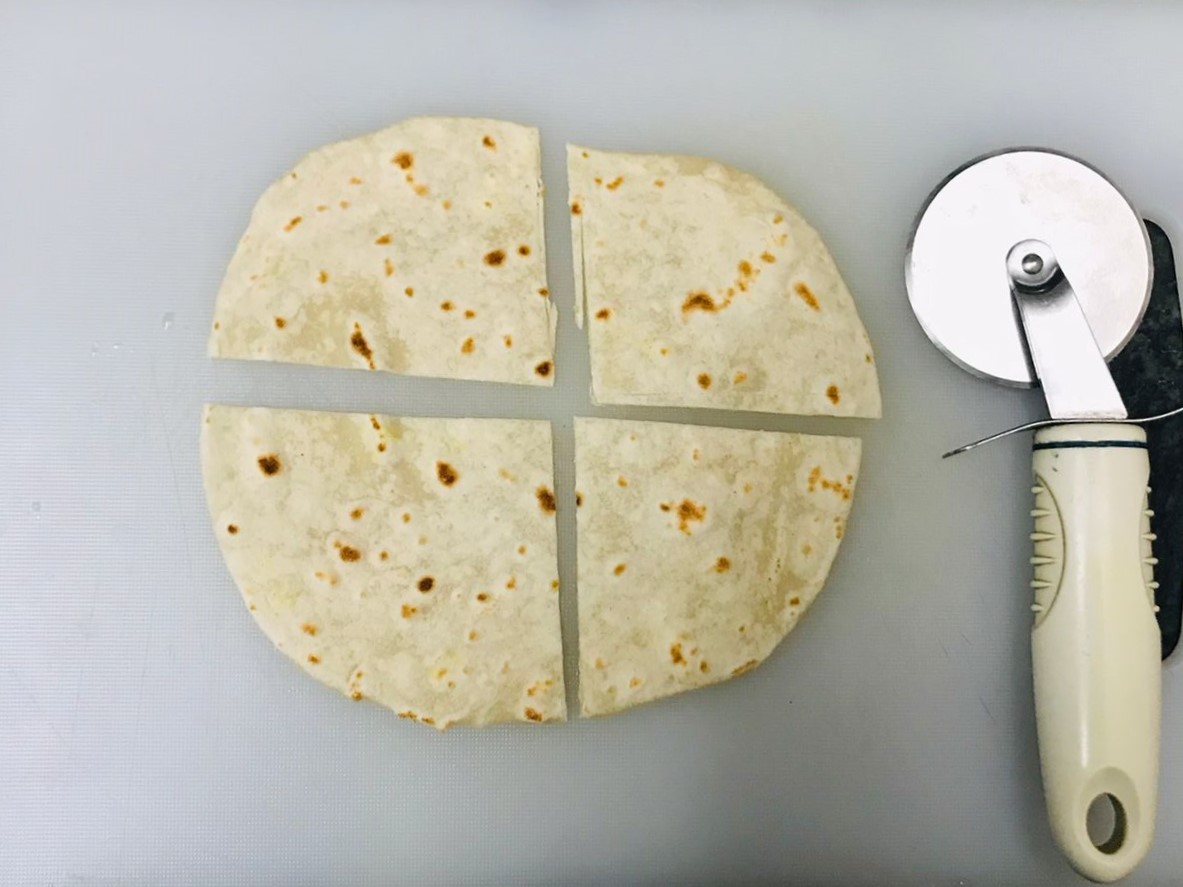
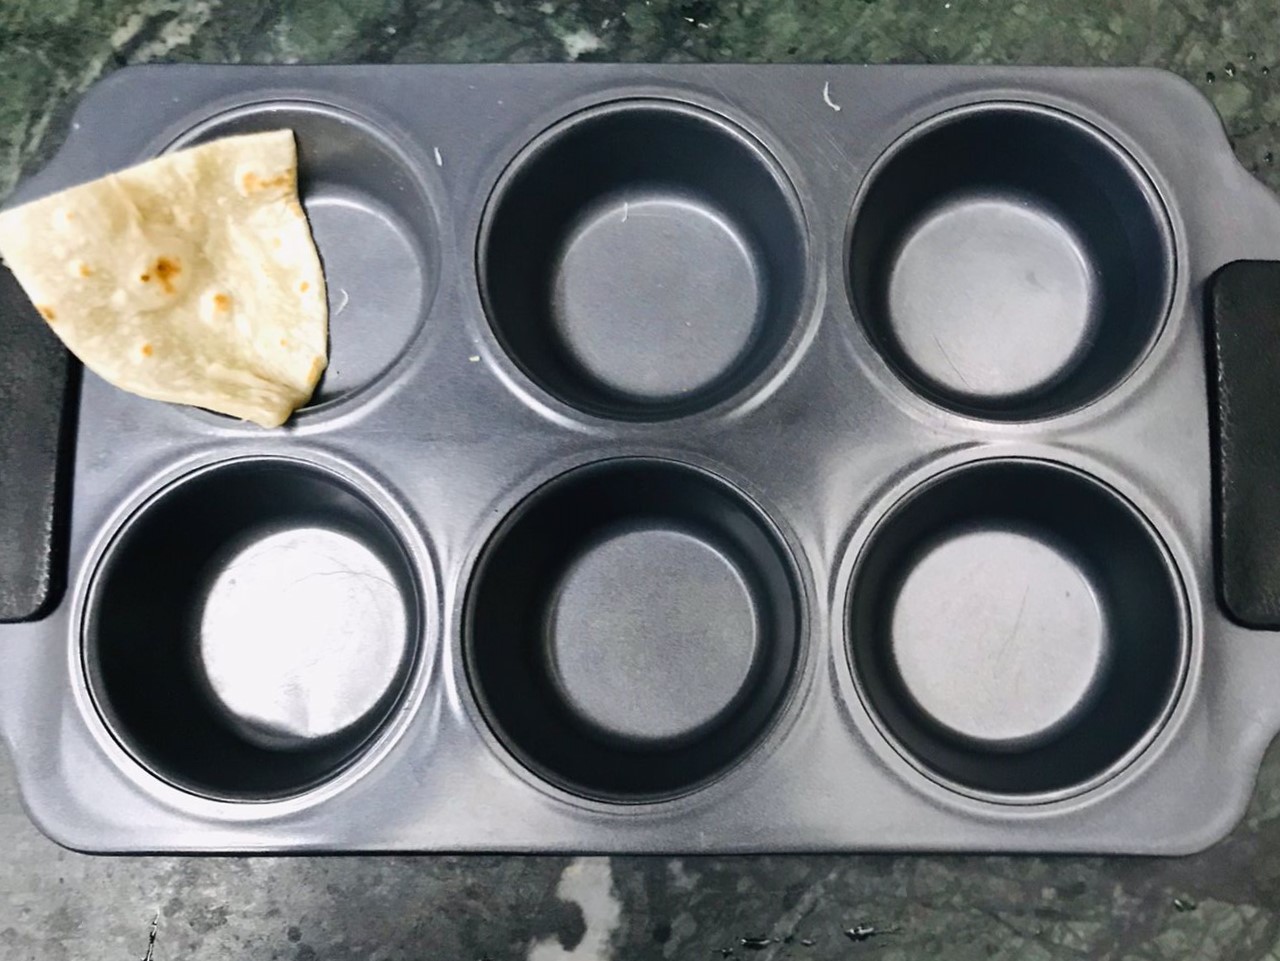
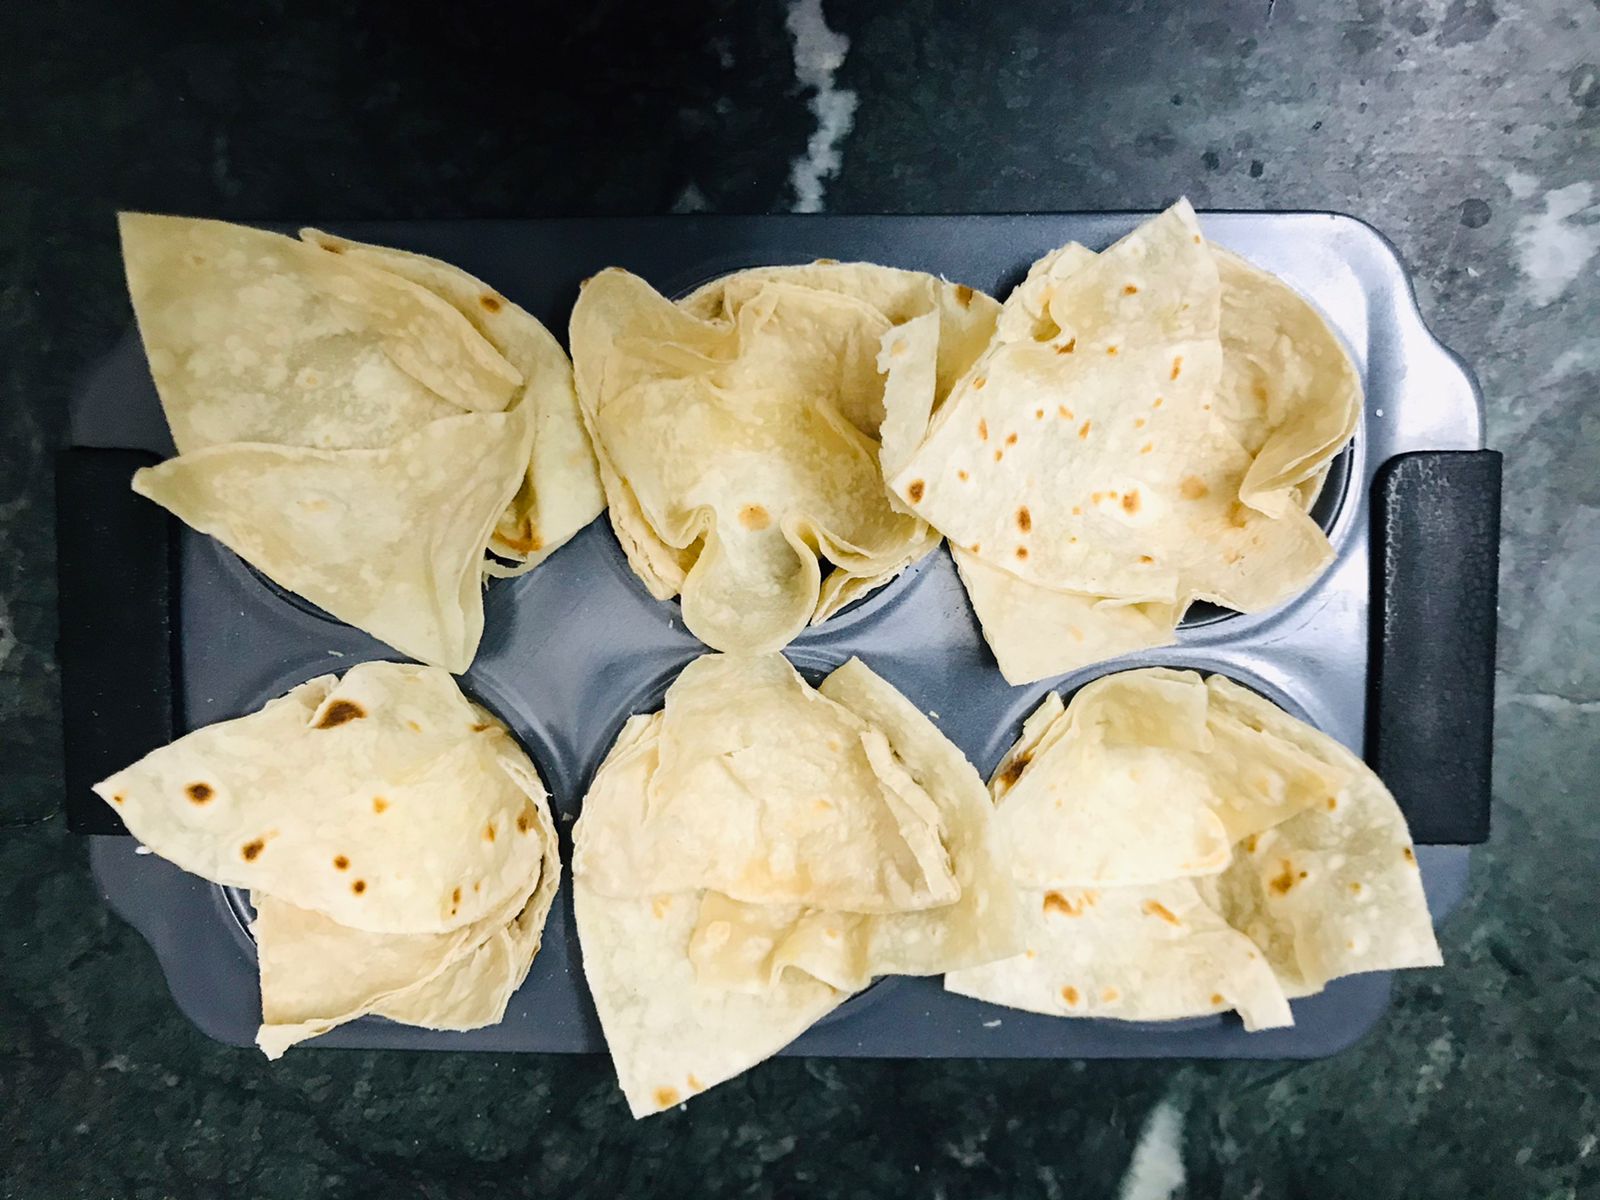
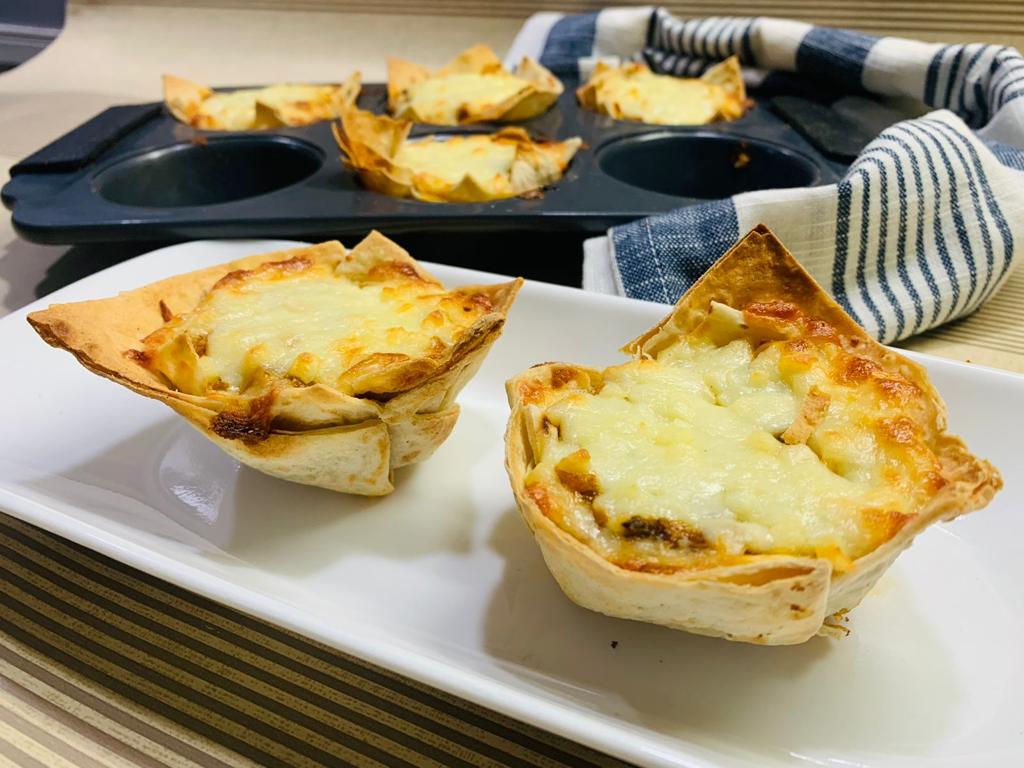
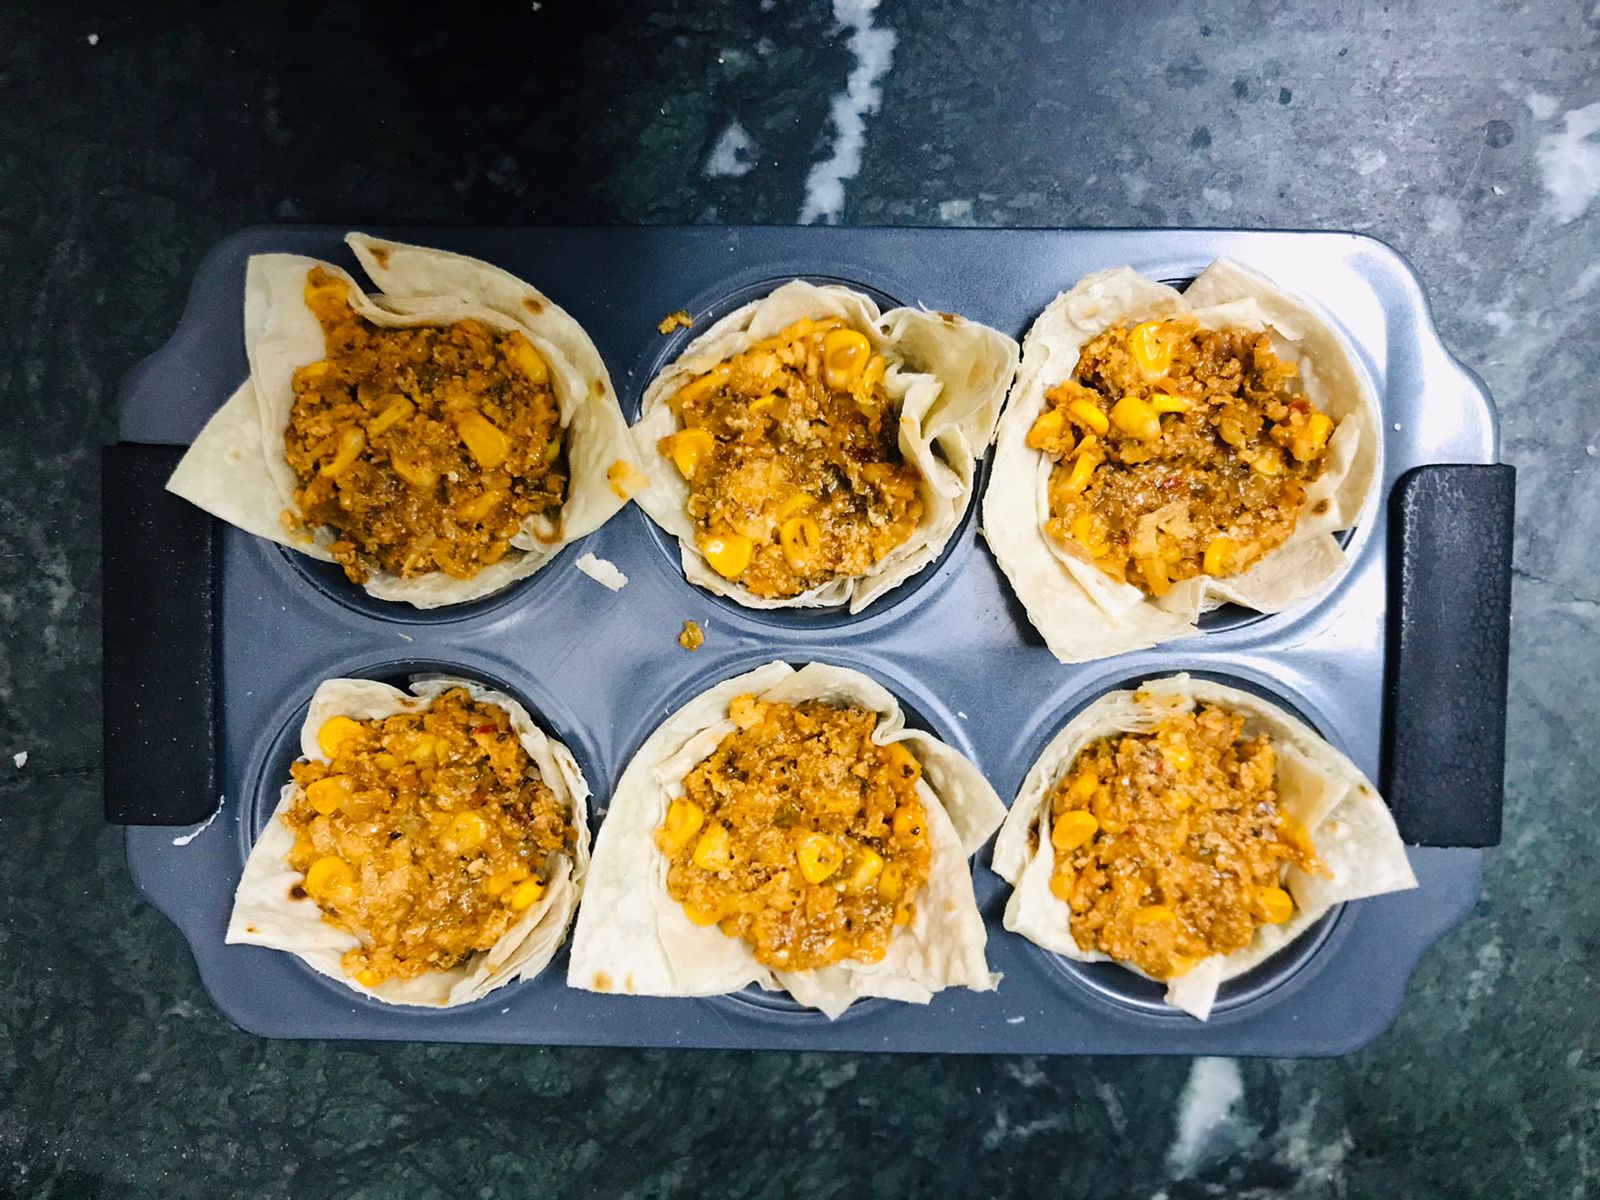
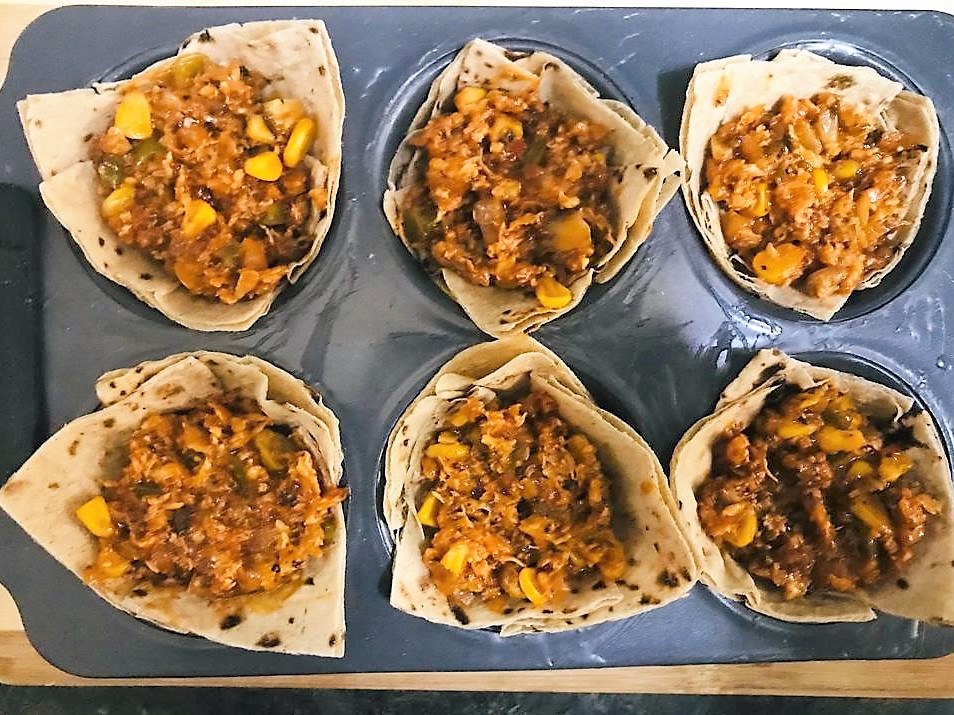
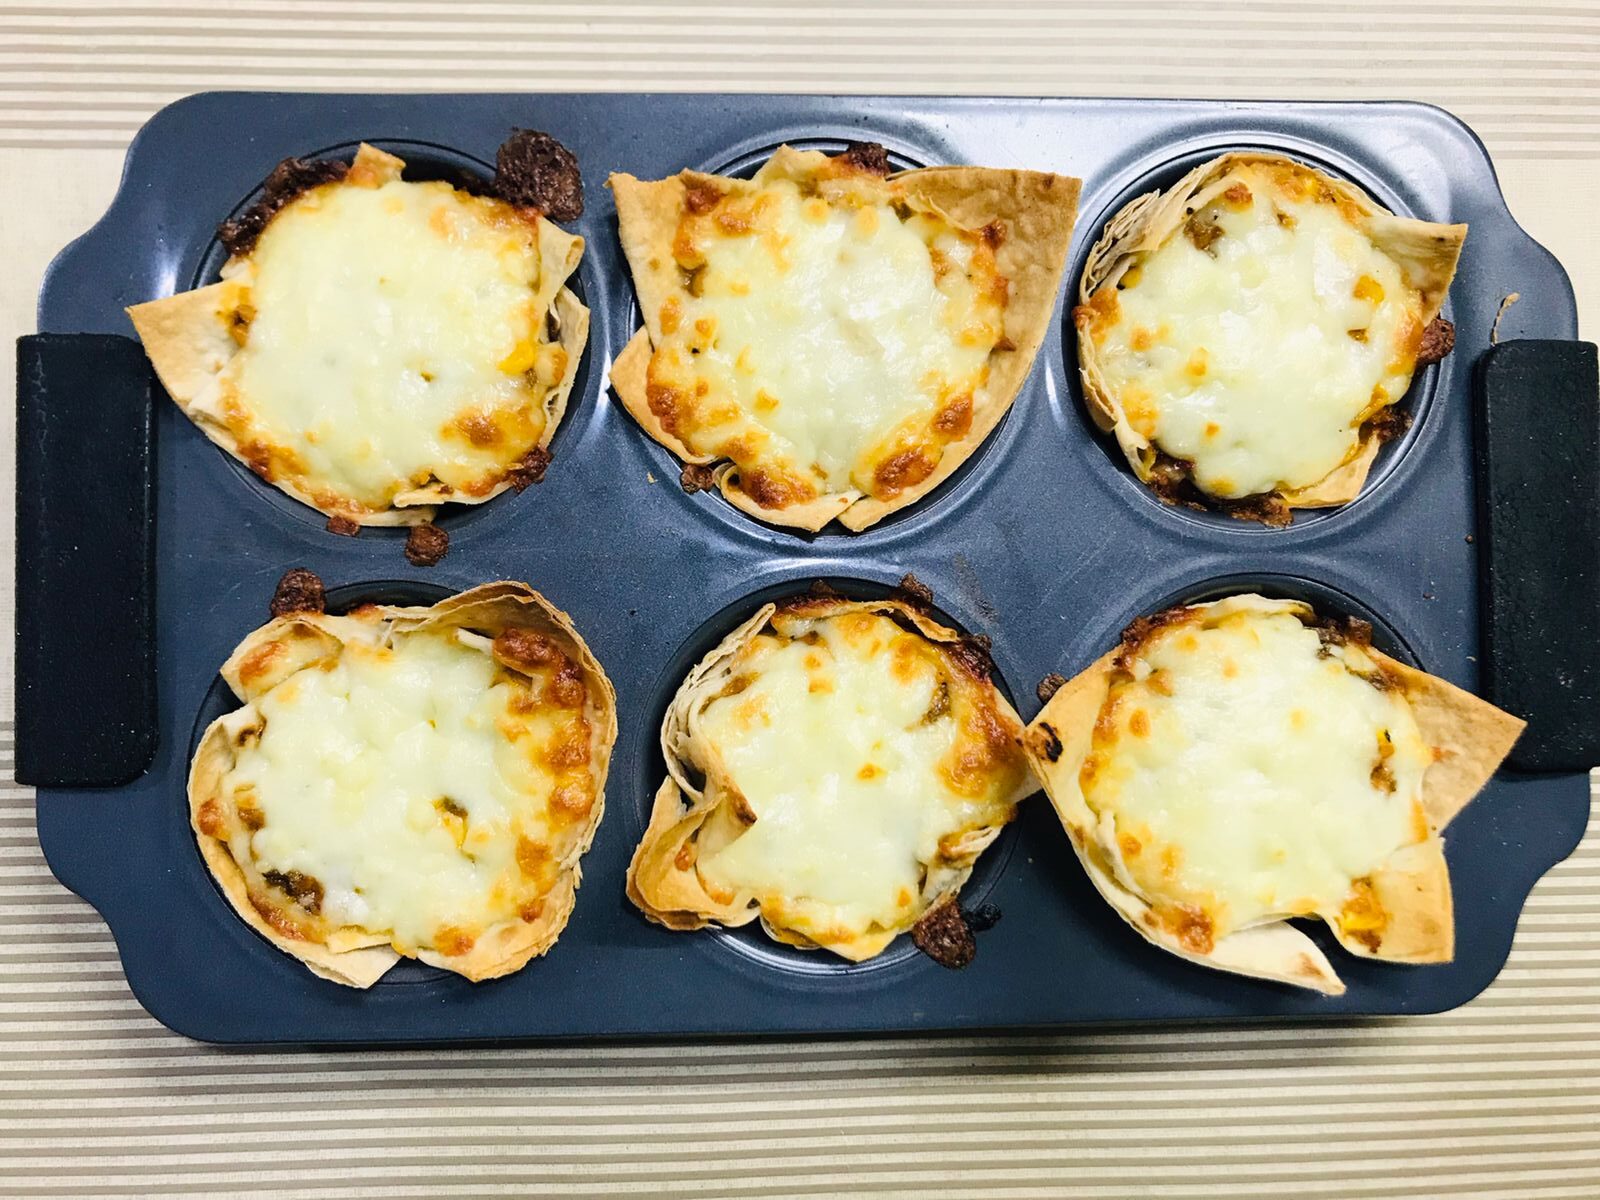
Cut the wrap into 4 quarters. Line a muffin tin using the 3 wrap quarters to make a shape of a small cup.
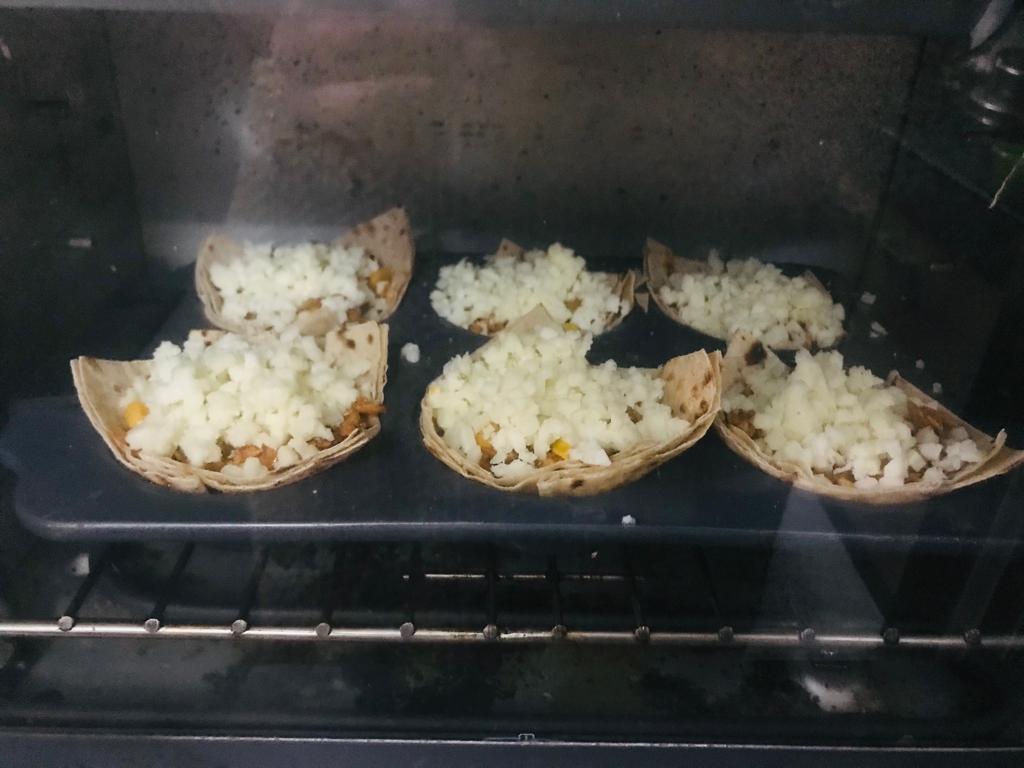
Preheat oven to 180C/160 Fan/Gas 4.
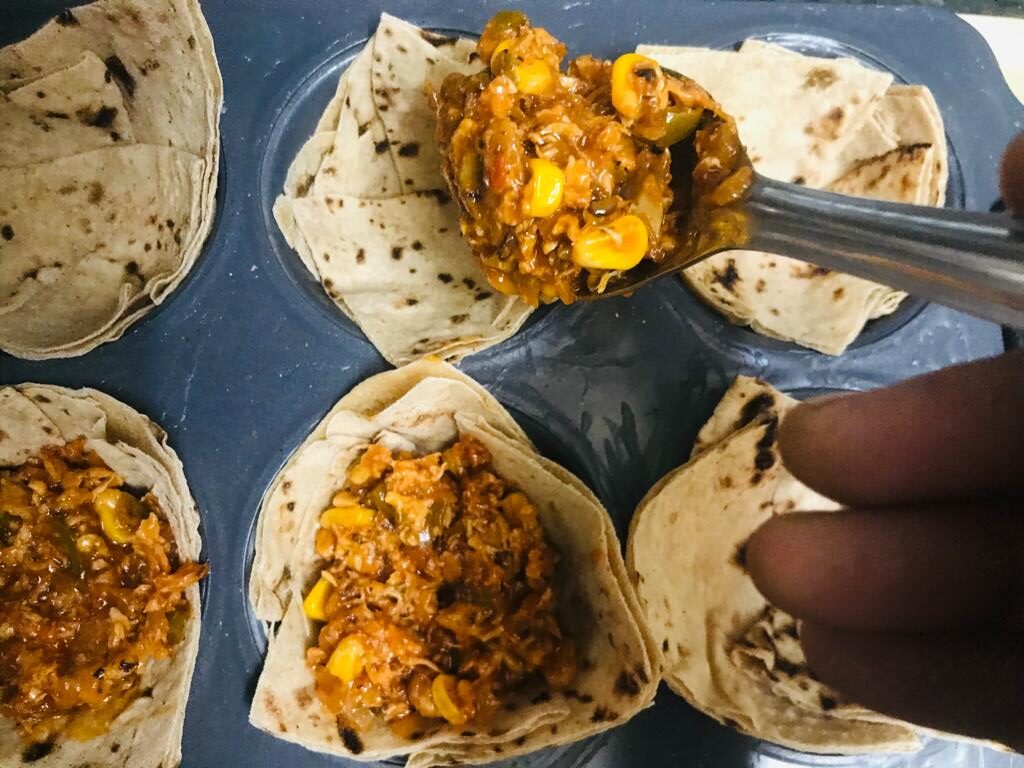
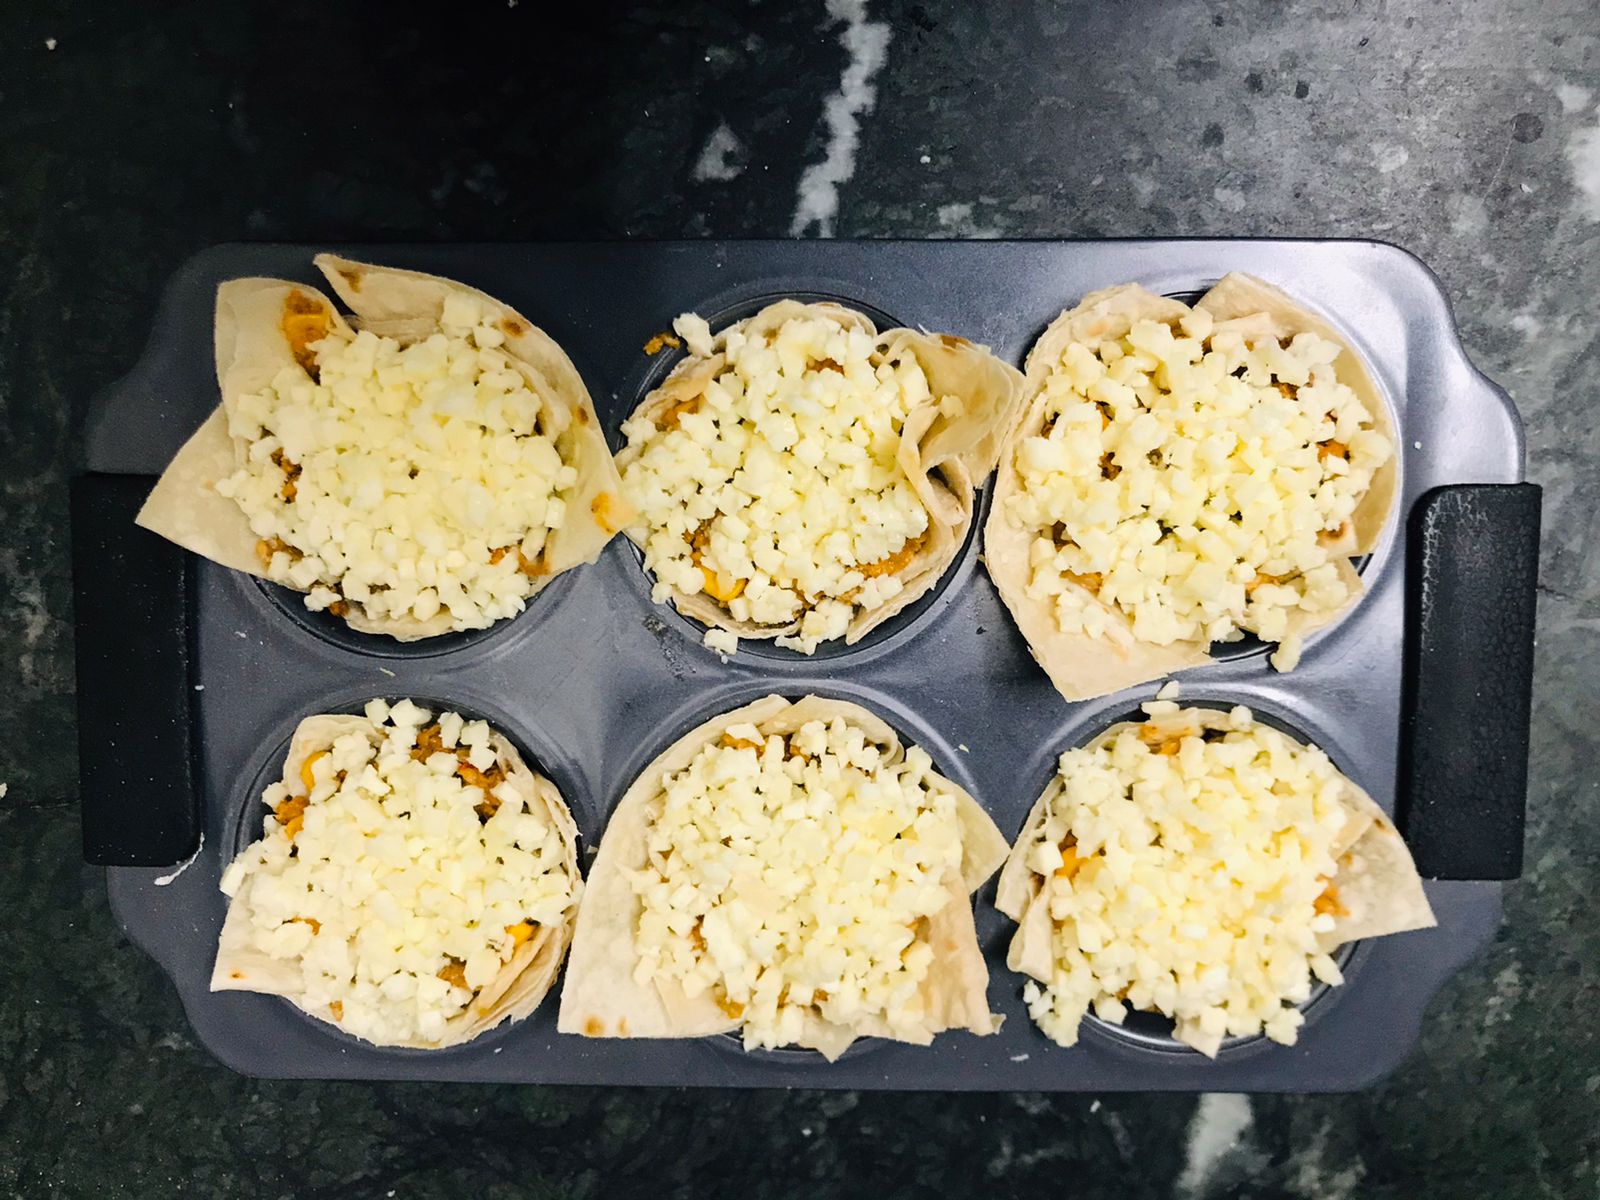
Gently fill each mould with 1-2 tablespoons of pizza filling and sprinkle some mozzarella on top.
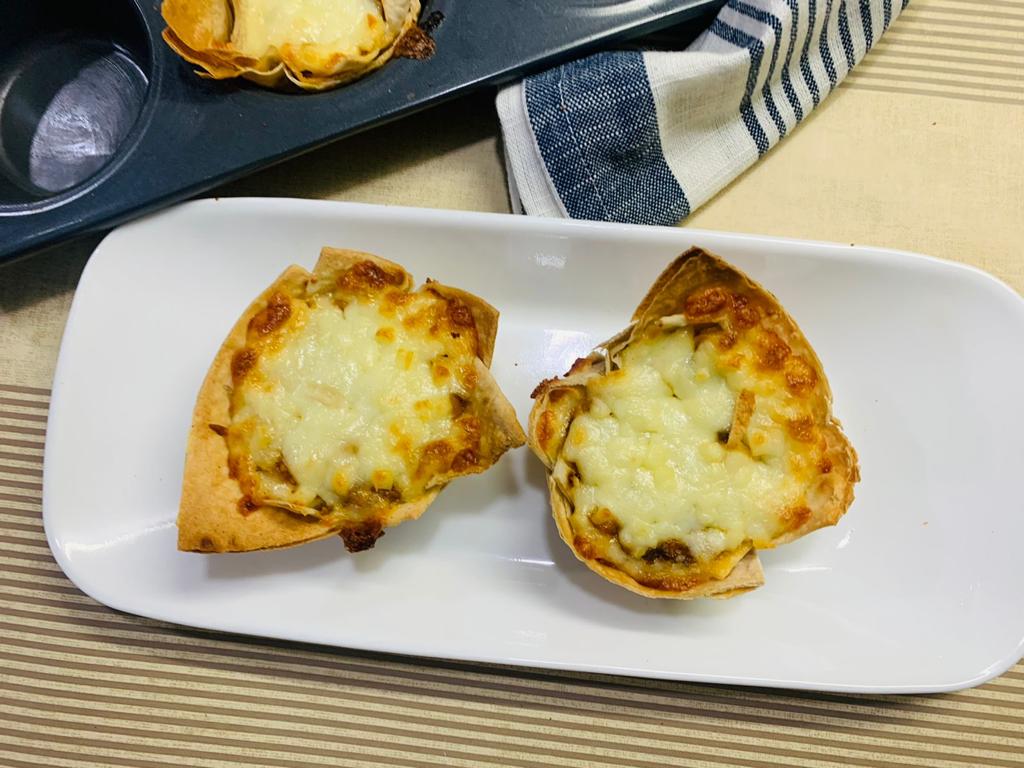
Bake it for around 7-8 minutes in the preheated oven until the mozzarella cheese melts and turns golden brown in colour.
Serve hot!