Tibetan Vegetable Dumplings/ Vegetable Momos
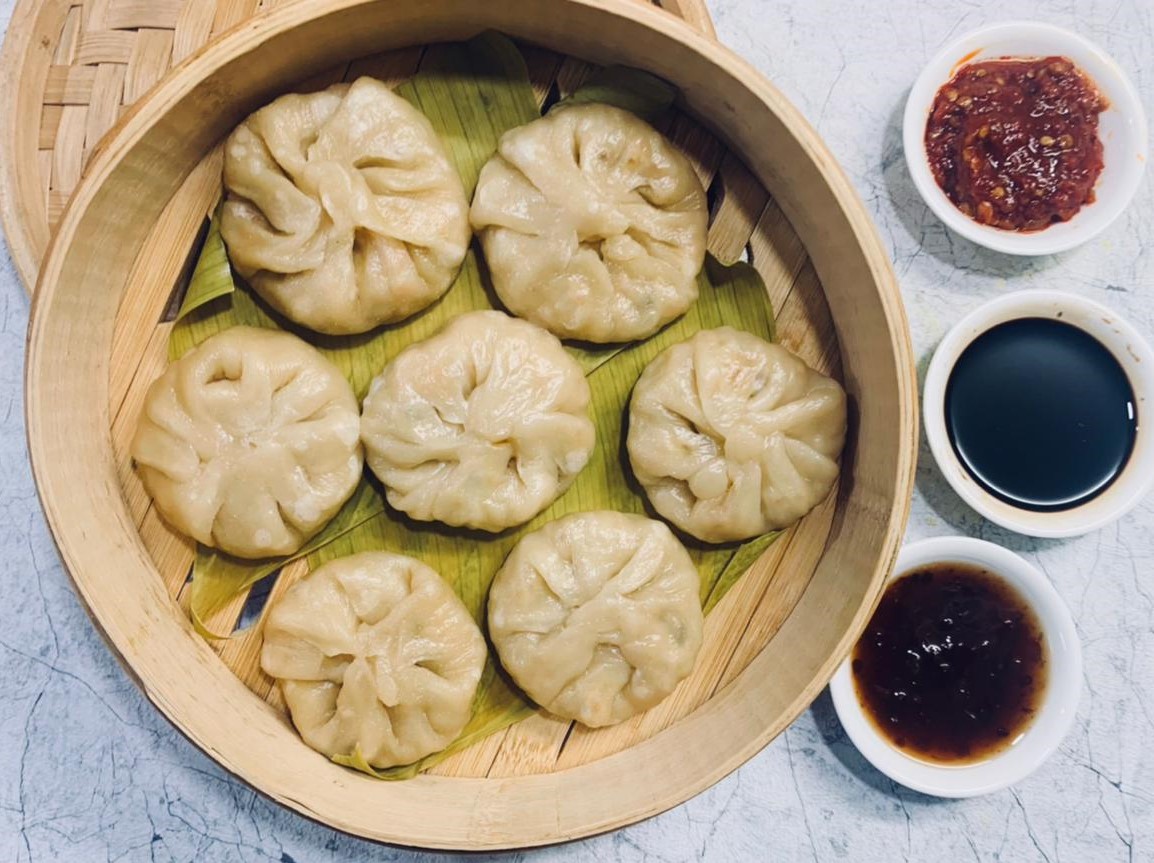
Tibetan Vegetable Dumplings/ Vegetable Momos
Utterly unique and delicious Tibetan Dumplings – momos- are basically the unofficial national dish of Tibet. Momos are dumplings native to Tibet, Nepal, Bhutan, and the Himalayan states of India.
Biting into hot steamy Momos, with a lip-smacking spicy chutney will definitely start a love affair with these delicate parcels! Momos for me are more than just ‘food’. They are little parcels each ‘wrapped’ with love and memories that are sealed in little package. Momos are a great first foray into Tibetan food. Tibetan food is not traditionally the most vegetarian friendly cuisine, due to the country’s high altitudes- making growing crops a challenge. But due to the increase in vegan/vegetarianism the plant based options of these delicious parcels have slowly gained popularity.
Momos have now become the quintessential Tibetan dish that everyone talks about and loves. Traditionally, in Tibet, momos are considered more of a family meal – something to be made together and eaten together. Sometimes it is not just the food but the whole atmosphere a dish brings! I love making momos at home as it brings the whole family together. We all gather around the dining table, chatting away, making memories while we all take time filling and shaping each momo. The delicious smells from the kitchen of steaming the momos just fills the house with most aromatic smells.
The variations for making momos are endless – momos can be meat, vegetarian, steamed (the most popular), fried, and cooked in a broth. Every Tibetan family has a slightly different momo recipe, with various theories on how to make them the most juicy and delicious, or how to keep the dough skins to the desired delicate thinness. The perfect momo has a shell that is delicate yet firm enough to hold in the juices. One bite and the juice will squirt out if you are not careful.
While making momos there are three main things to keep in mind. First the dough, then the filling, and then the last step is the steaming. Of course, making the momo wrapper and shaping the momo is also a skill that needs some practice. This actually is a great way to keep the children involved in cooking with a piece of dough and let children wrap their own momos.
I am sharing my family’s favourite momo recipe!
Ingredients
For The Dough
1 cup plain flour
1 teaspoon salt
1 teaspoon oil
¼ cup water
For The Filling
1 teaspoon oil
1 teaspoon finely chopped green chilies
1 teaspoon finely chopped ginger
1 teaspoon finely chopped garlic
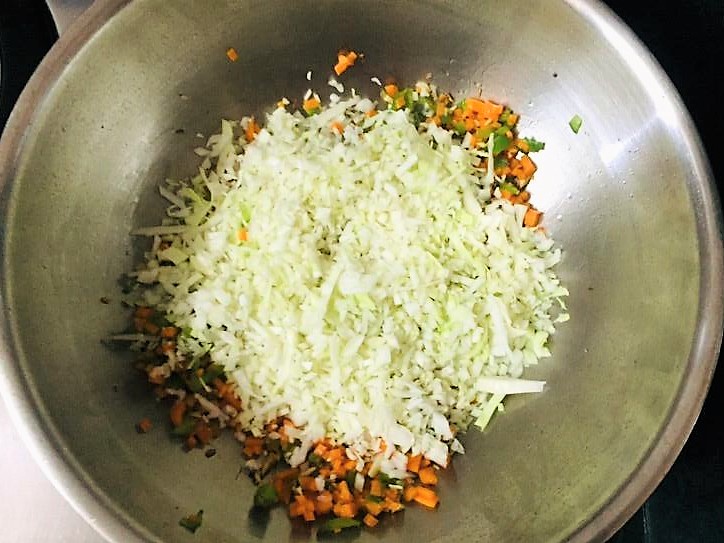
¼ cup finely chopped carrot
¼ cup finely chopped green pepper
¼ cup finely chopped cabbage
1 teaspoon salt
1 teaspoon white pepper
1 tablespoon vinegar
Directions
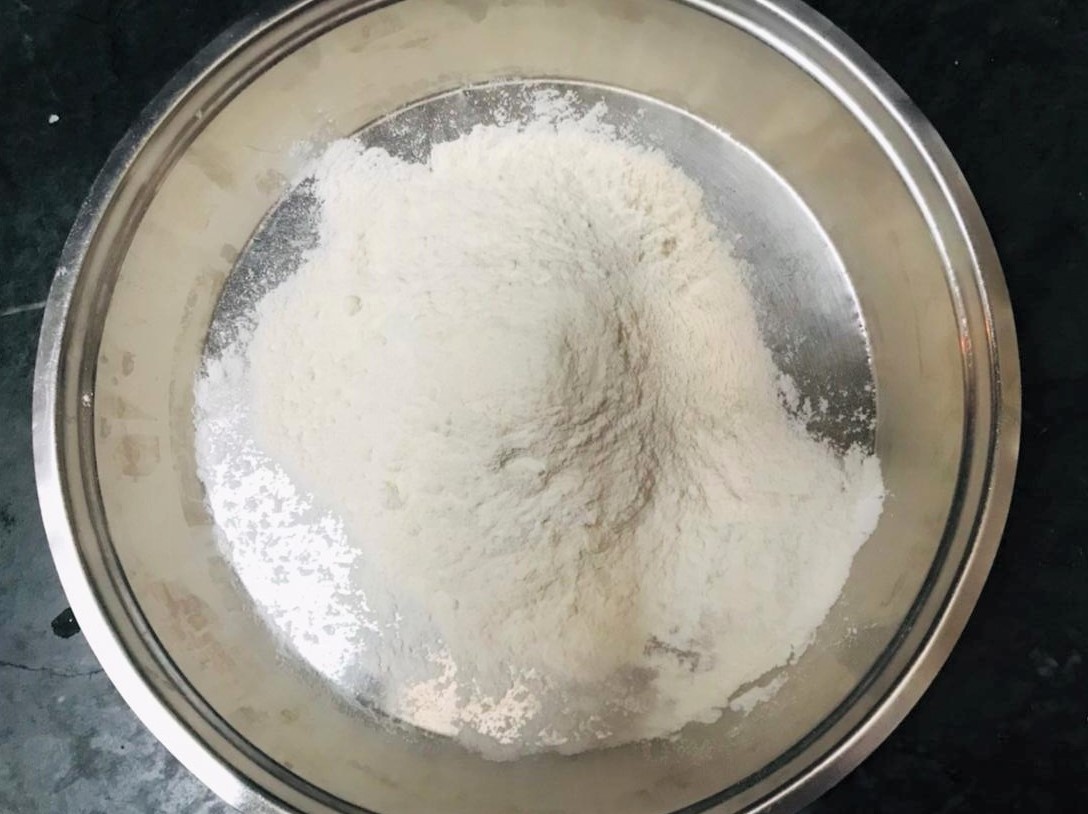
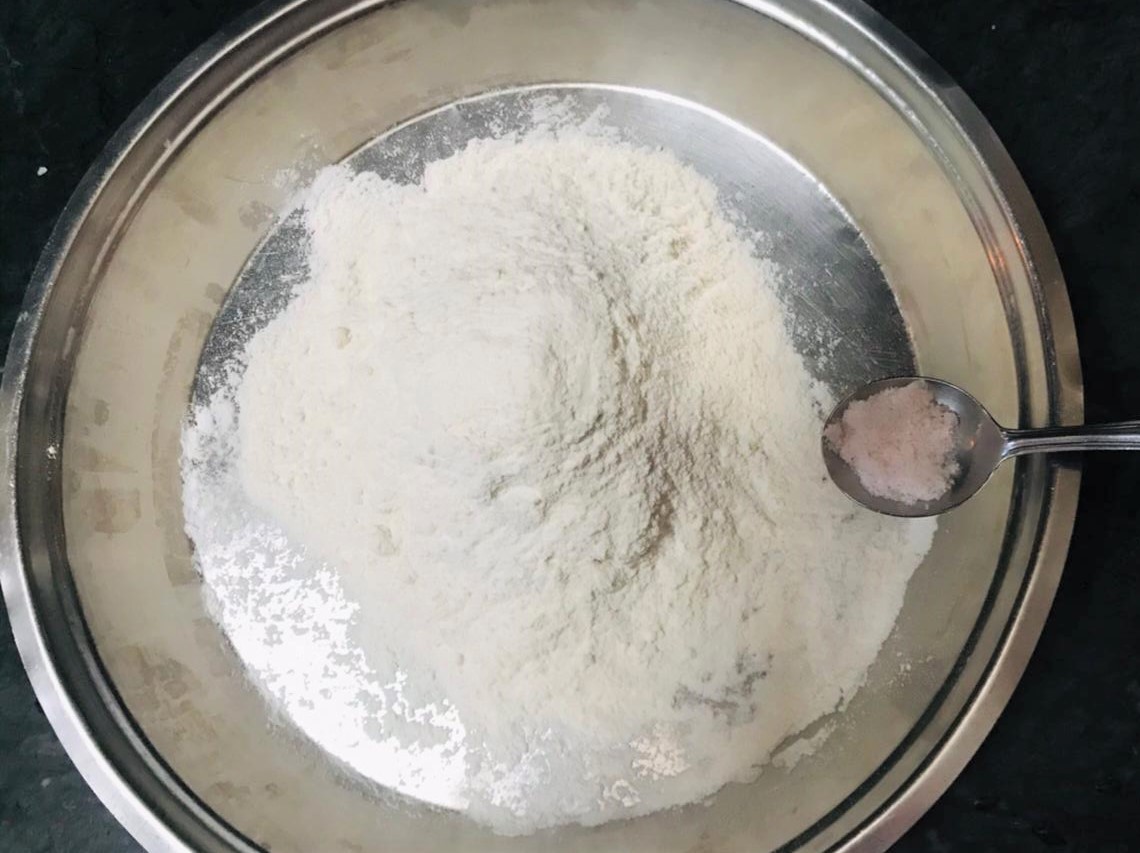
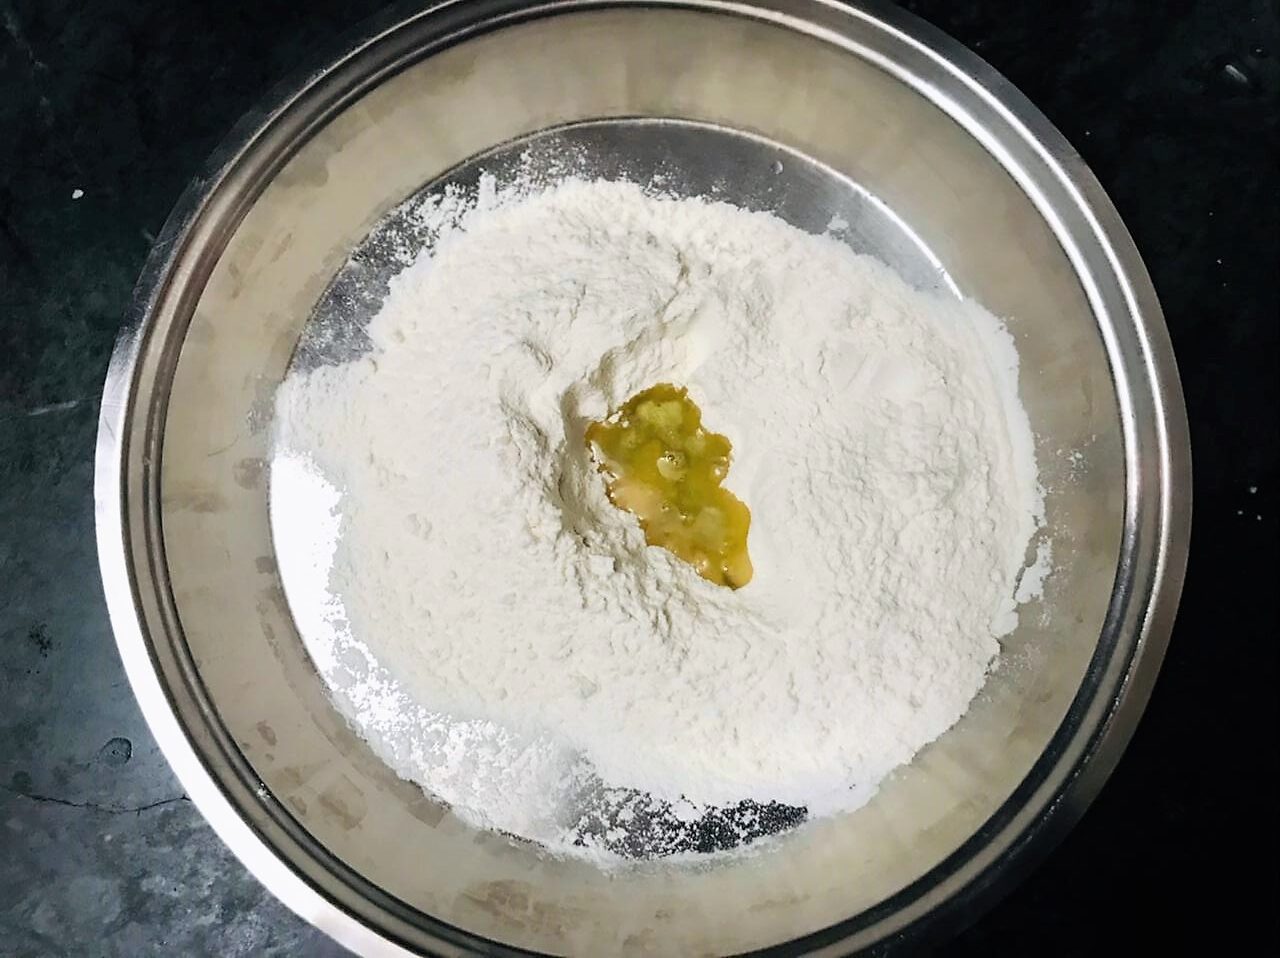
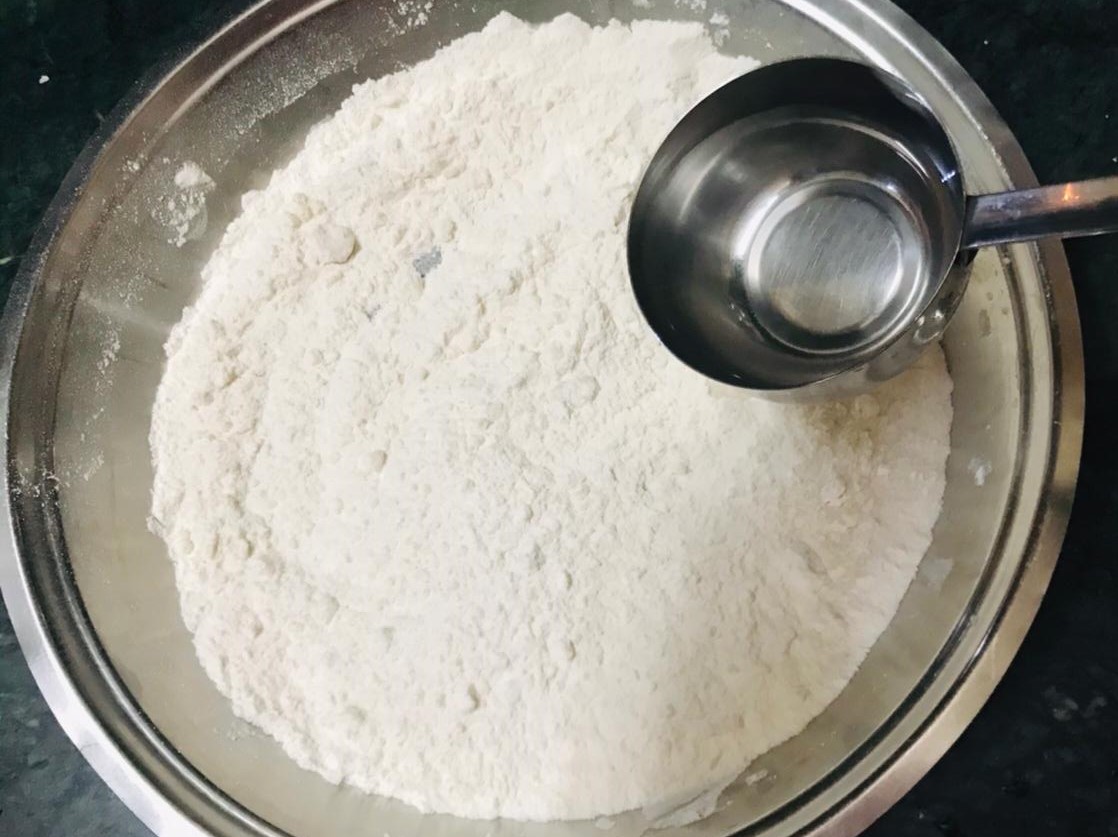
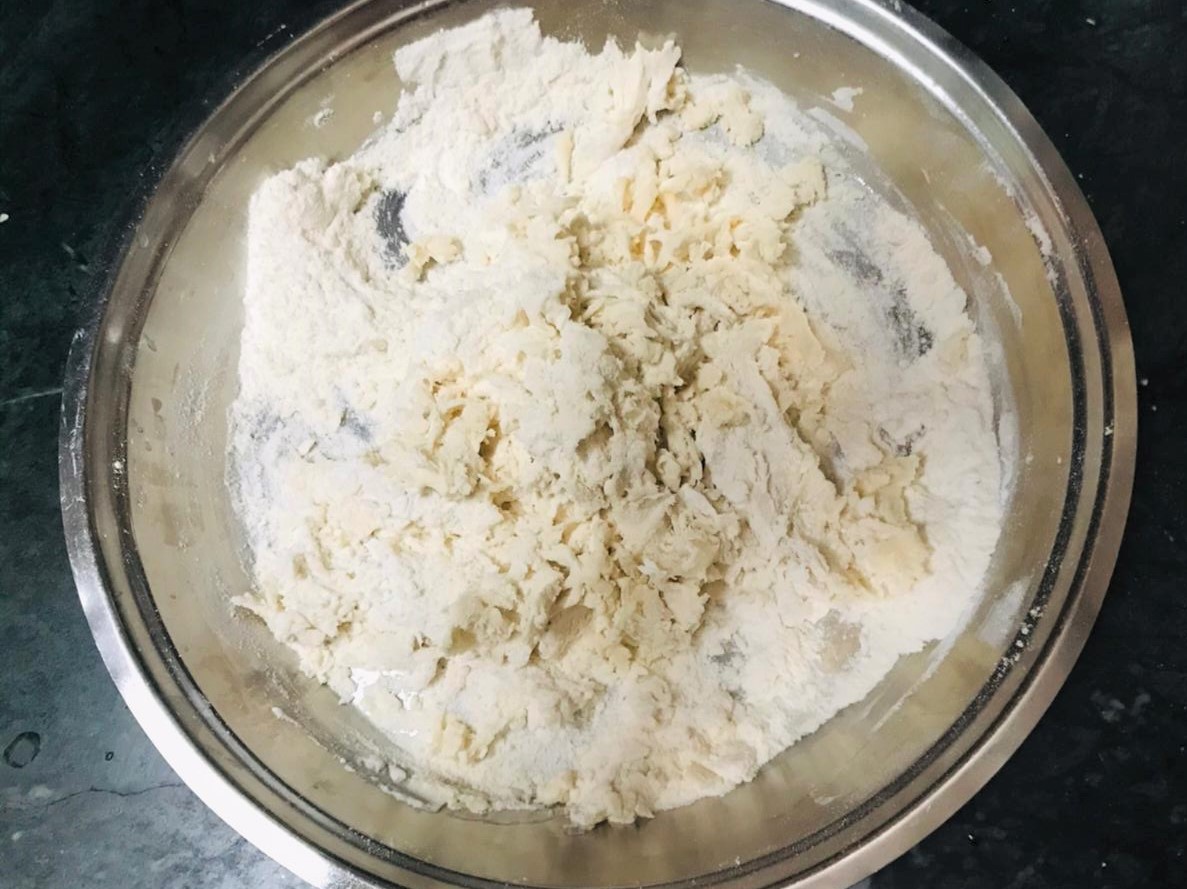
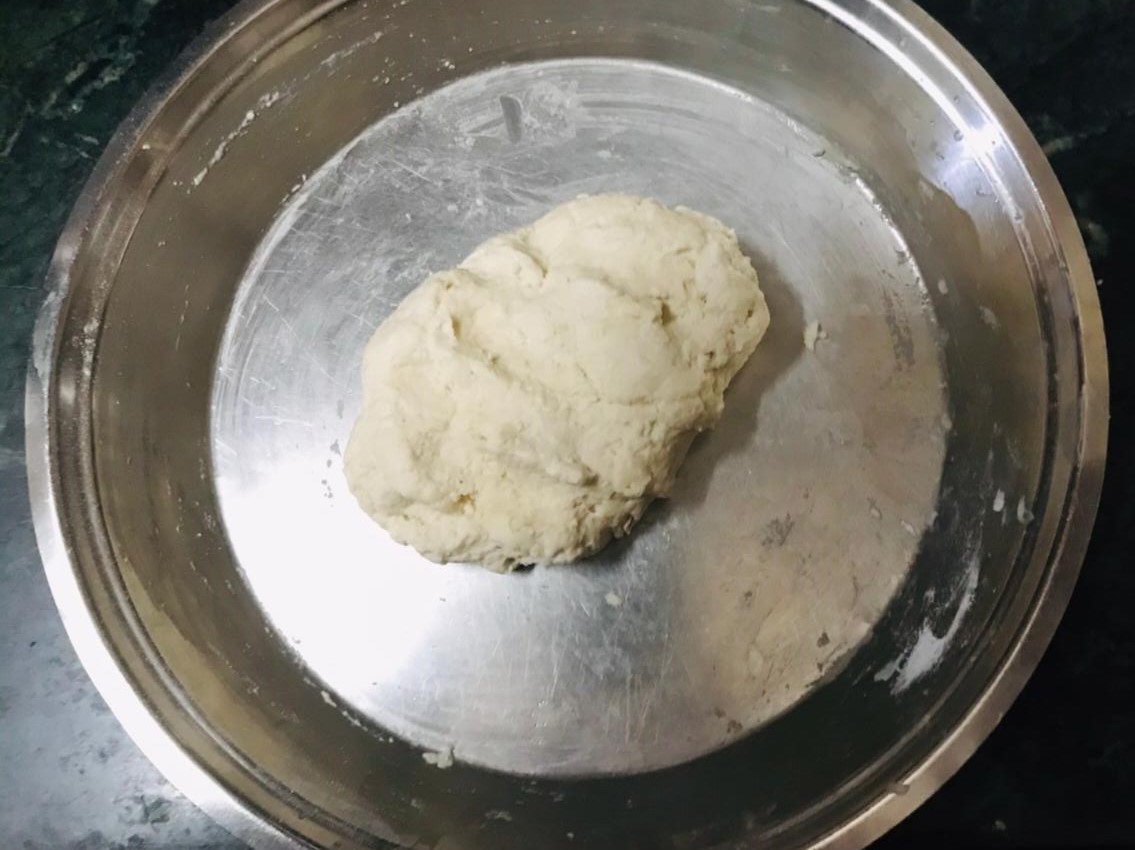
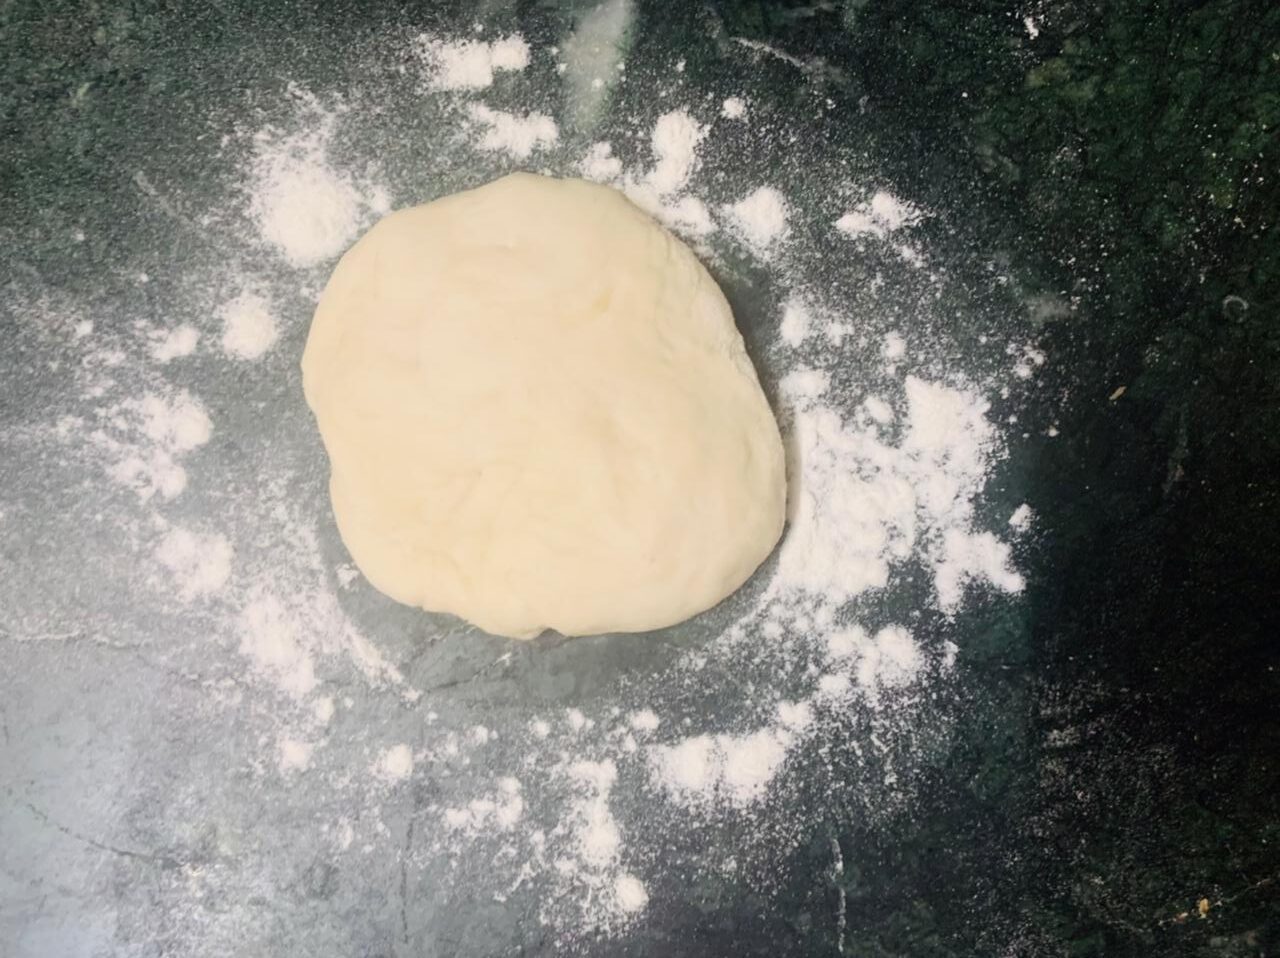
In a bowl add the plain flour, salt, and oil. Gradually add water and knead it to form a smooth ball of dough.
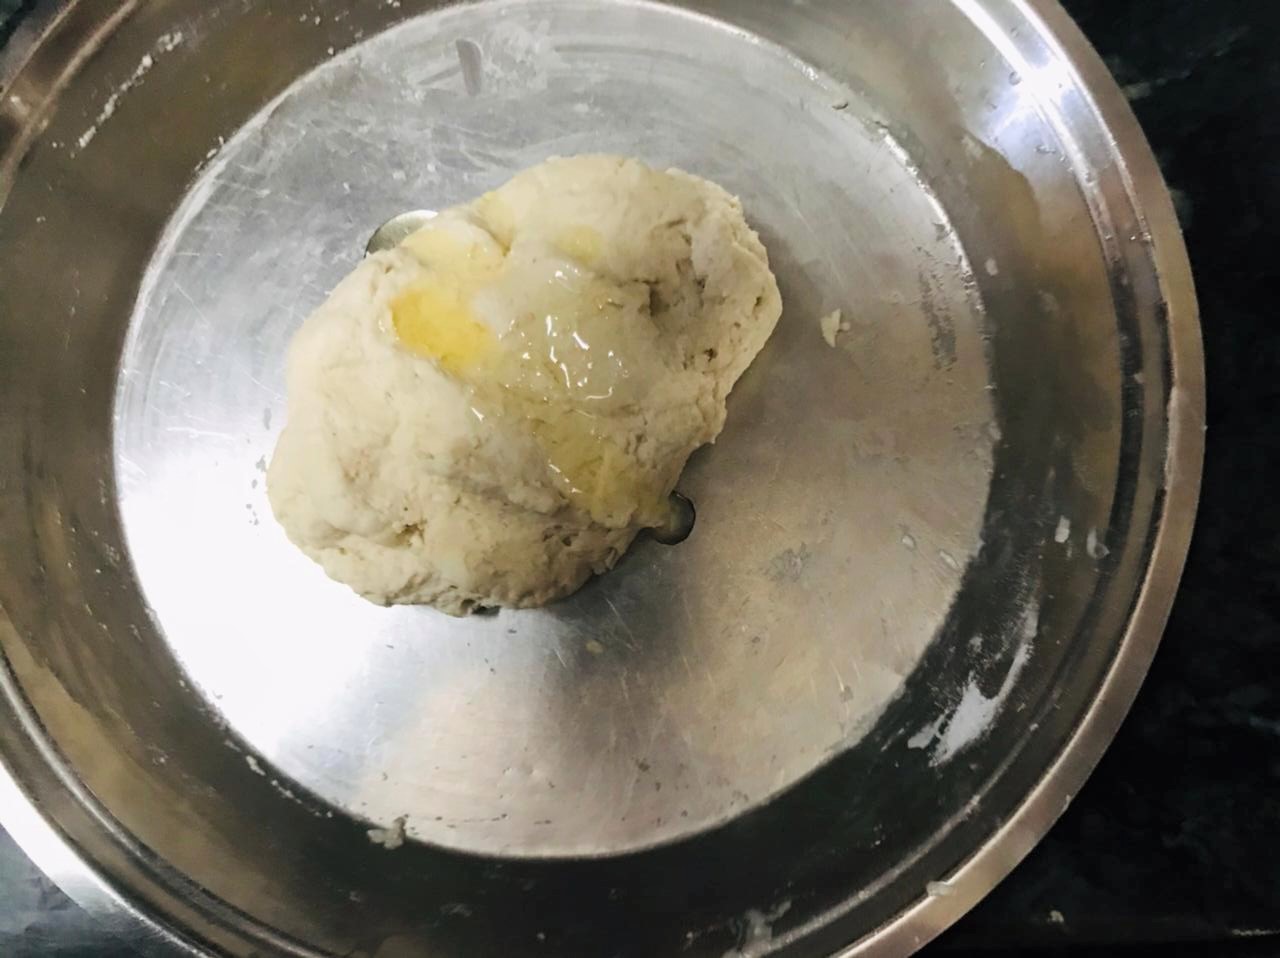
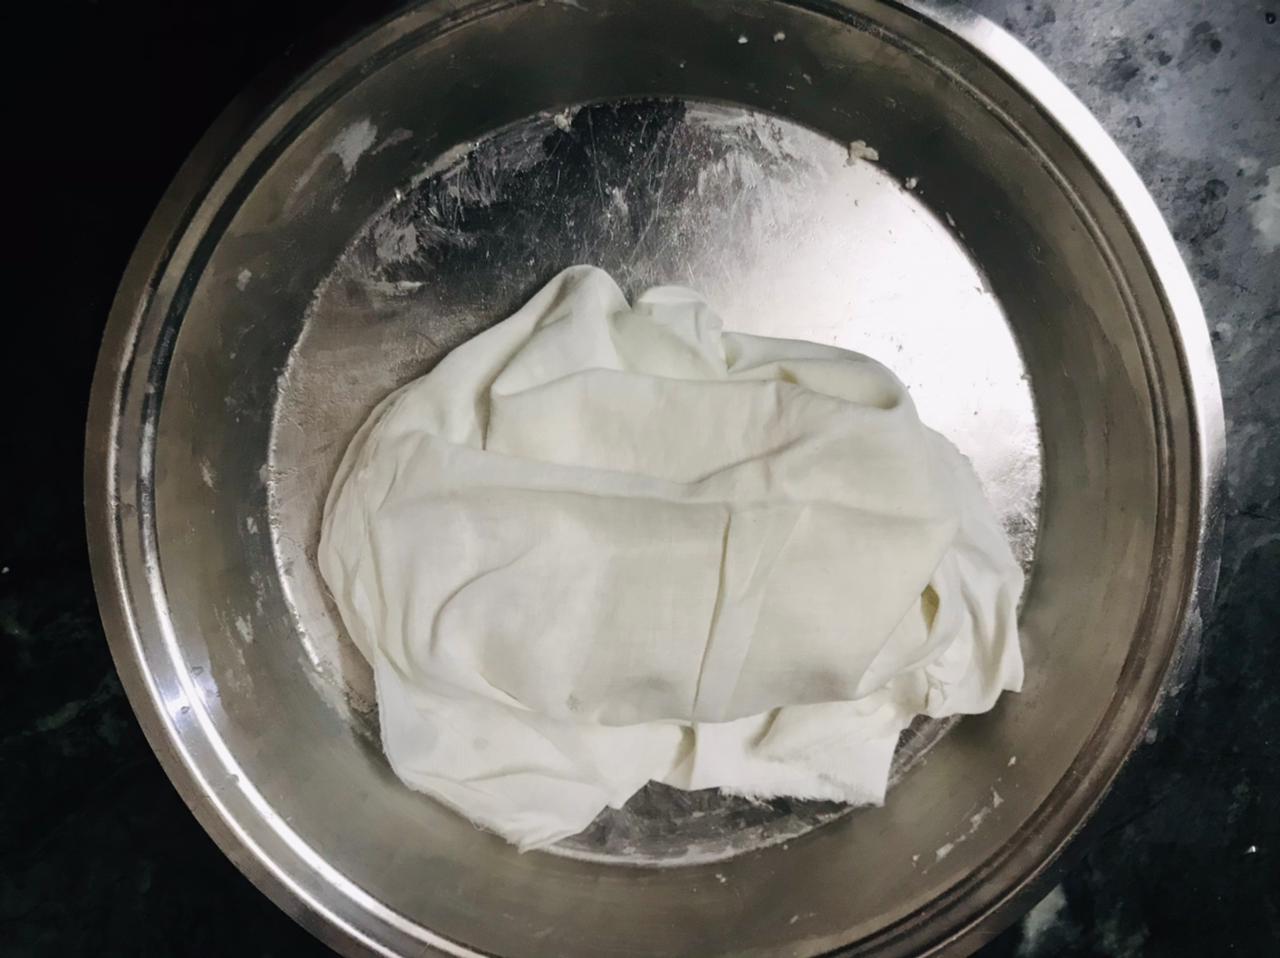
Grease the dough with oil and cover it with a wet cloth to let it rest for about 30 minutes.
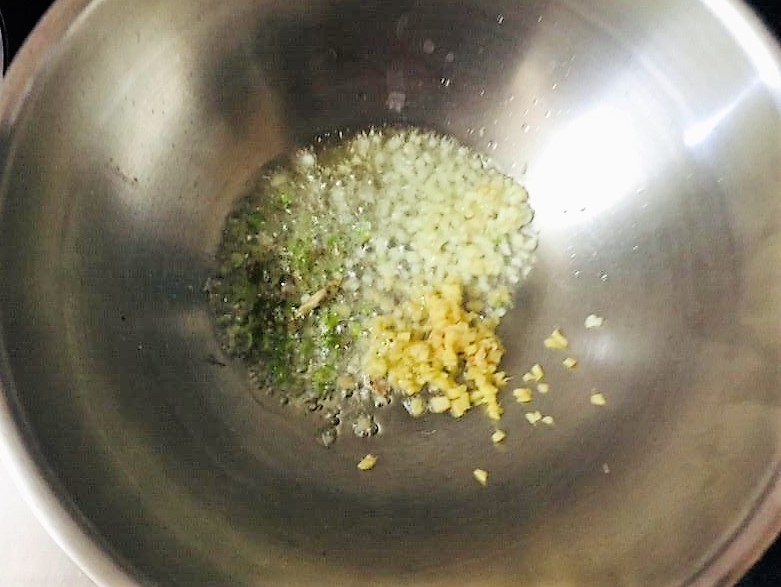
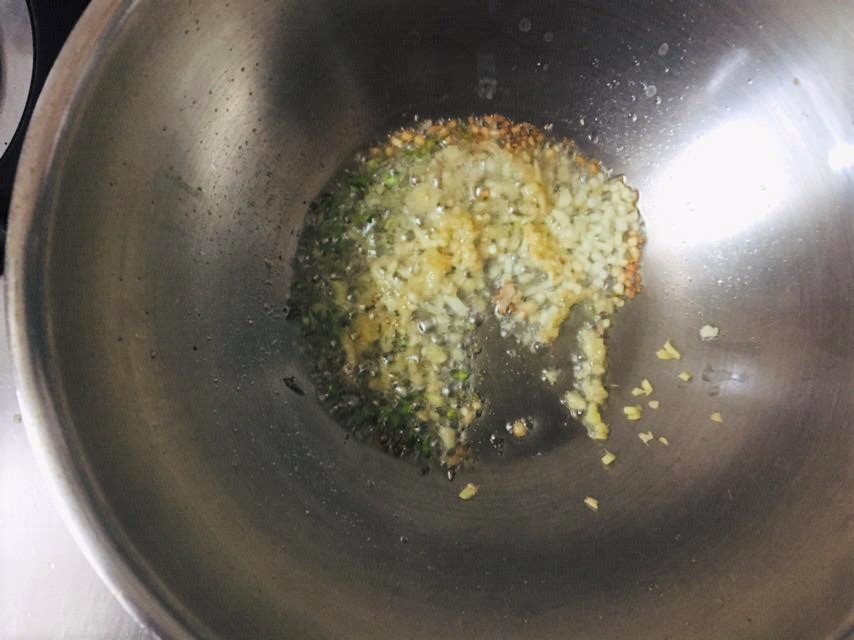
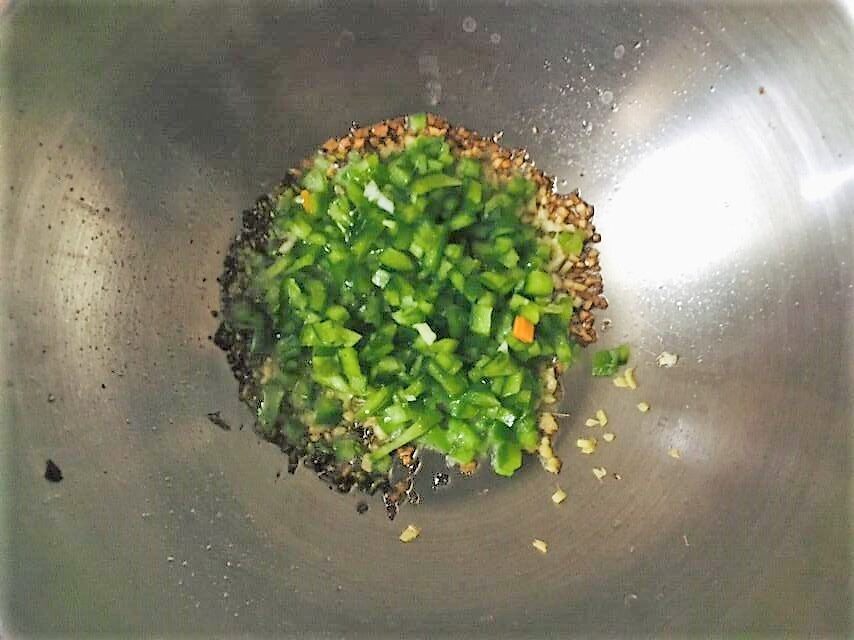

Heat oil in a pan and add the green chillies, ginger and garlic and sauté for 1-2 minutes on medium heat.
Next add the green pepper, carrots and cabbage and sauté the vegetables for couple of minutes on medium heat.
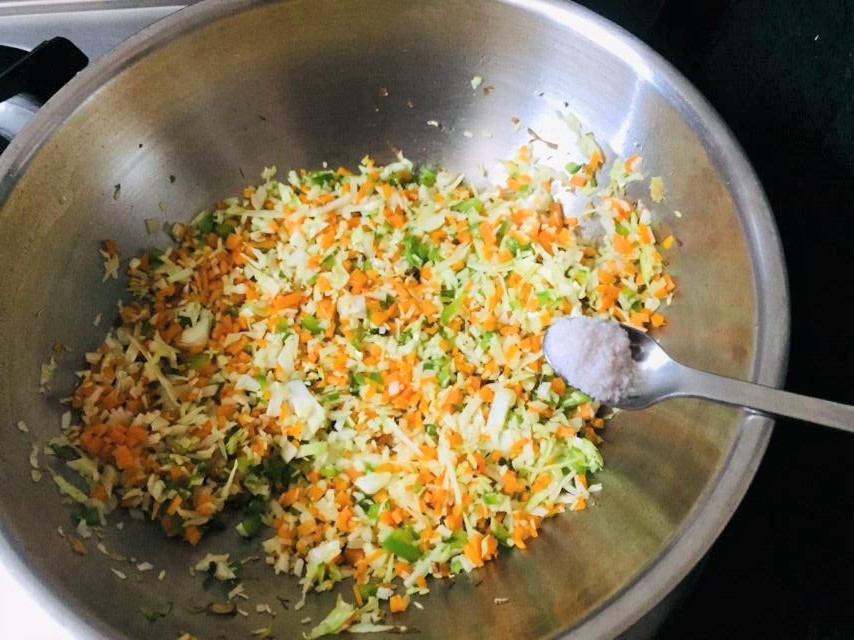
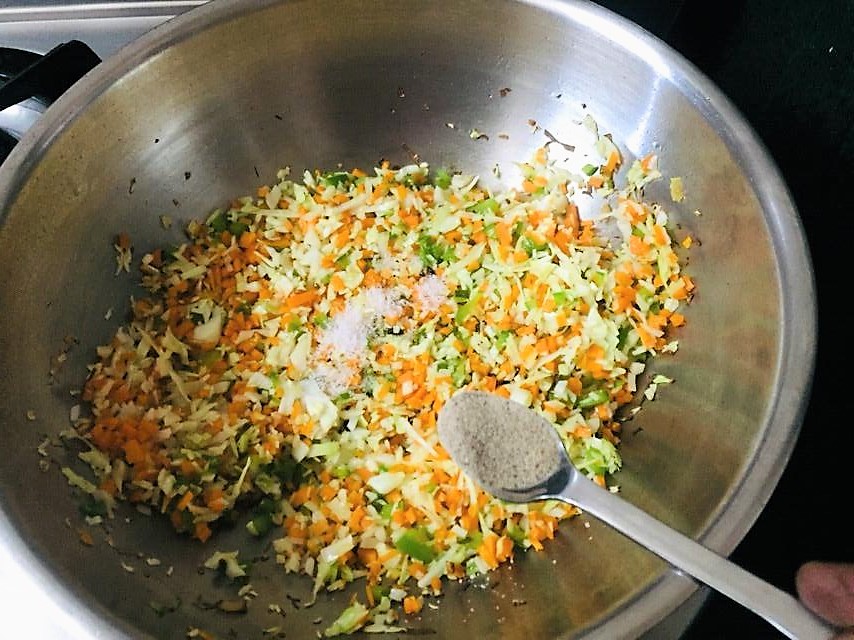

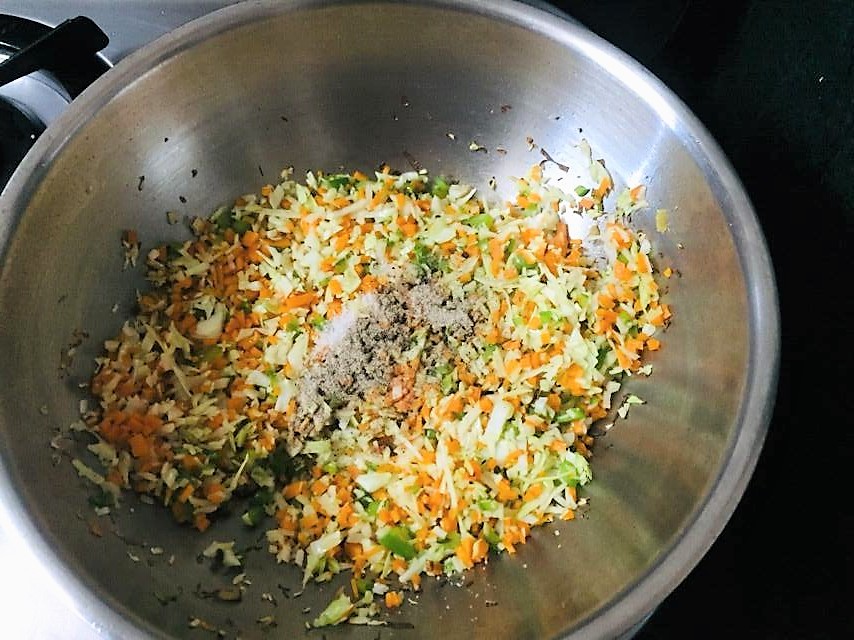
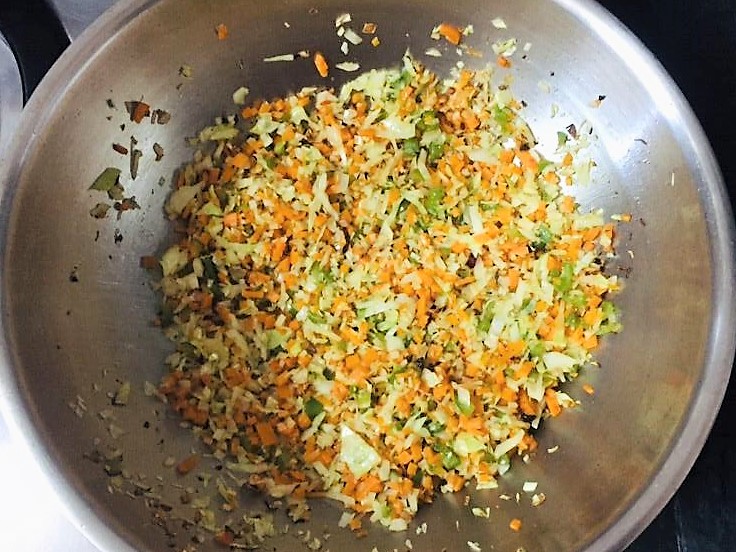
Add salt, black pepper and vinegar to the sauteed vegetables and cook on high heat for 1-2 minutes. The vegetables should have a crunch to them so cook them until they are al dente. Turn off the heat and keep the vegetable mix aside to cool.
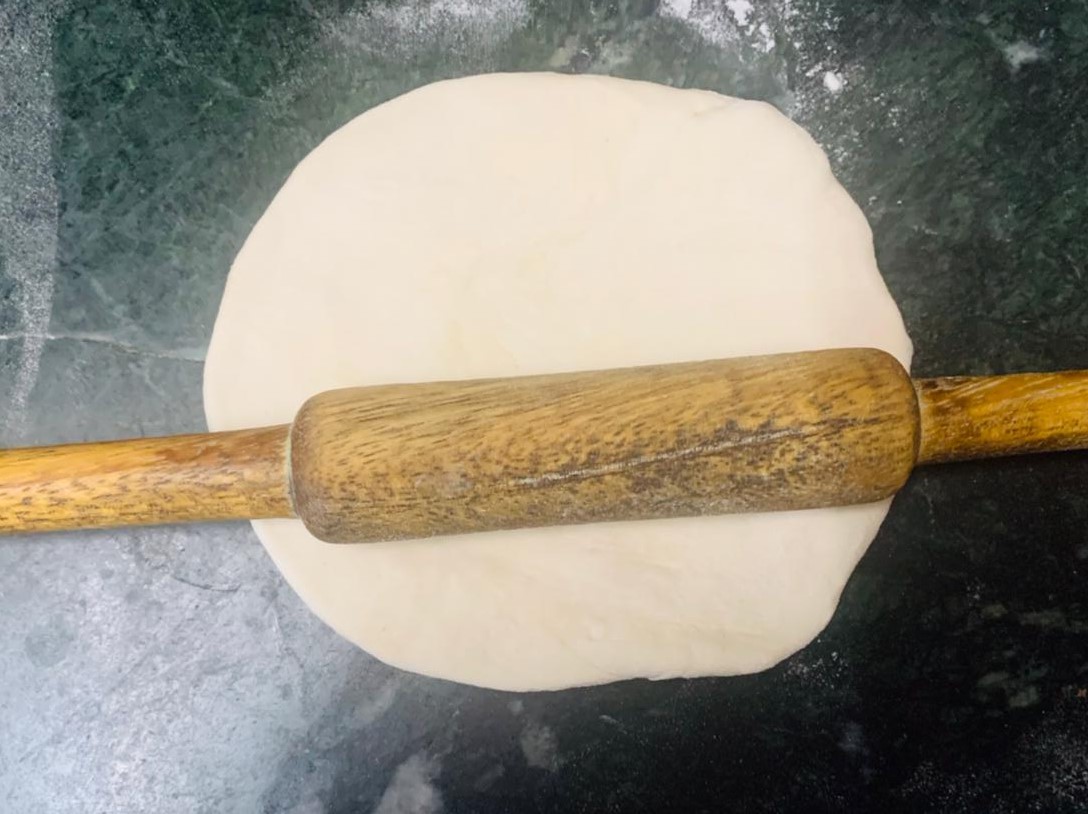
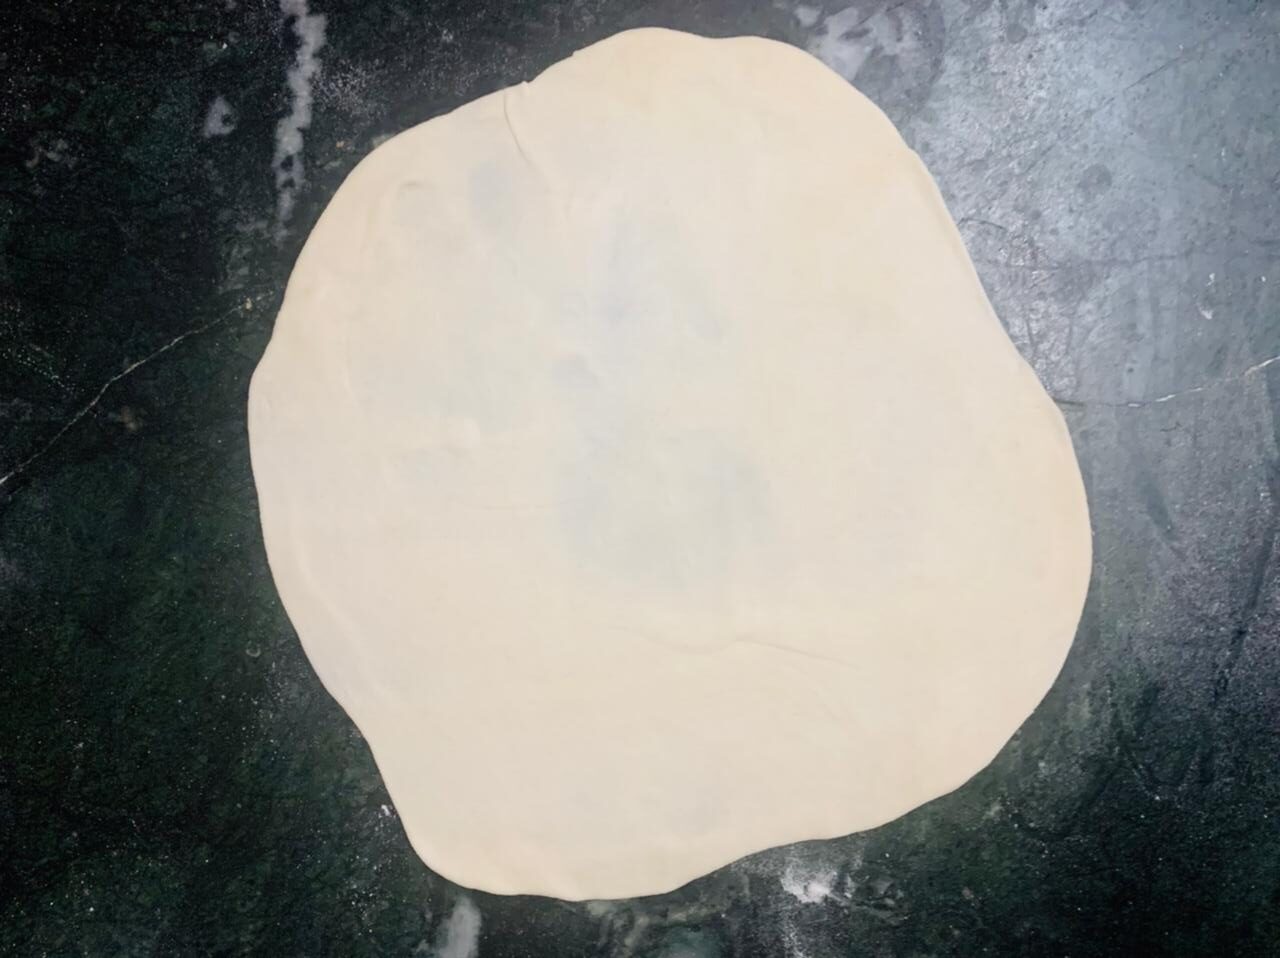
Once the dough has rested for 30 minutes knead the dough for 2-3 minutes until the dough is flexible.
Divide the dough into 4 equal portions. Dust some plain flour on the worktop and roll each dough ball to 5–6-inch circles approximately 1mm thickness. It should not be so thin that you can see through it when you pick it up, nor should it be thick. Somewhere around 1 mm works fine.
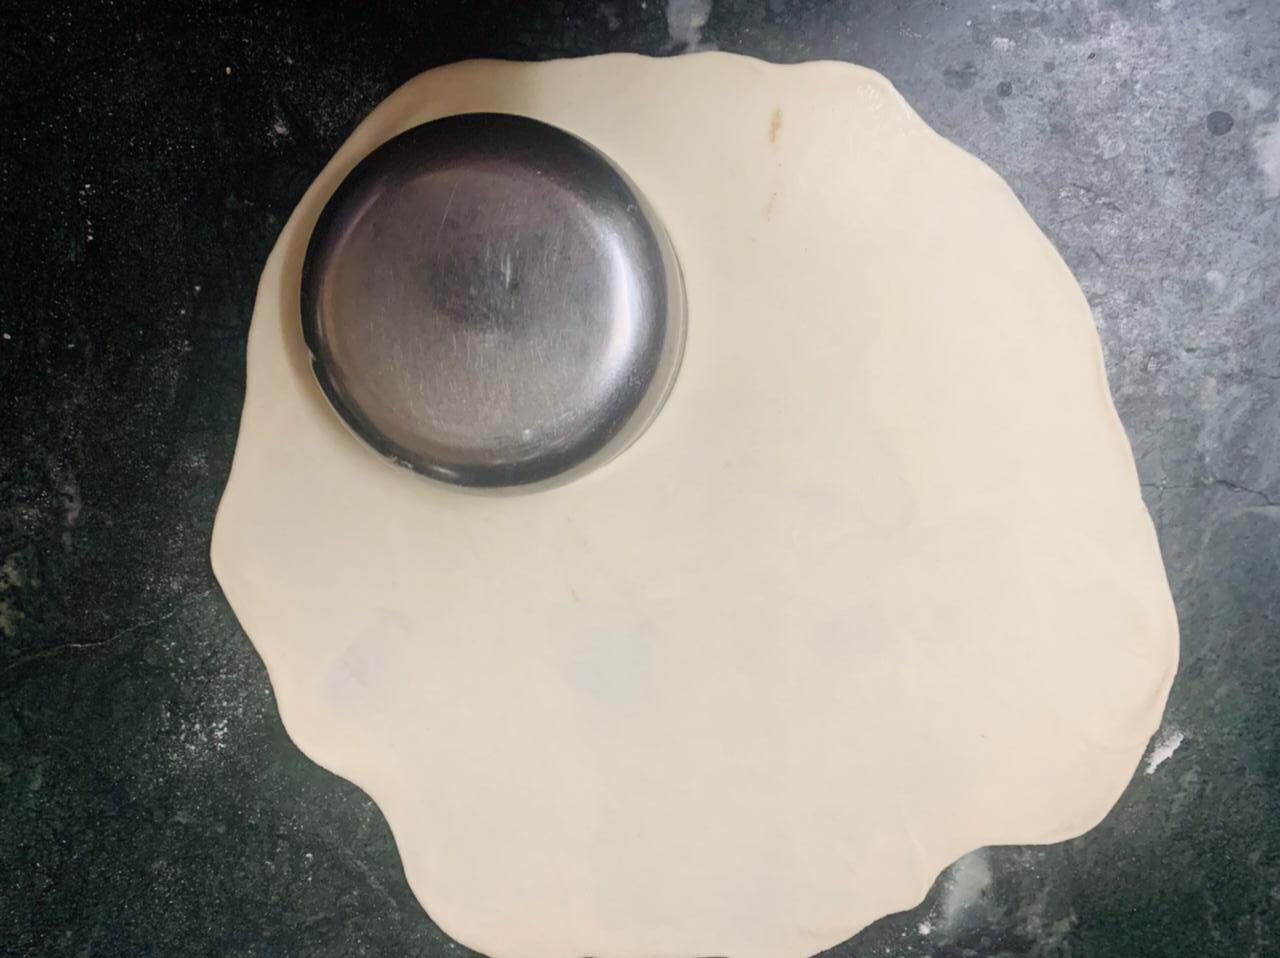
Use any round cookie cutter or overturned cup or glass cut out circles (2½ inch- 3 inch) about the size of the palm of your hand.
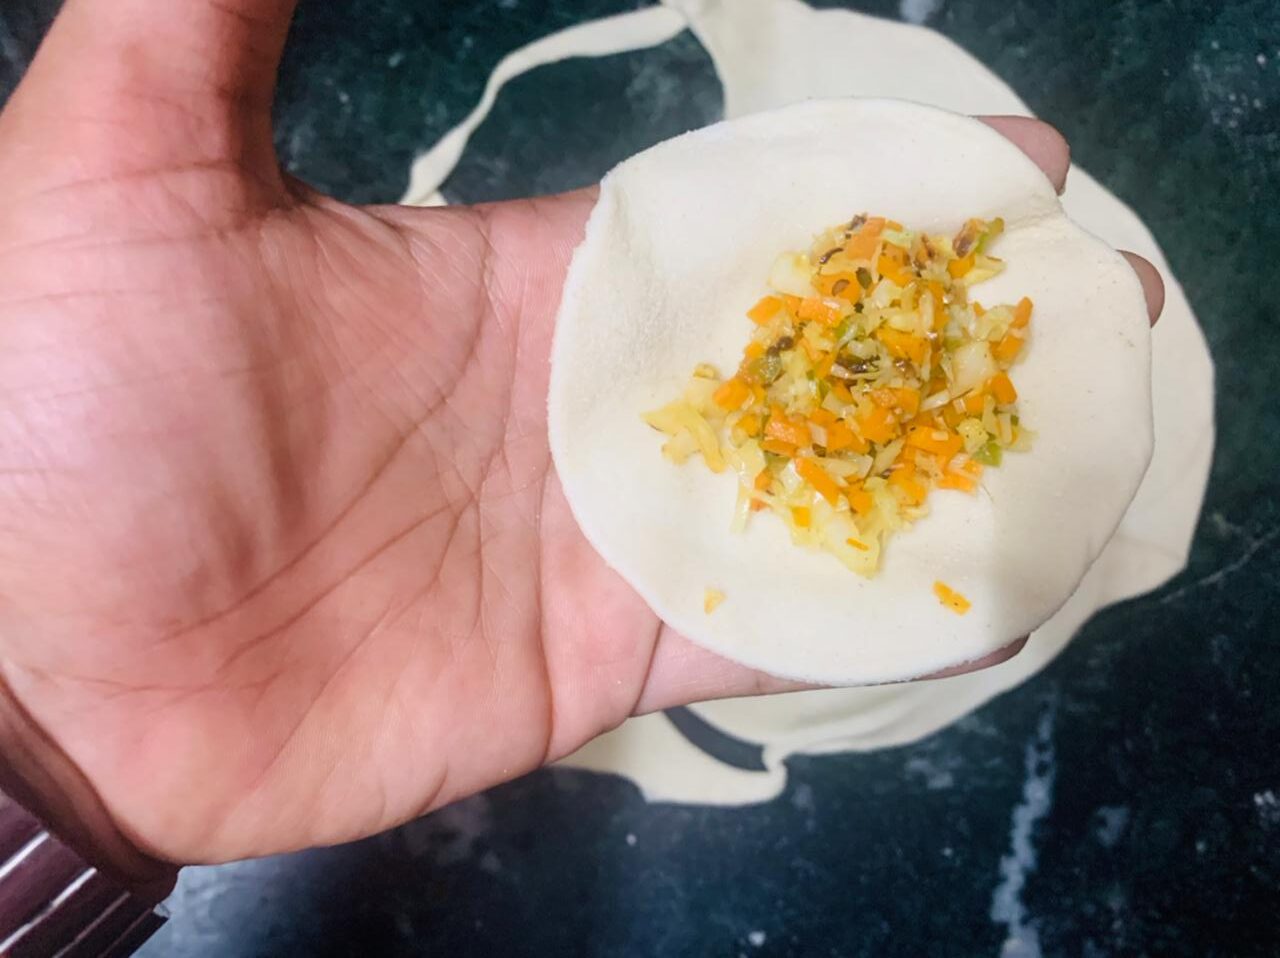
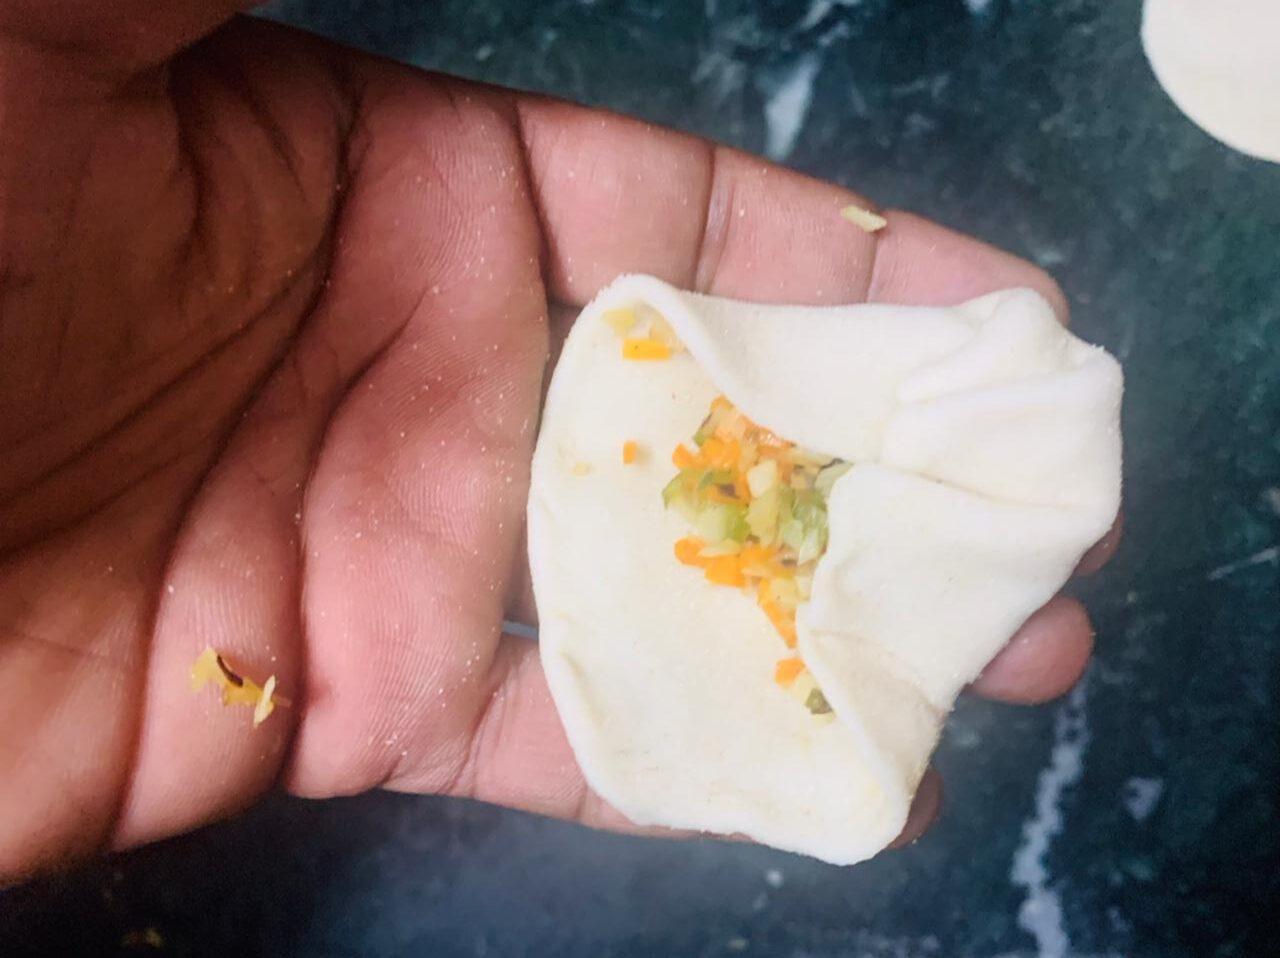
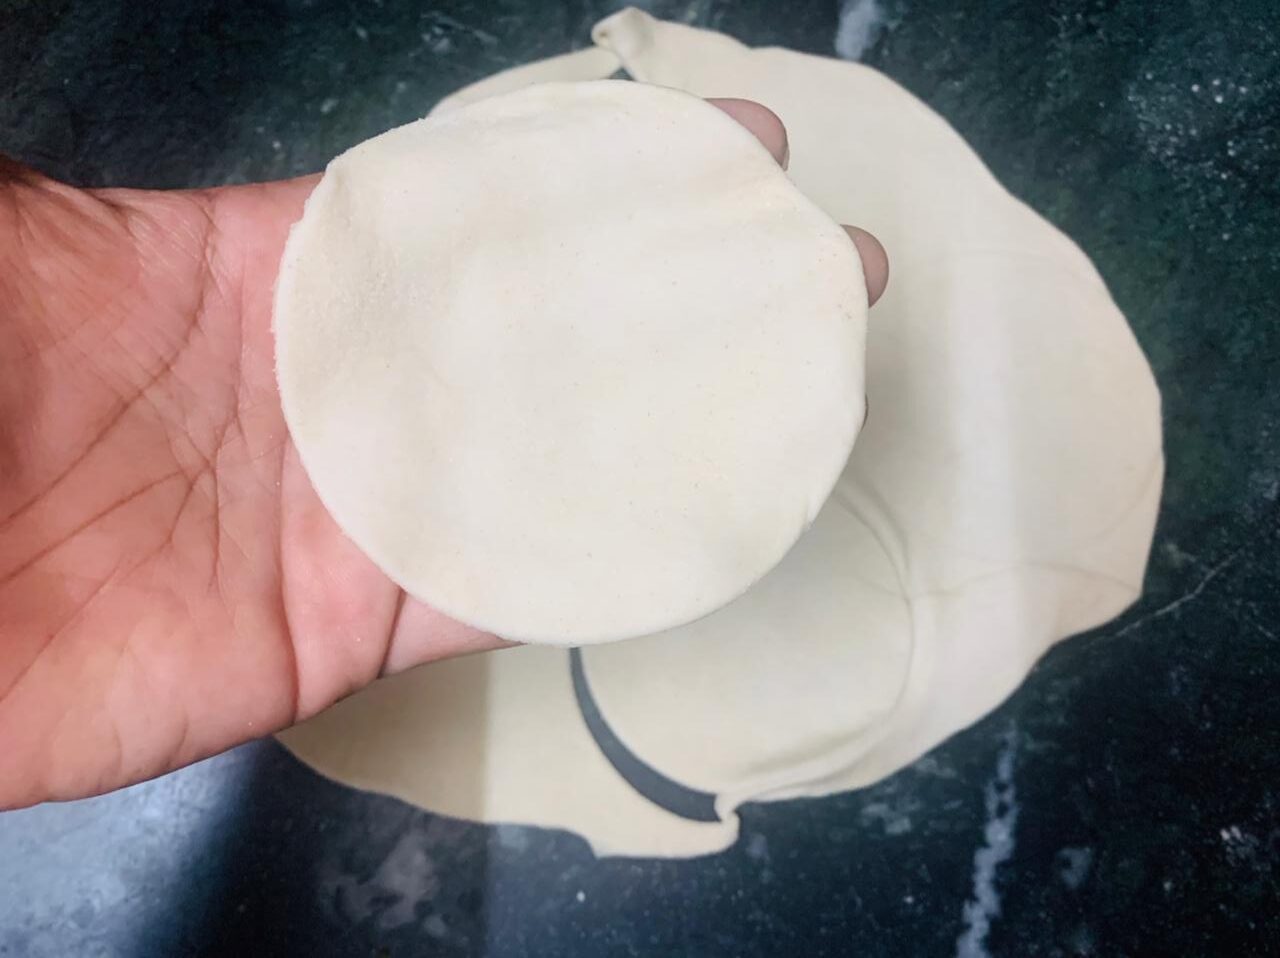
For filling the momos, you will need to put one circle of dough in your left hand and add a tablespoonful of filling in the center of the dough. (or reverse all of these instructions if you are left-handed). With your right hand, begin to pinch the edge of the dough together. You do not need to pinch much dough in the first pinch — just enough to make a small fold between your thumb and forefinger.
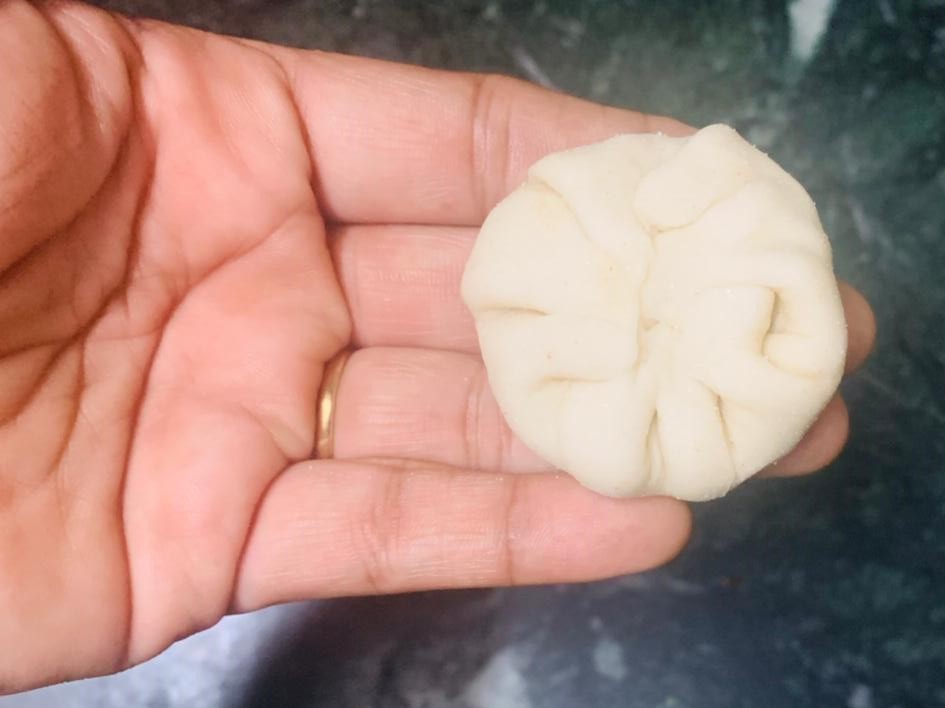
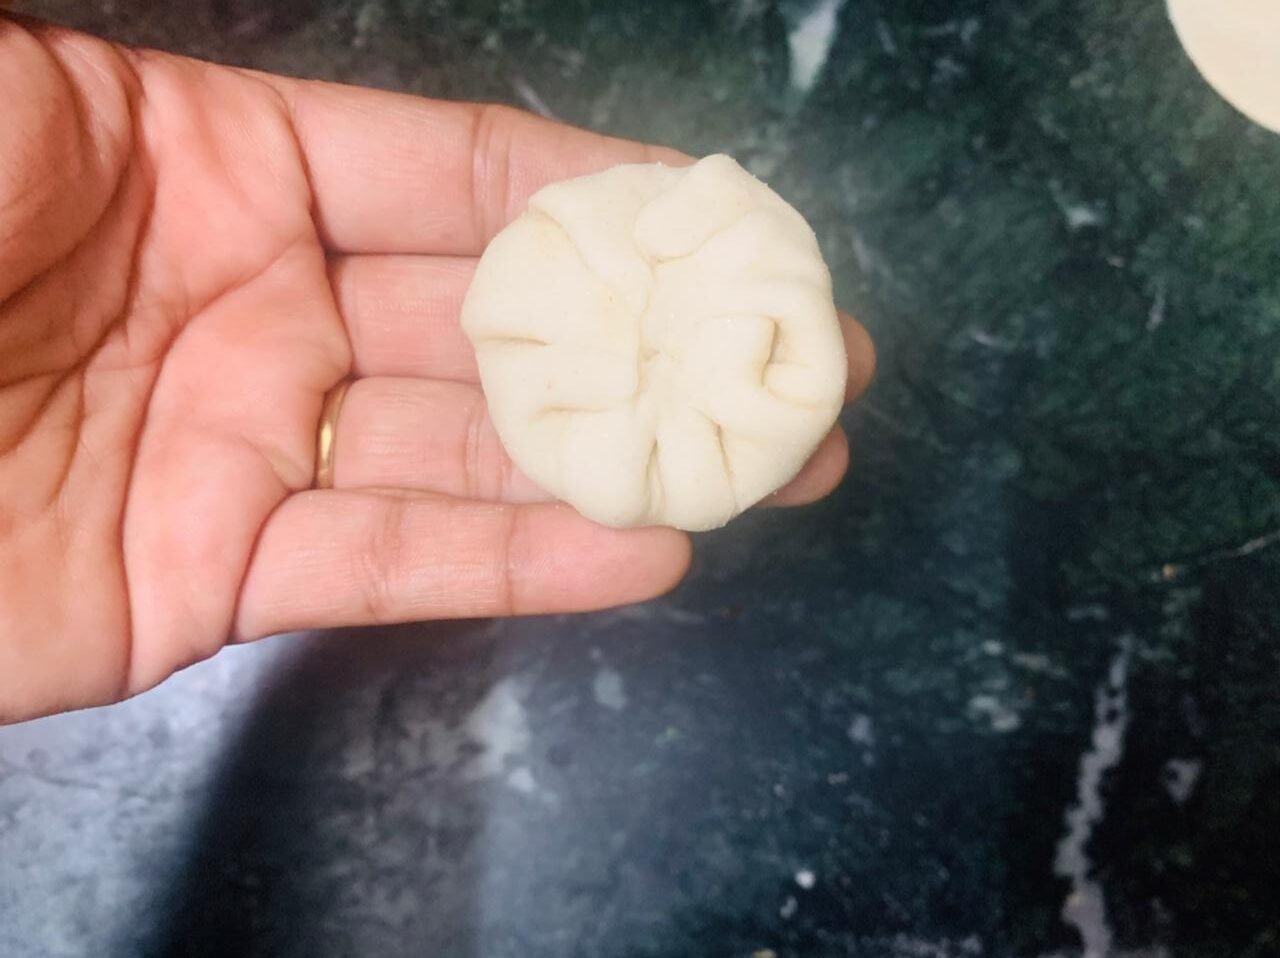
Now you will have a little piece of dough pinched together, and you should continue pinching around the circle little by little, keeping your thumb in place, and continuing along the edge of the circle with your forefinger, grabbing the next little piece of dough, and folding and pinching it down into the original fold/pinch being held by your thumb.
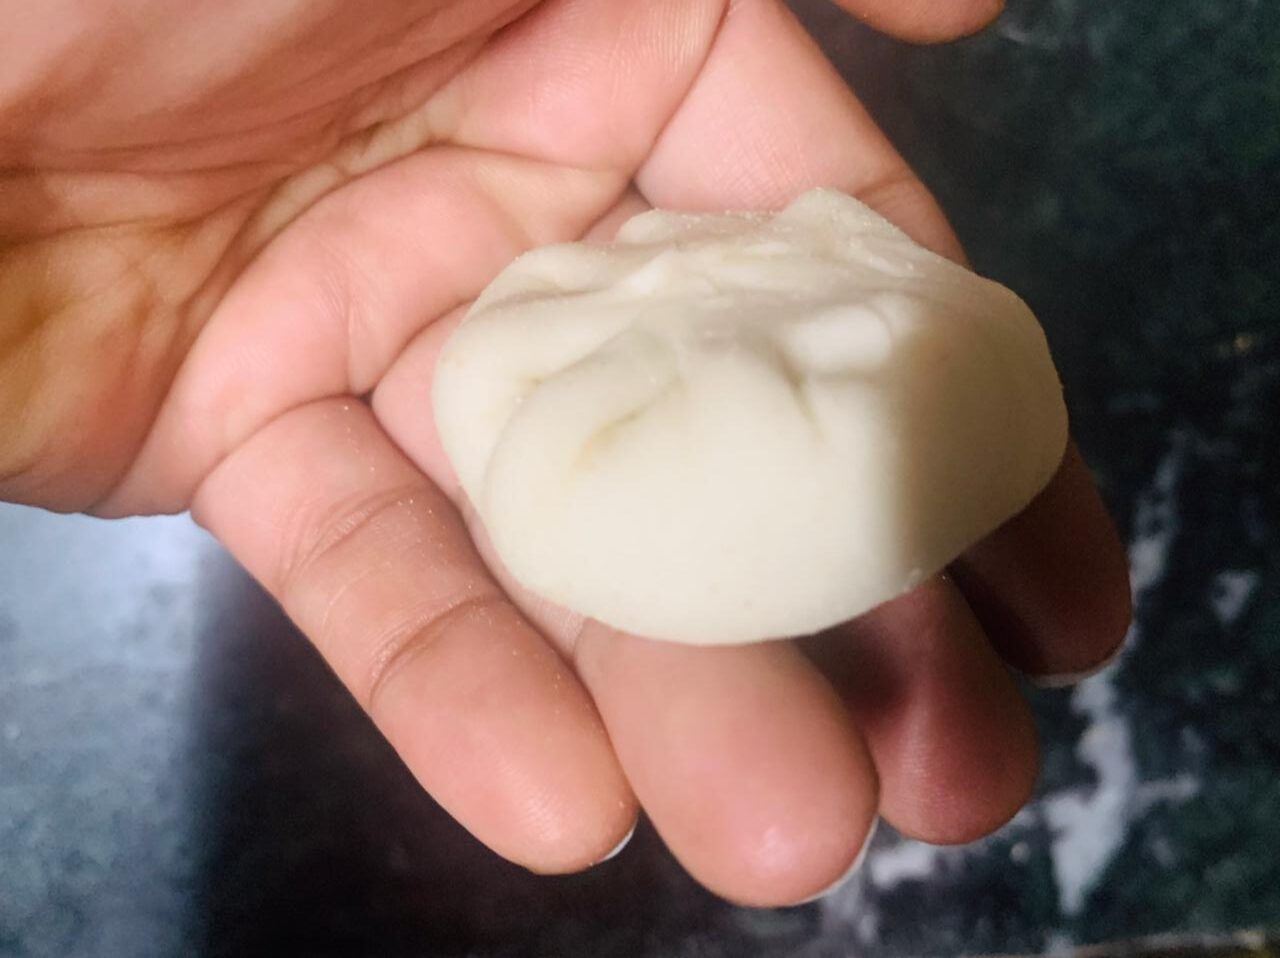
Basically, you will be pinching the whole edge of the circle into one spot. Continue folding and pinching all around the edge of the circle until you come back around to where you started and then close the hole with a final pinch. Make sure you close the hole on top of the momo. That way you do not lose the moisture from the stuffing.
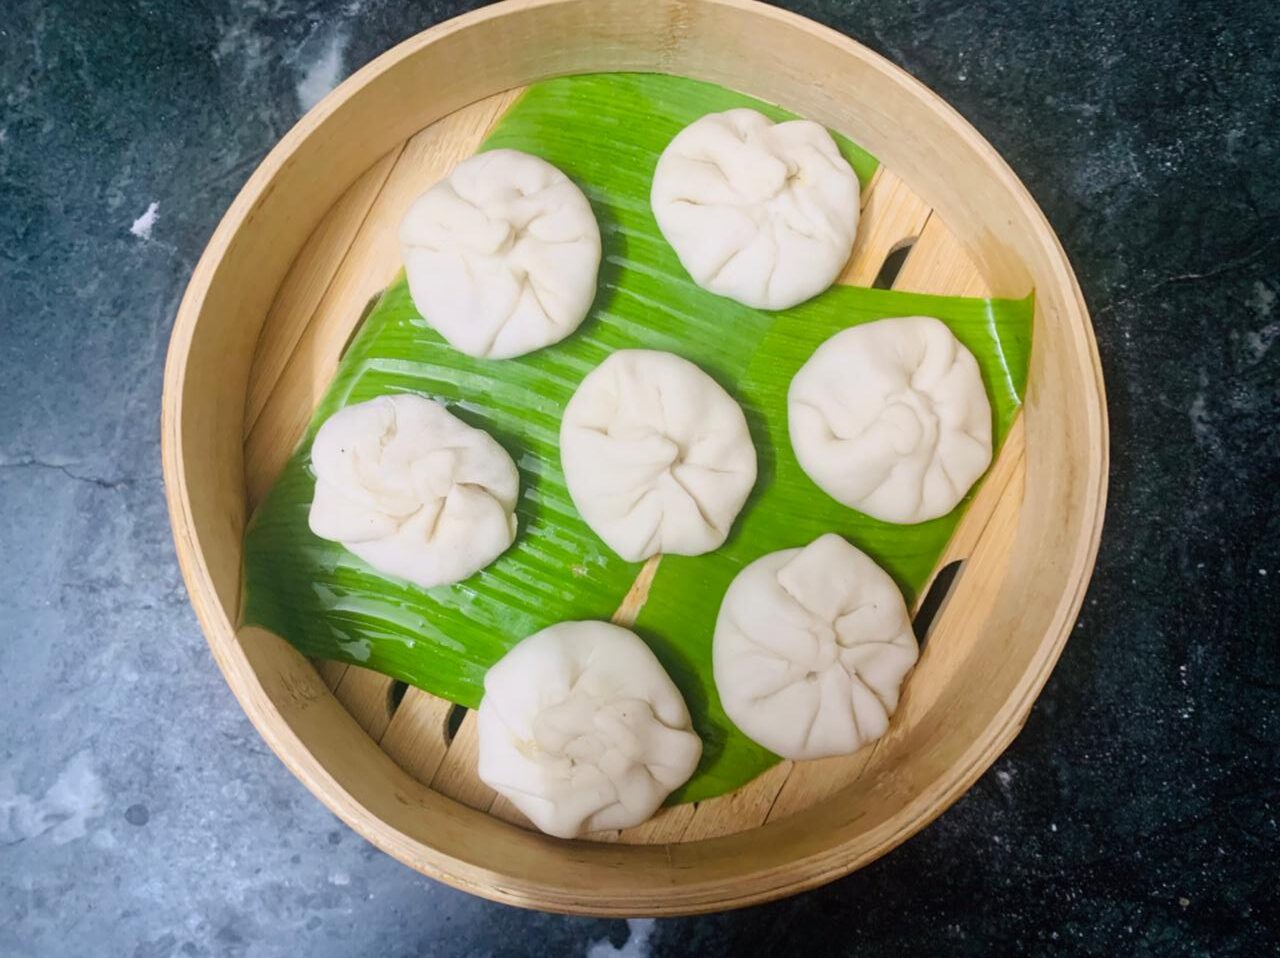

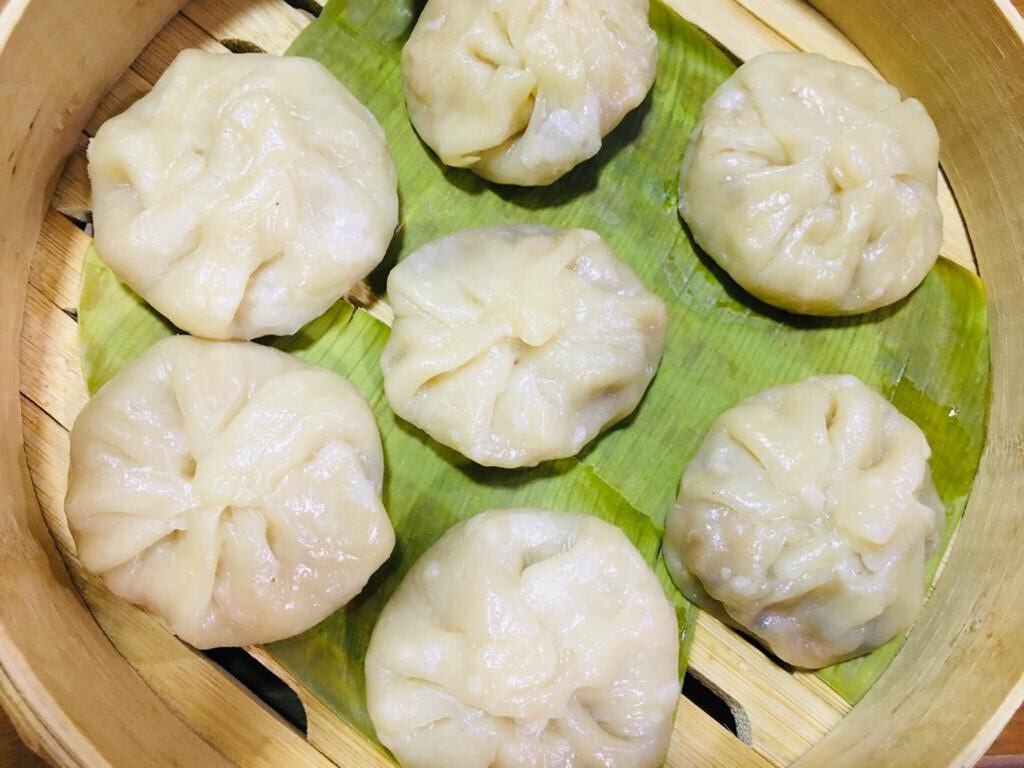
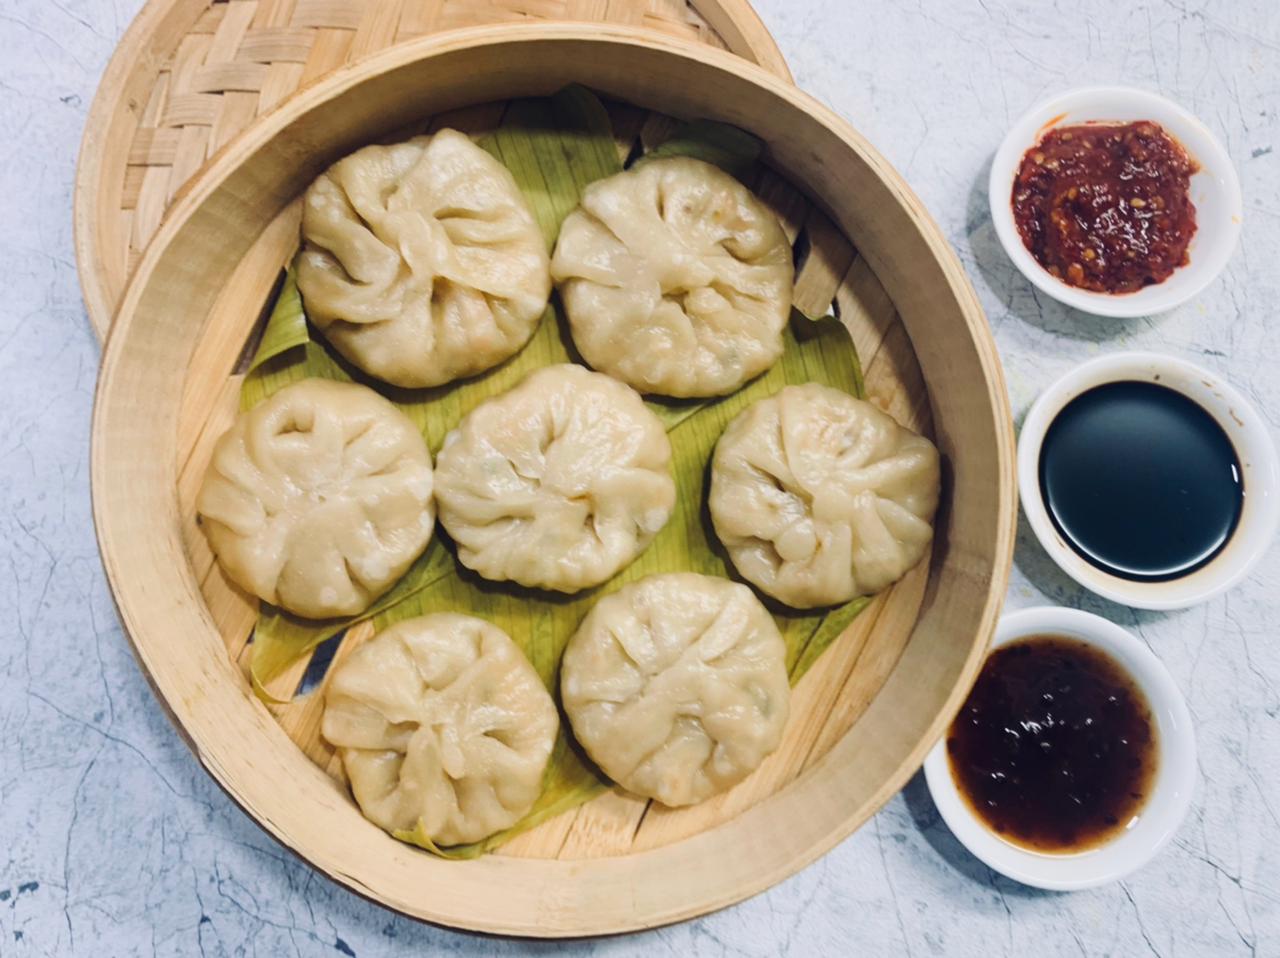
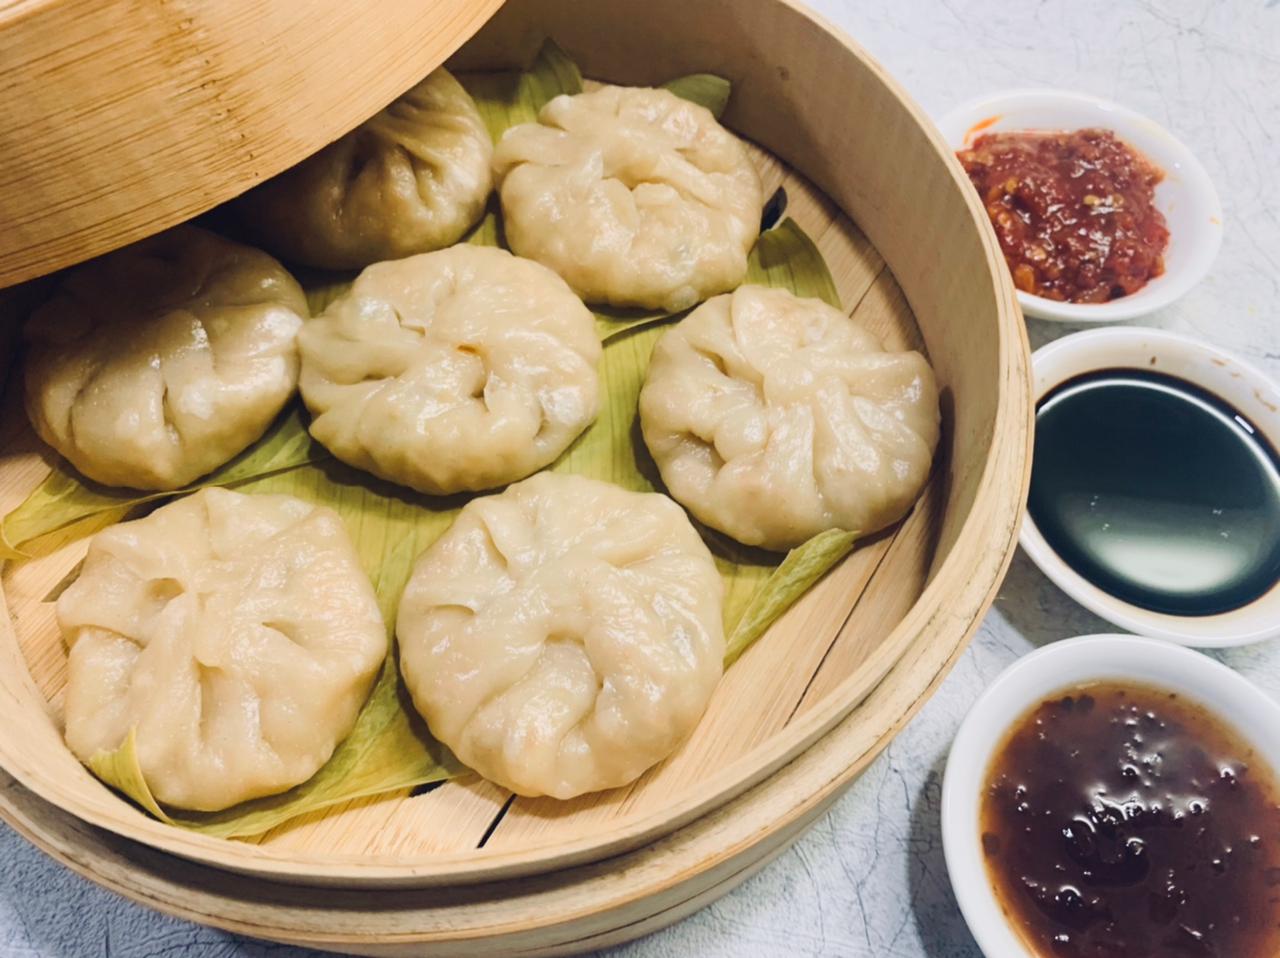
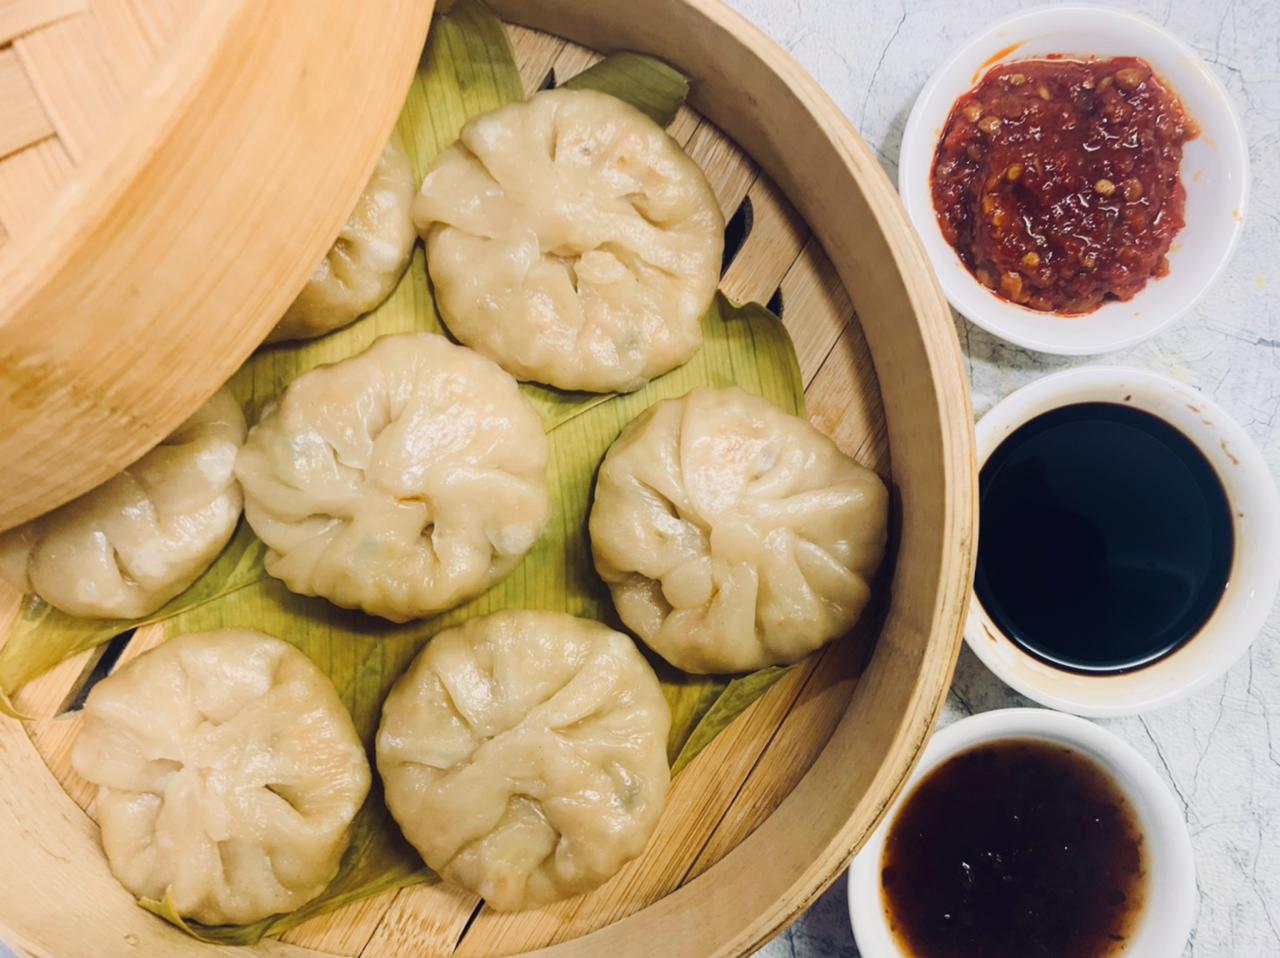
Finally, you should boil water in a large steamer and this can be a pot with a steamer insert, a bamboo steamer basket, or even a steamer insert for your regular pot. Either line the steamer with a banana leaf or a baking parchment or oil the steamer surface lightly before putting the momos in, so they will not stick to the metal, then place as many as you can without touching each other.
Steam the momos for about 10-15 minutes. Once cooked, momos become transparent, shiny and will not be sticky on touch. Do not overcook them otherwise it becomes dense and chewy.
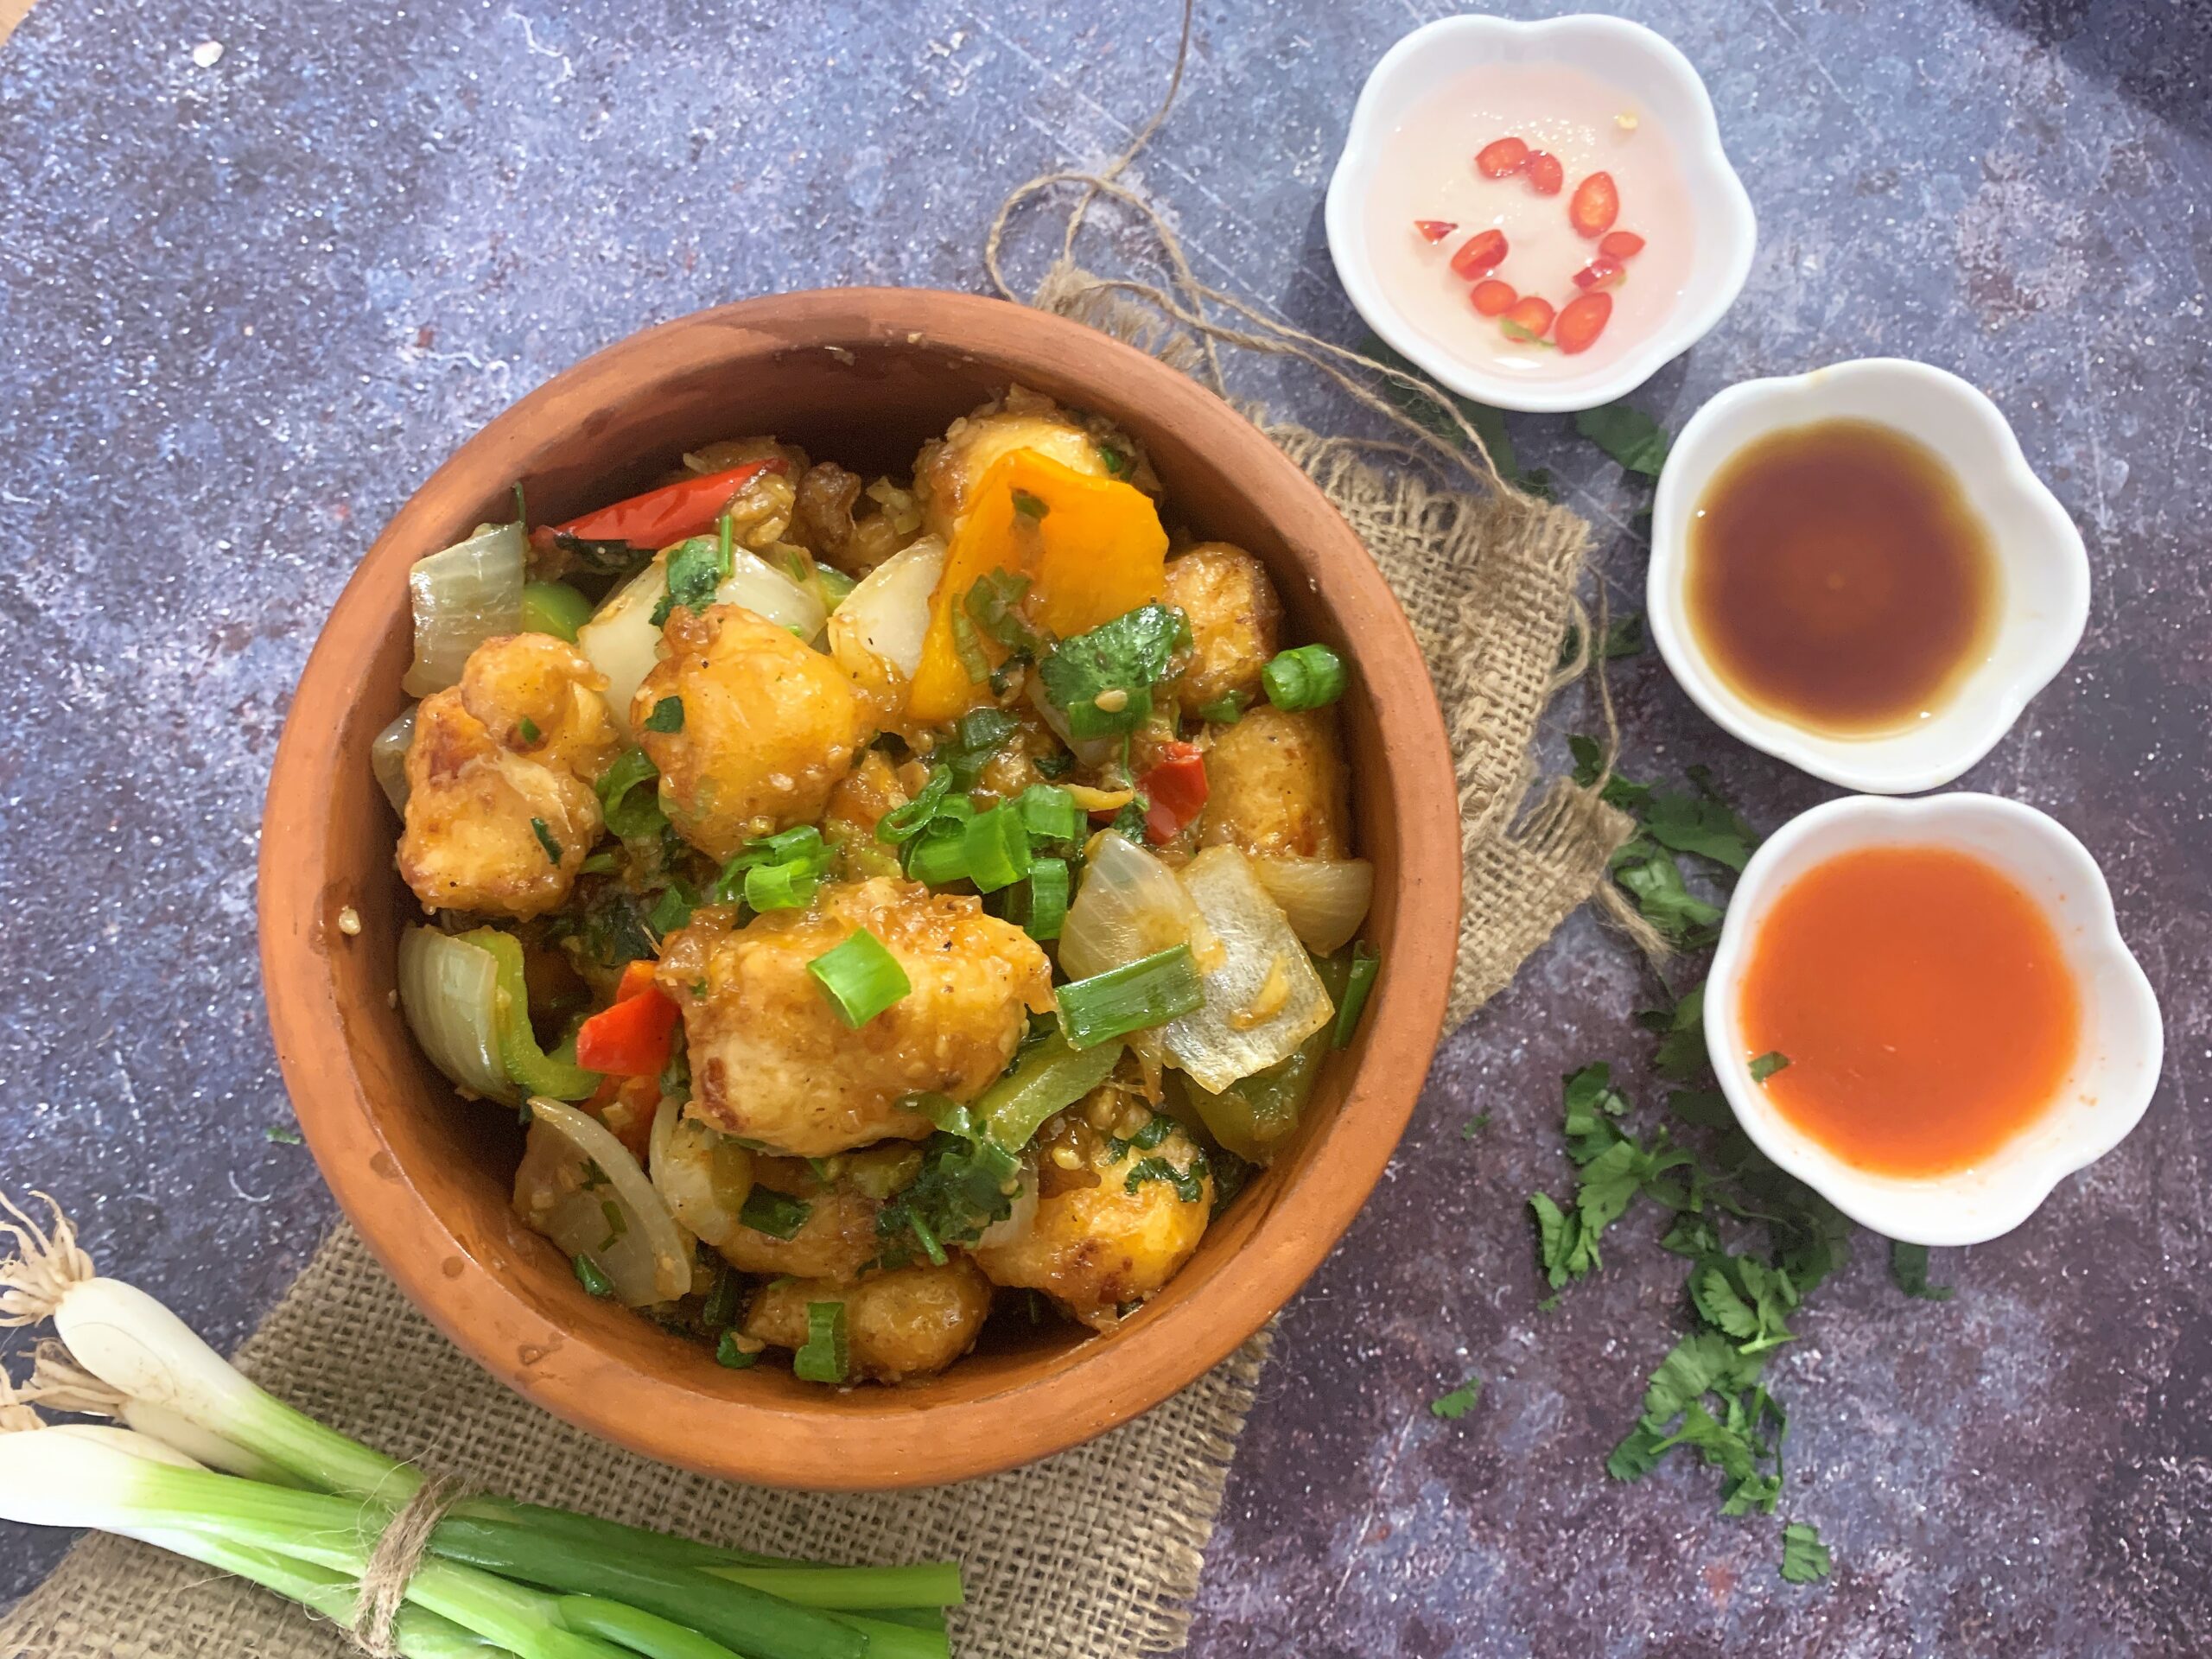
Serve them hot, with soy sauce or hot sauce of your choice to dip them in.