Eggless Cherry Tart
Eggless Cherry Tart
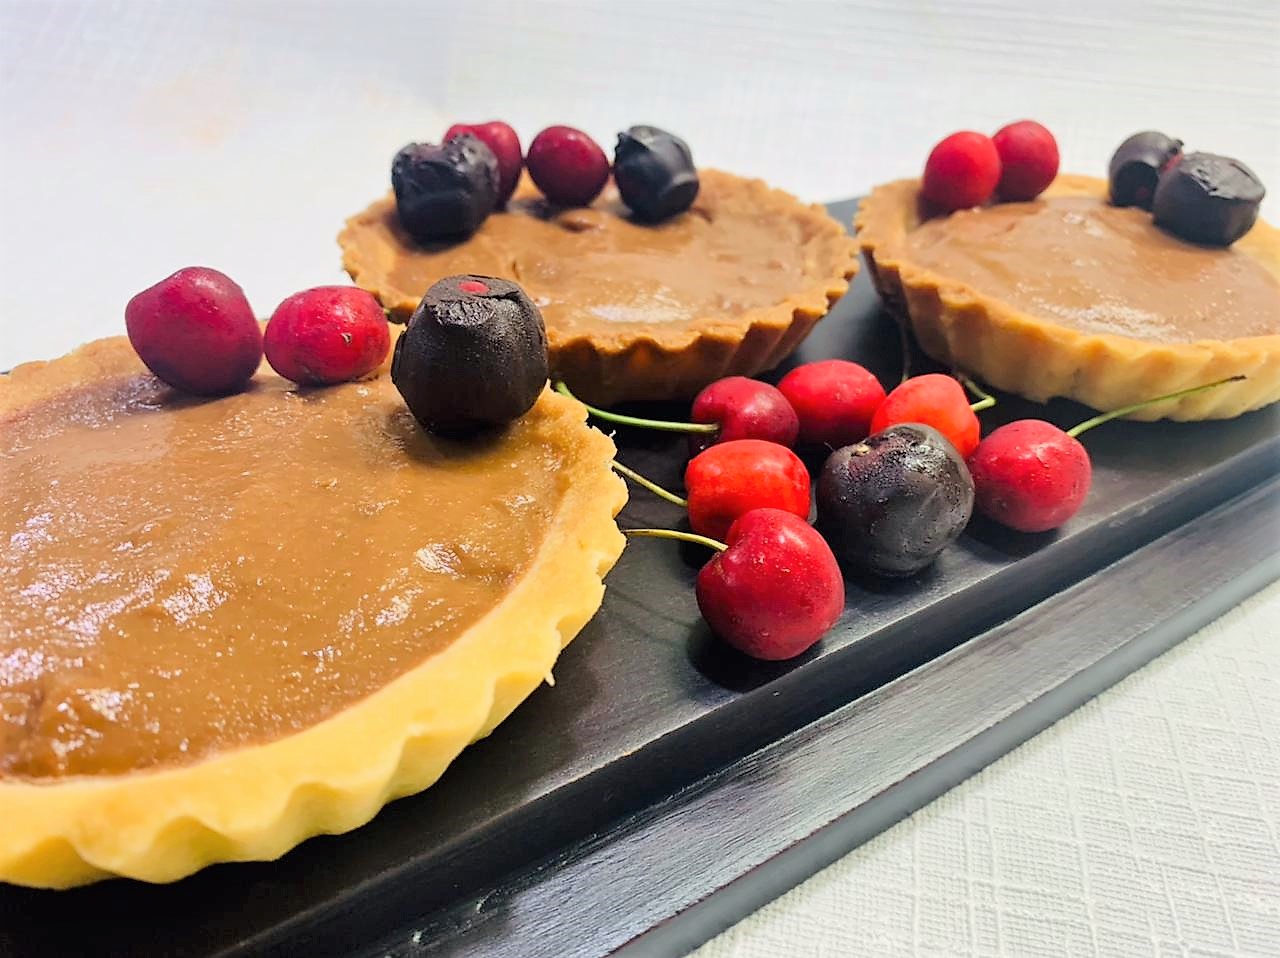
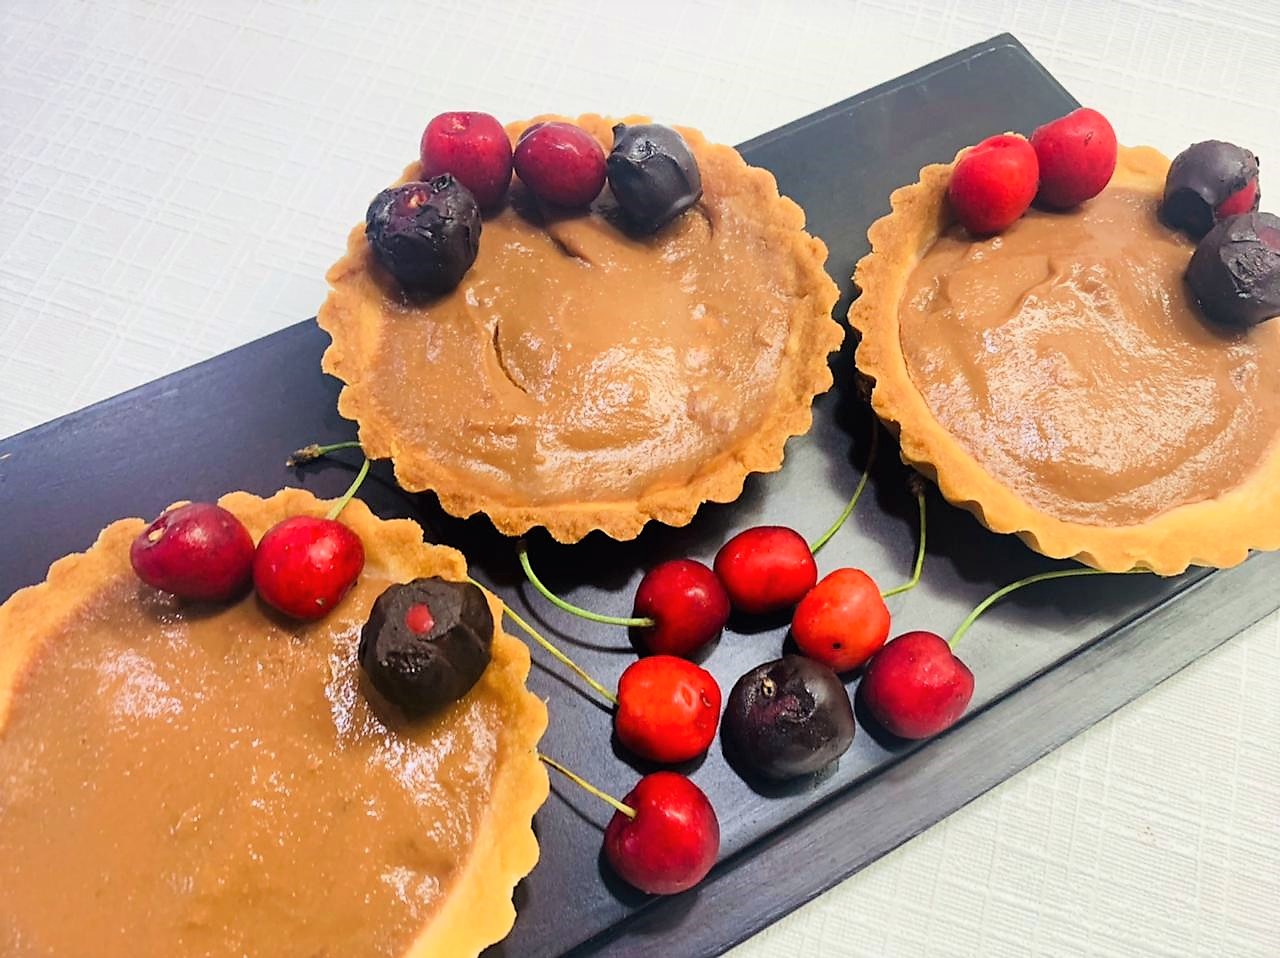
Eggless Cherry Tart is a yummy and decadent dessert that is perfect for any time of the year! A flaky pastry base, with scrumptious cherry filling is truly a combination made in heaven!
Cherries are one of those fruits that are just so delightful. The rich deep red colour coupled with the strong, juicy flavour. Pair it with a delicious flaky tart and it is sinfully decadent. Simple yet delicious!
For years, I was wary of making short crust pastry from scratch. Everything about the process frustrated me: my attempted crusts would be too dry or too wet, they would crack badly when I rolled them out or upon baking, or they would turn out dry or tasteless—never flaky and delightfully buttery—no matter the amount of butter I used. I now realise that part of it was inexperience as I had never properly learned to make shortcrust pastry, so I didn’t know what to look for. I tried numerous recipes, but I just couldn’t master the task. My parents always taught me ‘keep trying until you master it’ and I did! This recipe is in celebration of all those failed attempts.
In this recipe I have combined my love of cherries with super flaky tart. The cherries blended with sugar, lemon and milk transforms into a flavourful topping. I prefer using fresh cherries to make the deep, red delicious filling for the tart as it brings freshness to the tart.
I like to serve the tart with some chocolate coated cherries but if you are feeling particularly indulgent then I suggest serving this tart along with some whipped cream and/or chocolate ice-cream.
Ingredients
For The Tart Case
175 grams plain flour
115 grams cold unsalted butter
65 grams sugar
A pinch of salt
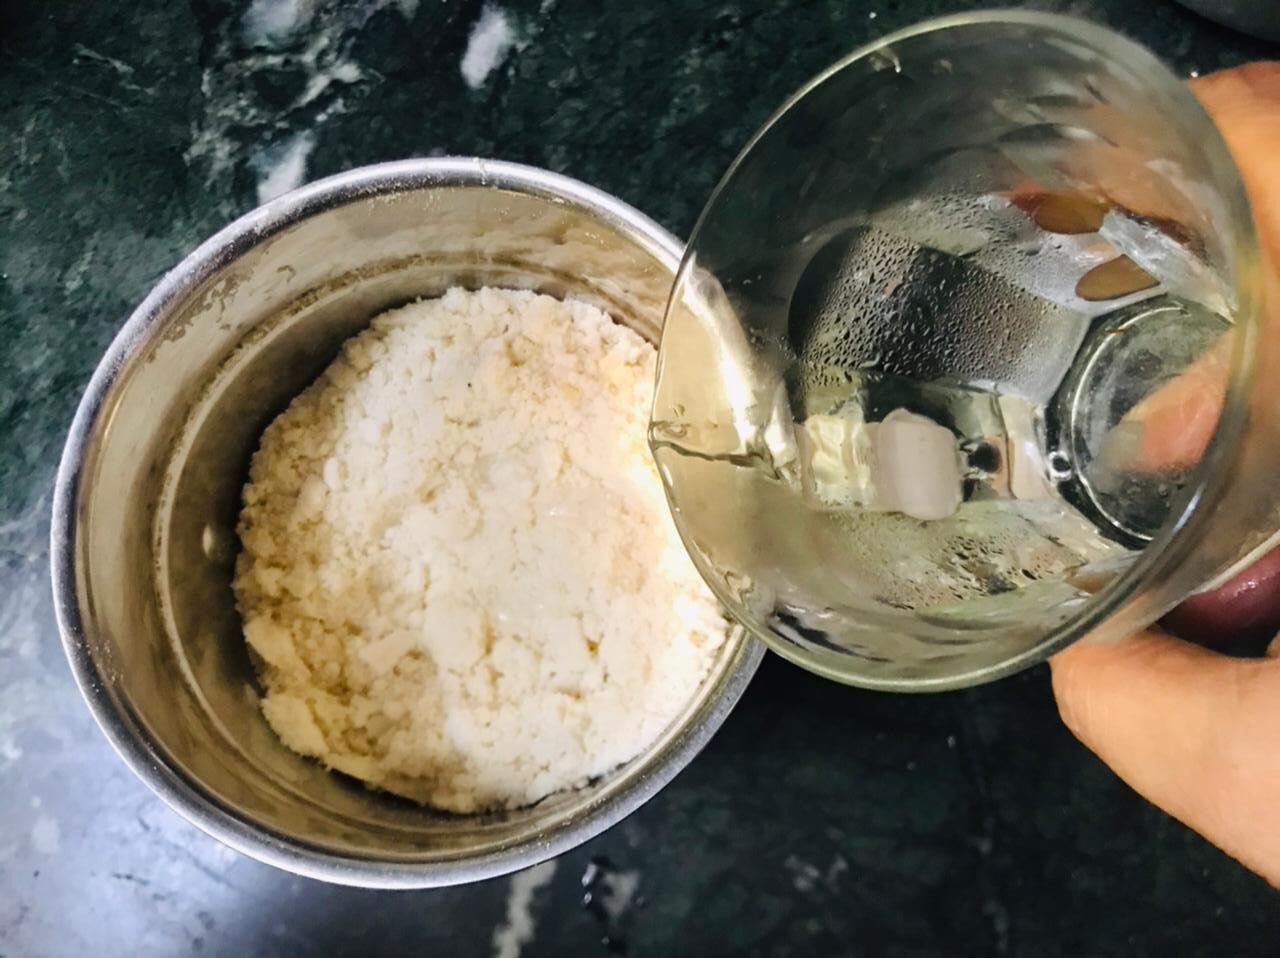
2 tablespoons ice cold water
For The Filling
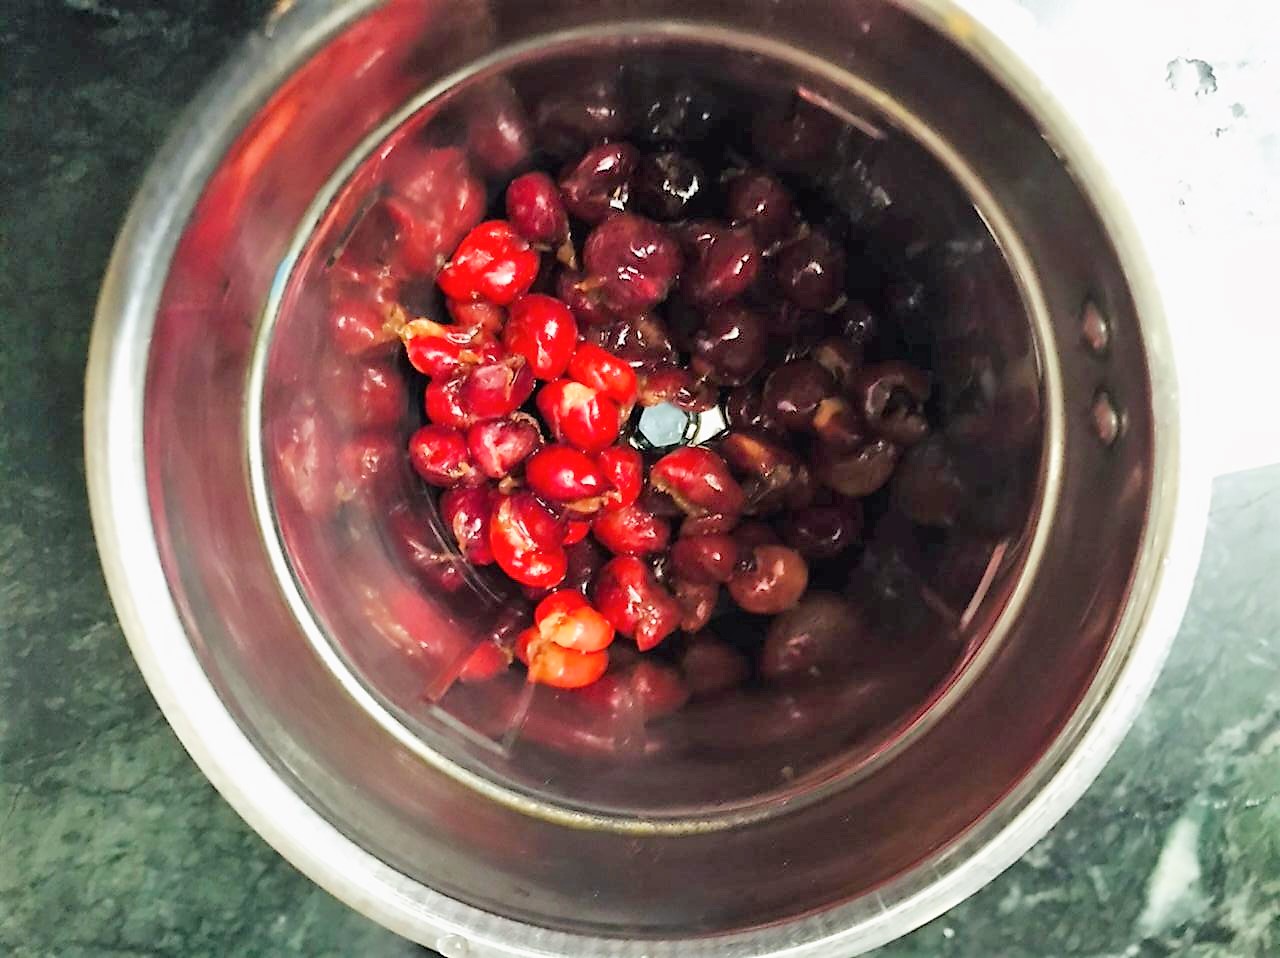
250 grams fresh cherries, pitted and halved
¼ cup milk
1 teaspoon sugar
1 teaspoon lemon juice
1 teaspoon agar agar powder
75 grams dark chocolate (coating cherries)
Directions
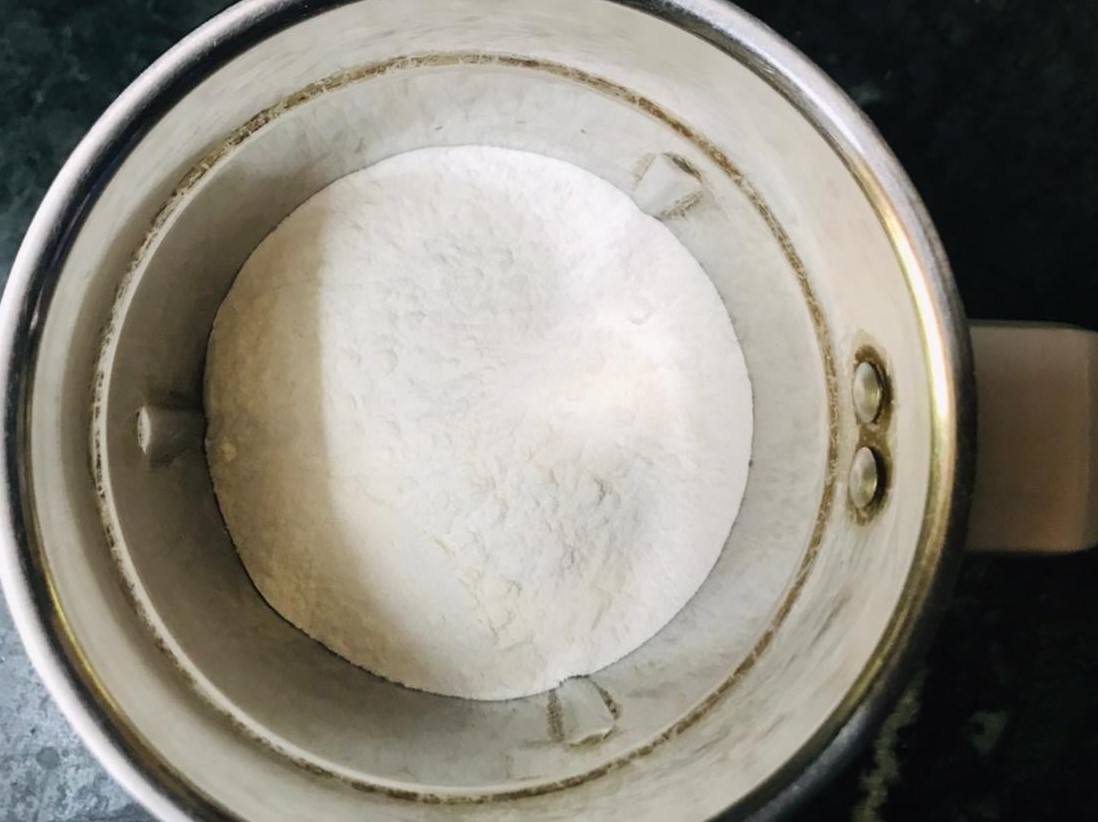
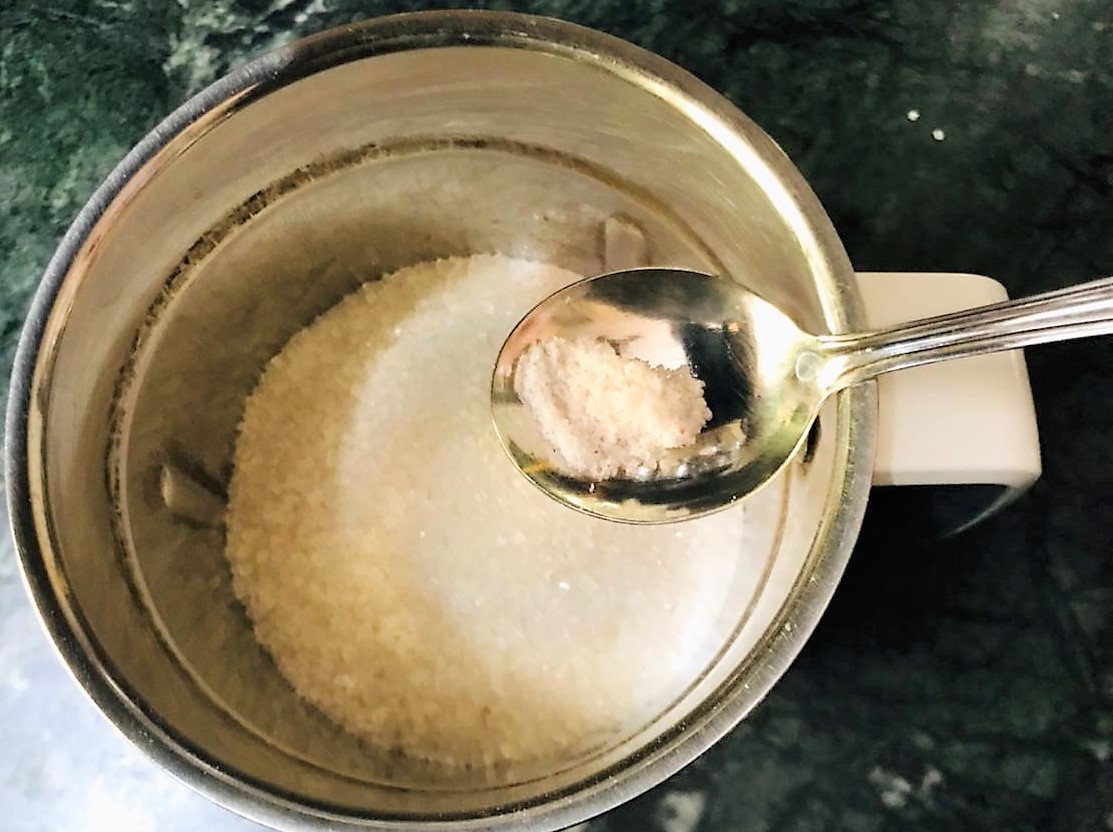
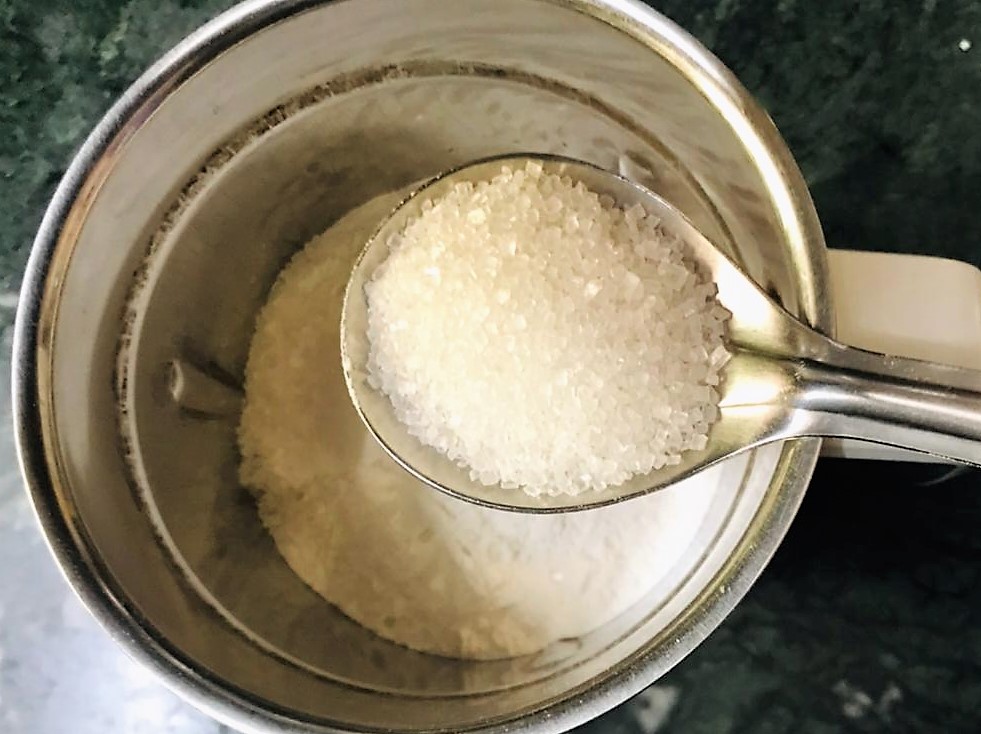
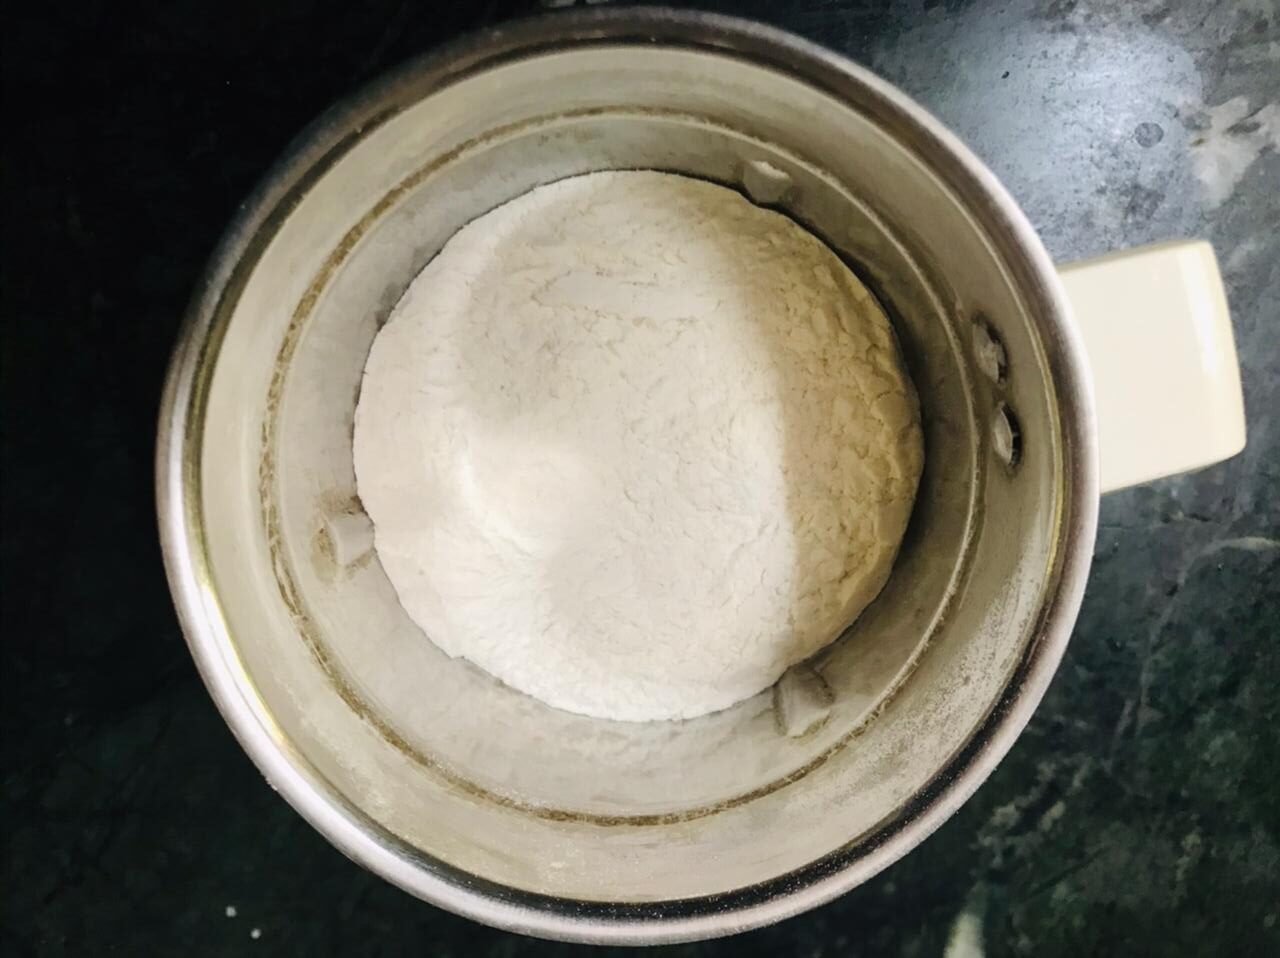
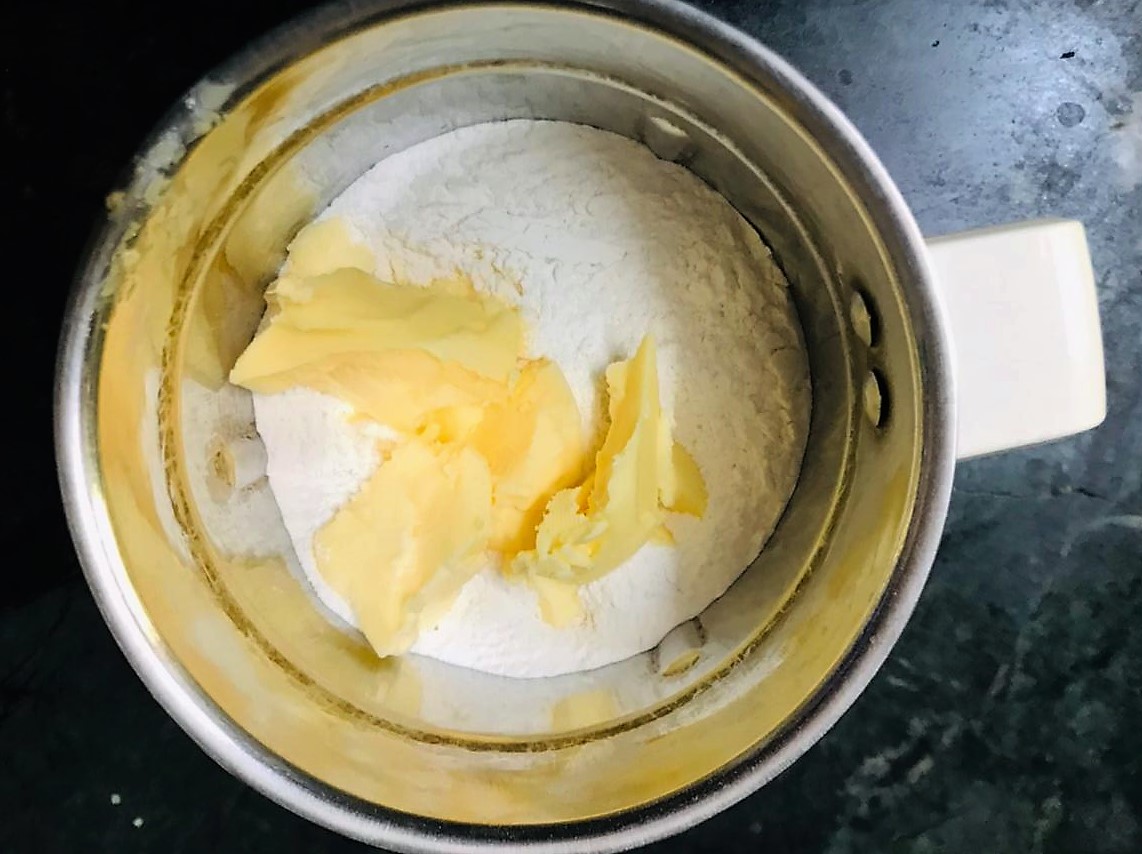
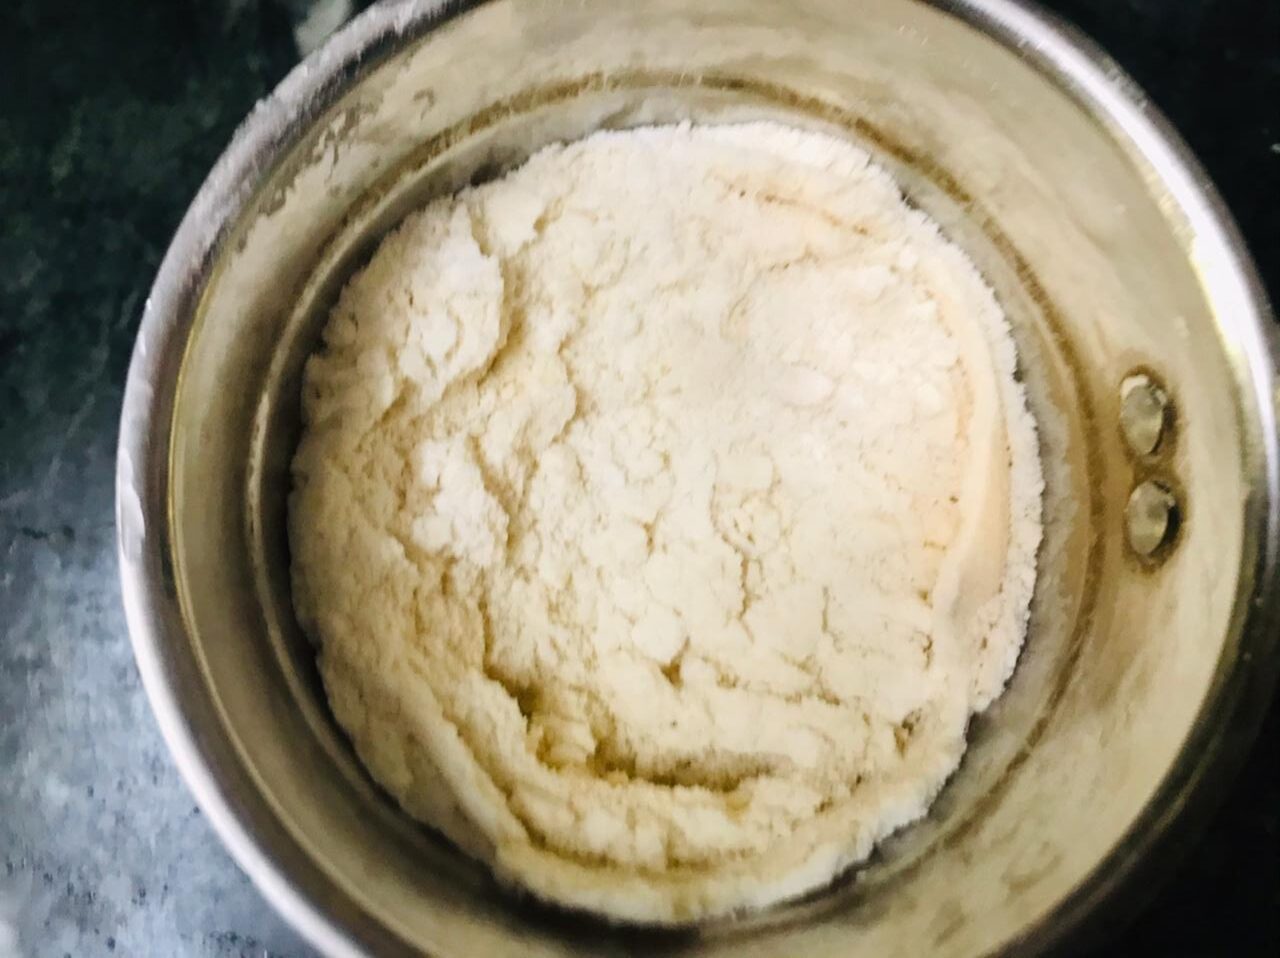
Add the flour, salt and sugar to a food processor, then pulse to combine. Add the butter and process for 10 continuous seconds, until the mixture looks like coarse breadcrumbs.
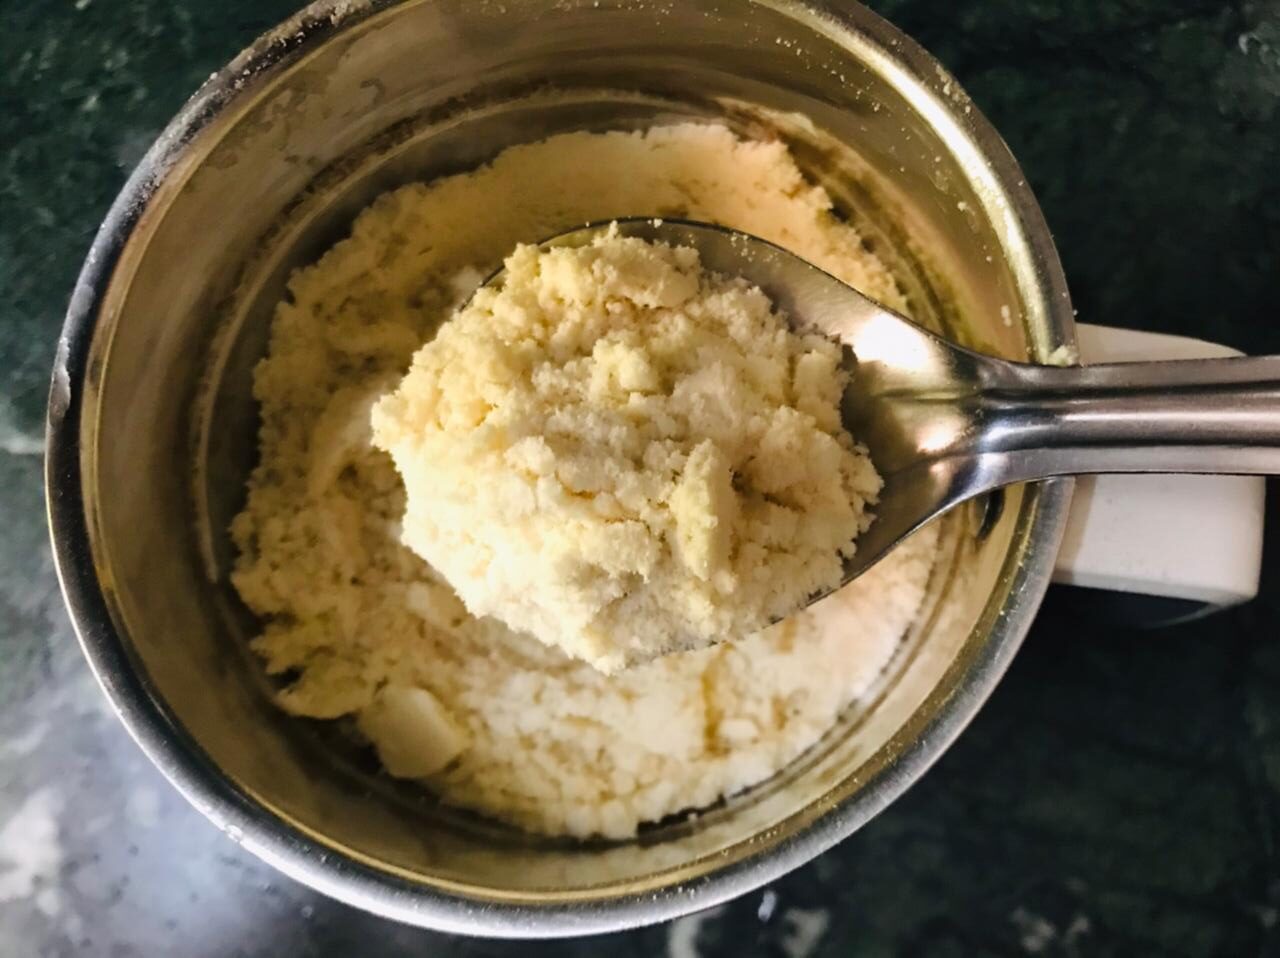
Add the ice water and process for 20 seconds. The dough should now start clumping together.
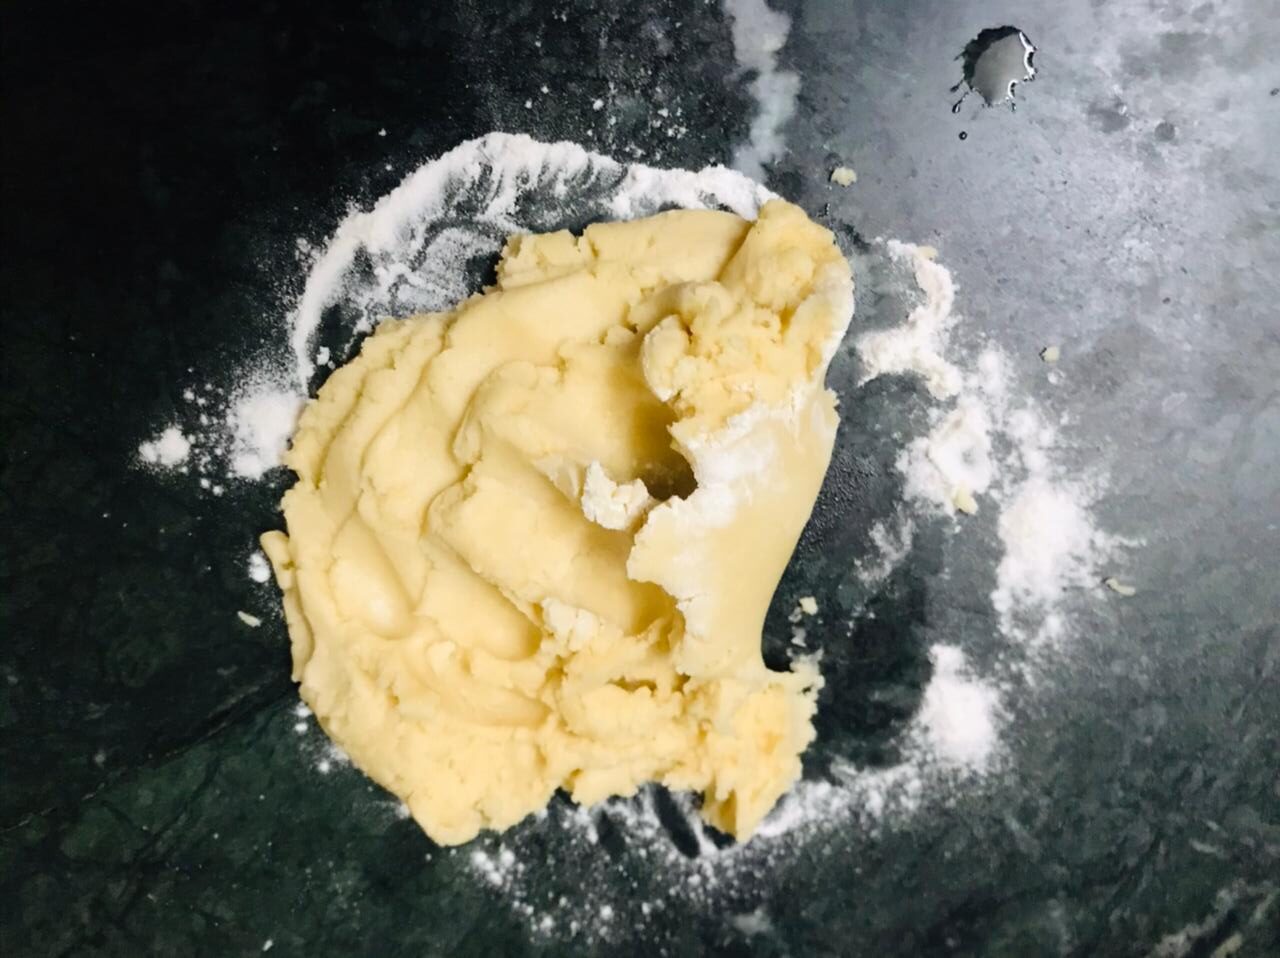

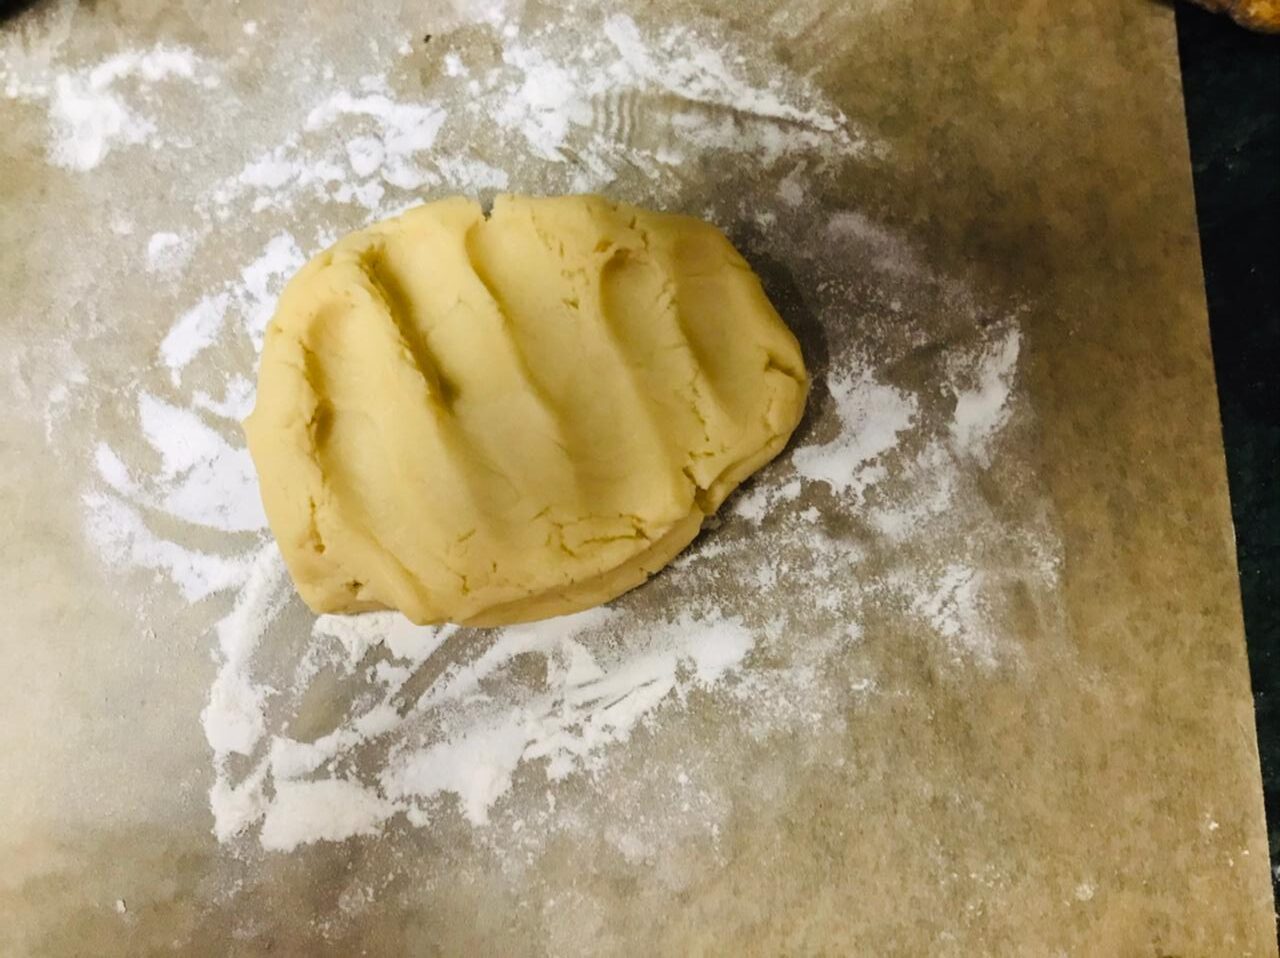
Turn the mixture out onto a work surface. The mixture will easily hold together when pressed. Using your hands, gather the dough into a ball then flatten into a disk, kneading it as lightly as possible.
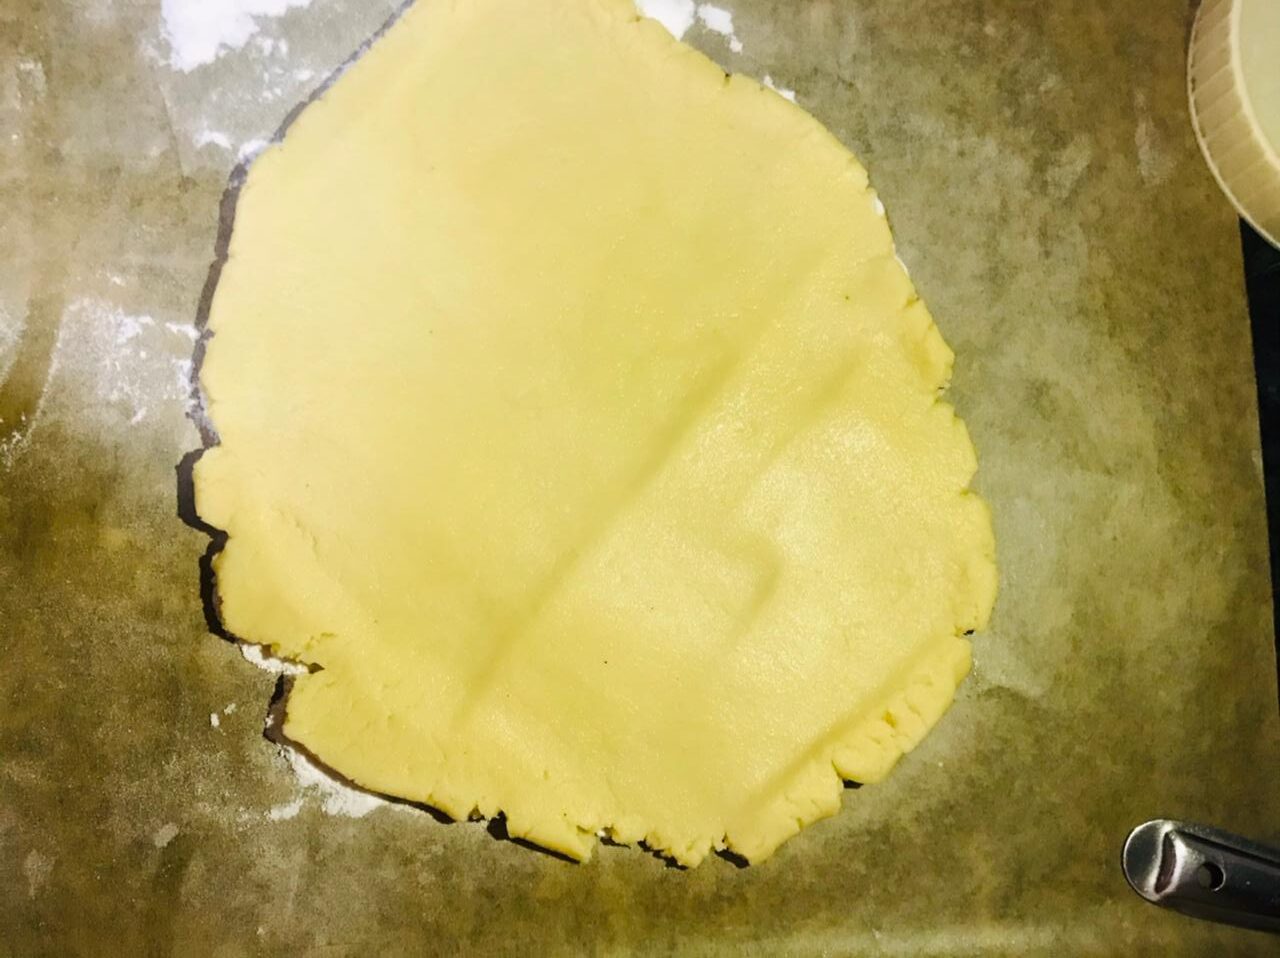
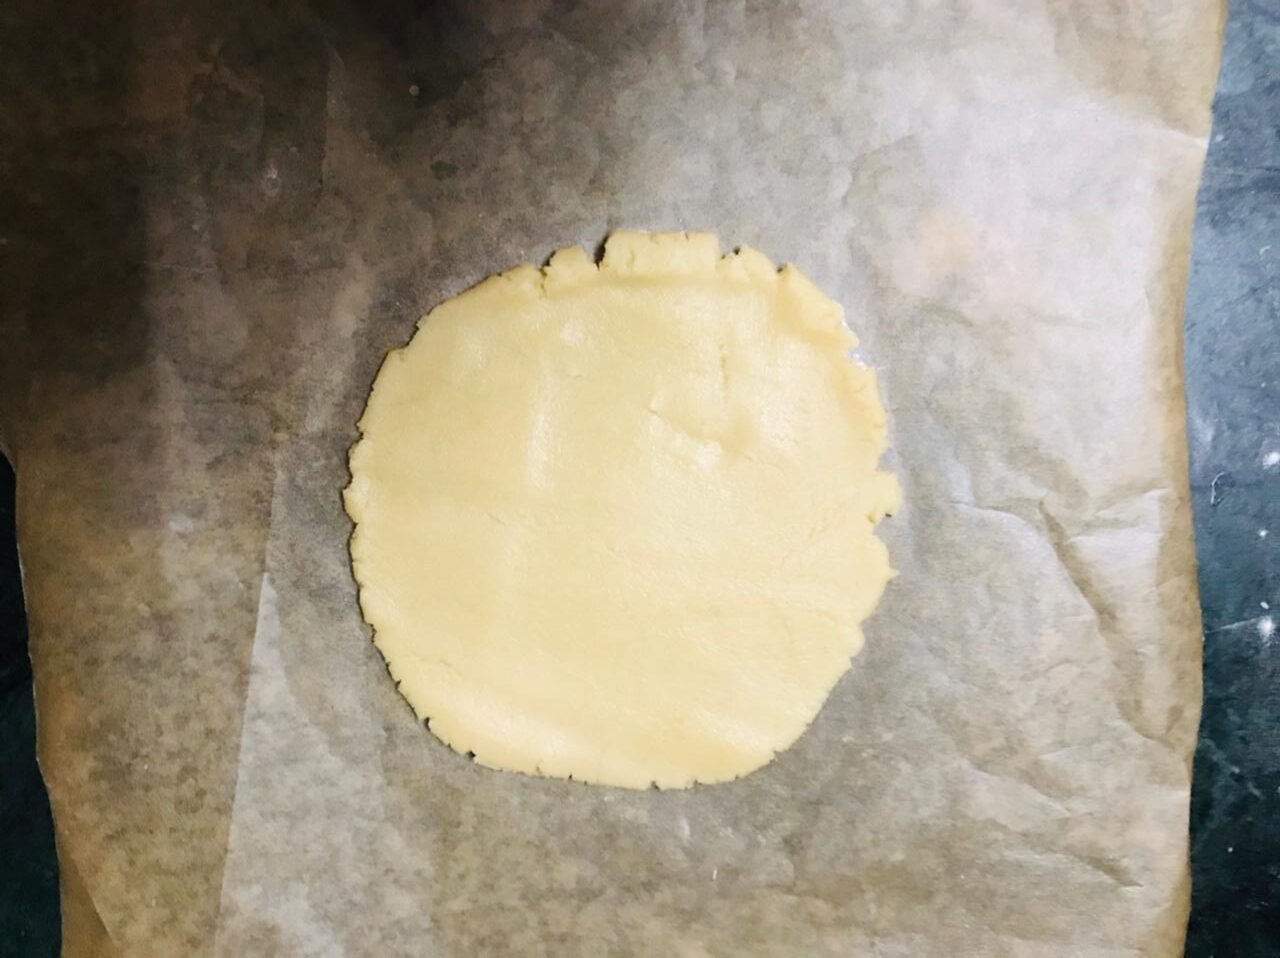
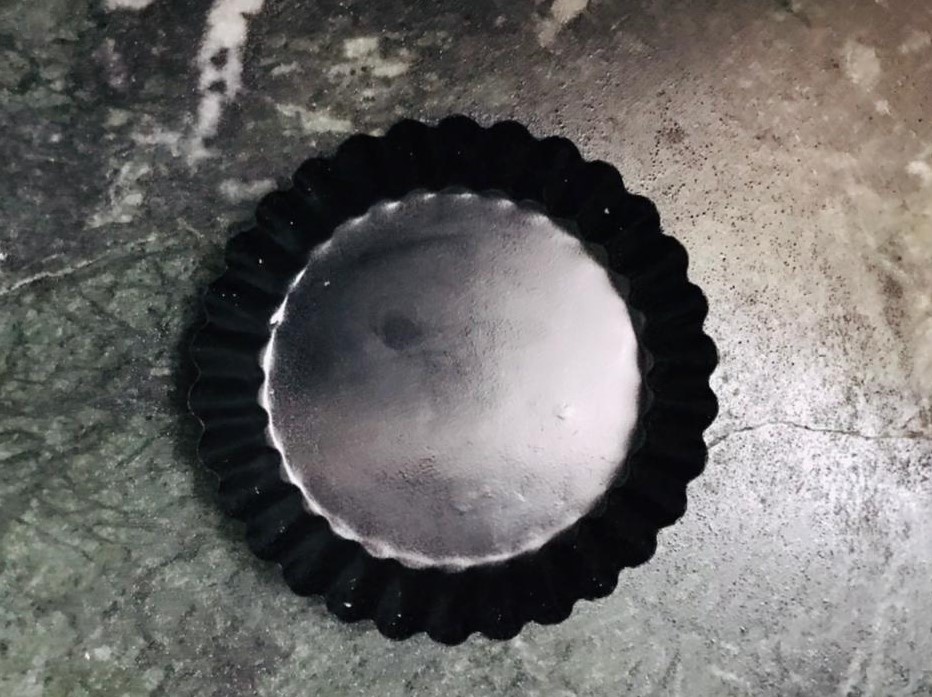
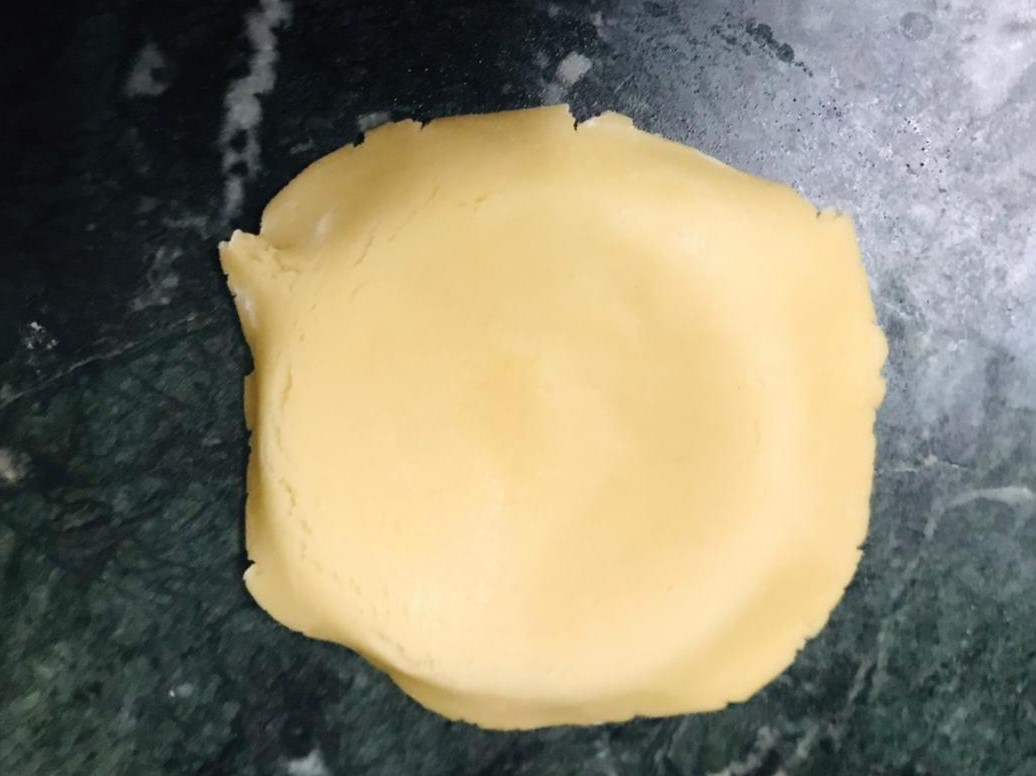

Roll it out according to the size of the tart tin. I have used 4-inch individual tart tin, so I rolled the dough to around 5-6 inches and 1 mm thickness. Now place the dough carefully into your tart tin.
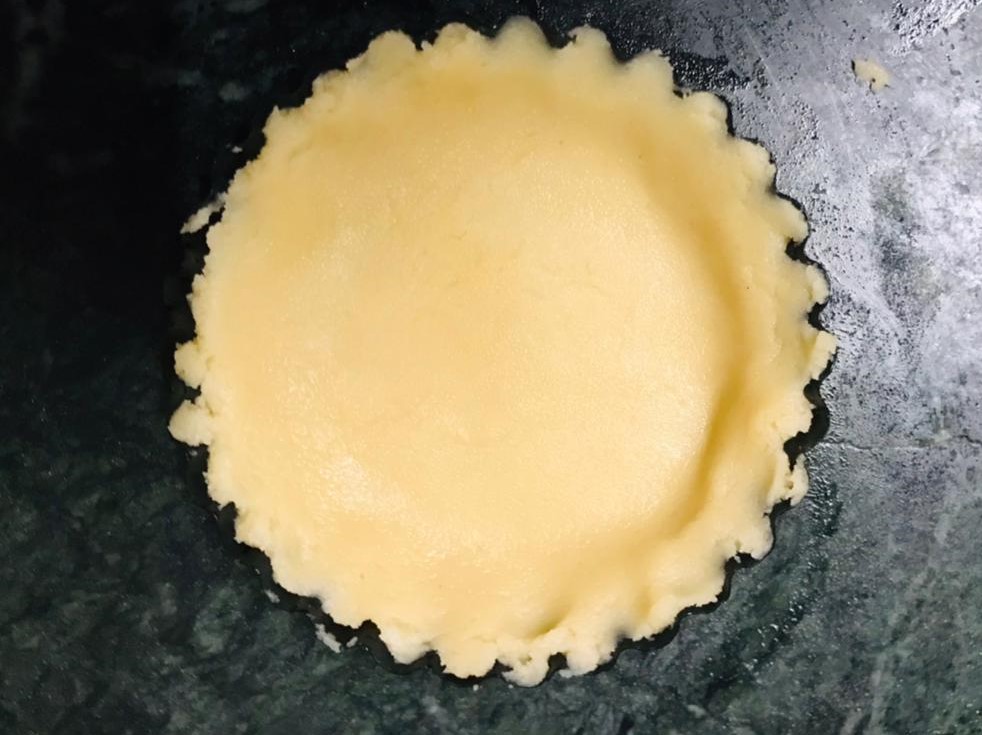
Lift the edges overhanging the tart tin and let the weight of the pastry fall down, gently press the dough into the edges of the tart tin all the way around. Then use your finger to gently press the dough onto the side of the tart tin into all the groves without stretching the dough. Take your time to do this will ensure a neat finish afterwards. Use a sharp knife and run it around the top edge of the tart tin to trim the excess off.
Now chill the pastry by placing your tart tin in the fridge for an hour before baking. By doing this you are maximizing your chances of the dough maintaining its shape
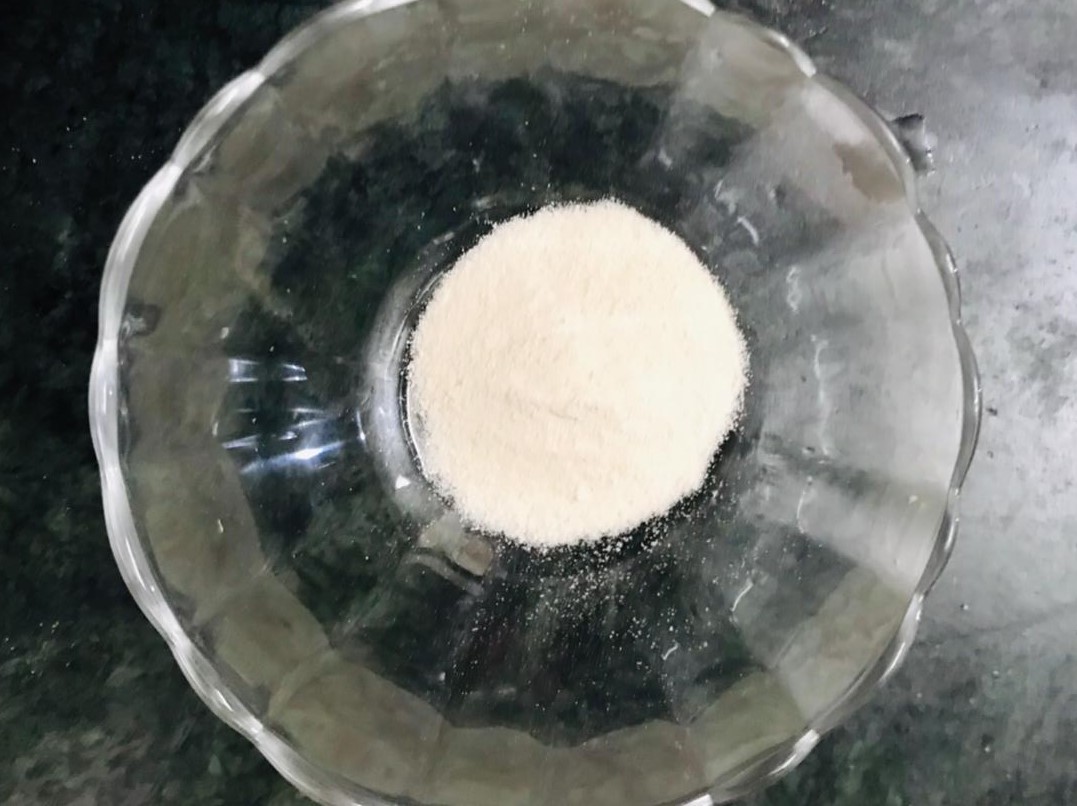
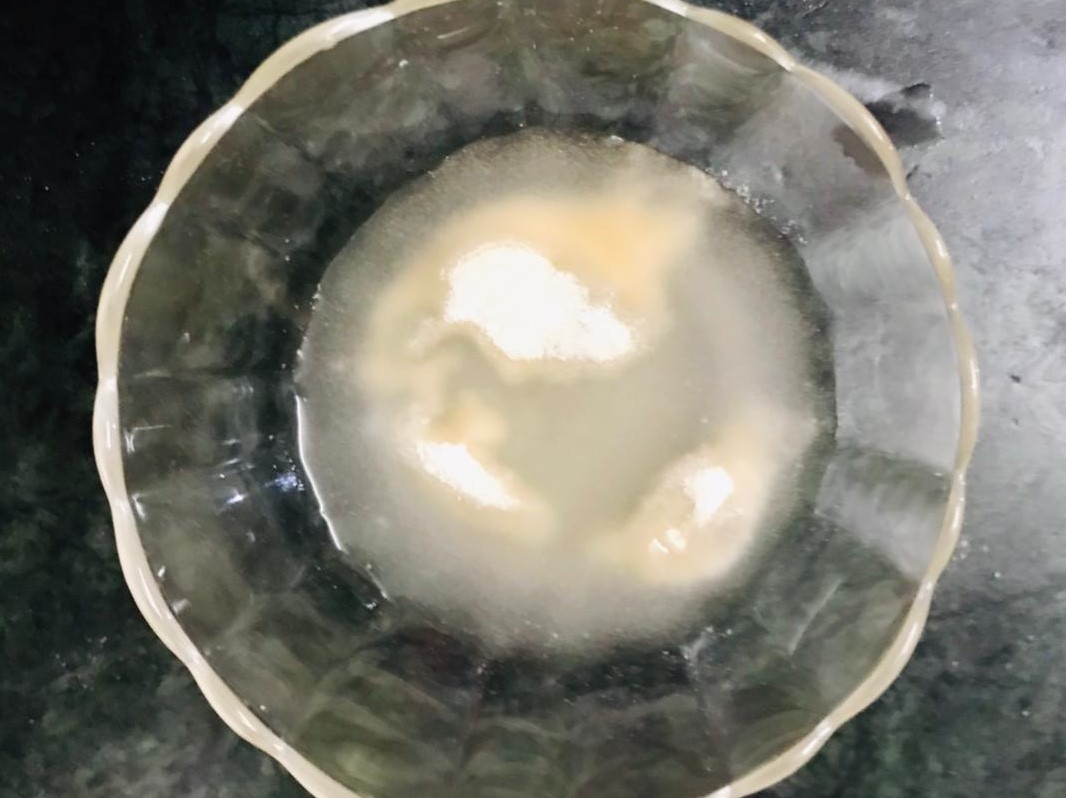

In a bowl mix the agar agar powder with cold water. Leave it aside for 8-10 minutes.
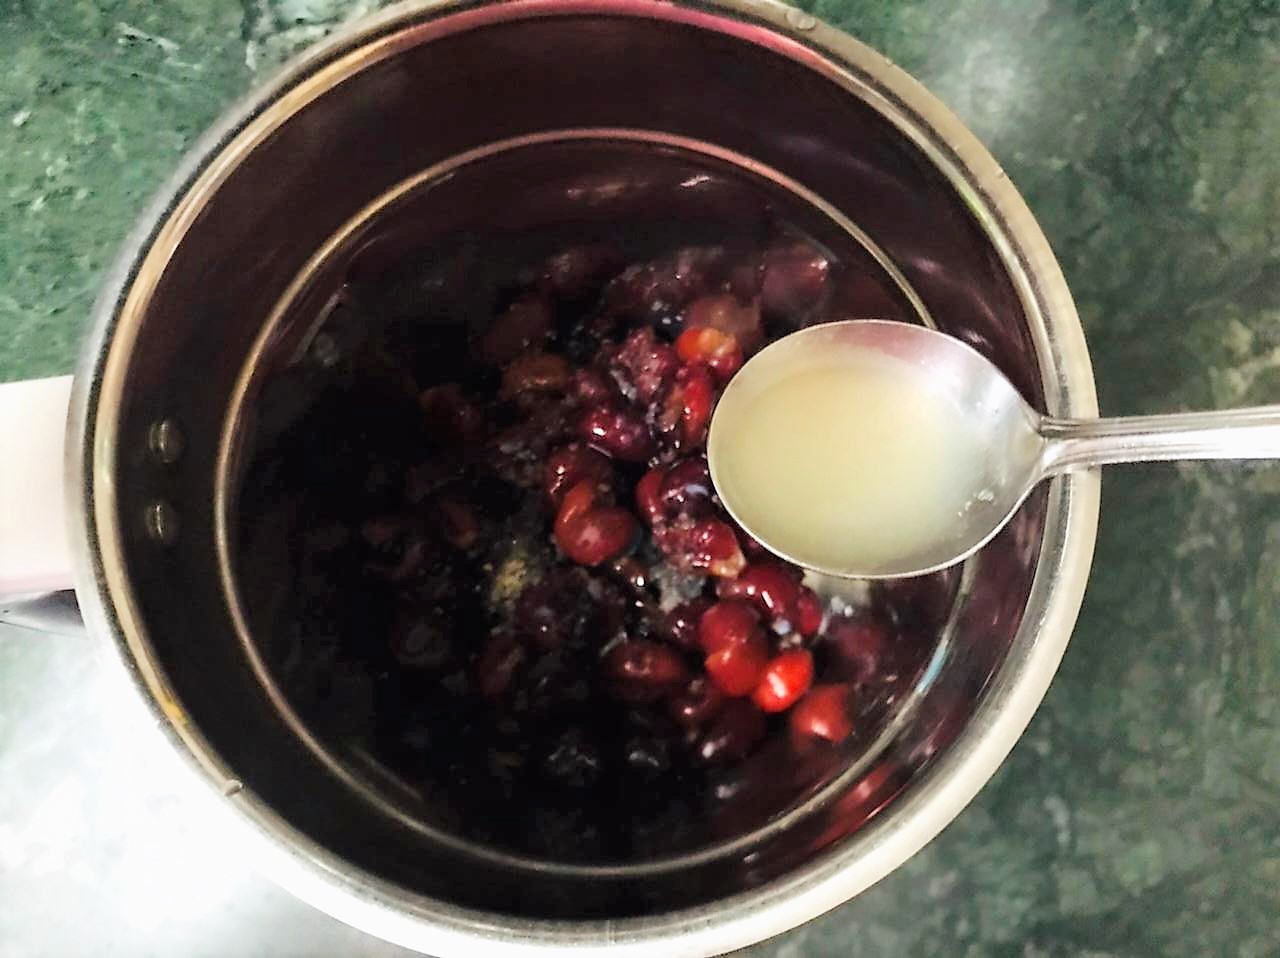
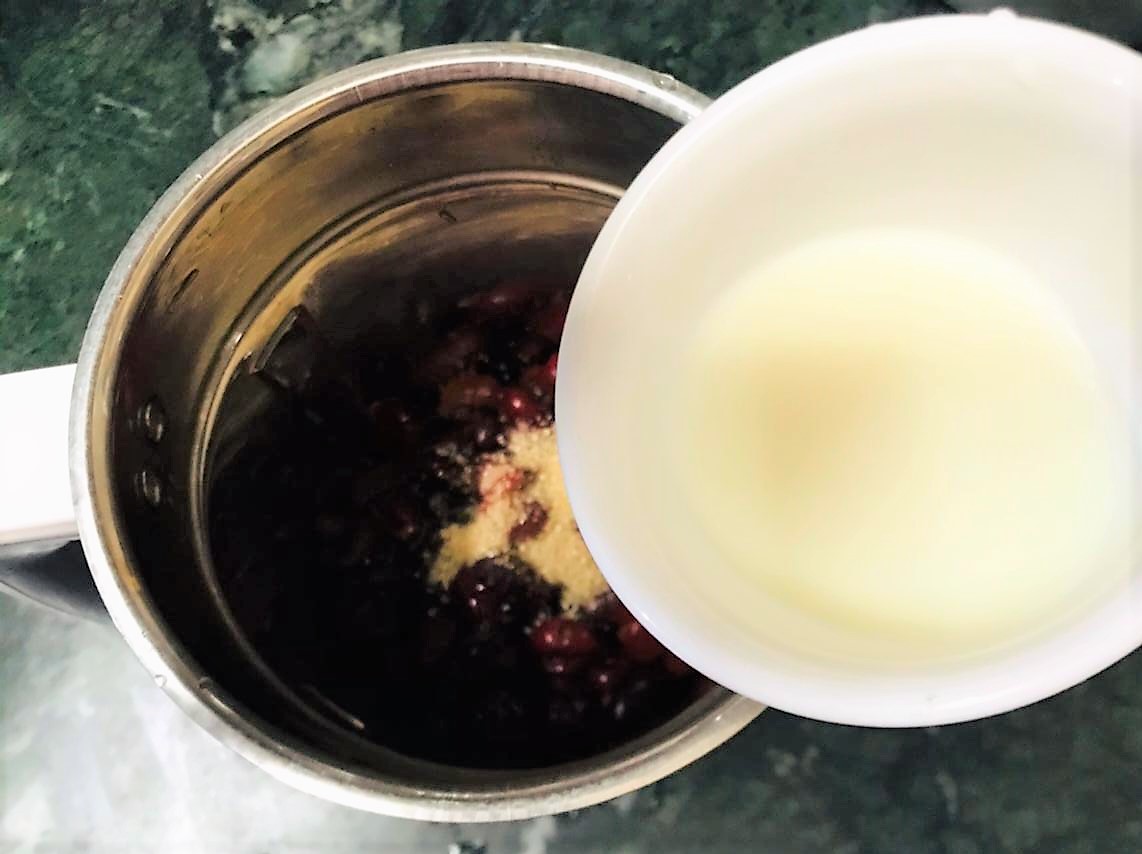
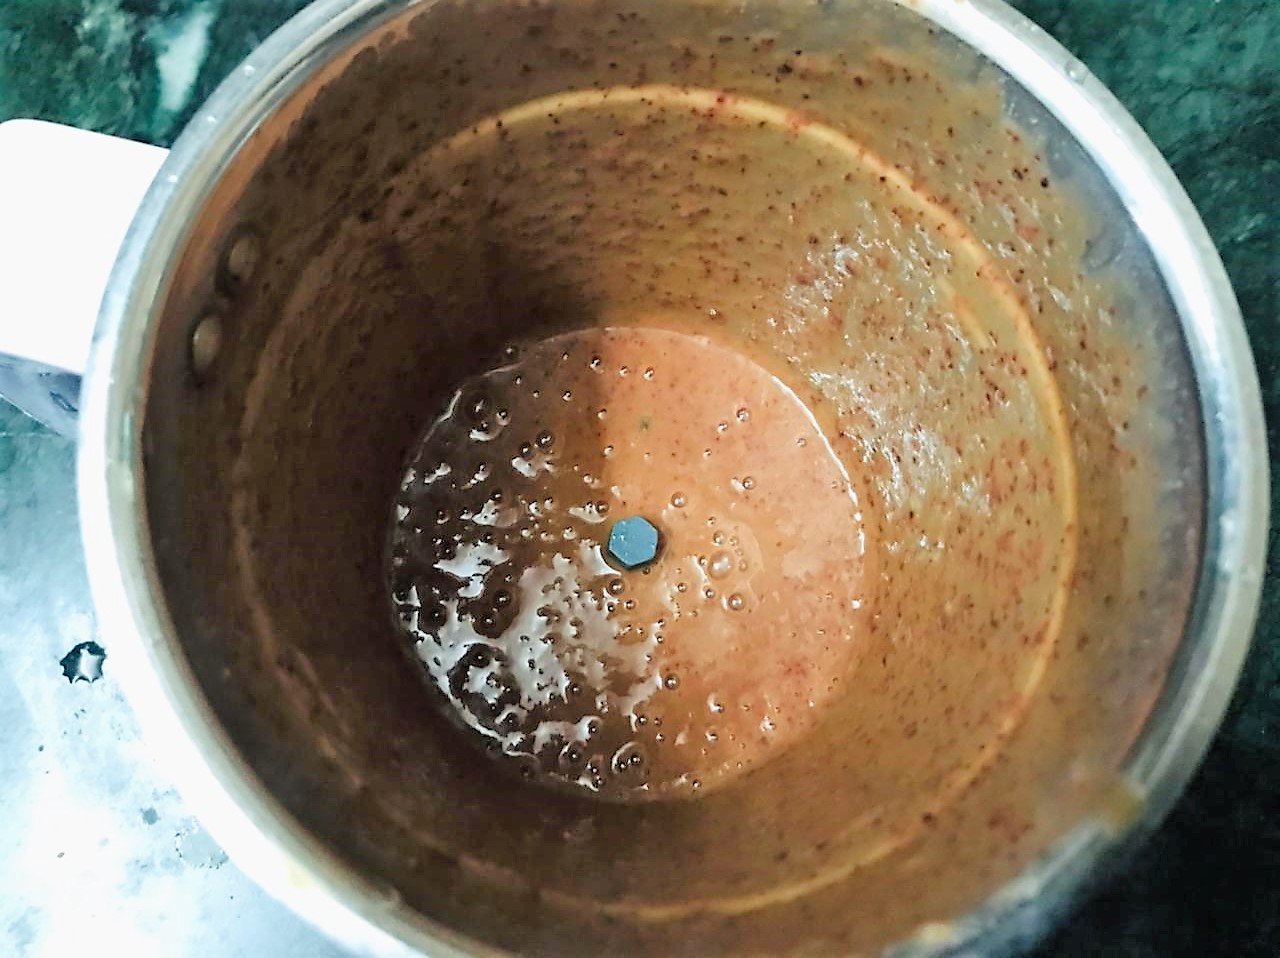
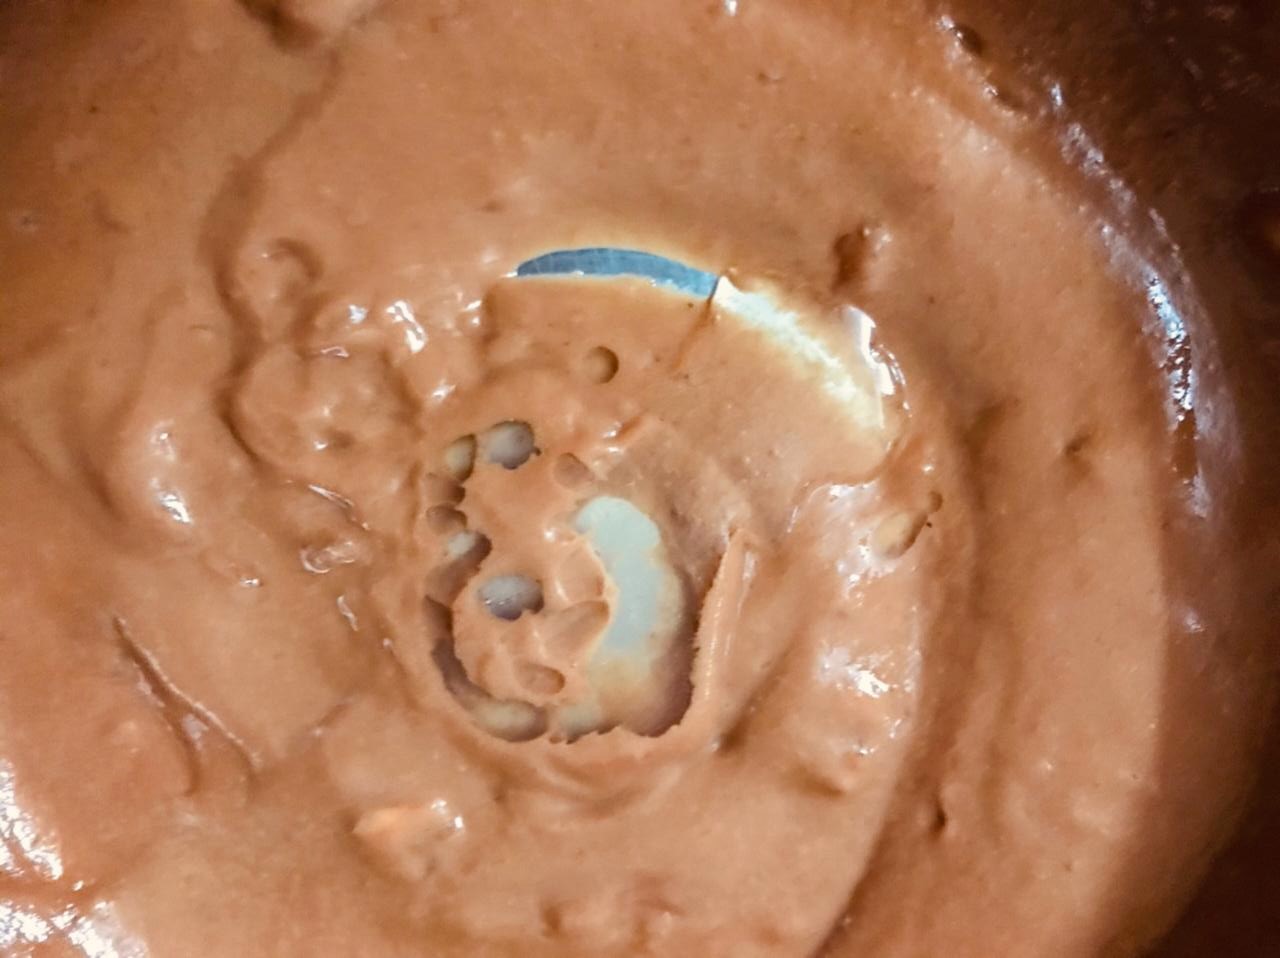
Blend the pitted cherries, sugar, lemon juice and milk to a fine smooth puree.
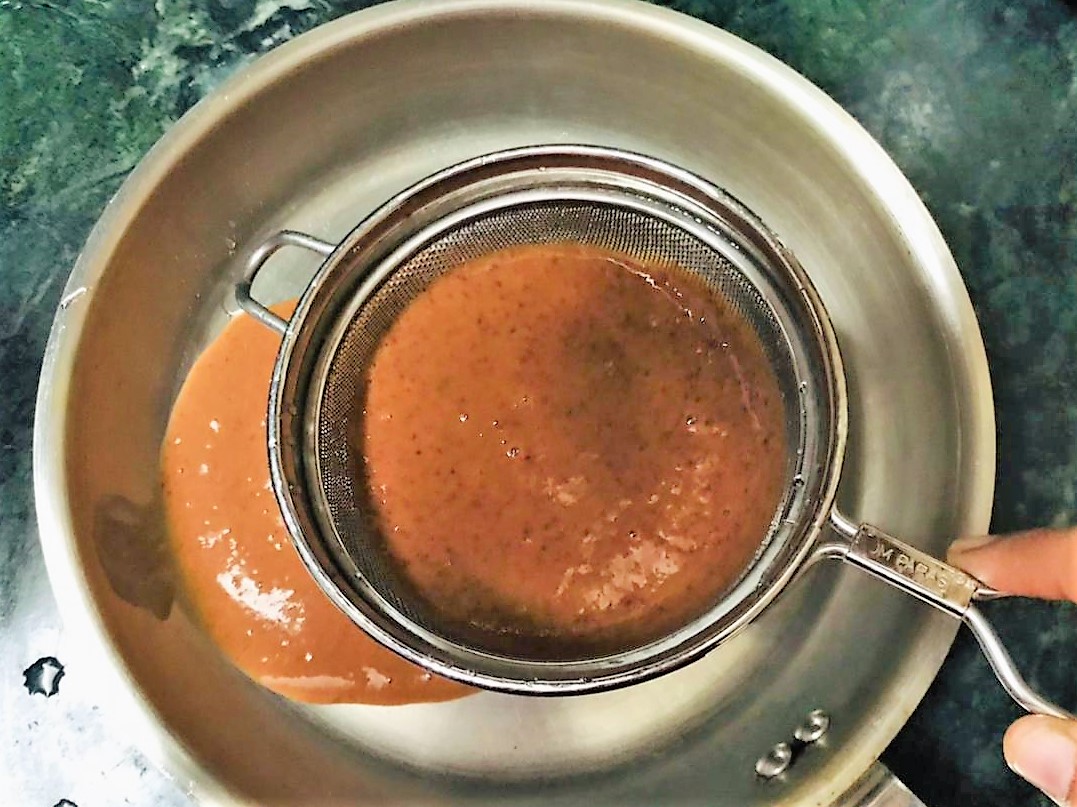
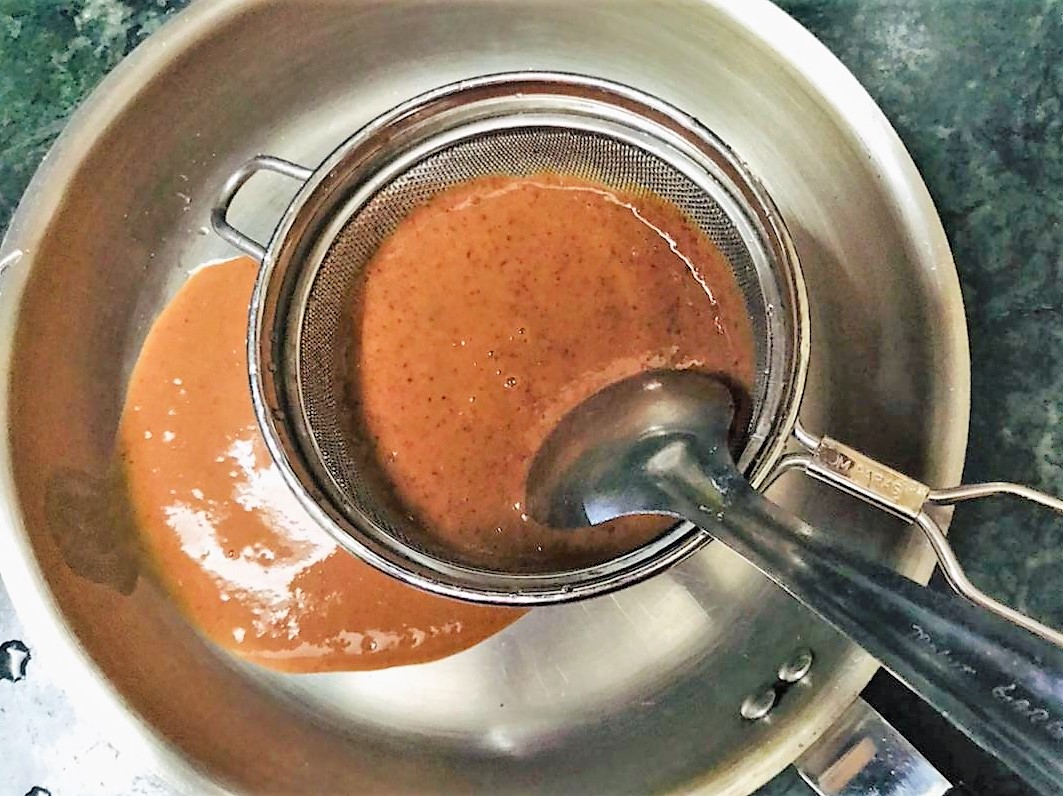
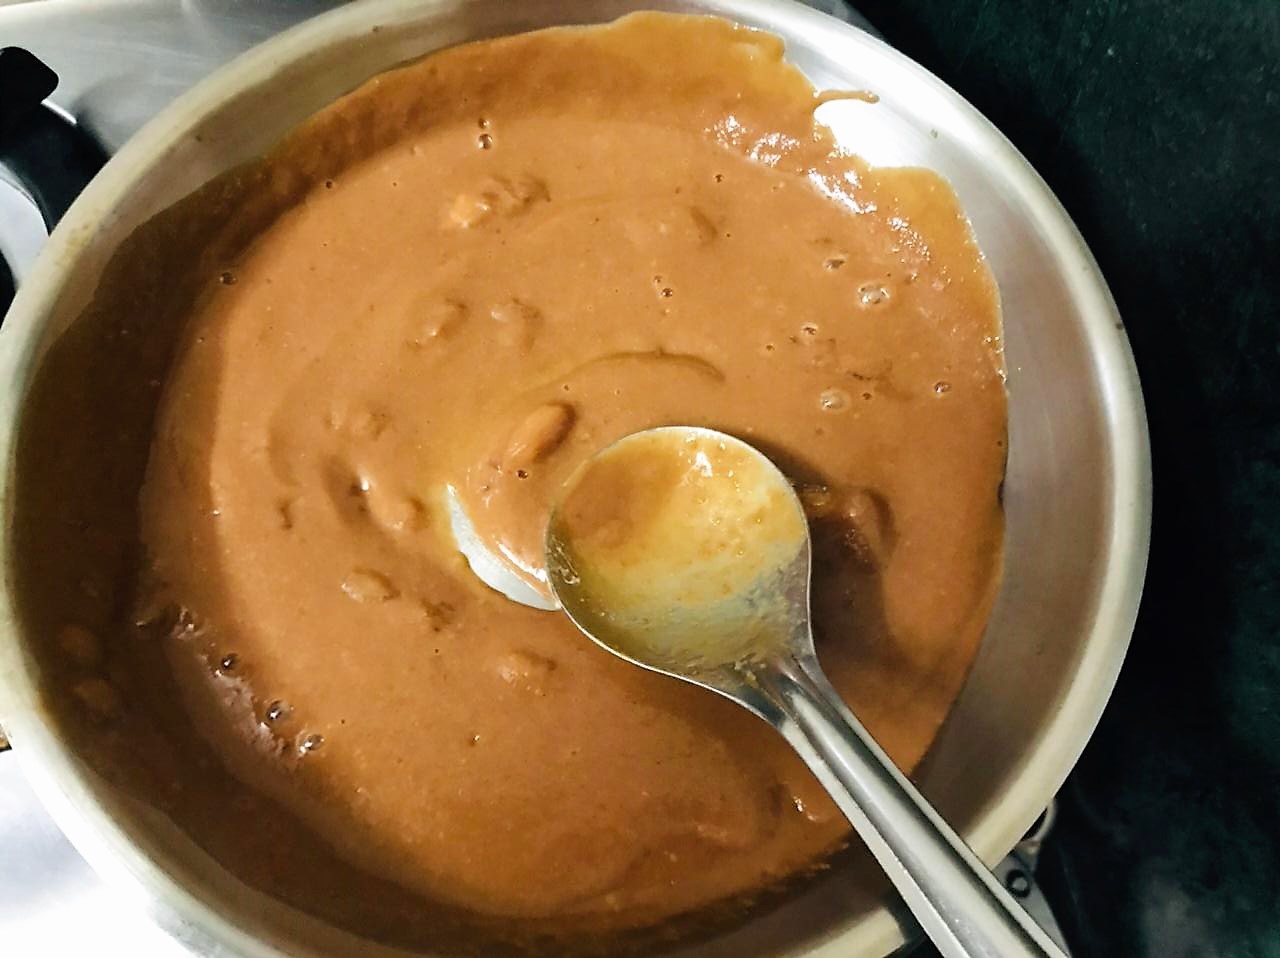
Strain the puree to remove any cherry skins and for a smooth puree.
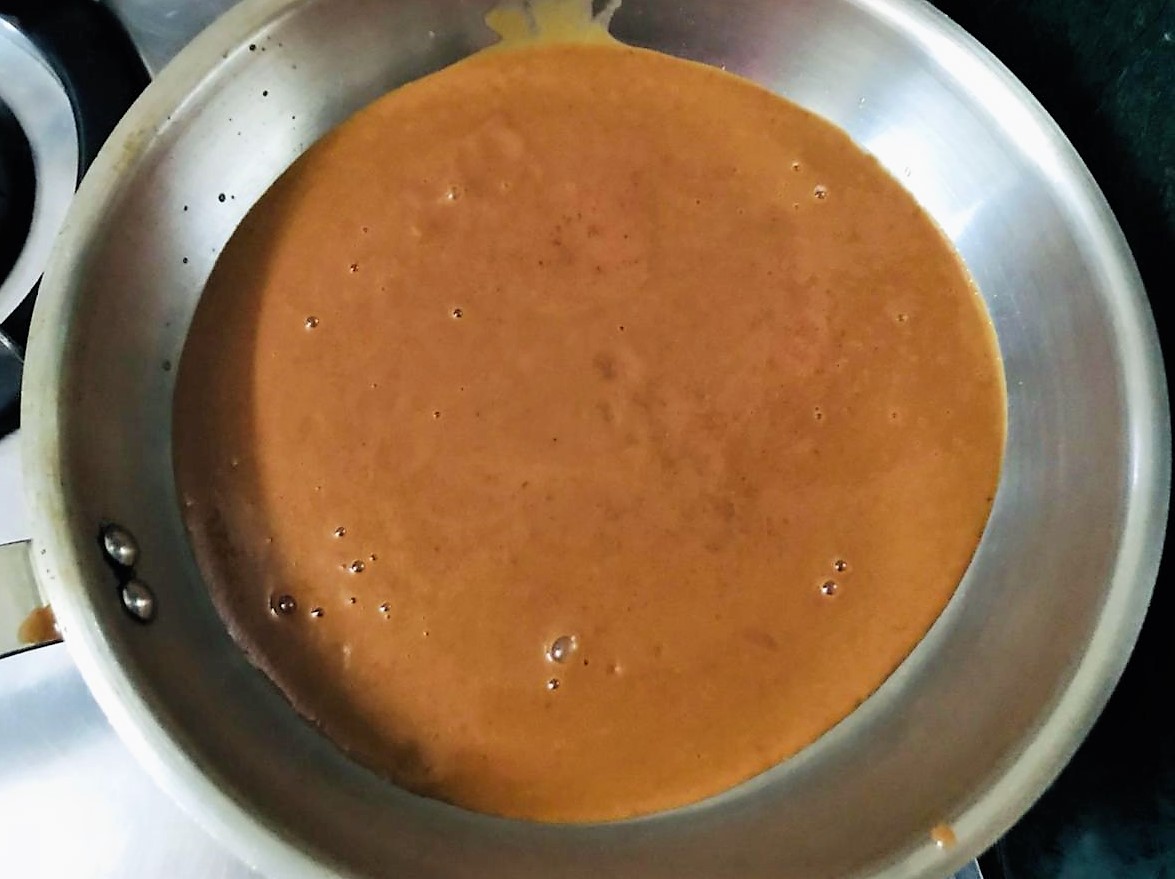
Heat the puree in a pan on low heat for 2-3 minutes to slightly thicken it.
Preheat the oven to 200C/180C/Fan 6.
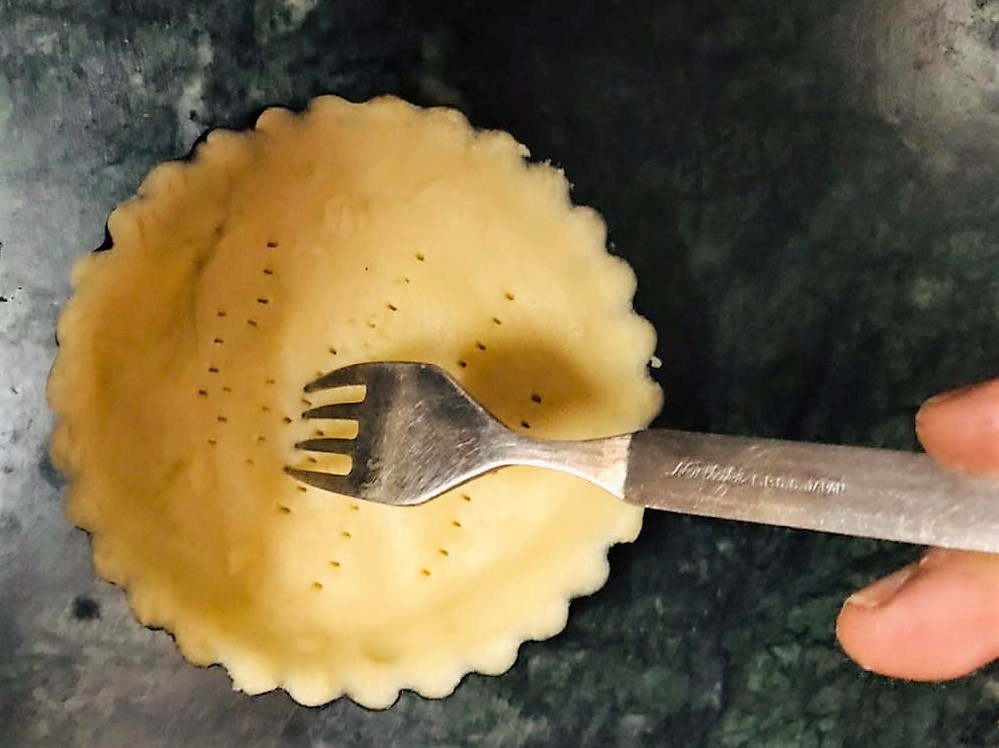
After cooling the pastry prick the base of the tart using a fork. The fork holes allow the steam to rise from the dough and stop it puffing up and rising.
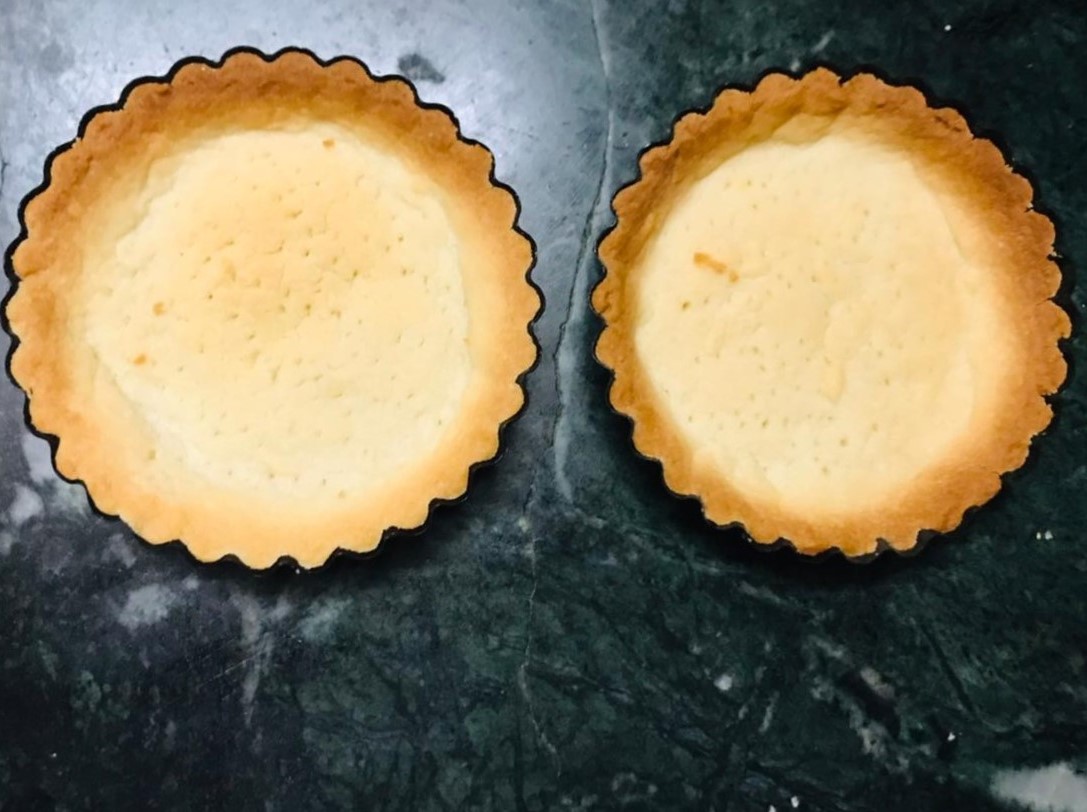
Bake them in a preheated oven for about 15 minutes or until the pastry is just starting to turn brown but when you touch it feels slightly soft when pressed.
Remove from the oven and keep it aside to cool.

Microwave the agar agar mix for a minute (as it helps activate its gelling properties) and add this to the cherry puree and stir it continuously until the puree comes to a boil. Turn off the heat and keep it aside to cool.
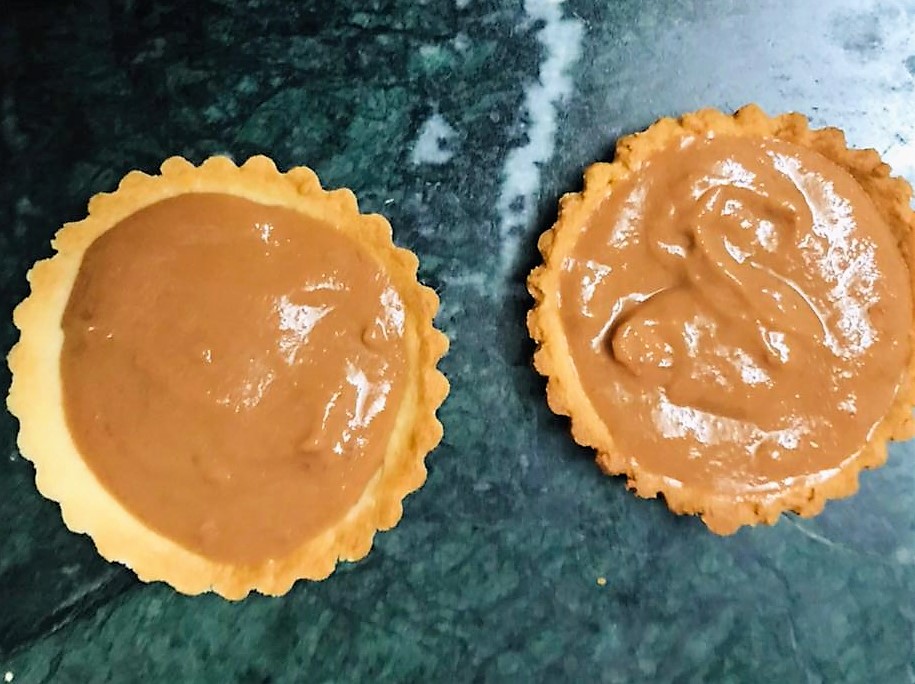
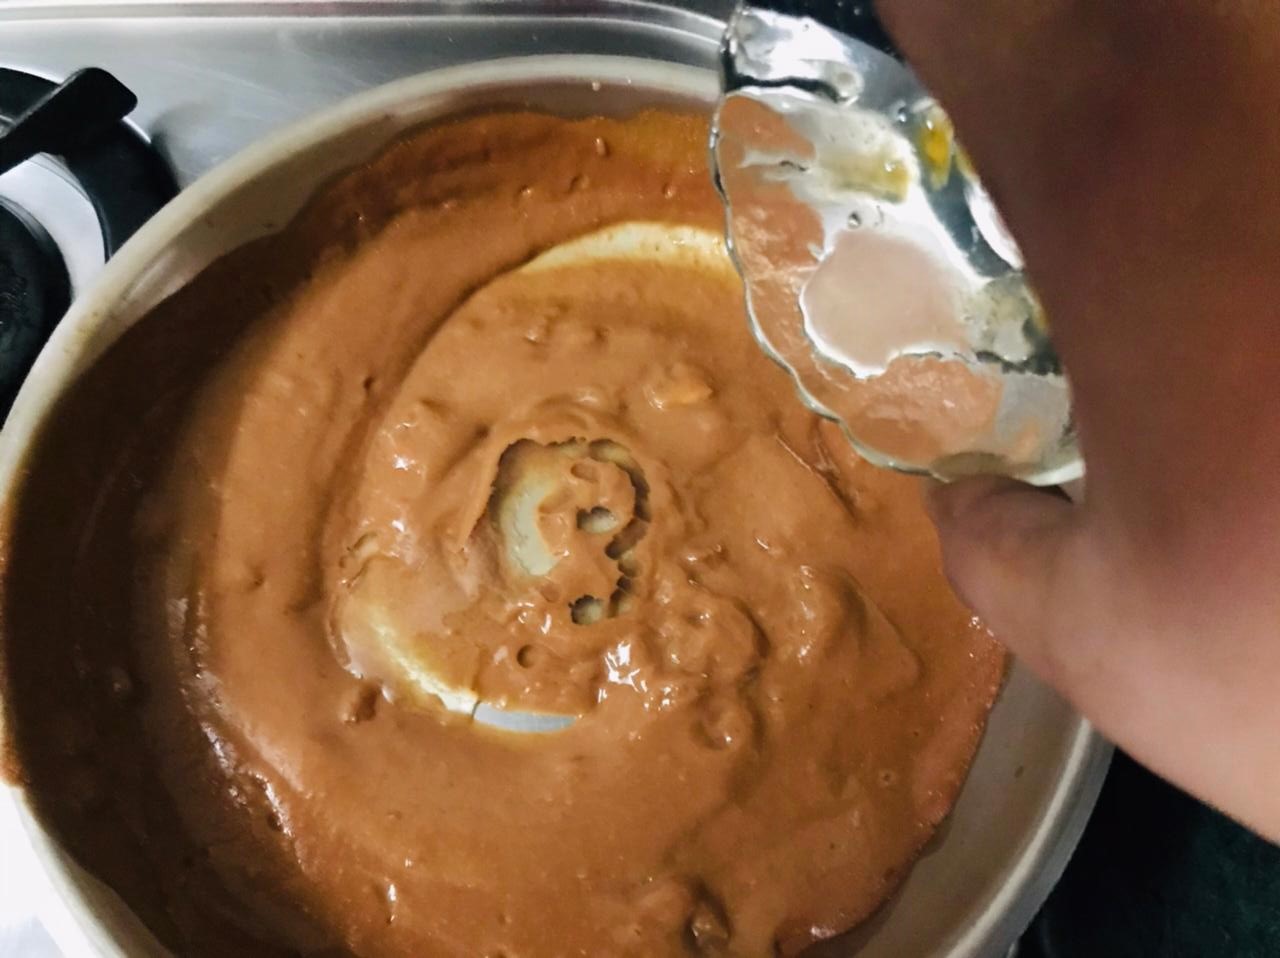
Spoon the cheery filling into the baked tarts and gently tap to smoothen the top. Chill it in the fridge for couple of hours.
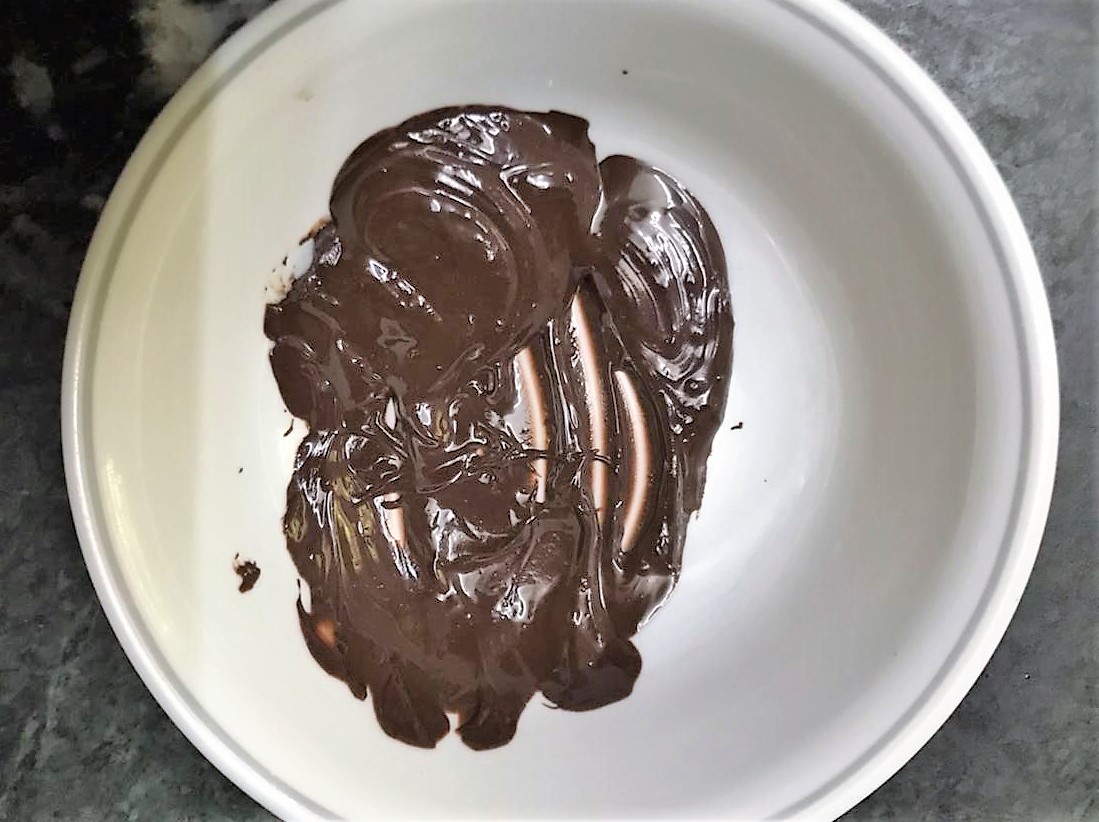
Cut the dark chocolate into small pieces and put it in microwave safe bowl. Heat the dark chocolate for 30 seconds in the microwave, then take it out and give it a stir. Depending on your microwave, you might not see much change yet. Continue microwaving in 15-second bursts at medium power, stirring as needed. Once the pieces are mostly melted, remove from the microwave and let the remaining bits melt in the residual heat.
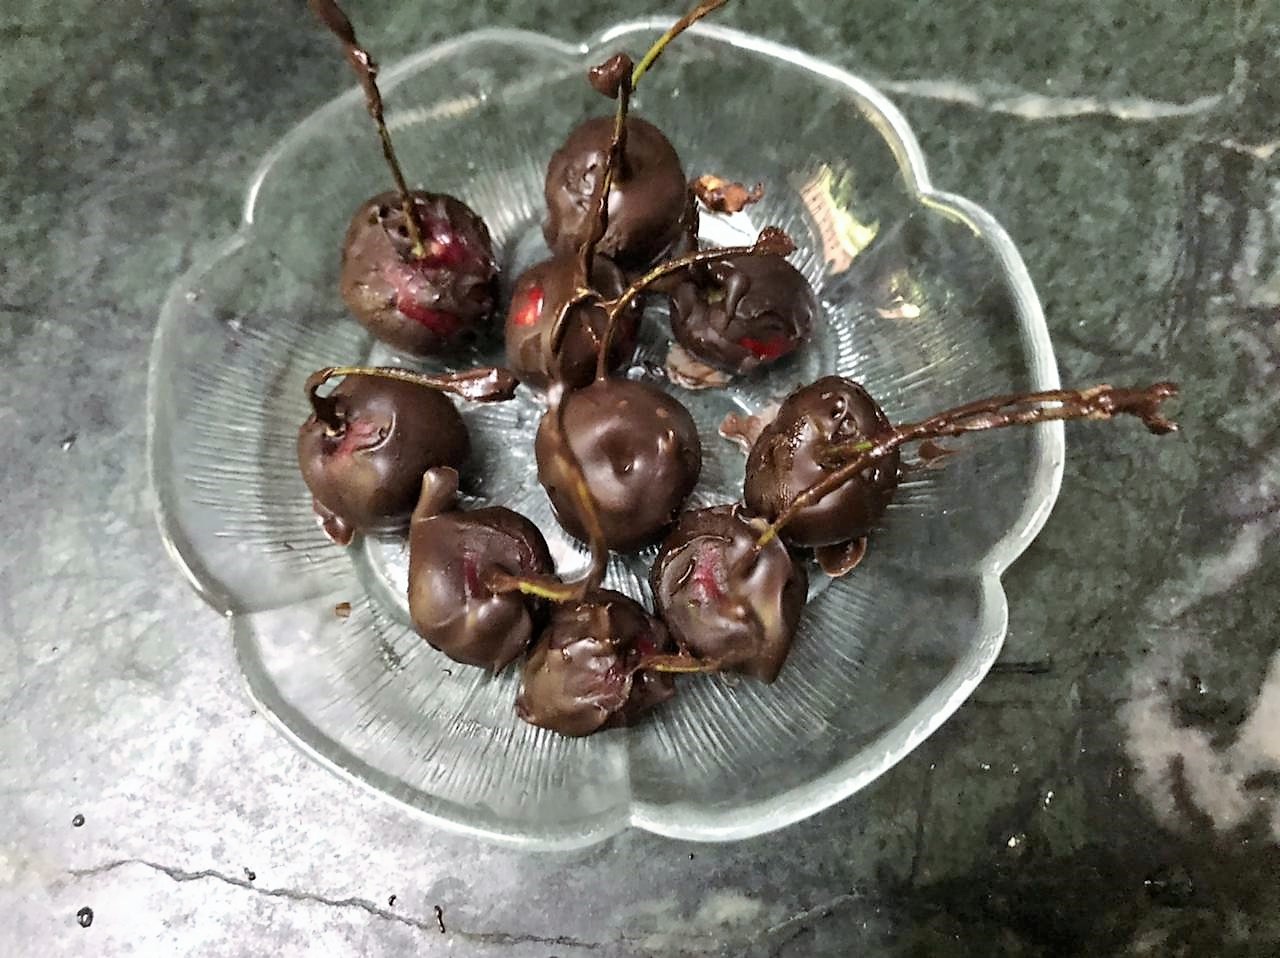
Coat the cherries in the chocolate sauce and keep it aside for about 10 minutes.
Place the chocolate coated cherries on top of each tart before serving.