Ladi Pav
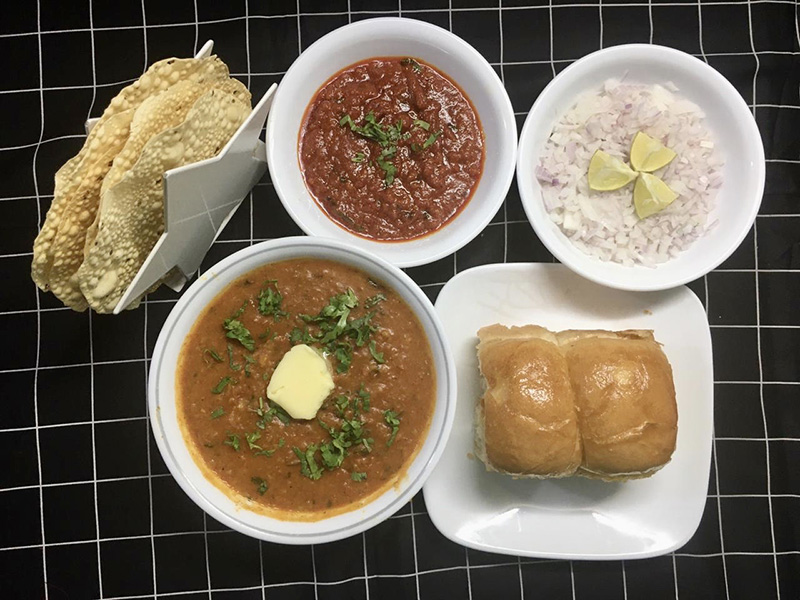
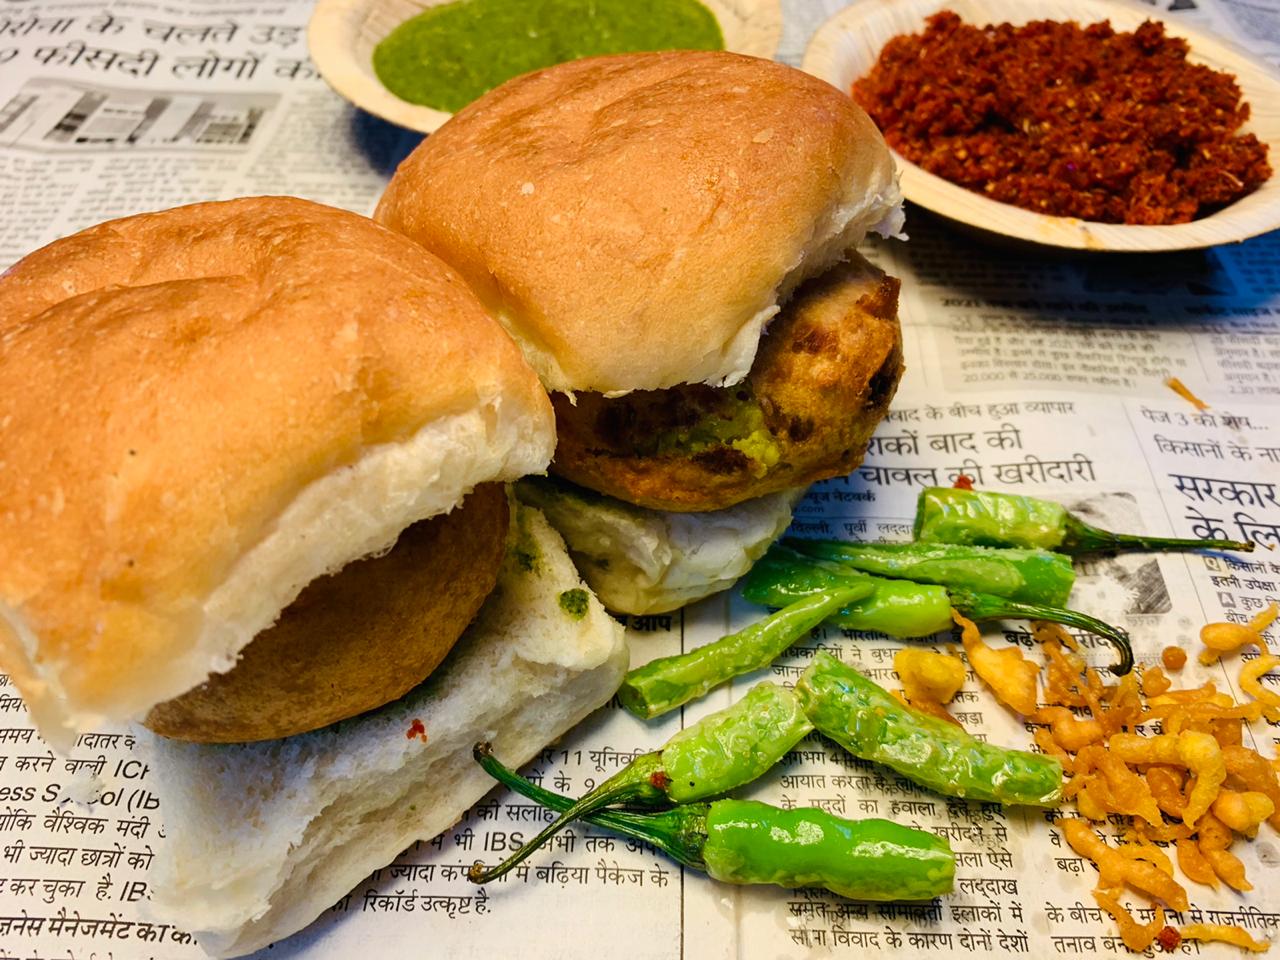
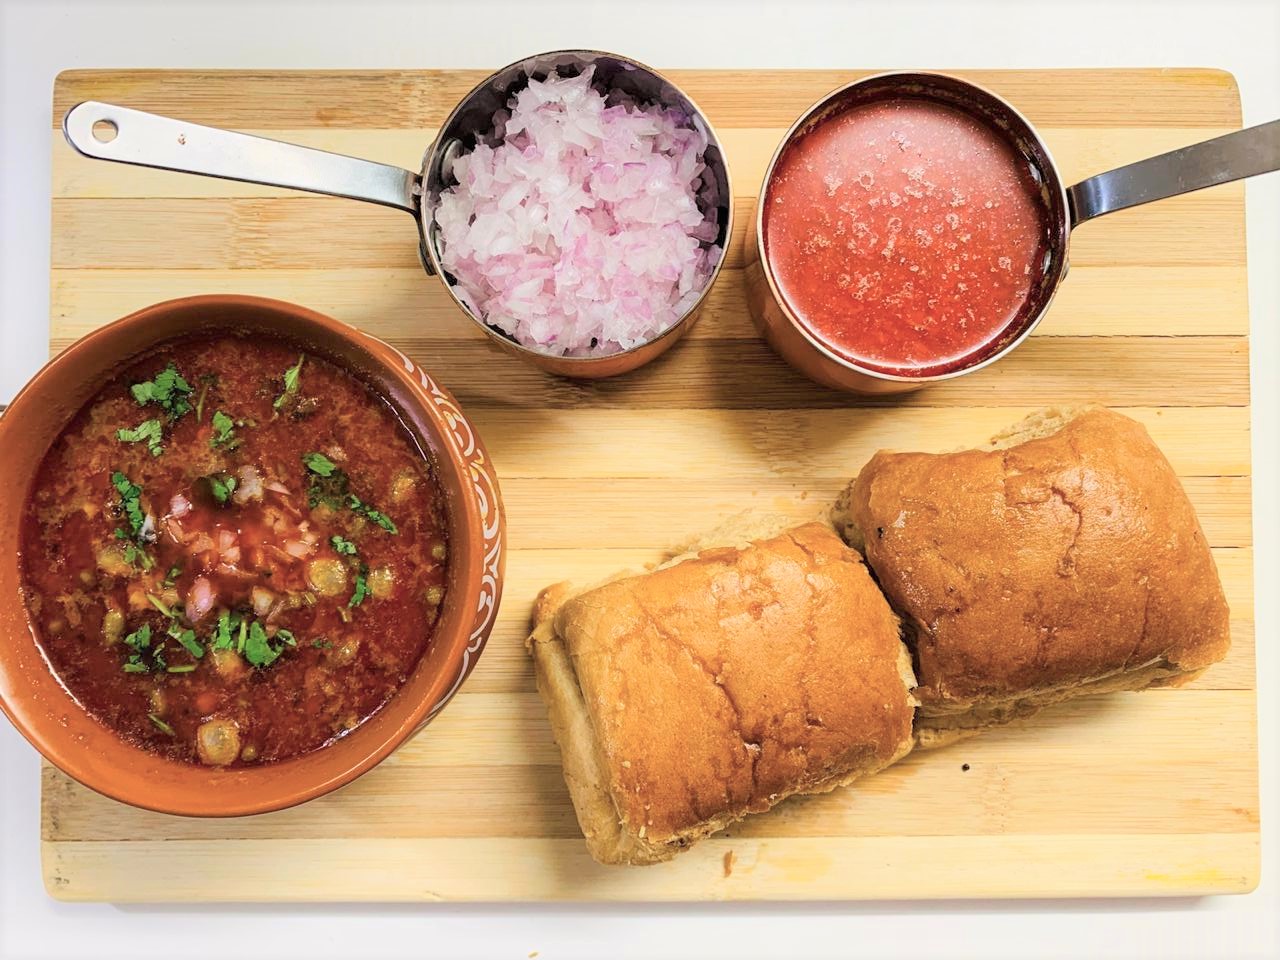
Cotton soft and spongy rolls that are a match made in heaven when served with Mumbai style bhaji or vada!
Ladi pav is a popular bread roll from Mumbai, India and is used in many recipes, especially roadside snacks. The rolls are called ‘Ladi’ as it comprises of three or four rows of pav or bread merged, arranged in slabs or “ladi”.
If I think back, I would have never ever thought that I would be baking these delicious ‘pavs’ at home since they are so easily available in India.
My friend Santosh is from Mumbai and being a real foodie and a true Mumbaikar, he always says that one cannot relish any of the Mumbai dishes to the fullest if the pav is not right. I totally agree! The taste of half these dishes comes from the ‘Ladi pav’.
I have never baked my own pav while I lived in India. After moving to UK I have experimented with burger buns, dinner rolls, and brioche rolls to compliment the bhaji but that ‘oomph factor’ was always missing. My brother visited me few years ago and he brought couple of packs of the pav from India. After we have devoured all those, I started baking my own pavs, and I can boastfully say that my experience of baking the Ladi pav at home has been wonderful and kind of therapeutic.
Directions
Step-1
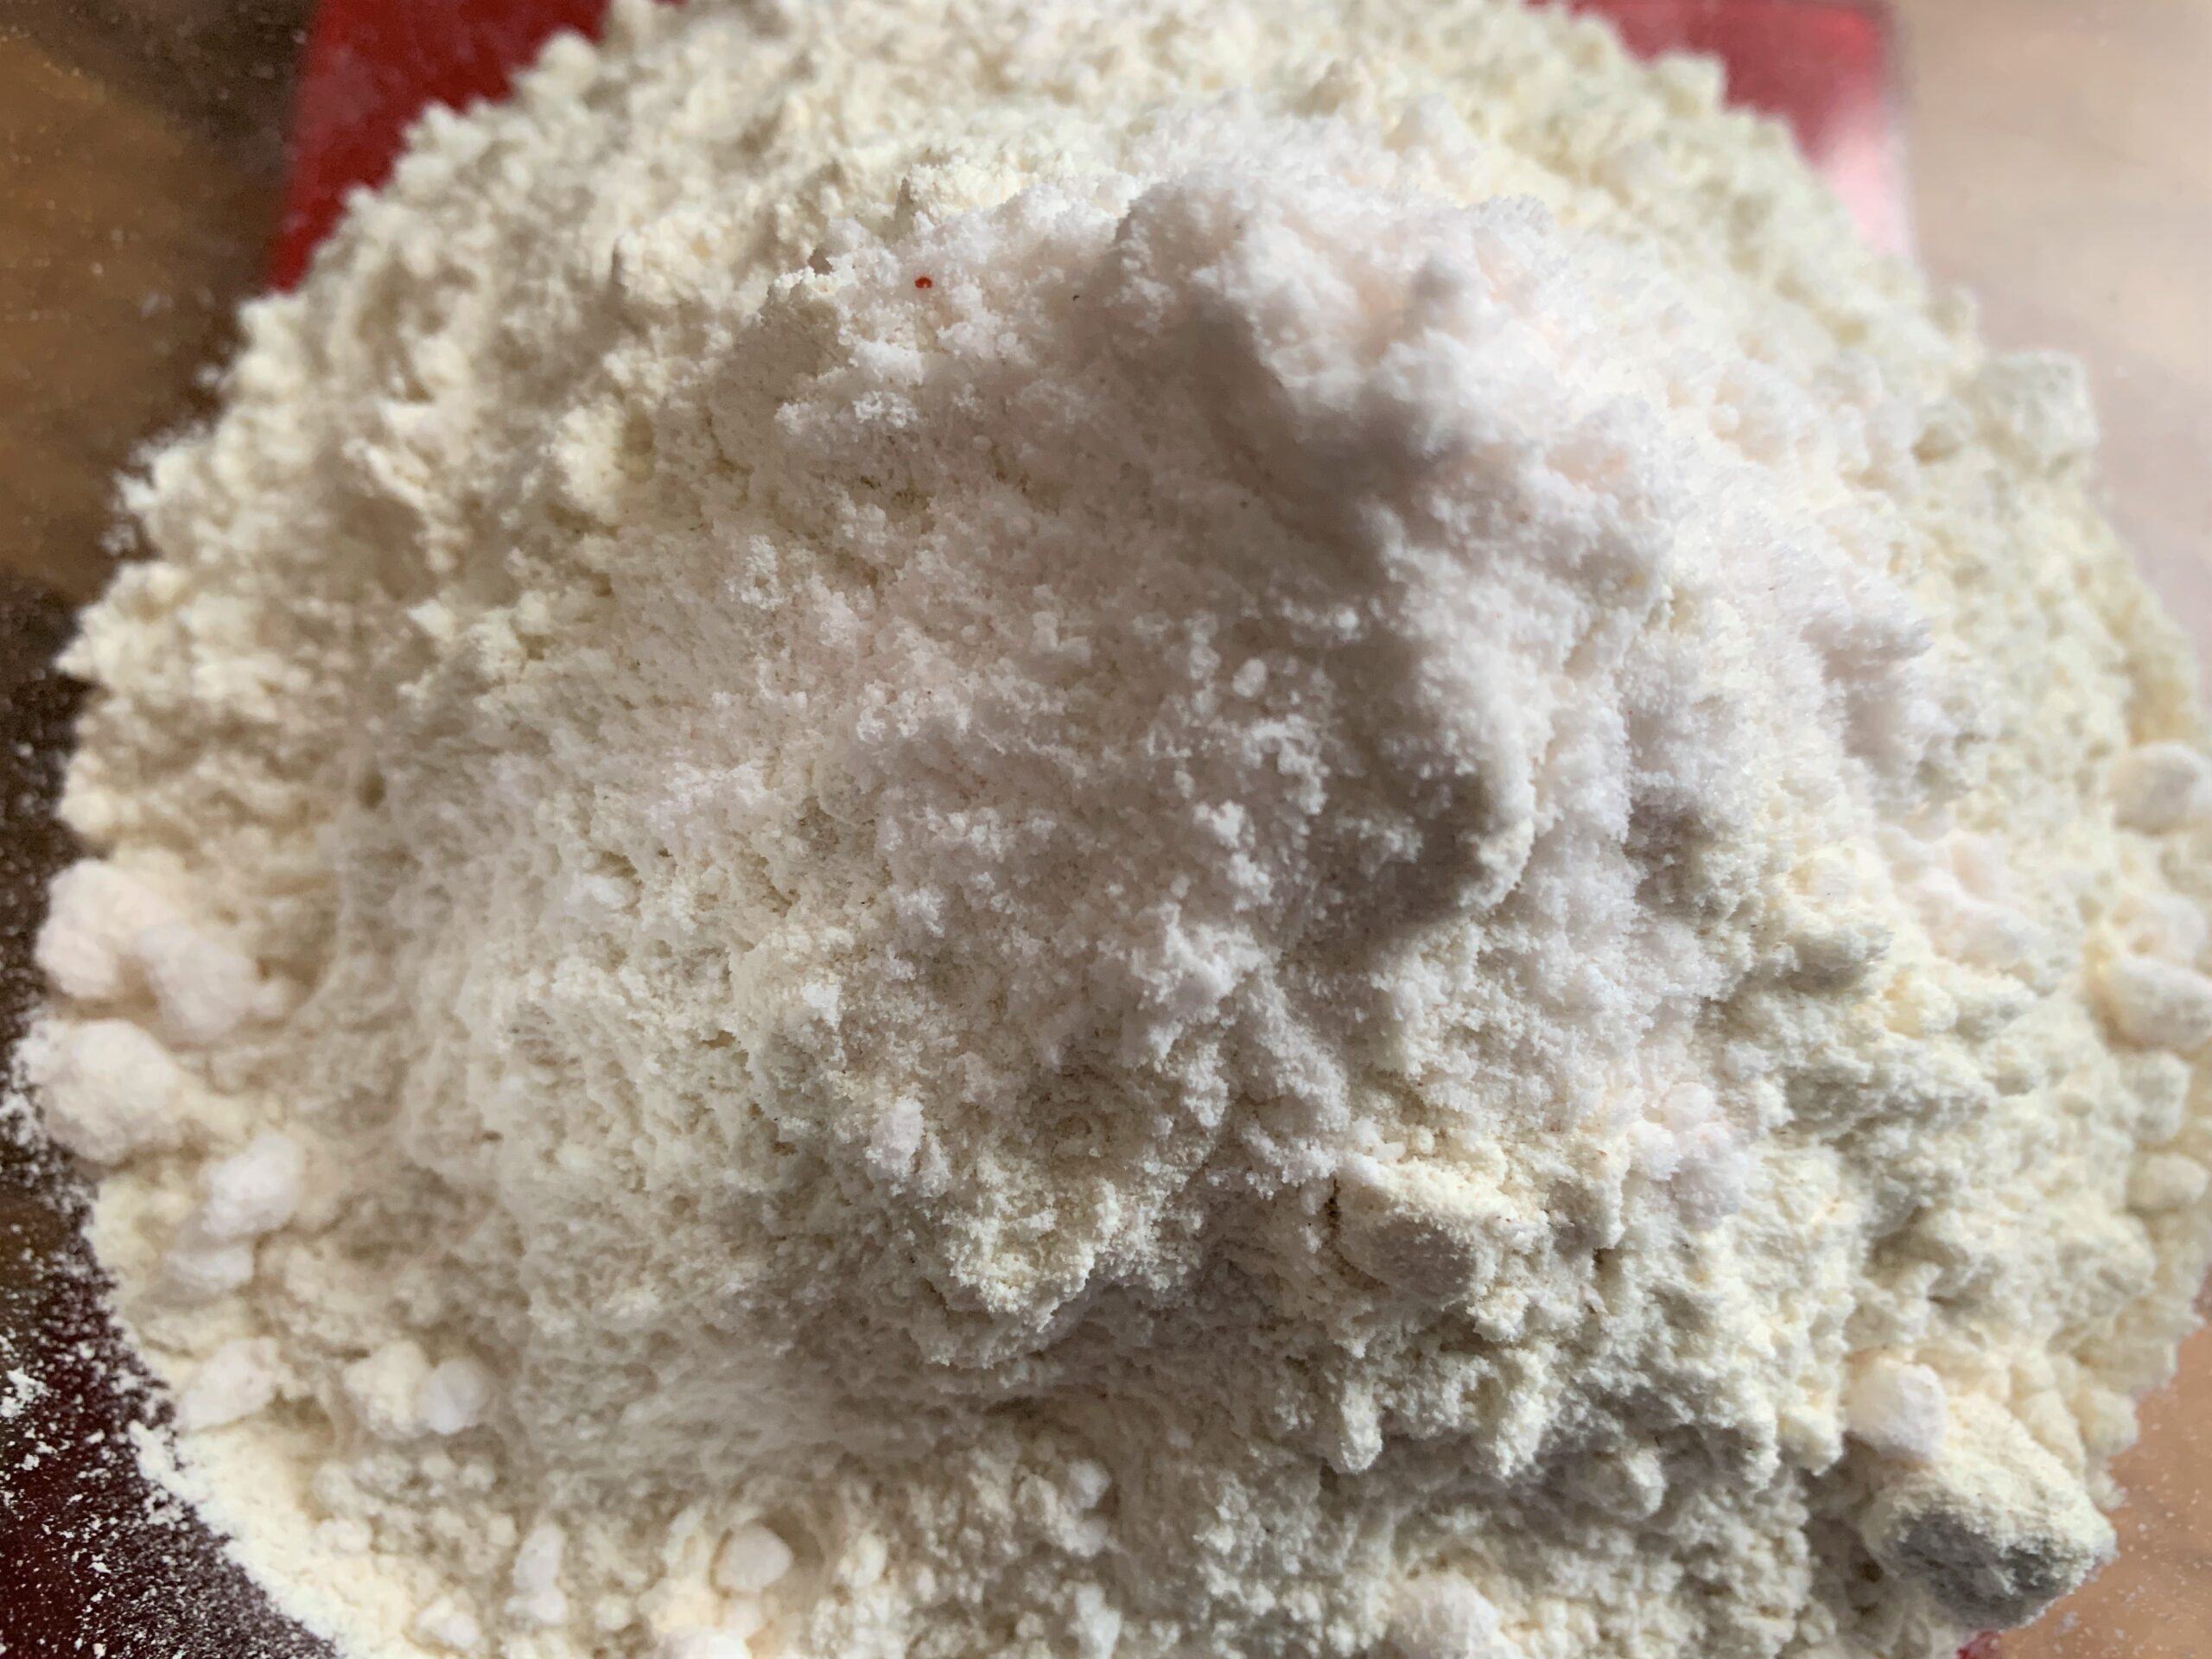
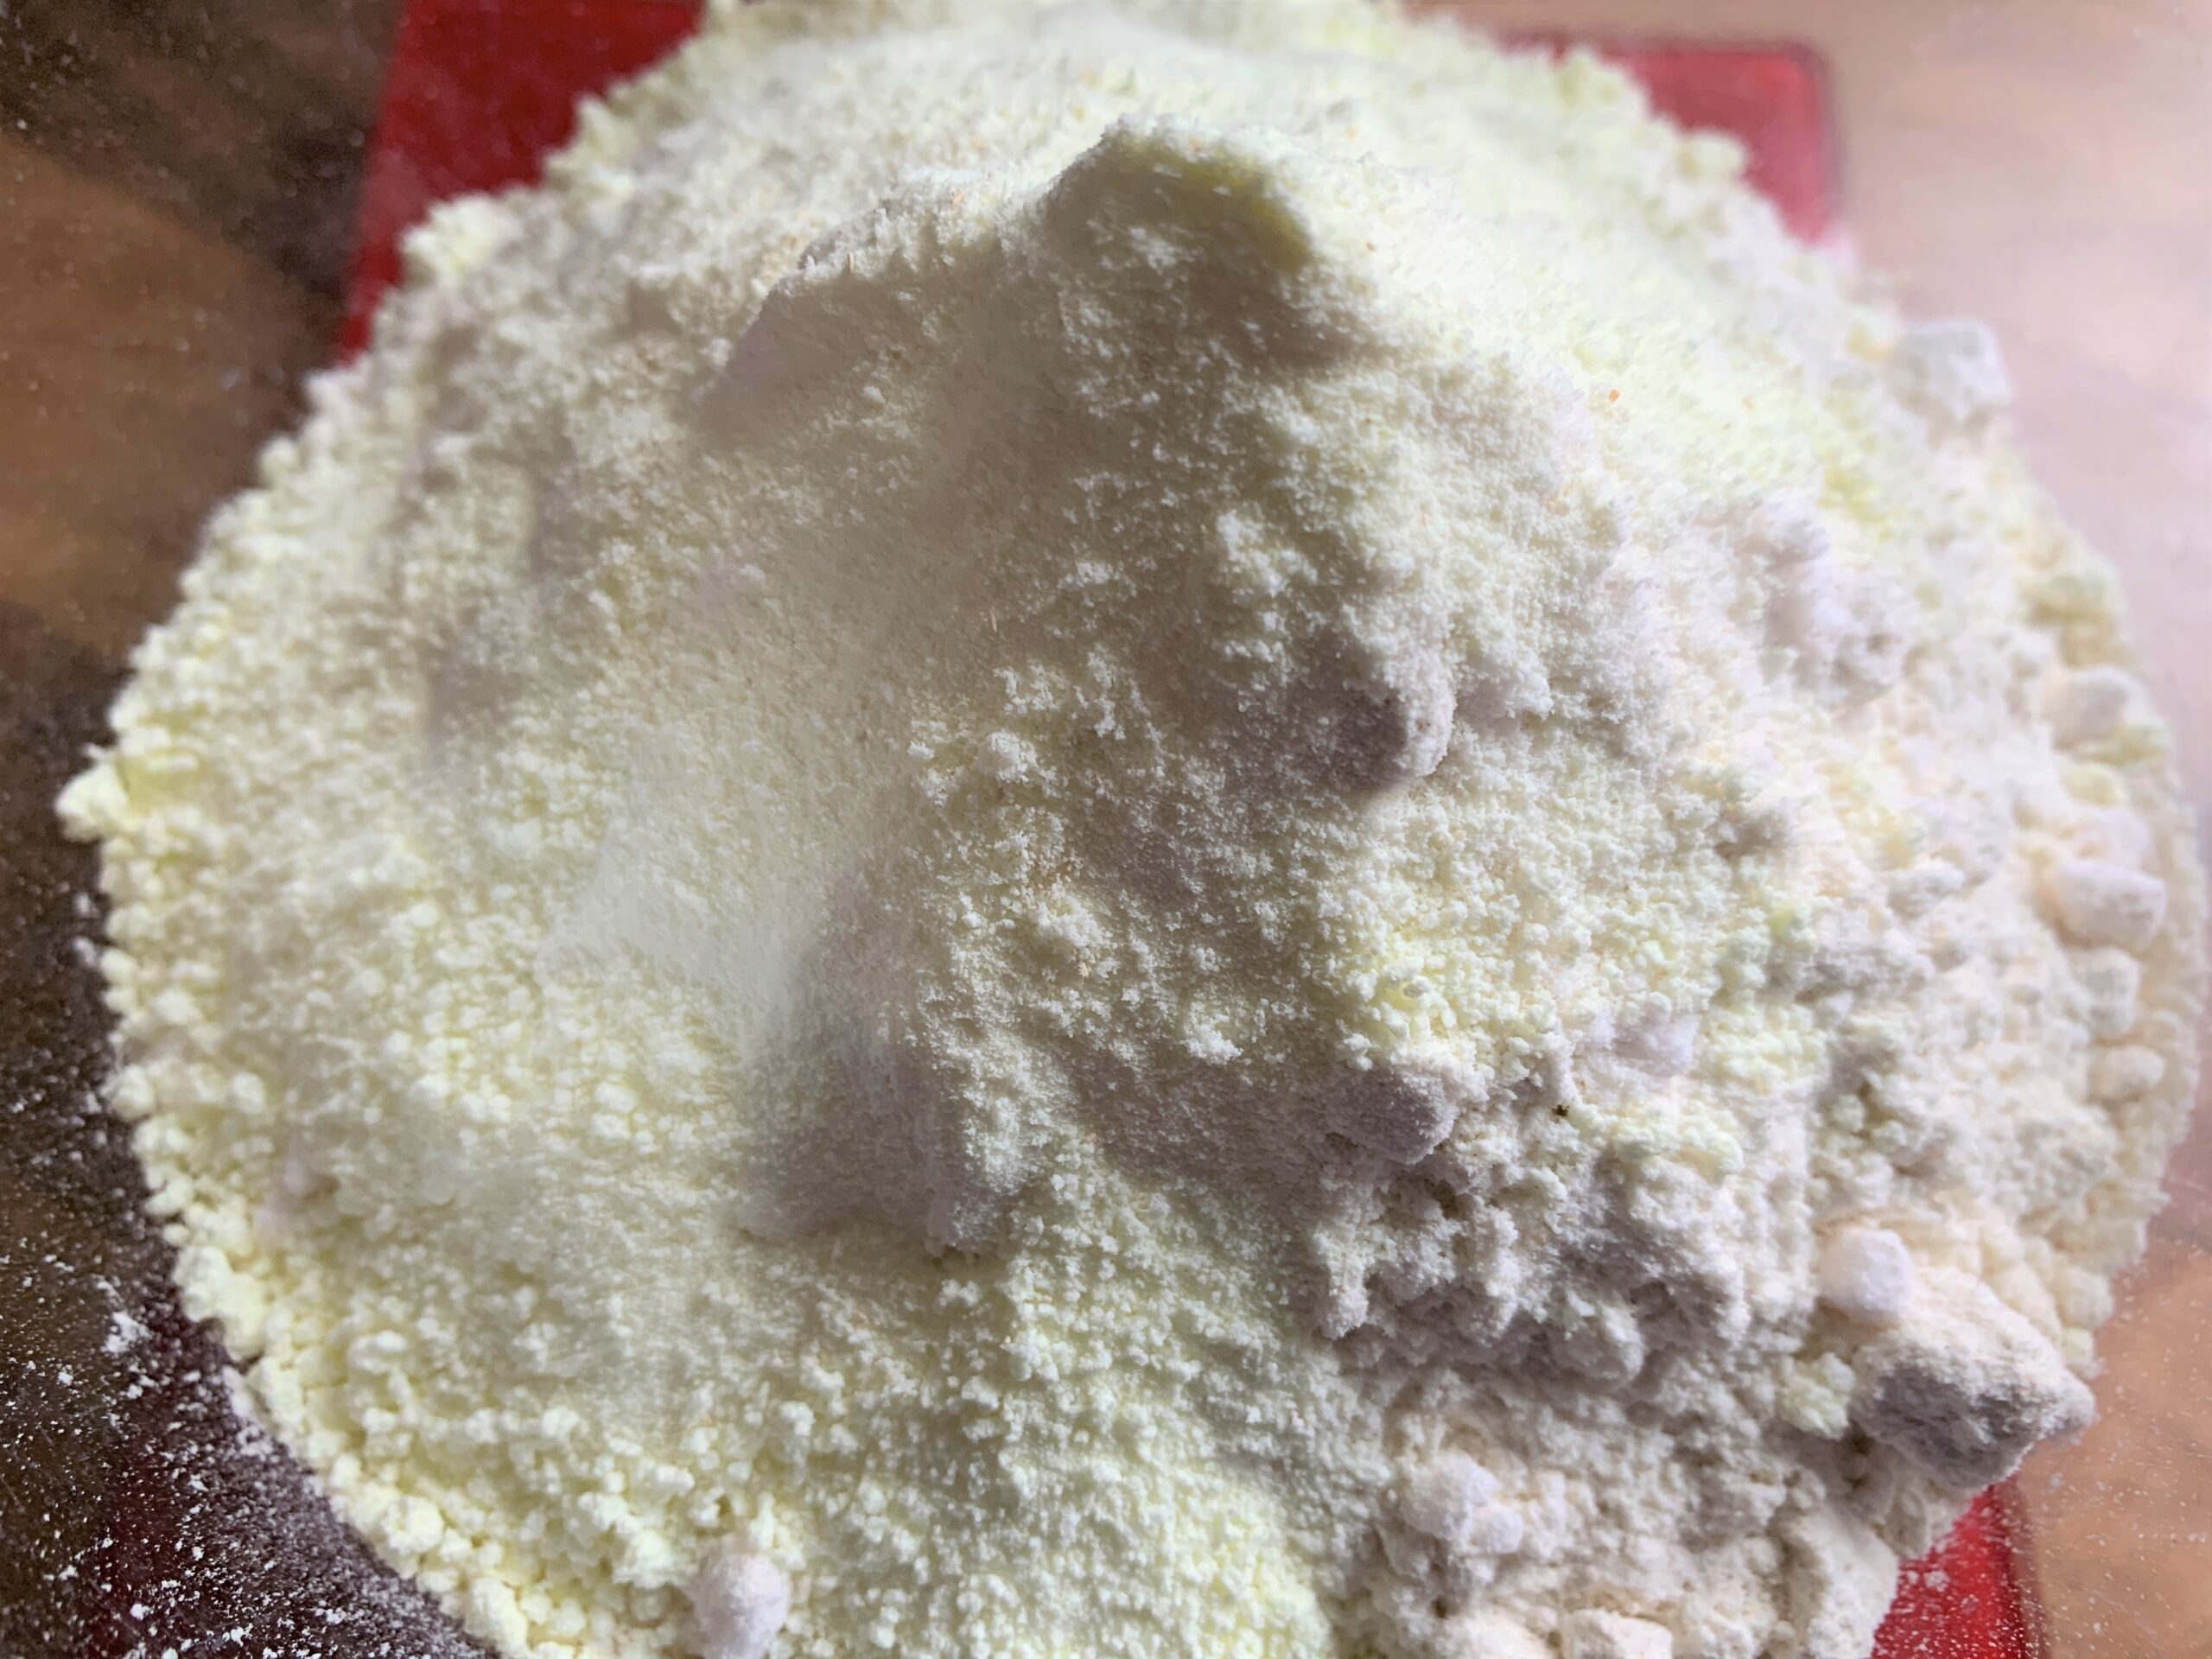
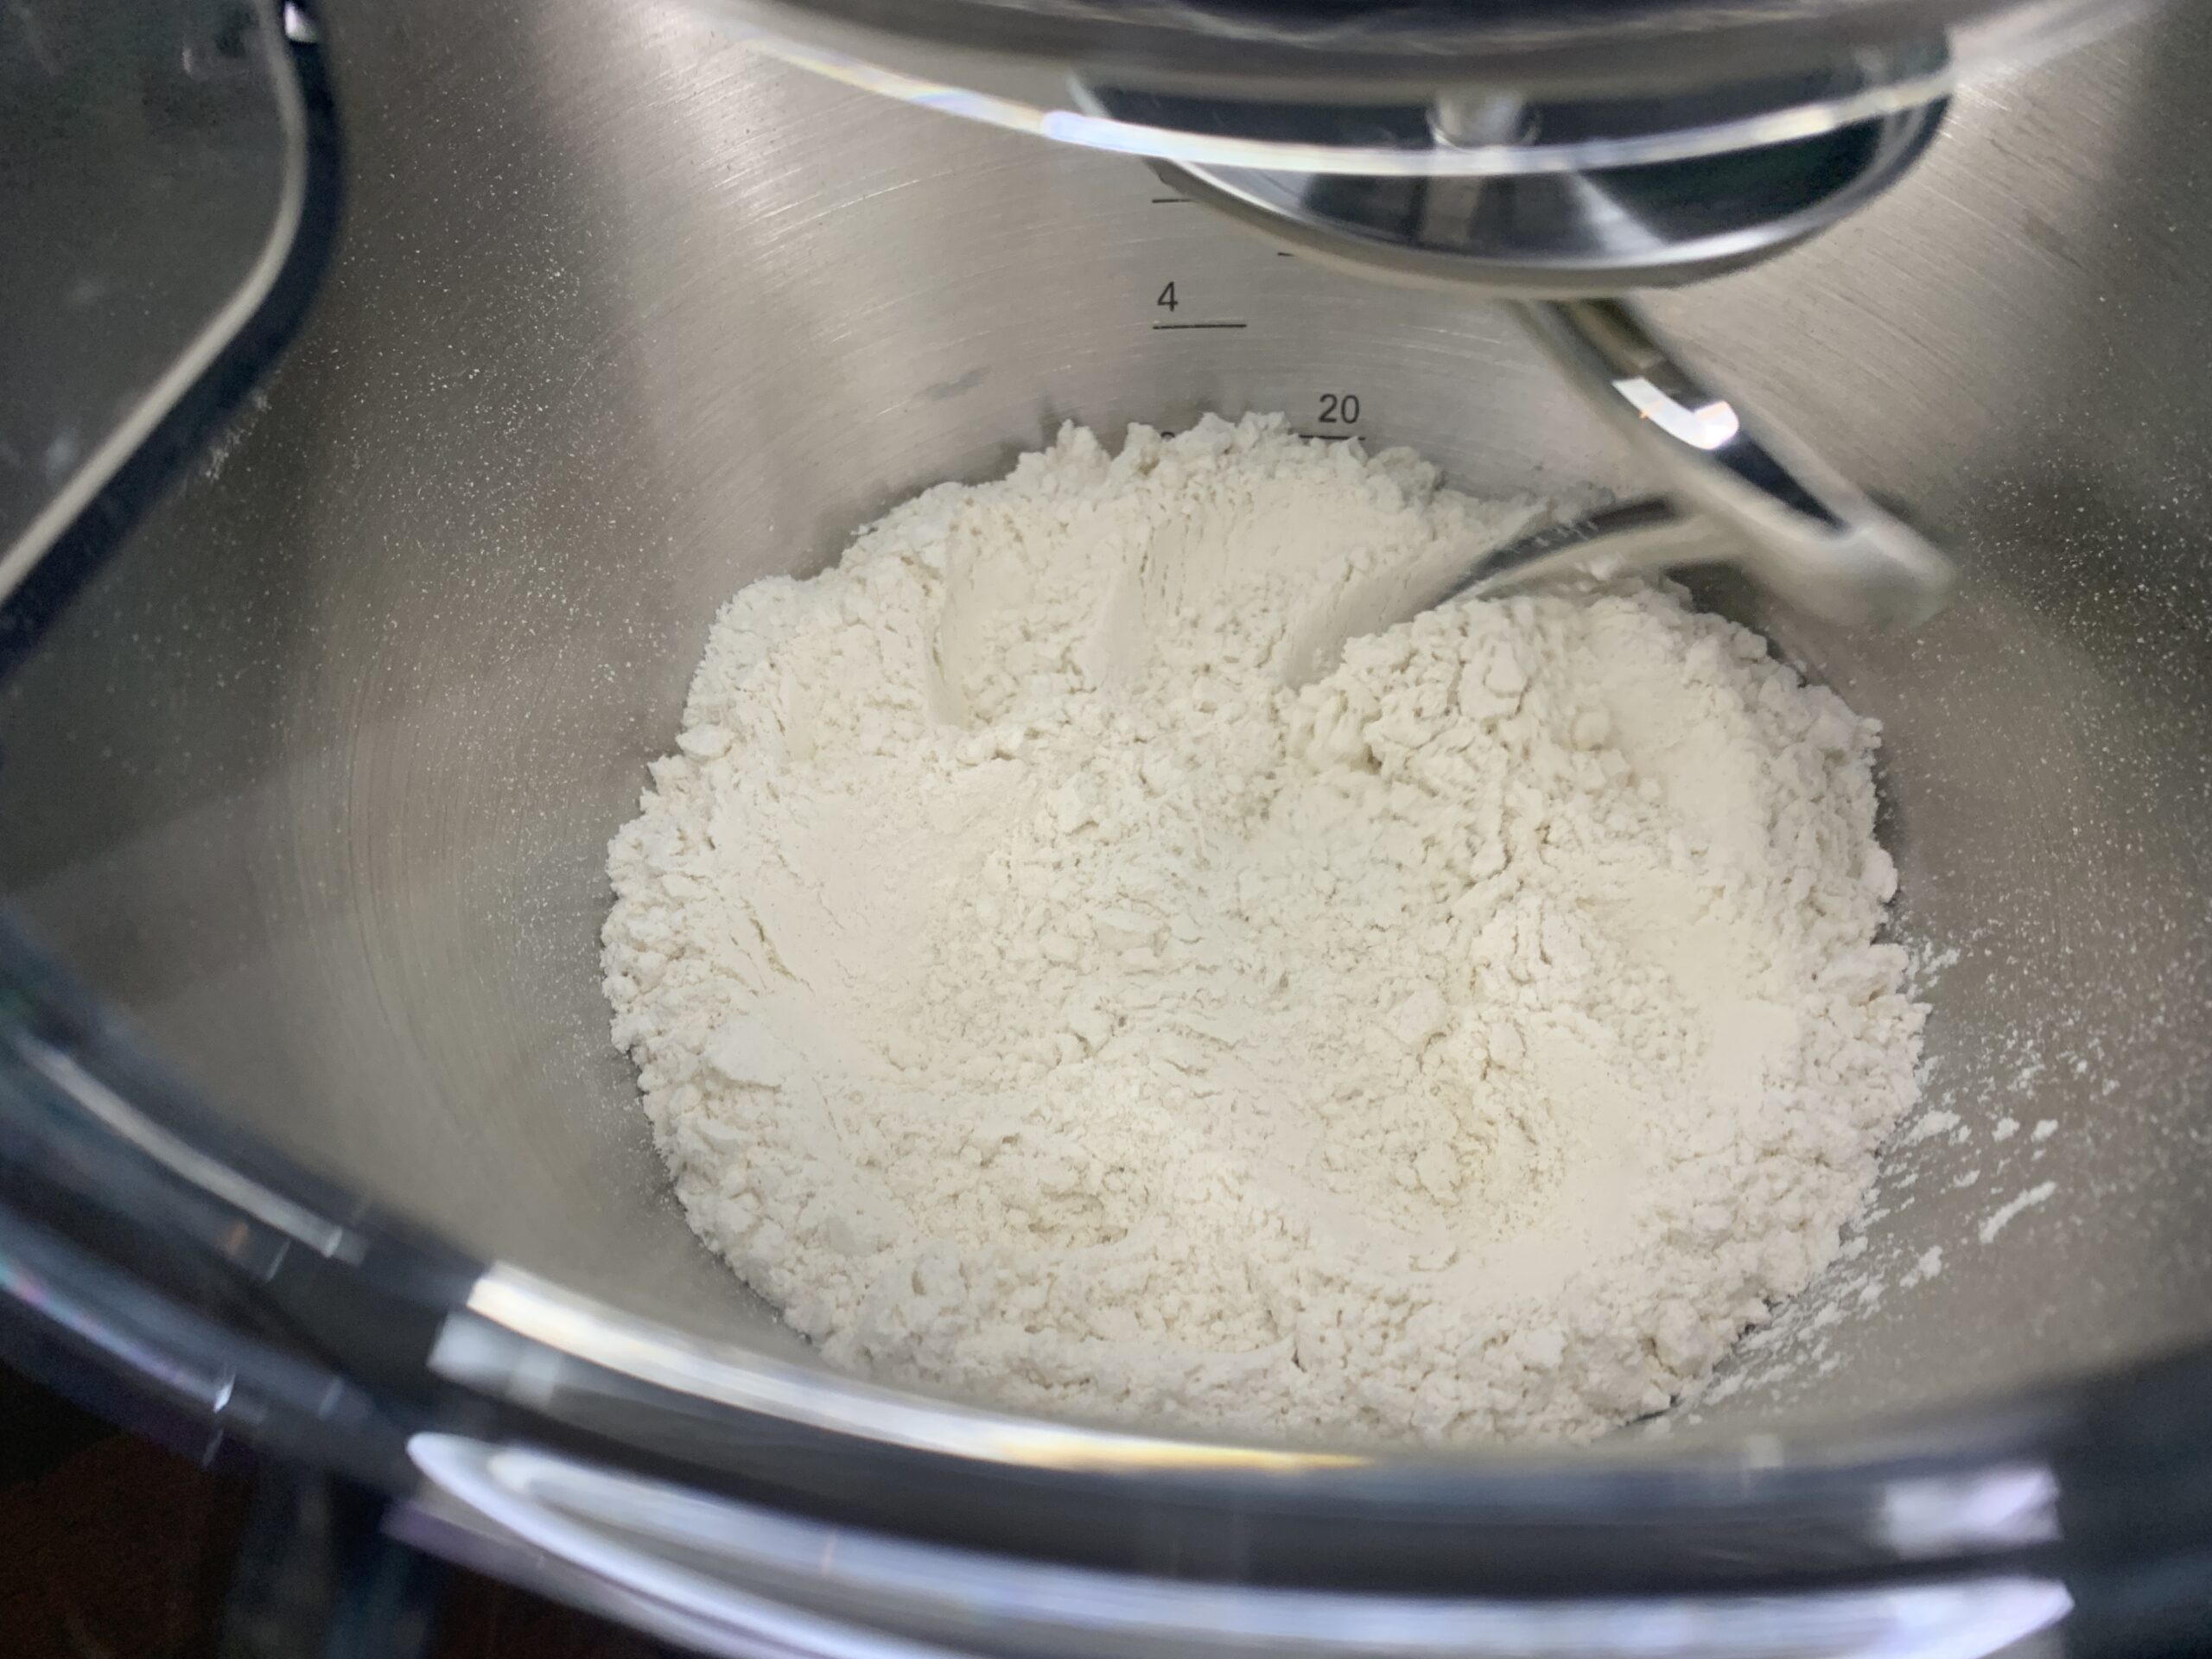
In a bowl mix flour, salt, and milk powder.
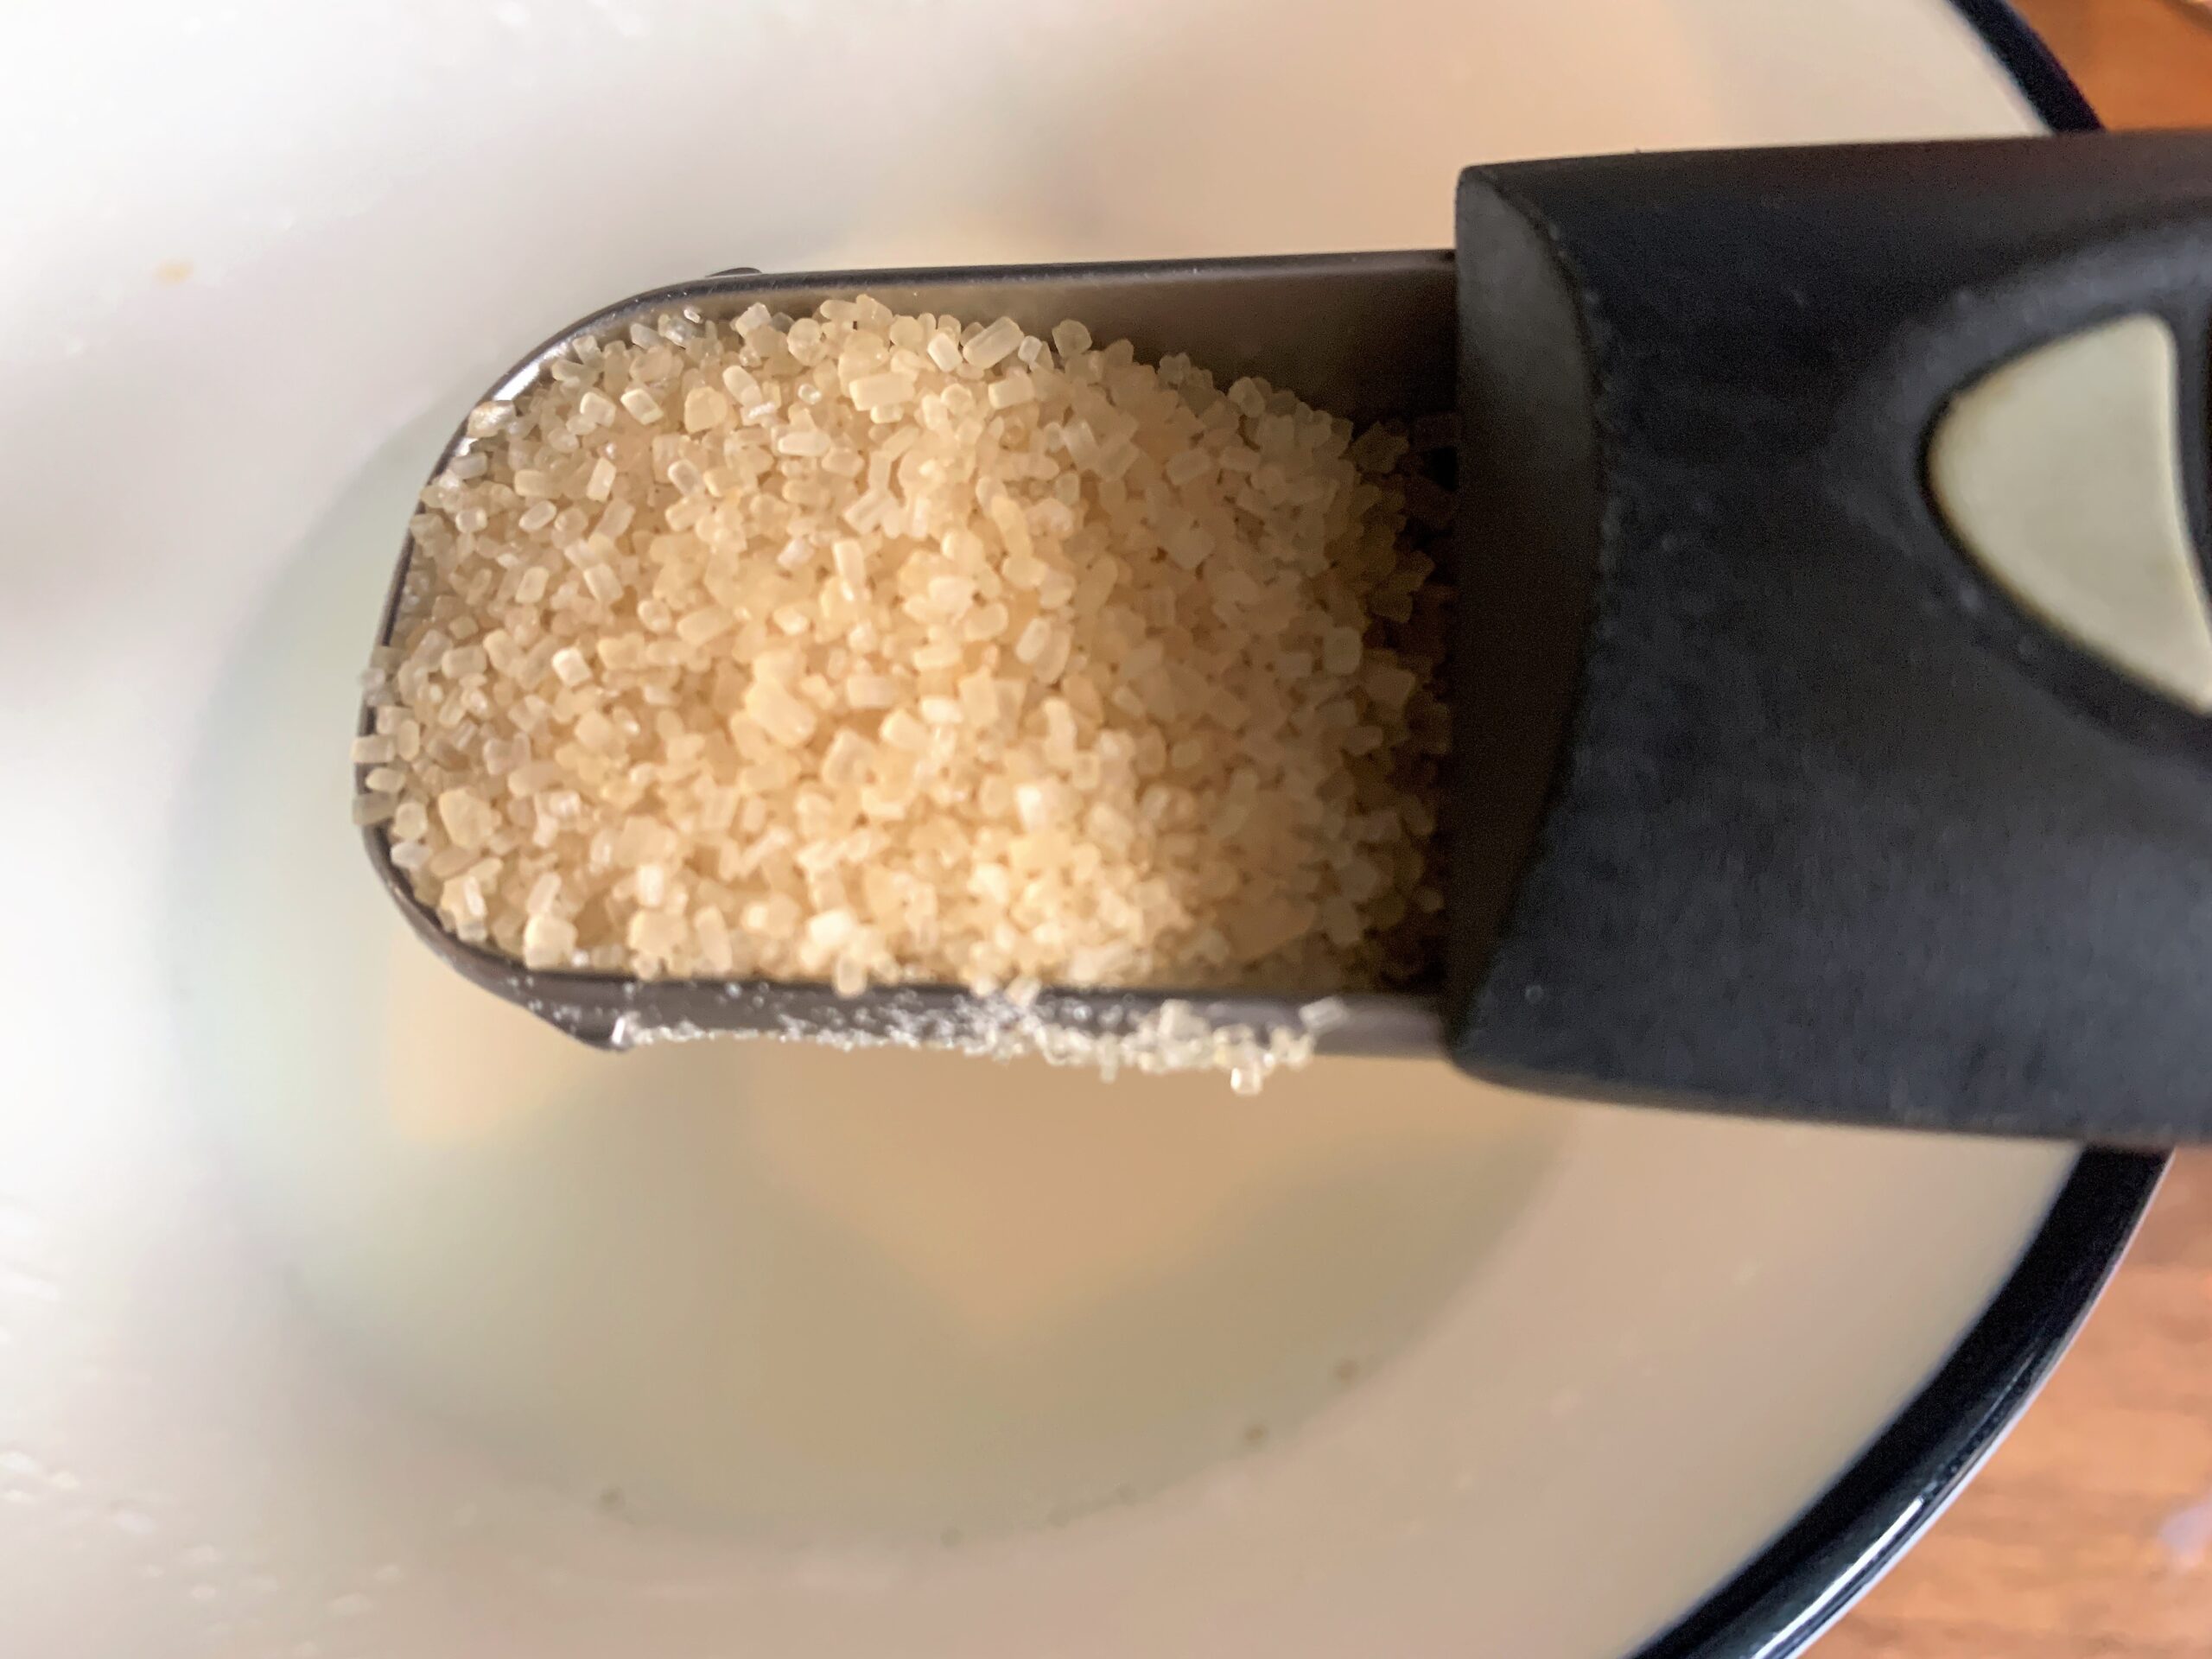
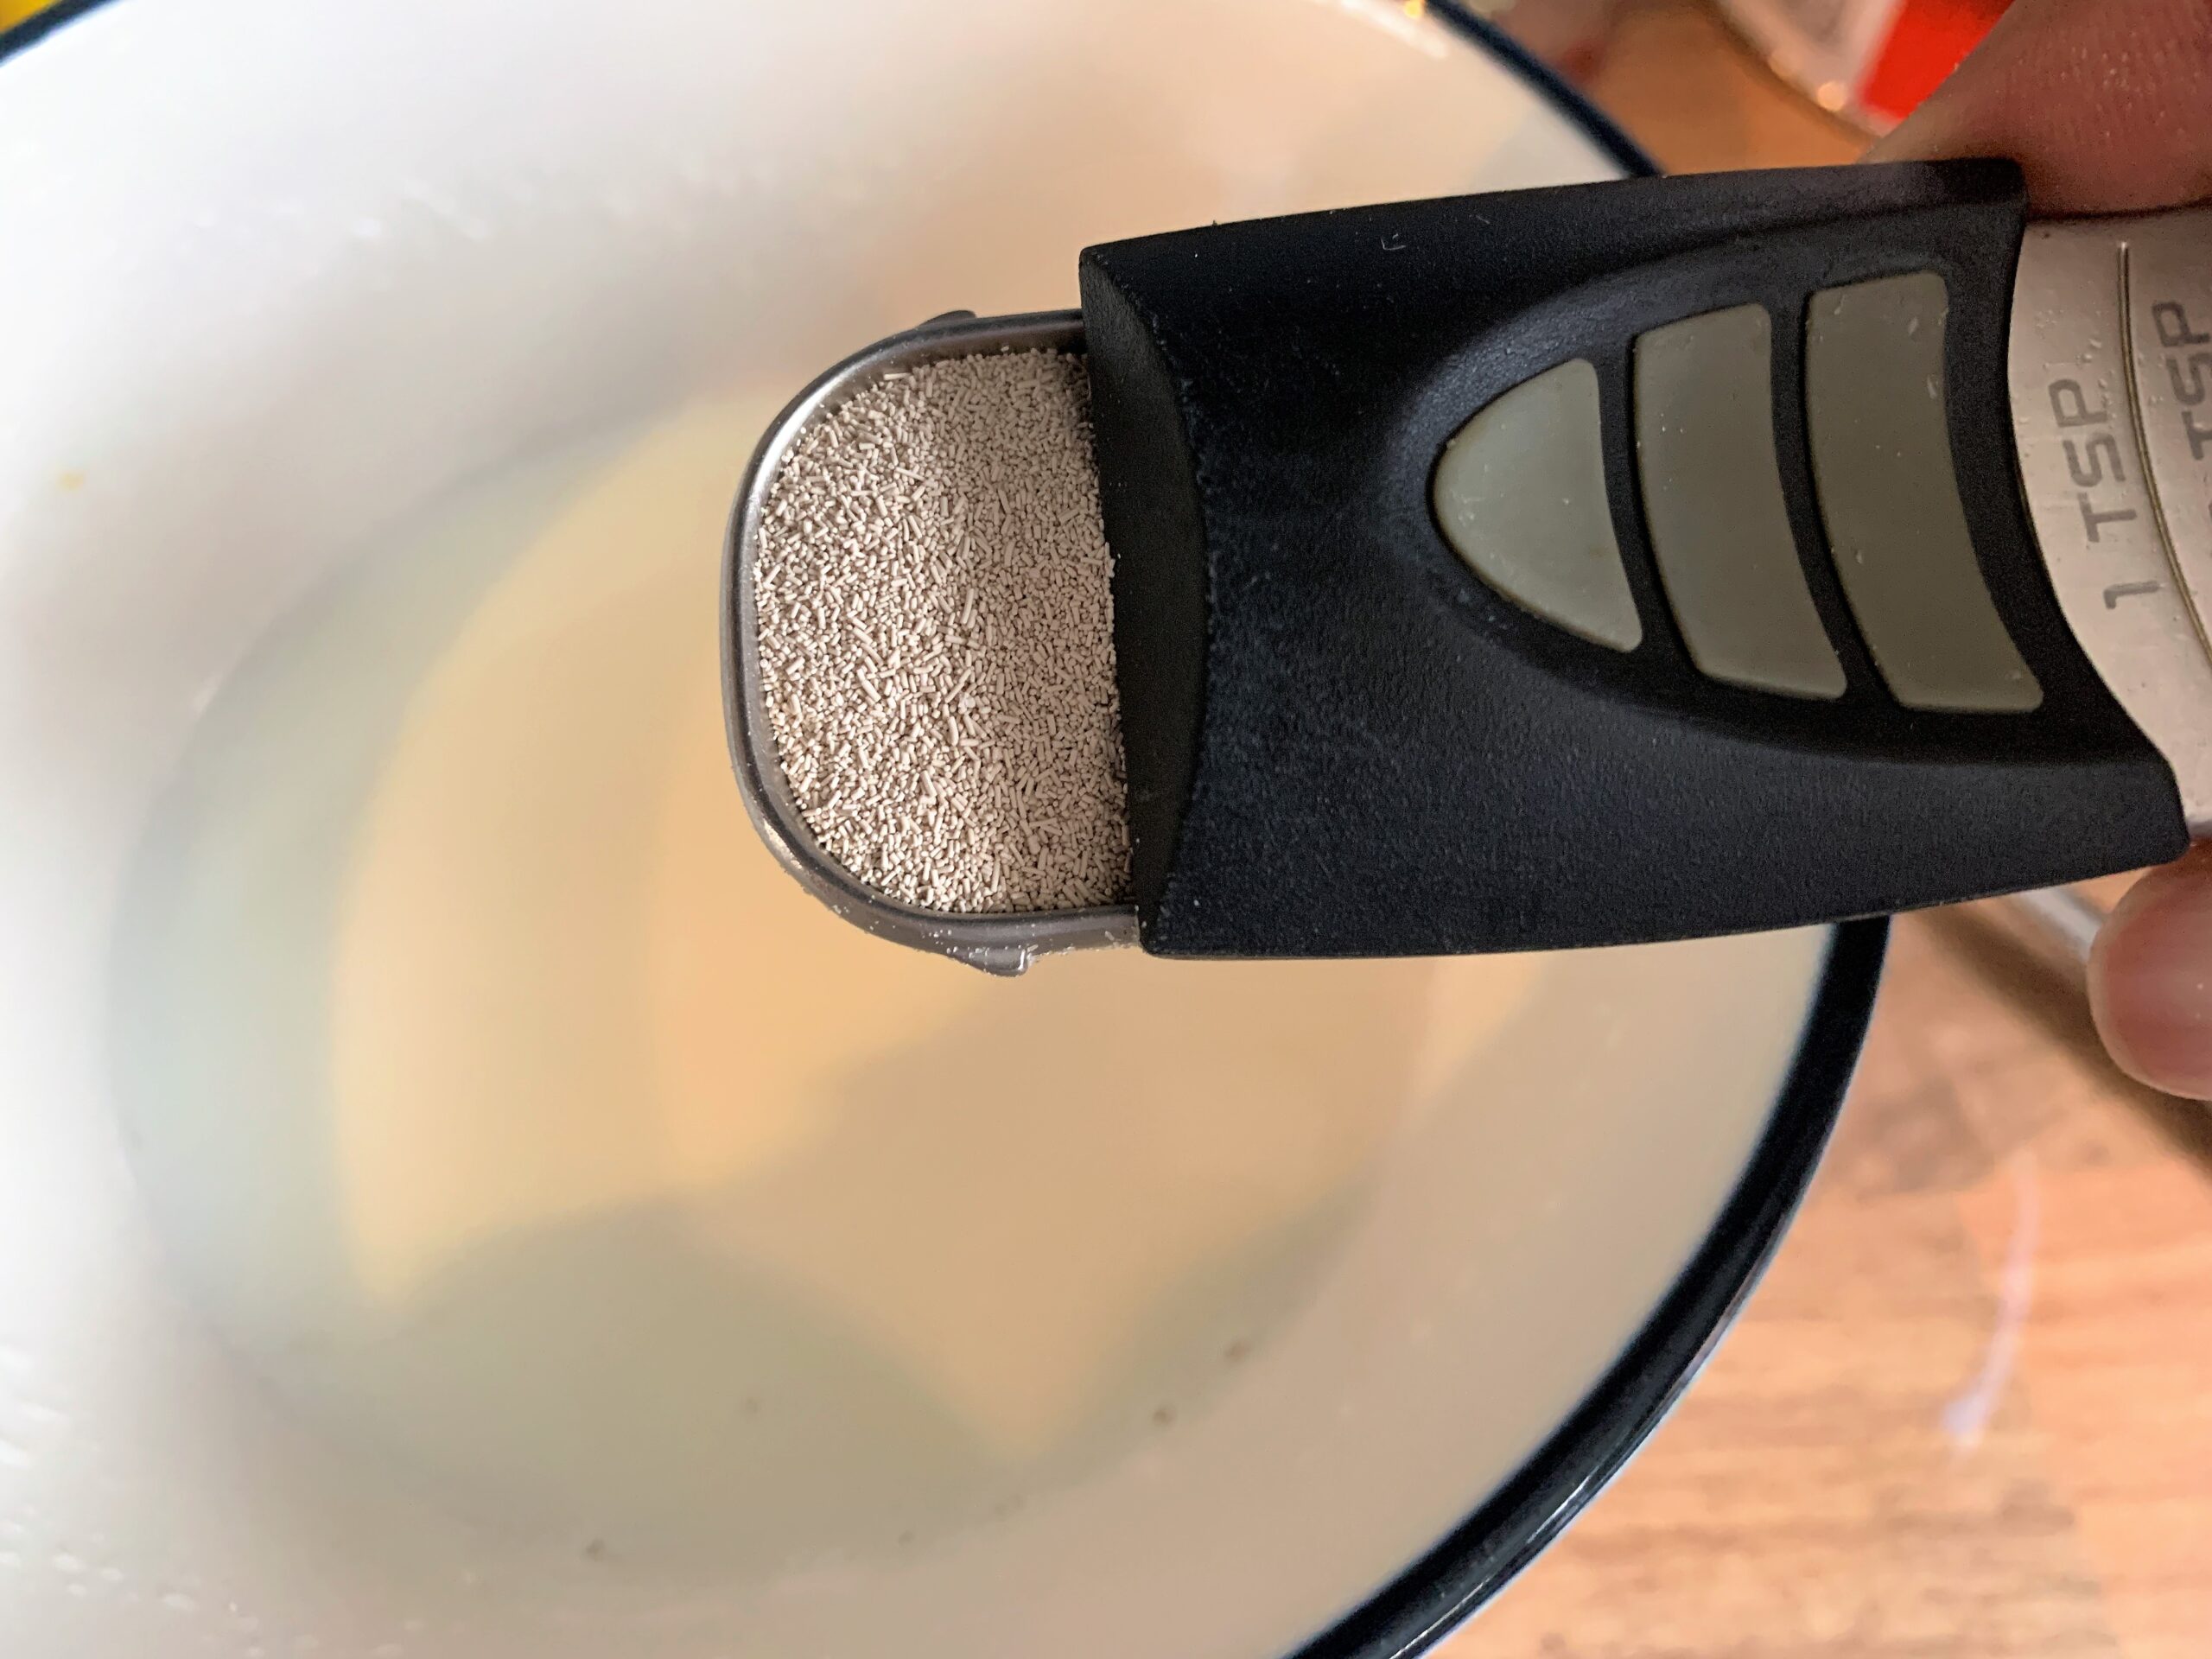
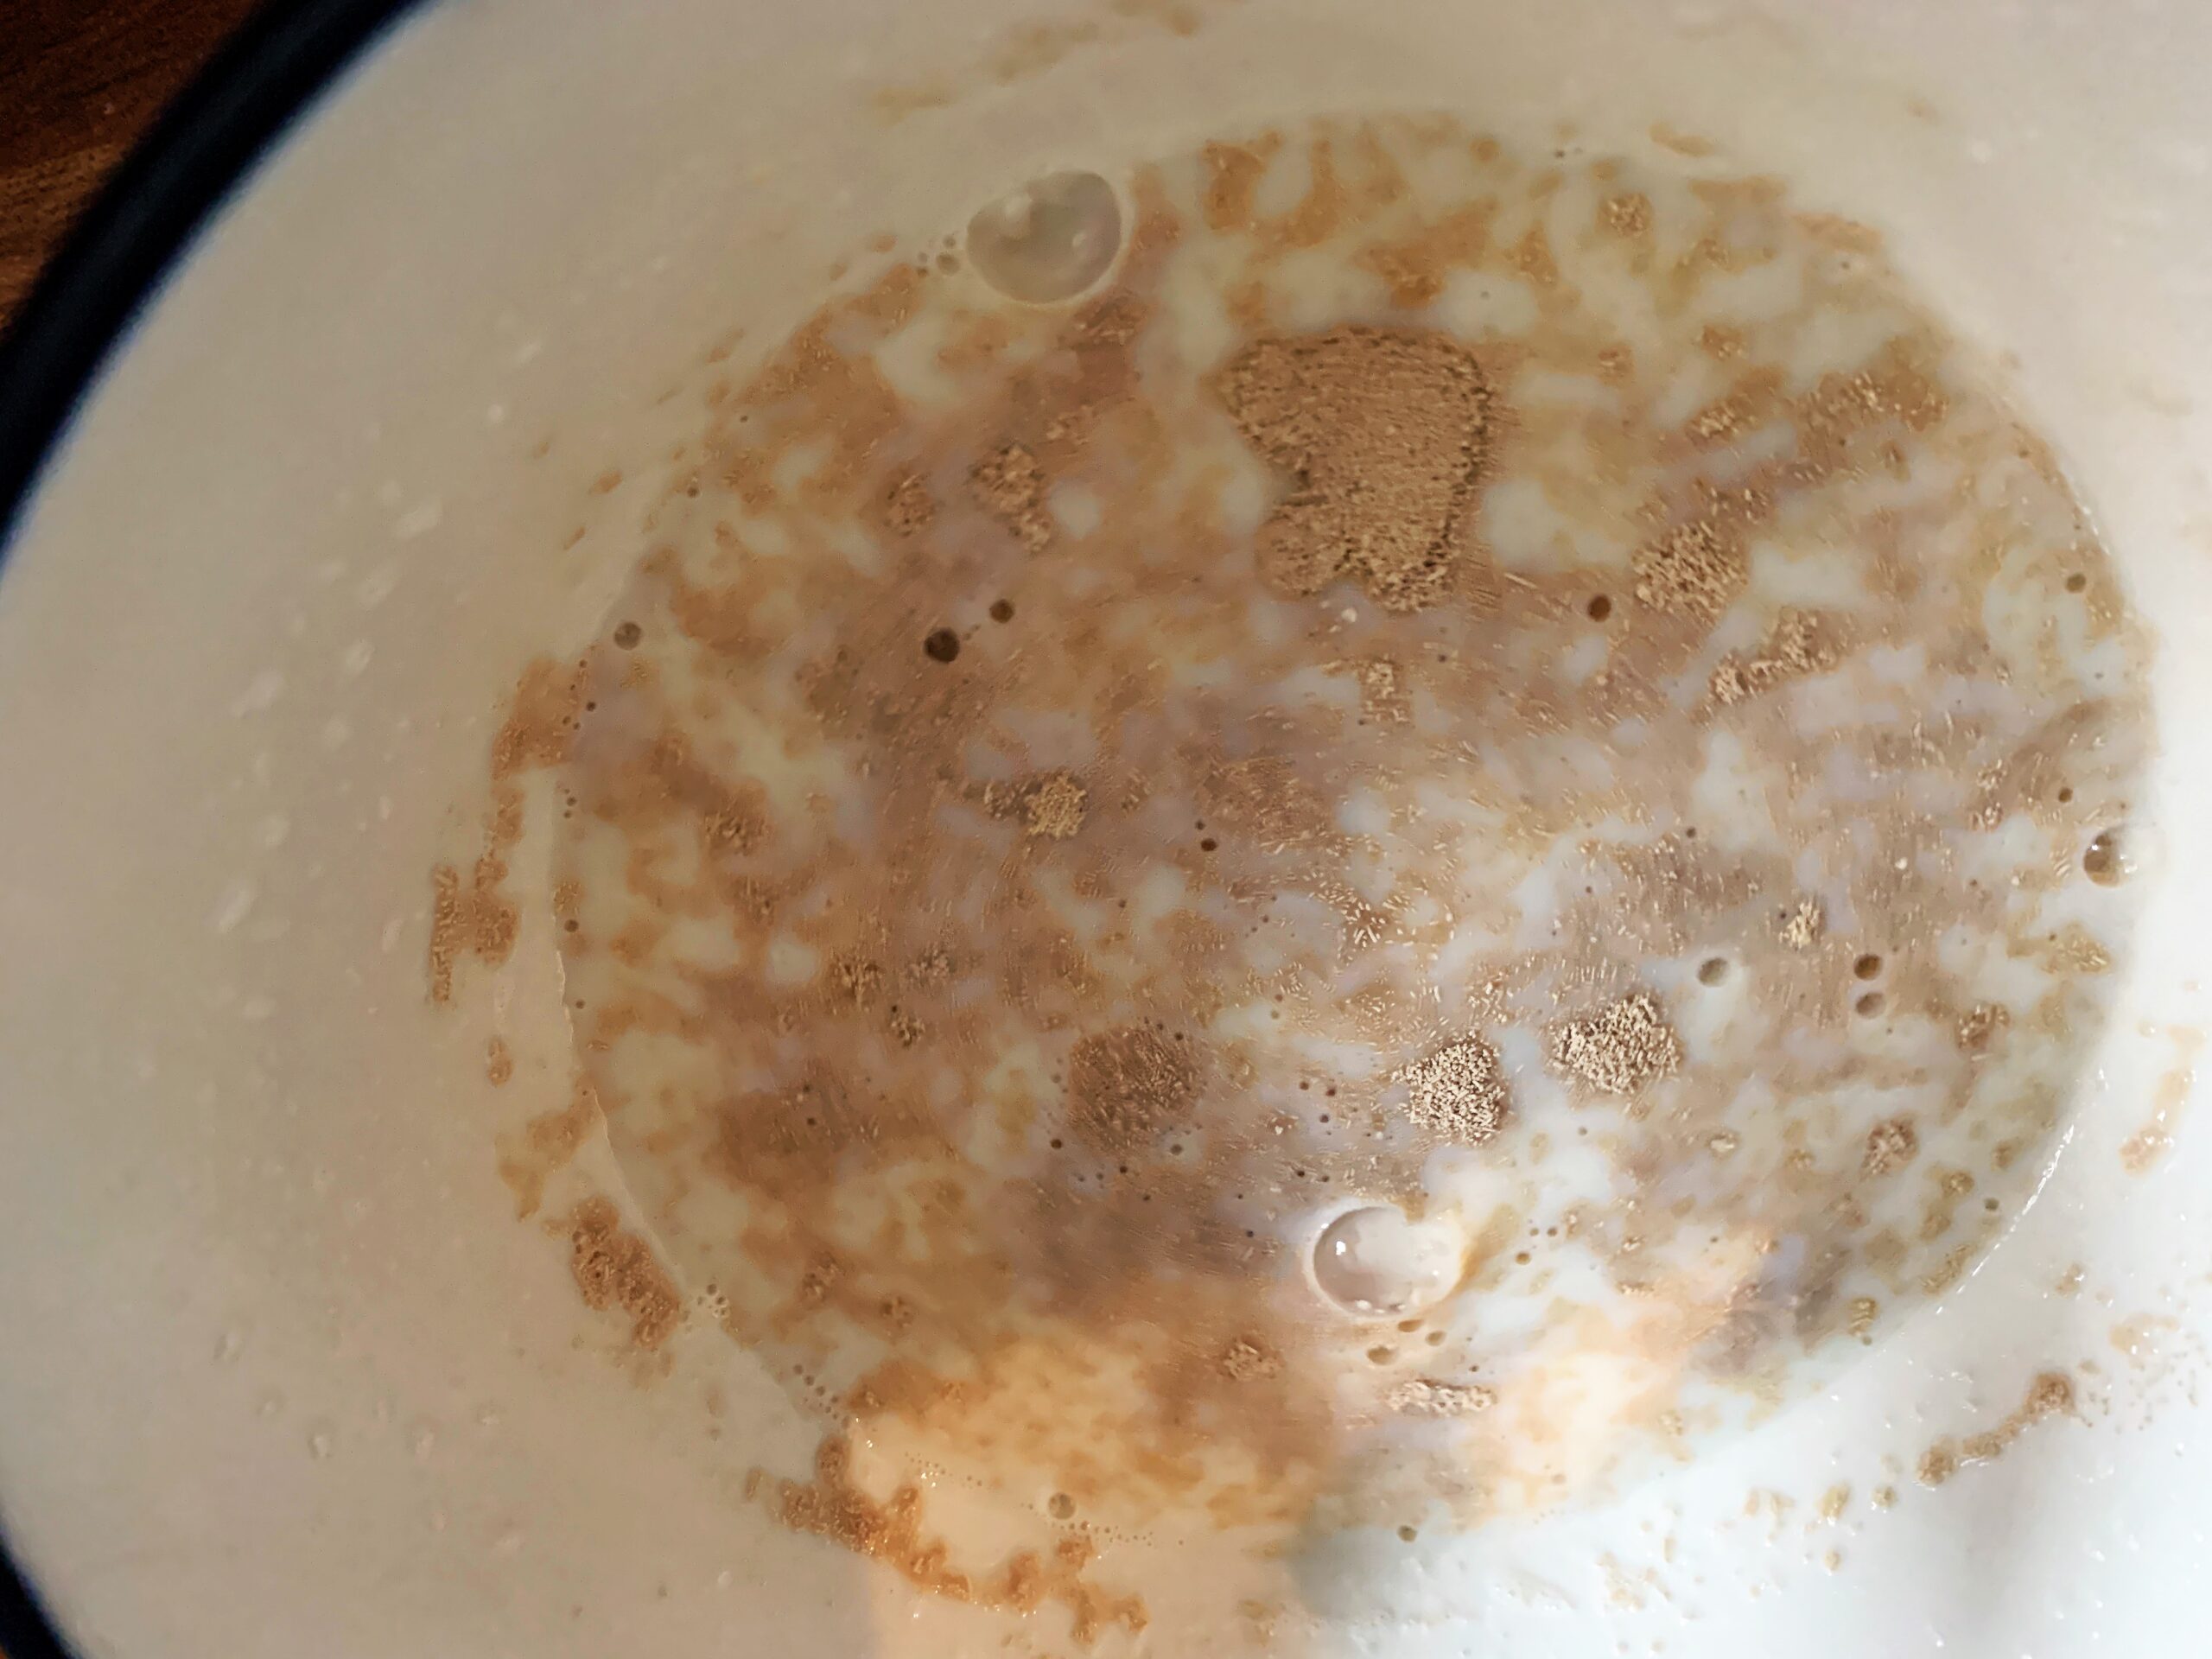
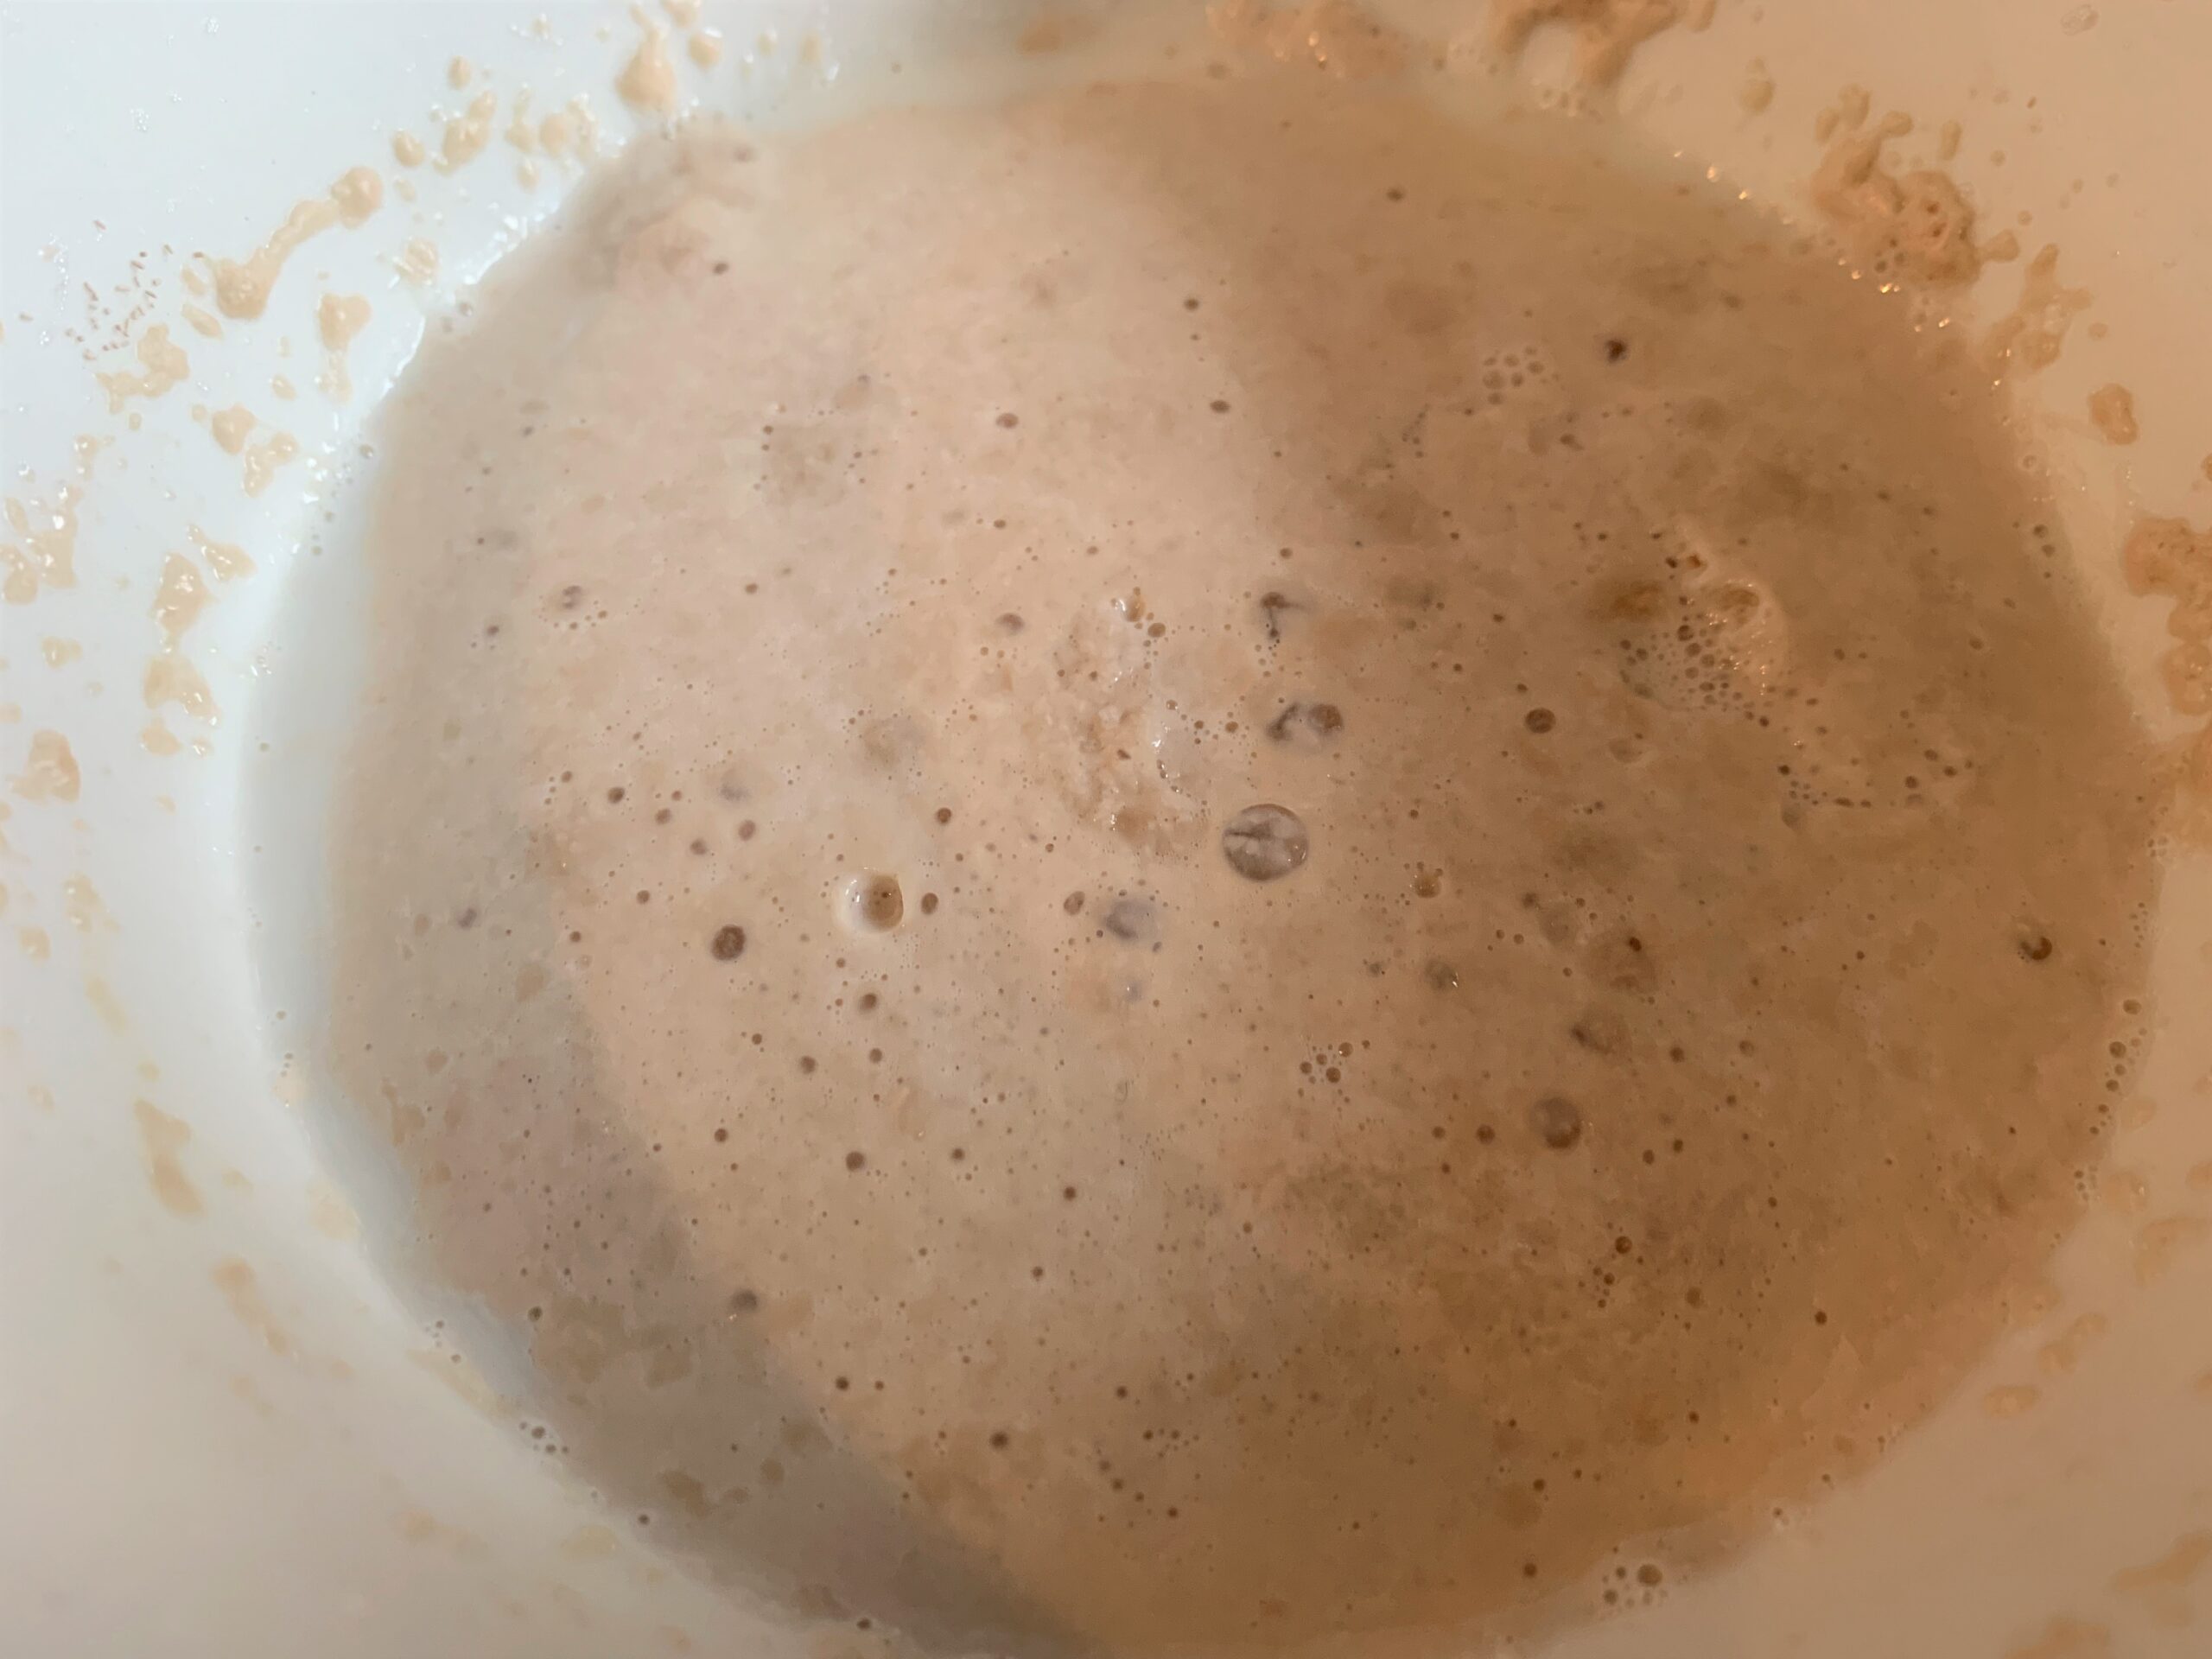
In another bowl dissolve the sugar and the yeast in warm milk. Stir well and let it stand for about 10 minutes or until foamy.
Step-2
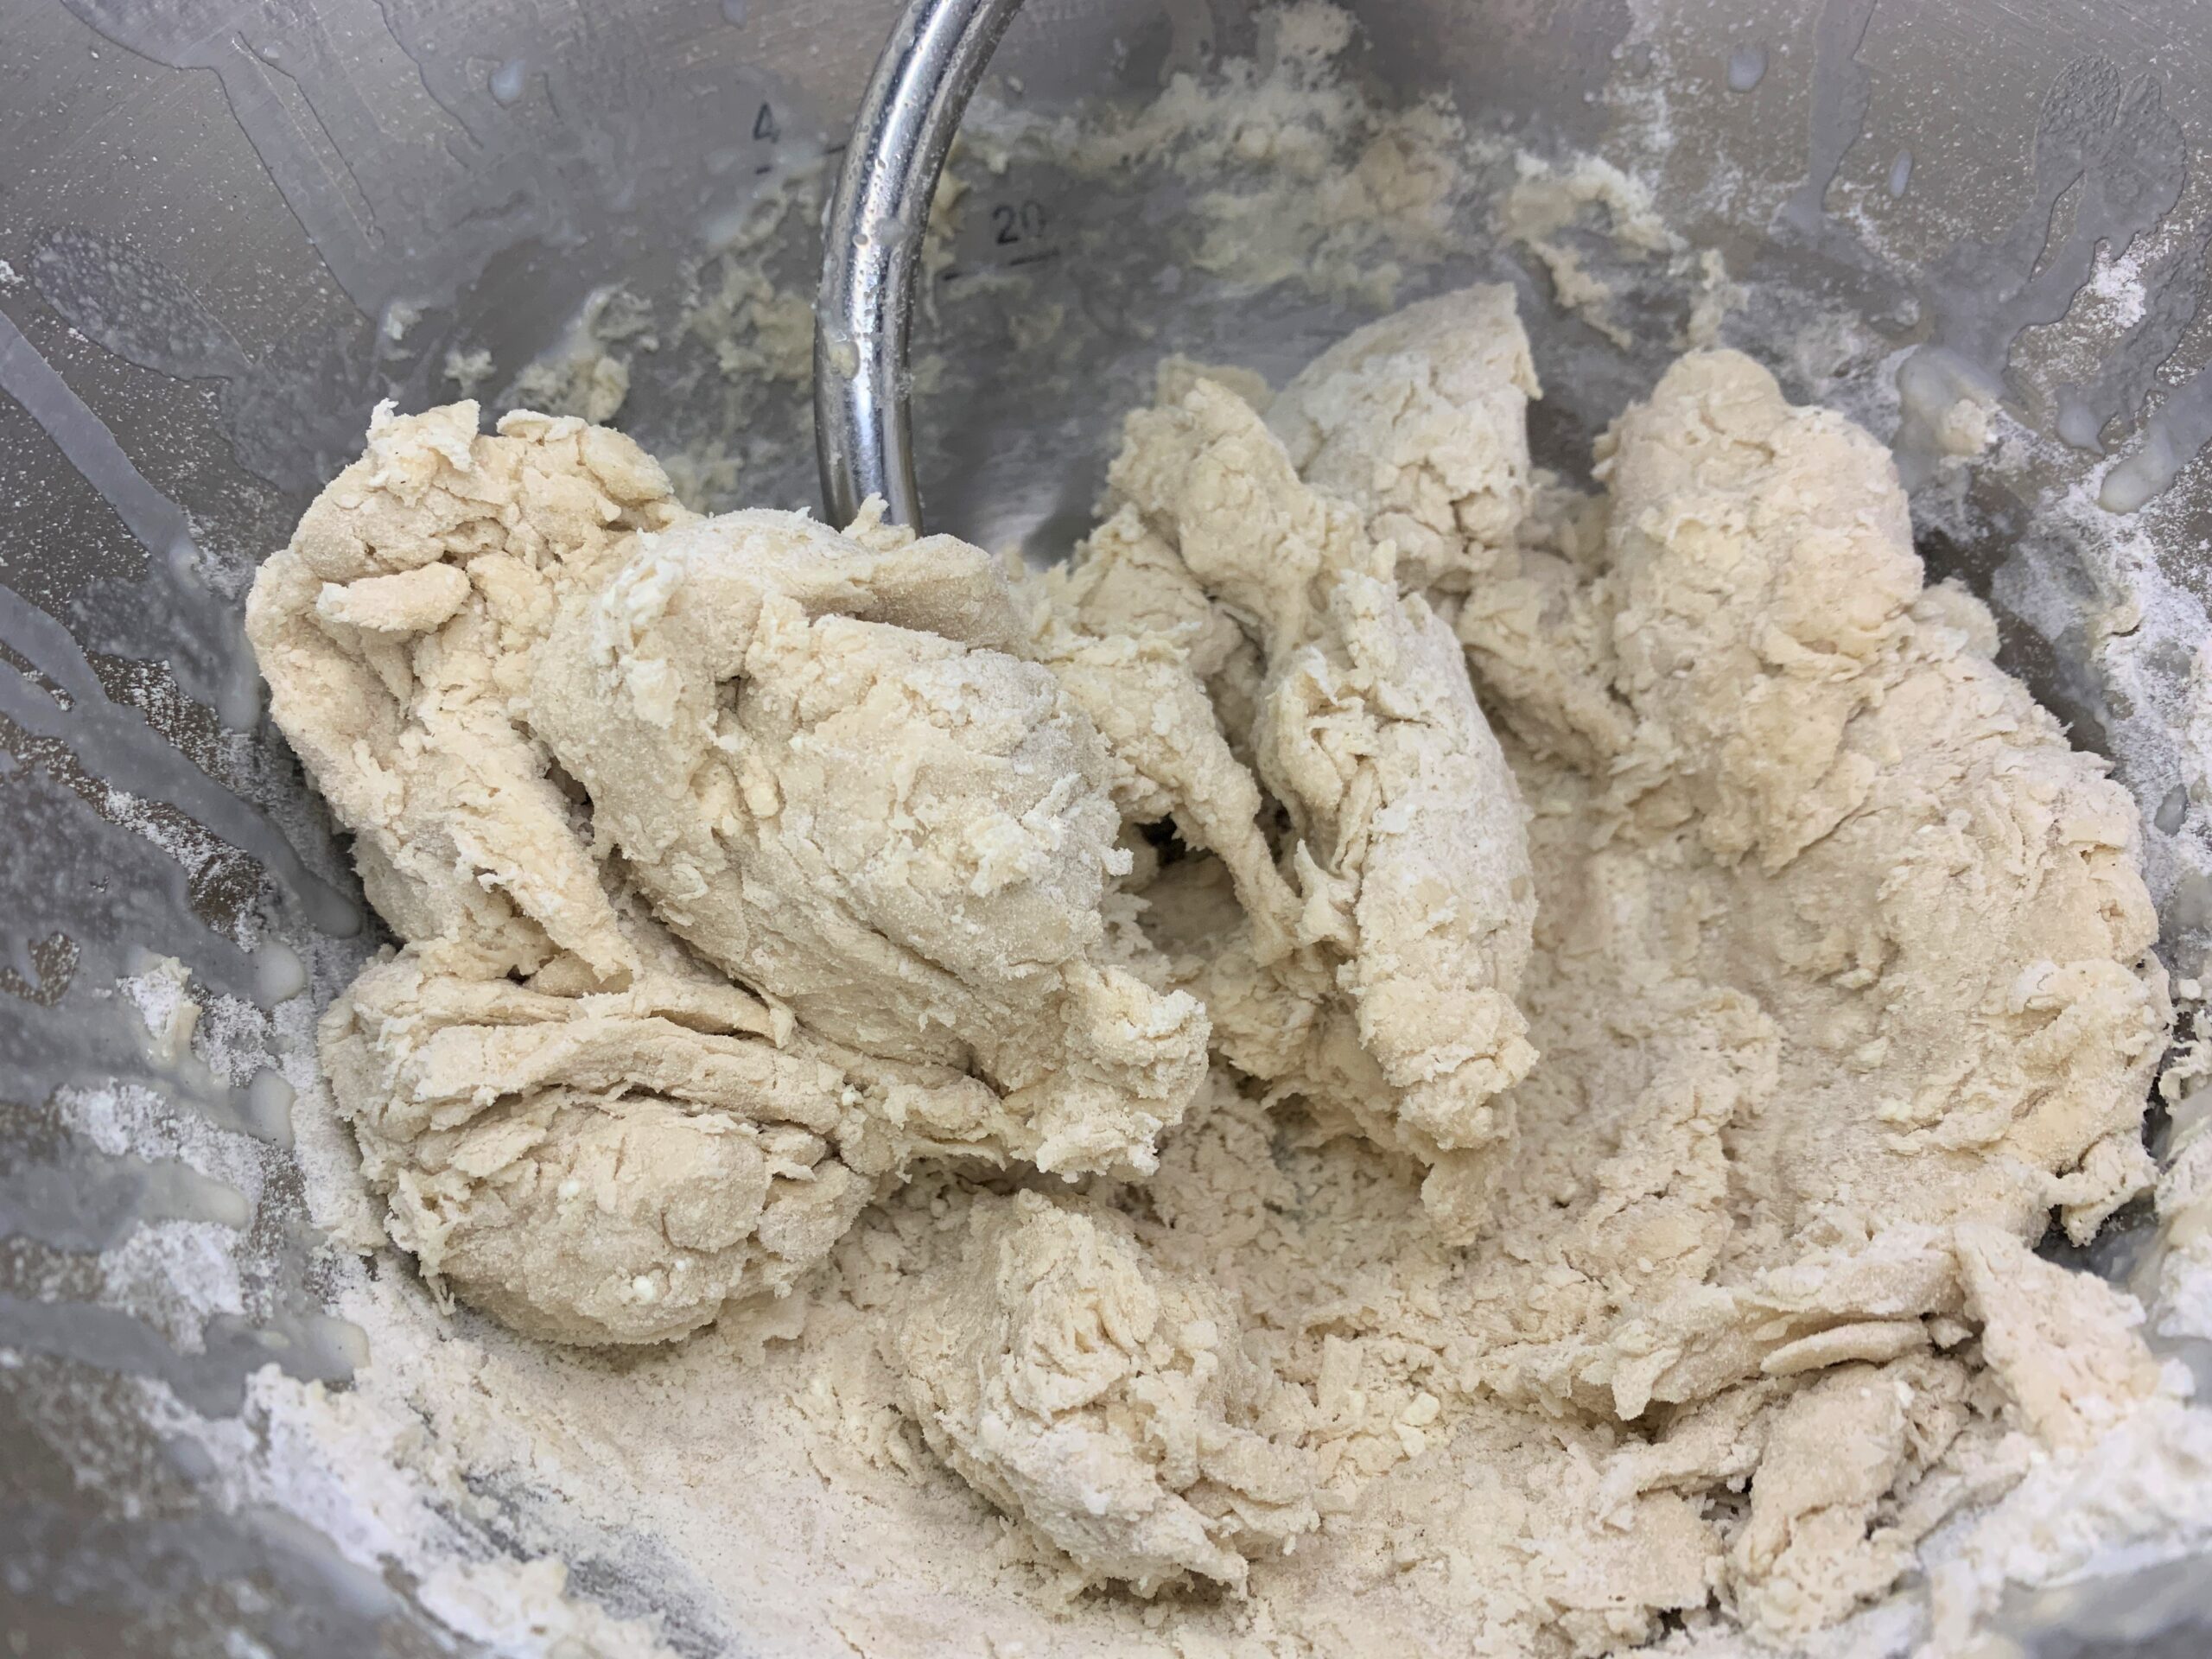
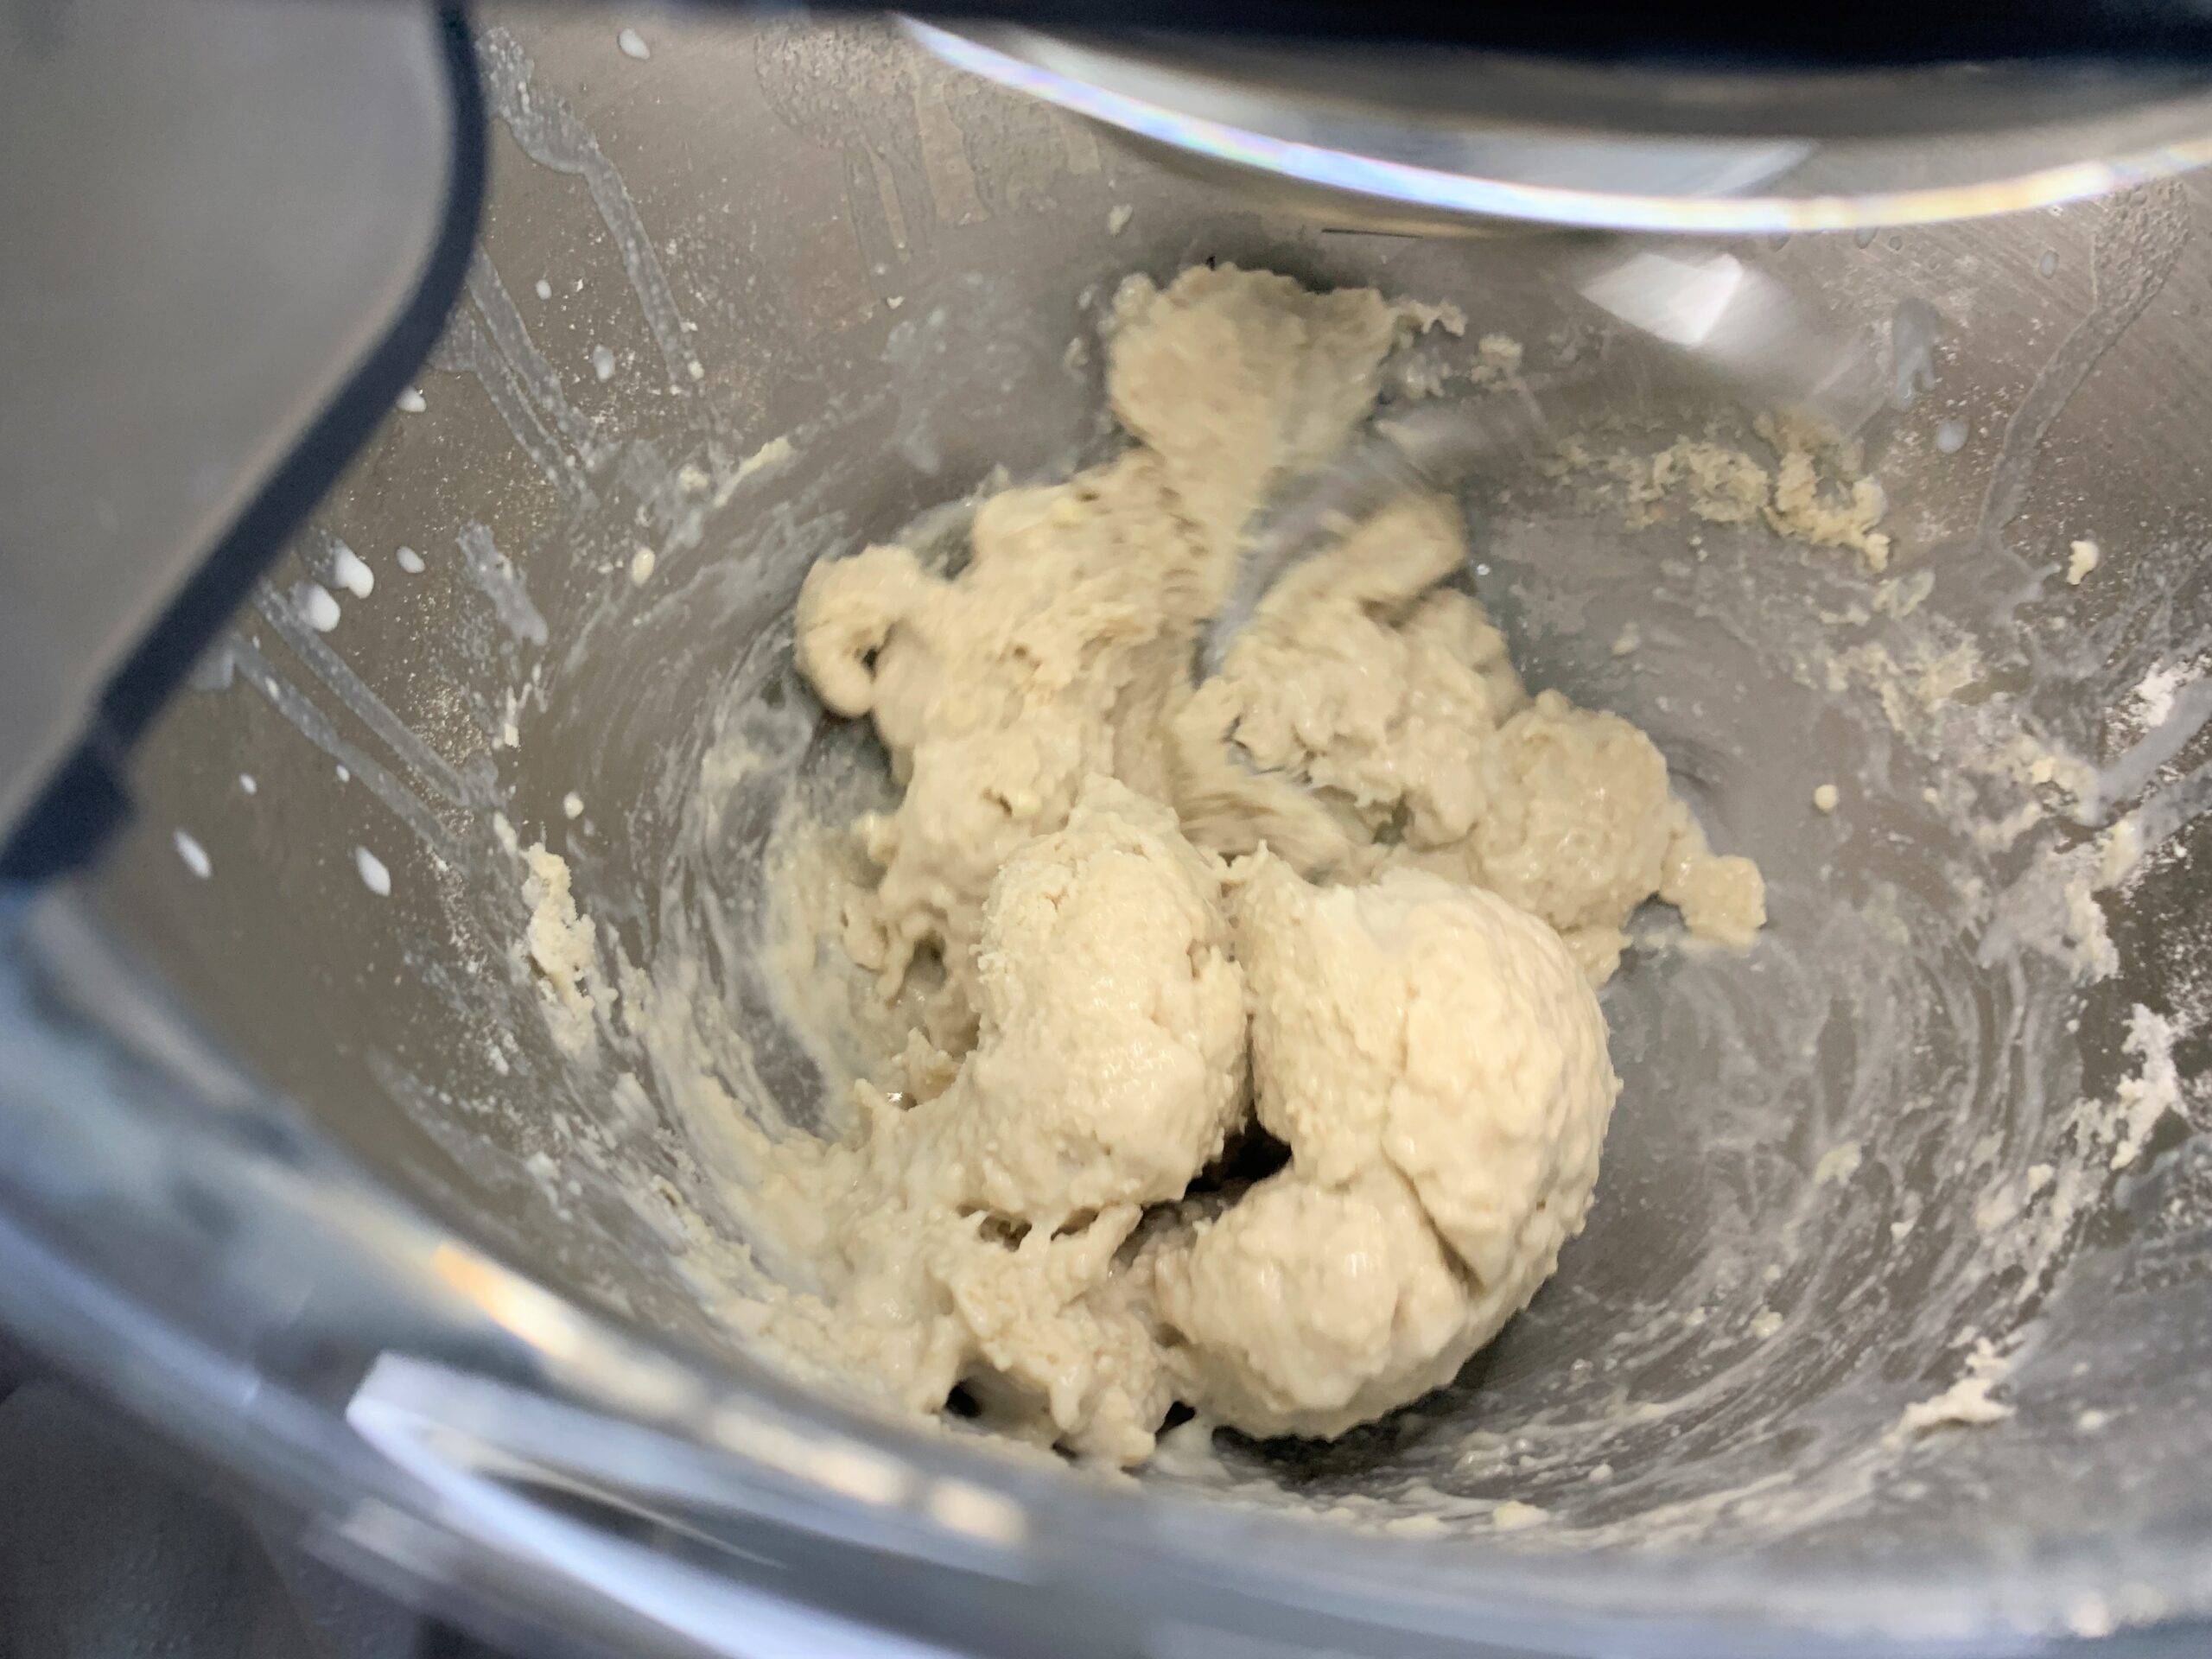
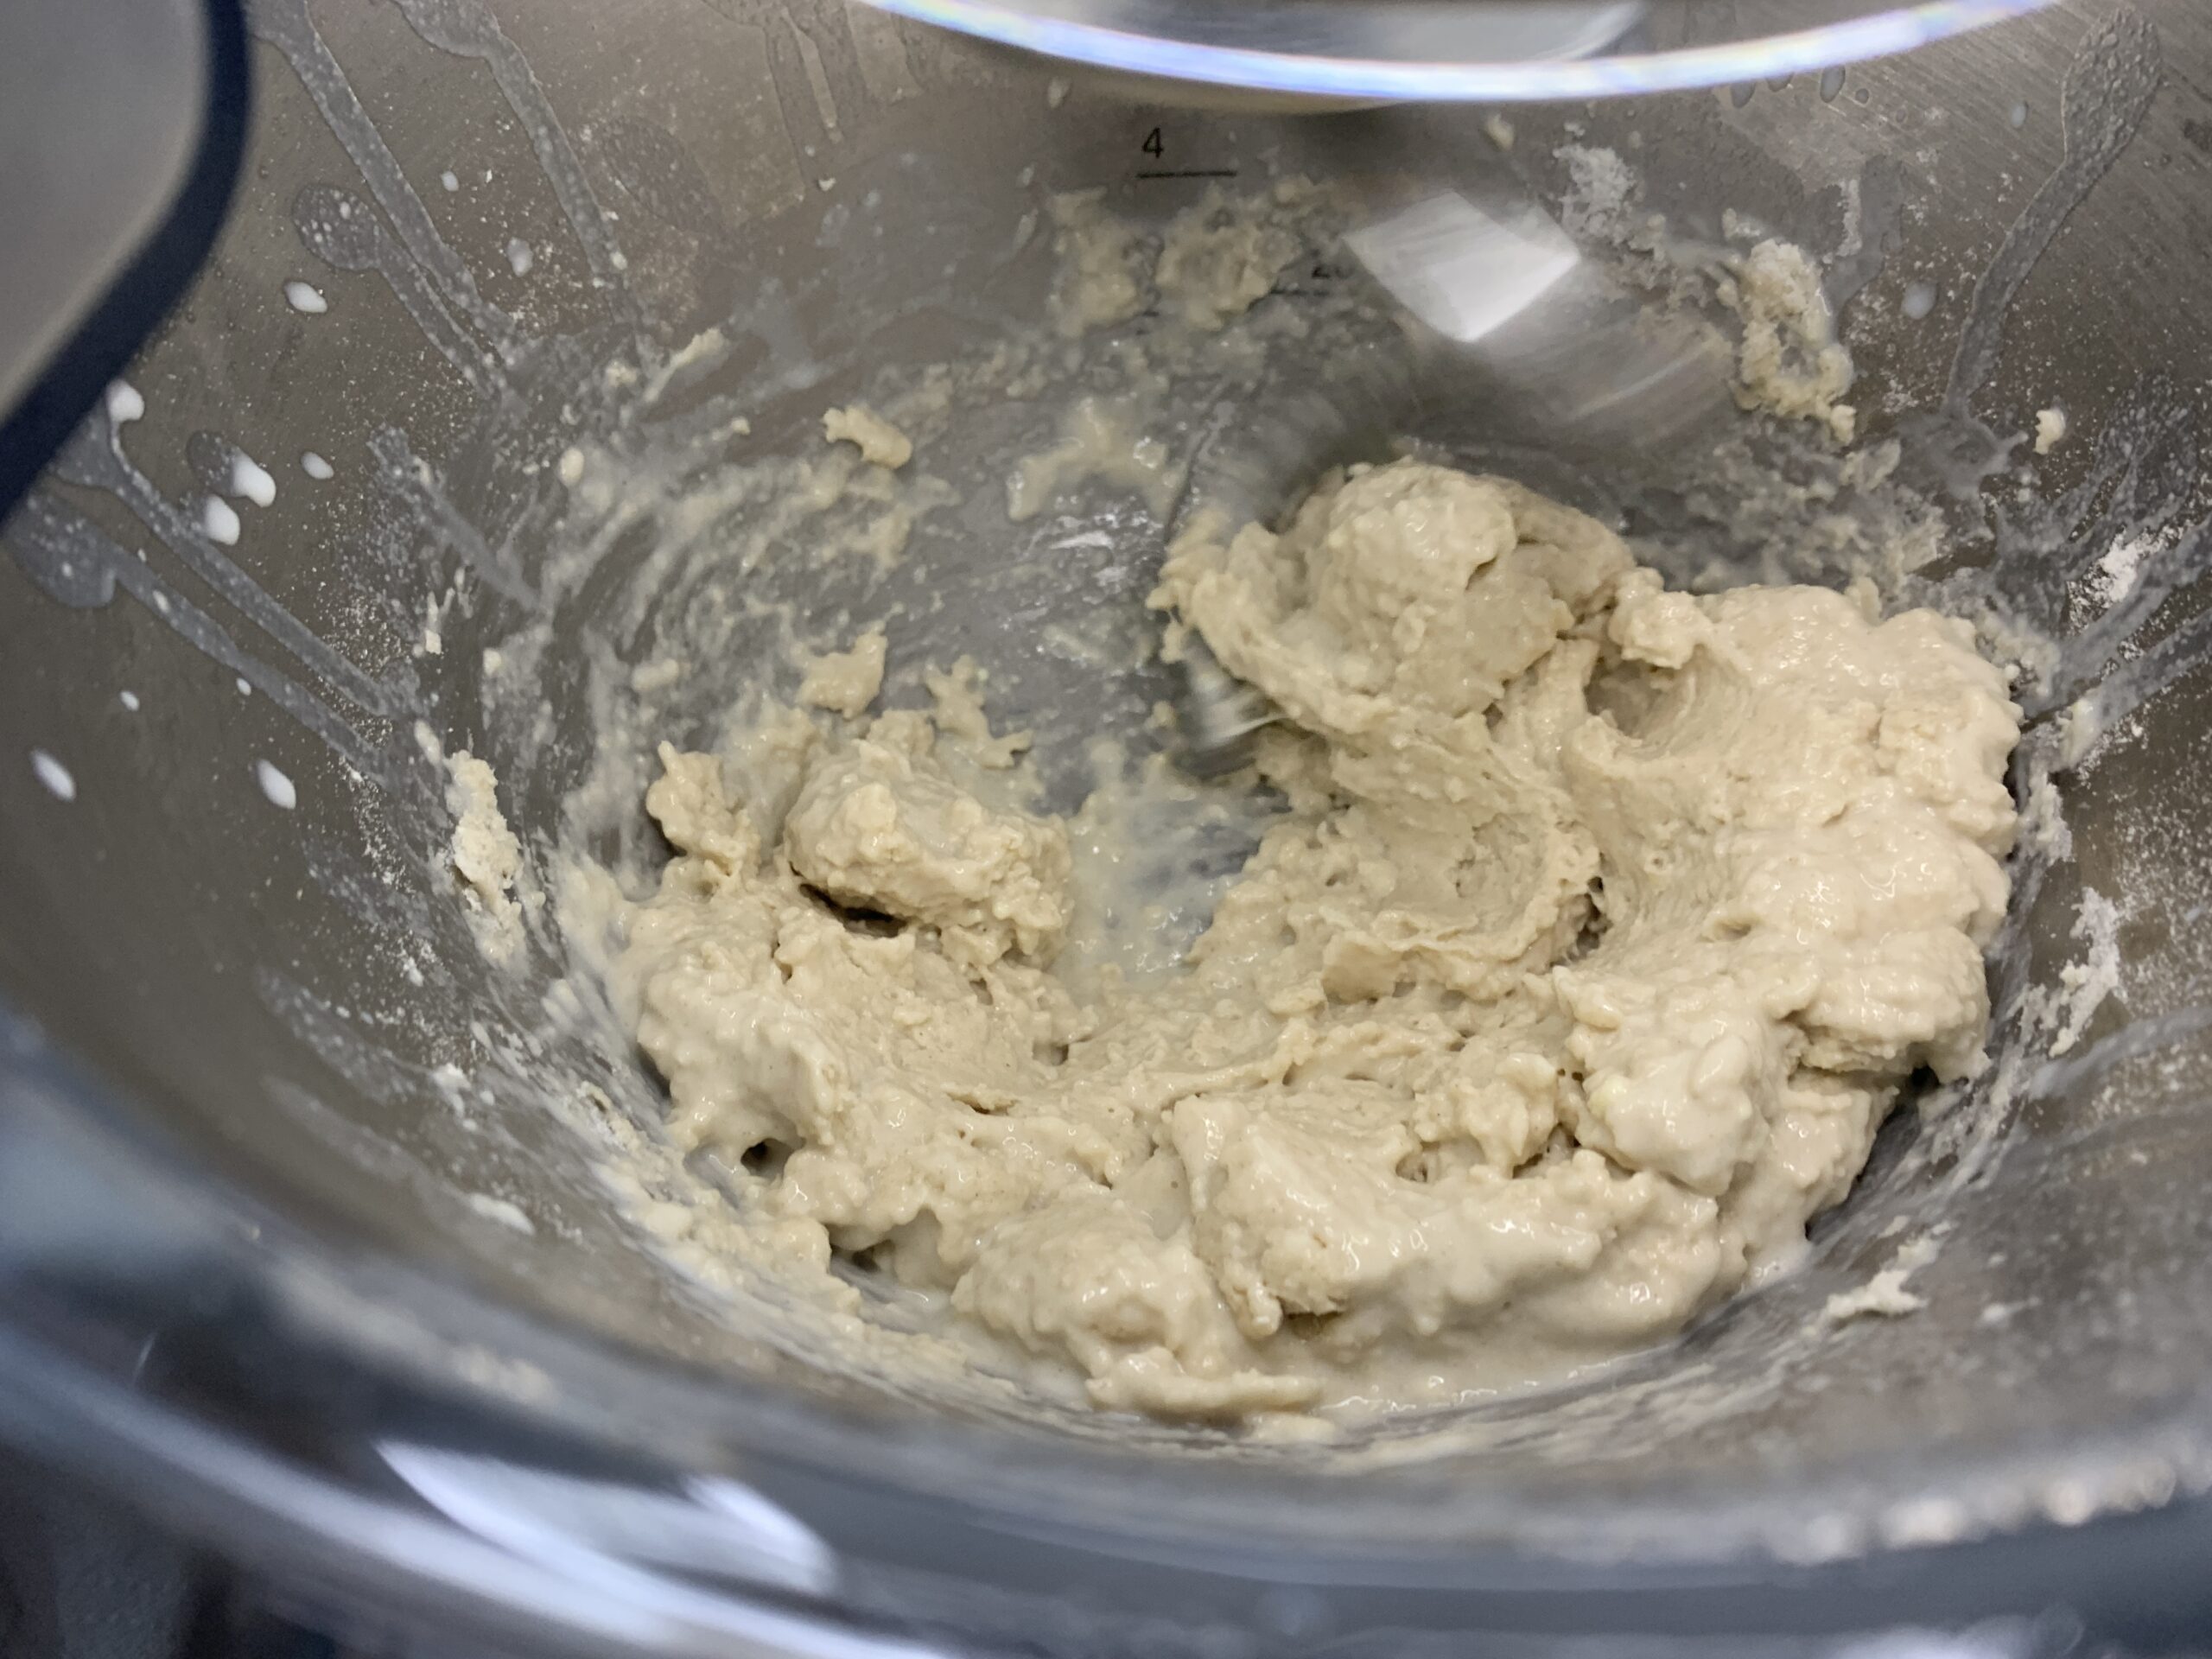
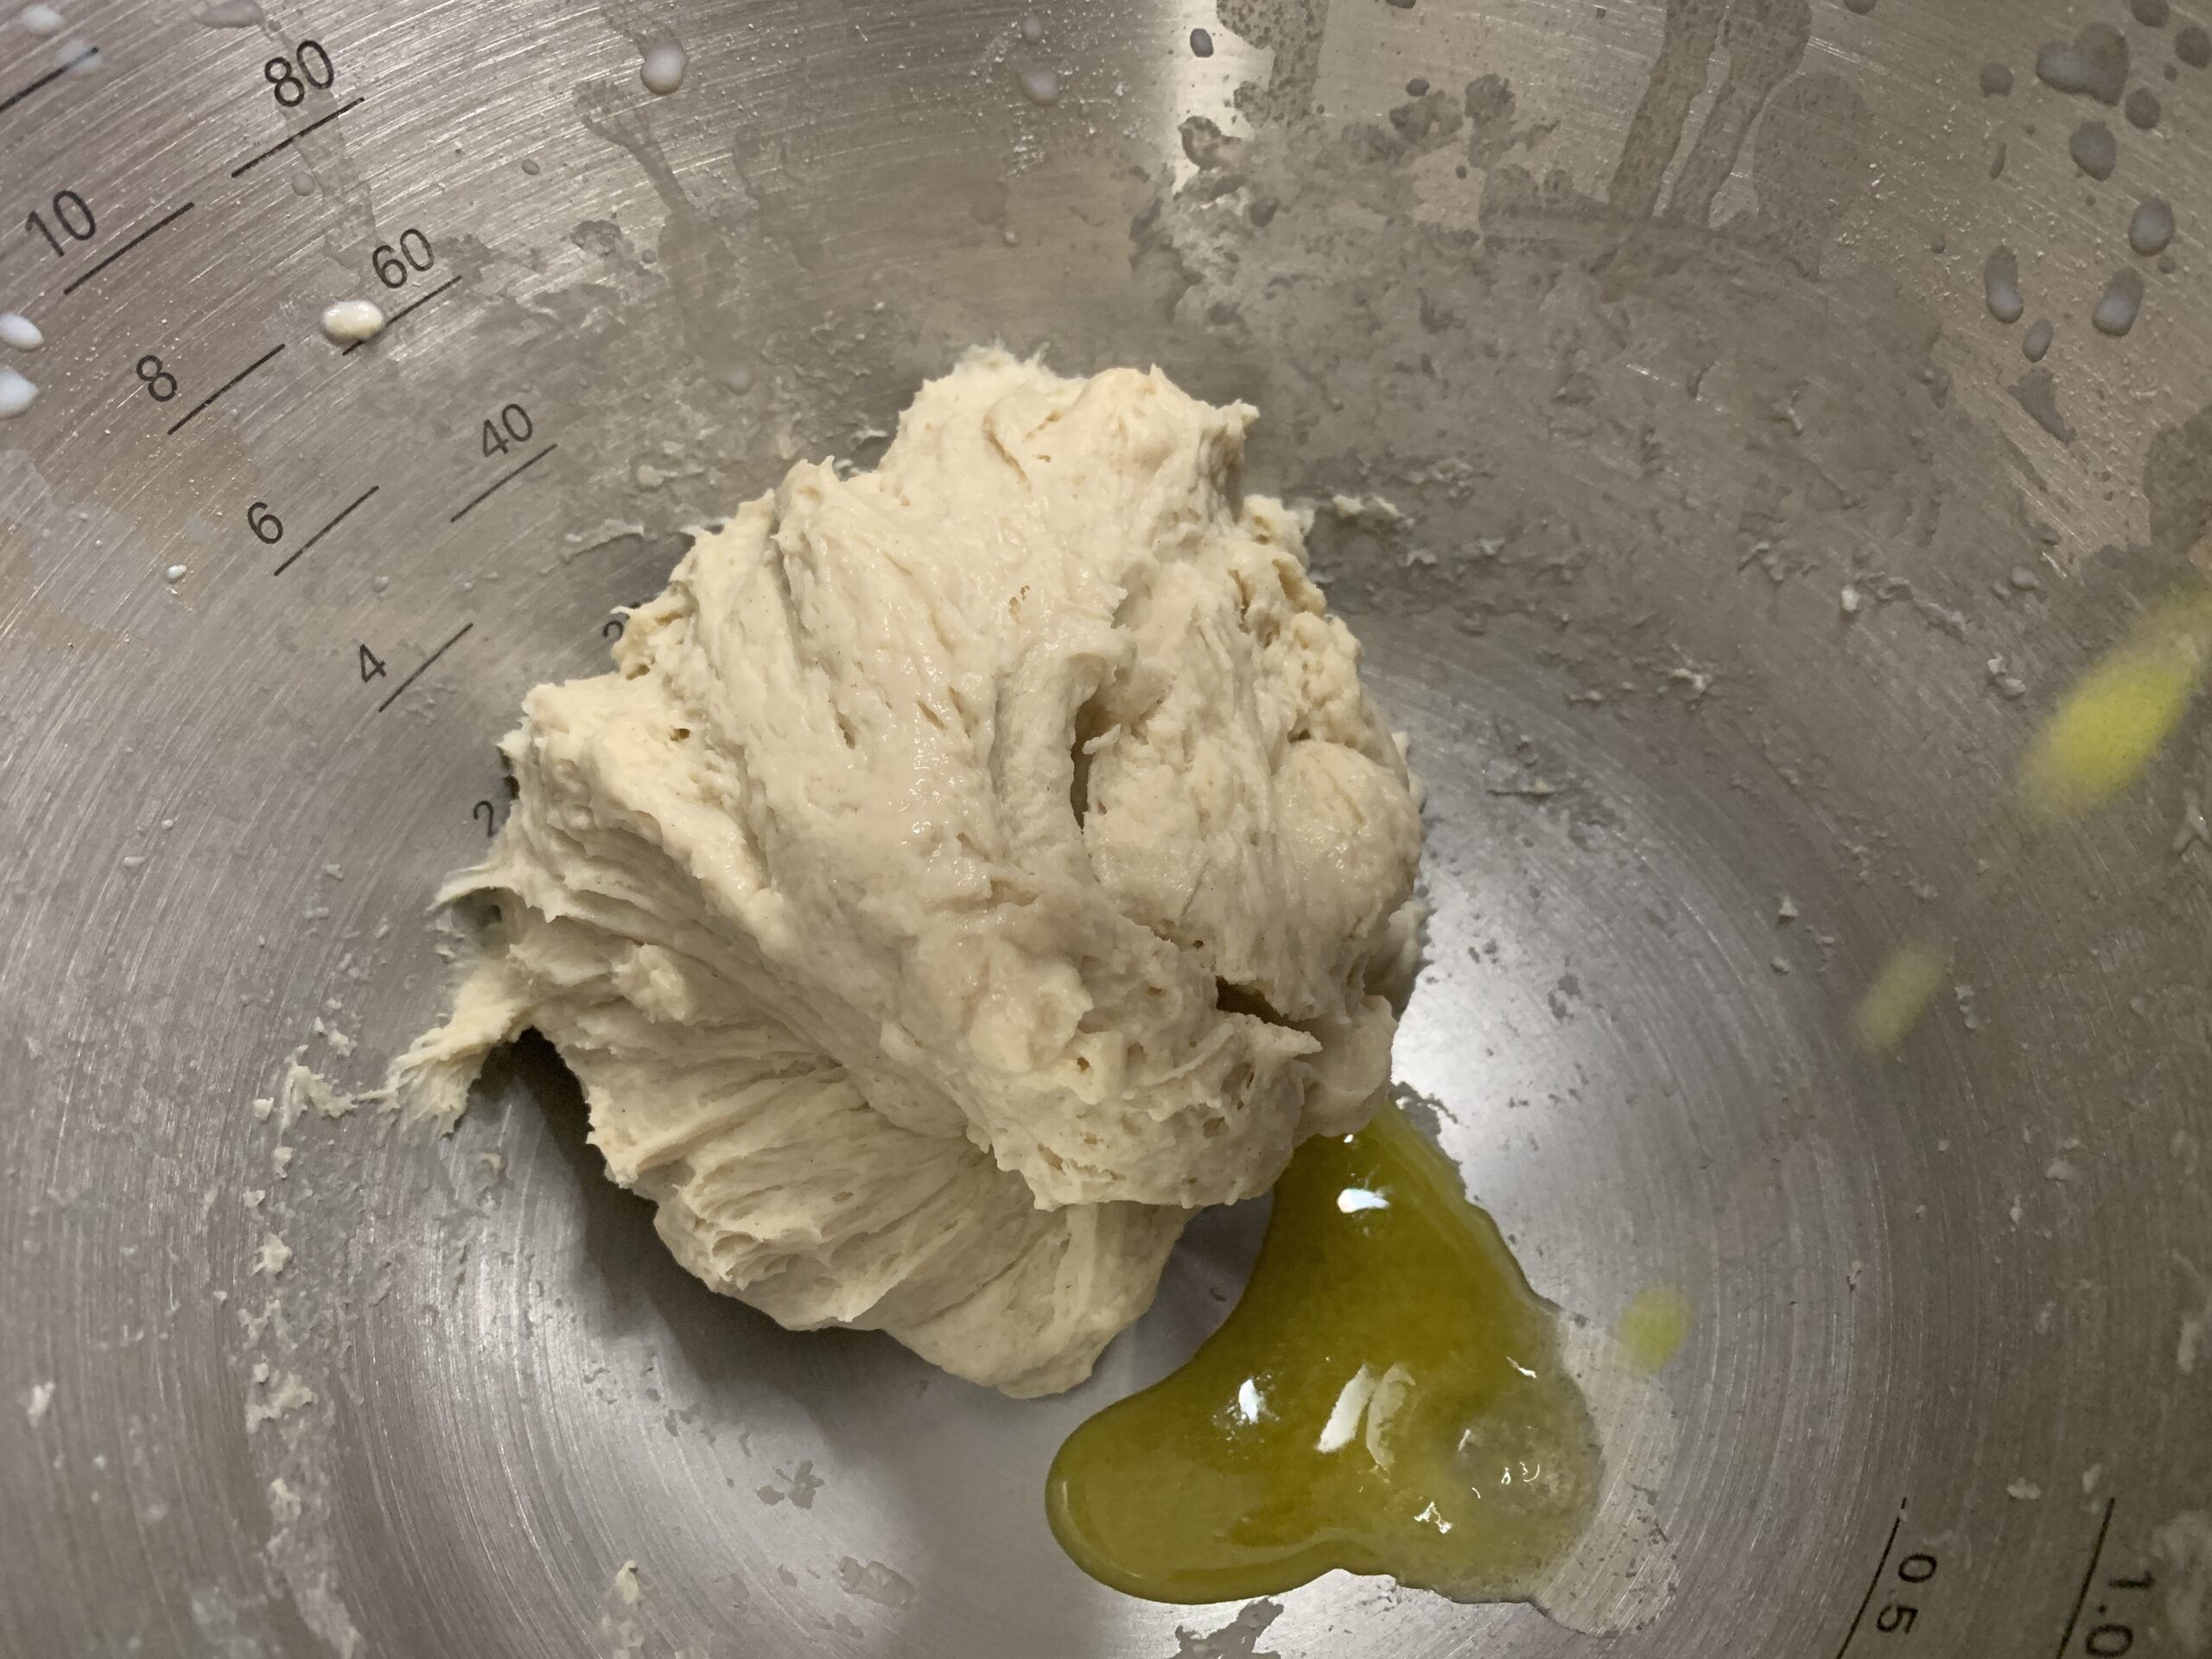
Add yeast mixture little by little and start kneading the dough until you have a soft pliable dough. It would take about 5-7 minutes. It will be wet initially but will start coming together the more you knead.
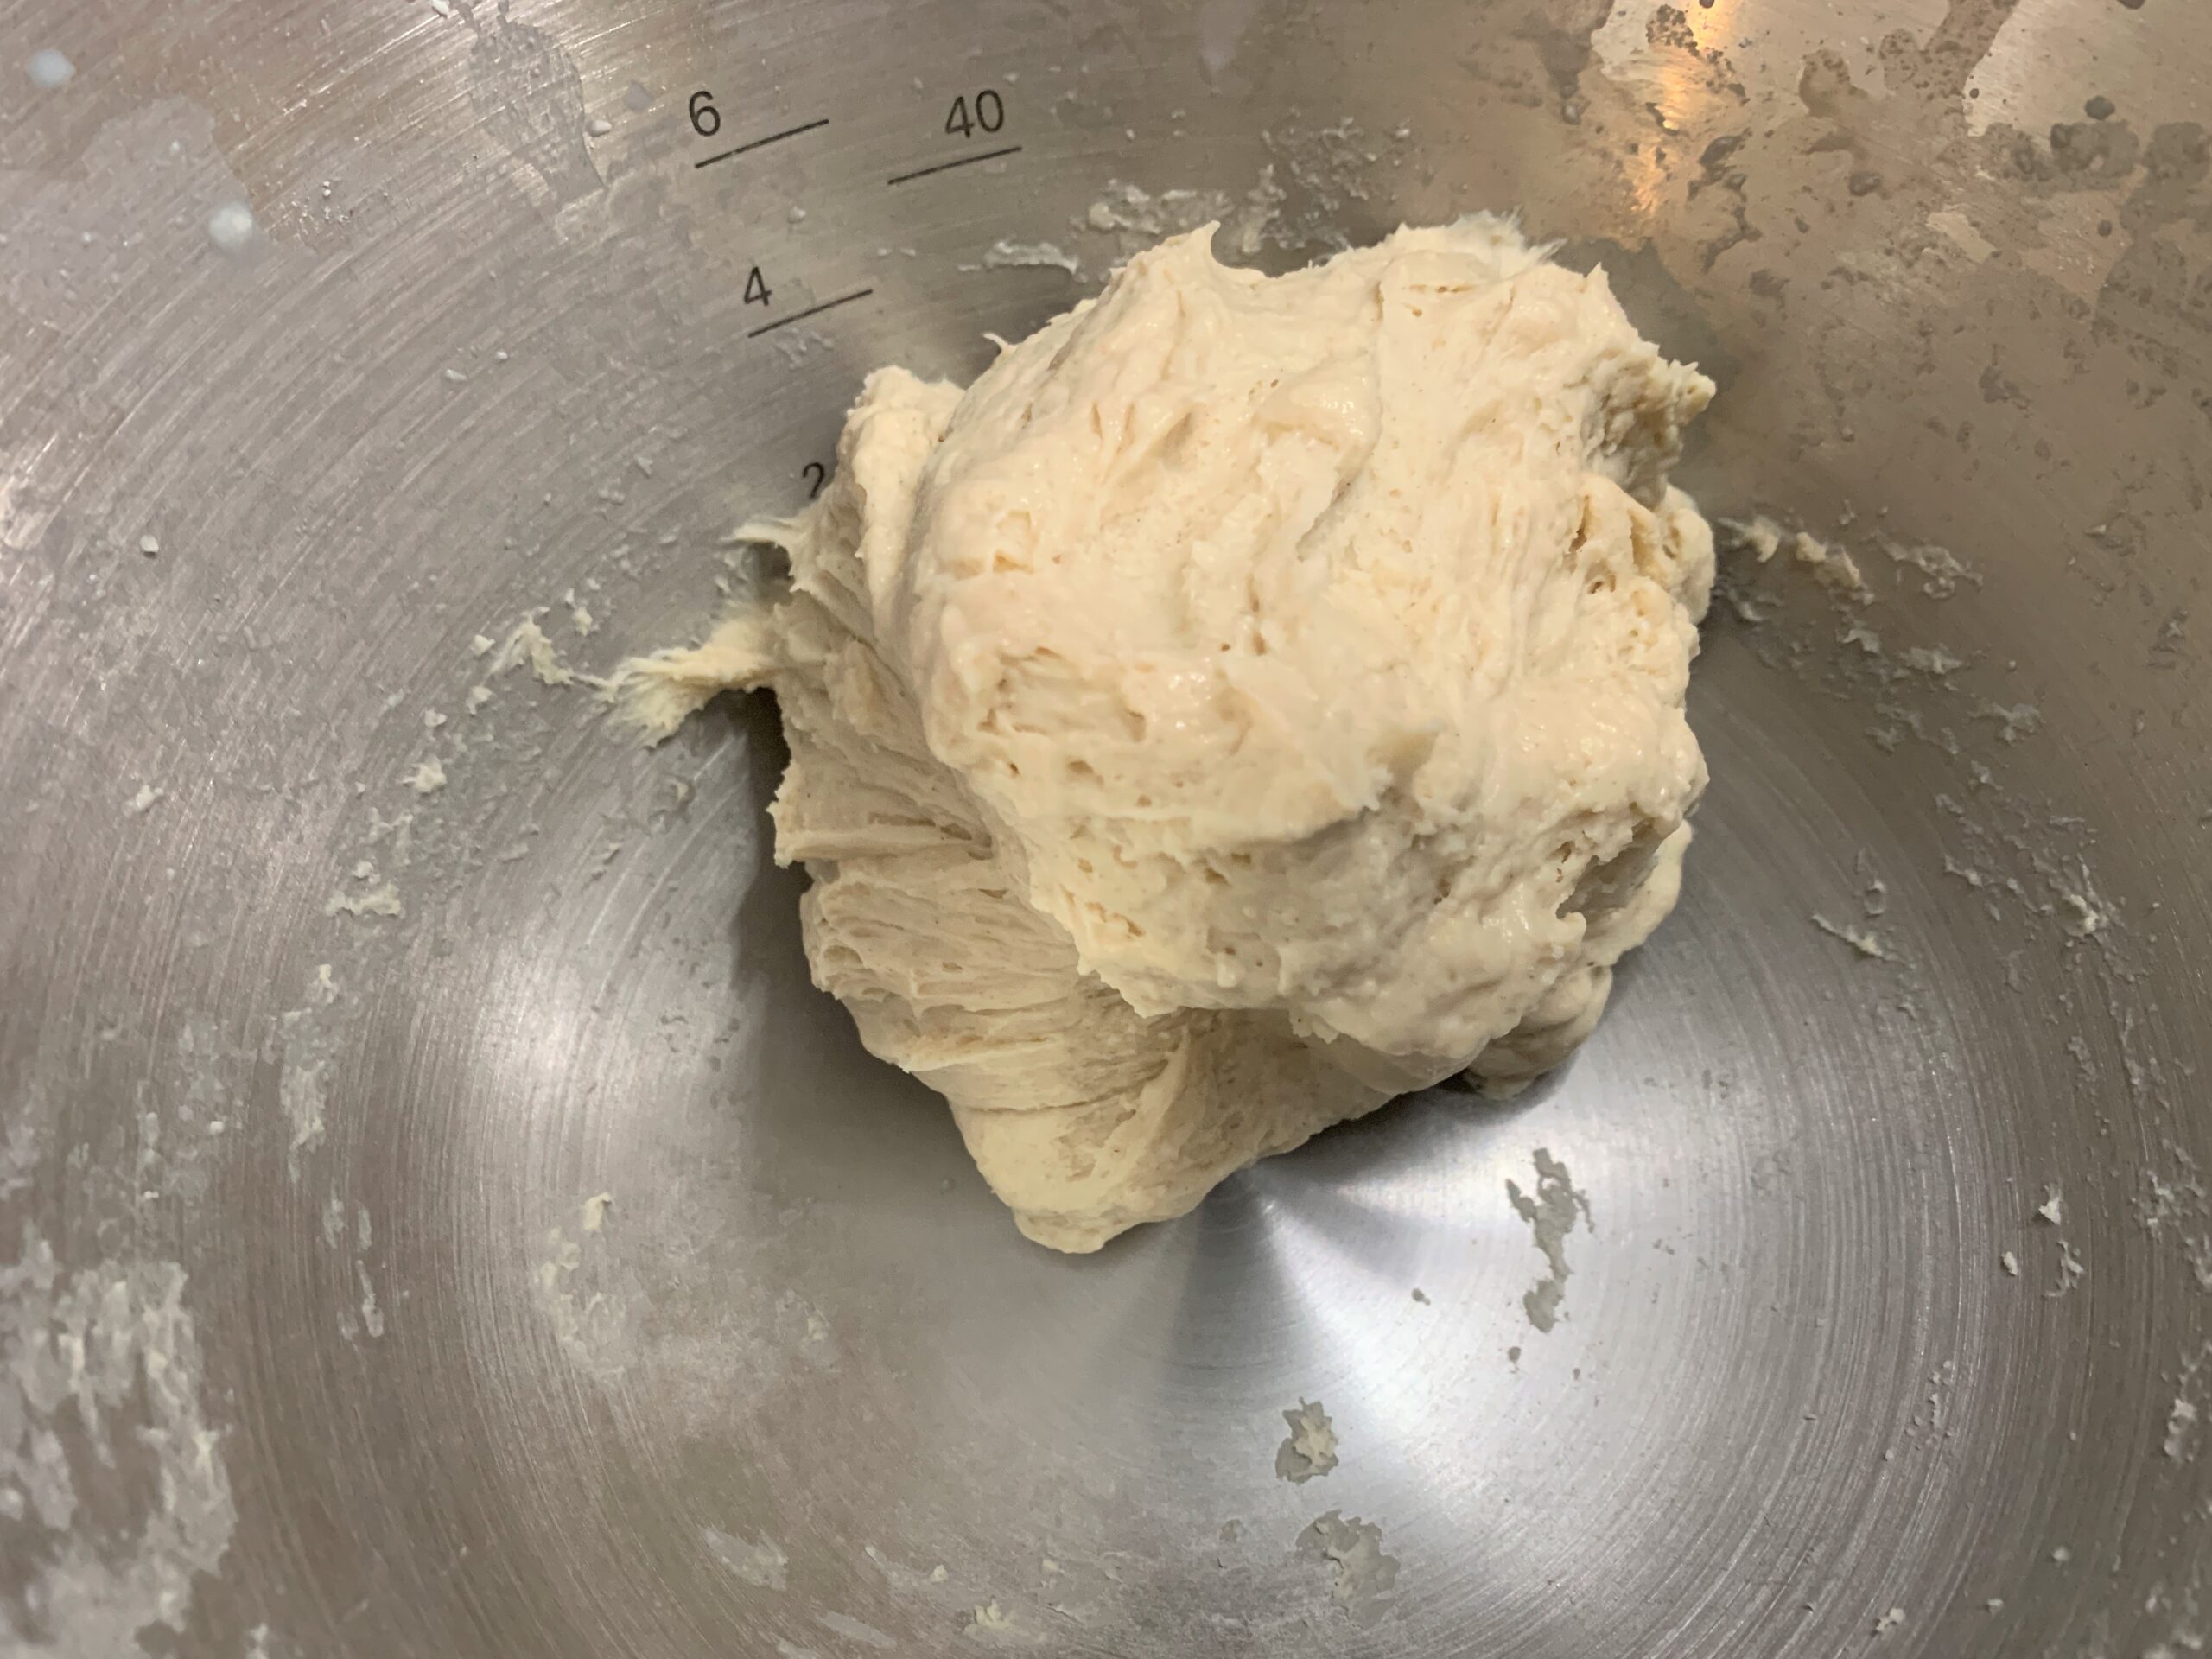
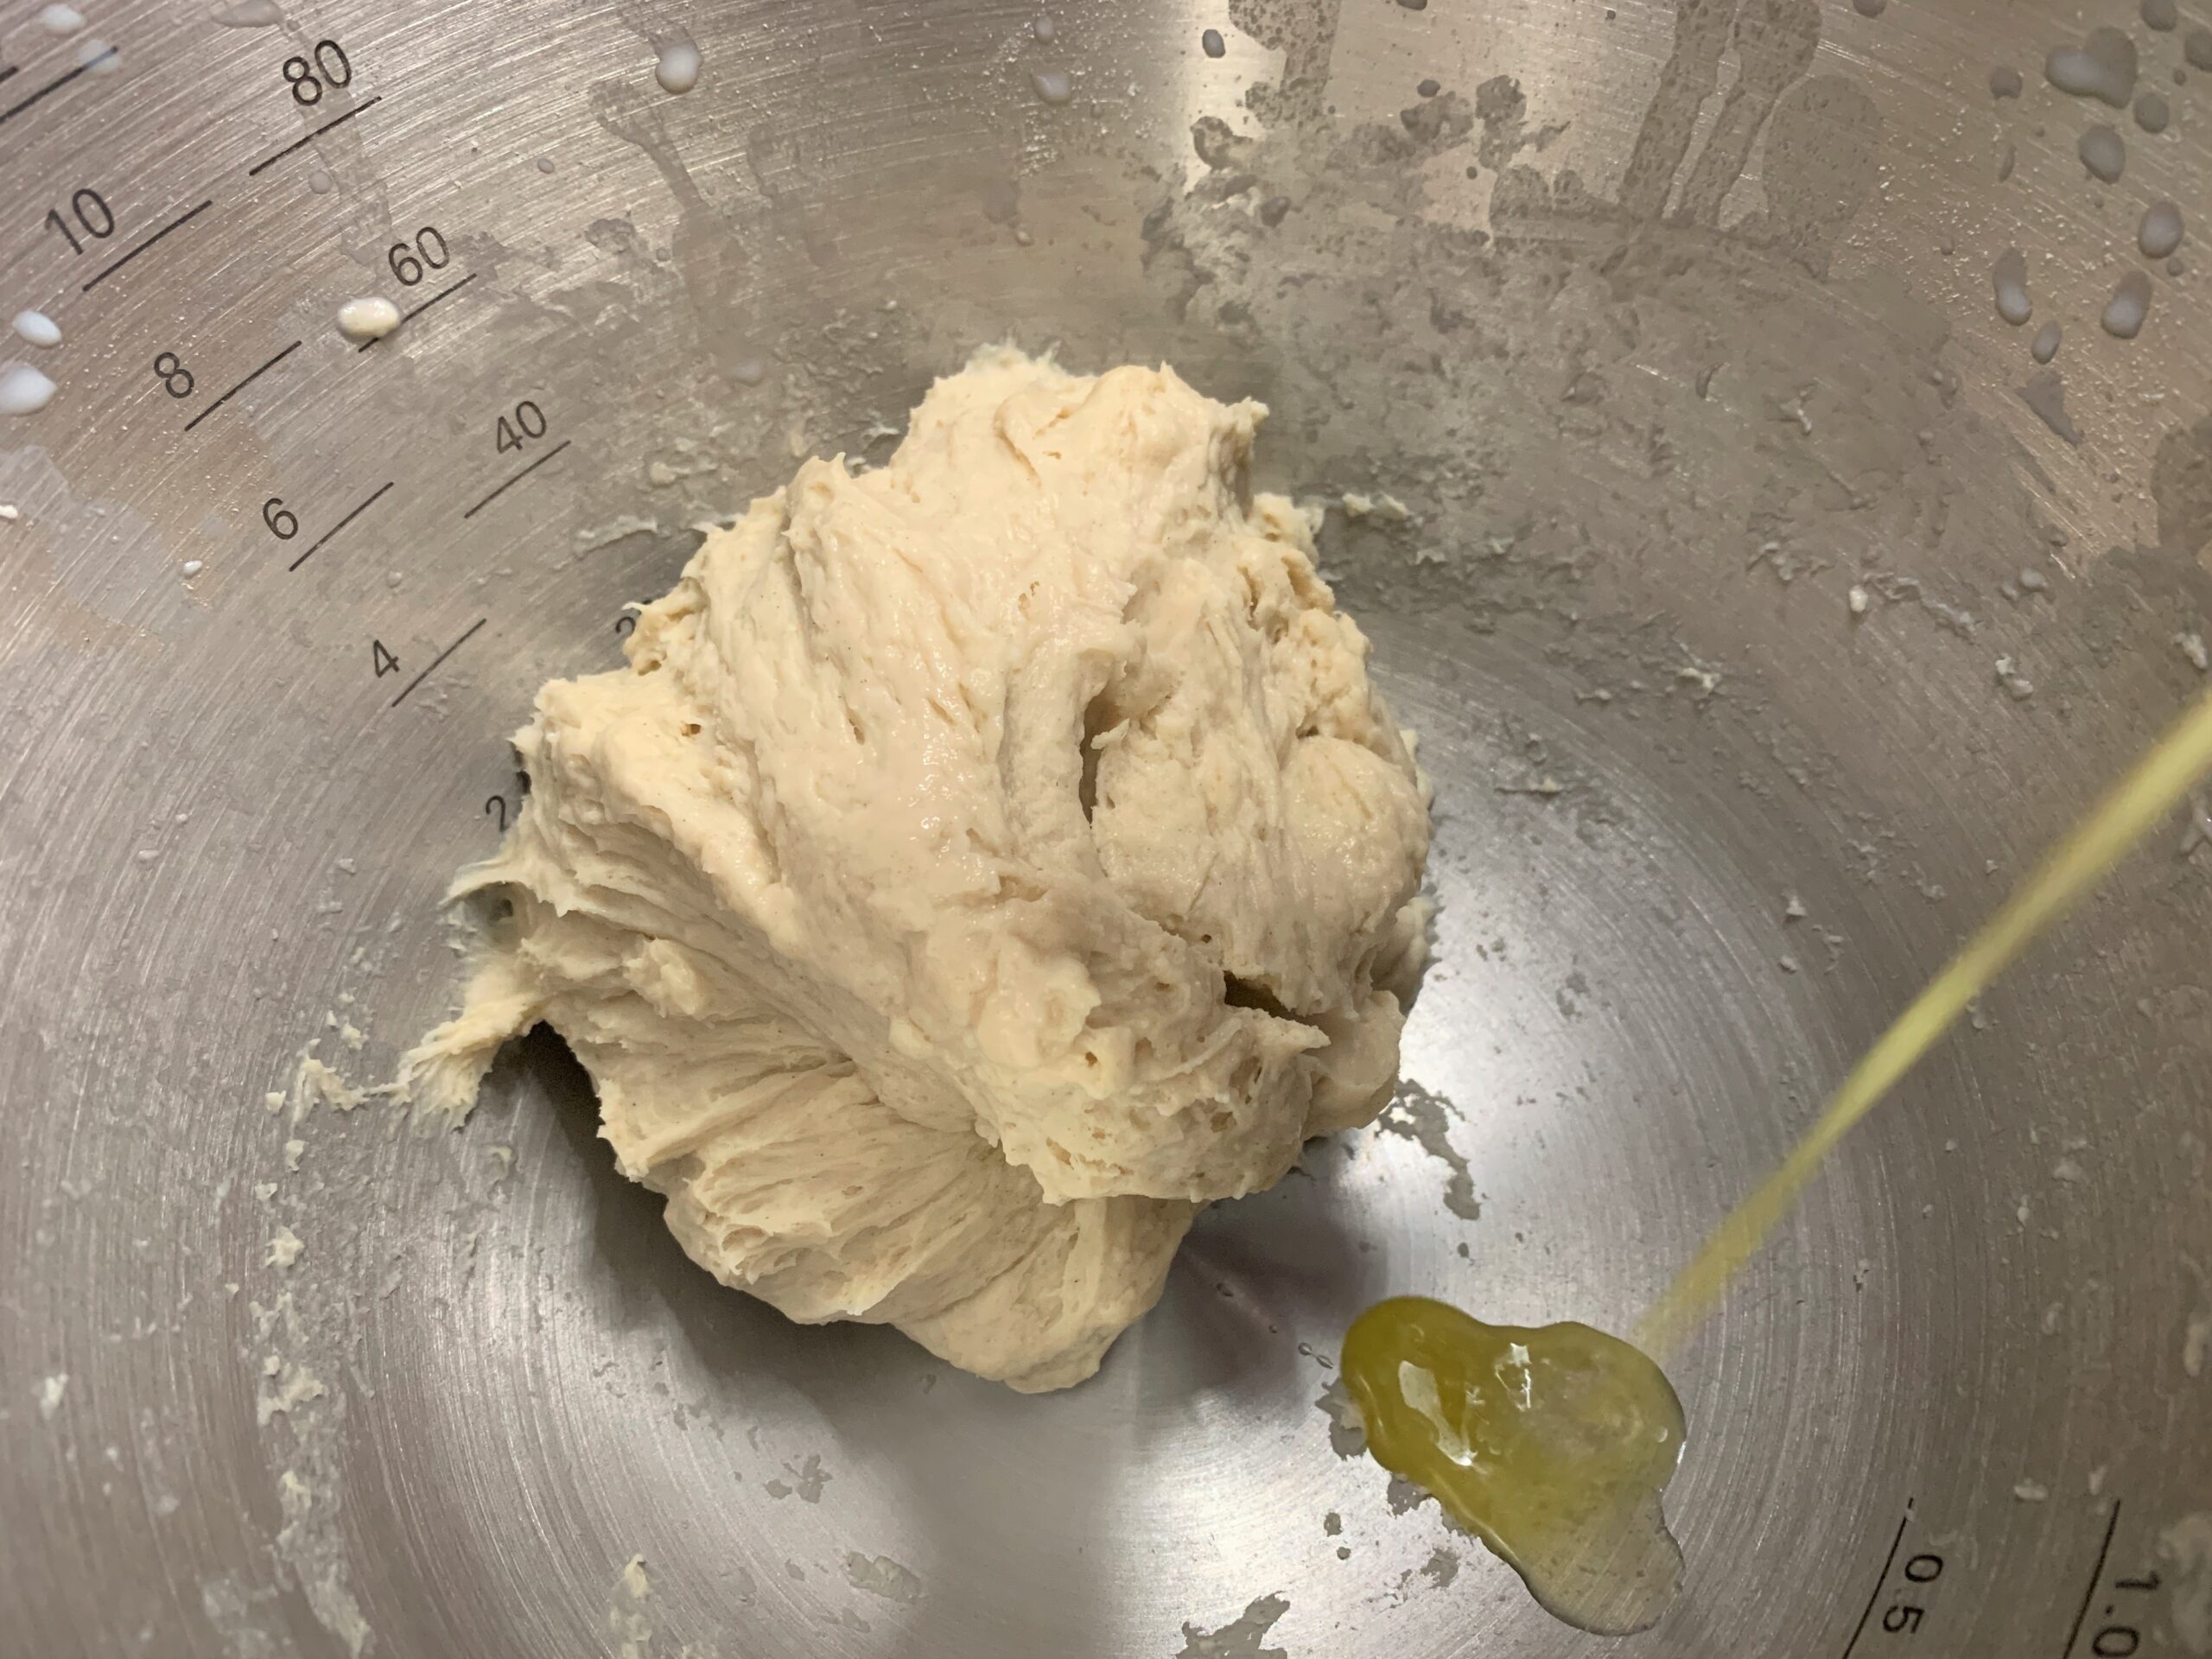
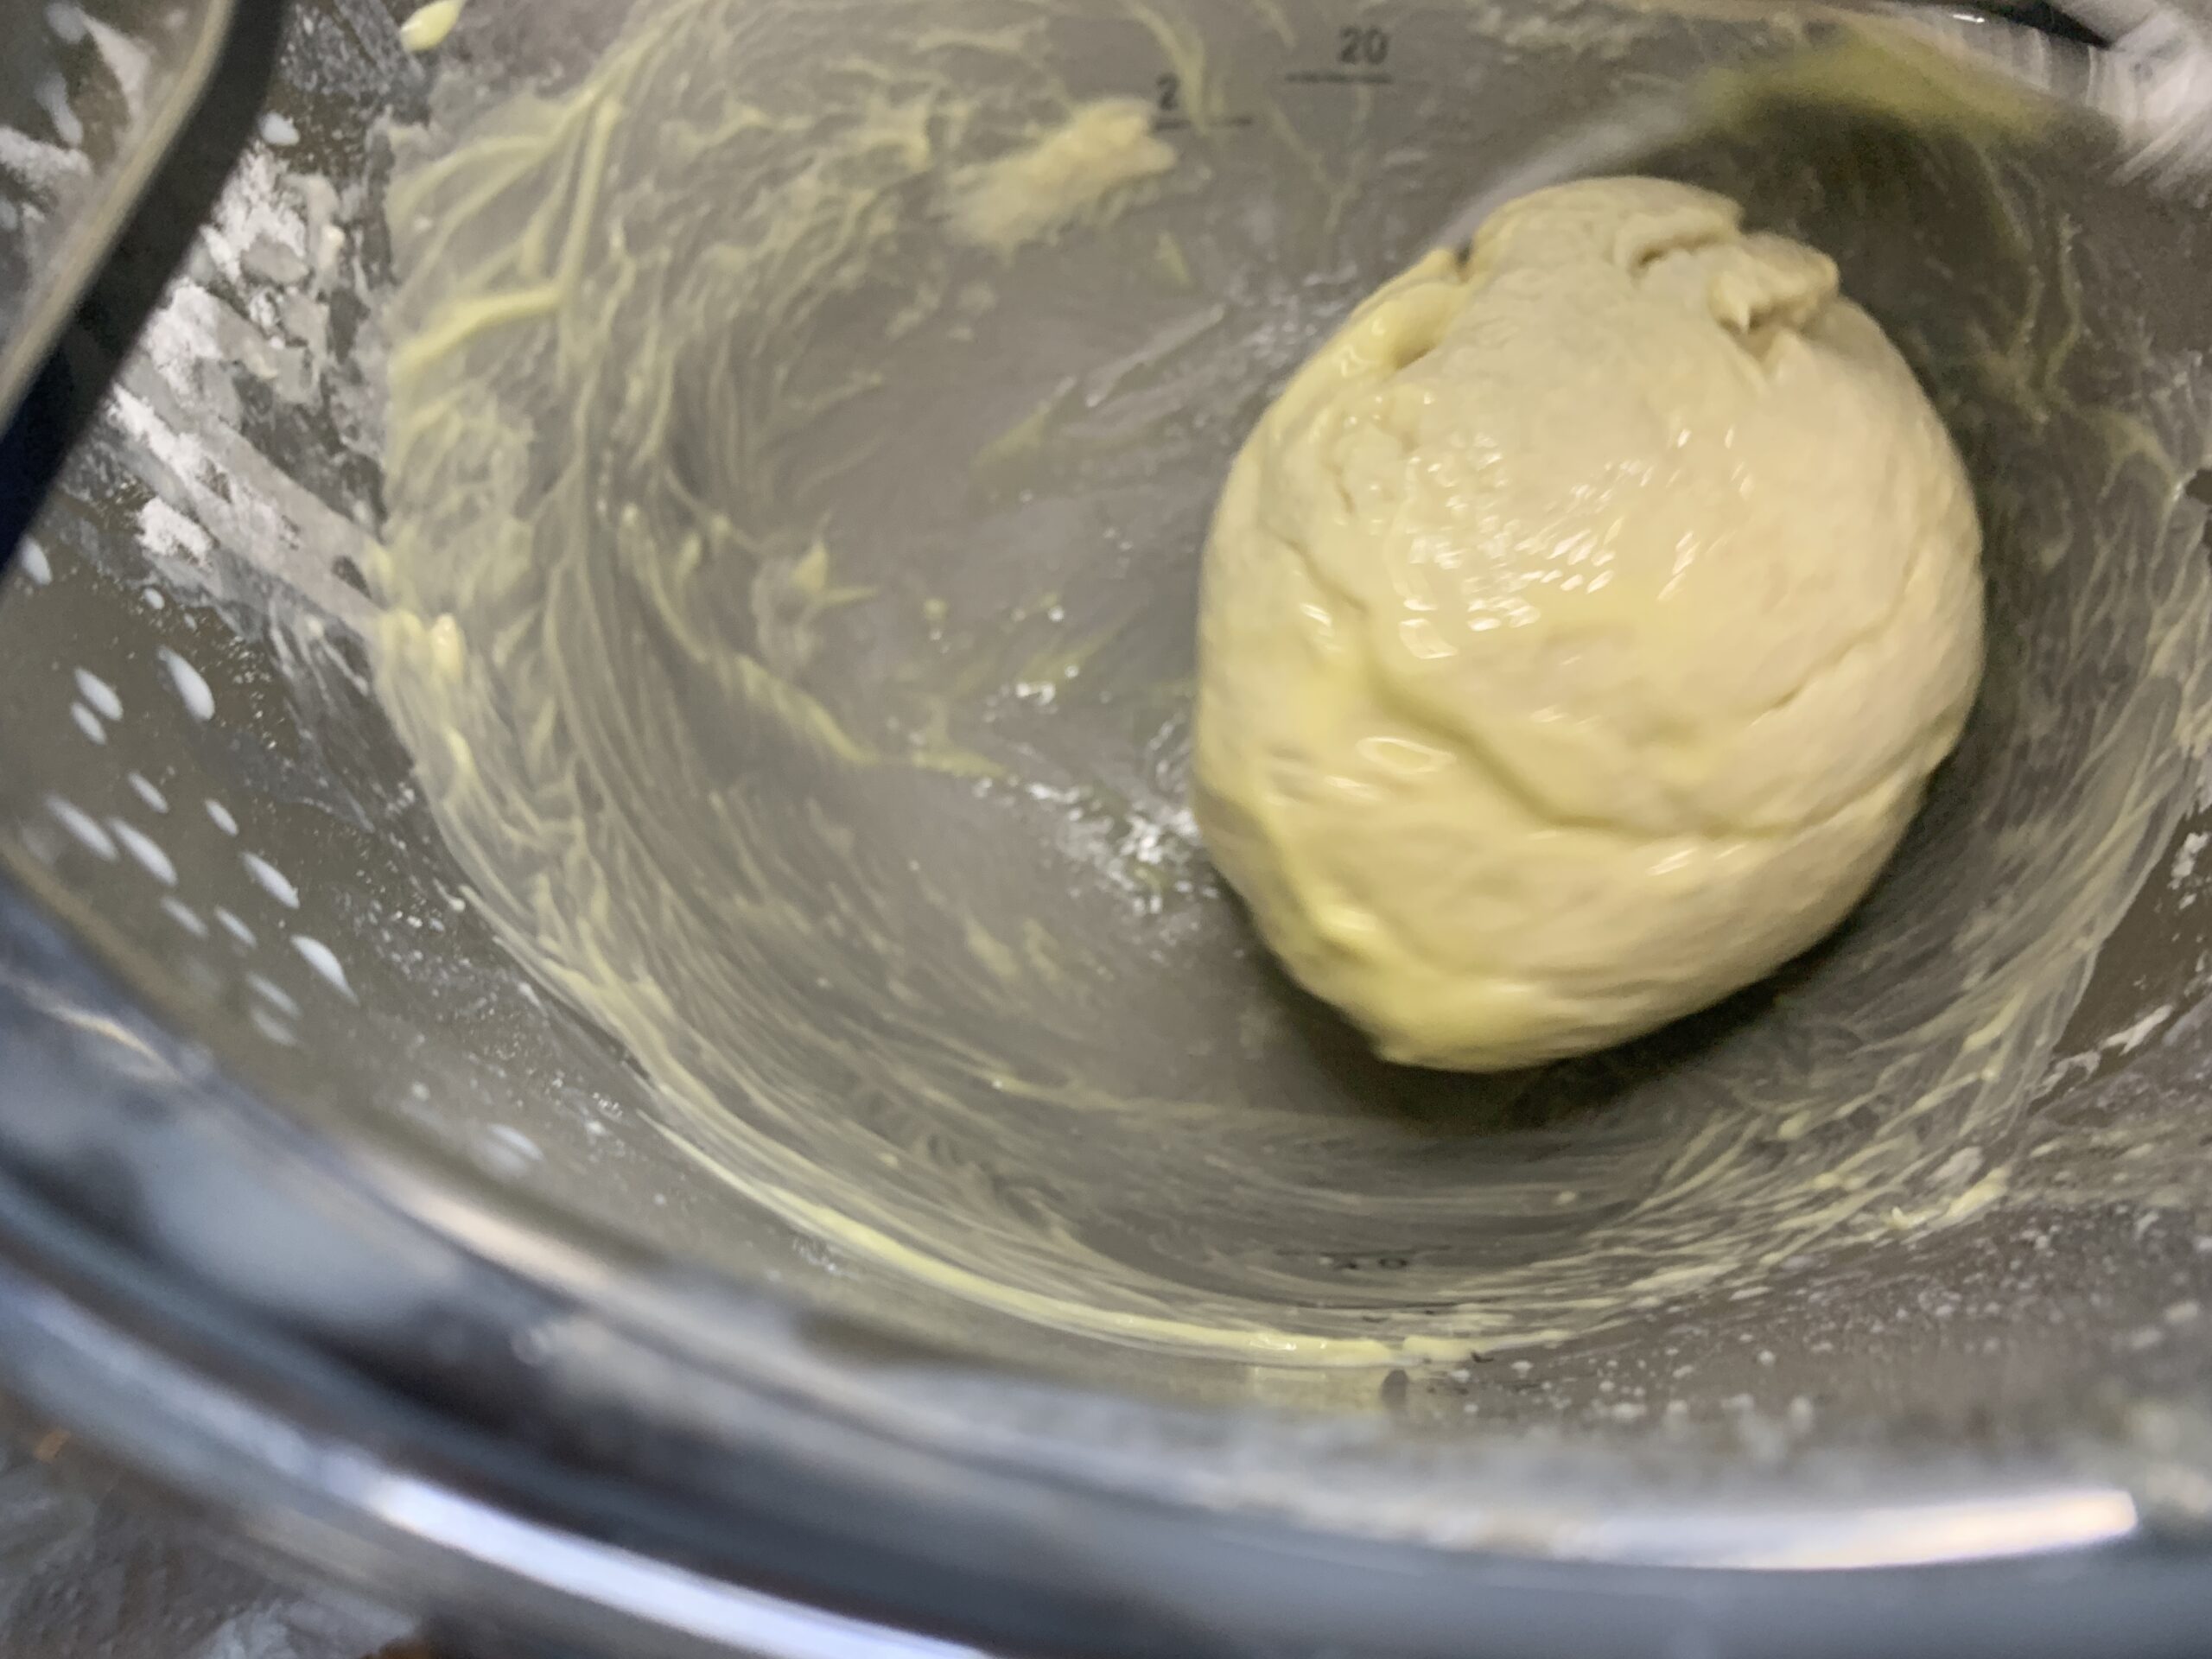
Add the butter and knead until smooth and elastic for about 10-15 minutes. Knead it till you achieve a soft and smooth dough.
Step-3
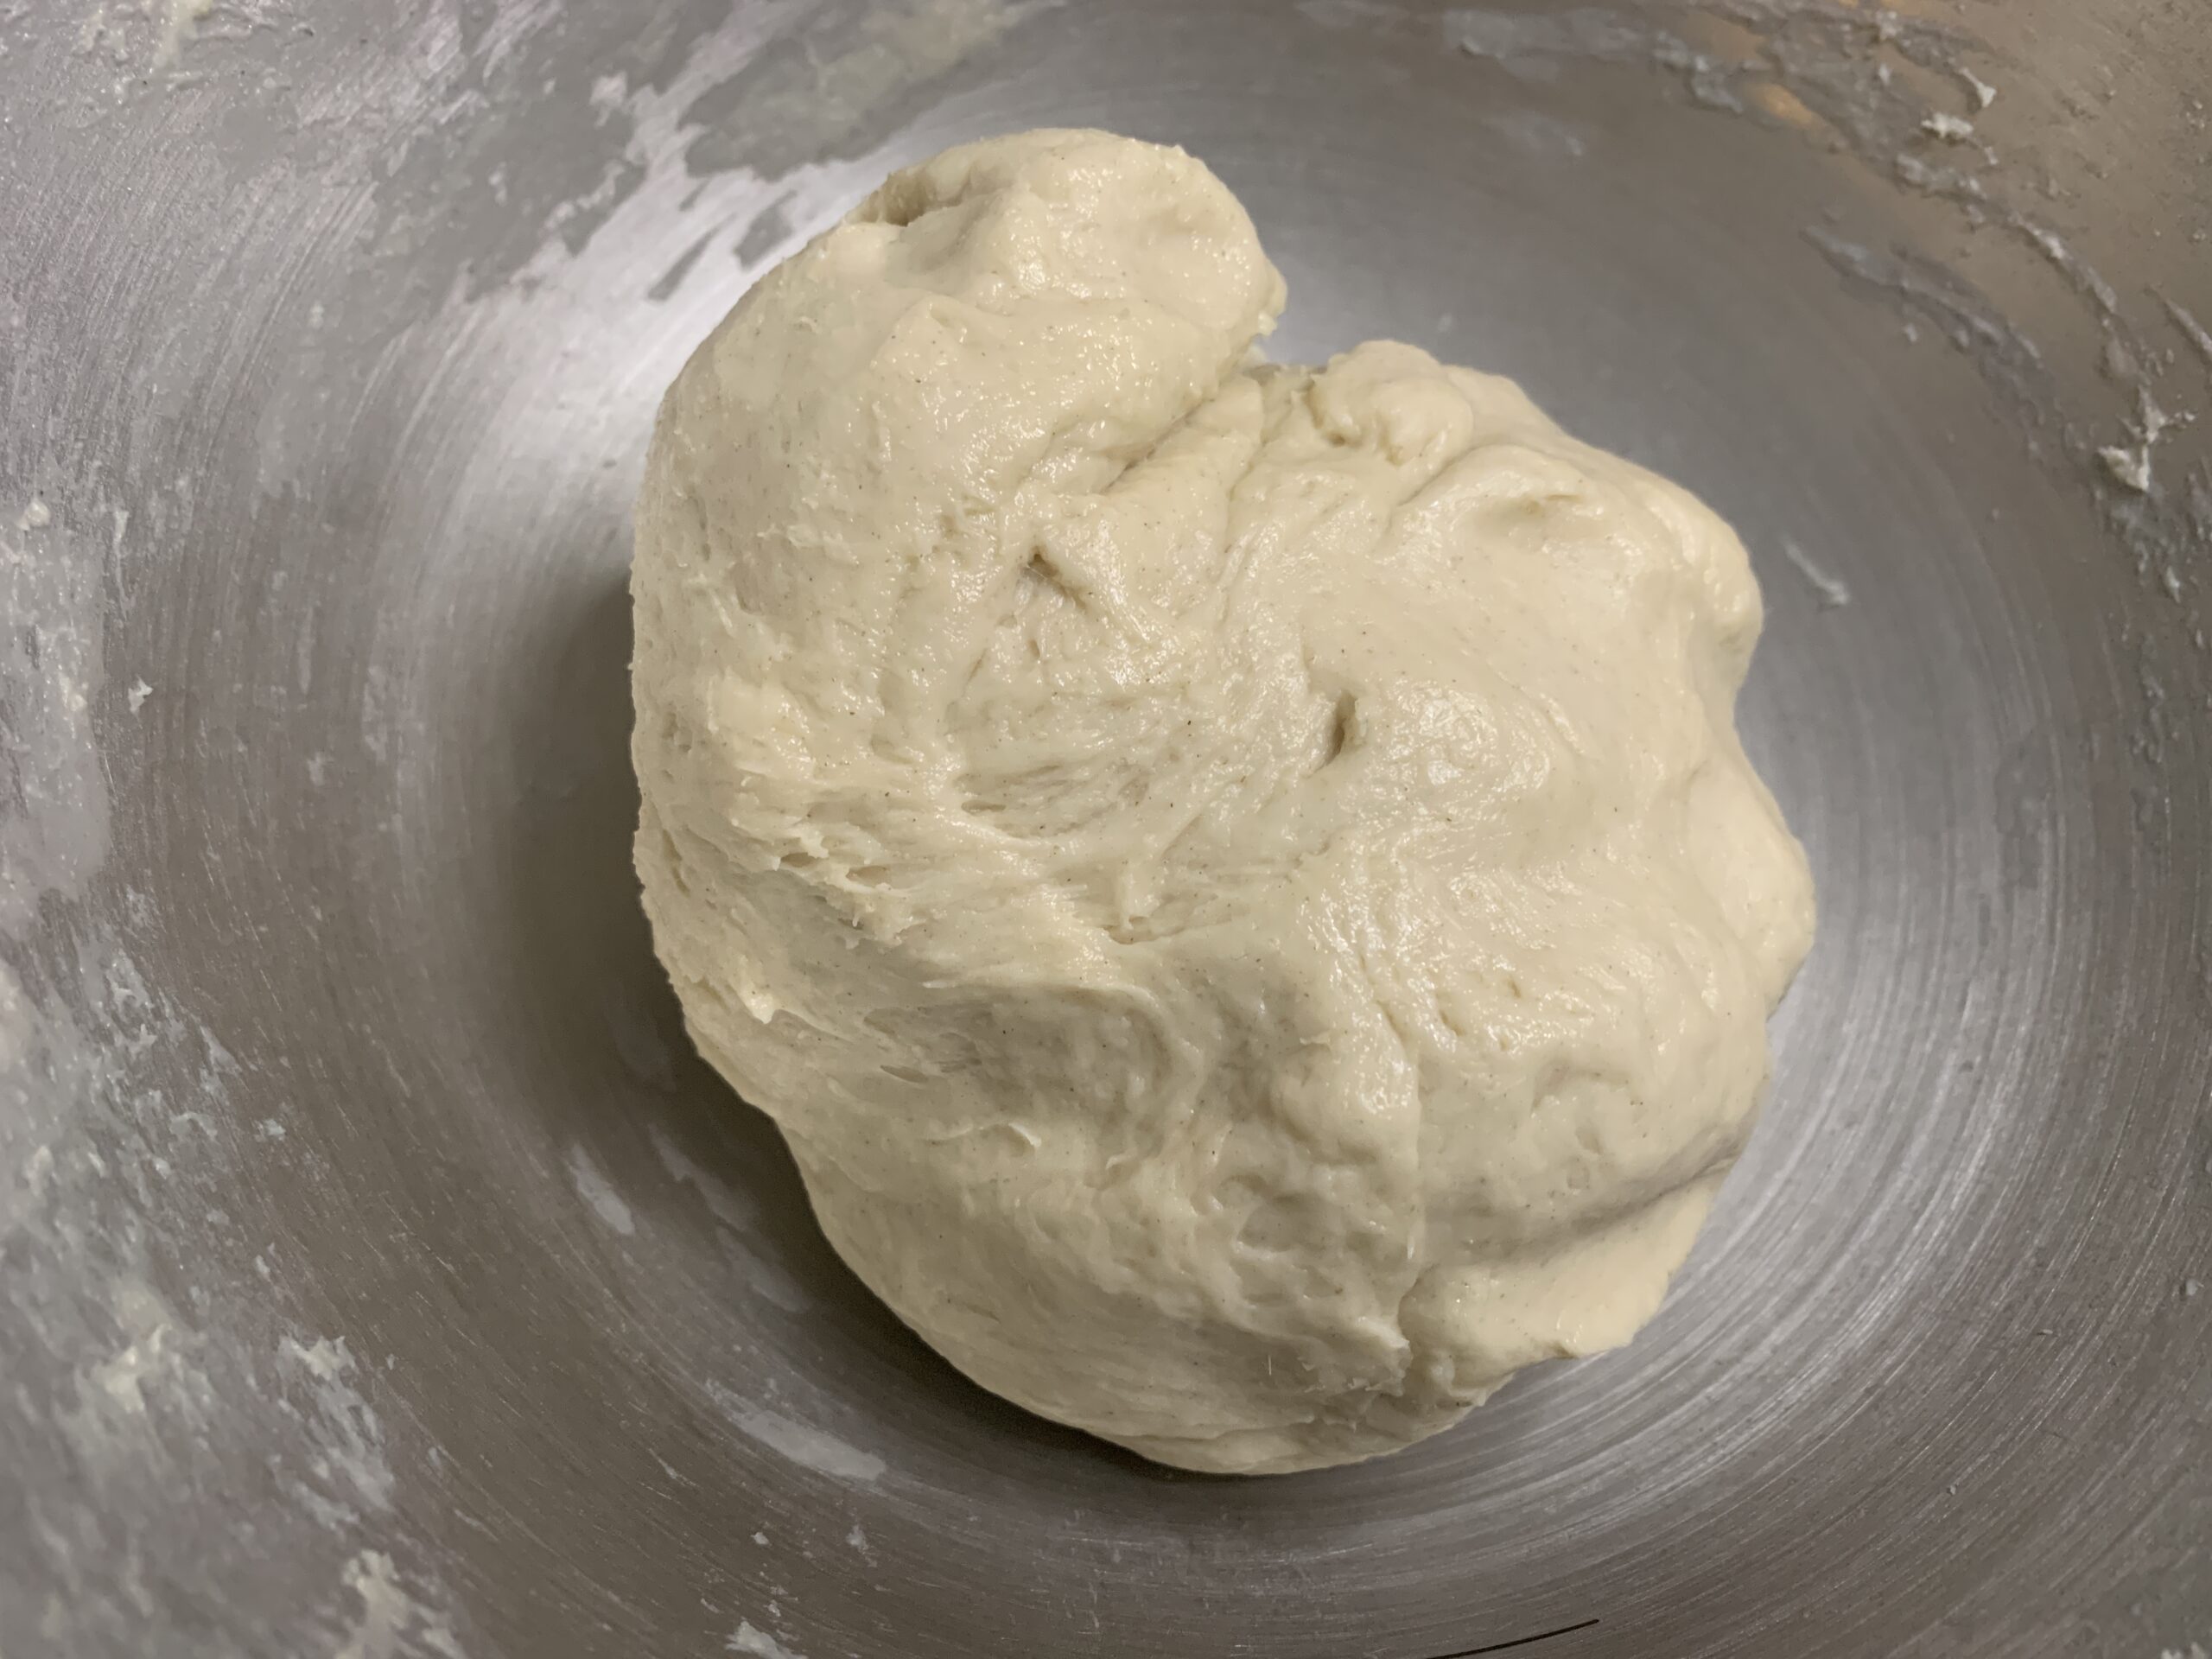
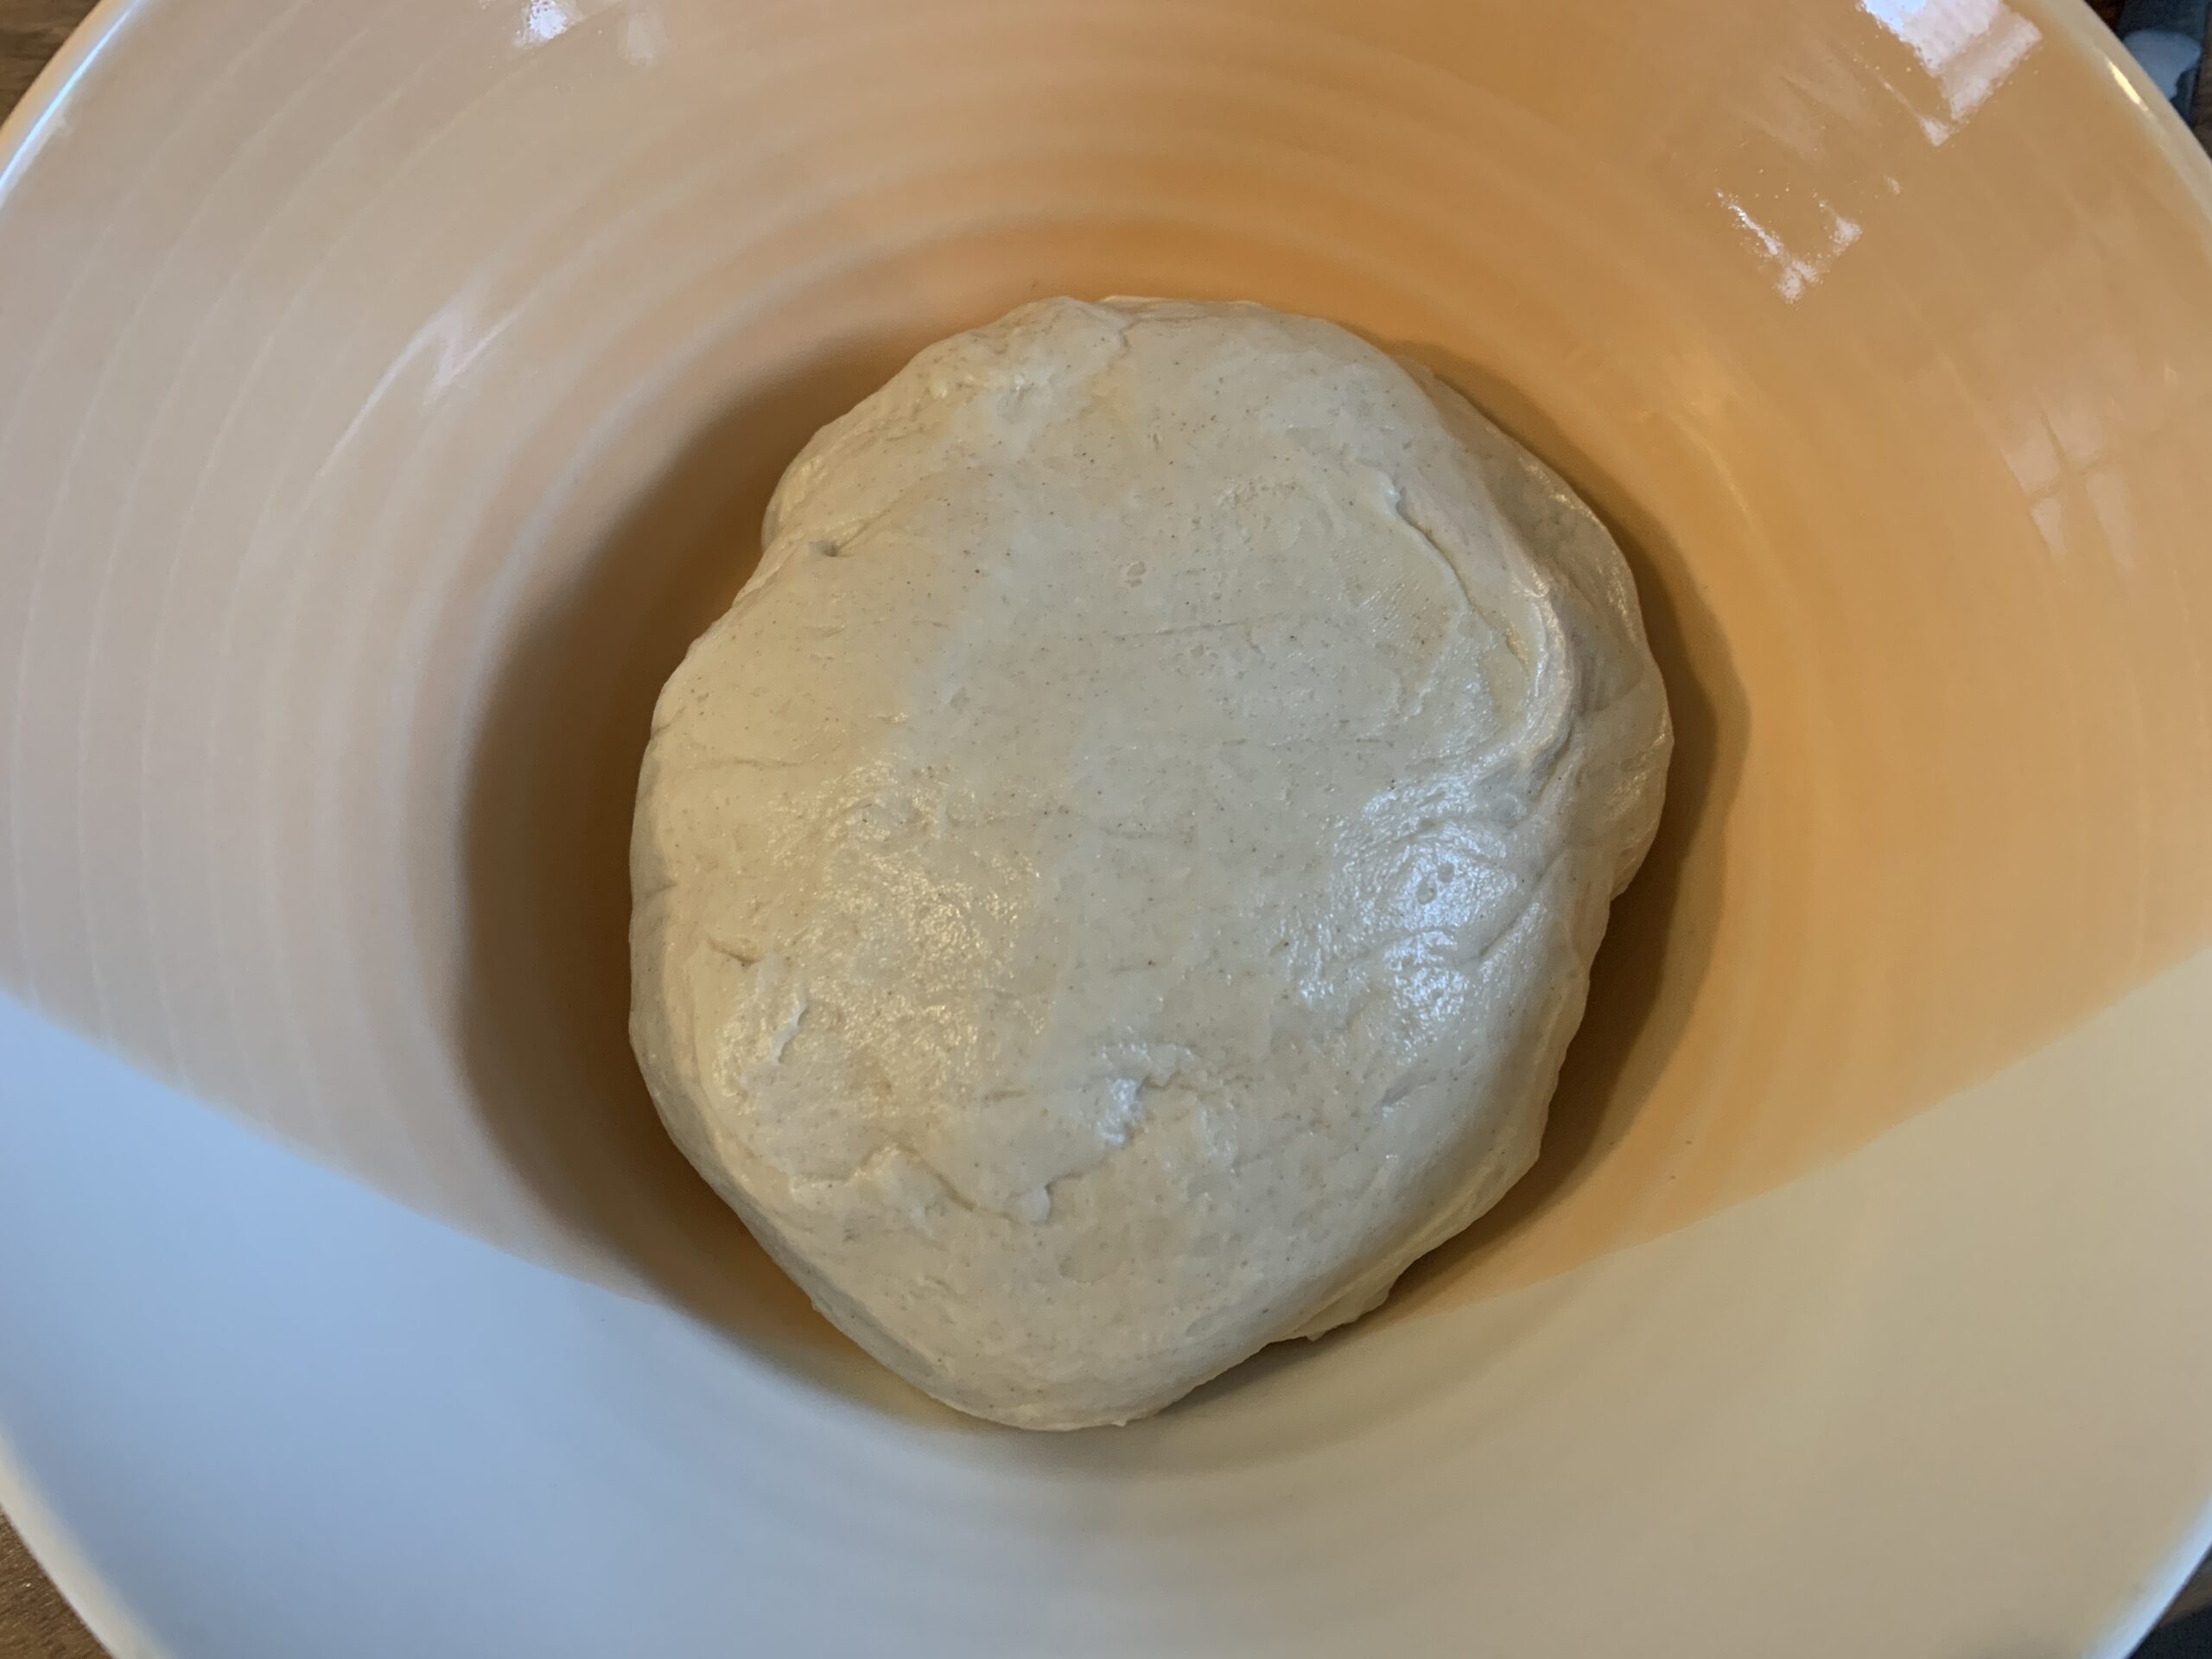
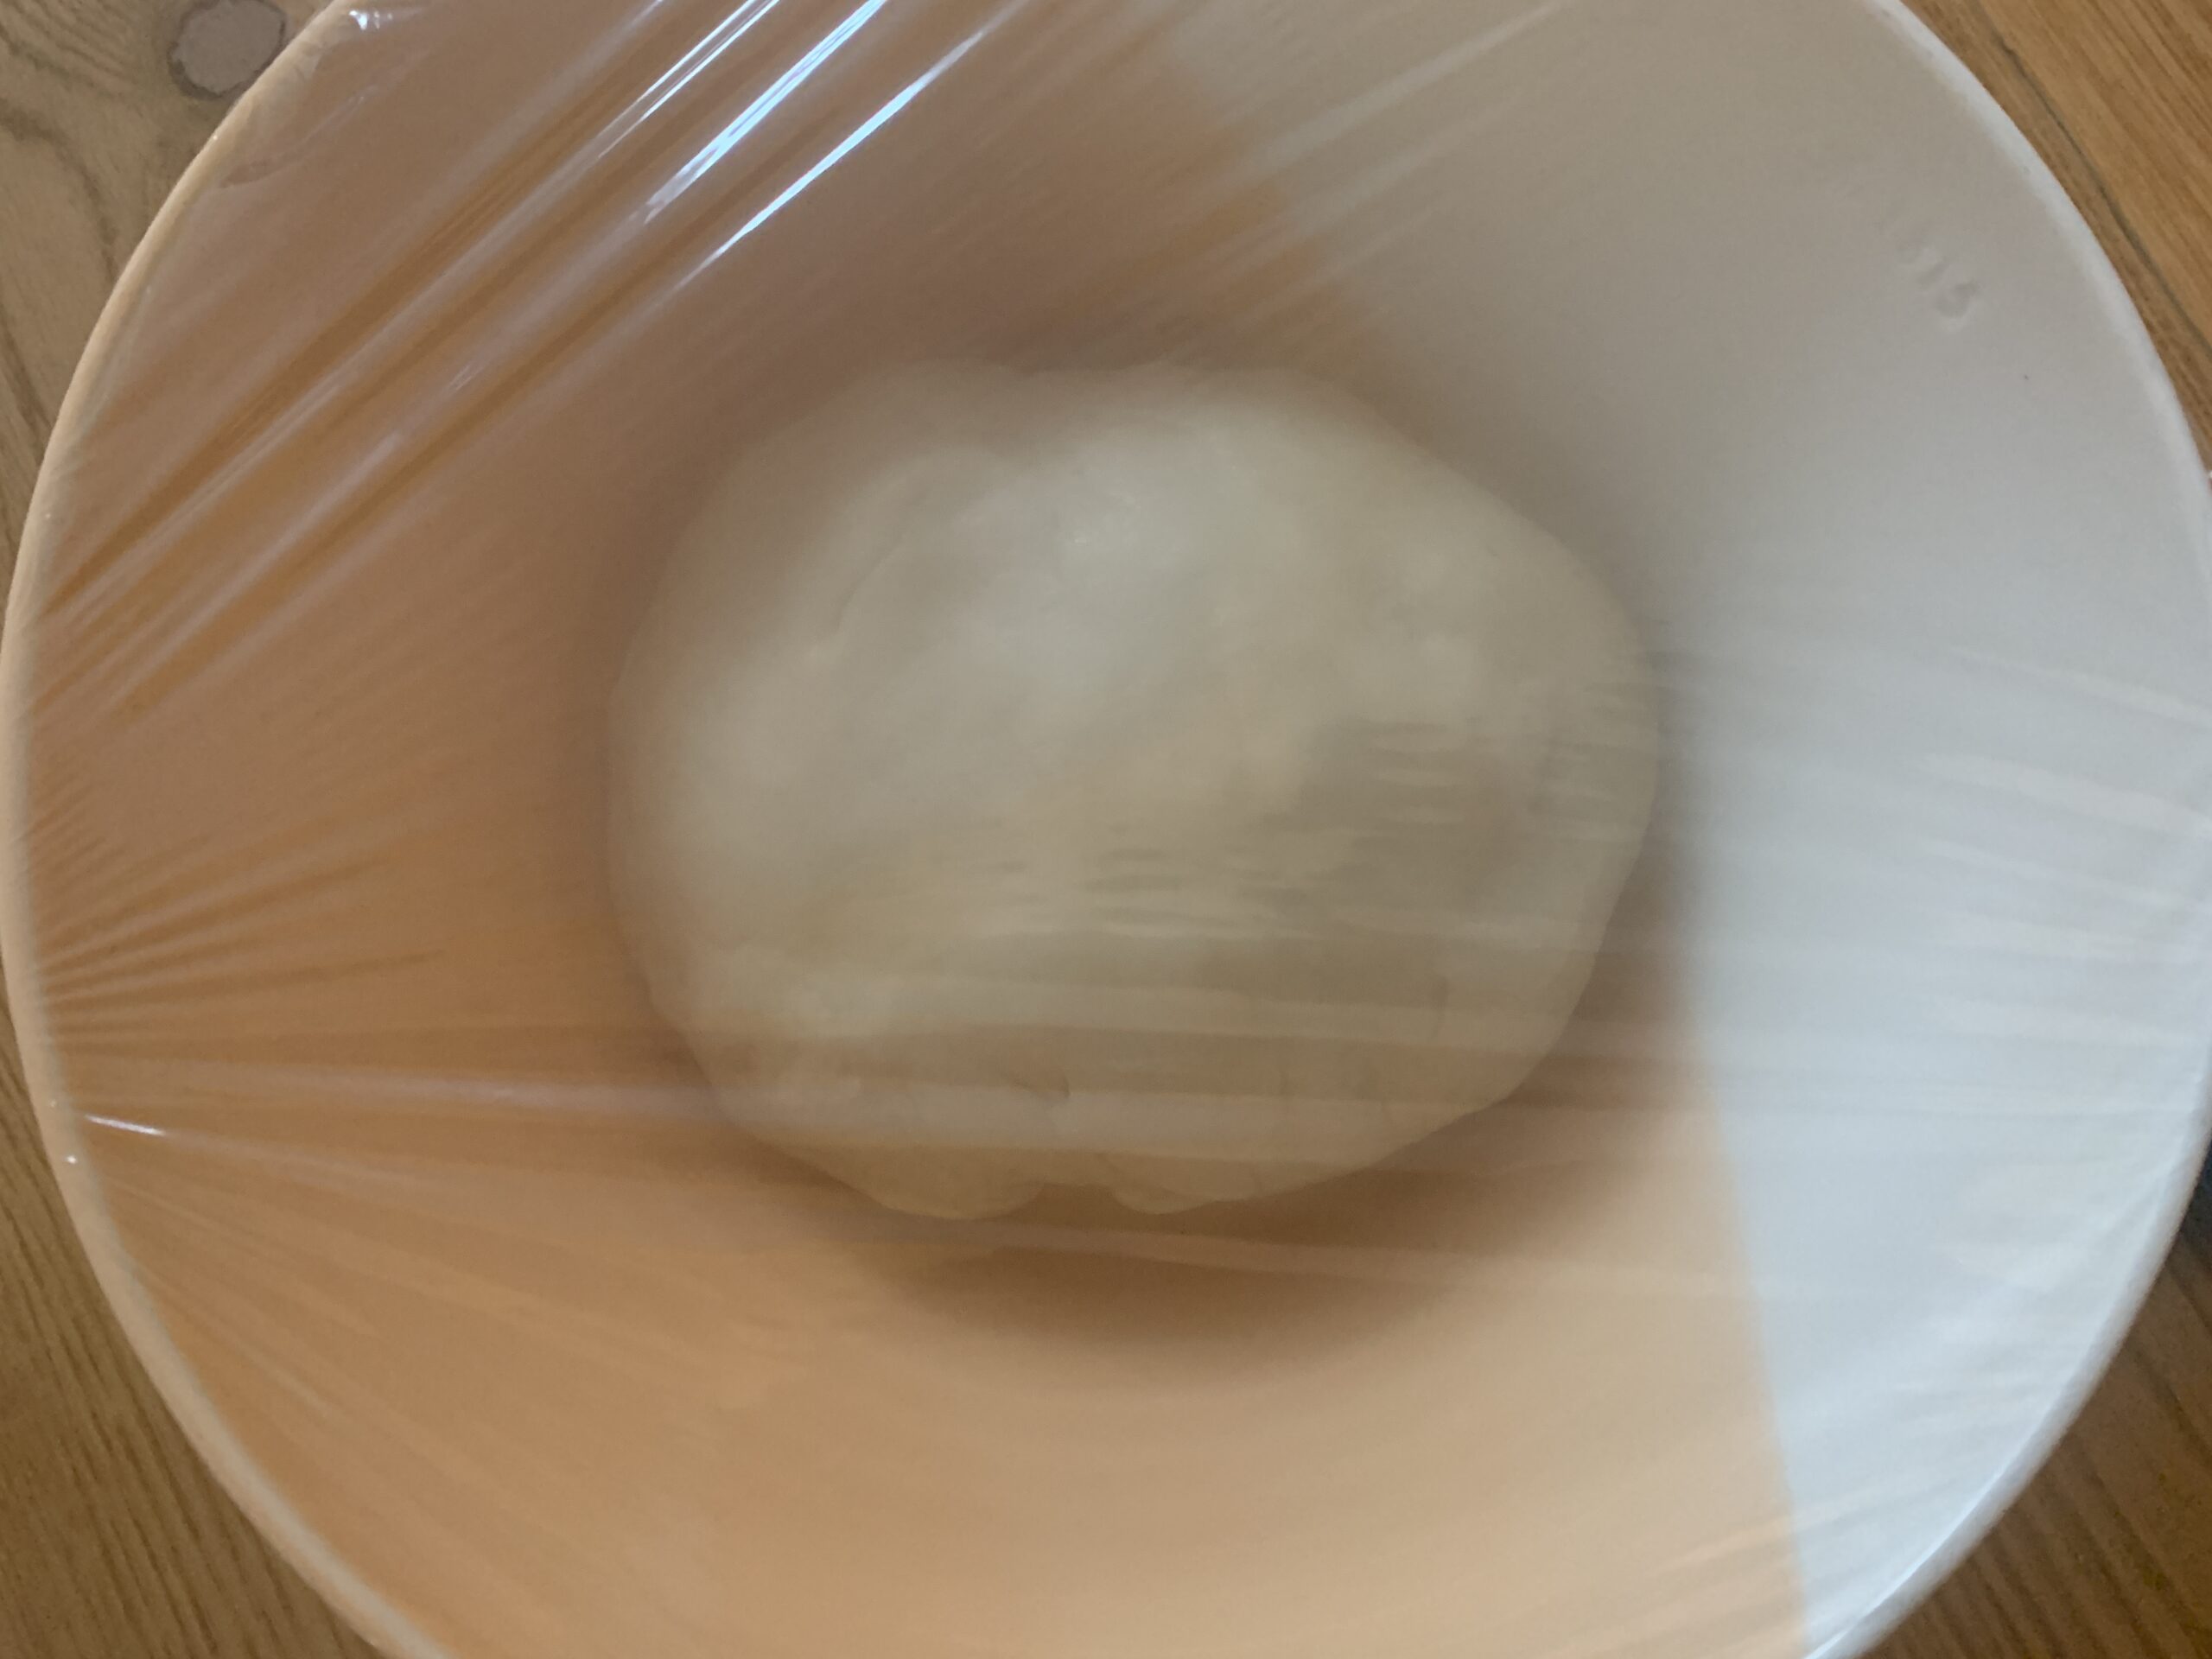
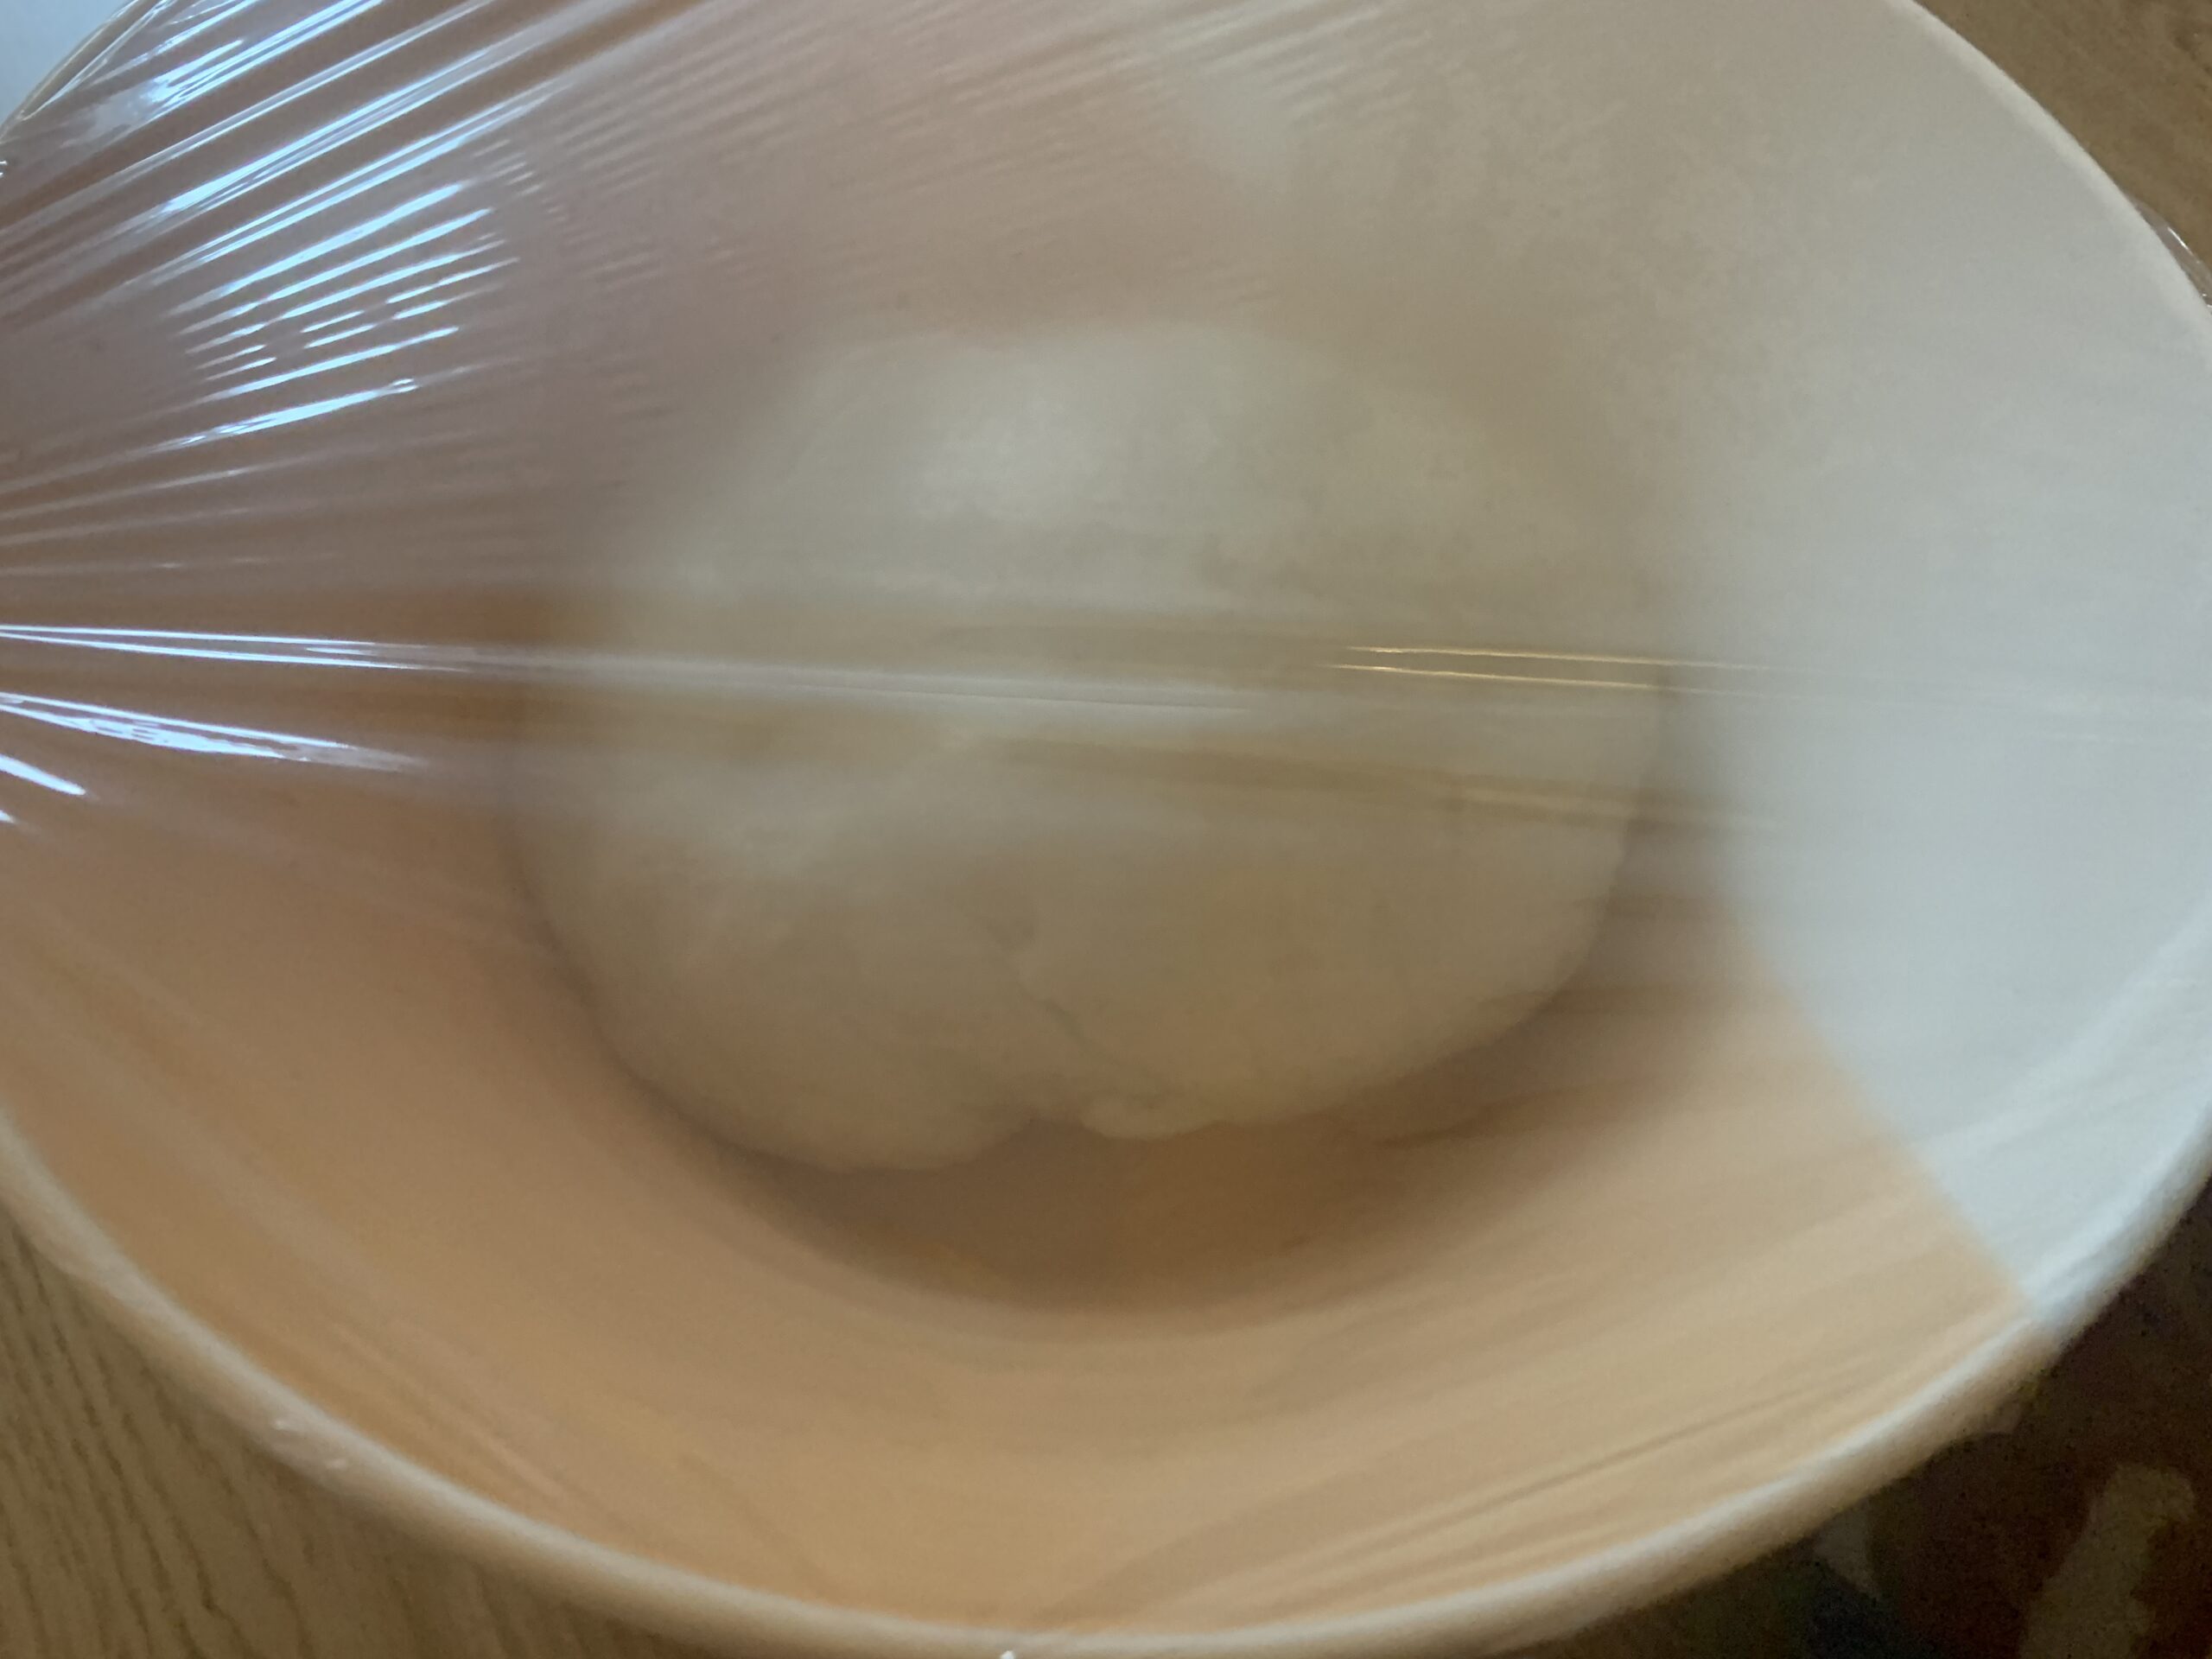
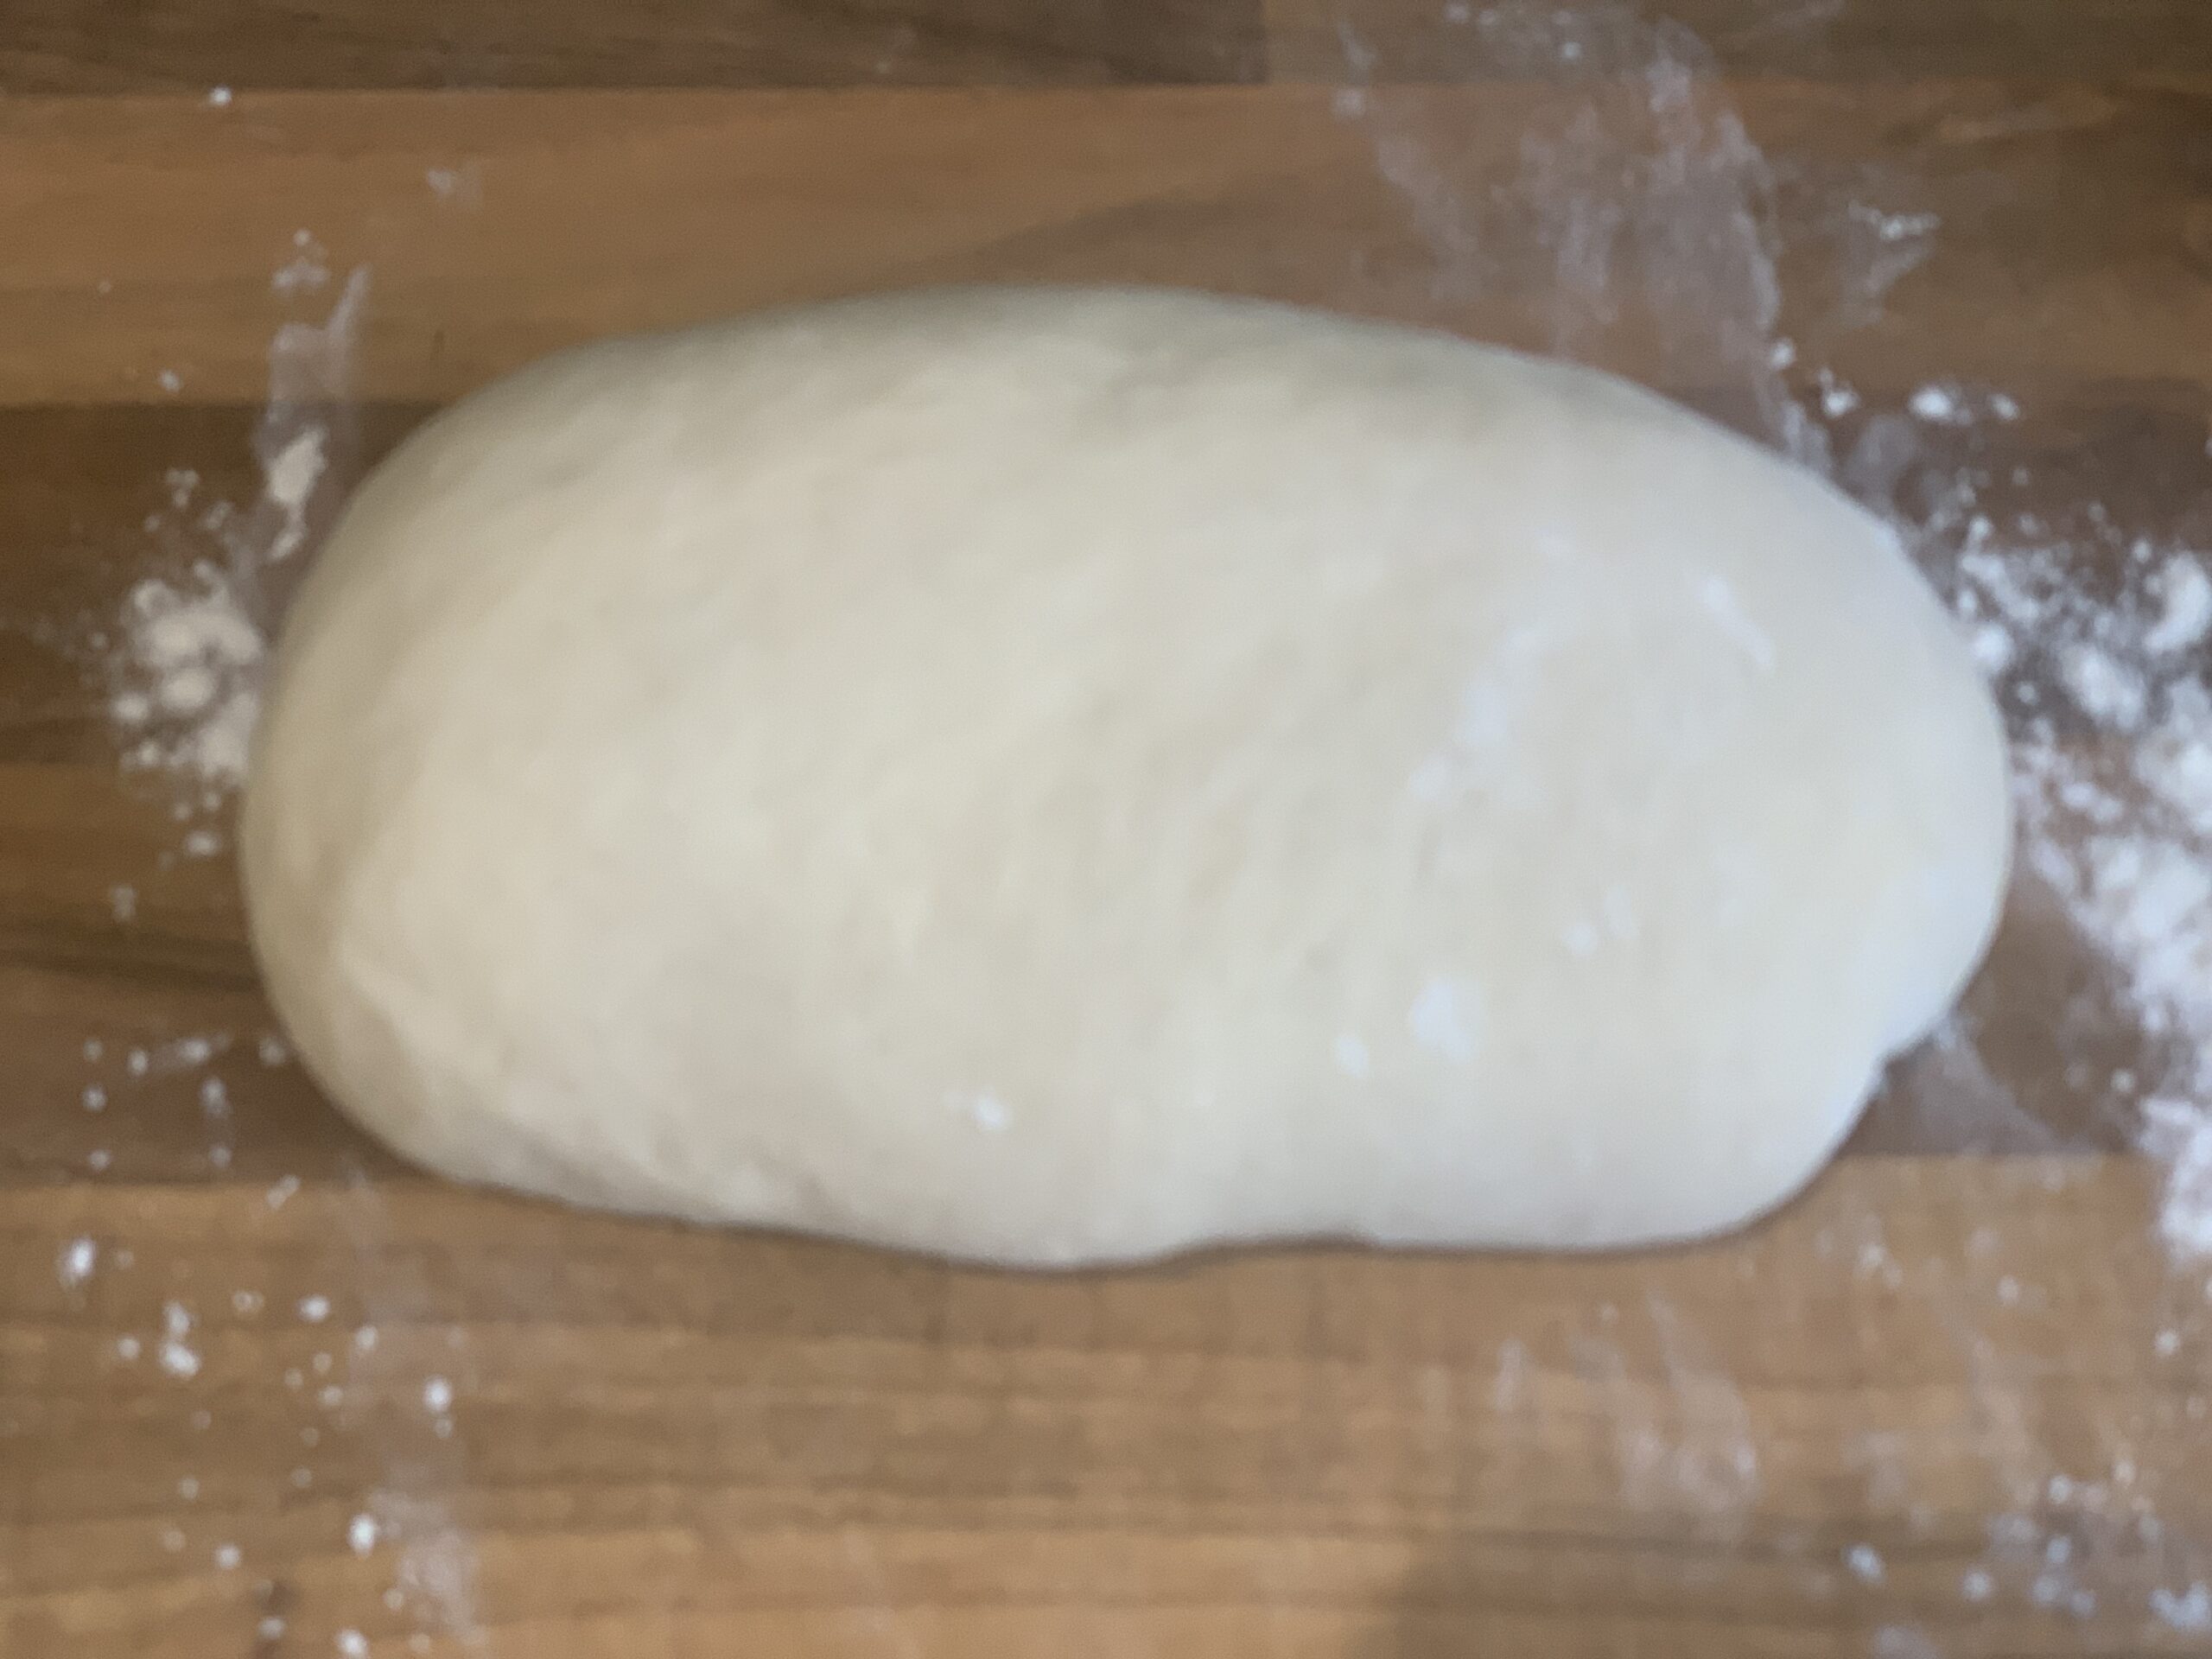
After 15 minutes of kneading transfer the dough to a big bowl. Cover with a damp kitchen towel or cling film and leave in a warm place for 30-60 mins or until double.
Step-4
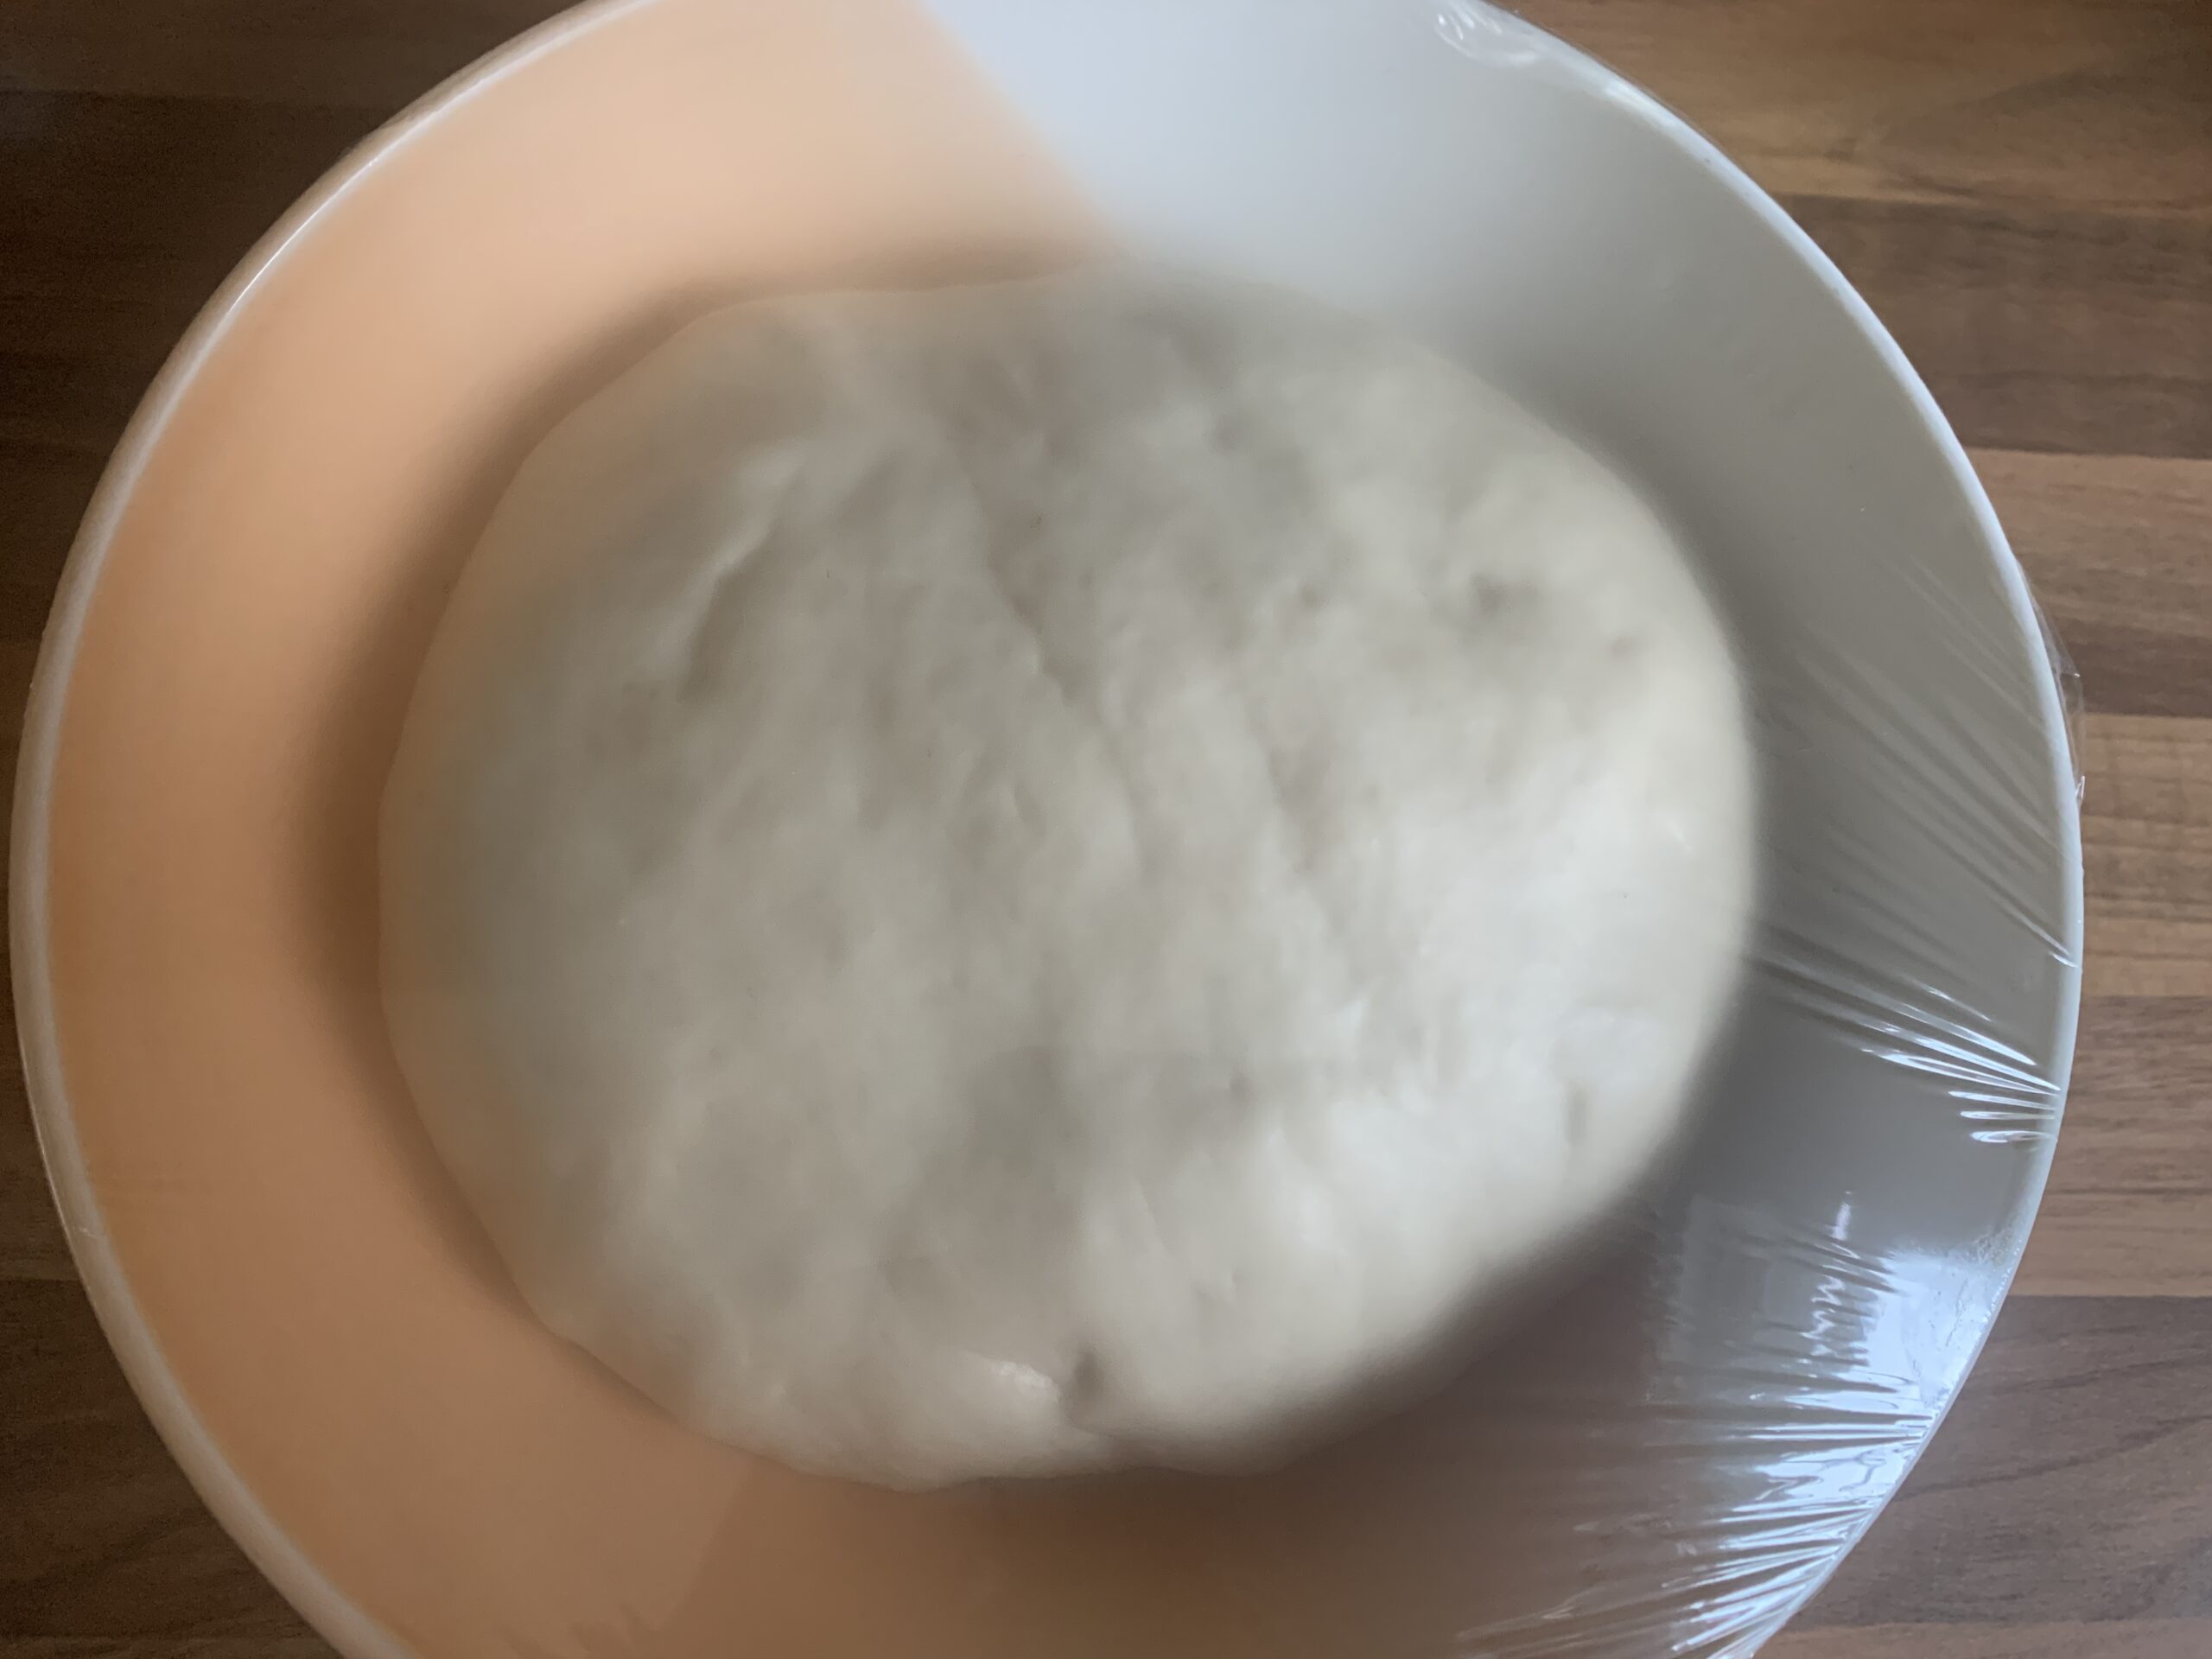
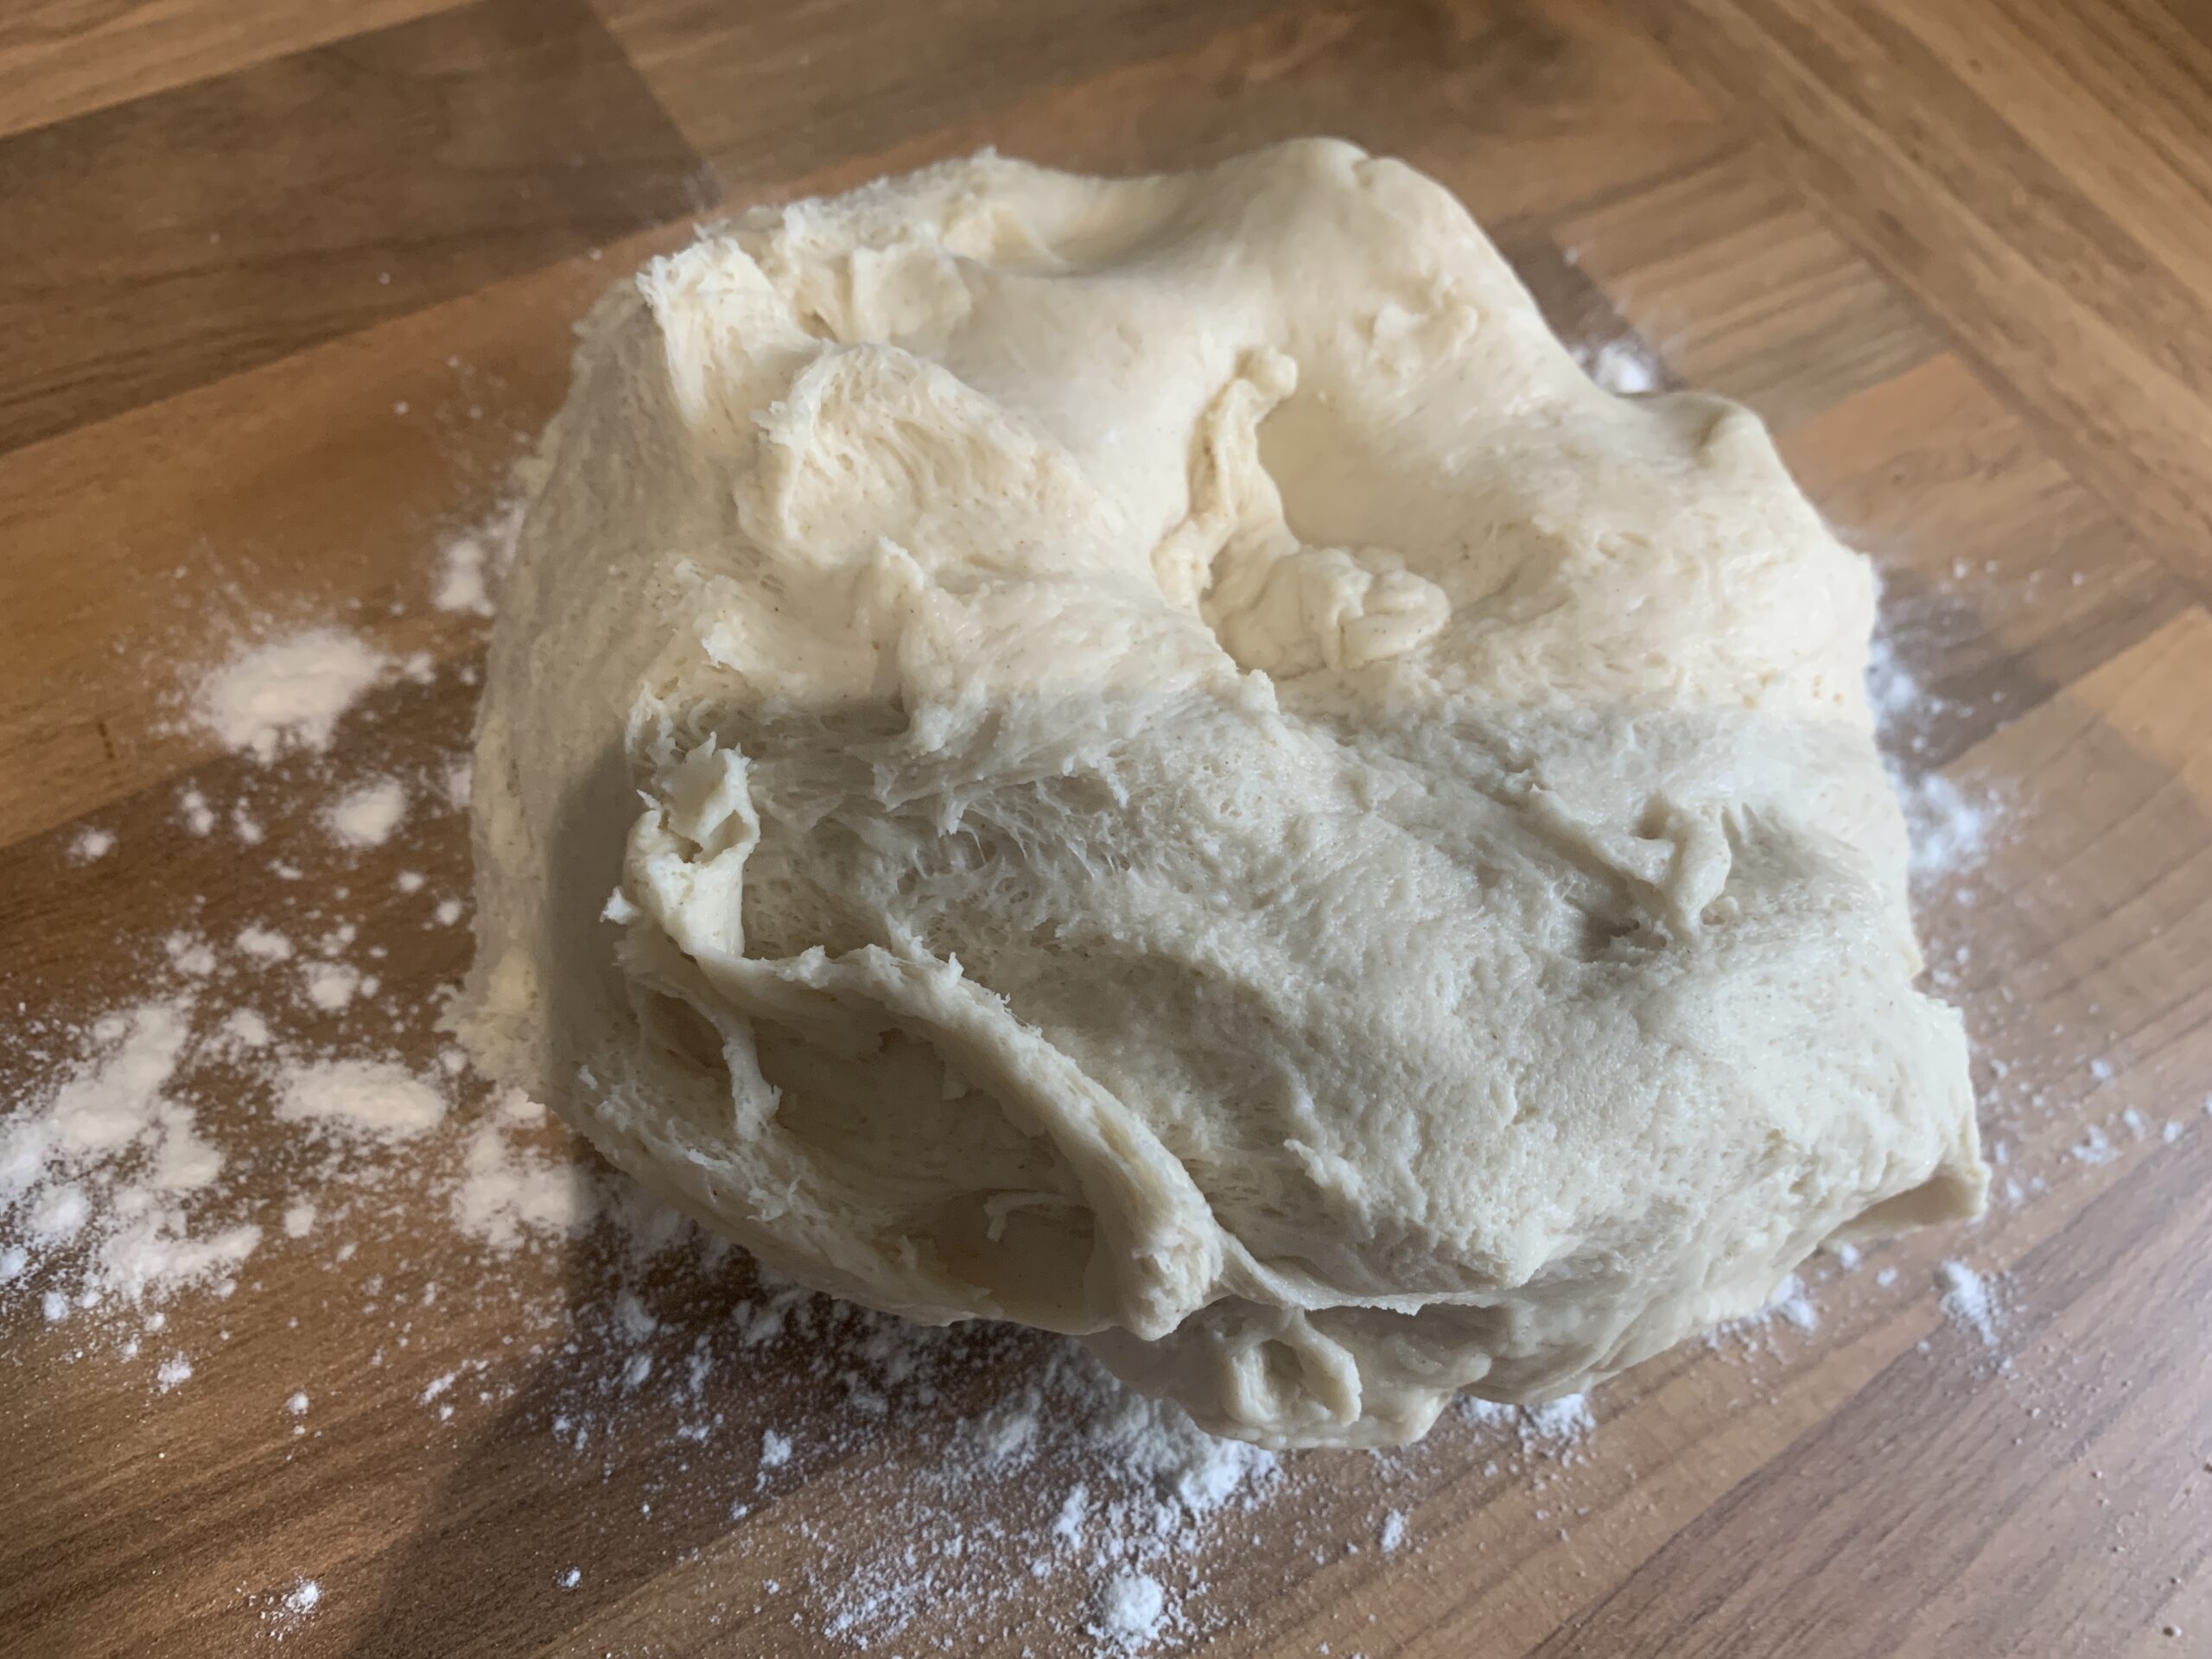
After 1 hour when the dough is doubled, punch down the dough on a lightly floured surface and knead for 1 minute.
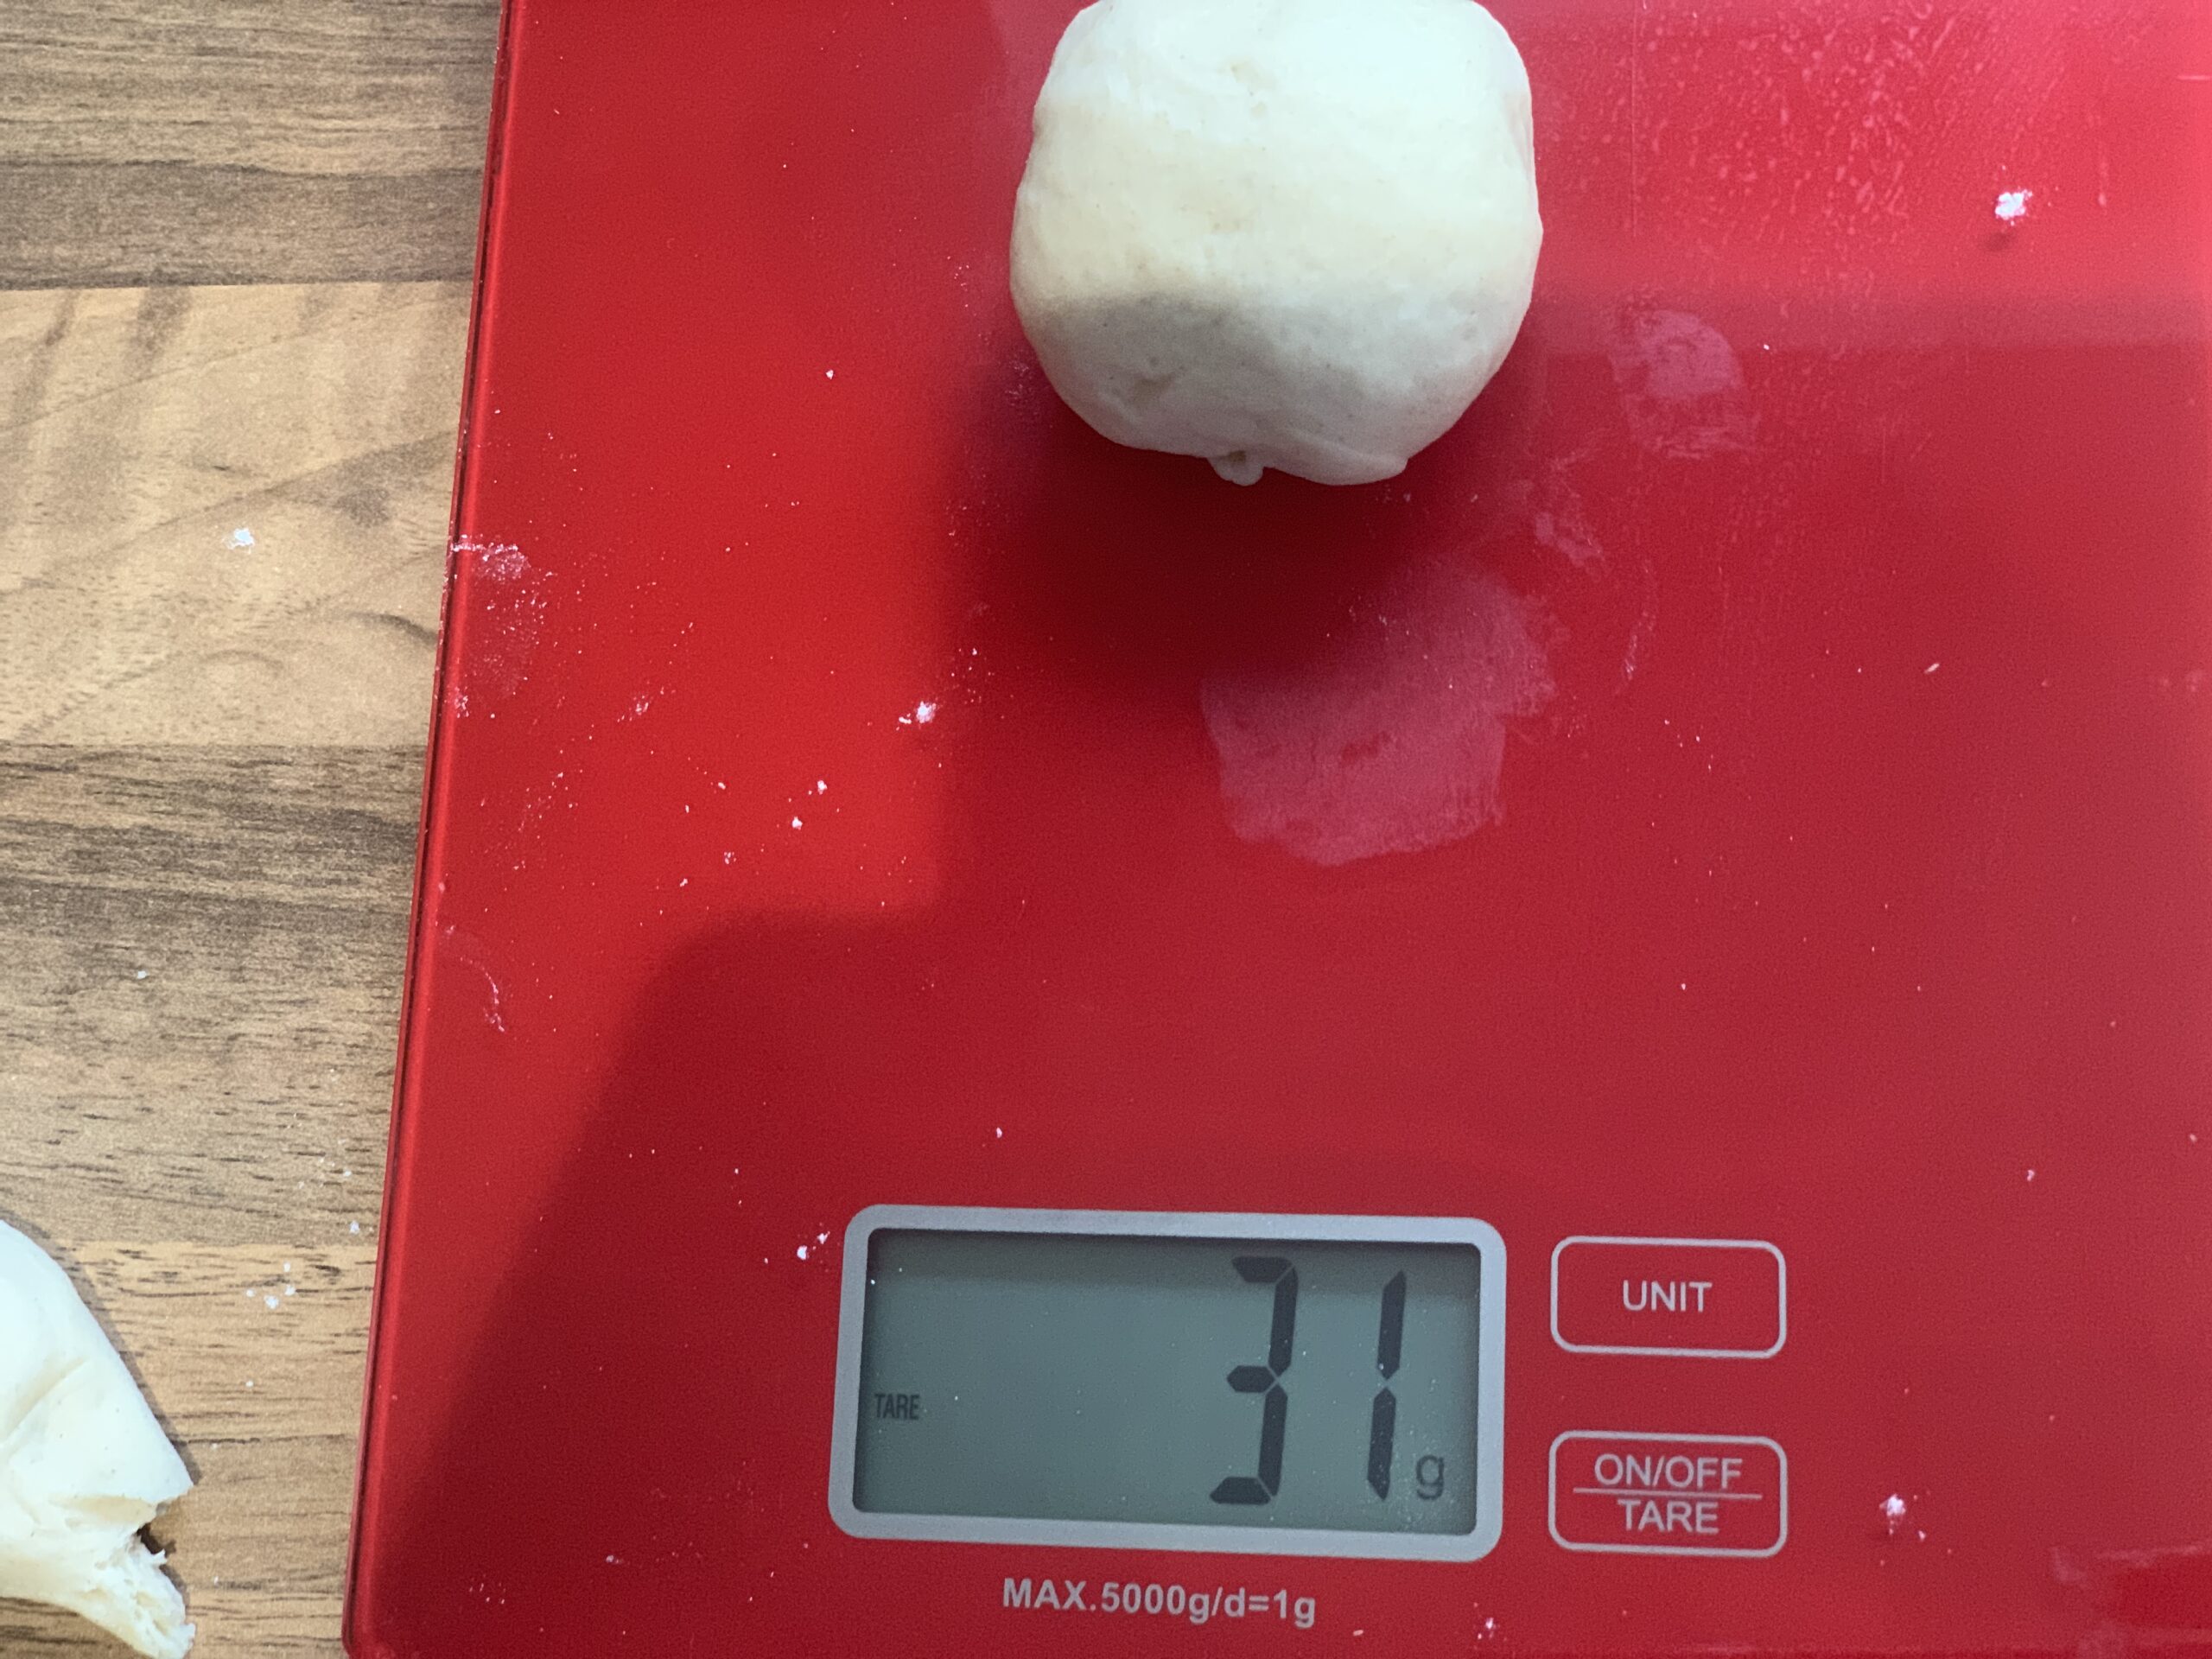
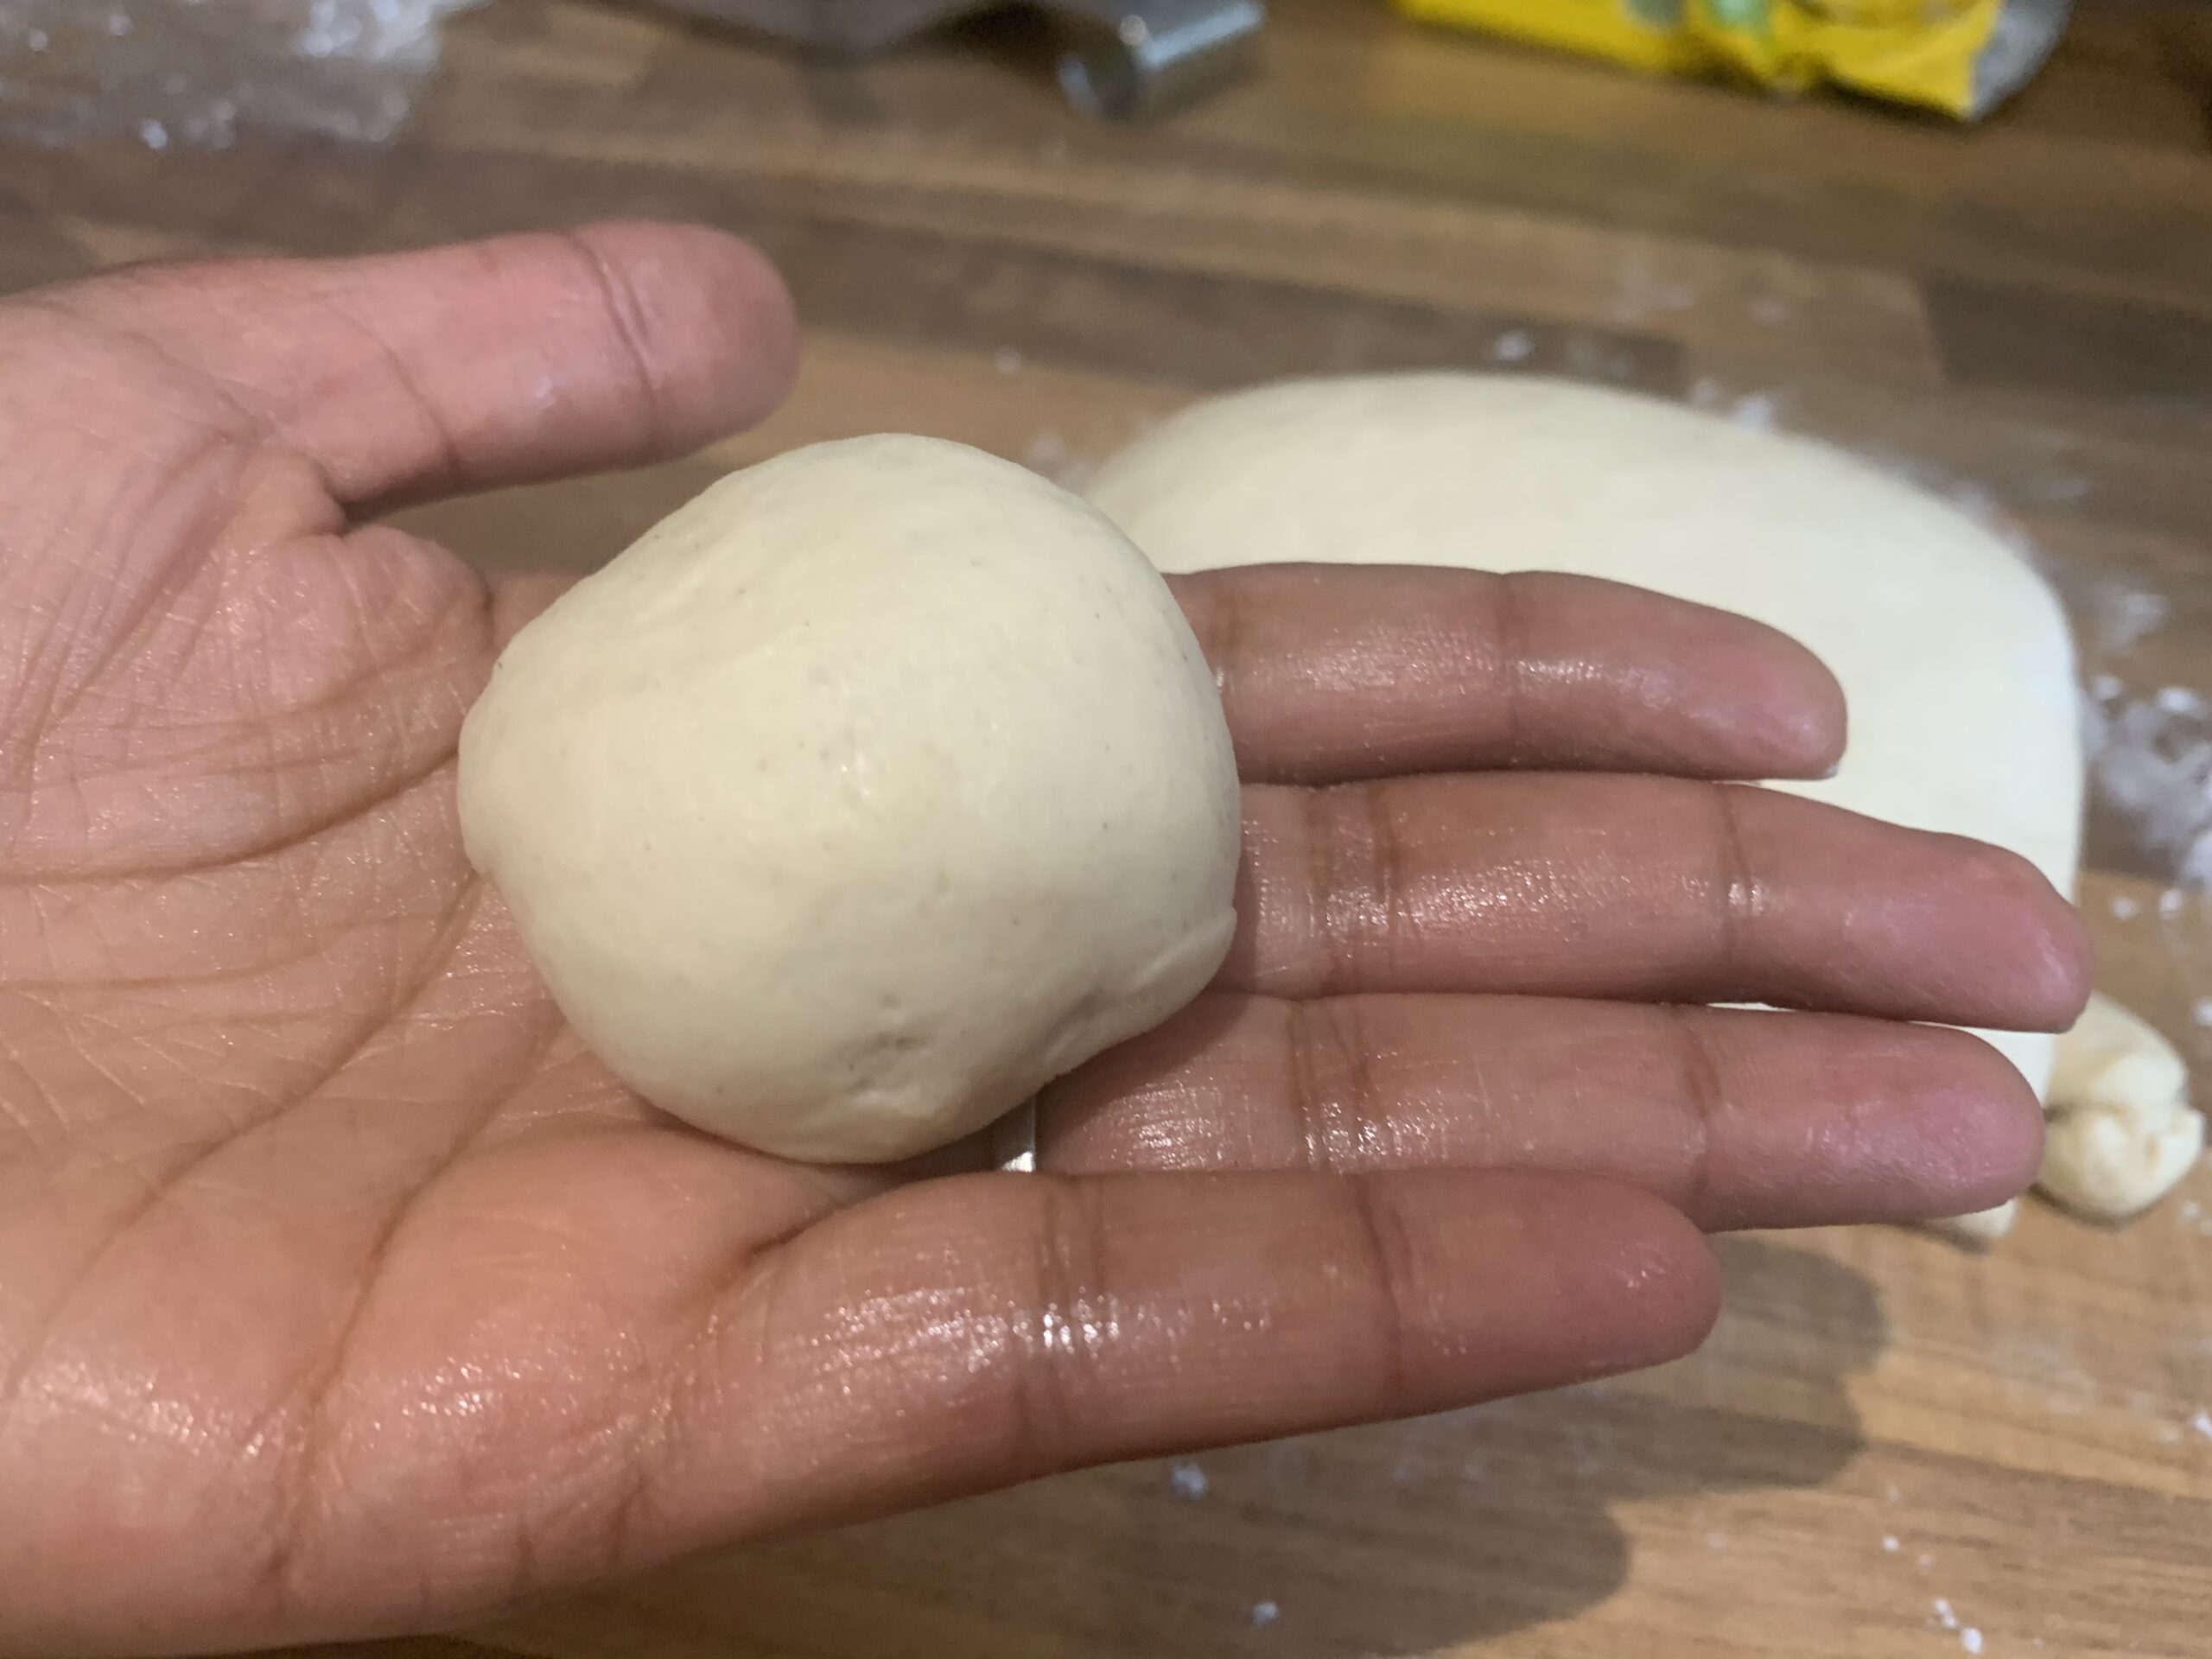
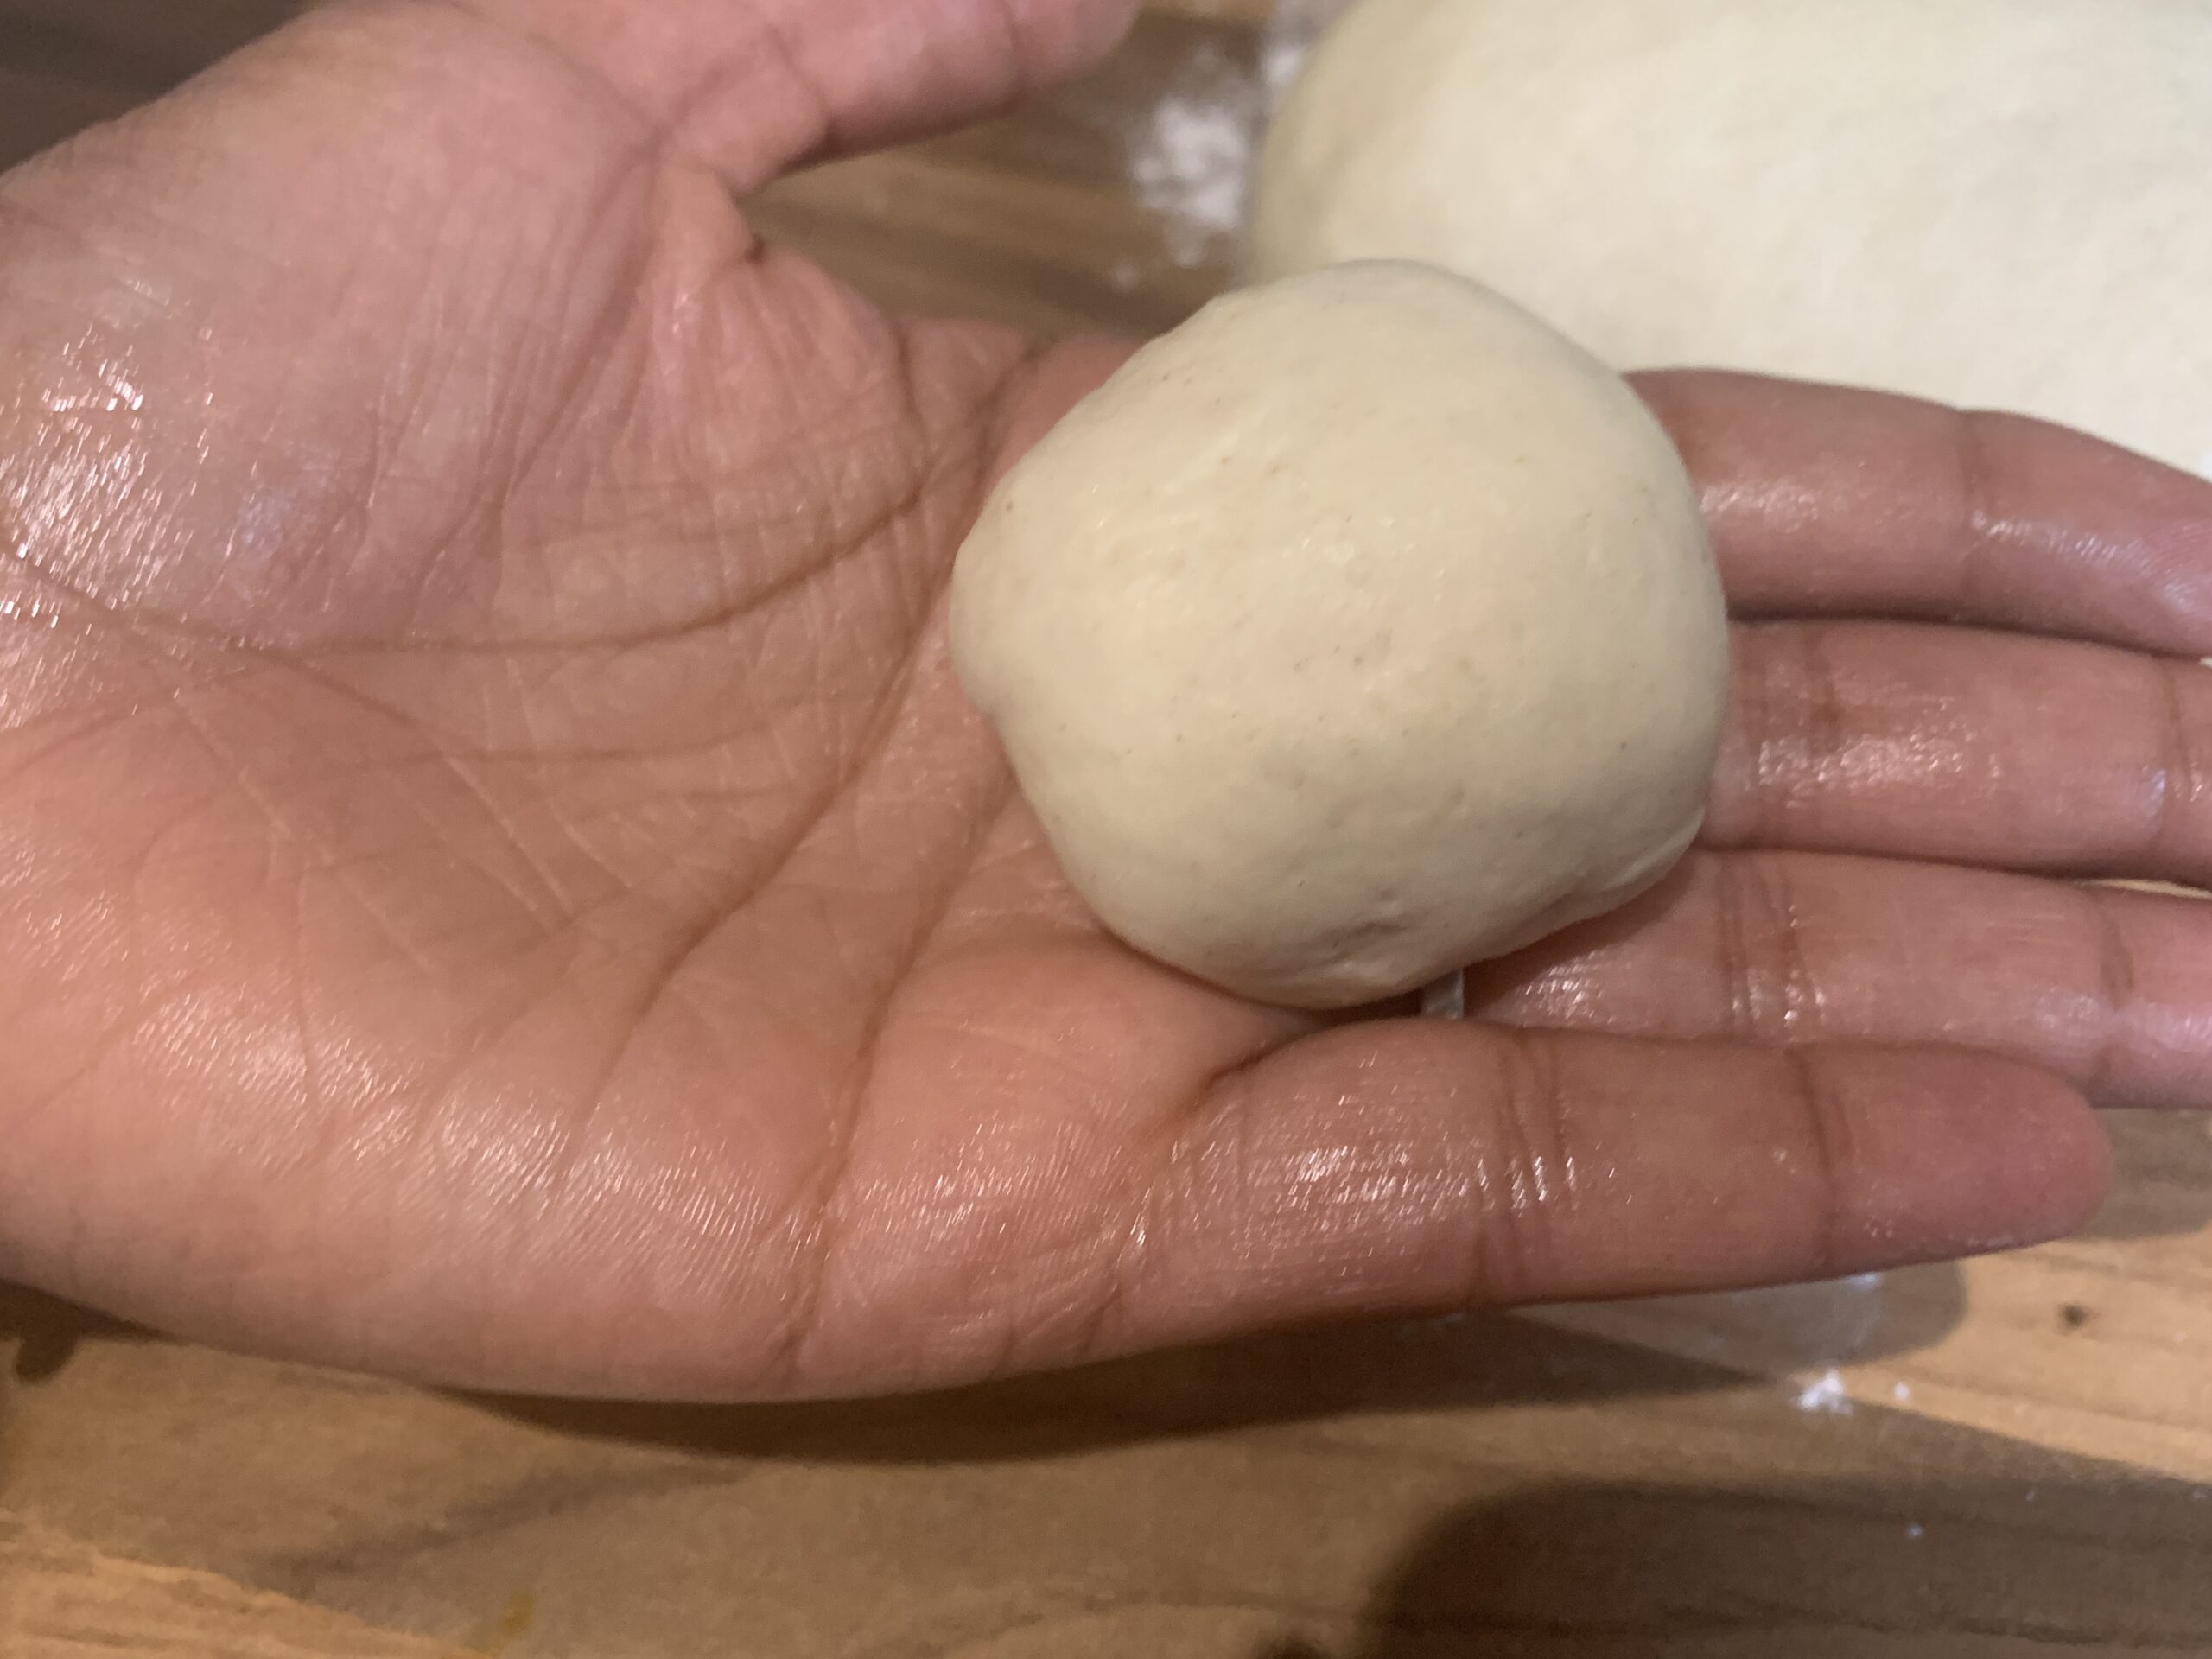
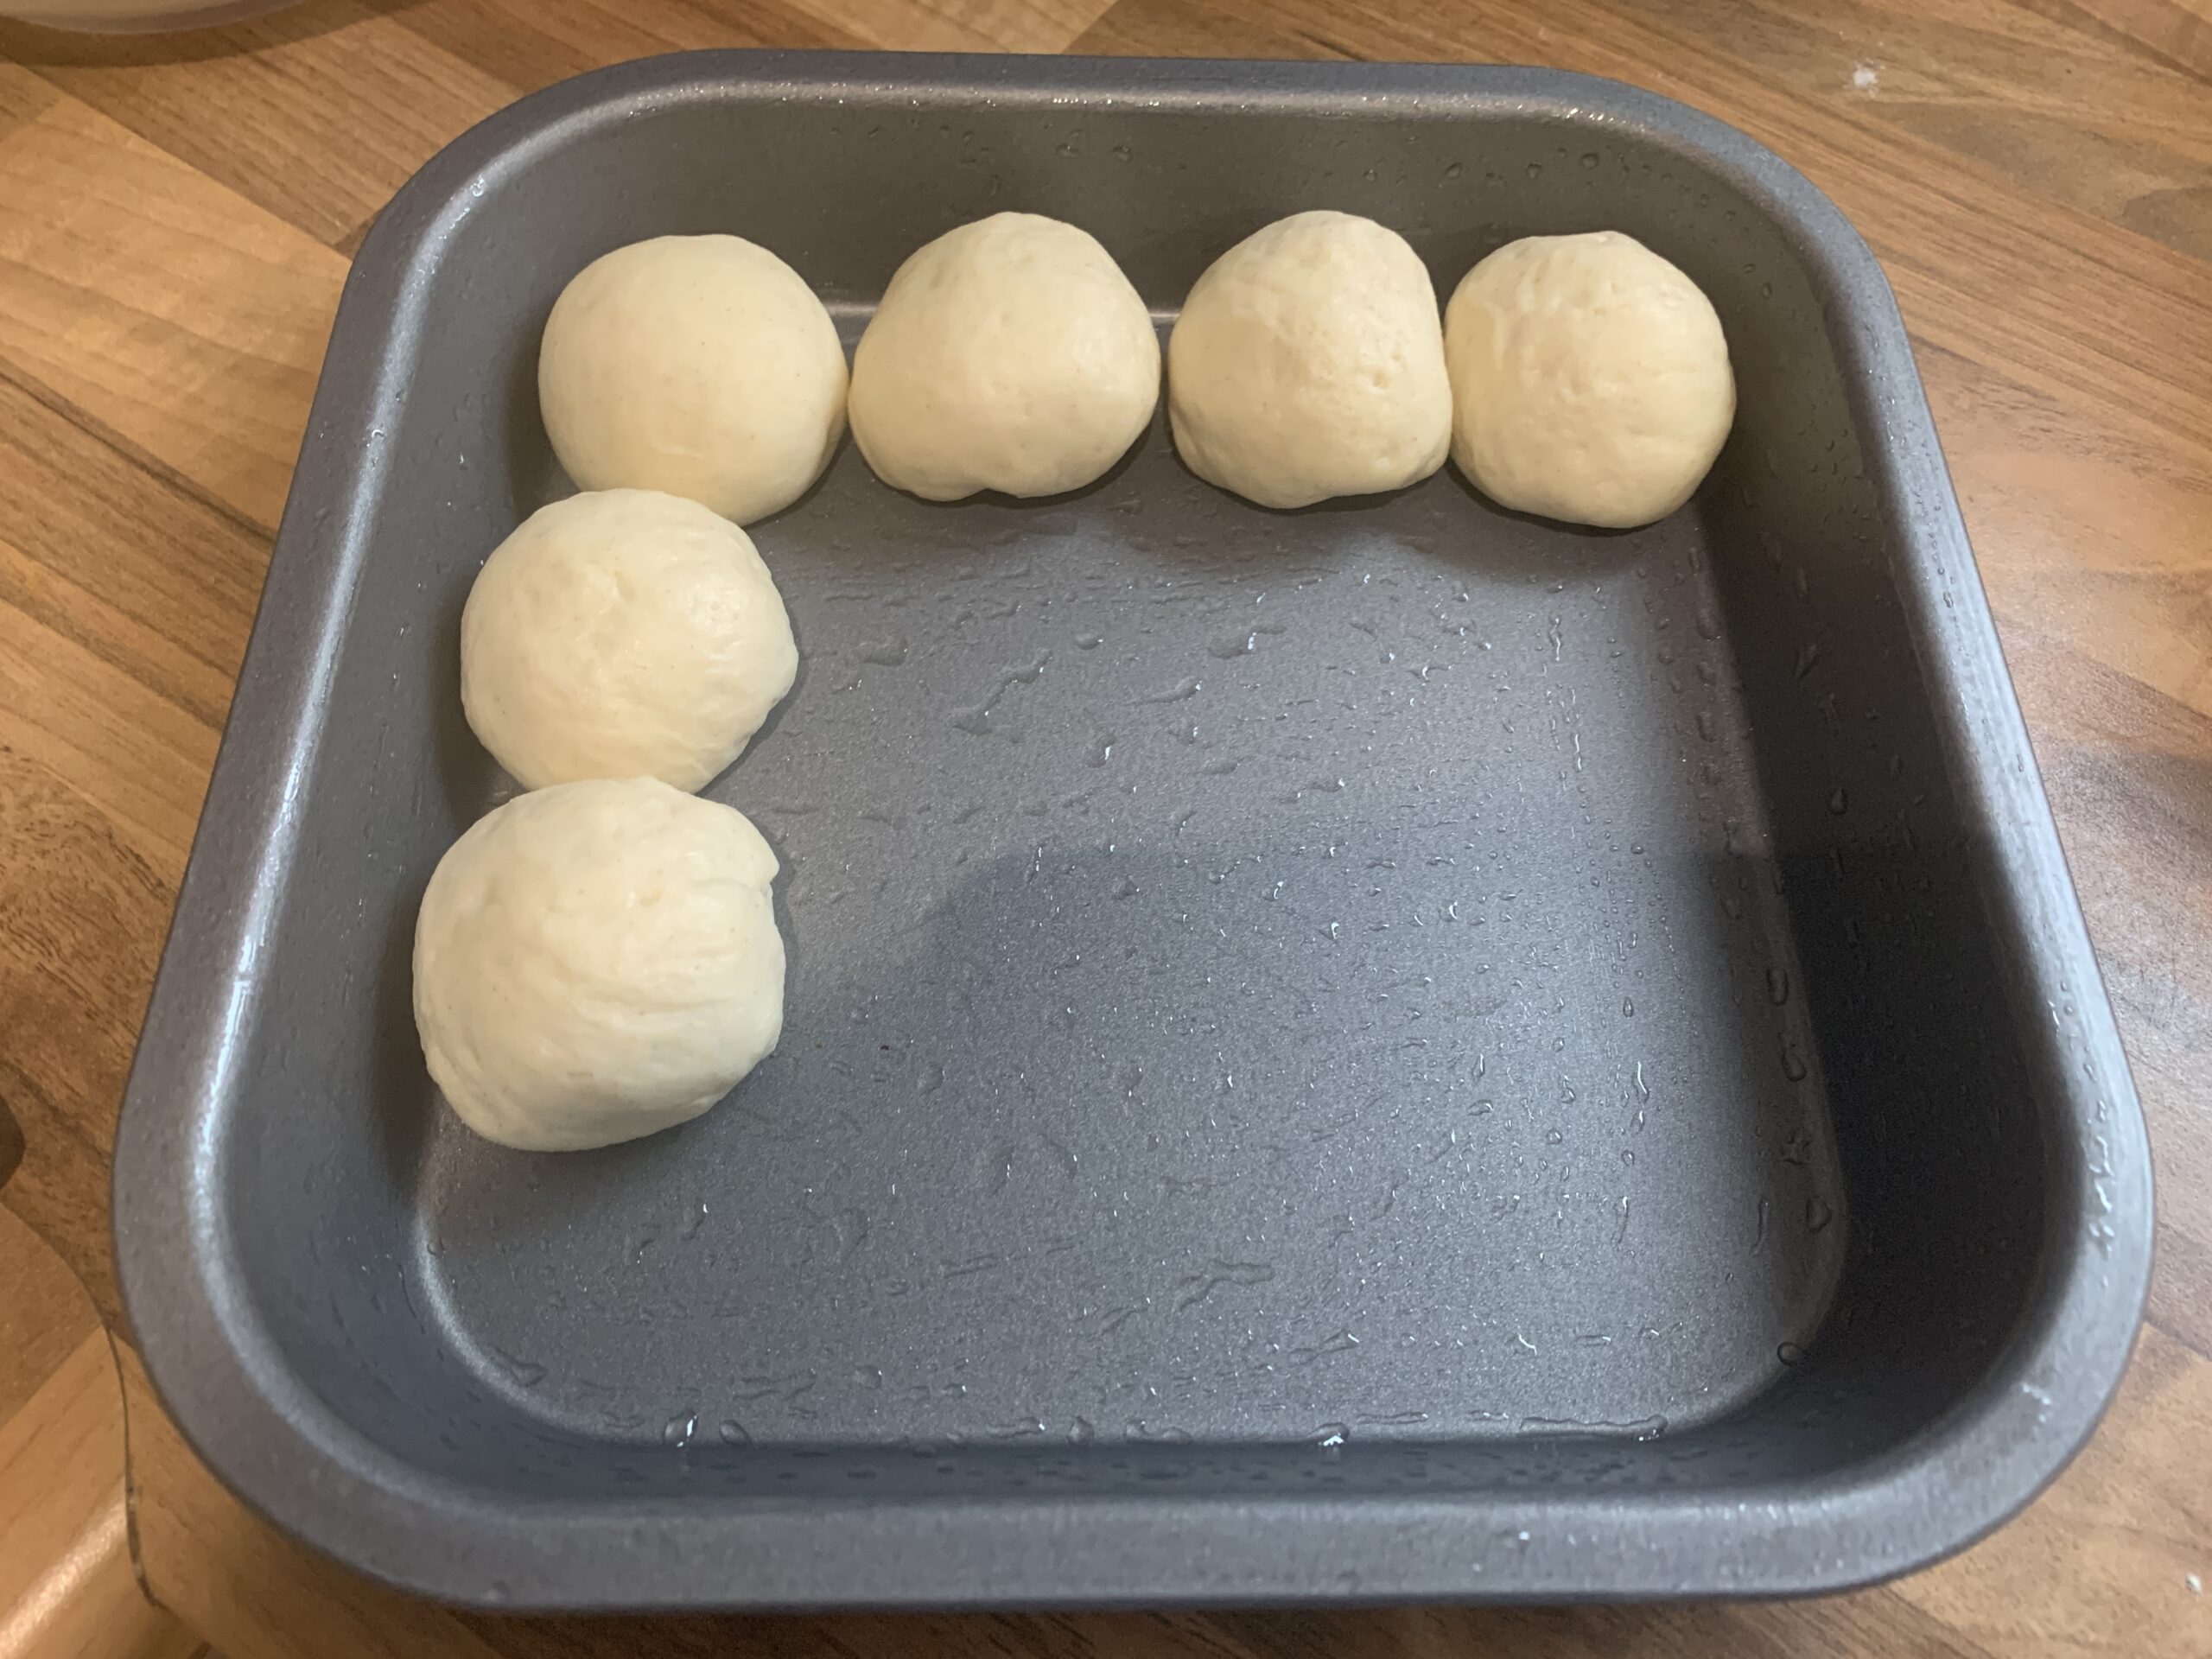
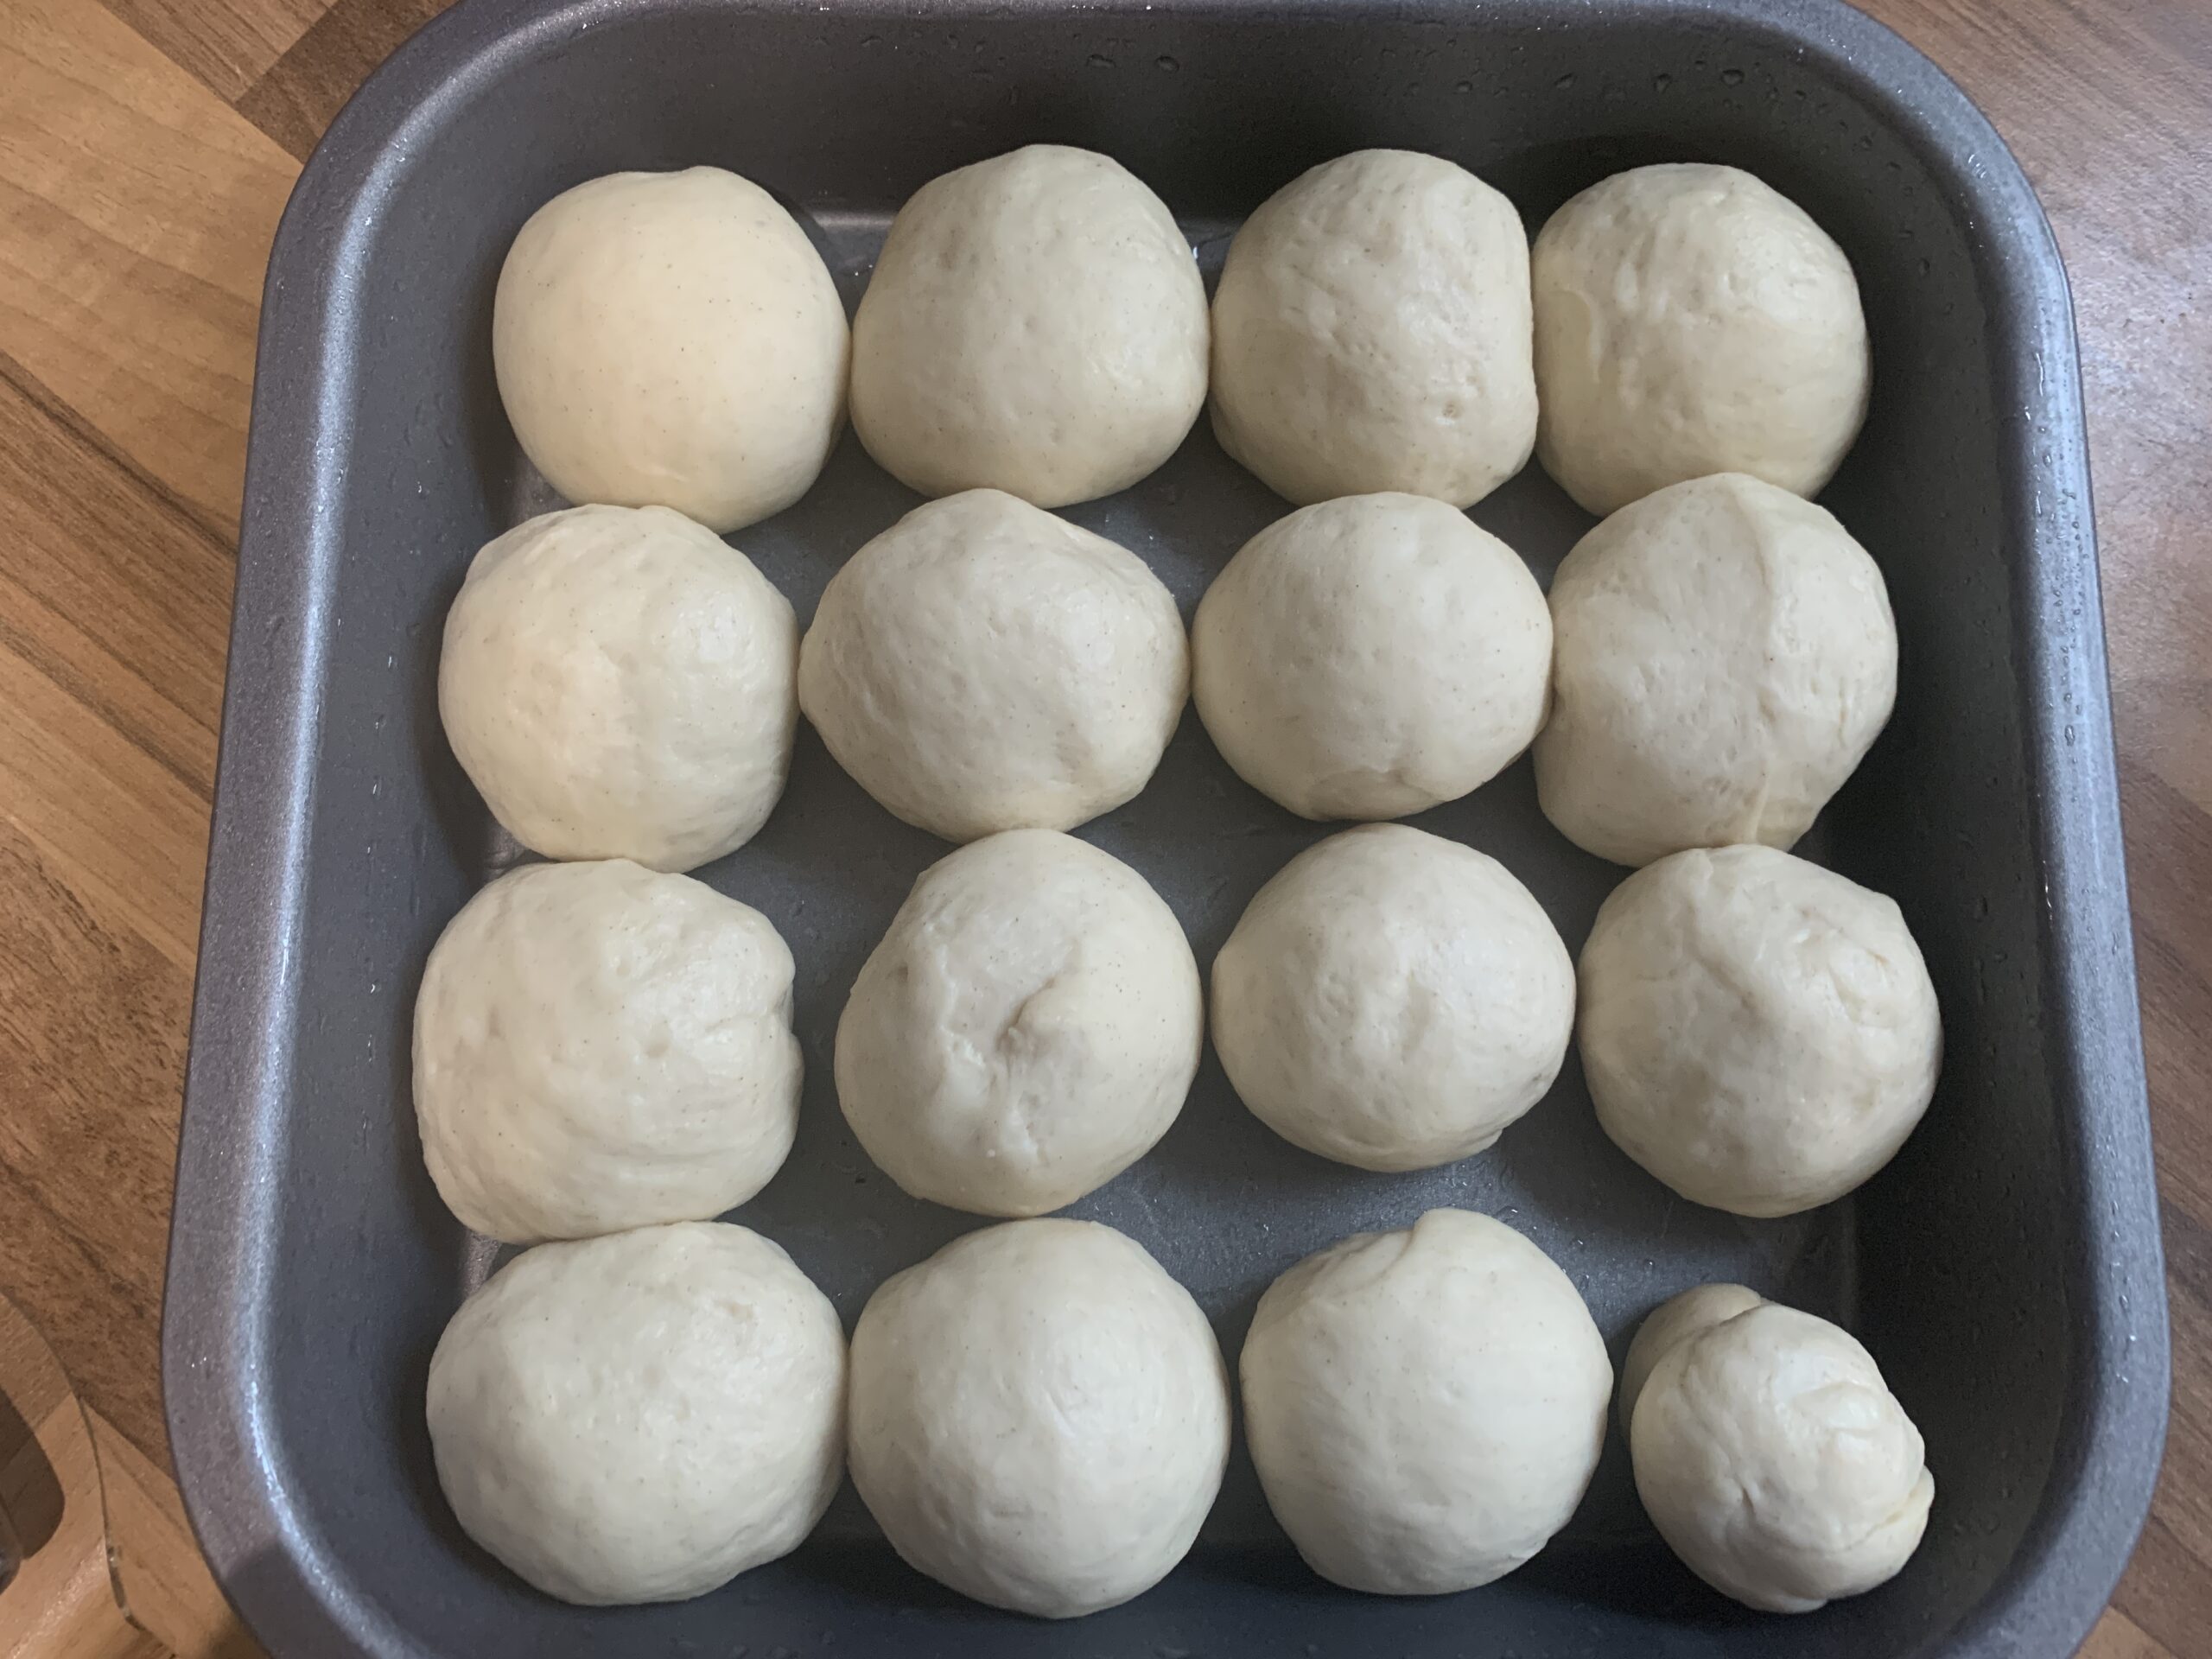
Divide the dough in 16 equal balls. Each ball should weigh around 30-31 gm. Roll each dough portion into balls.
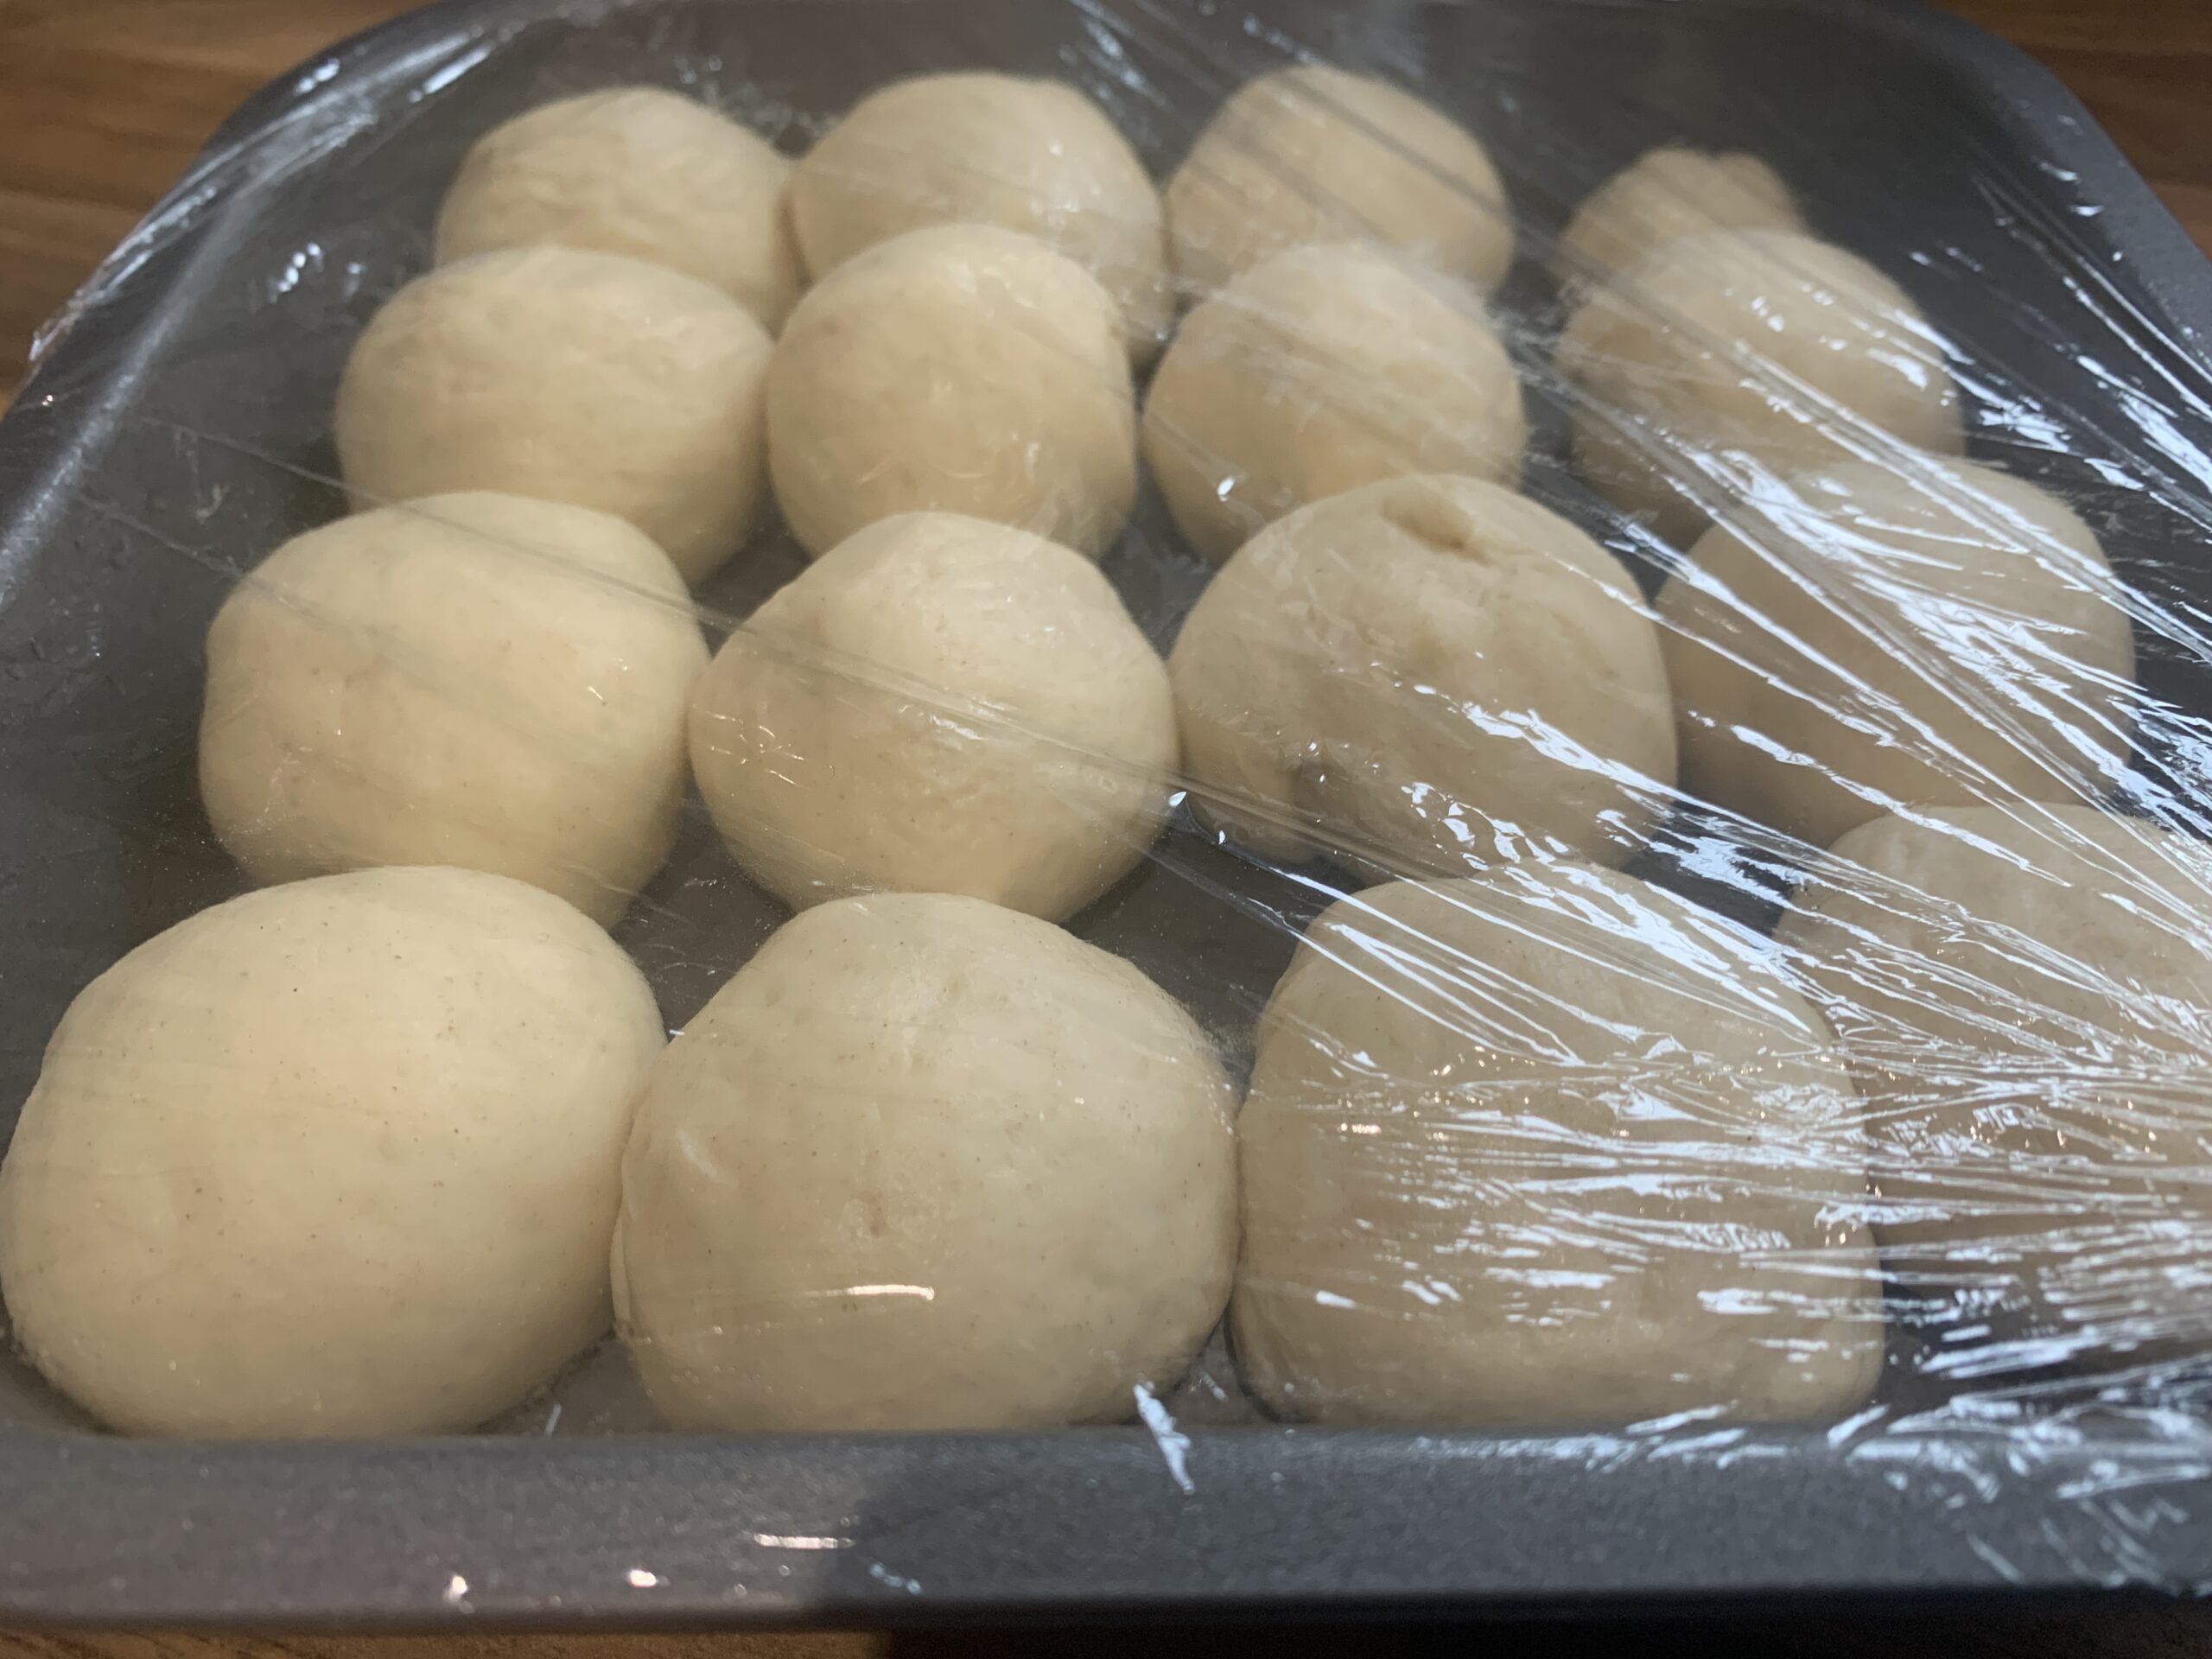
Step-5
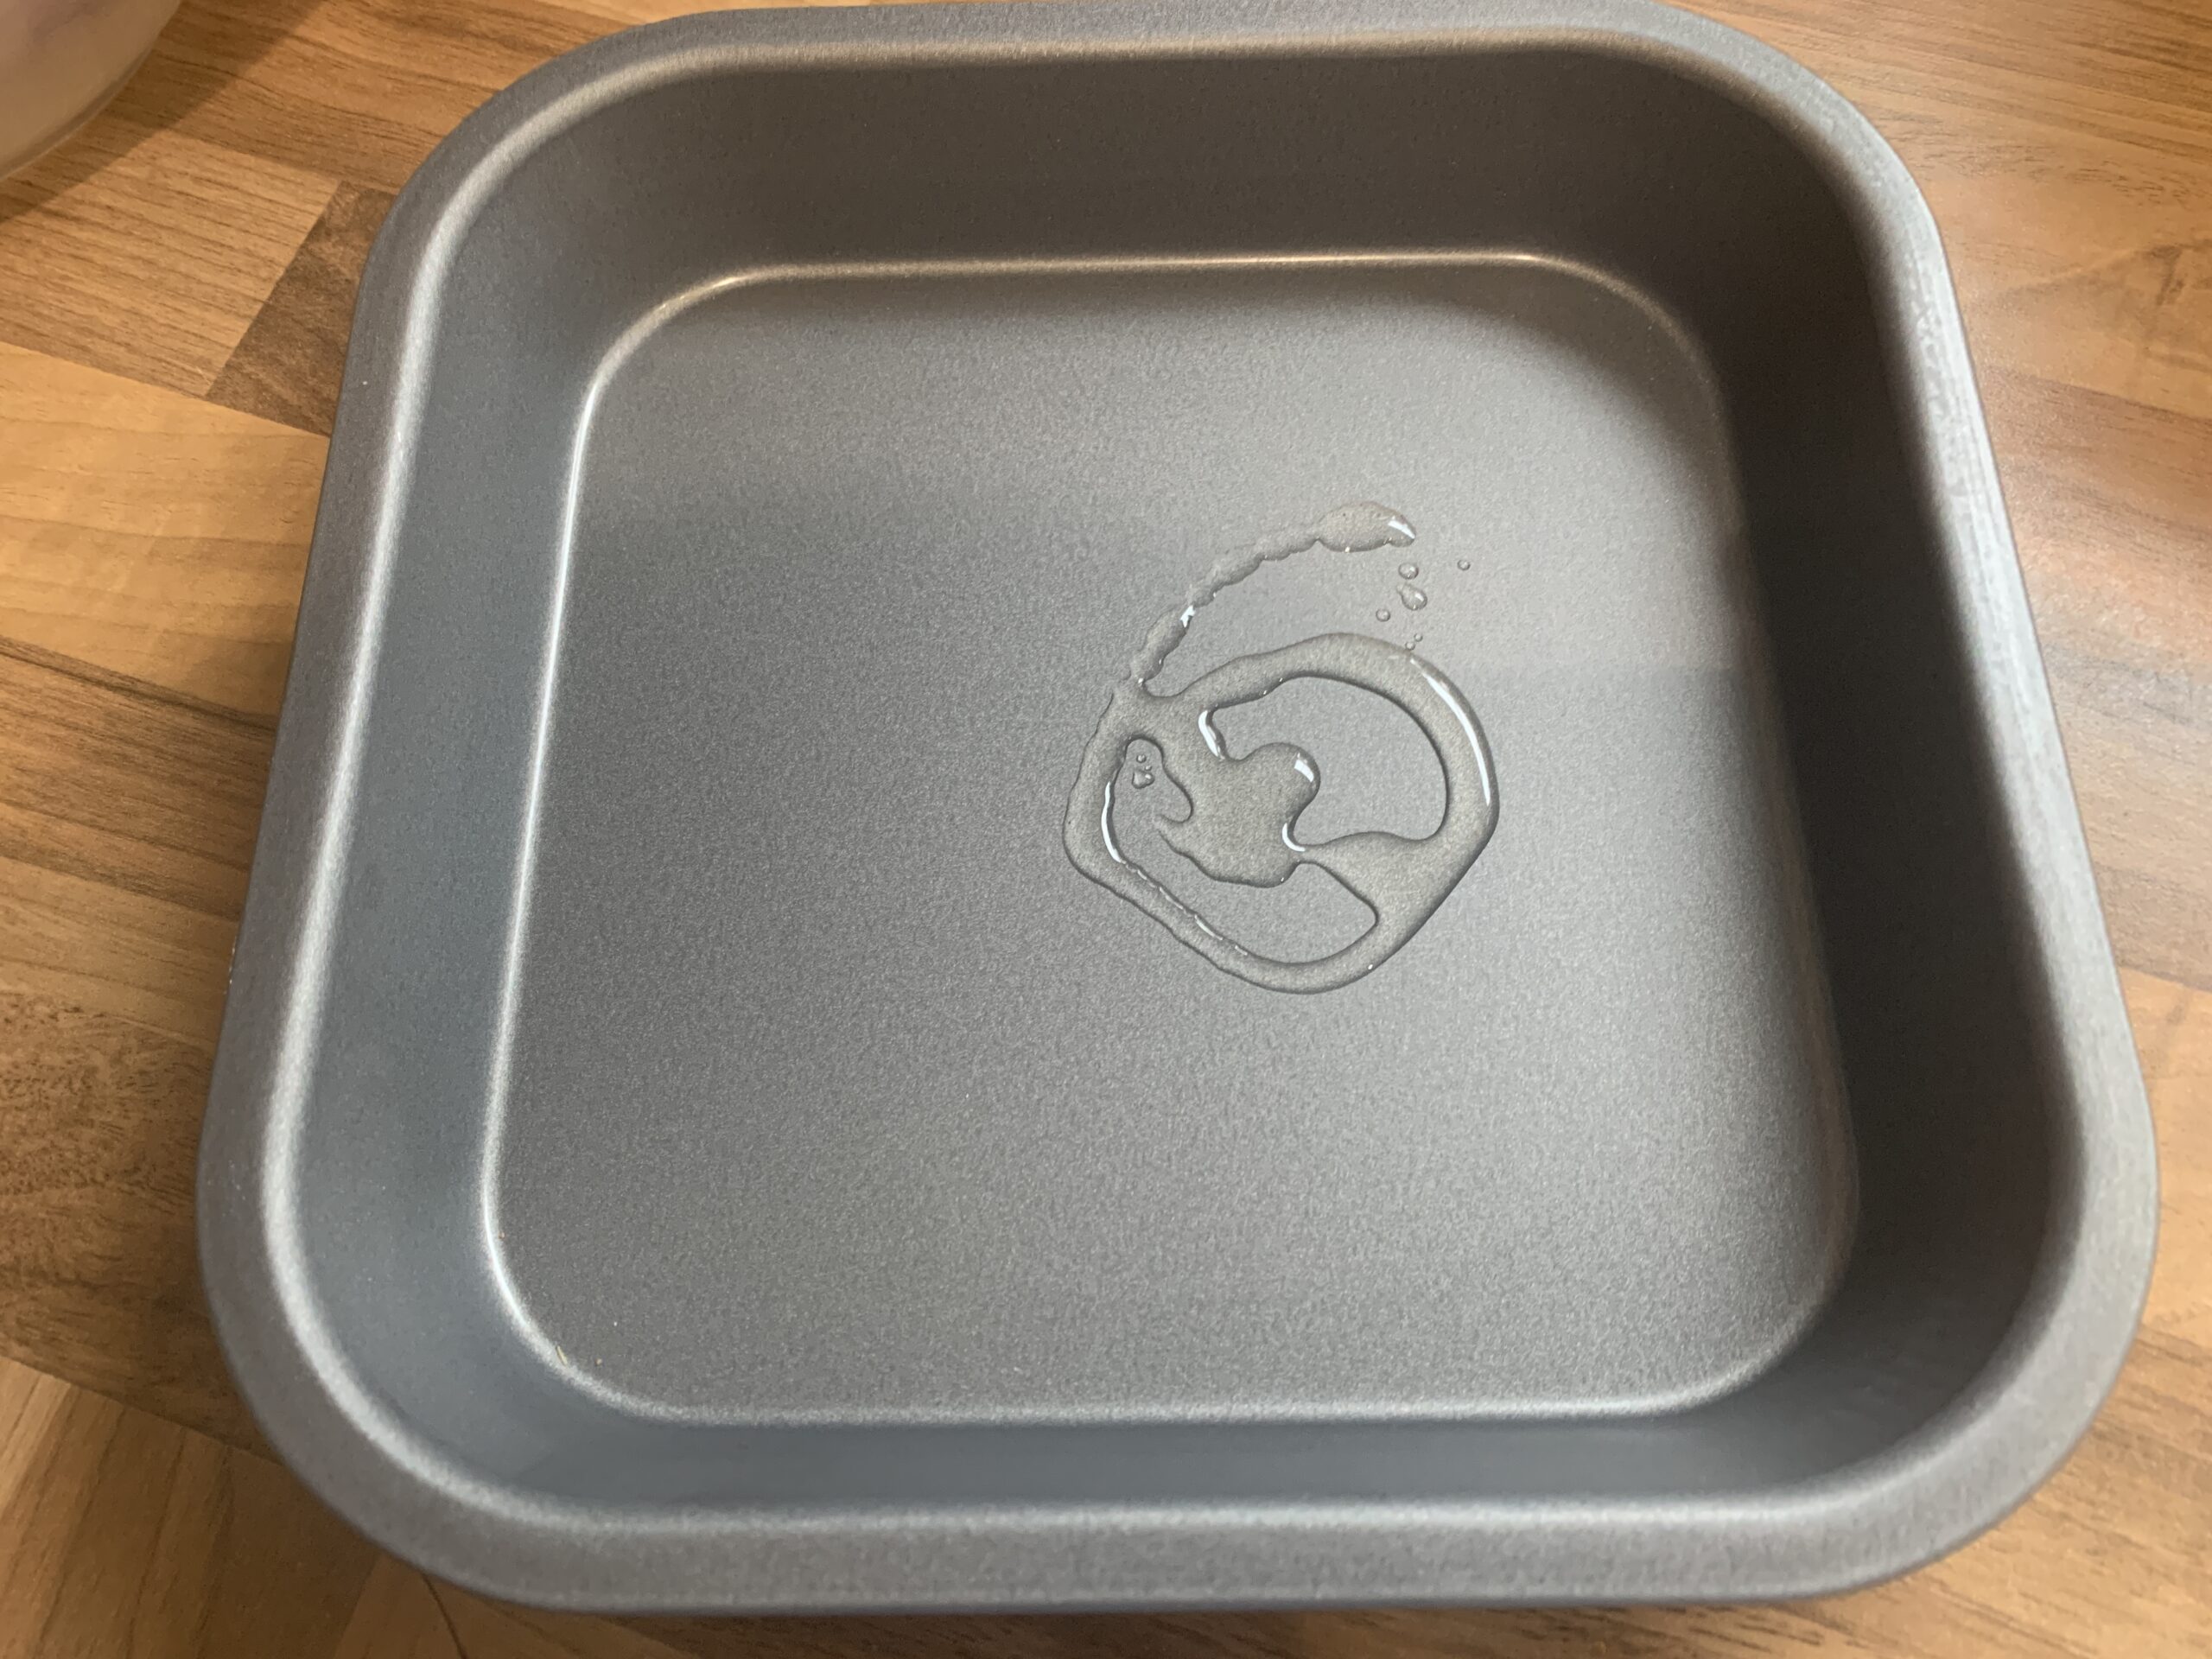
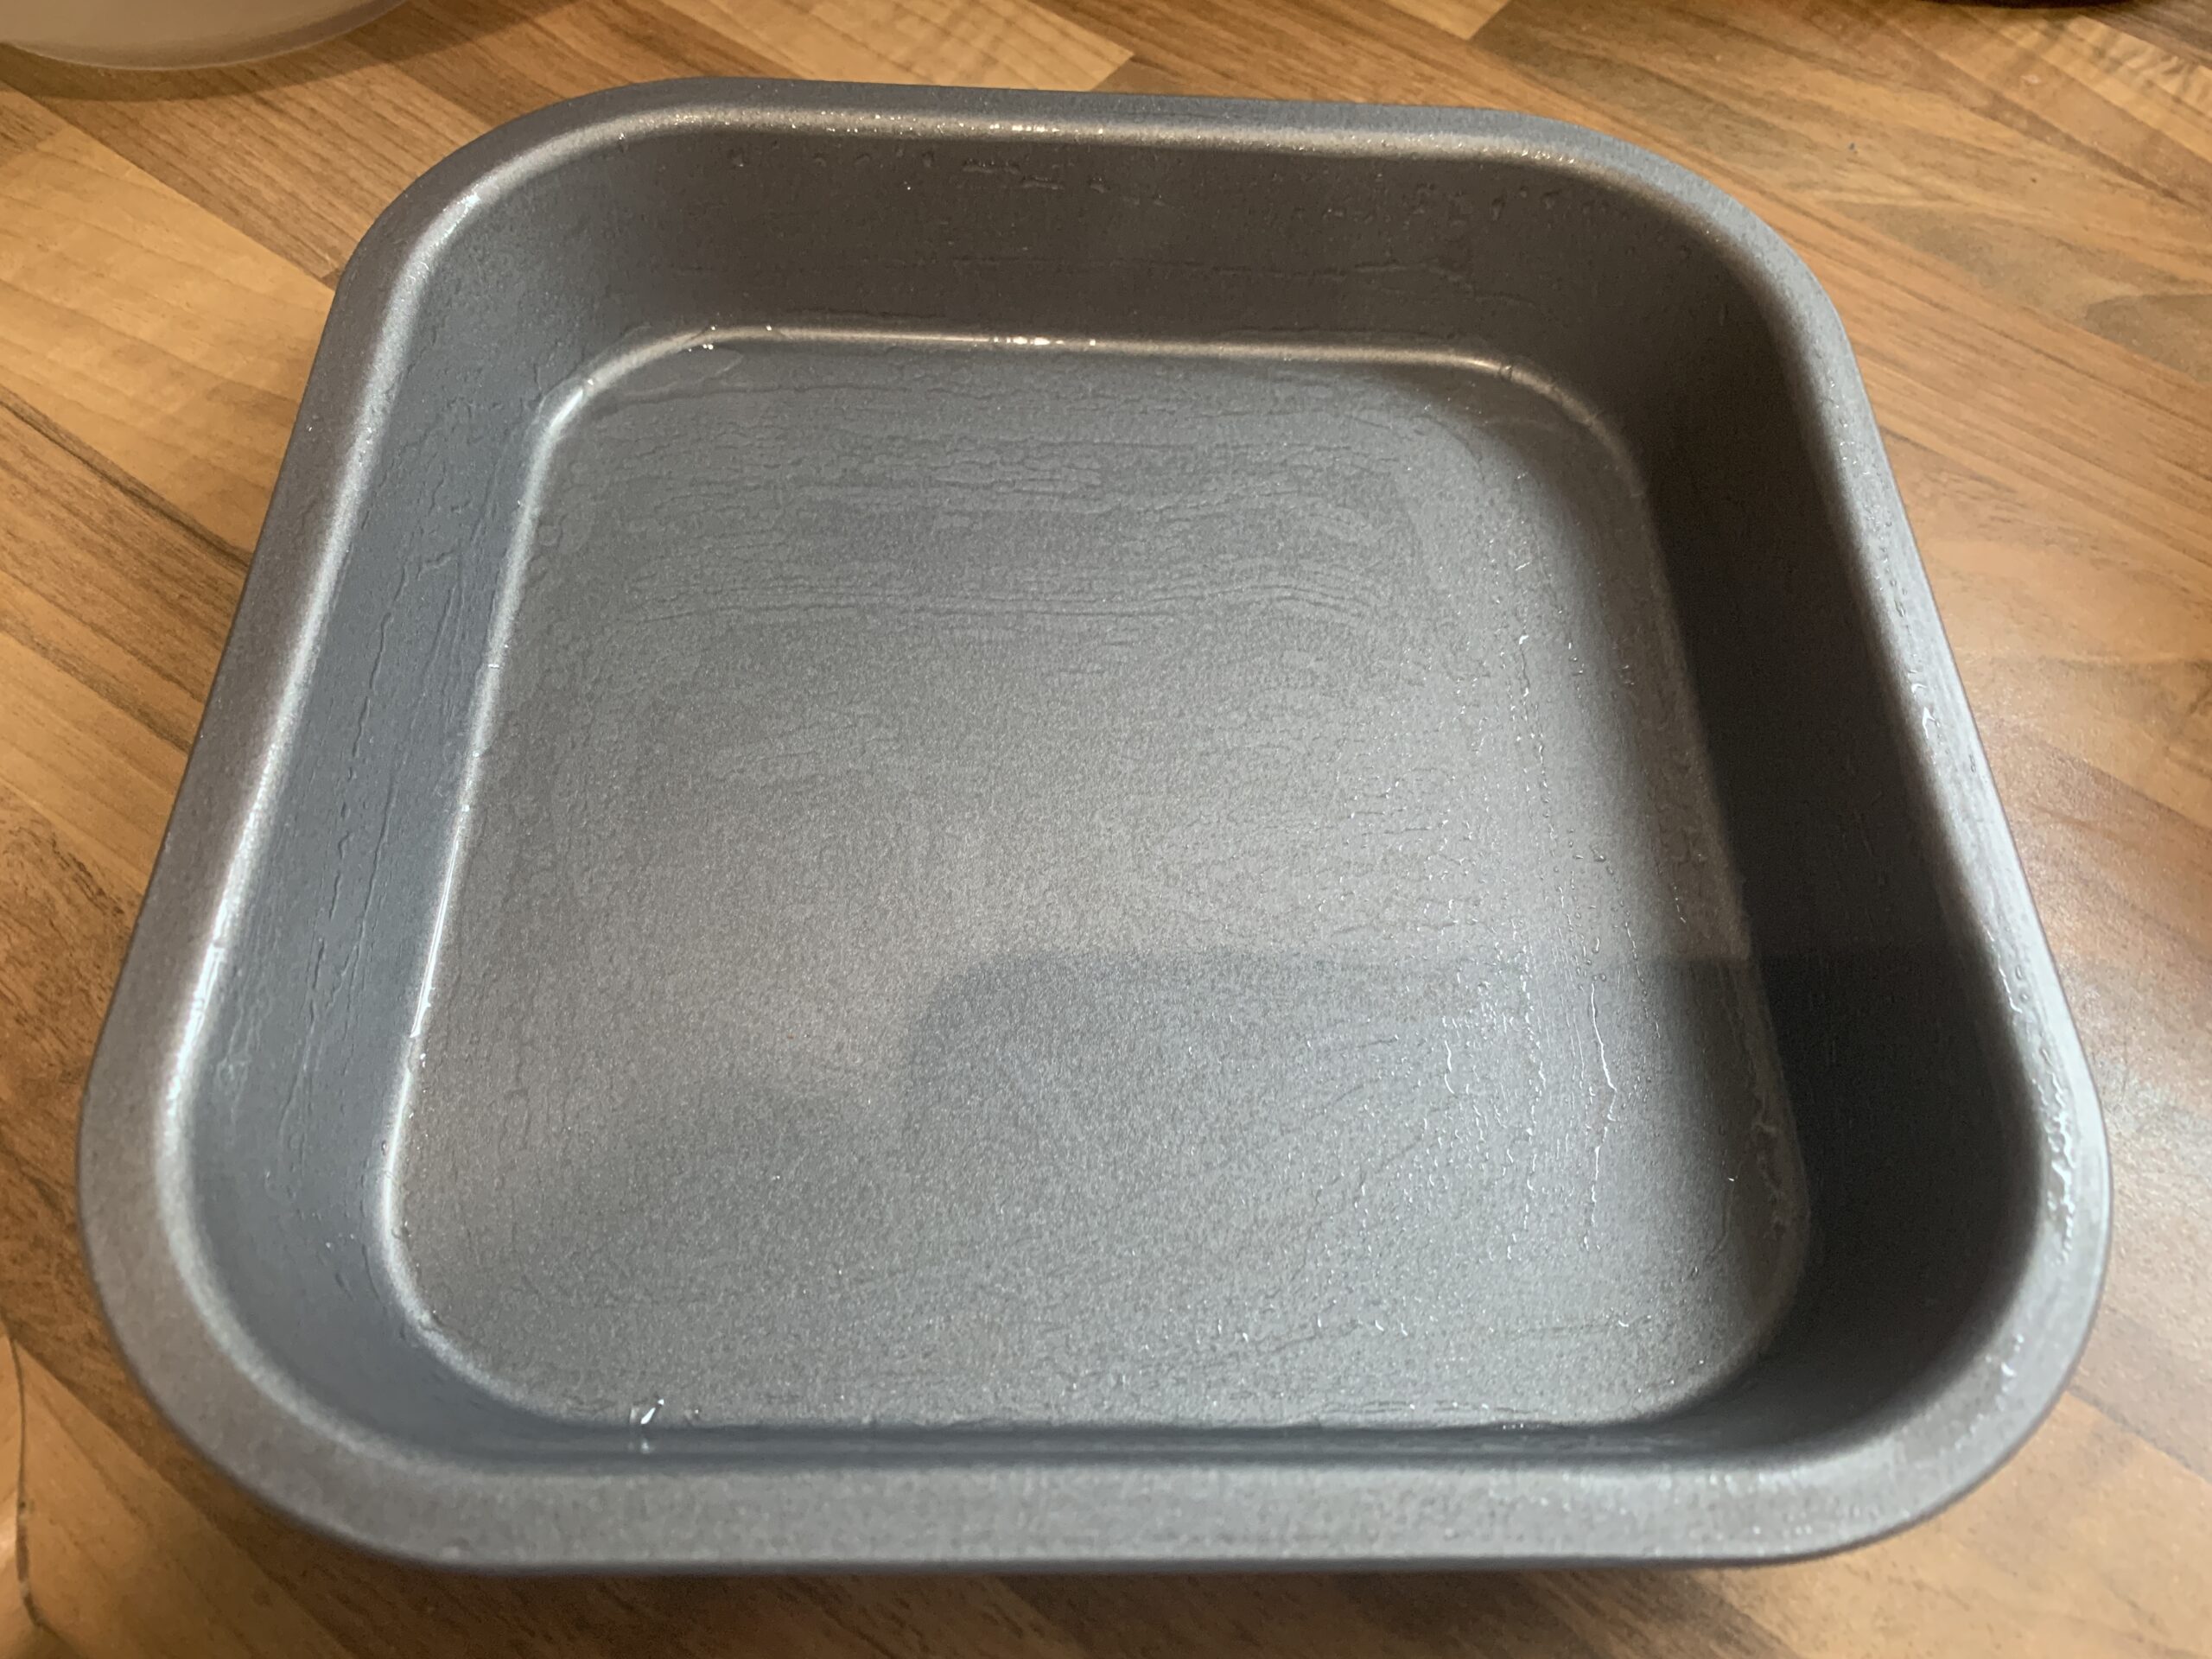
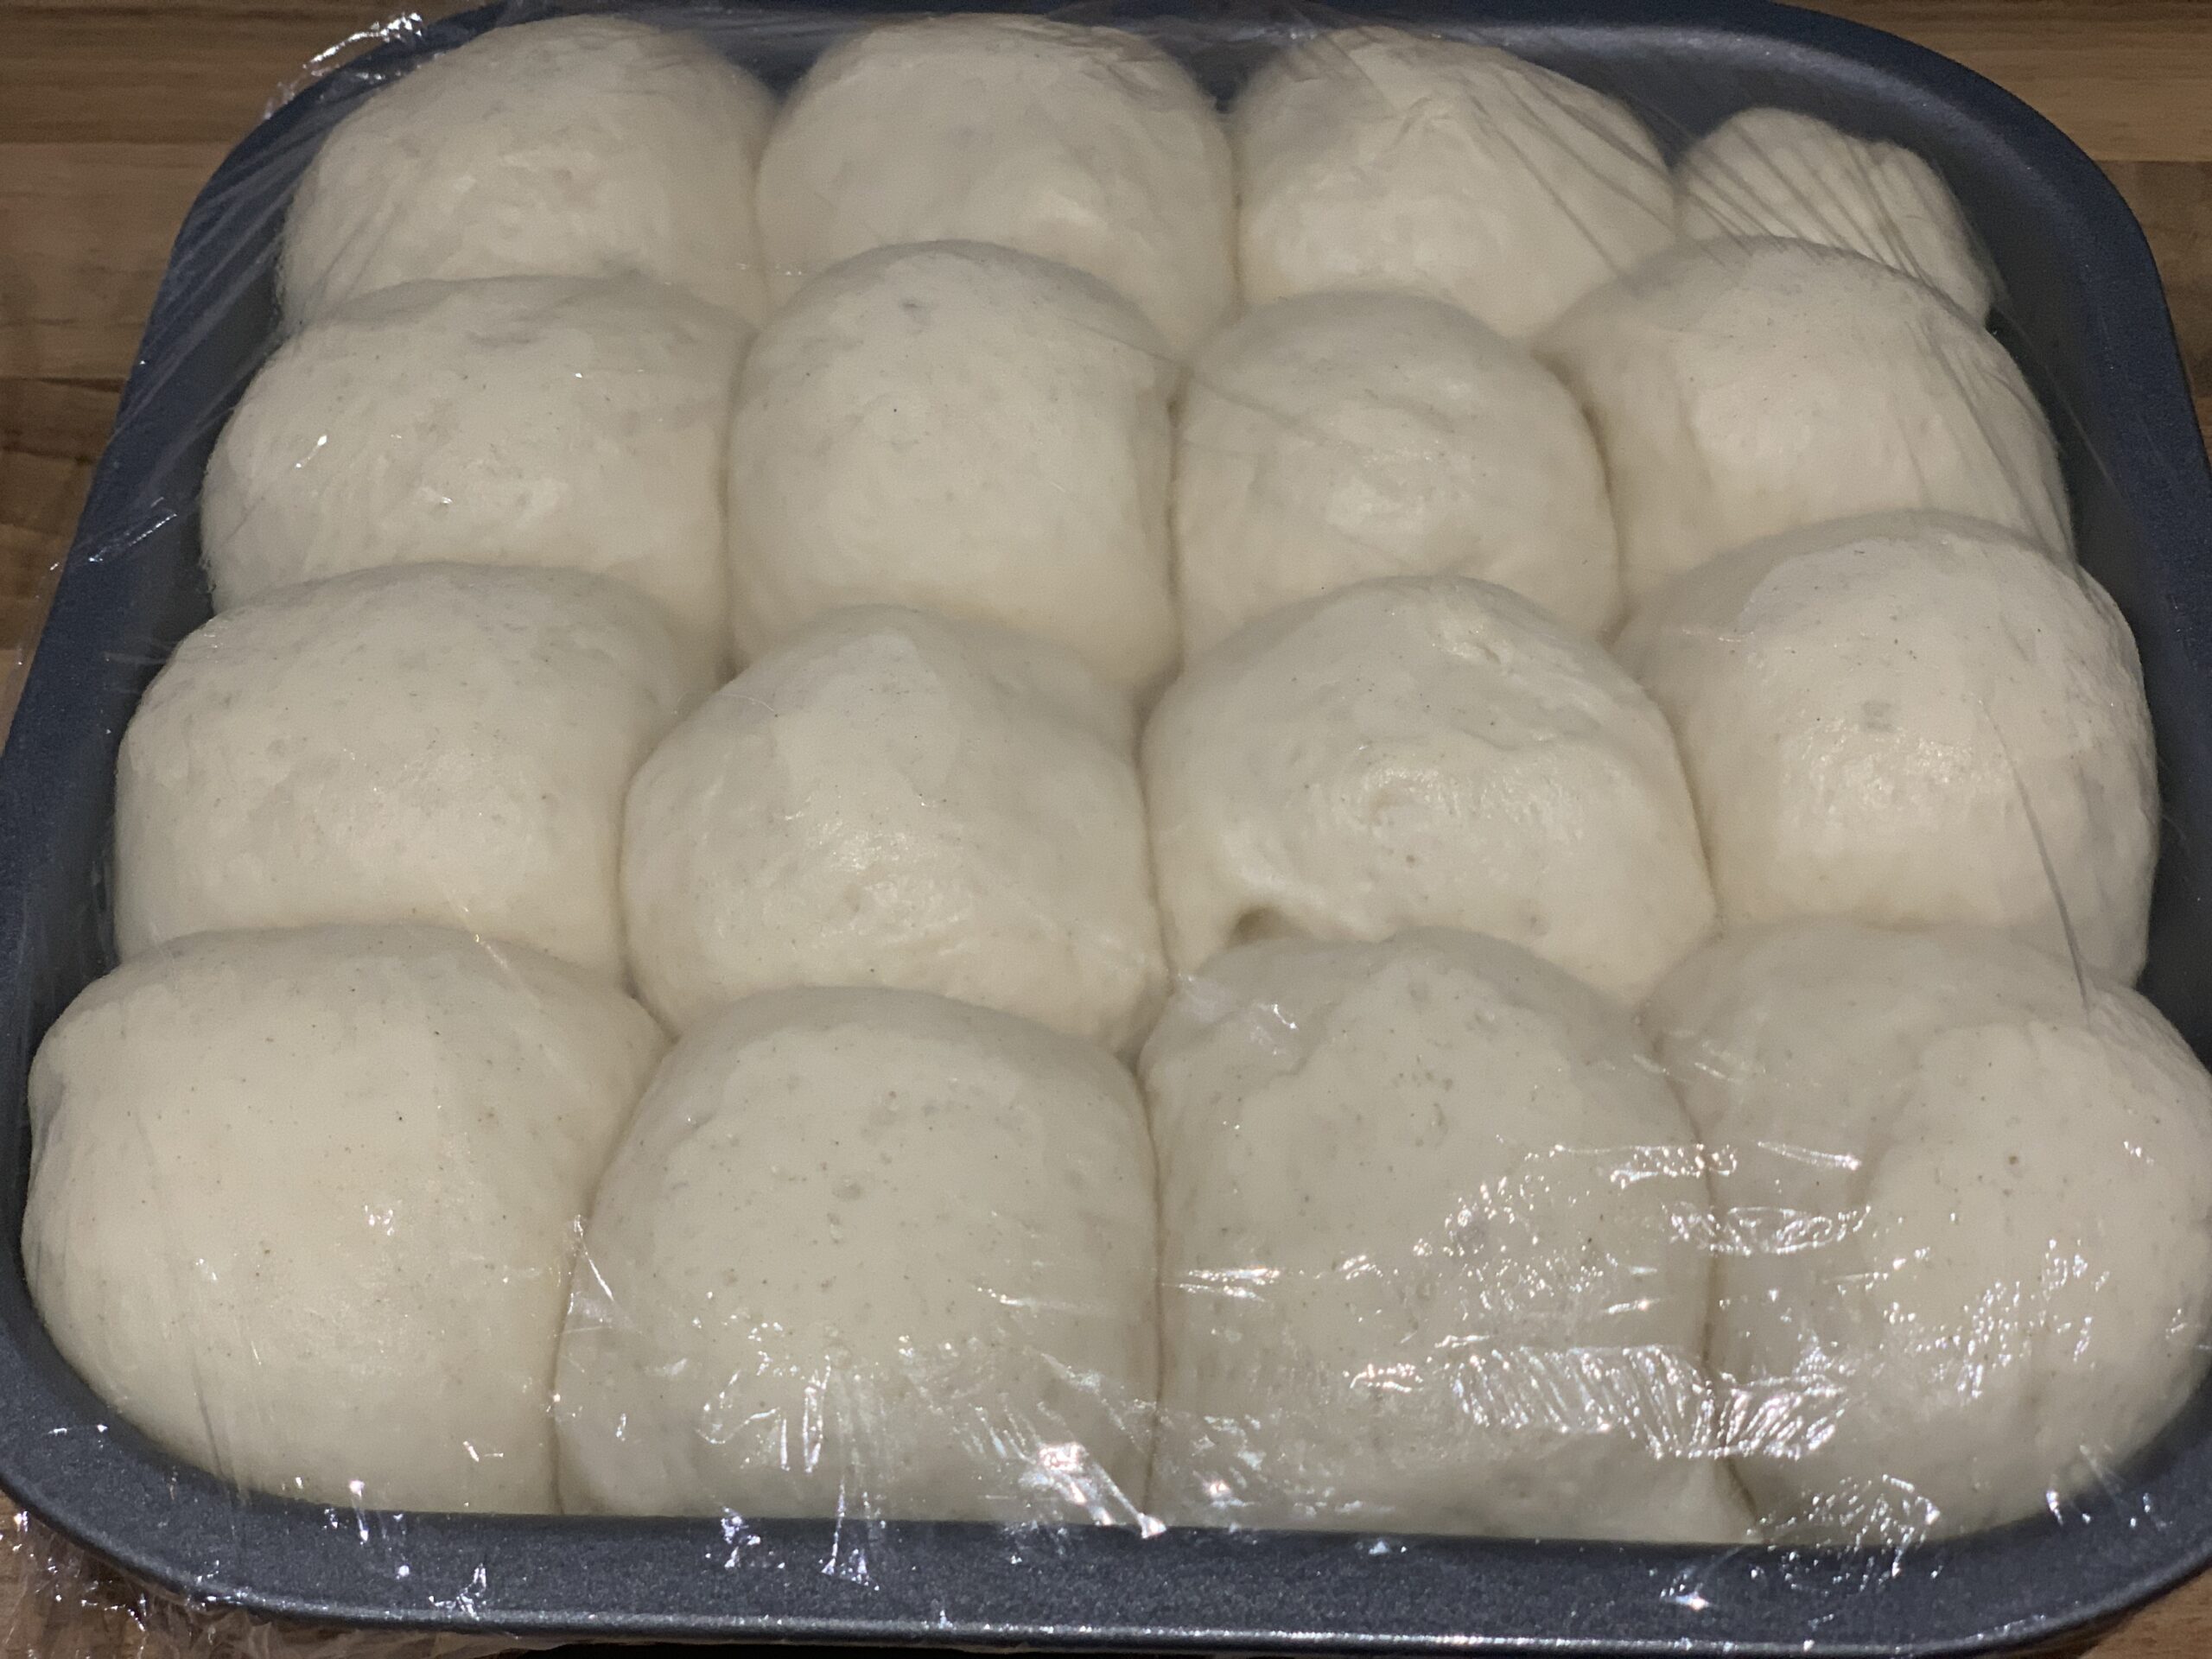
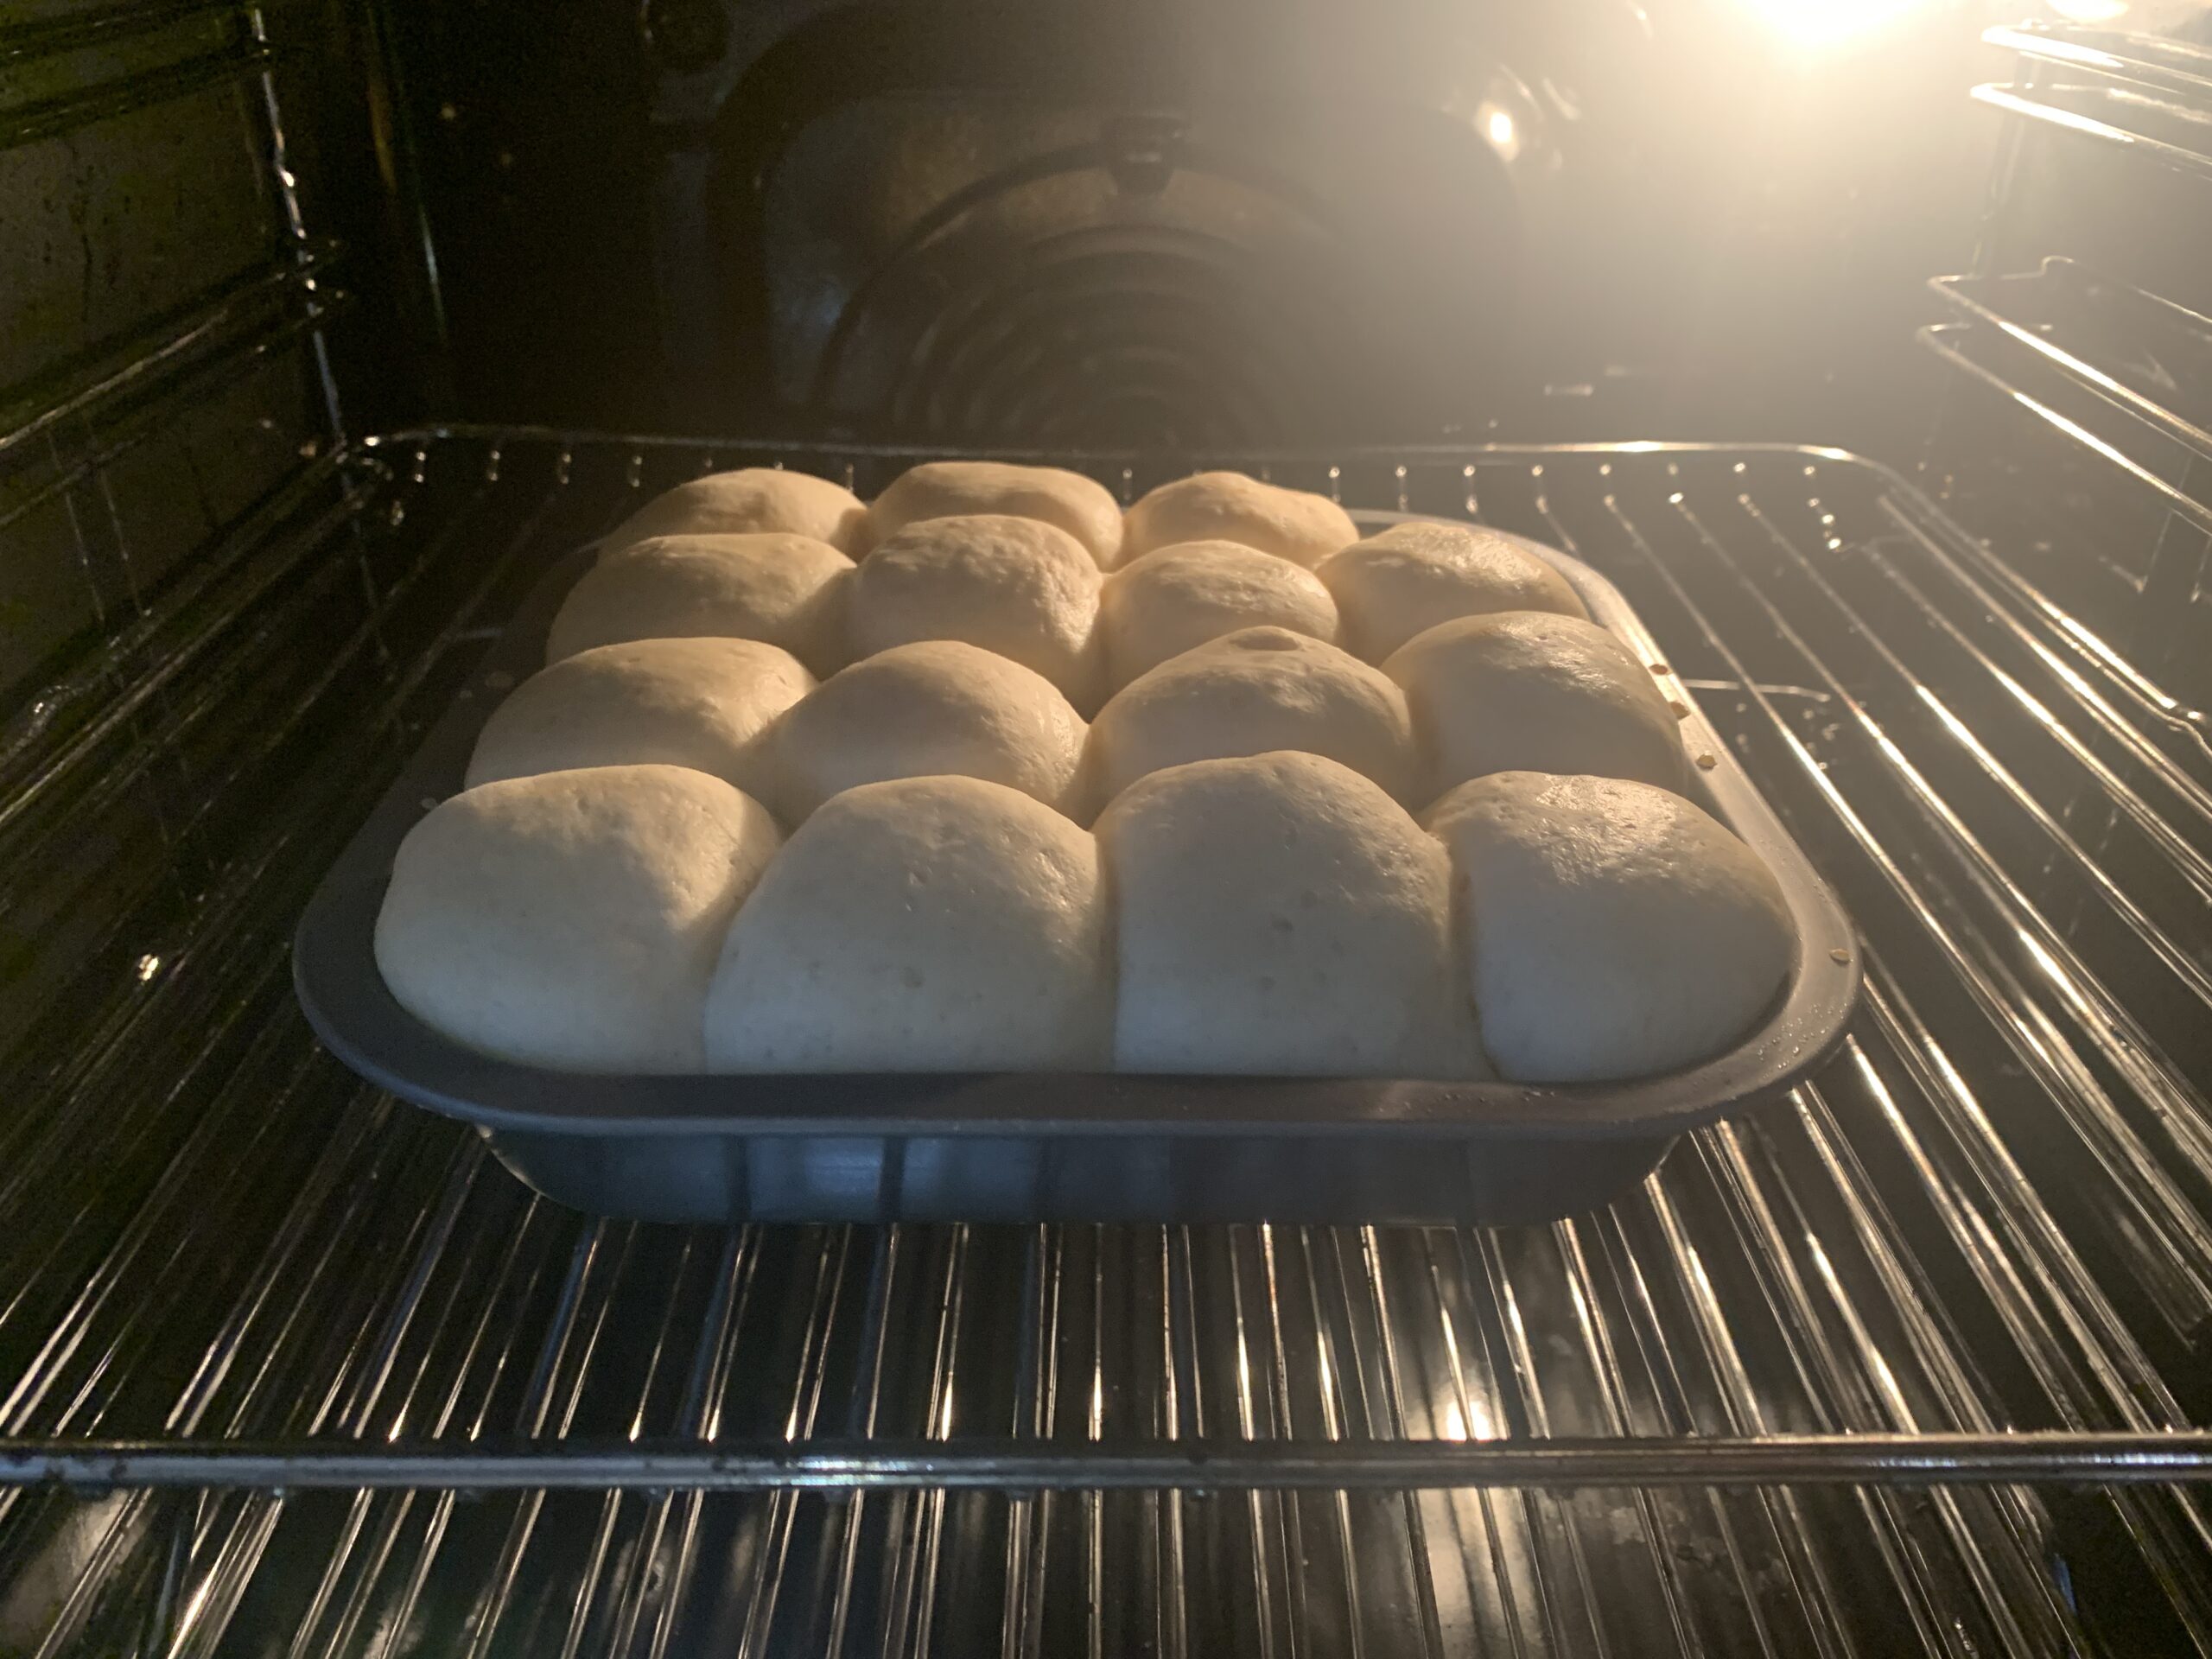
Grease an 8×8-inch square tin with oil. Arrange the dough balls at equal distance. Cover with a damp kitchen cloth or cling film and leave in a warm place for 40-45 minutes for second proofing.
Halfway through the second proofing preheat the oven to 200C/ 180fan/Gas6.
Step-6
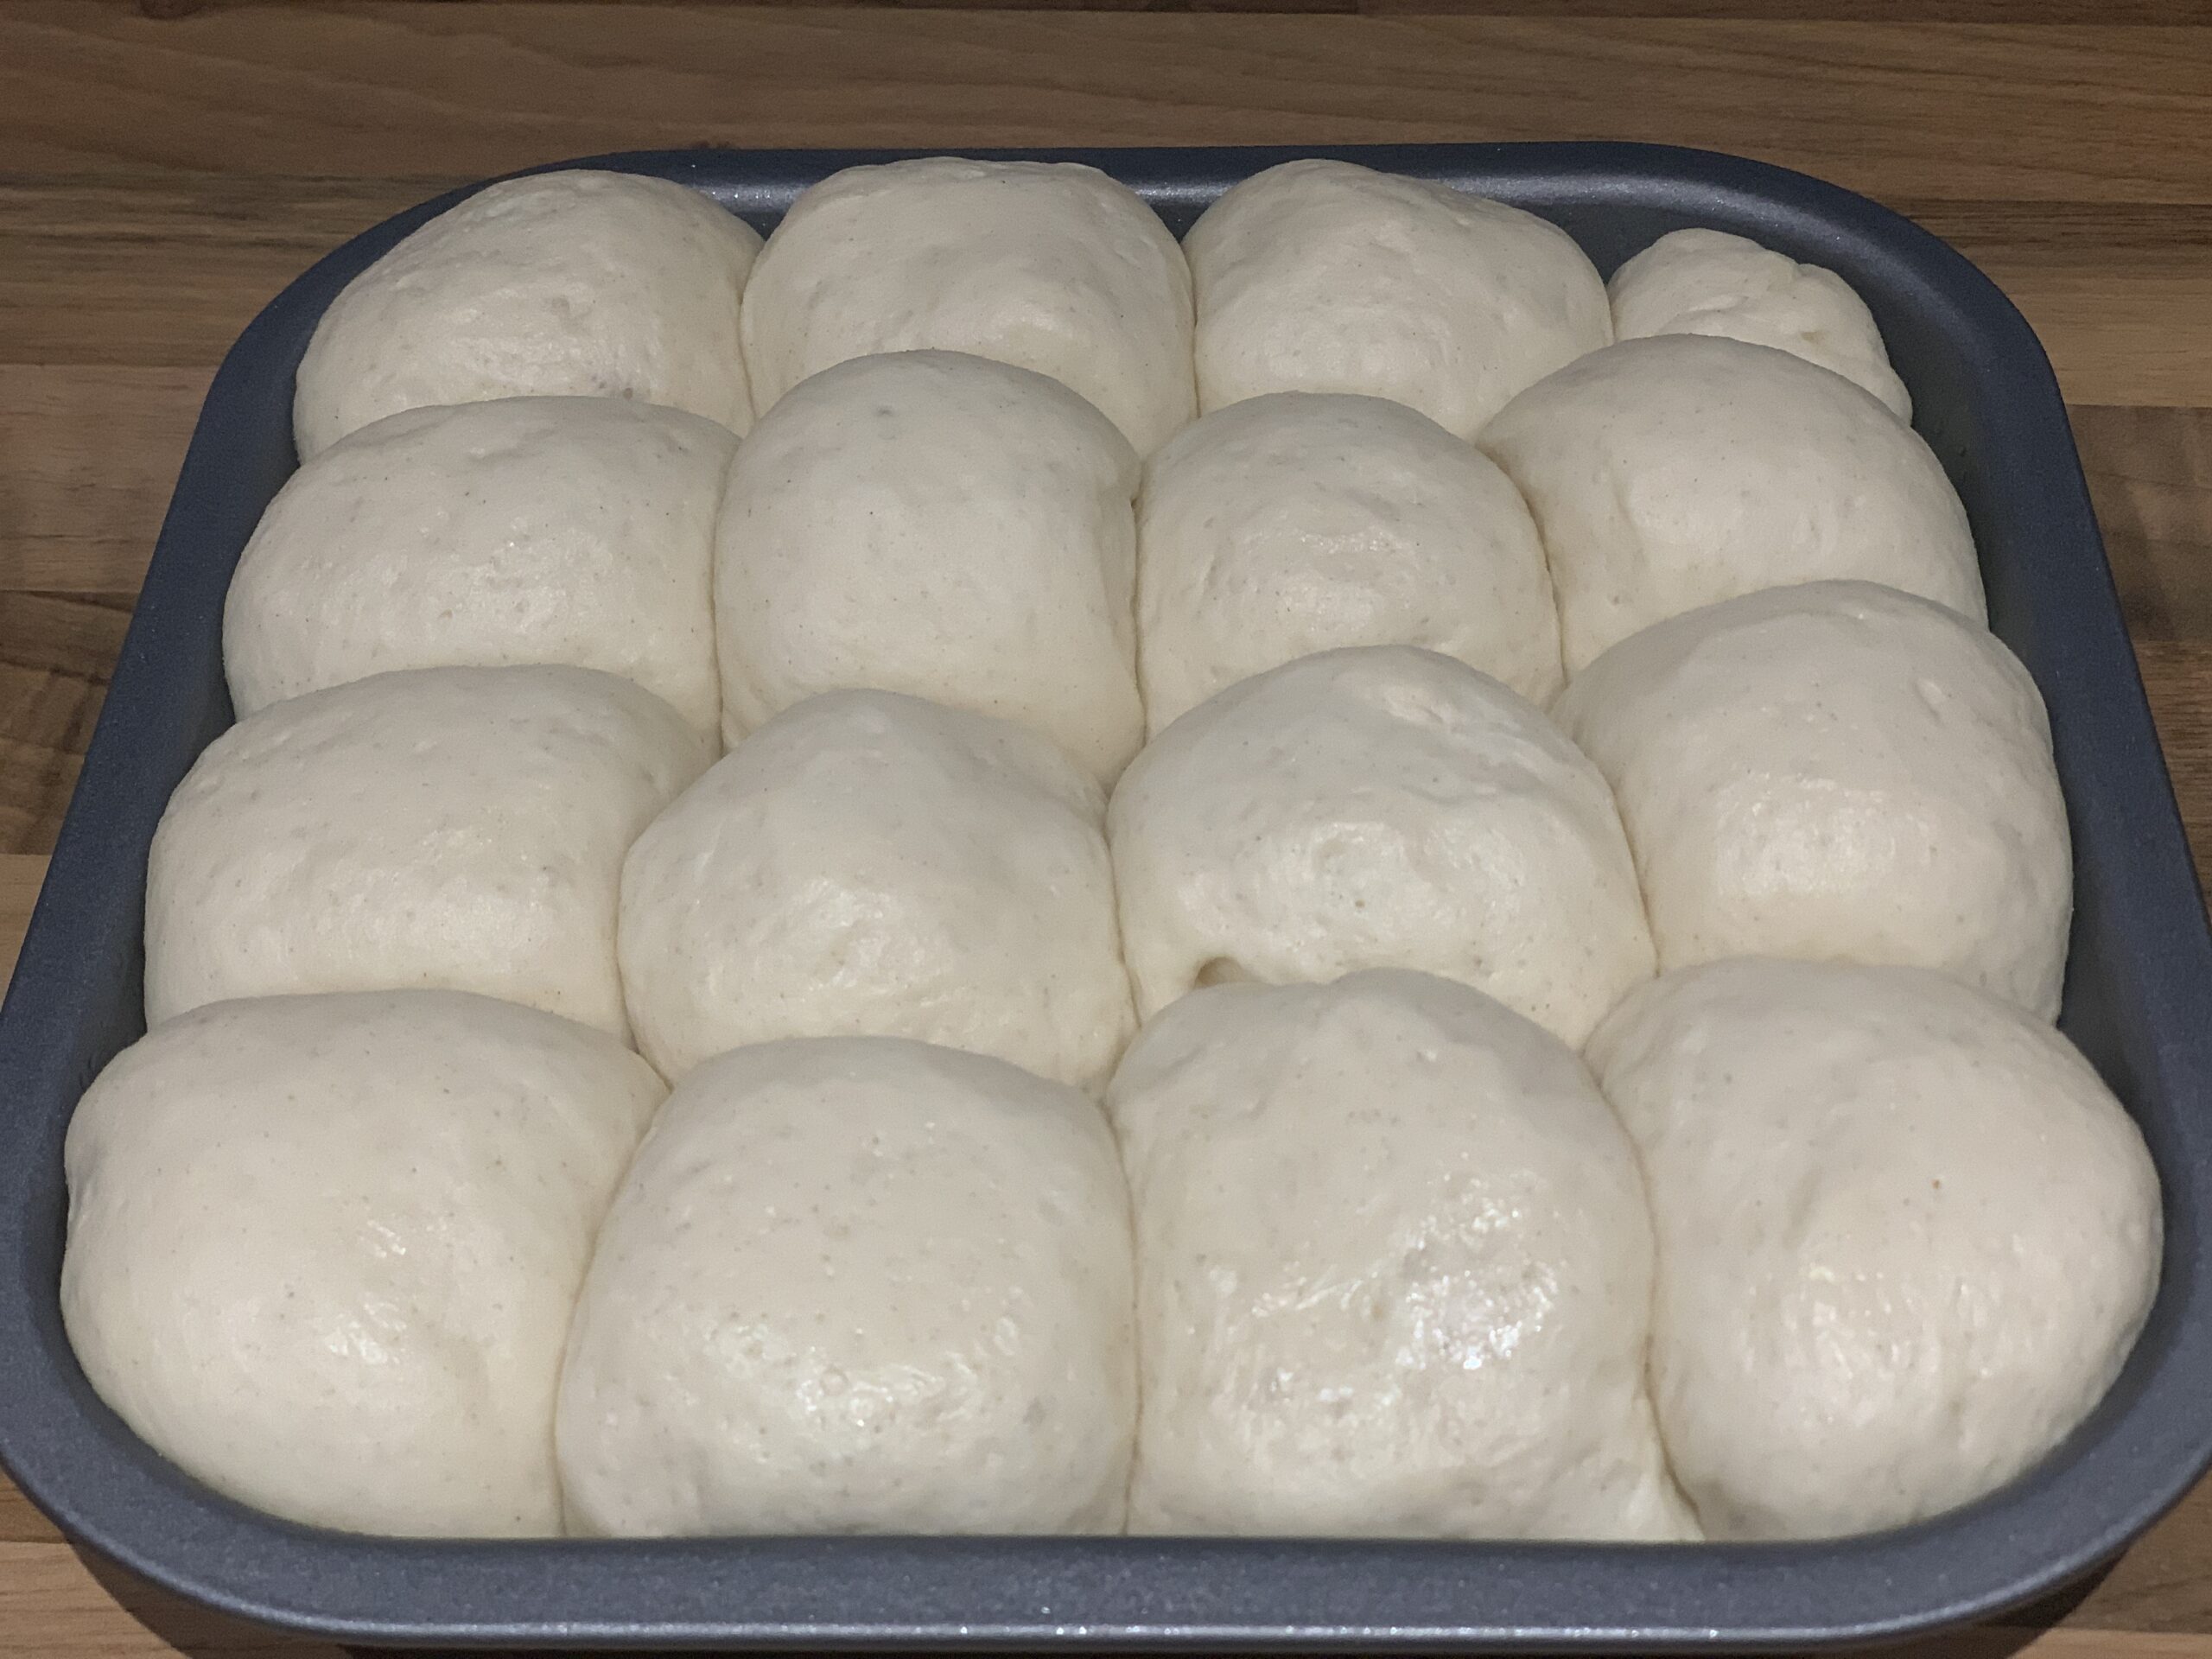
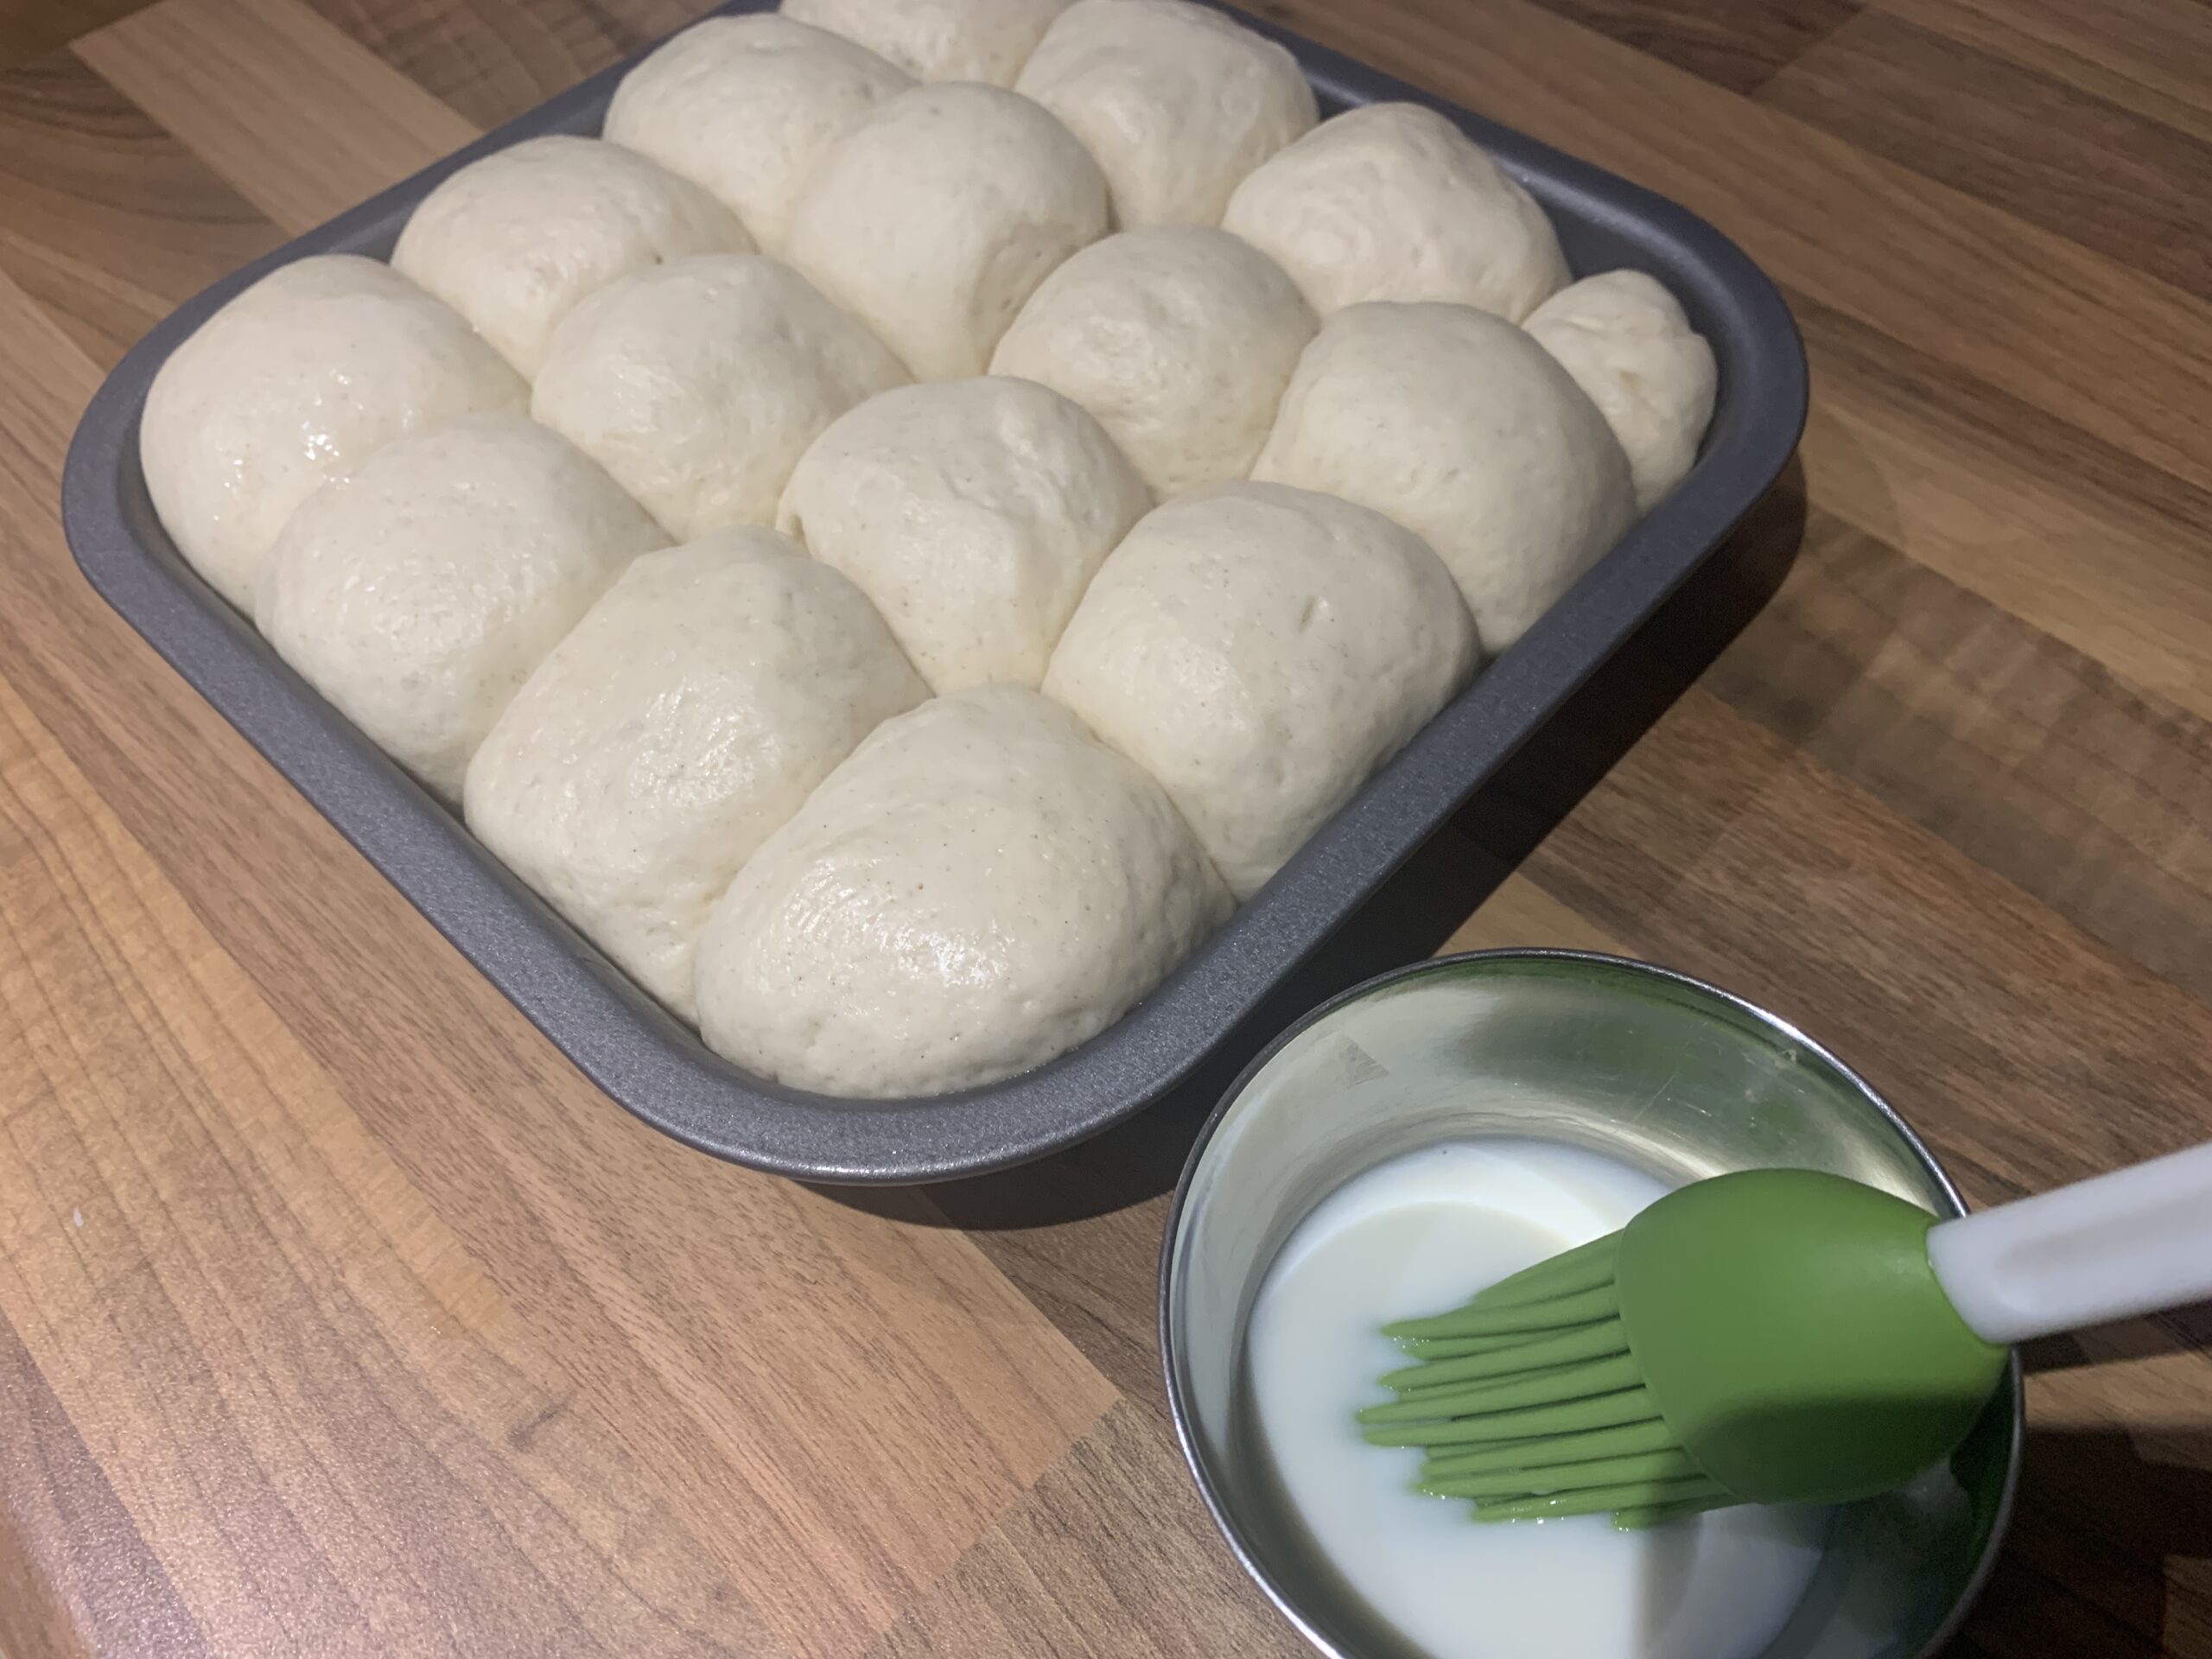
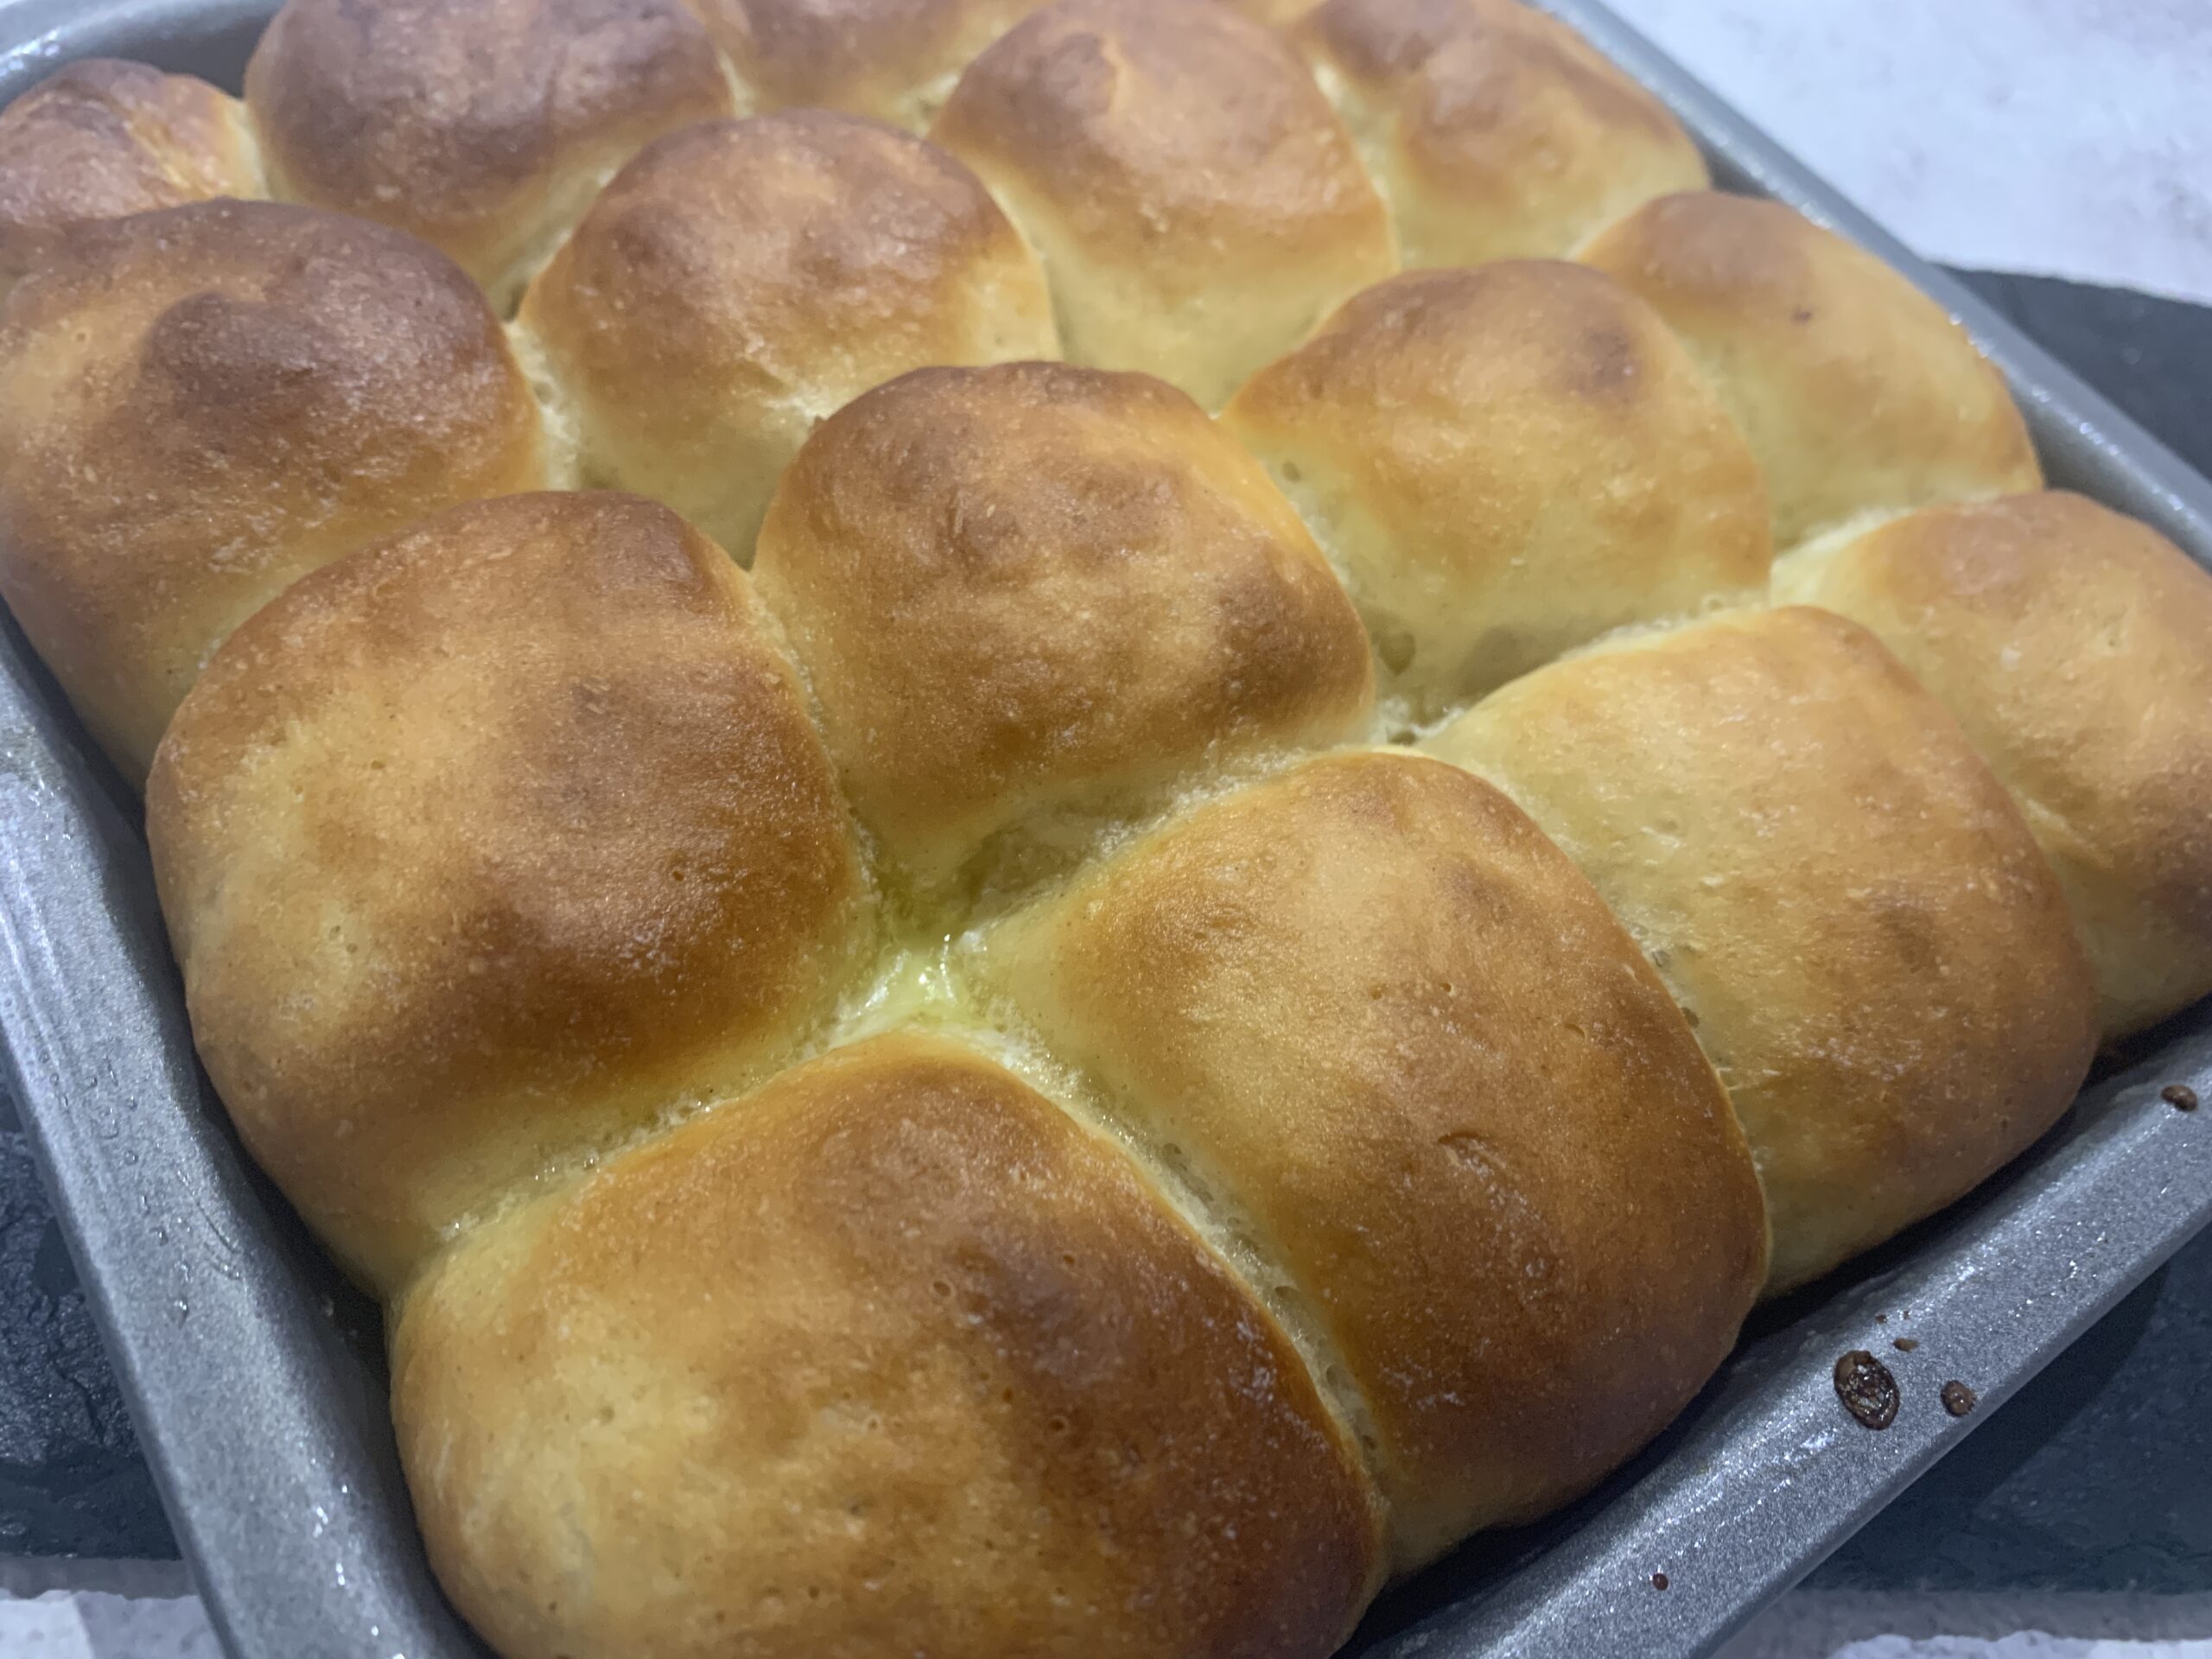
After the second proofing the pav should be doubled in size. Gently brush the dough with milk and bake in the preheated oven for 12-15 minutes. The buns will be golden brown when done.
Brush the buns with softened butter on top when the buns are just out of the oven and cover with a damp cloth and leave to completely cool for 15-20 minutes.
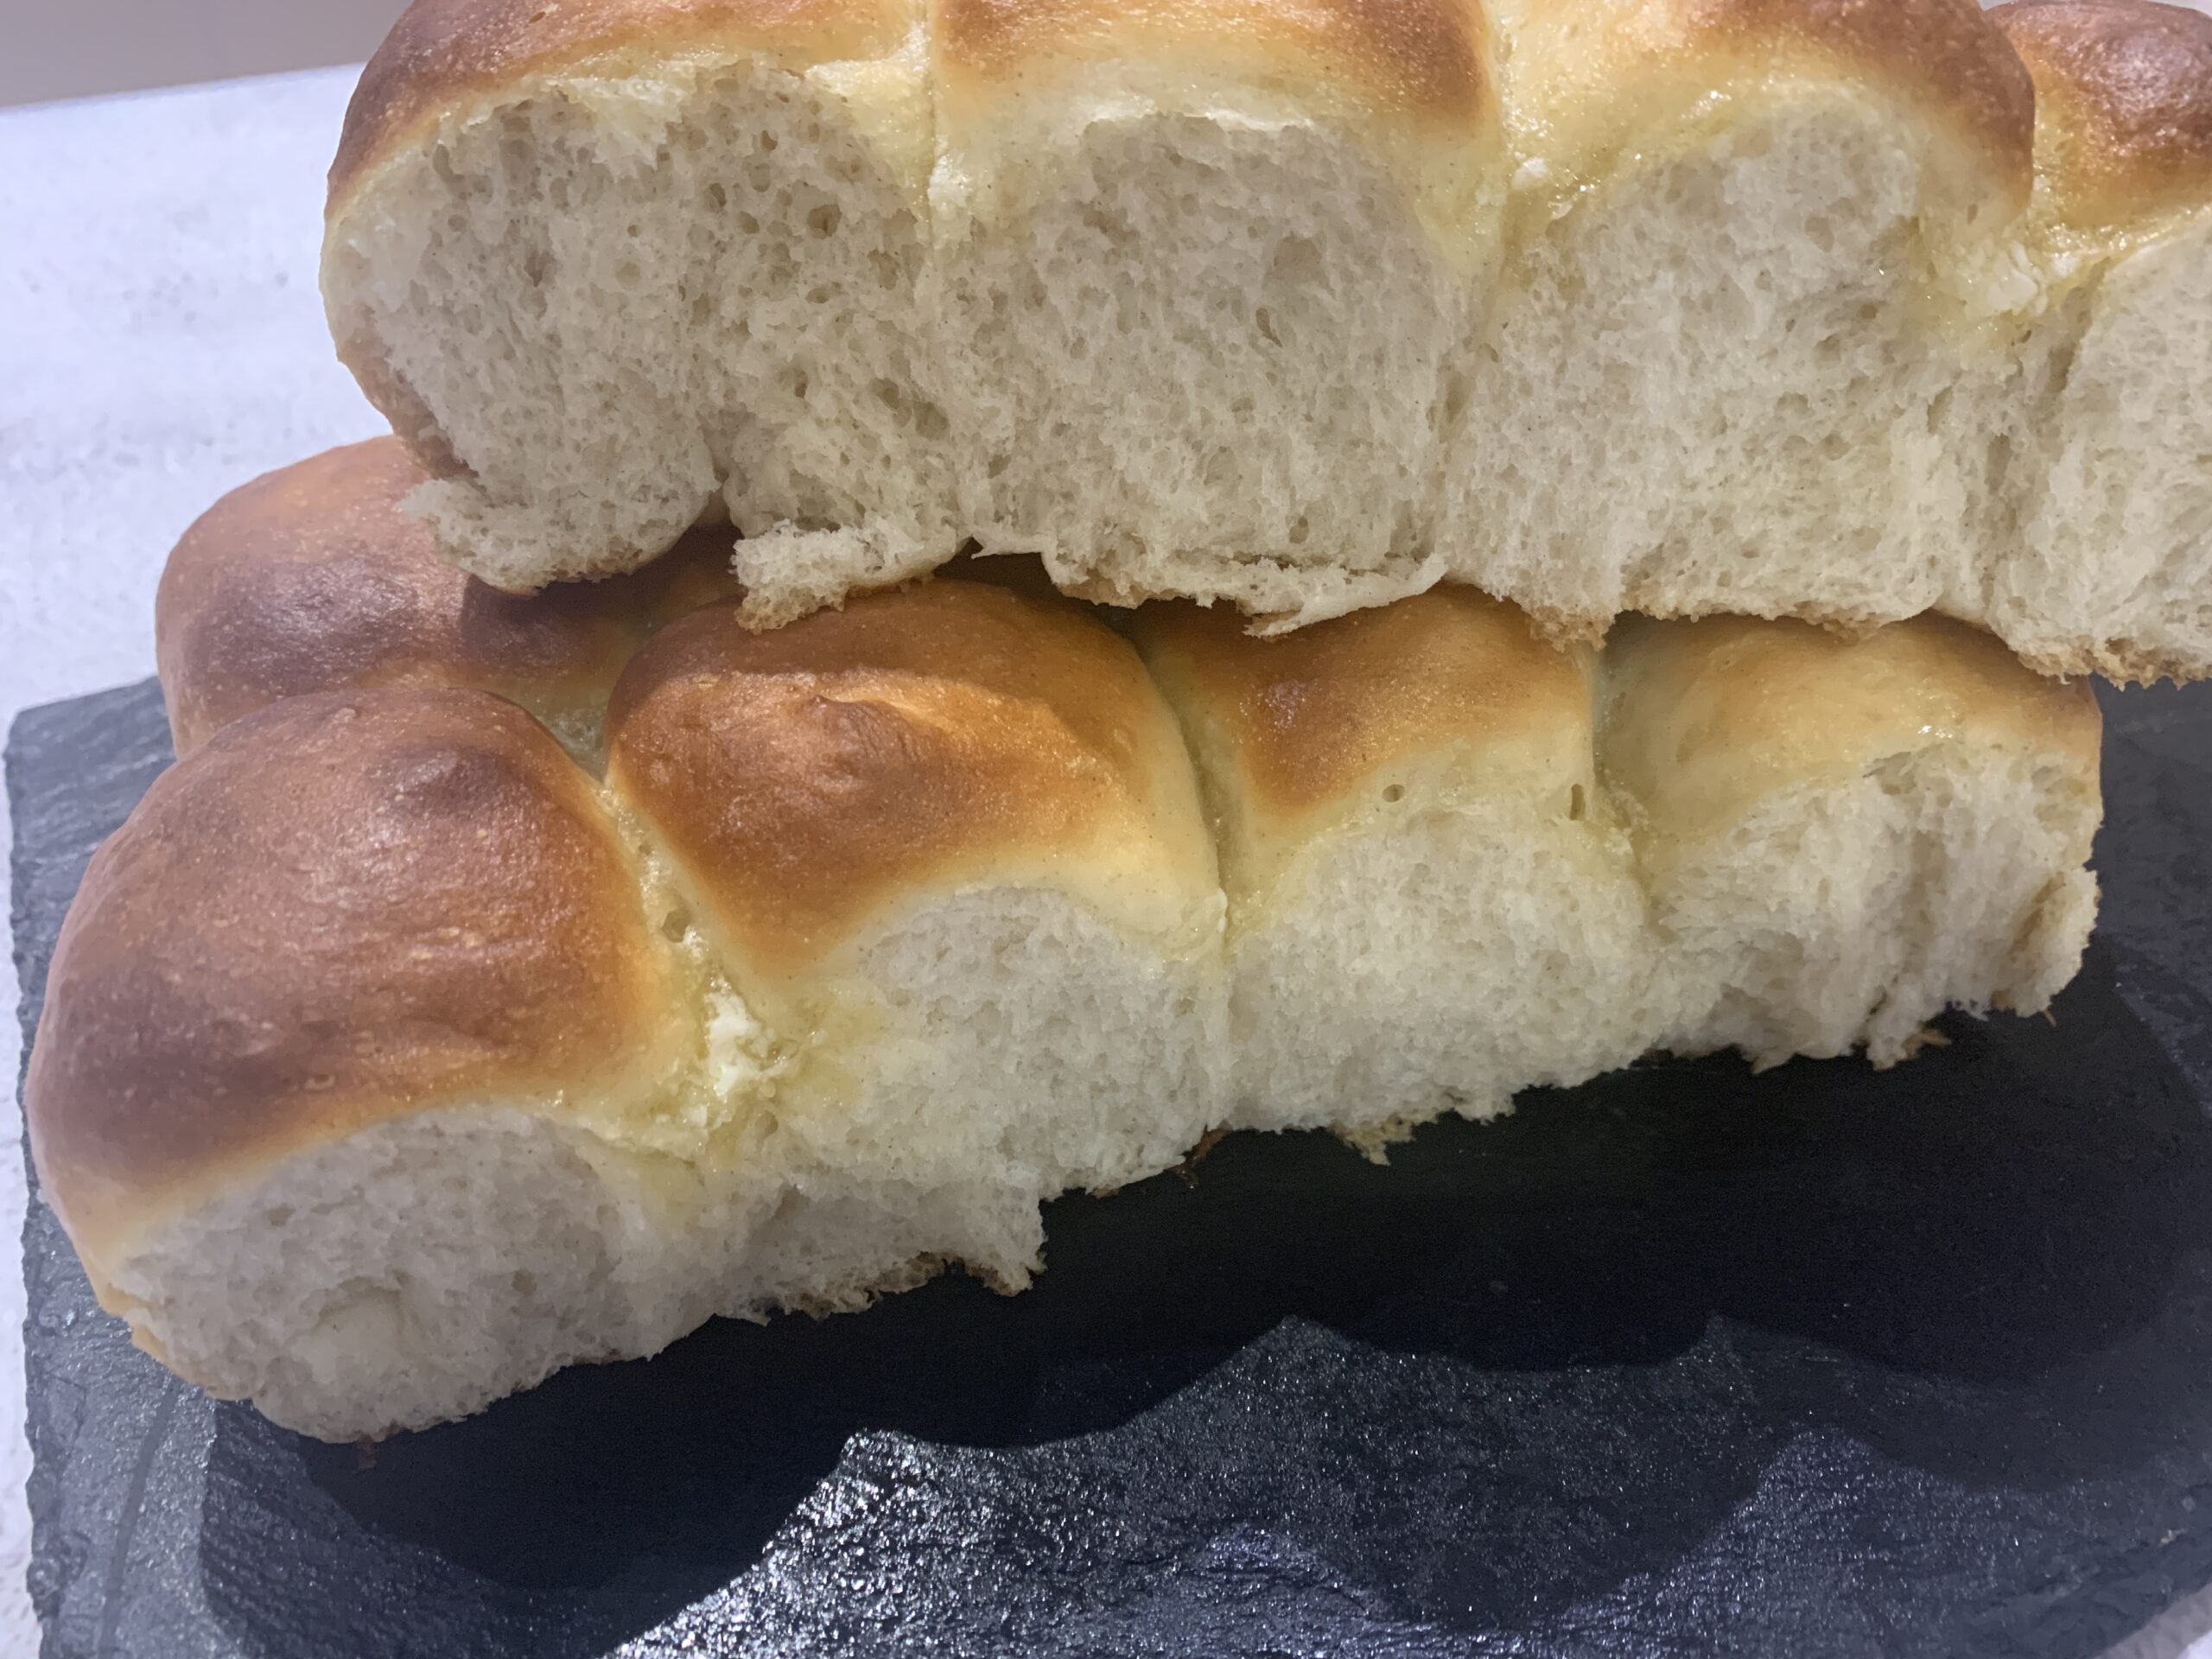
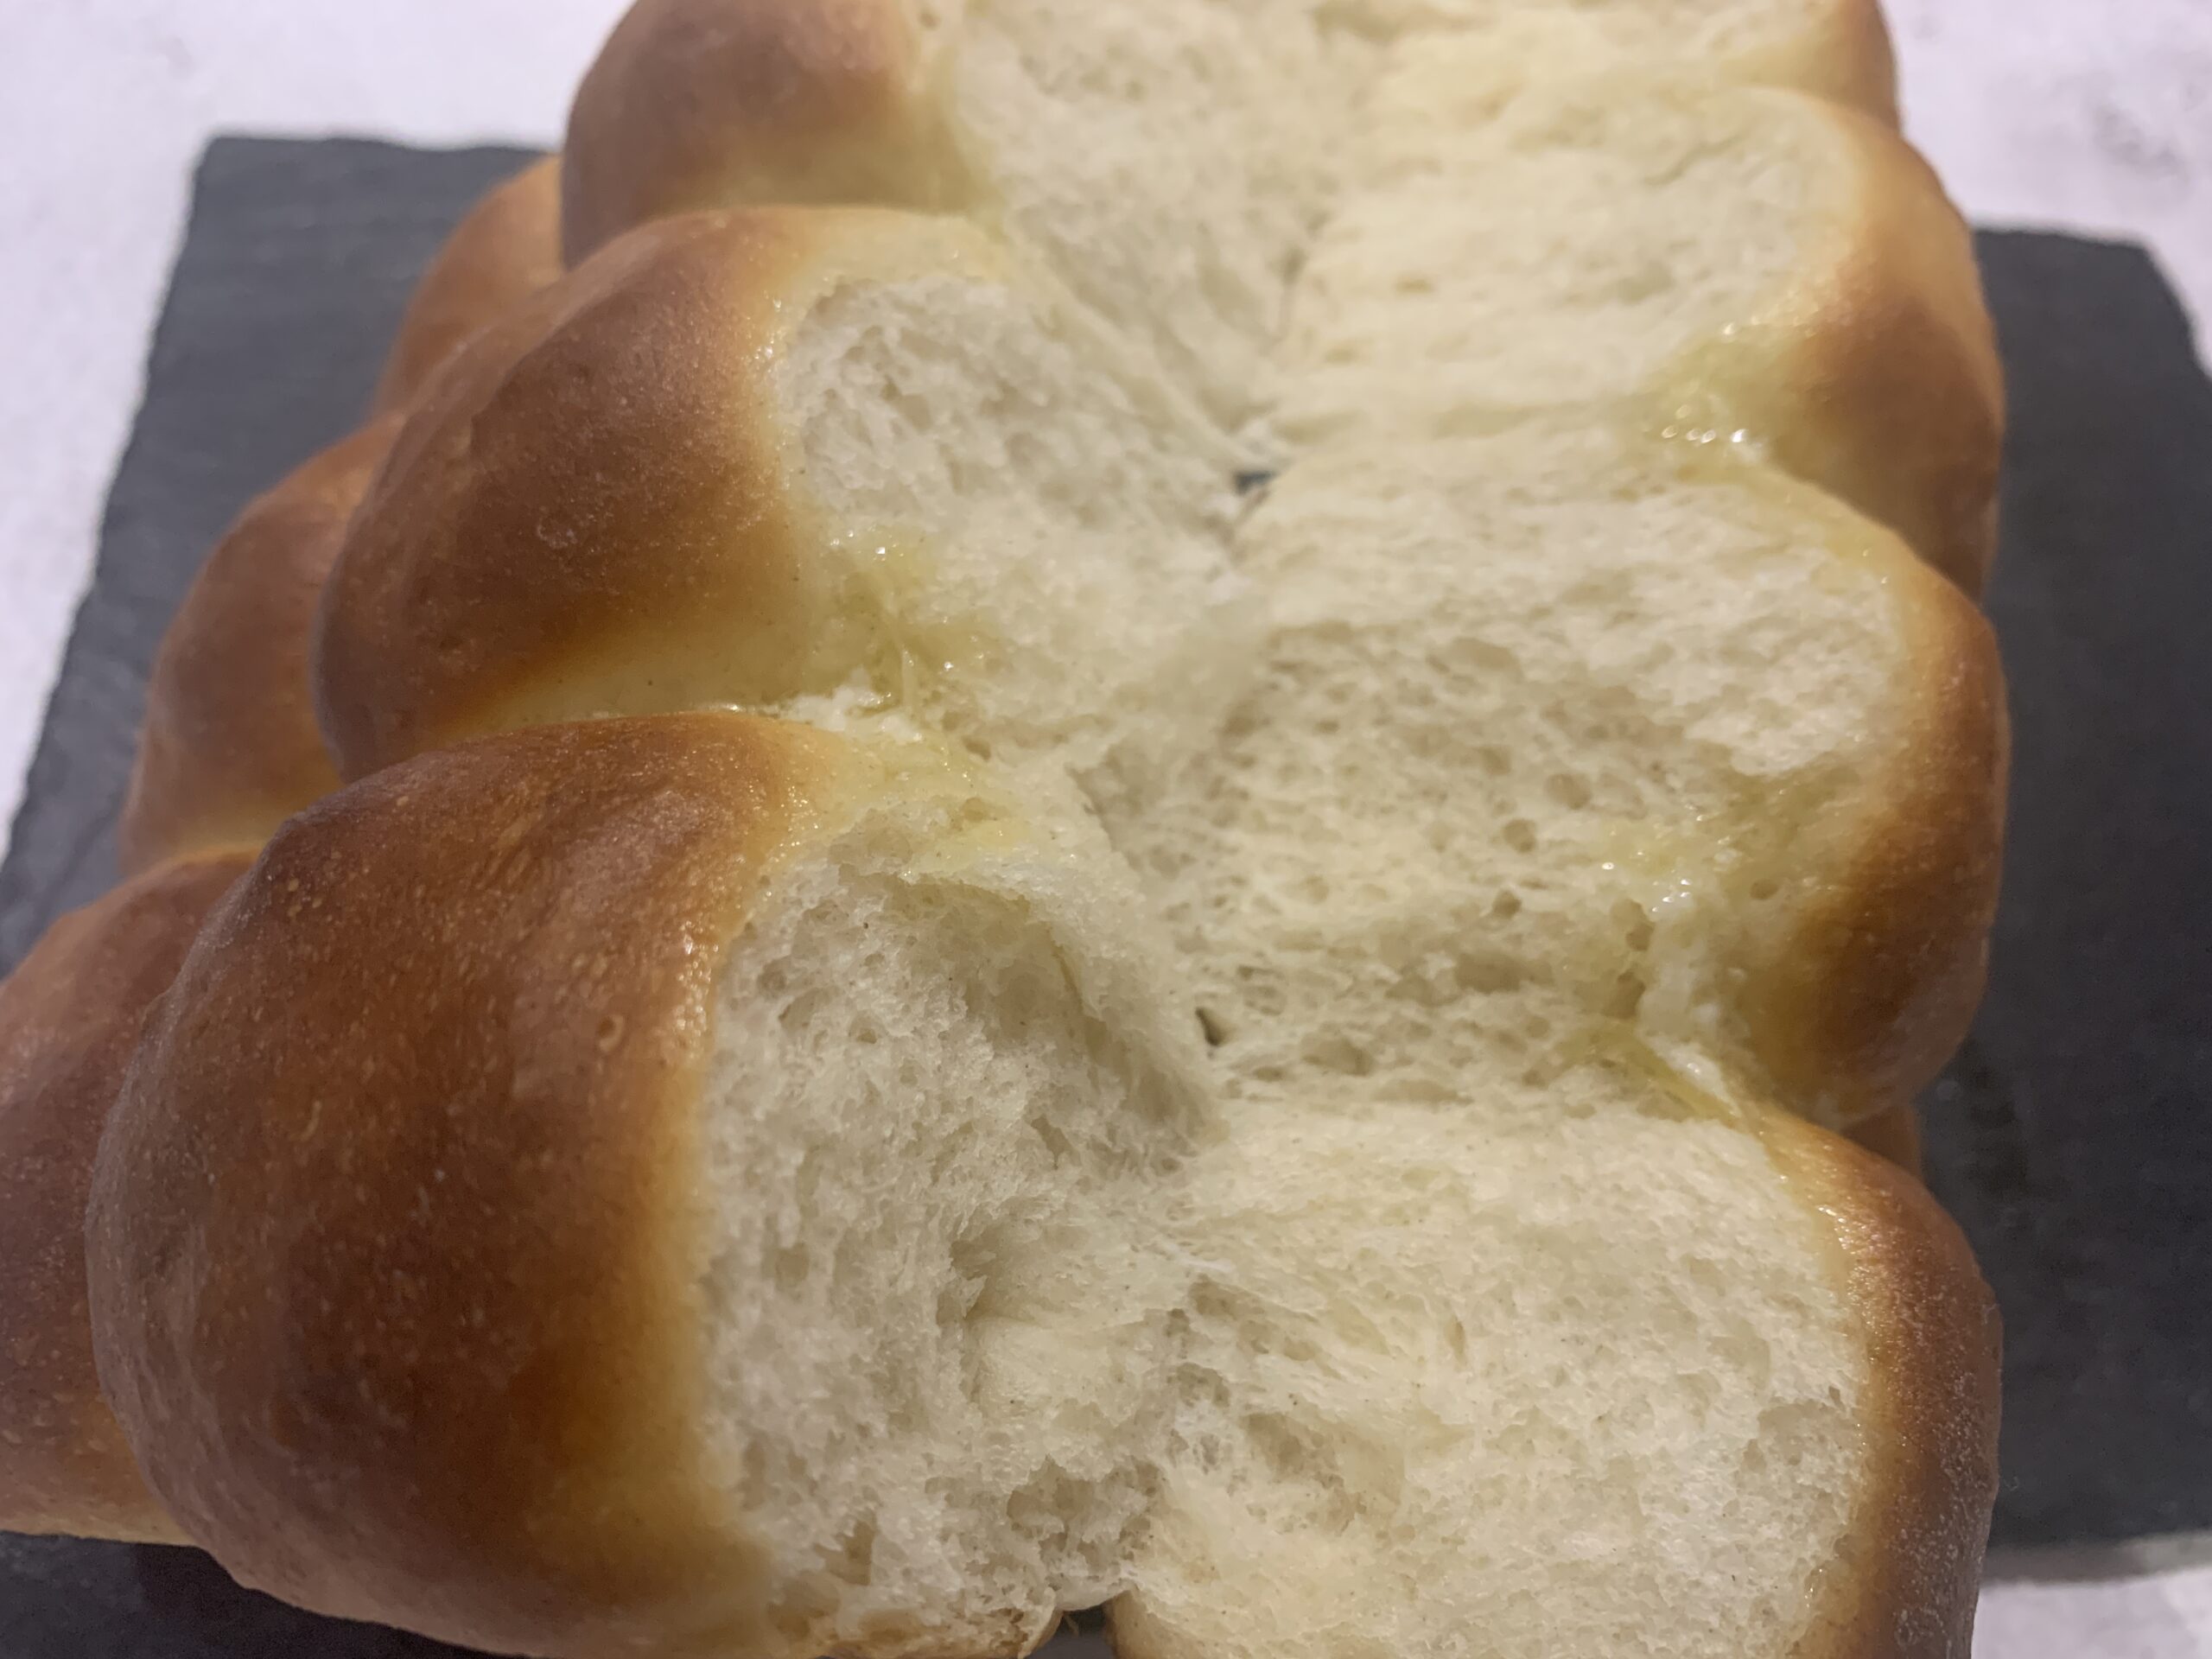
Remove from the pan and serve with butter or bhaji.
Tips & Variations
- You can use wheat flour if you wish but I always find the texture of the pav is slightly denser when I have used wheat flour.
- Always measure the ingredients carefully as things can easily go wrong while baking if ingredients are not measured.
- The dough for pav is proven twice. Firstly, immediately after kneading to activate the yeast, secondly after making the balls for 45 minutes.
- I prefer to make the dough in my mixer with a dough hook attachment. You can knead with hands.
- Always add sugar while fermenting yeast, but never add salt
- To ferment yeast always add sugar to lukewarm water/milk. Adding salt will slow down the yeast growth process and as a result the dough will not rise much. Hence, always add salt at a later stage.
- If the yeast is not frothy then throw that mix and start again.
- Be careful while using milk powder in the recipe.
- Milk powder can be sweetened or unsweetened. Check yours before adding to the recipe. I have used unsweetened milk powder. If you are using sweetened milk powder, then use less quantity of sugar.
- Butter should be soft at room temperature when you add to the dough. I have used salted butter. If you are using unsalted butter, you can slightly increase the quantity of salt added in the recipe.
- The dough should be tacky means when you touch the dough it should not stick to your fingers. If it sticks to your fingers it is too sticky.
- It is always tricky to guess when the dough is ready for the first proofing. The dough should be elastic and you should be able to easily stretch the dough. Also, the dough will not stick to the surface.
- Use a dough scraper or knife to help lift dough without adding too much extra flour.
- Always use a knife or dough scarper to divide the dough. Tearing the dough will tear the gluten strands which provide the structure to the pav.
- I like to make small slider size Pav. If you prefer bigger buns then instead of dividing it into 16 pieces divide the dough into 8-10 equal balls.
- Do not ADD any flour or water to the dough. The magic lays in kneading the dough. You will know what I mean once you have made these pavs once. The pav will not be soft if you add too much flour or water to the dough.
- If the pav does not rise after second proofing, then it might be because either you over fermented the dough or kneaded too much before second proofing.
Weather can have a huge impact on the proofing, so I would advice you to check the dough every 15-20 minutes. If it is hot, then first proofing might only need 45 minutes.
- Make sure there are no cracks in the balls that you form.
- Always preheat the oven as that ensures the oven is at the right temperature to cook the buns.
- To get the store-bought pav shape placing the pav is the most important. Place them at a little distance from each other but not too far while baking. If you will leave gaps between them, buns will not rise but instead will spread sideways, resulting in flat pavs.
- In this version, I have made ‘Ladi Pav’ with dried yeast. But if you want, you can use the same amount of fresh yeast instead.
- I have used butter for this recipe, but if do not prefer butter then you can simply replace it with 2 tbsp of cooking oil or baking margarine.
- Baking Ladi Pav at home is easy; it just requires some patience. I would recommend giving yourself time while making the buns so that you are not rushing the proving times or preheating the oven.