Apple Pie
Apple Pie
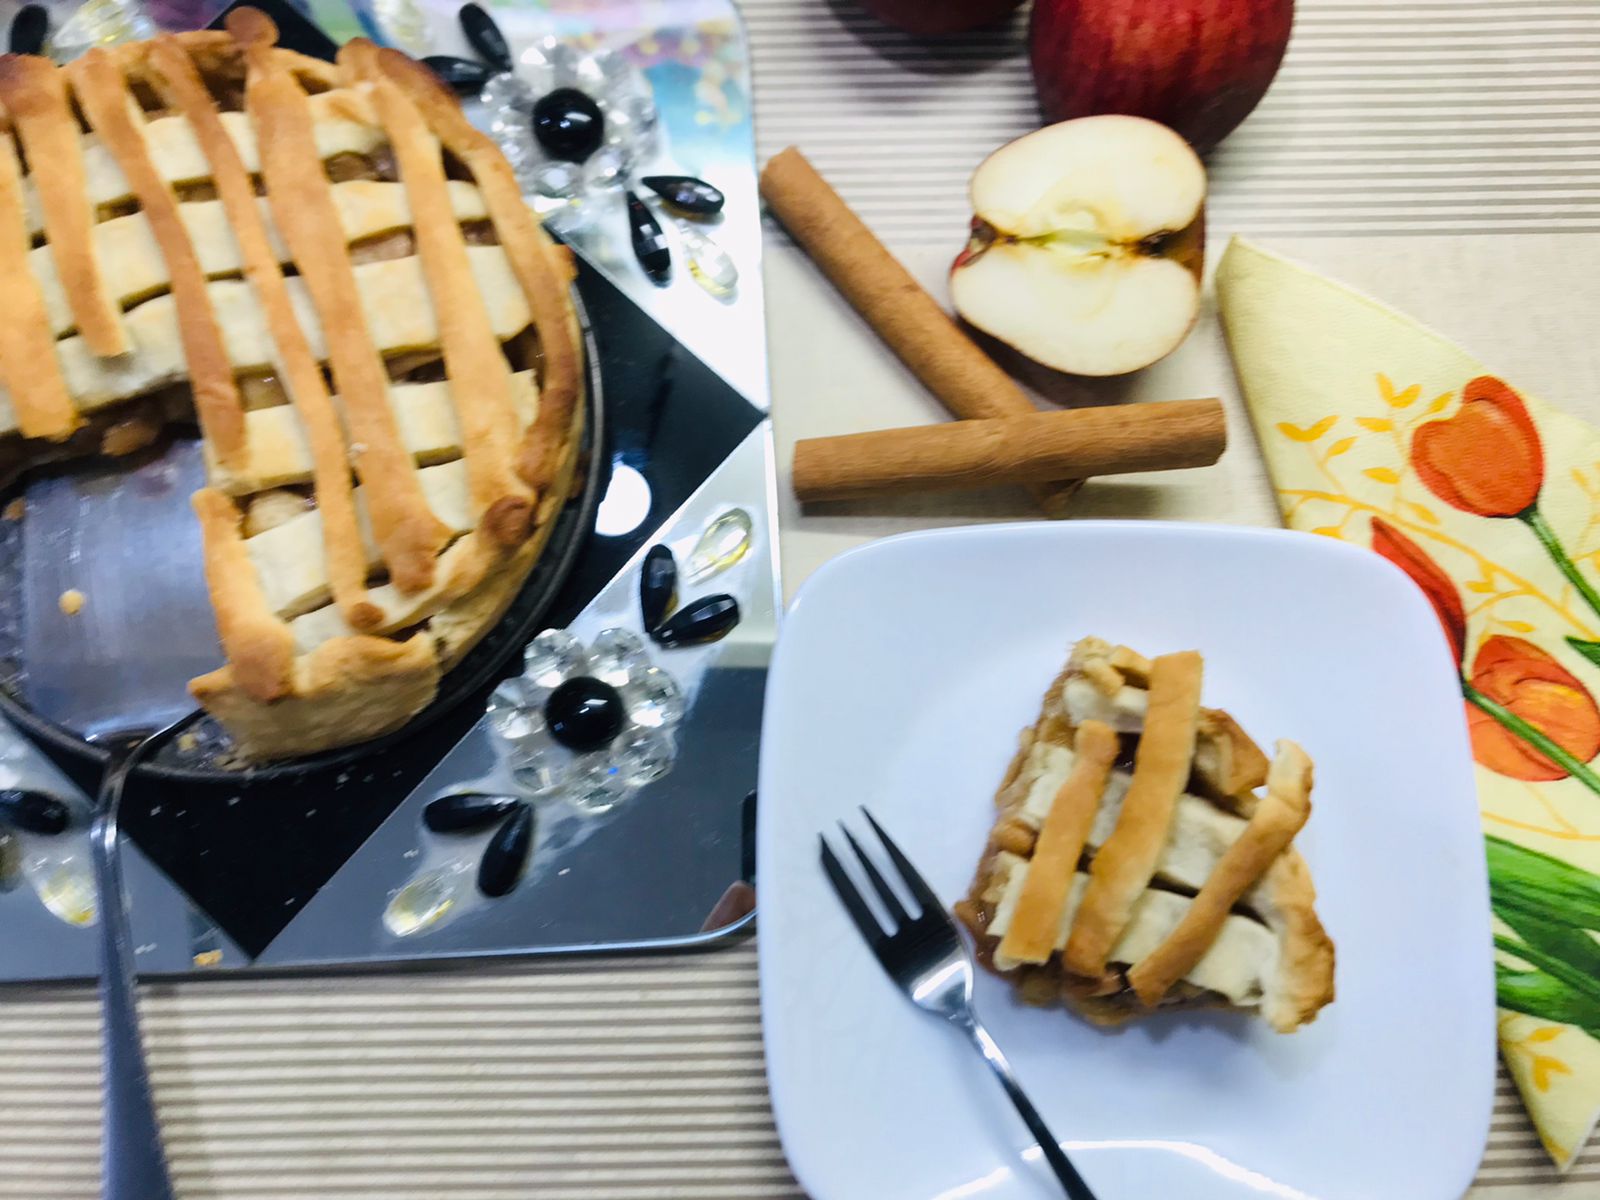
Old-fashioned apple-pie recipe is an easy to make homemade dessert that is perfect for parties and special occasions. With delicious, sweet apples and a flaky crust, this pie is a classic dessert recipe that will warm your heart and feed your soul.
Homemade apple pie is a classic dessert that’s especially perfect for Autumn/Fall with apples being in season. But really, who wouldn’t love a slice of apple pie any time of year? Making a pie from scratch can seem difficult, but it is fairly easy. If making the pie dough from scratch intimidates you, don’t worry. My simple step by step recipe will sail you through!
As I was testing this apple pie recipe, my whole family kept raving that it is the best apple pie they have ever eaten. Even with years of home cooking and baking experience, I still approach homemade pie with a bit of trepidation. The person who coined the term ‘easy as pie’ had obviously never made a homemade pie! But with a good step by step recipe, making a delicious apple pie is totally doable. The key is to avoid the typical apple pie pitfalls — a soggy crust and waterlogged filling. I always blind bake the crust and boil down the juices of the apples before filling the pie to avoid those pitfalls and these steps do add a bit of extra time but ensures a crisp and flaky crust and a that is not the least bit watery.
The best apple pie starts with good baking apples. I have used granny smith, but you can use any apples that are firm enough to hold up to the heat of baking, so that they don’t cook down into mush. I have given some alternatives in the ‘Tips and Variation’ section.
This apple pie recipe is an absolute perfection. The homemade crust is buttery and flaky with a caramelized exterior, and the center is full of tender and flavourful apples. With the filling coated in an apple caramel sauce, each apple slice is packed tightly into this pie, making every single slice tall and full of apples.
This apple pie recipe is easy to make from scratch! This apple pie recipe is simple, smells delicious while it’s baking, and tastes amazing!
Ingredients
For The Pie Crust
250 grams plain flour
160 grams butter
¼ teaspoon salt
¼ teaspoon baking powder
2 teaspoons sugar
4 tablespoons ice cold water
For Apple Filling
2 cups chopped apples
2 teaspoons butter
60 grams white sugar
60 grams brown sugar
1 tablespoon cinnamon powder
1 tablespoon corn flour
Juice of ½ lemon
Directions
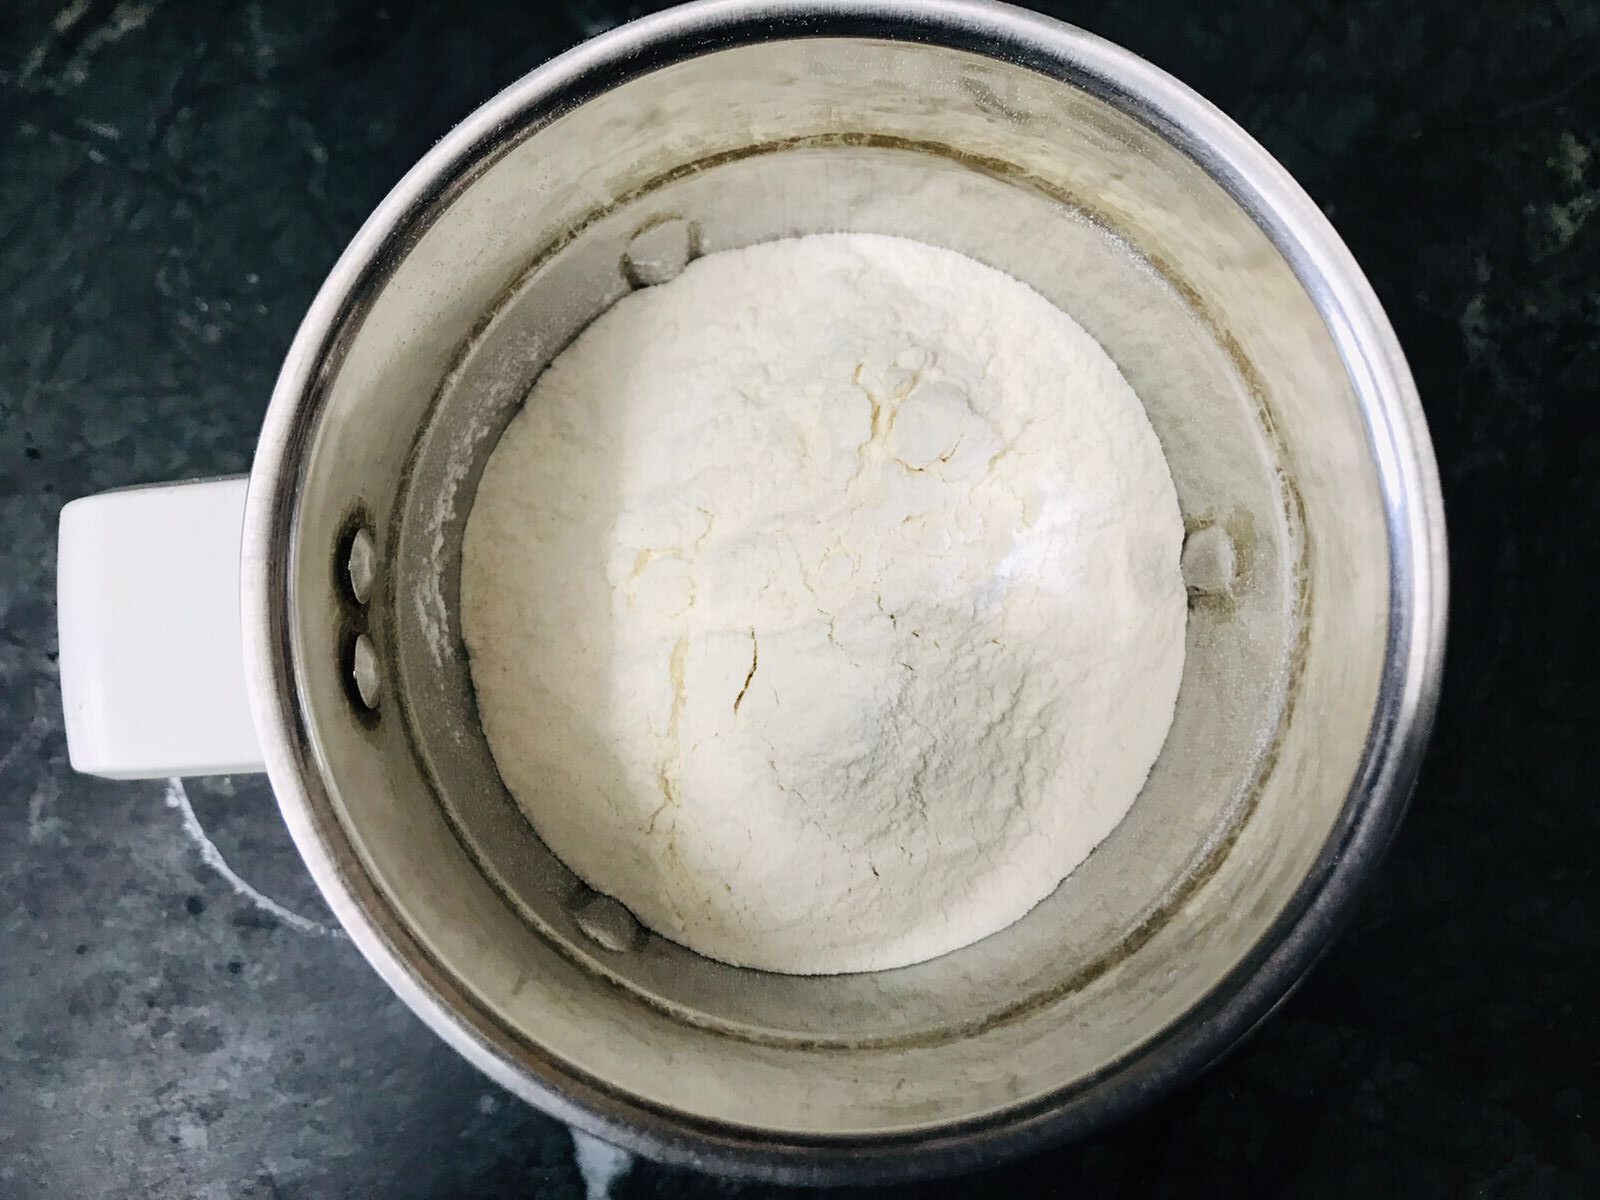
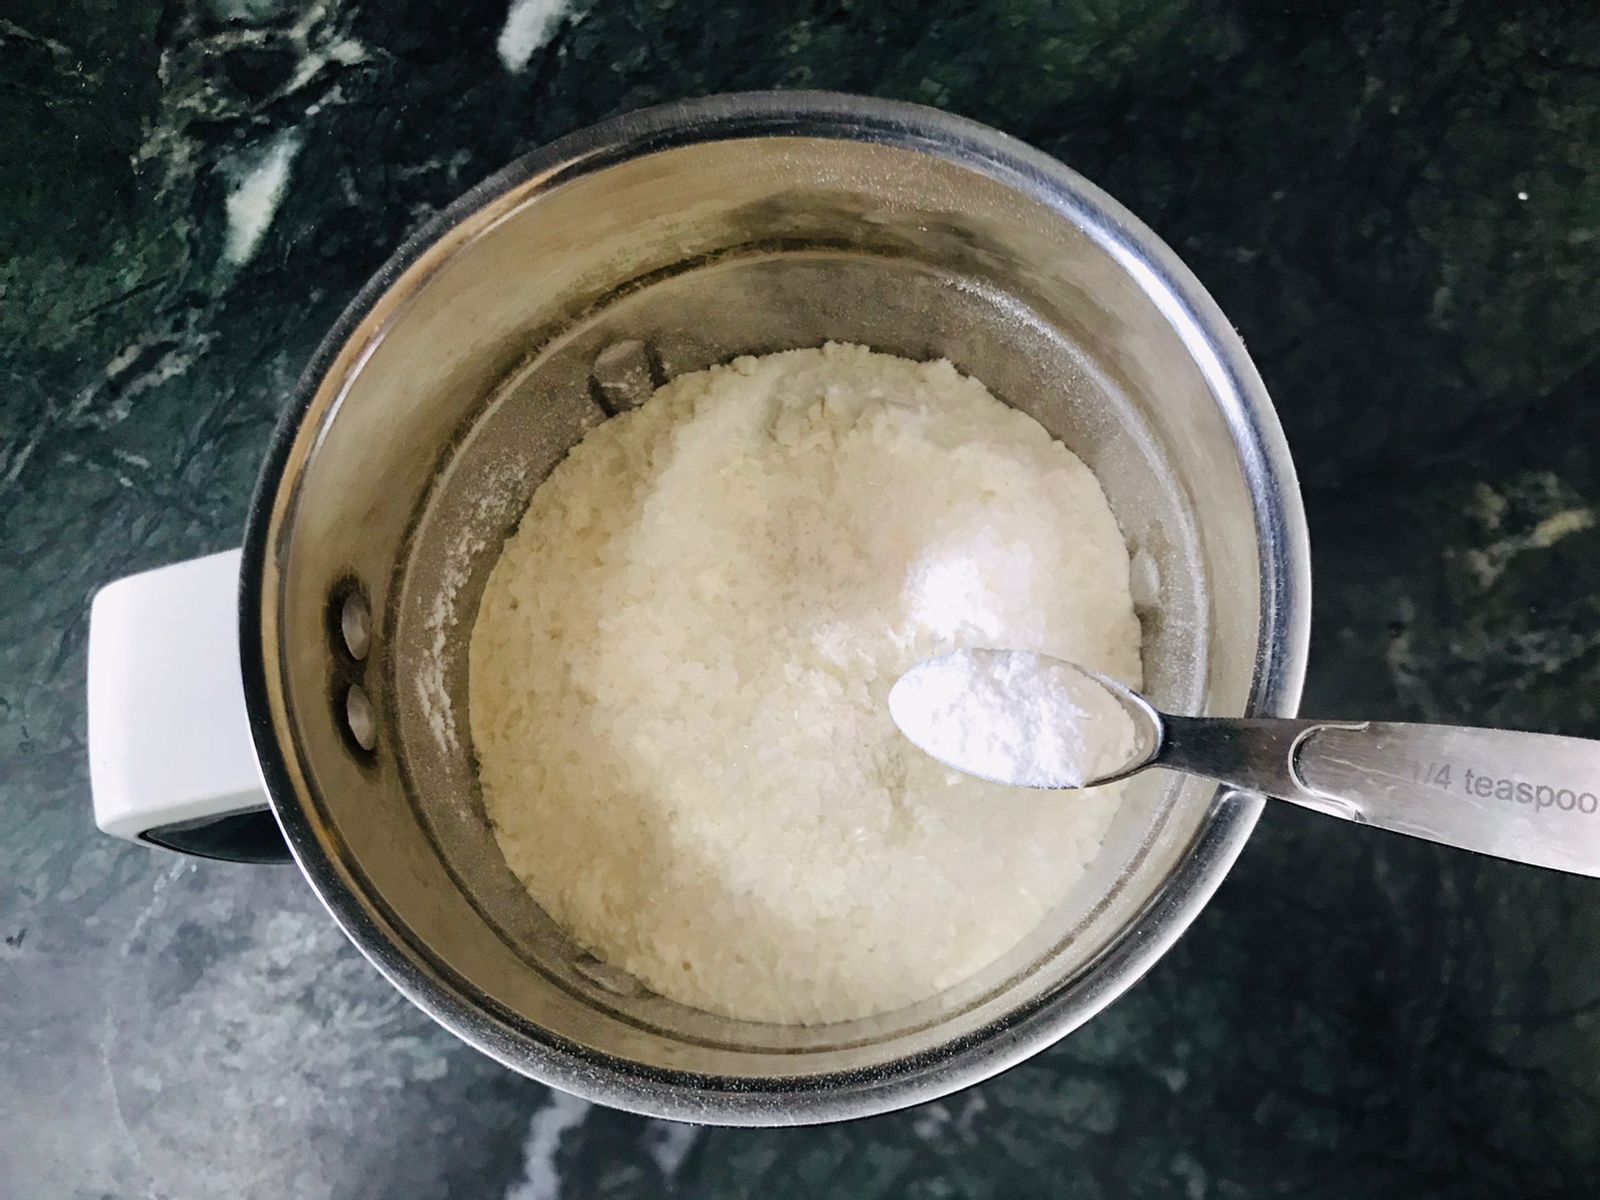
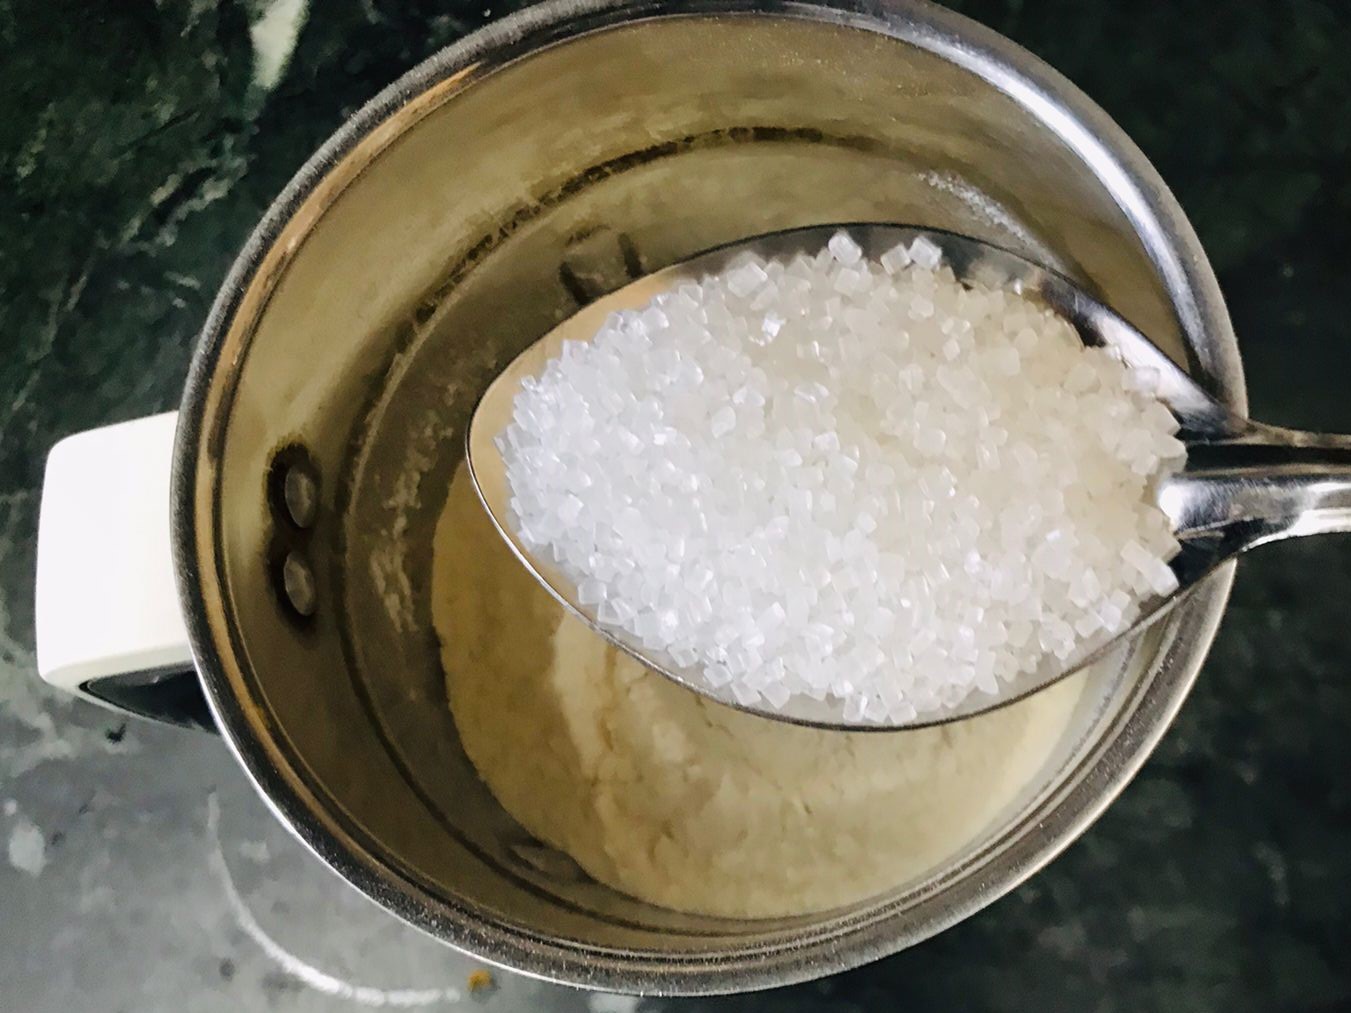

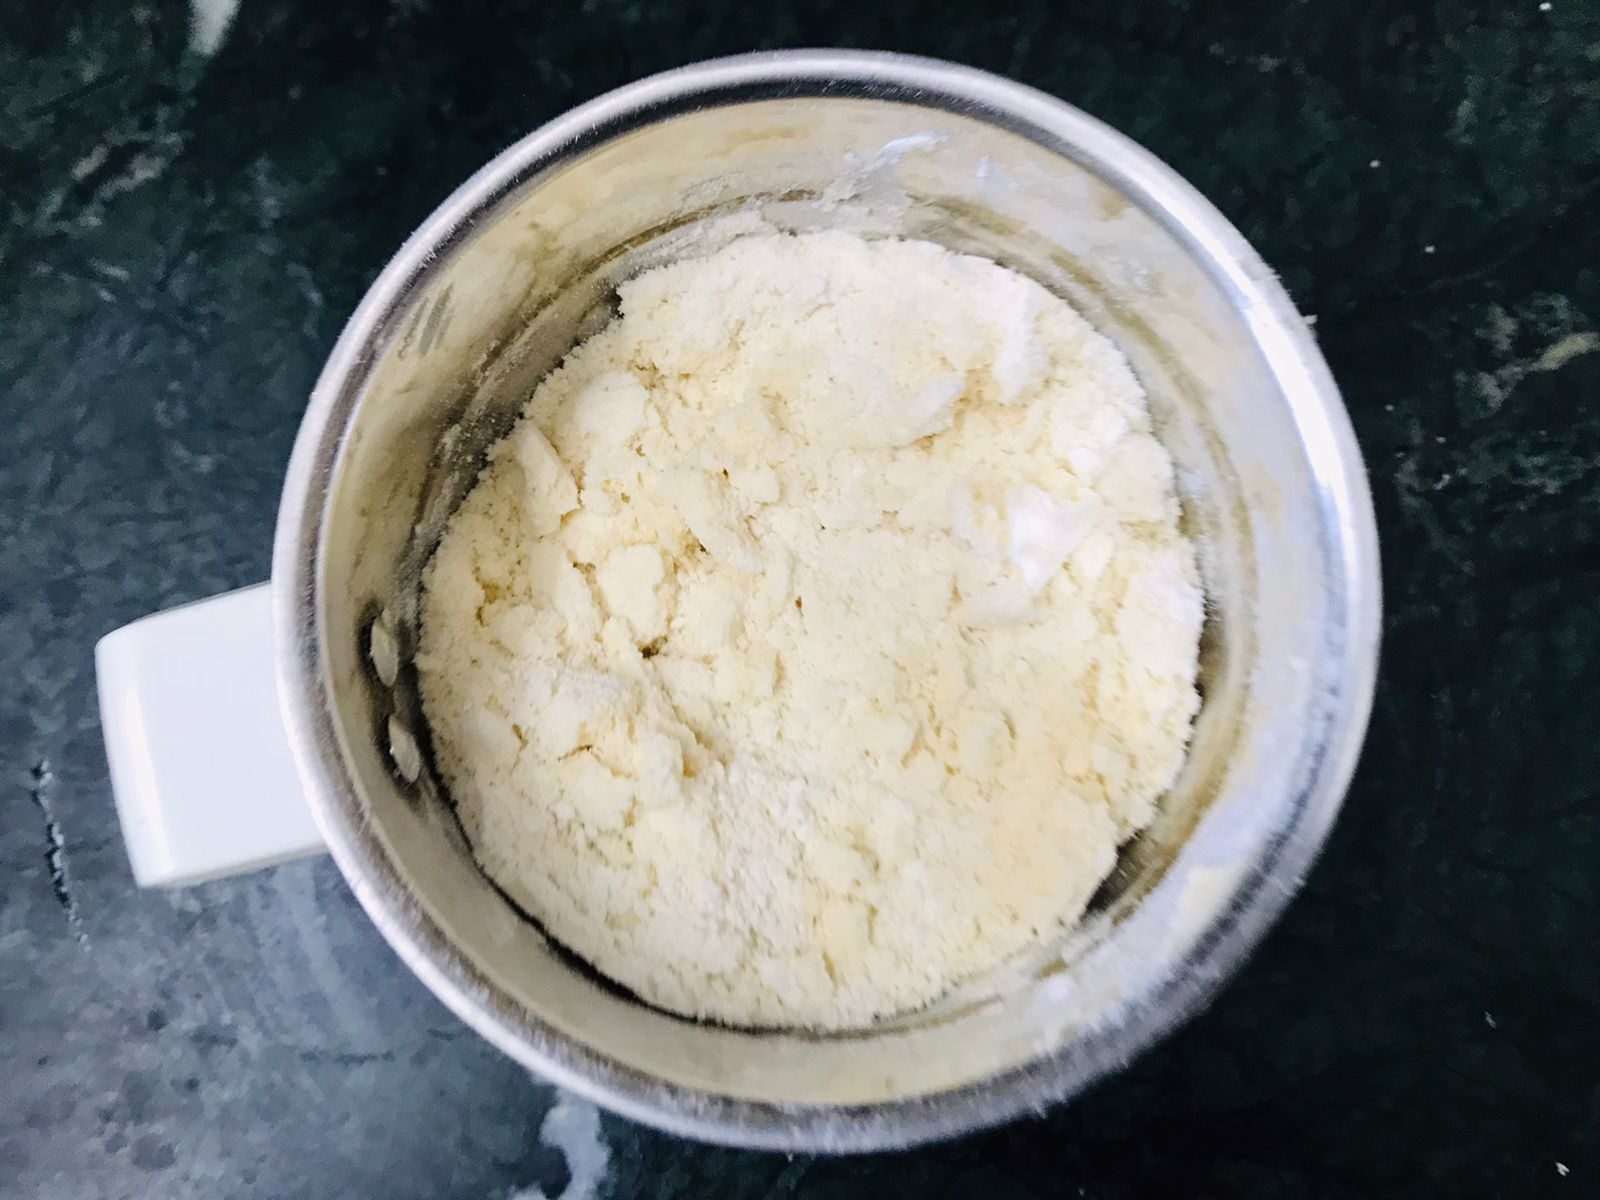
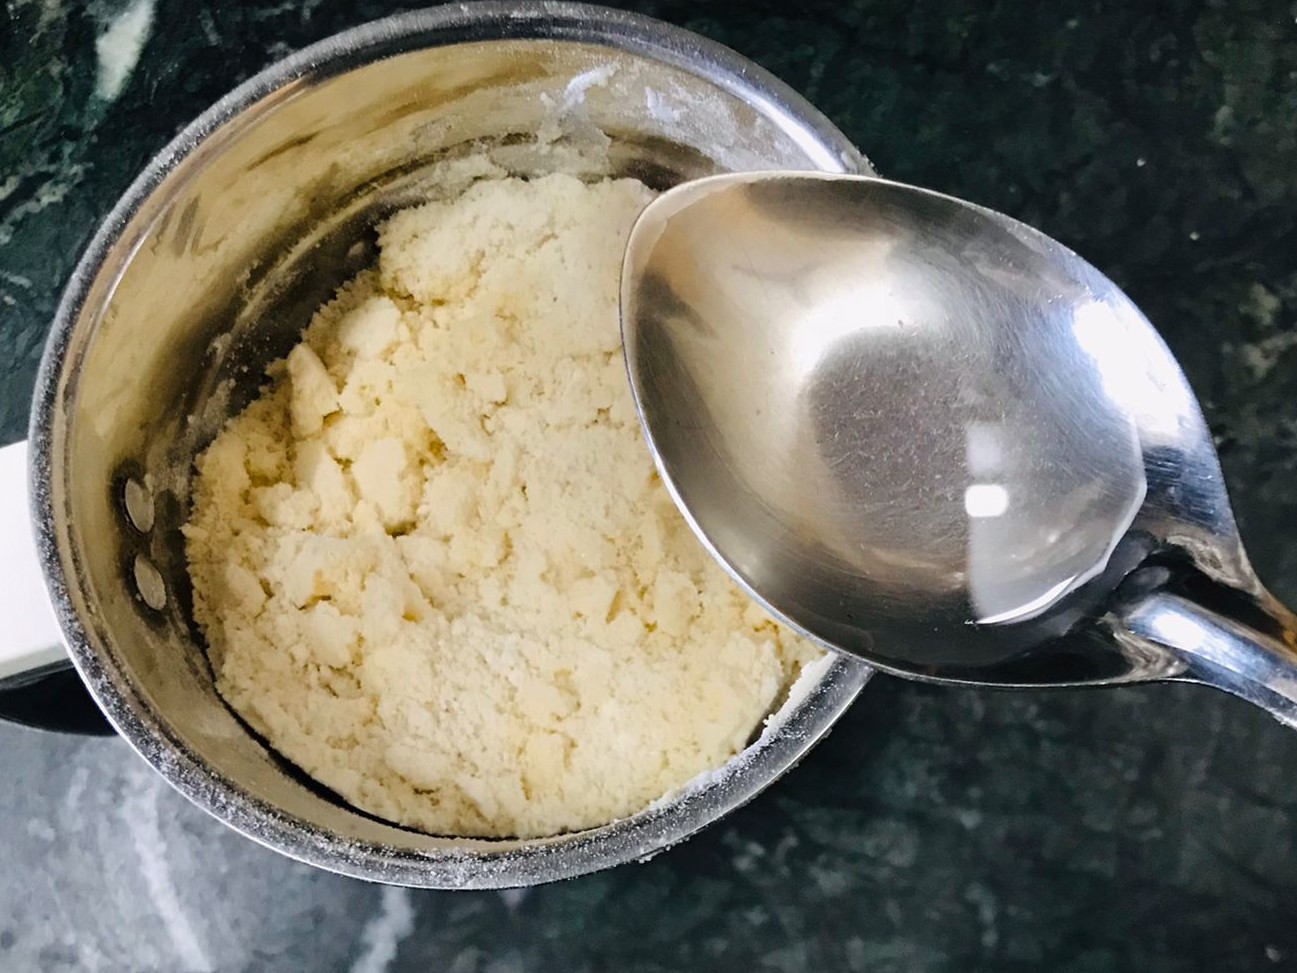
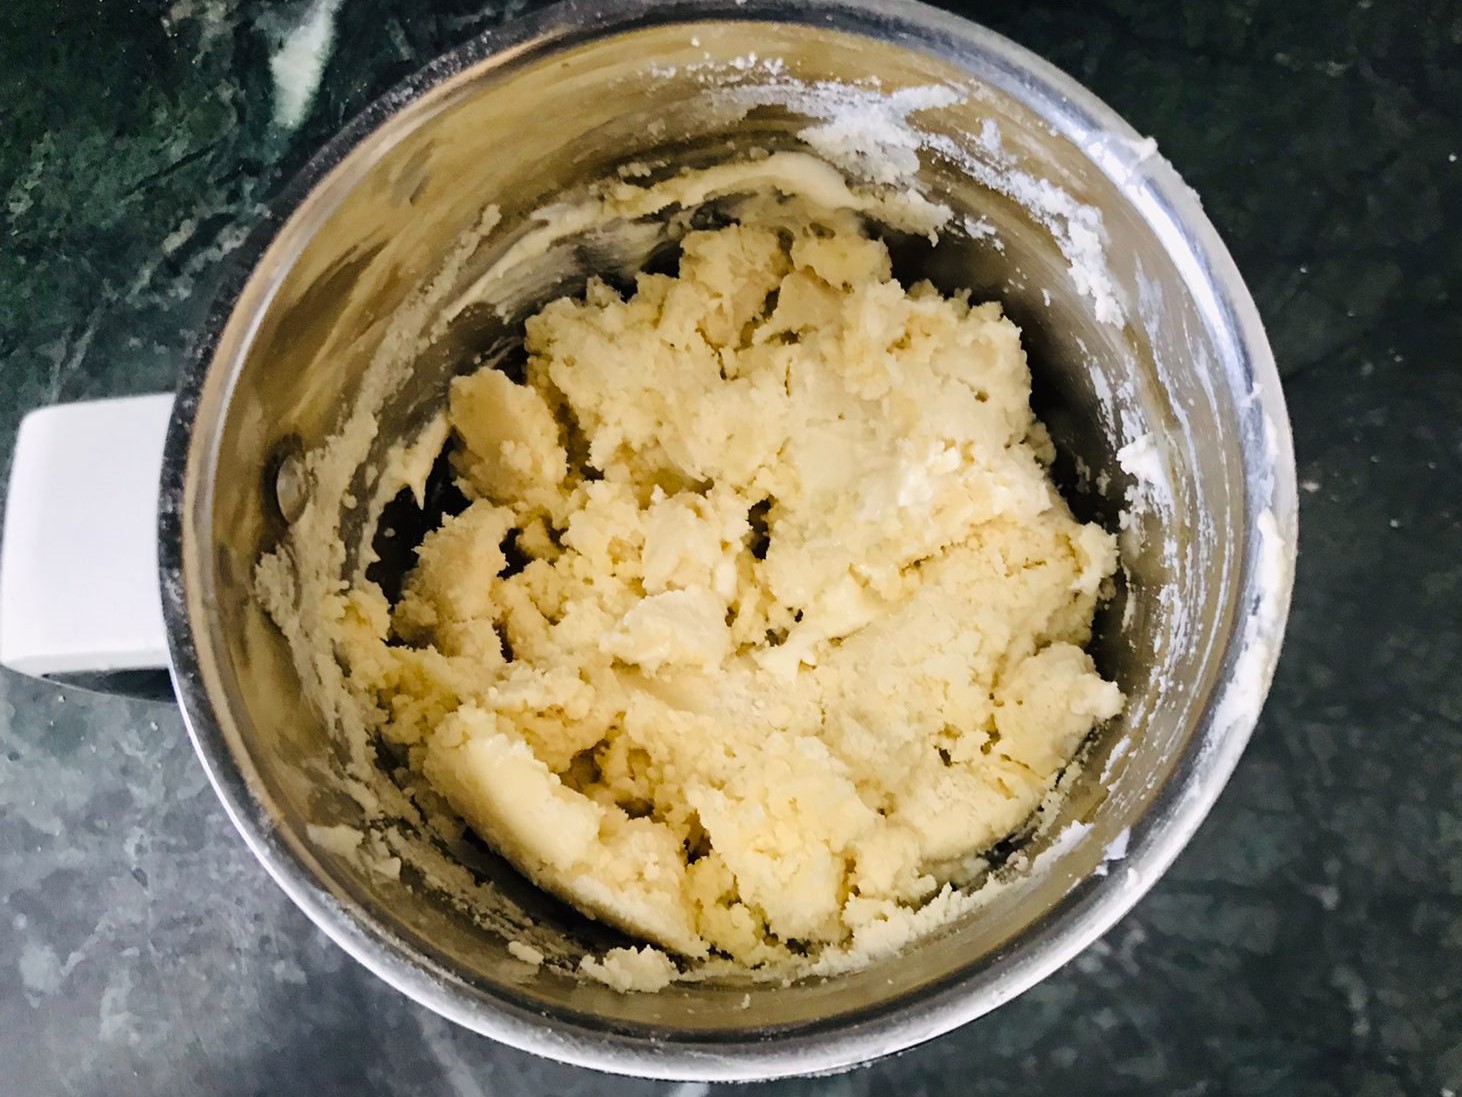
Add the flour, salt, baking powder and sugar to a food processor, then pulse to combine. Add the butter and process for 10 continuous seconds, until the mixture looks like coarse breadcrumbs.
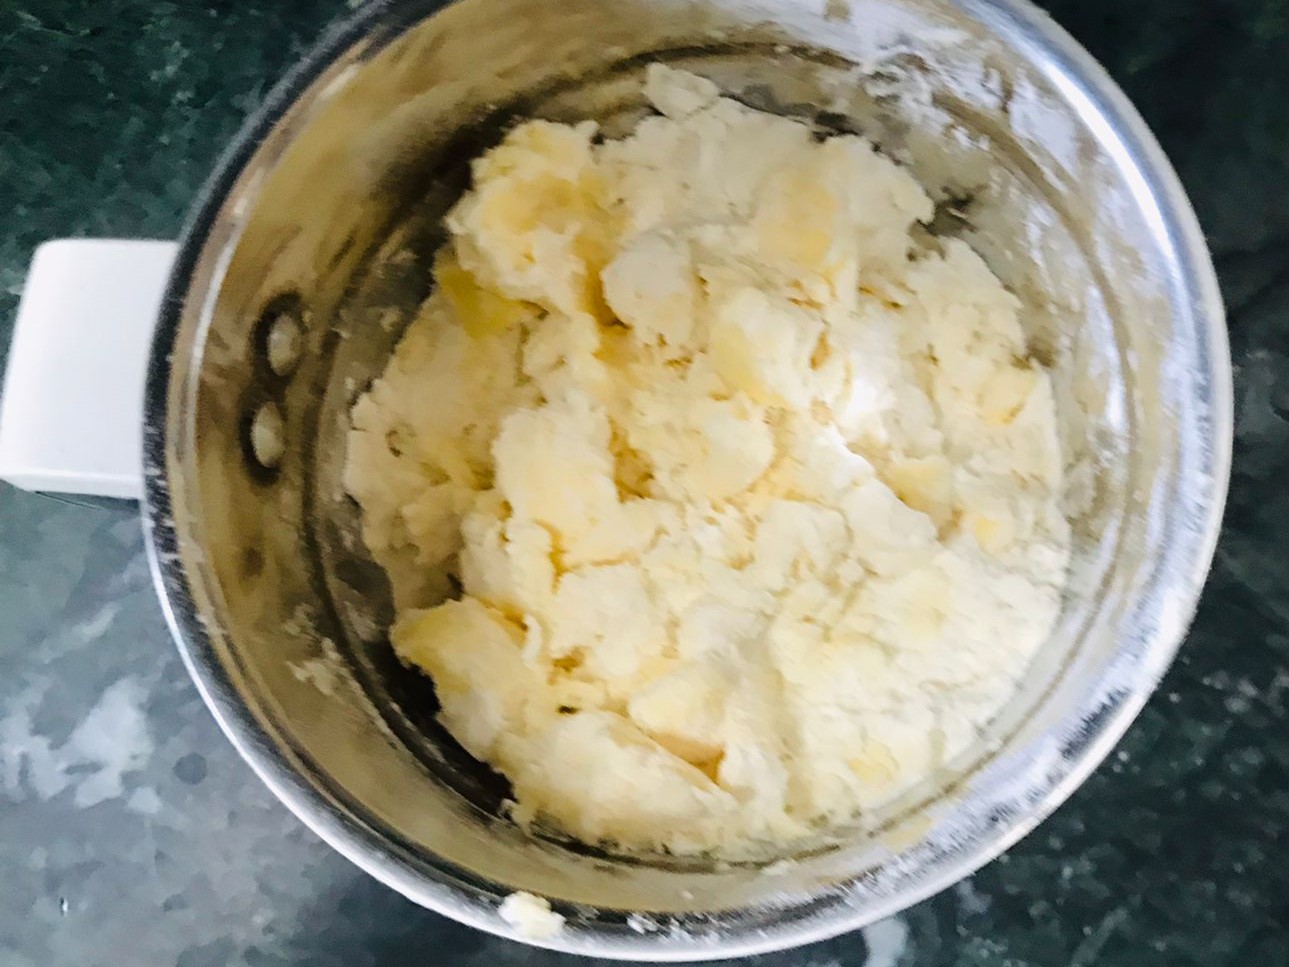
Add the ice water and process for 20 seconds. The dough should now start clumping together.
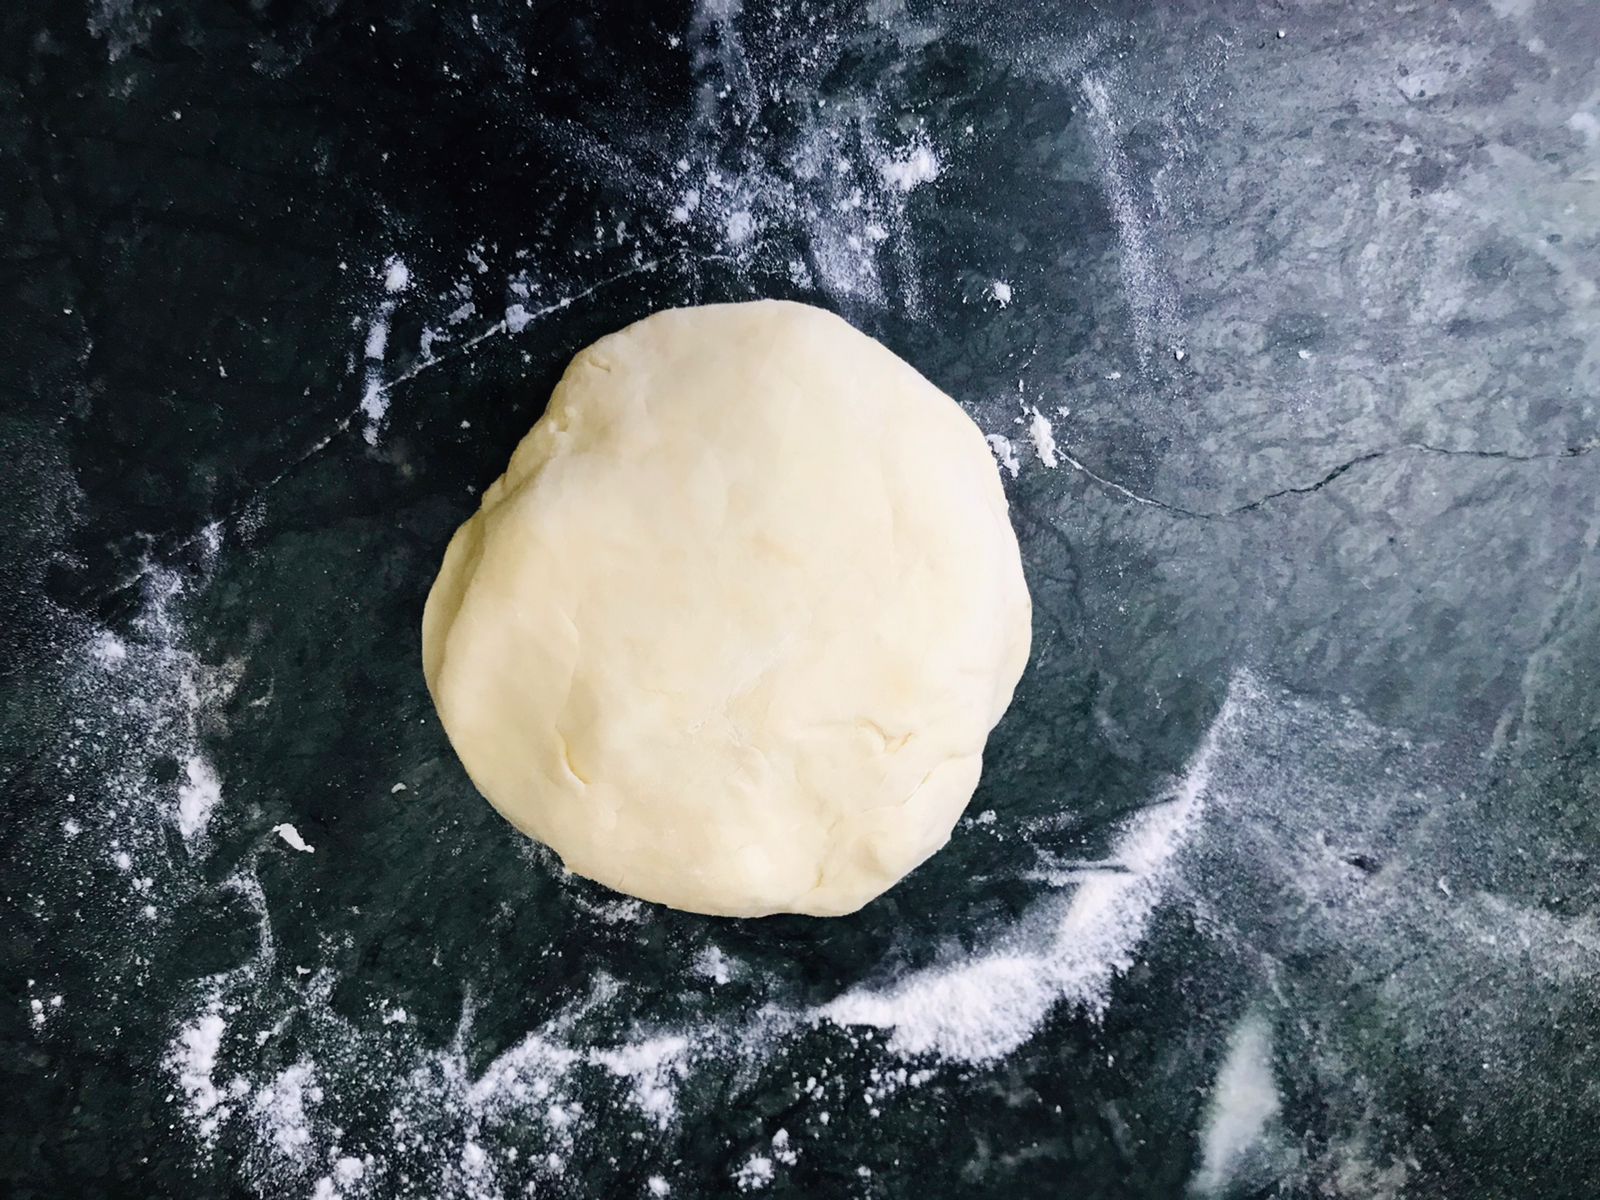
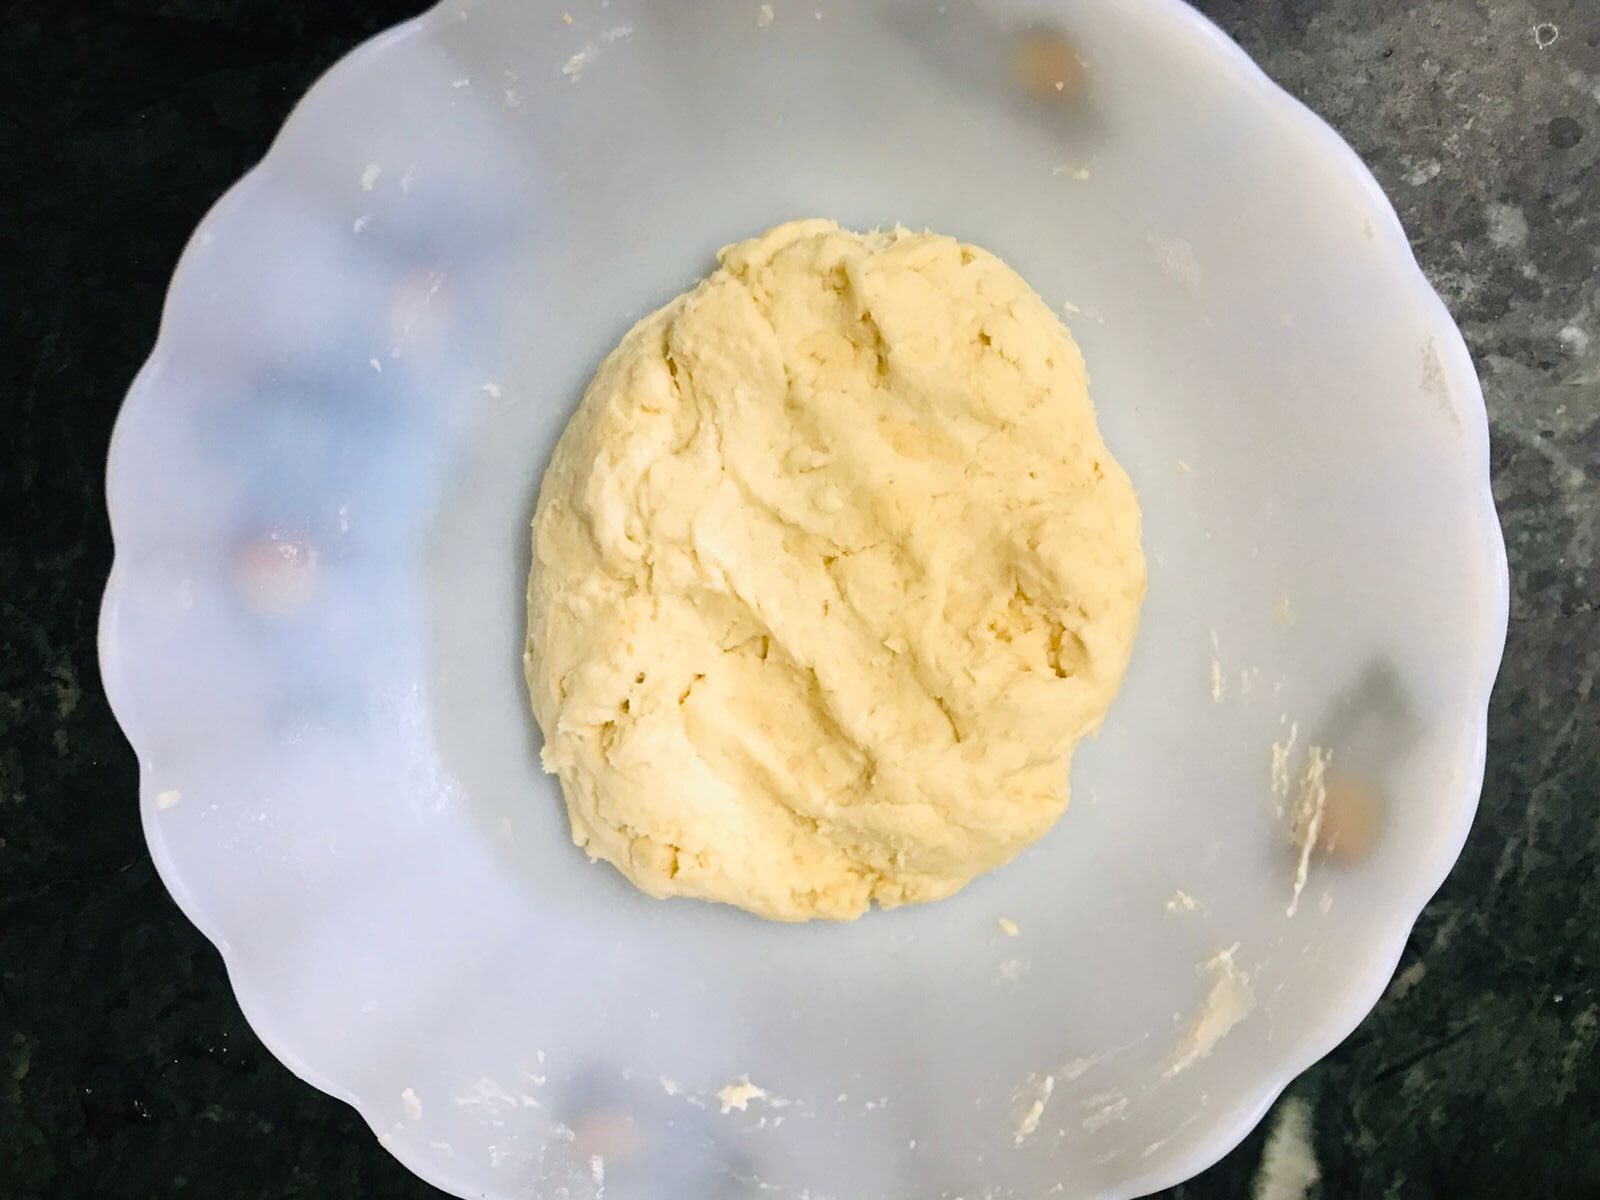
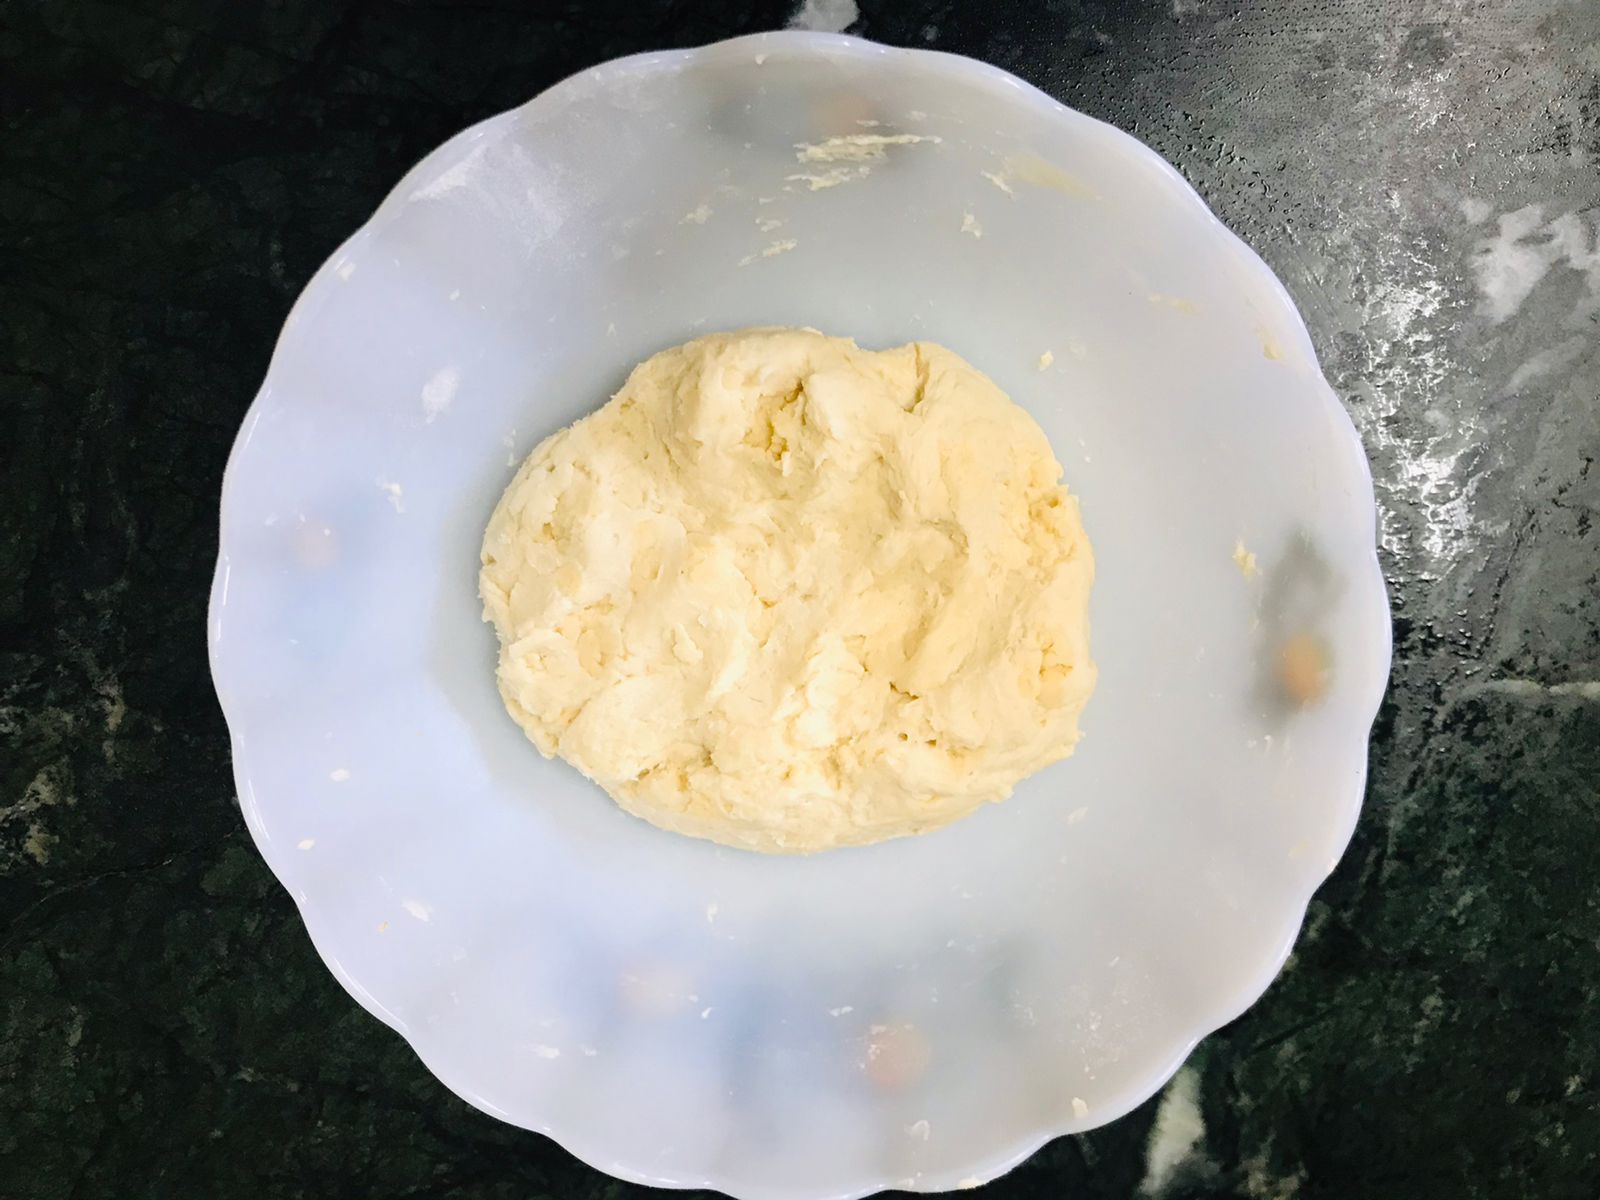
Turn the mixture out onto a work surface. The mixture will easily hold together when pressed. Using your hands, gather the dough into a ball then flatten into a disk, kneading it as lightly as possible.
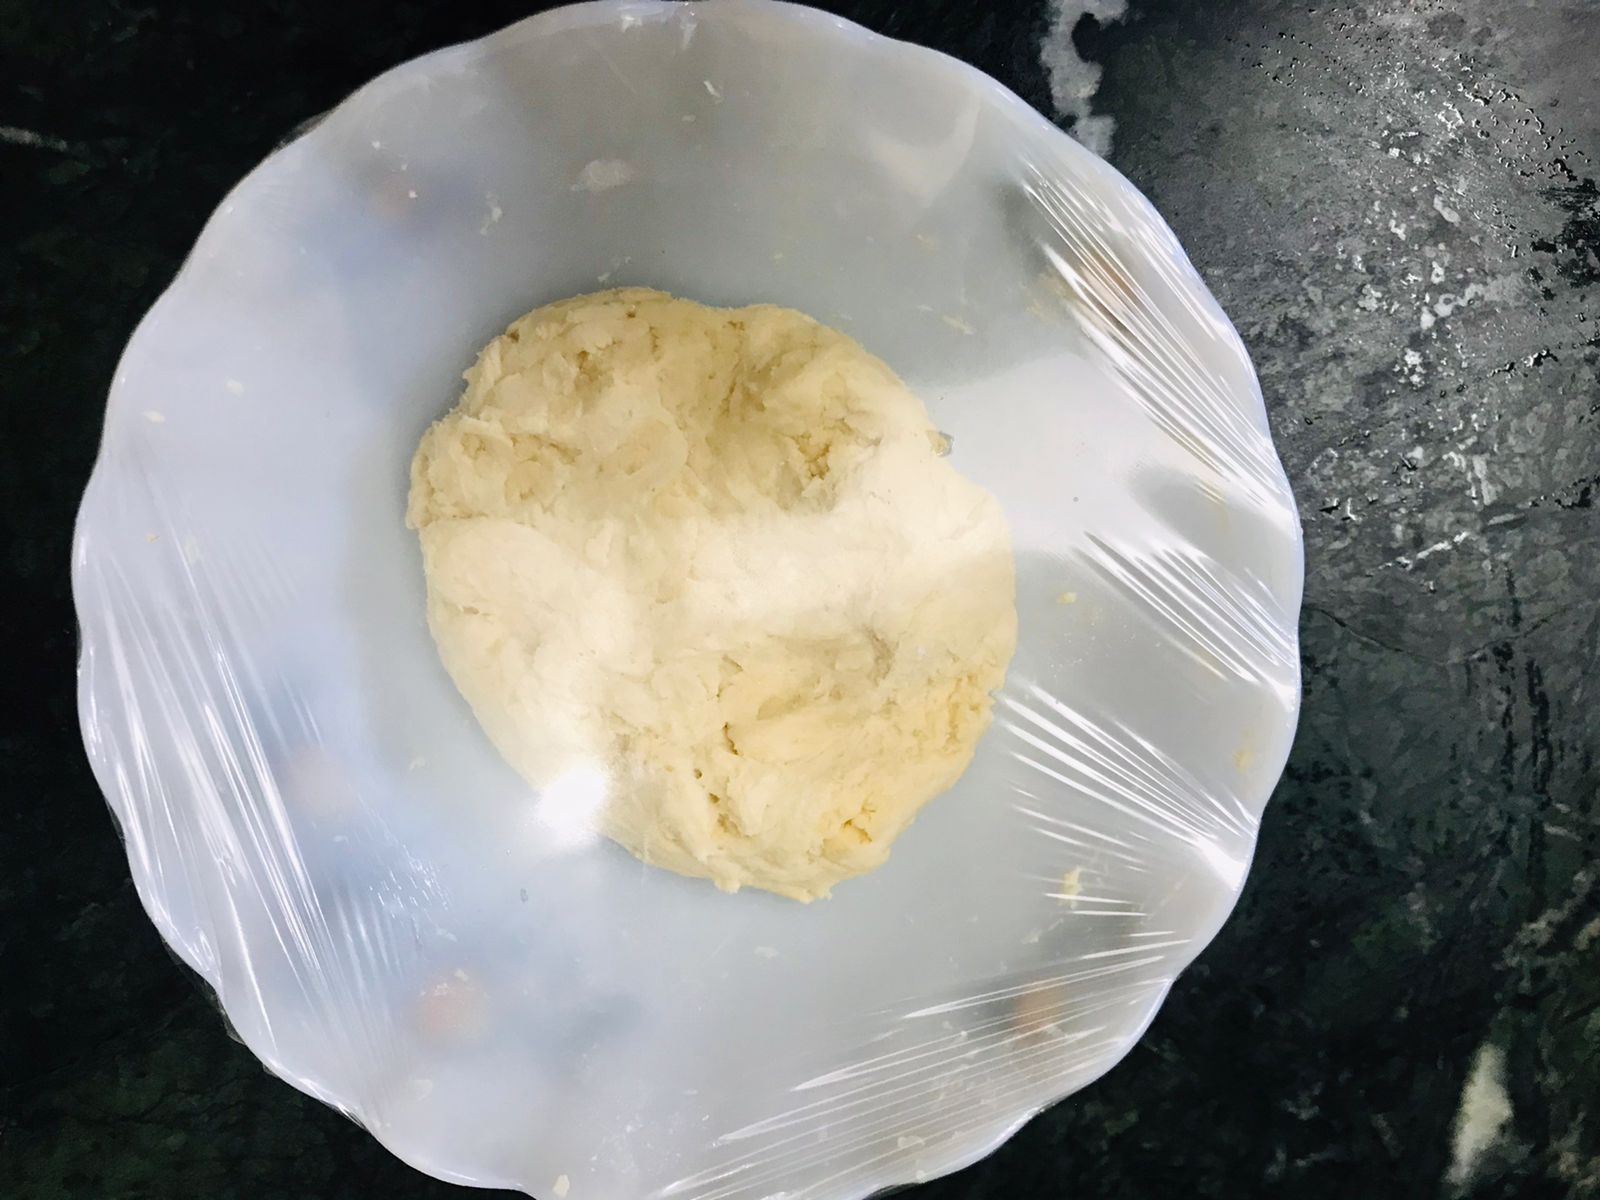
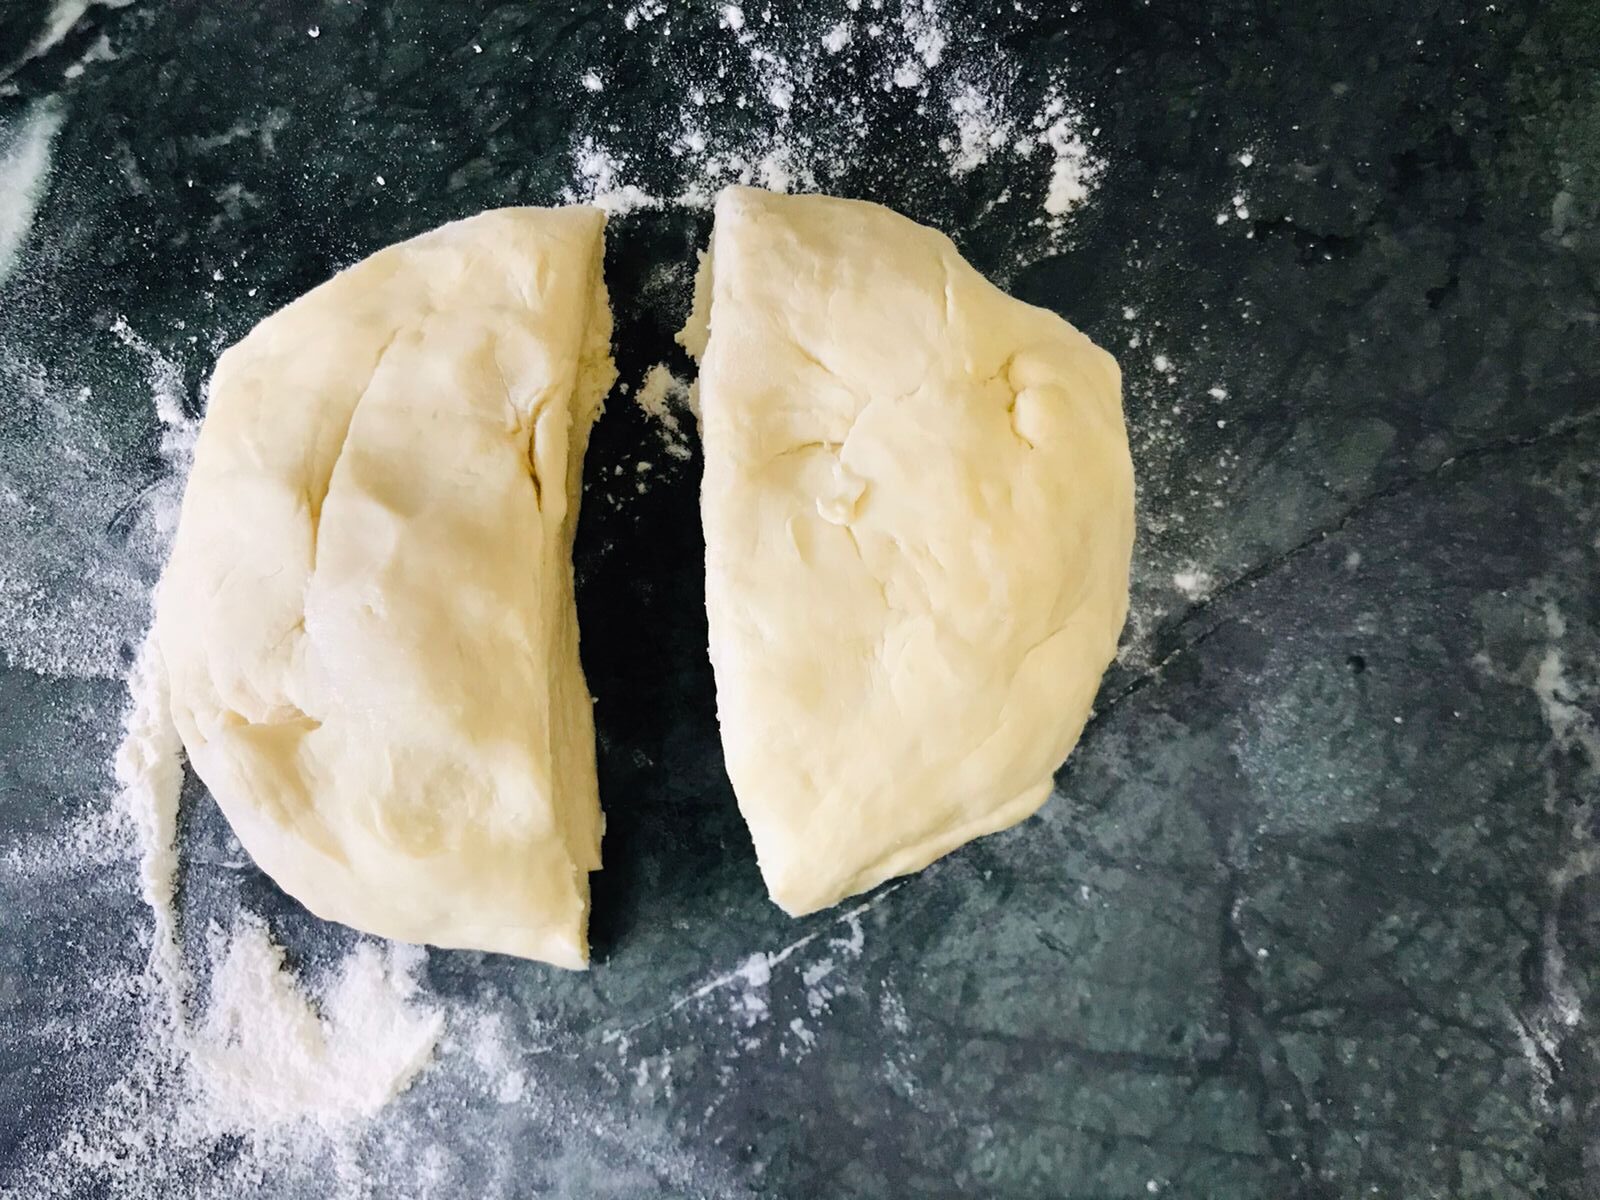
Gently divide the ball into two halves. Place one ball onto the work surface and place half of the ball in the freezer for 10 minutes.
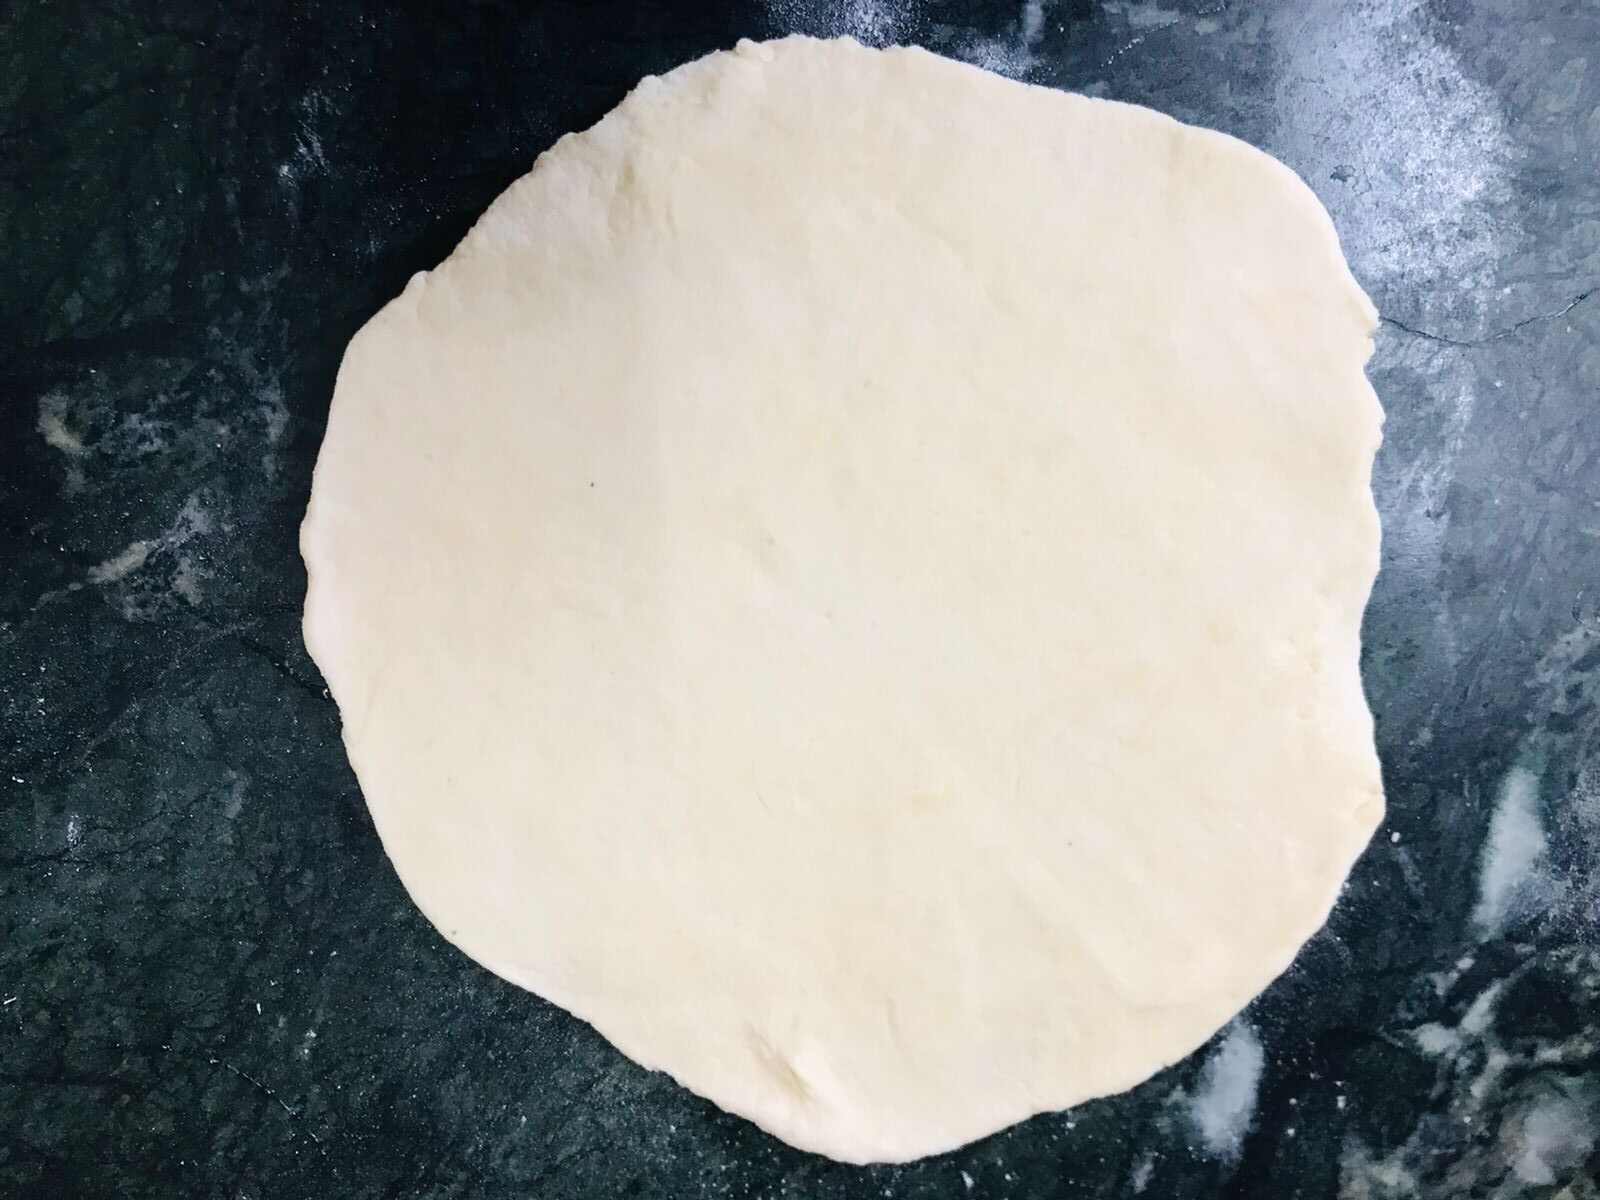
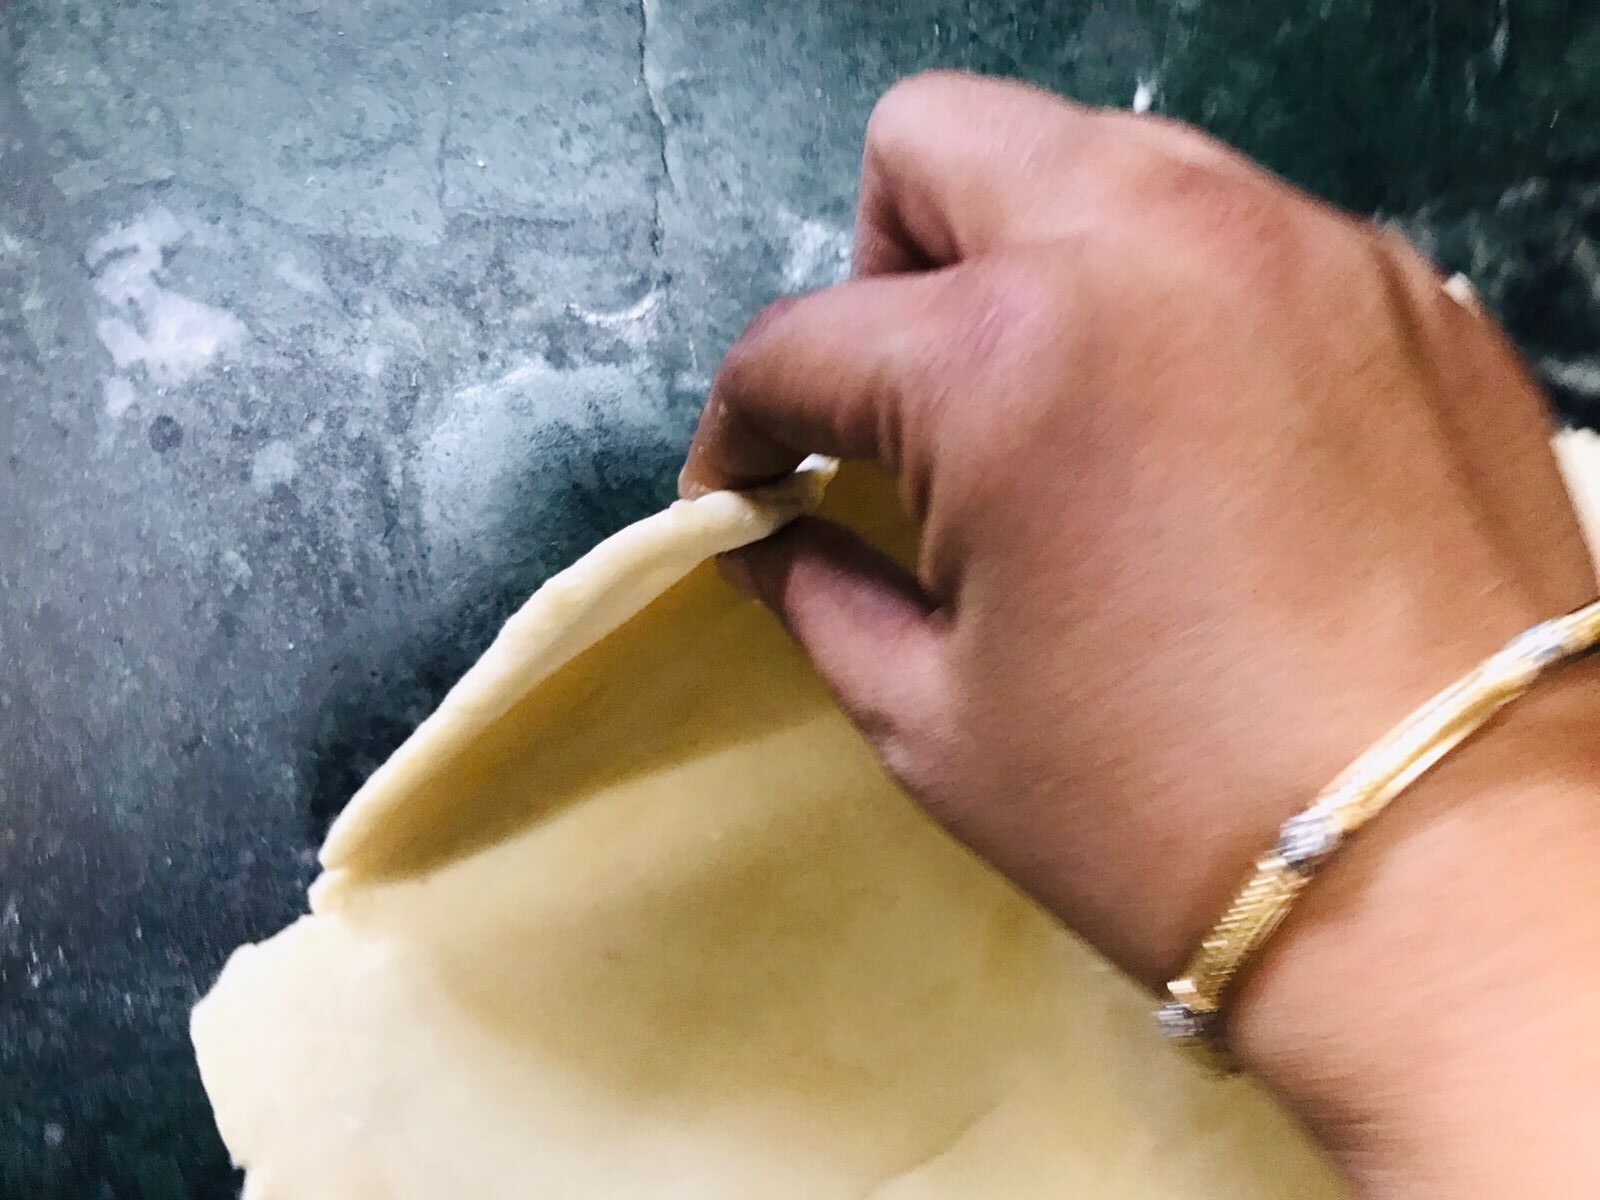
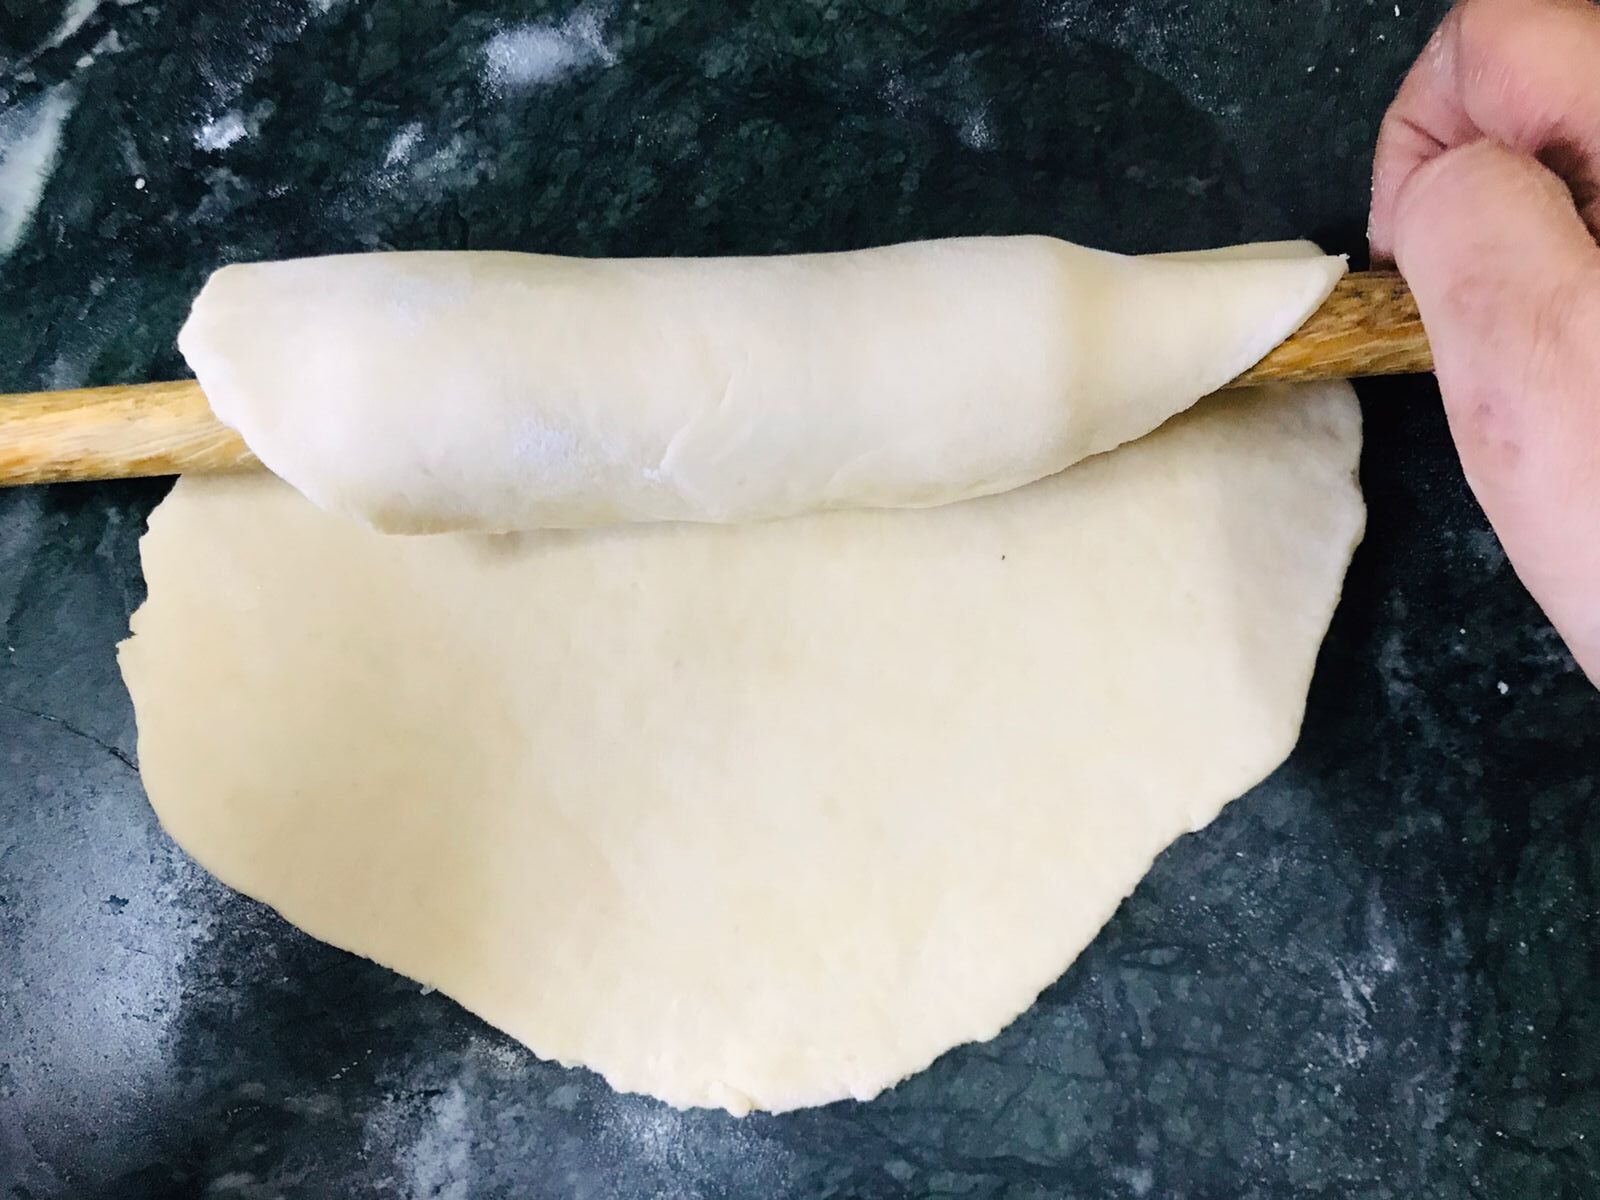

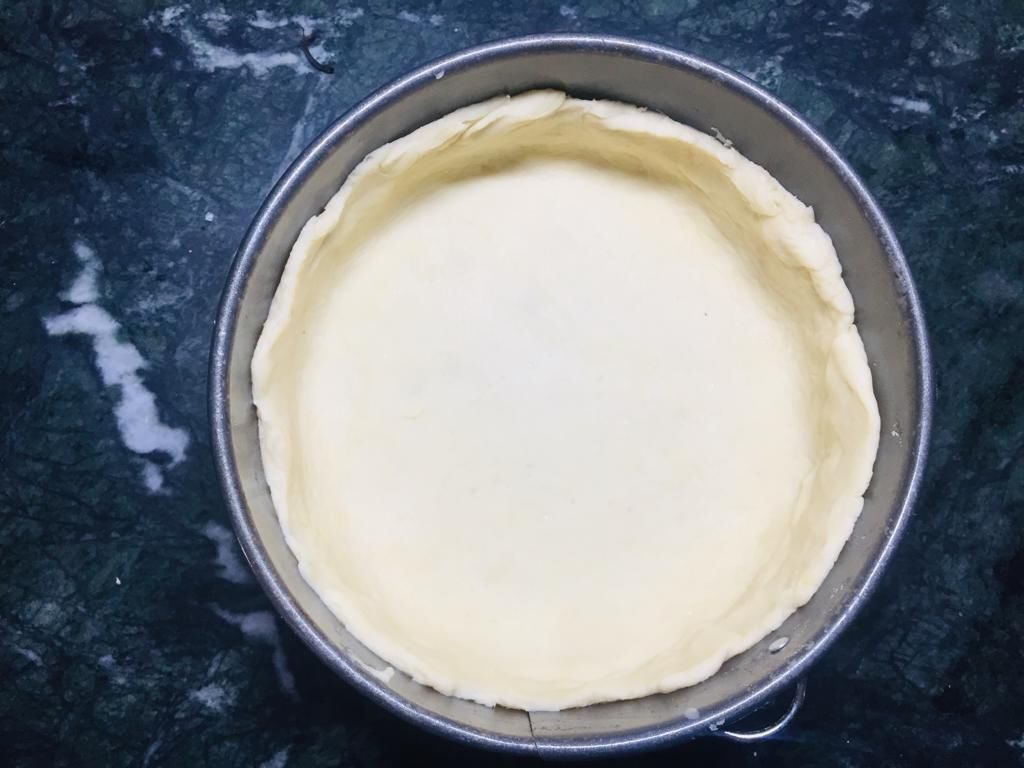
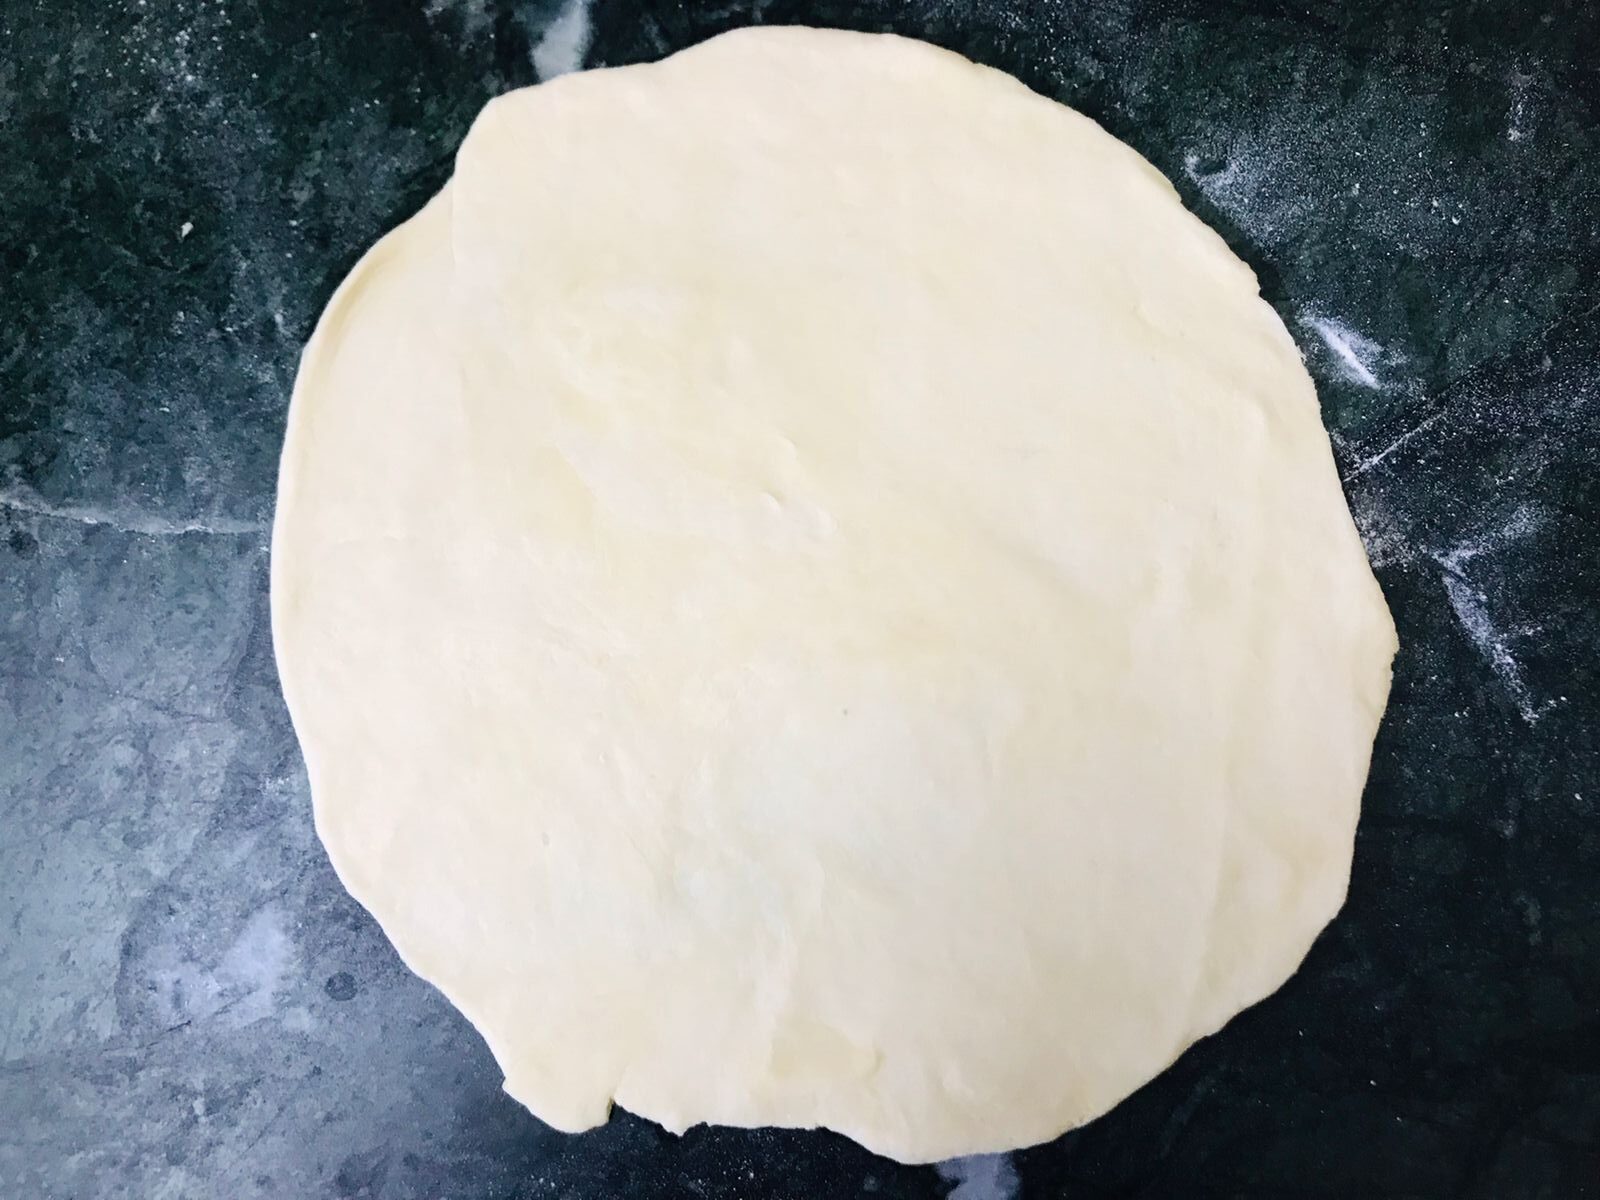
Roll it out according to the size of the pie tin. I have used an 8-inch tart tin, so I rolled the dough to around 10-12 inches and 1 mm thickness. Being careful not to stretch it, place the dough carefully into the pie tin and gently press the dough into the edges of the pie tin all the way around. Use your finger to gently press the dough onto the side of the pie tin without stretching the dough. Take your time to do this will ensure a neat finish afterwards. Use a sharp knife and run it around the top edge of the crust to trim the excess off and have a uniform edge.
Now chill the pastry by placing your pie tin in the fridge for an hour before baking. By doing this you are maximizing your chances of the dough maintaining its shape.
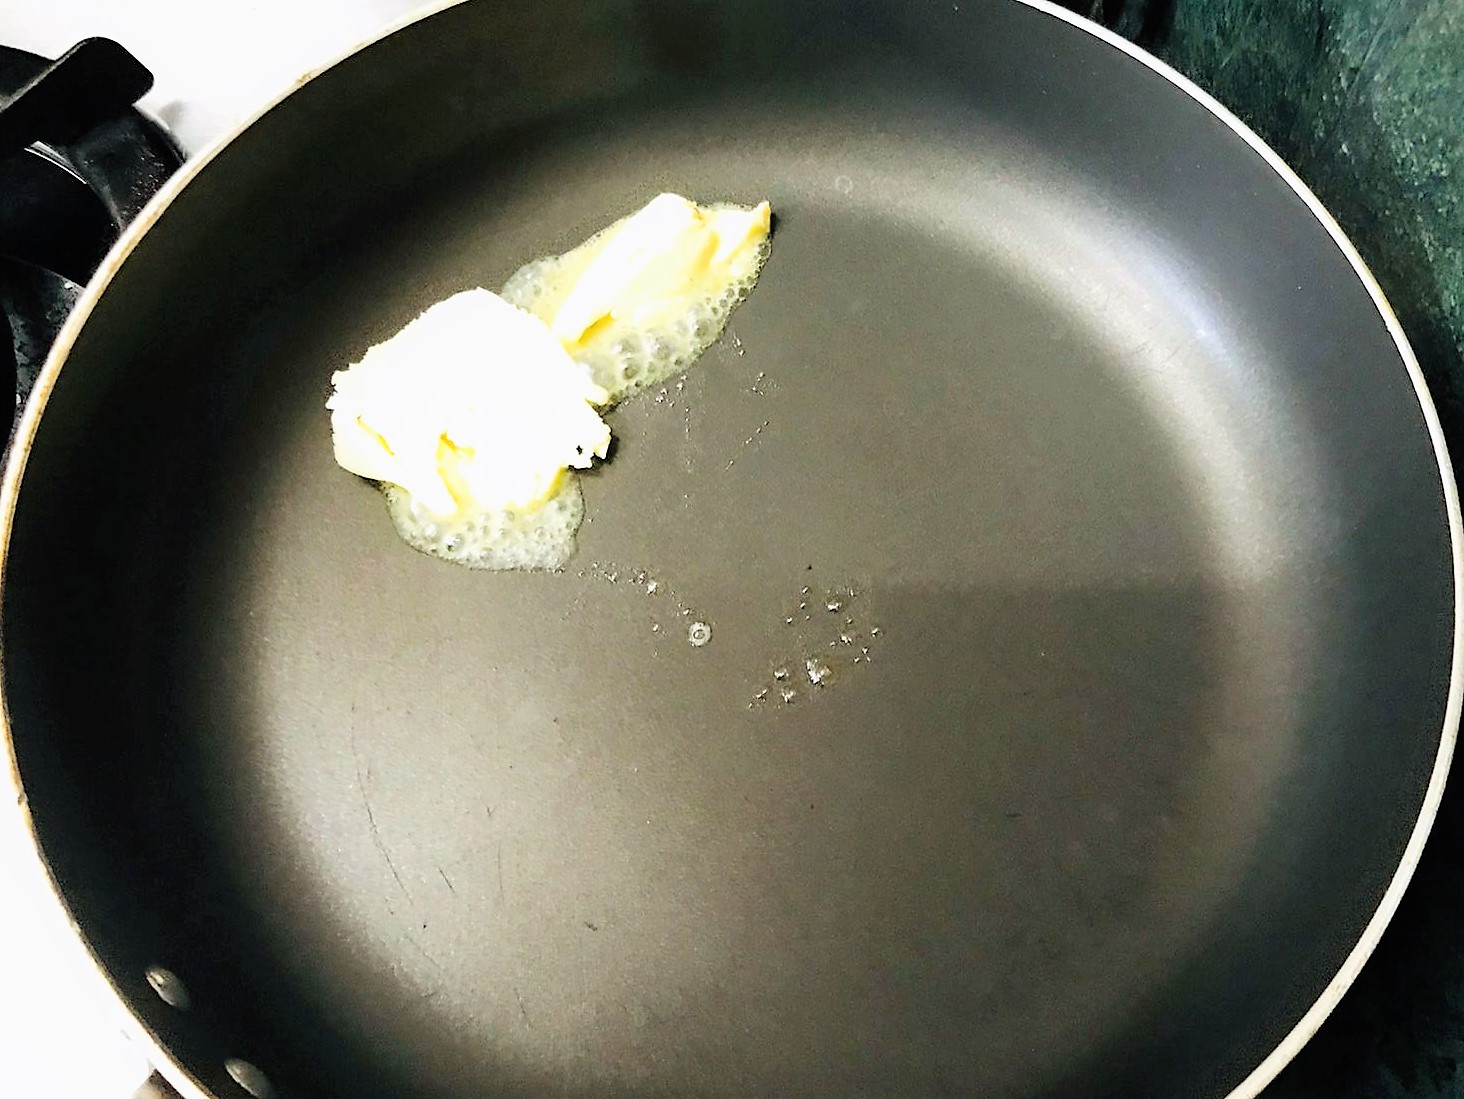
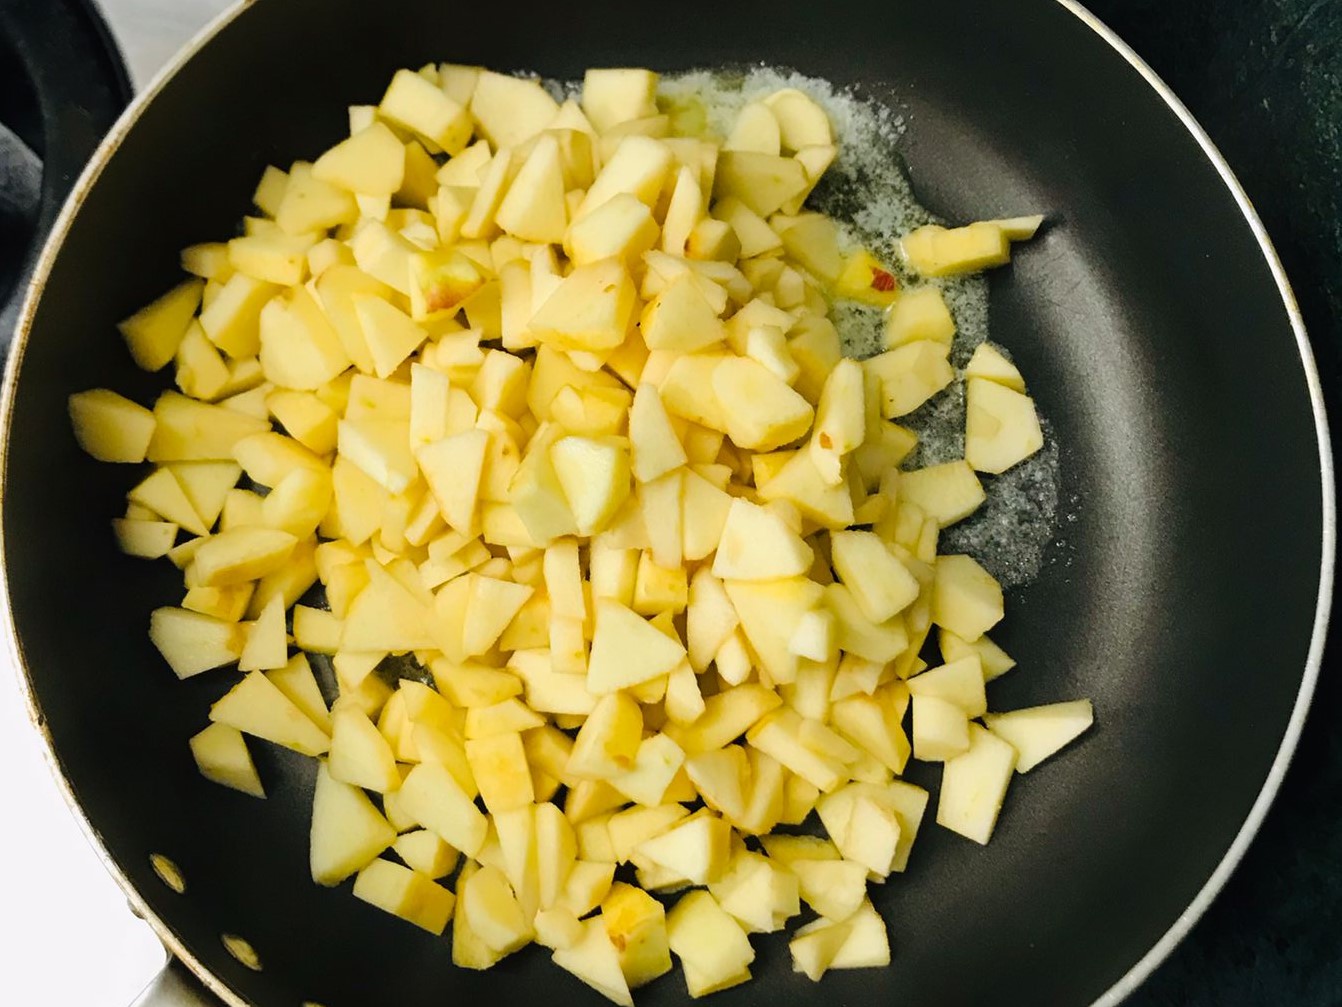
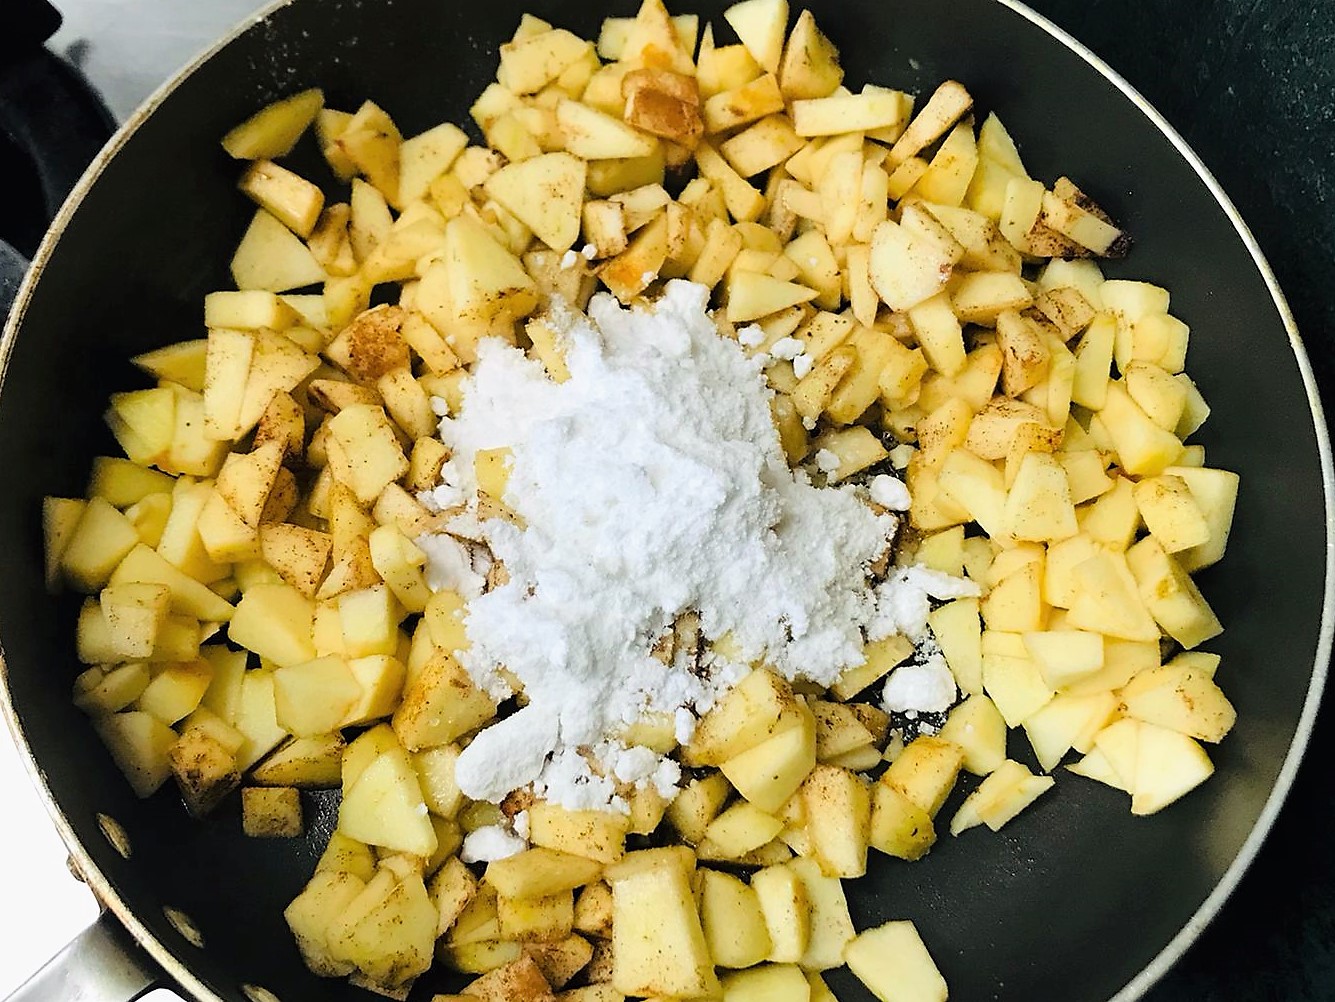
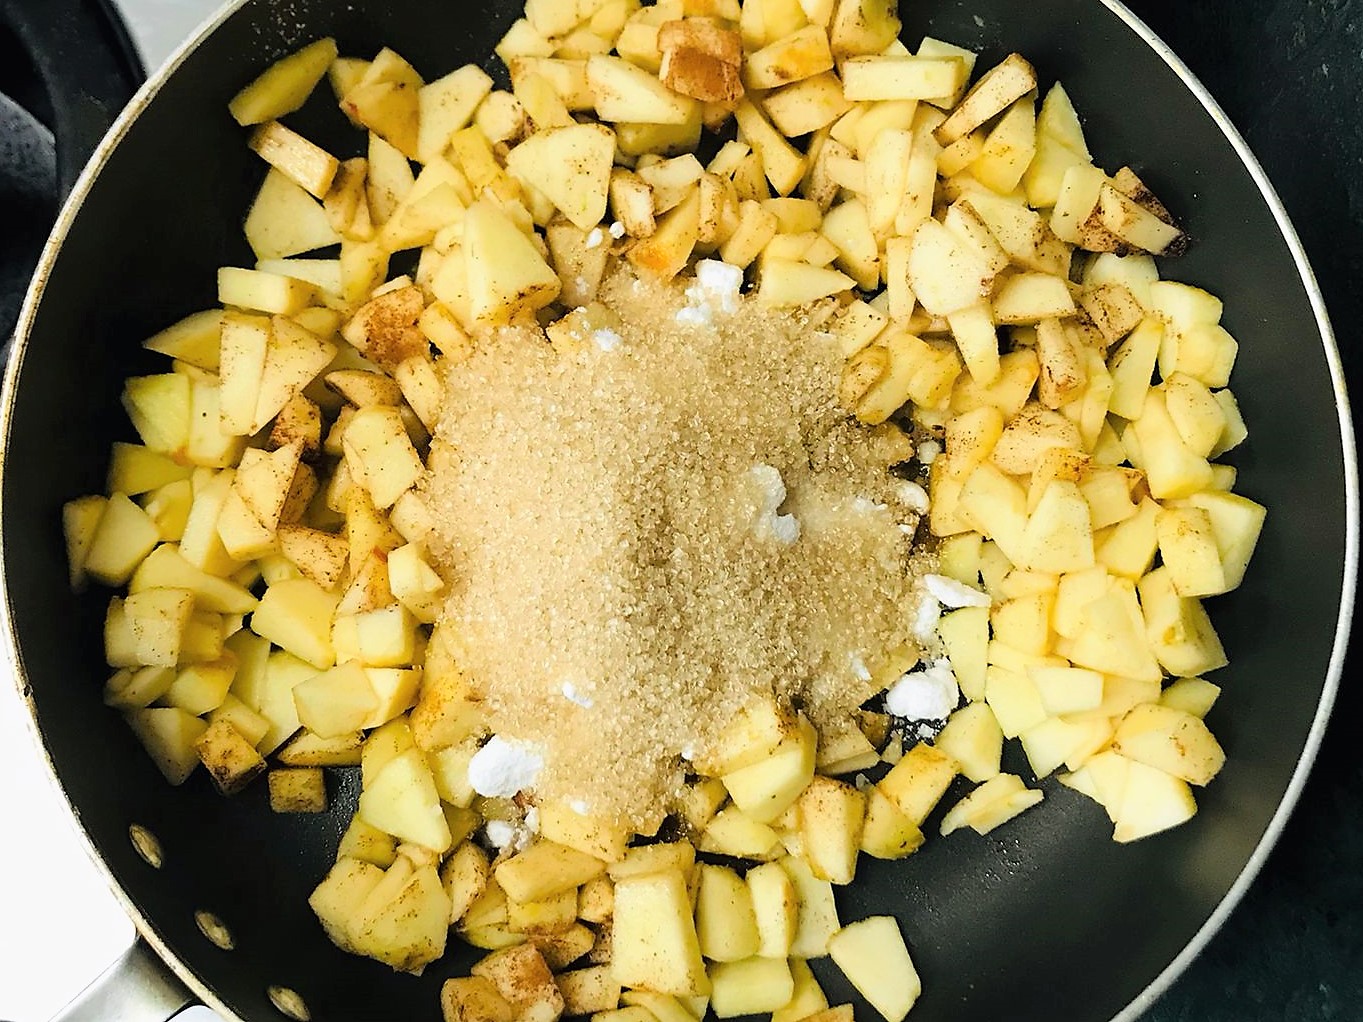
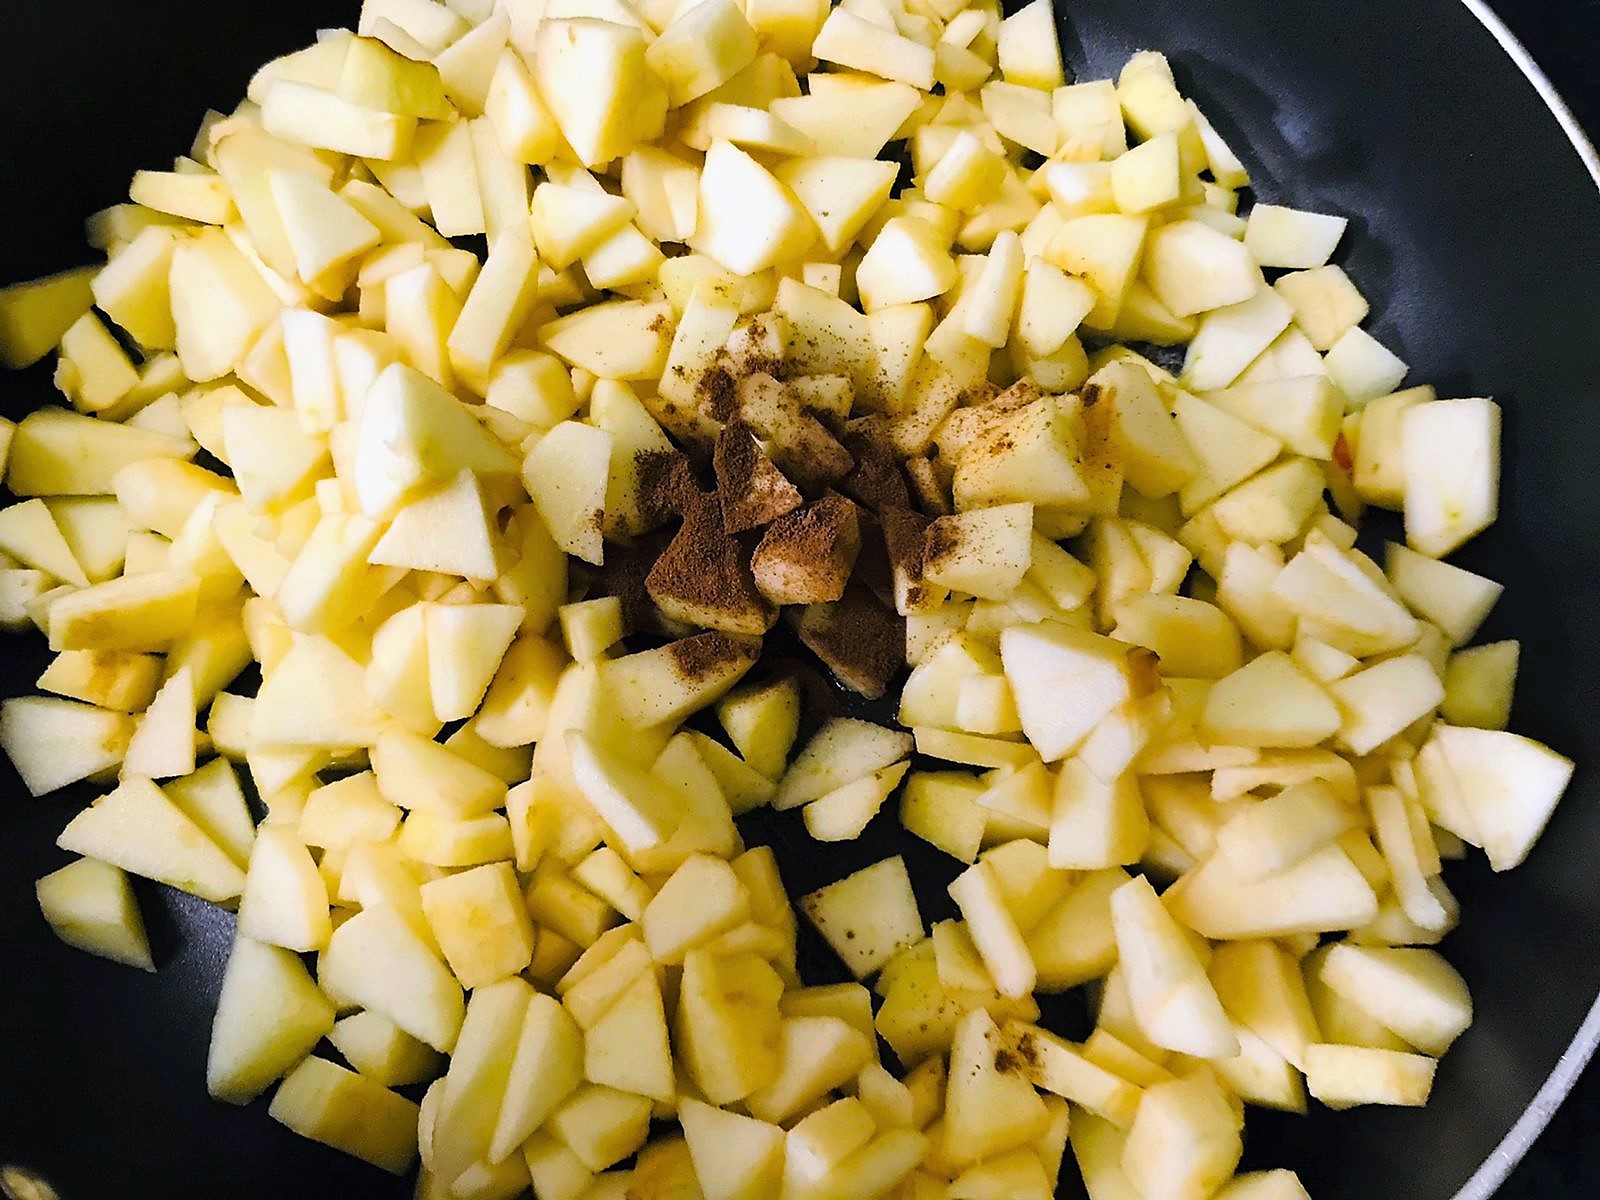
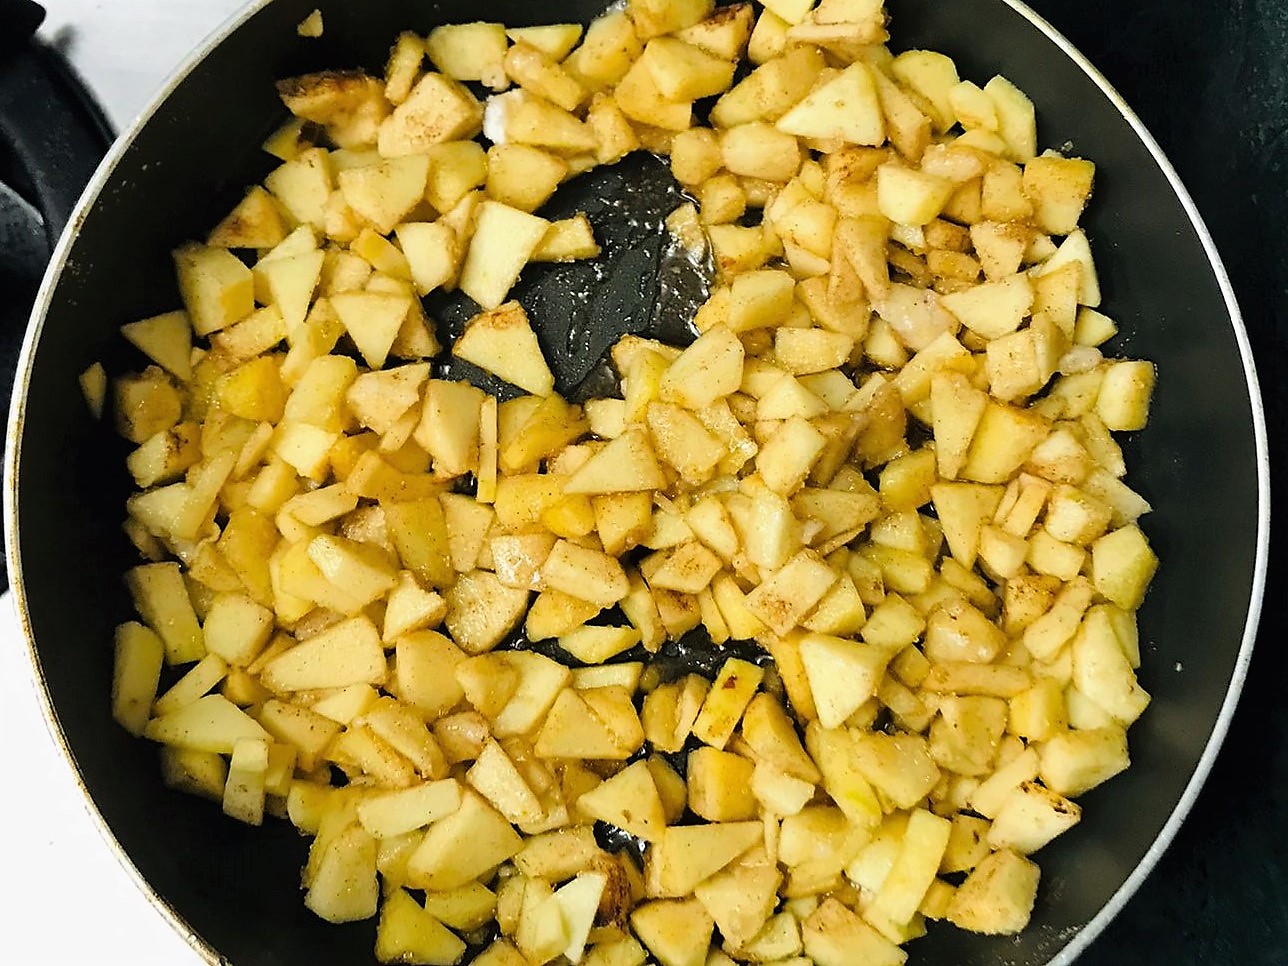
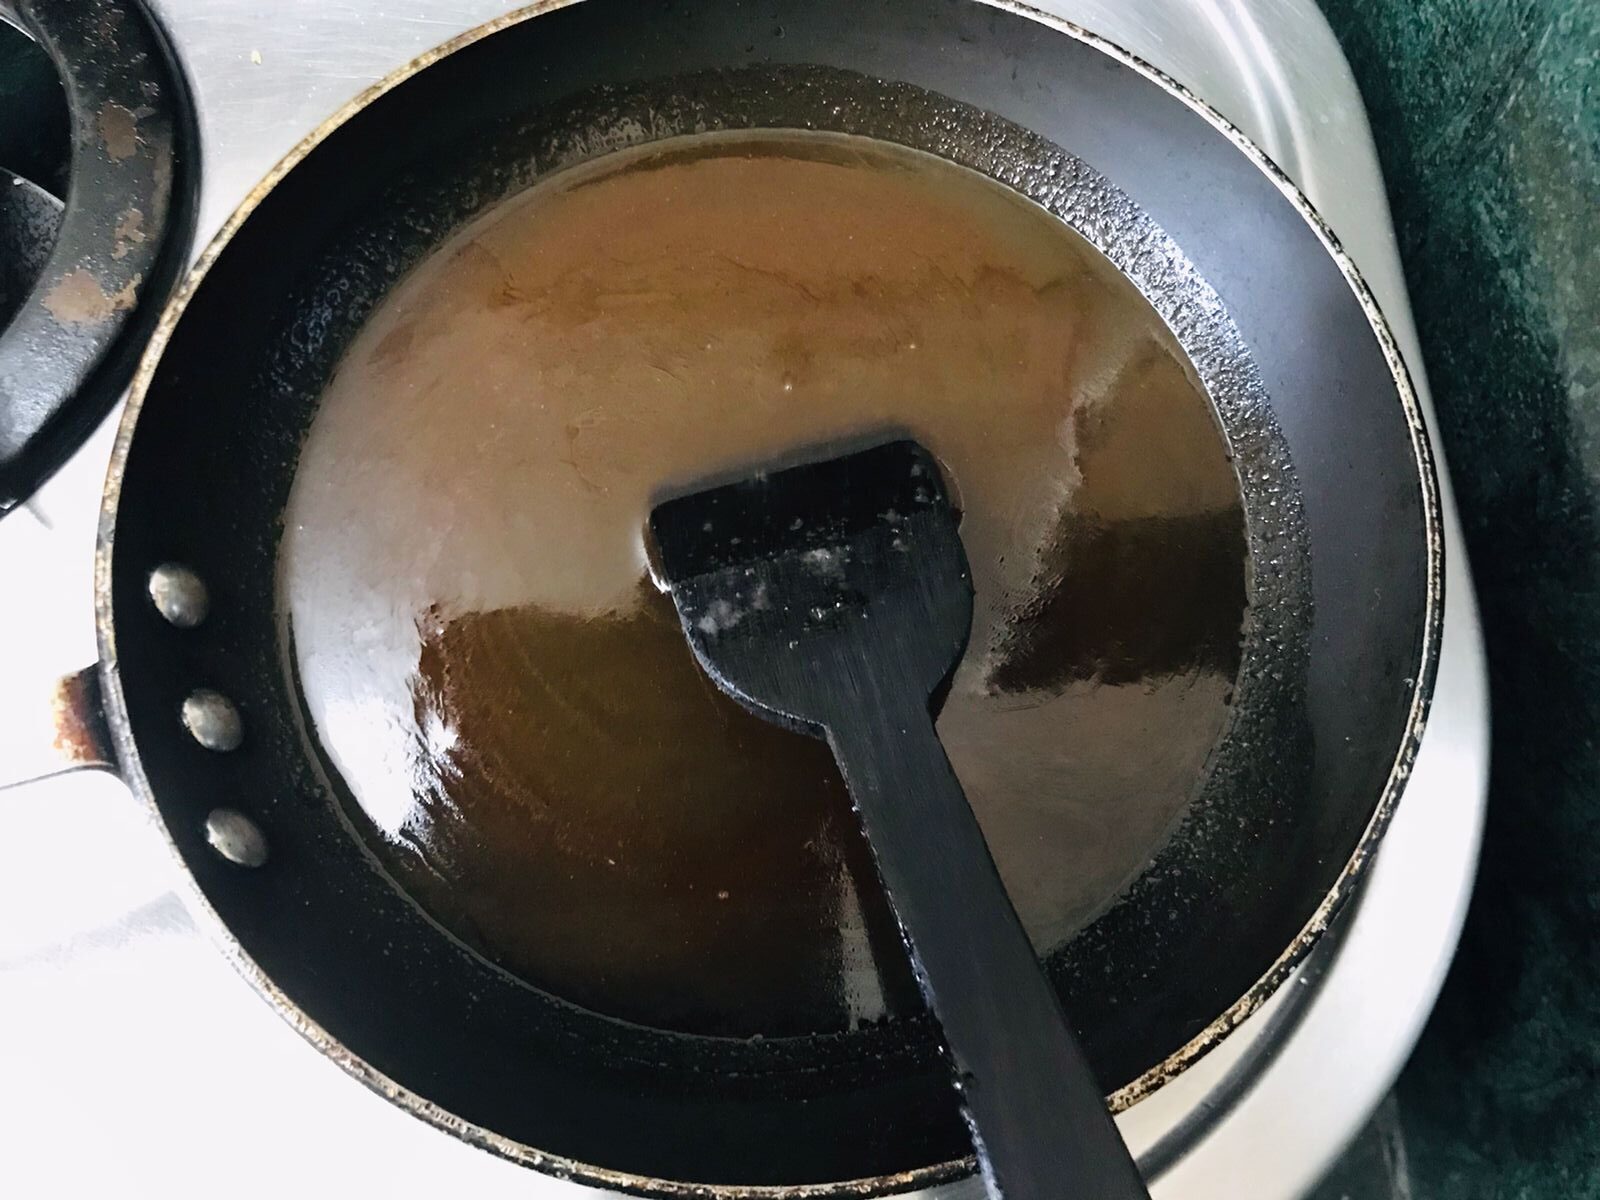
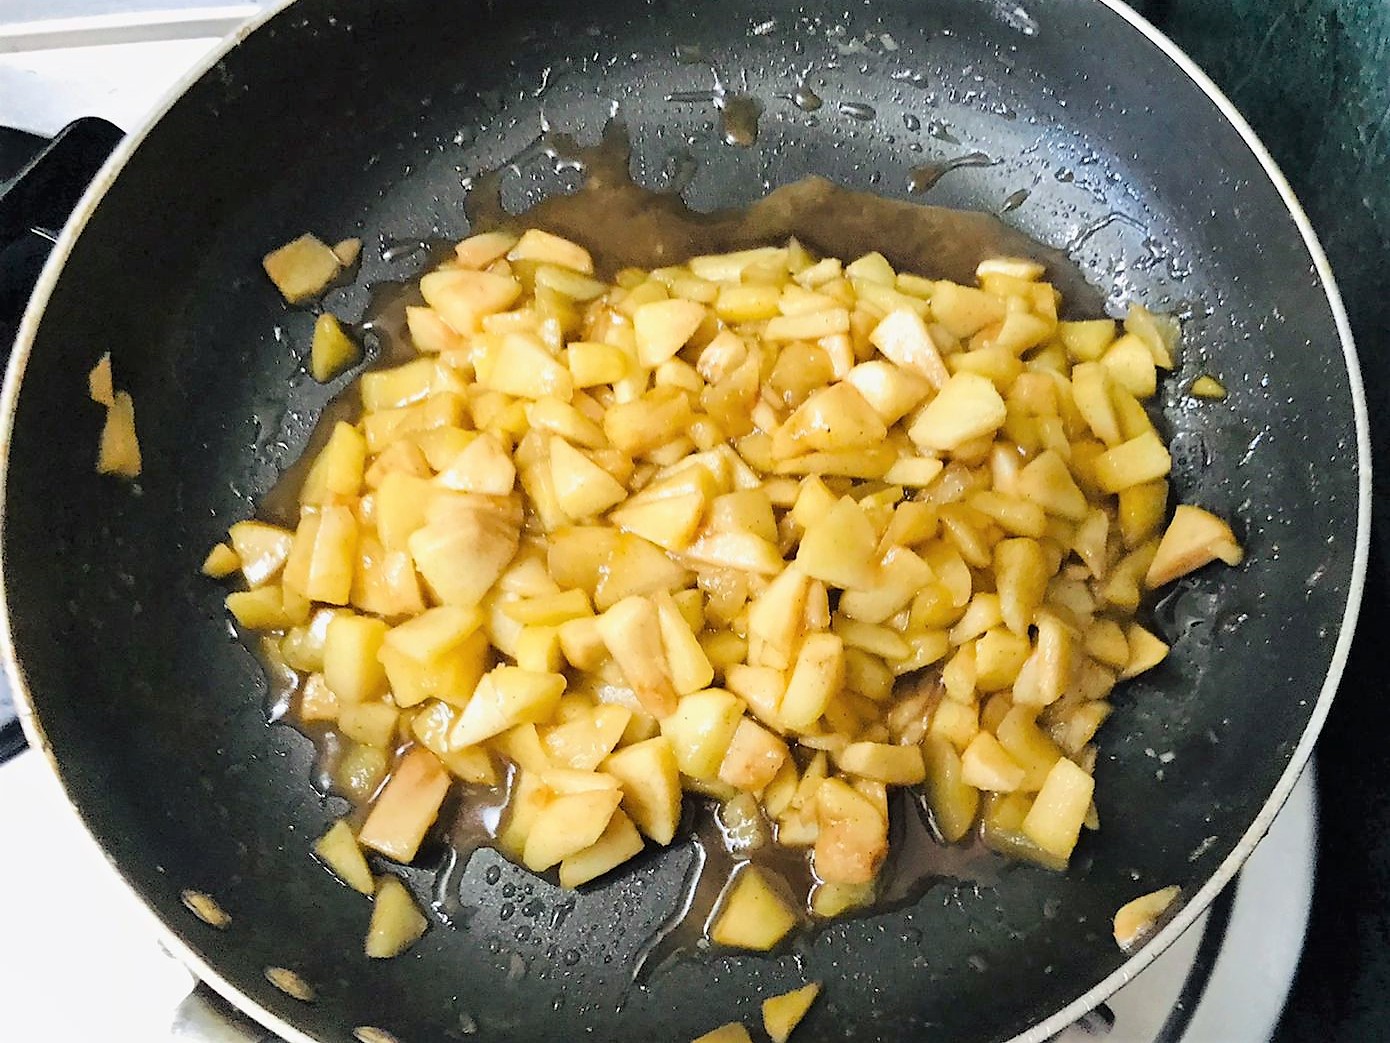
While the pastry is chilling heat butter in a pan and add the chopped apples, cinnamon powder, sugar, brown sugar and cook it on medium heat for 5-6 minutes to slightly soften the apples.
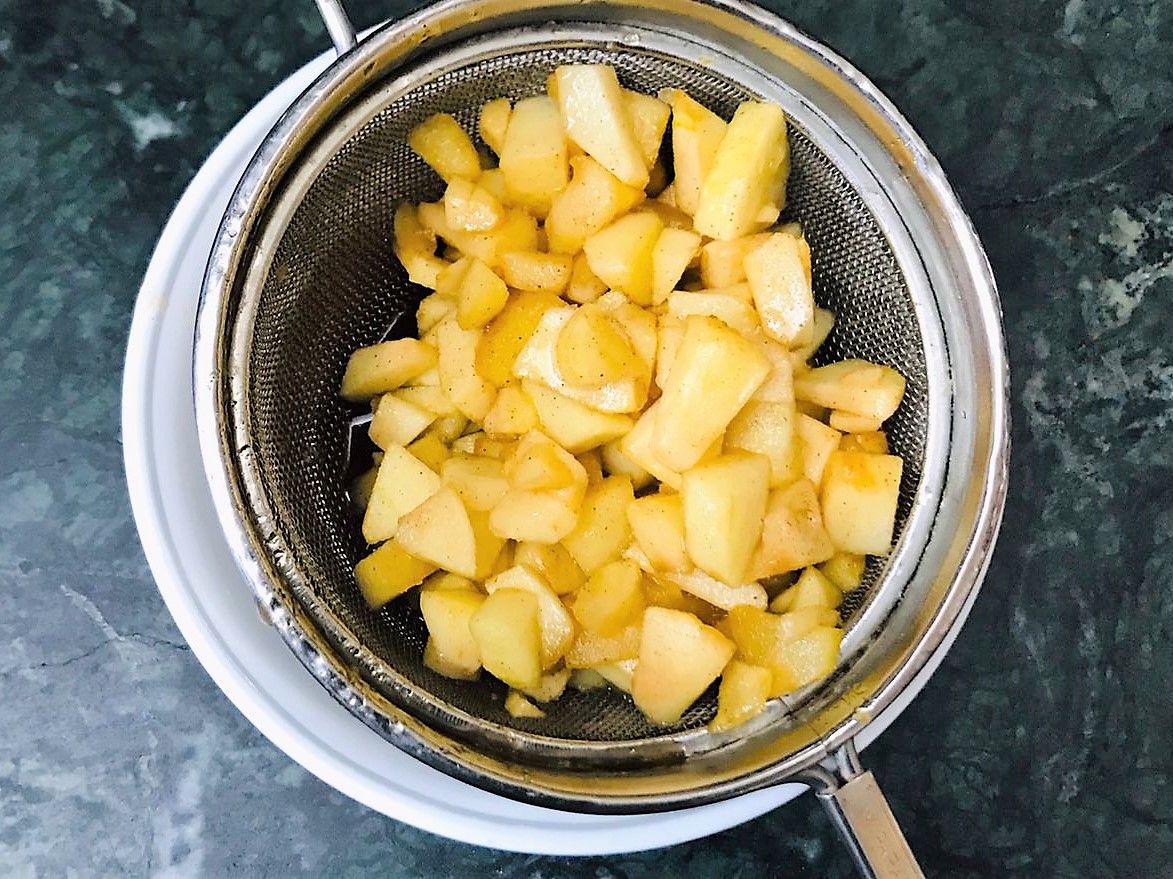
Strain the excess liquid using a colander and keep it aside.
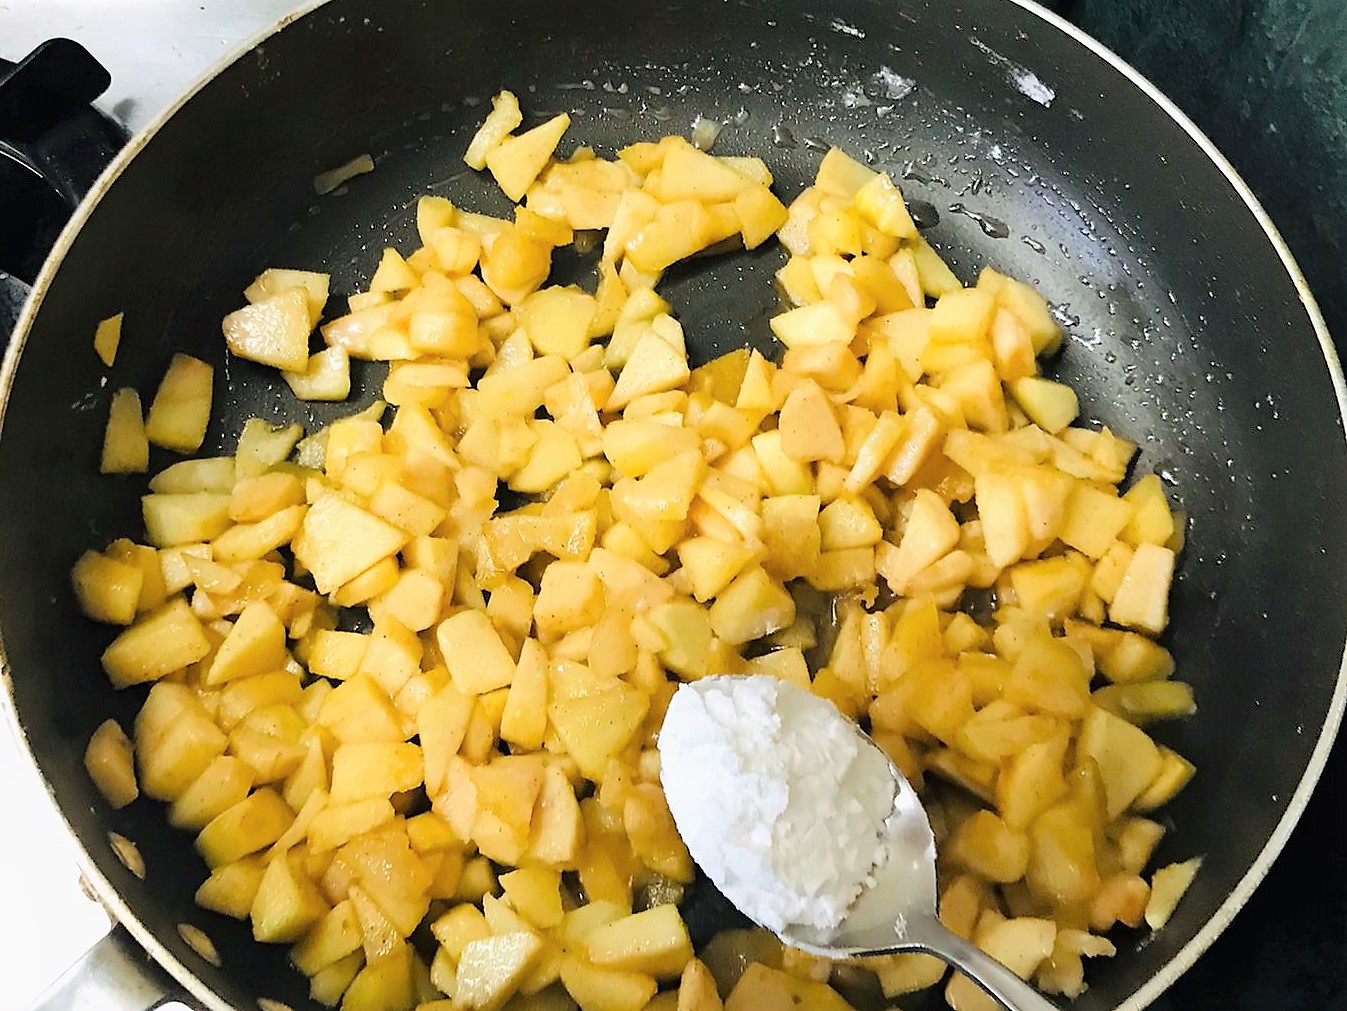
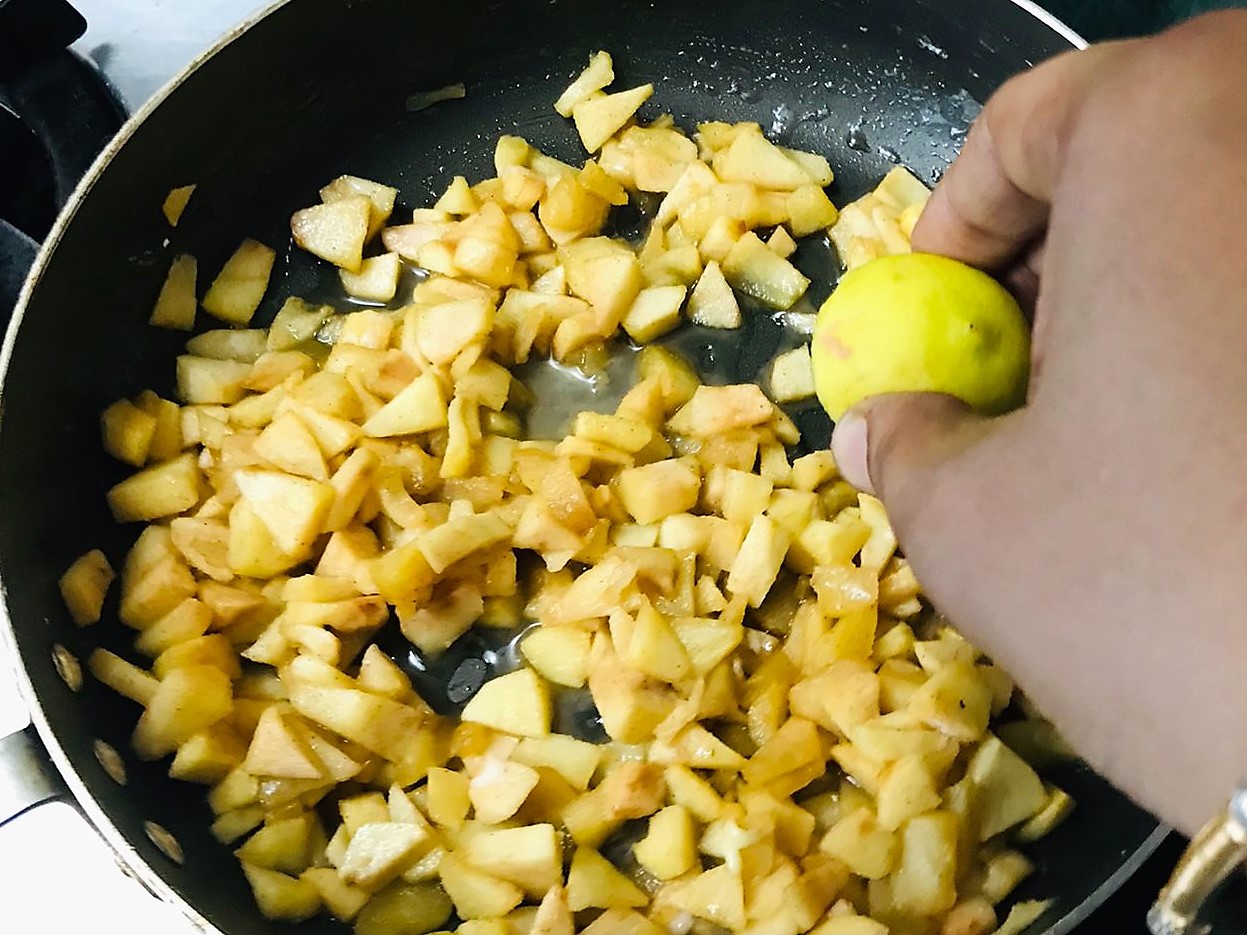
Put the apples back in the pan and add the lime juice and cornflour to the apples to soak off the remaining juices. Keep aside.
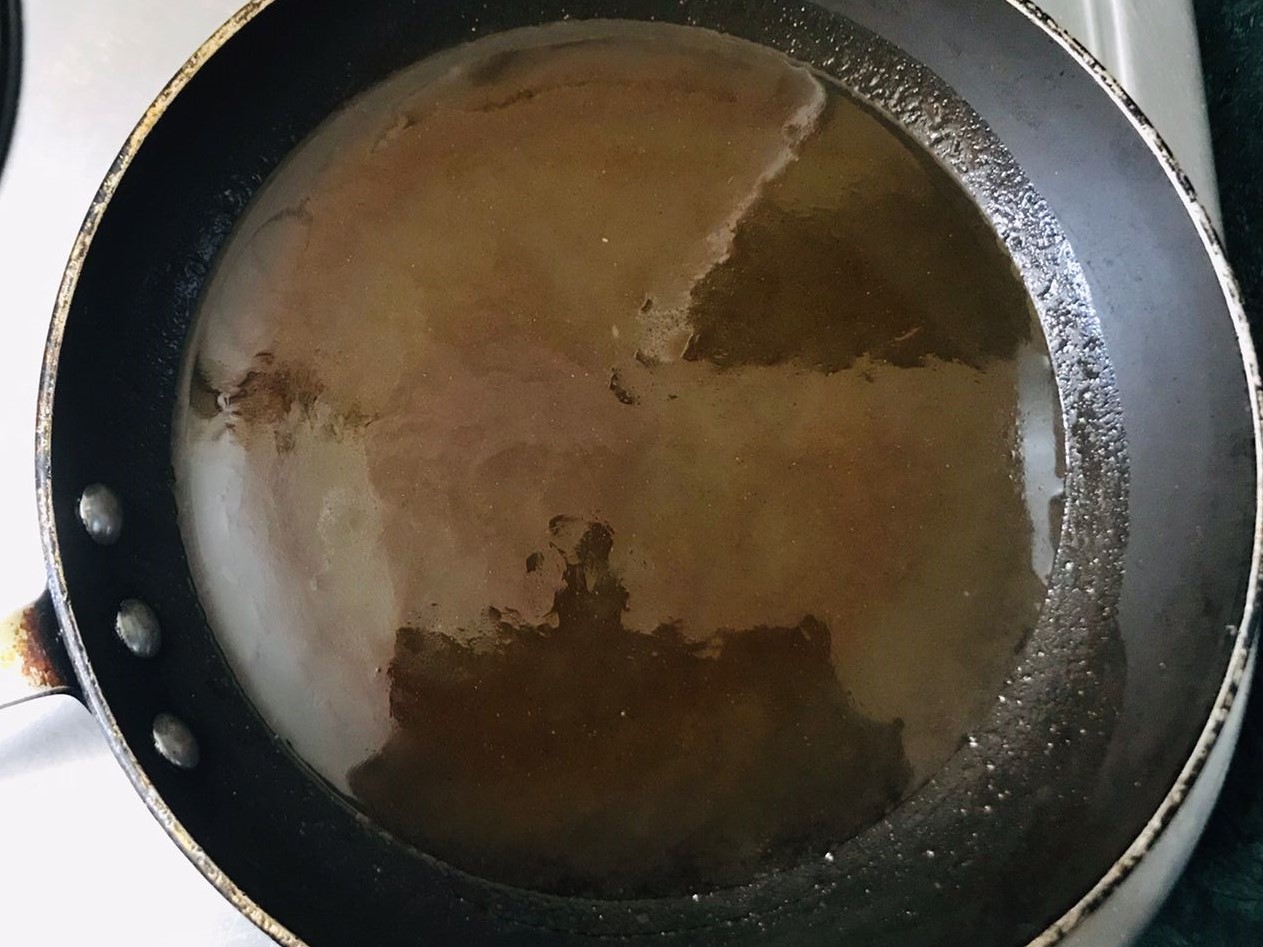
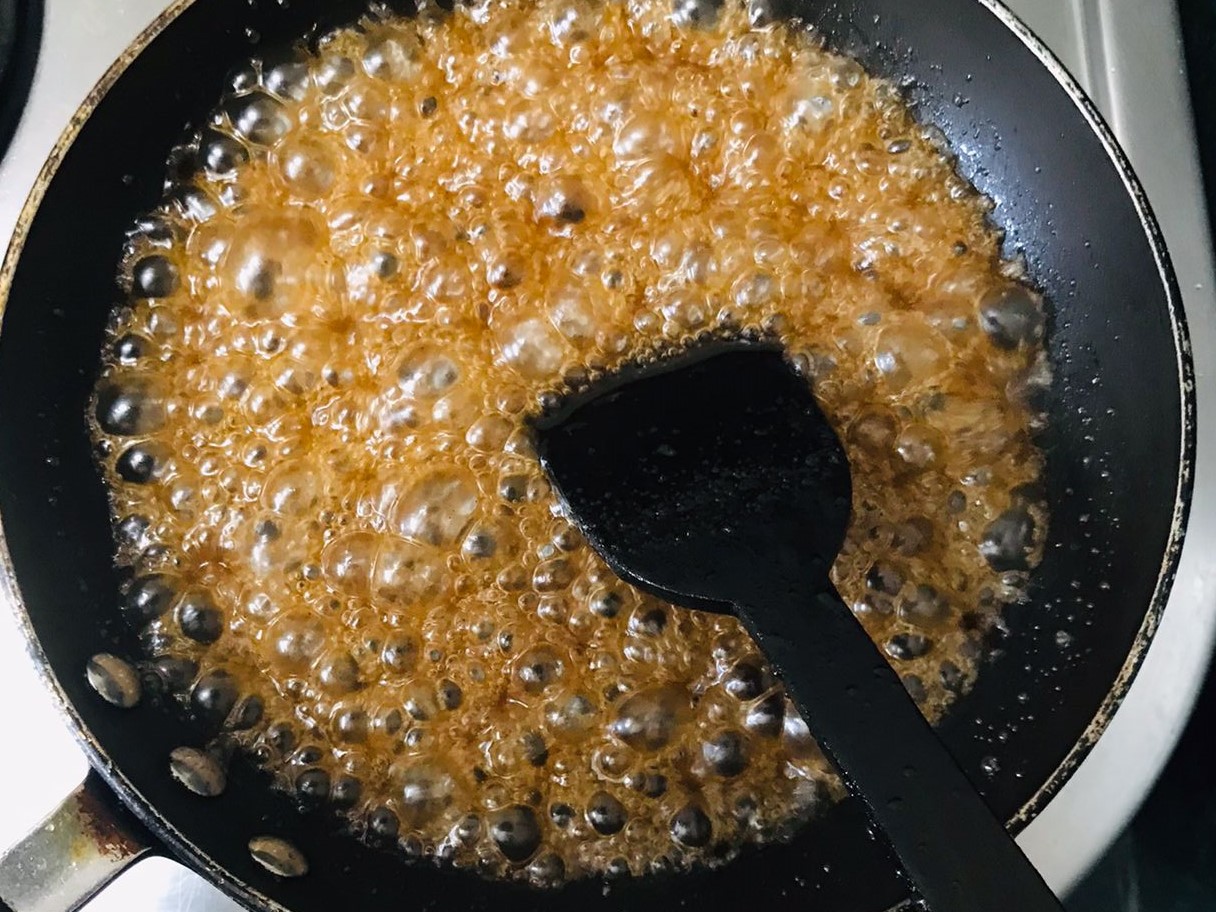
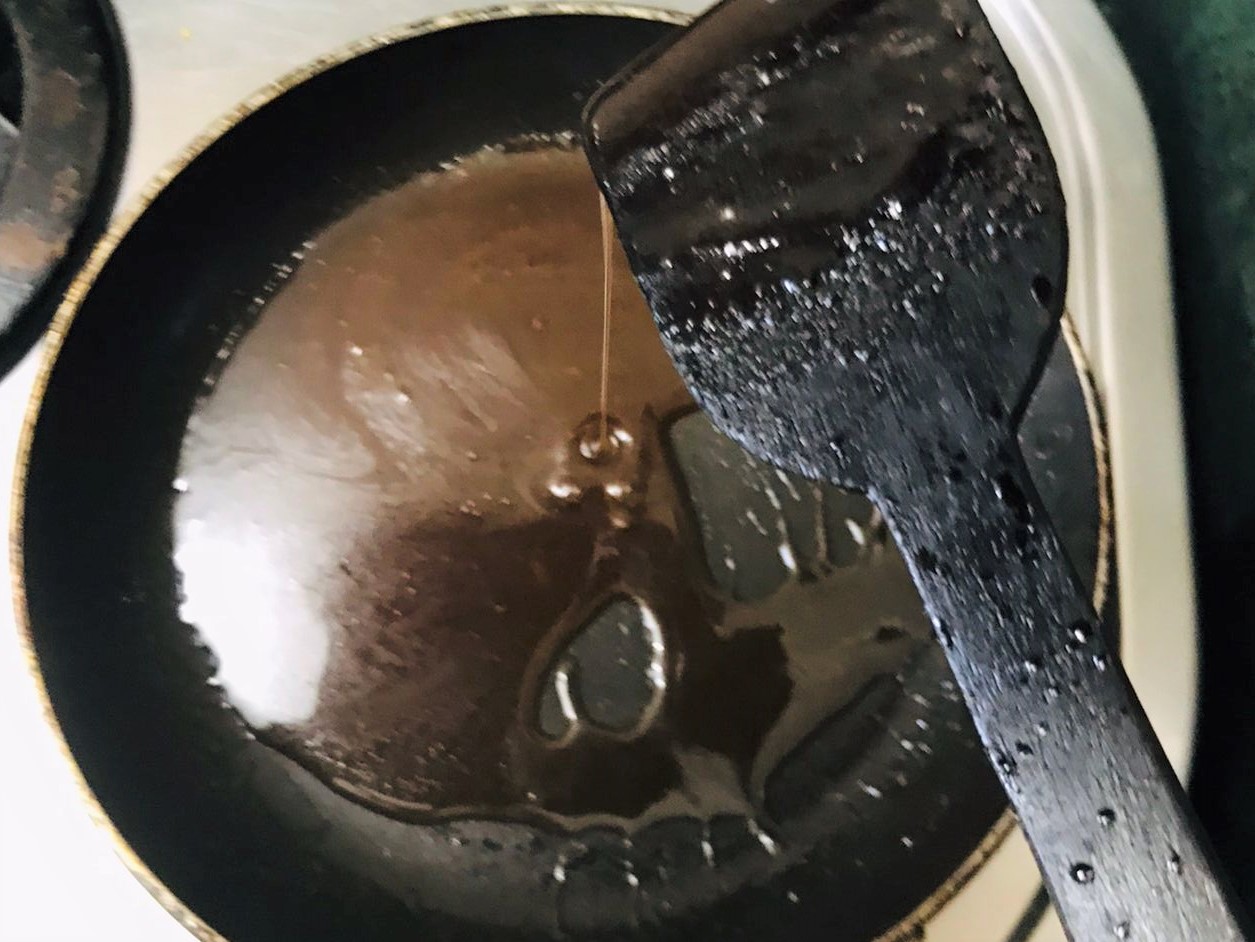
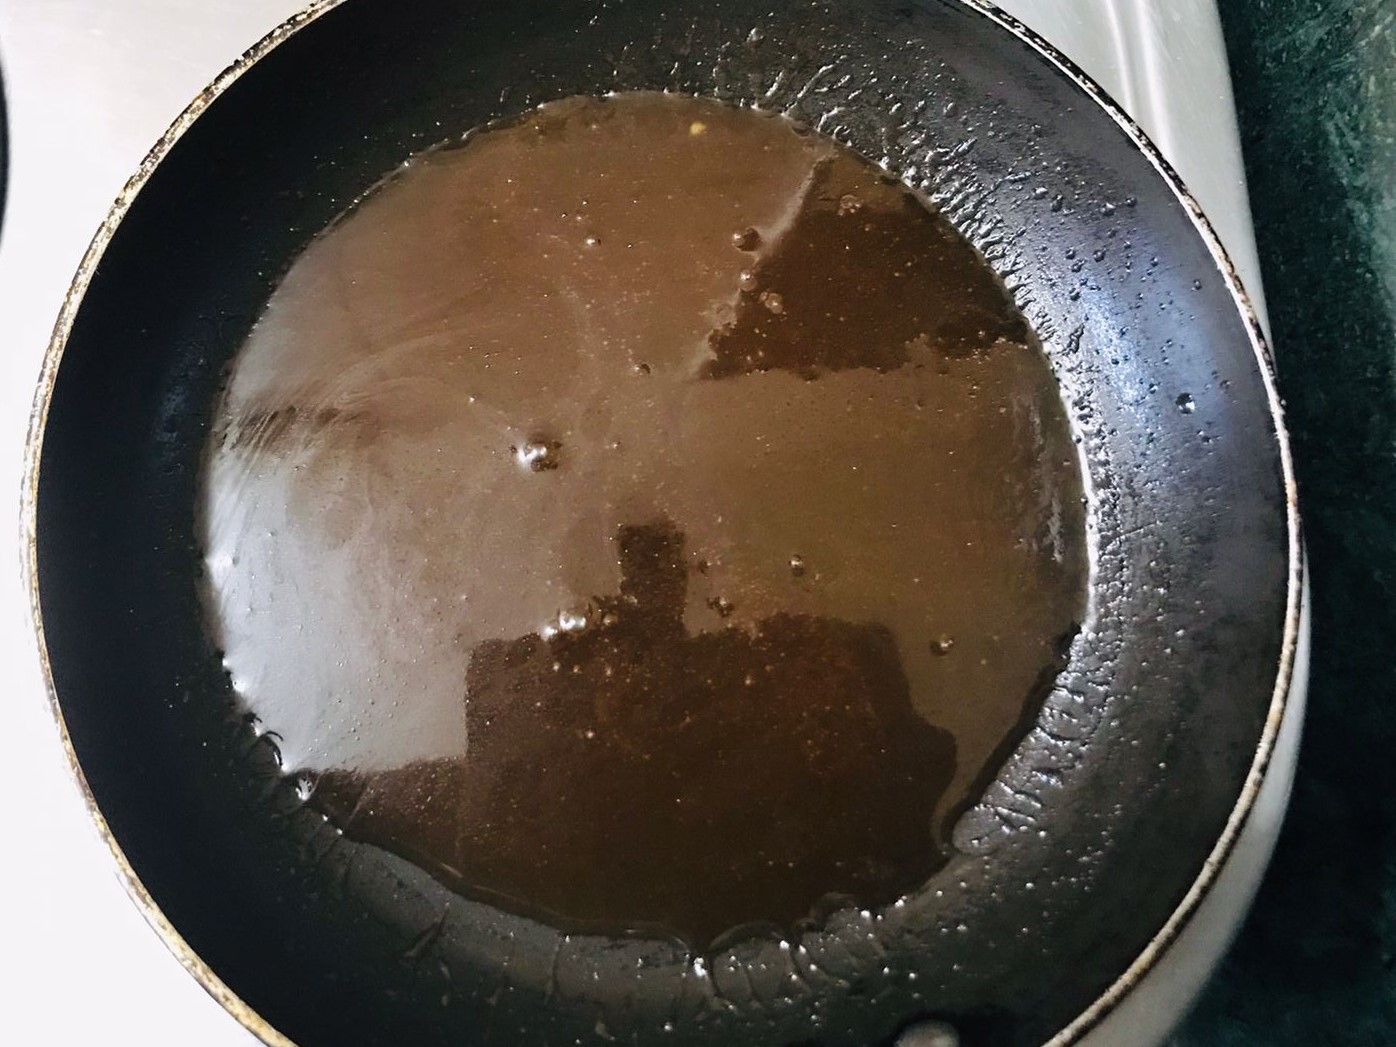
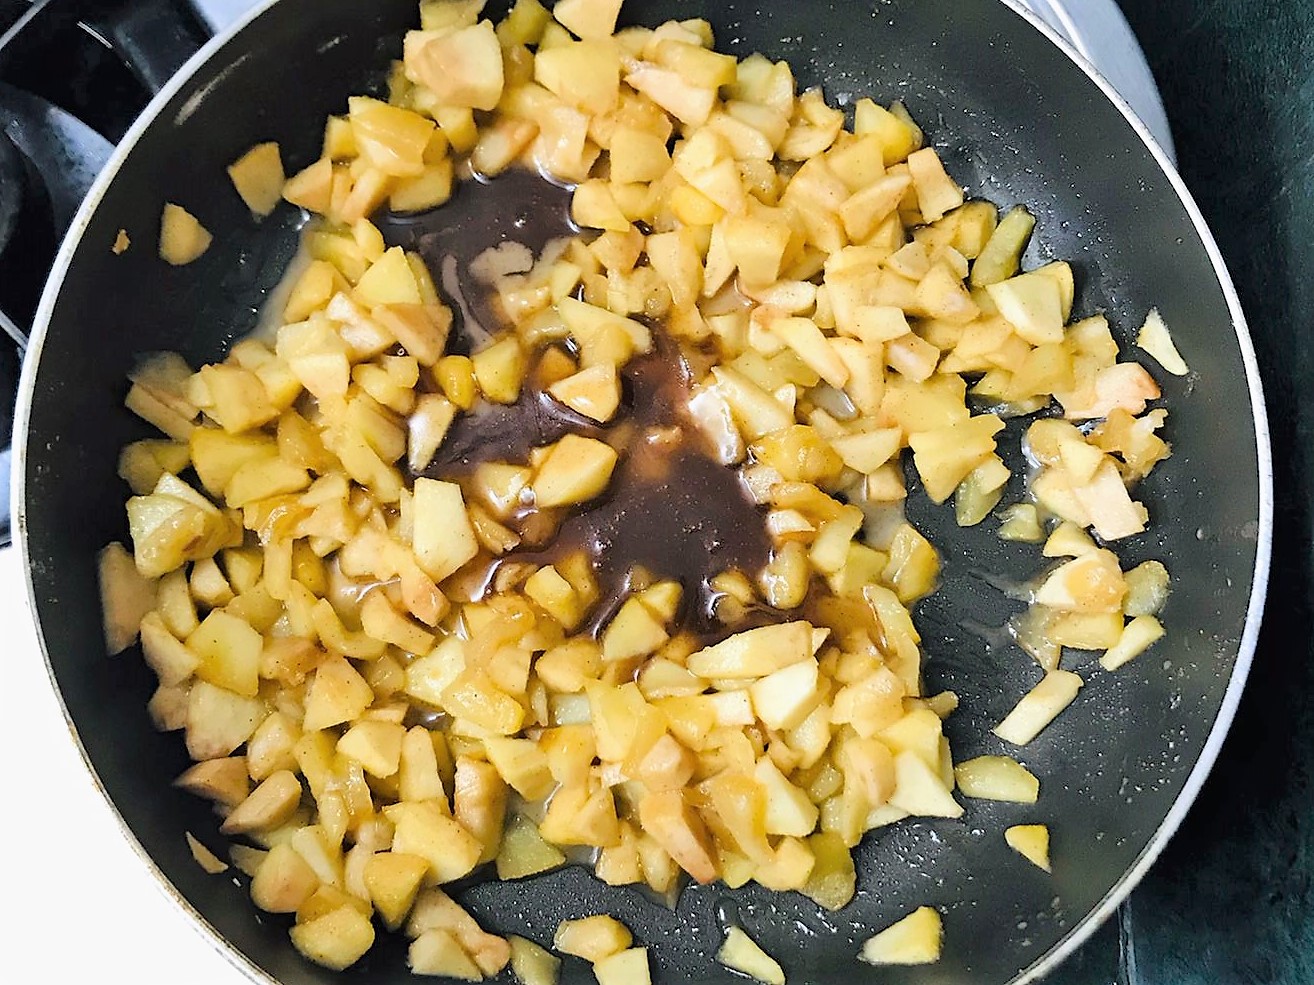
Heat the strained apple juice in a pan over medium heat to form a thick caramel consistency. It should take 4-5 minutes to get a thick consistency.
Once thickened add the apple caramel to the sautéed apples and mix. Keep it aside to cool down. The apple filling is ready.

Preheat the oven to 200C/180C/Fan 6.
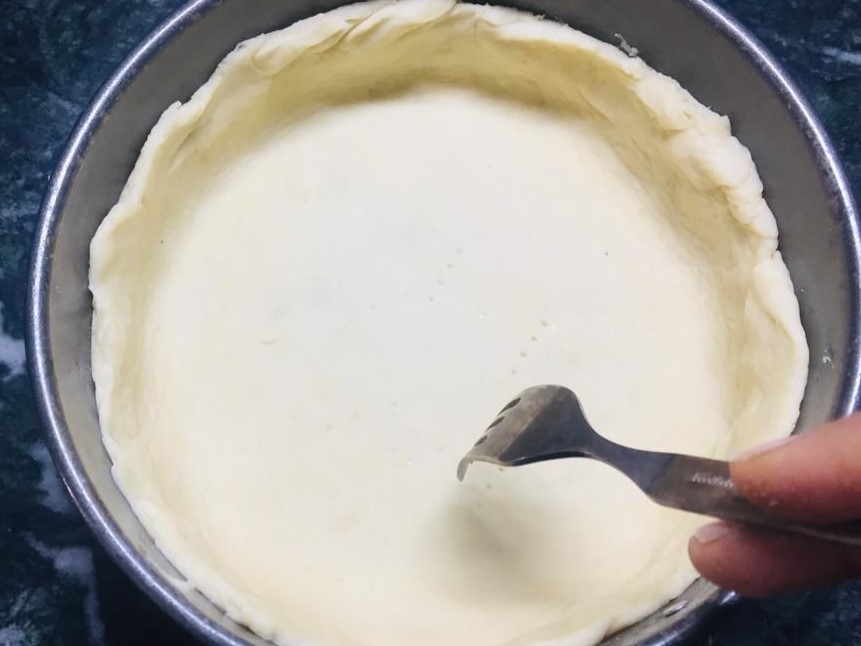
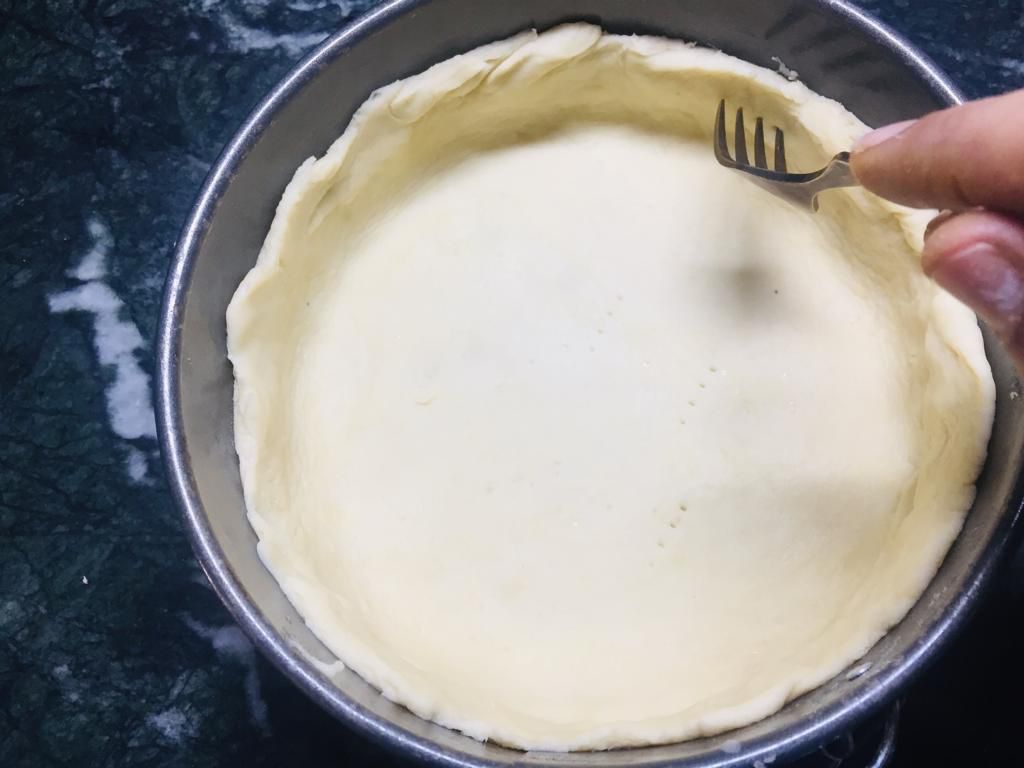
After cooling the pastry prick the base of the pie using a fork. The fork holes allow the steam to rise from the dough and stop it puffing up and rising.
Bake the pie in a preheated oven for about 5 minutes and remove from the oven and keep it aside to cool.
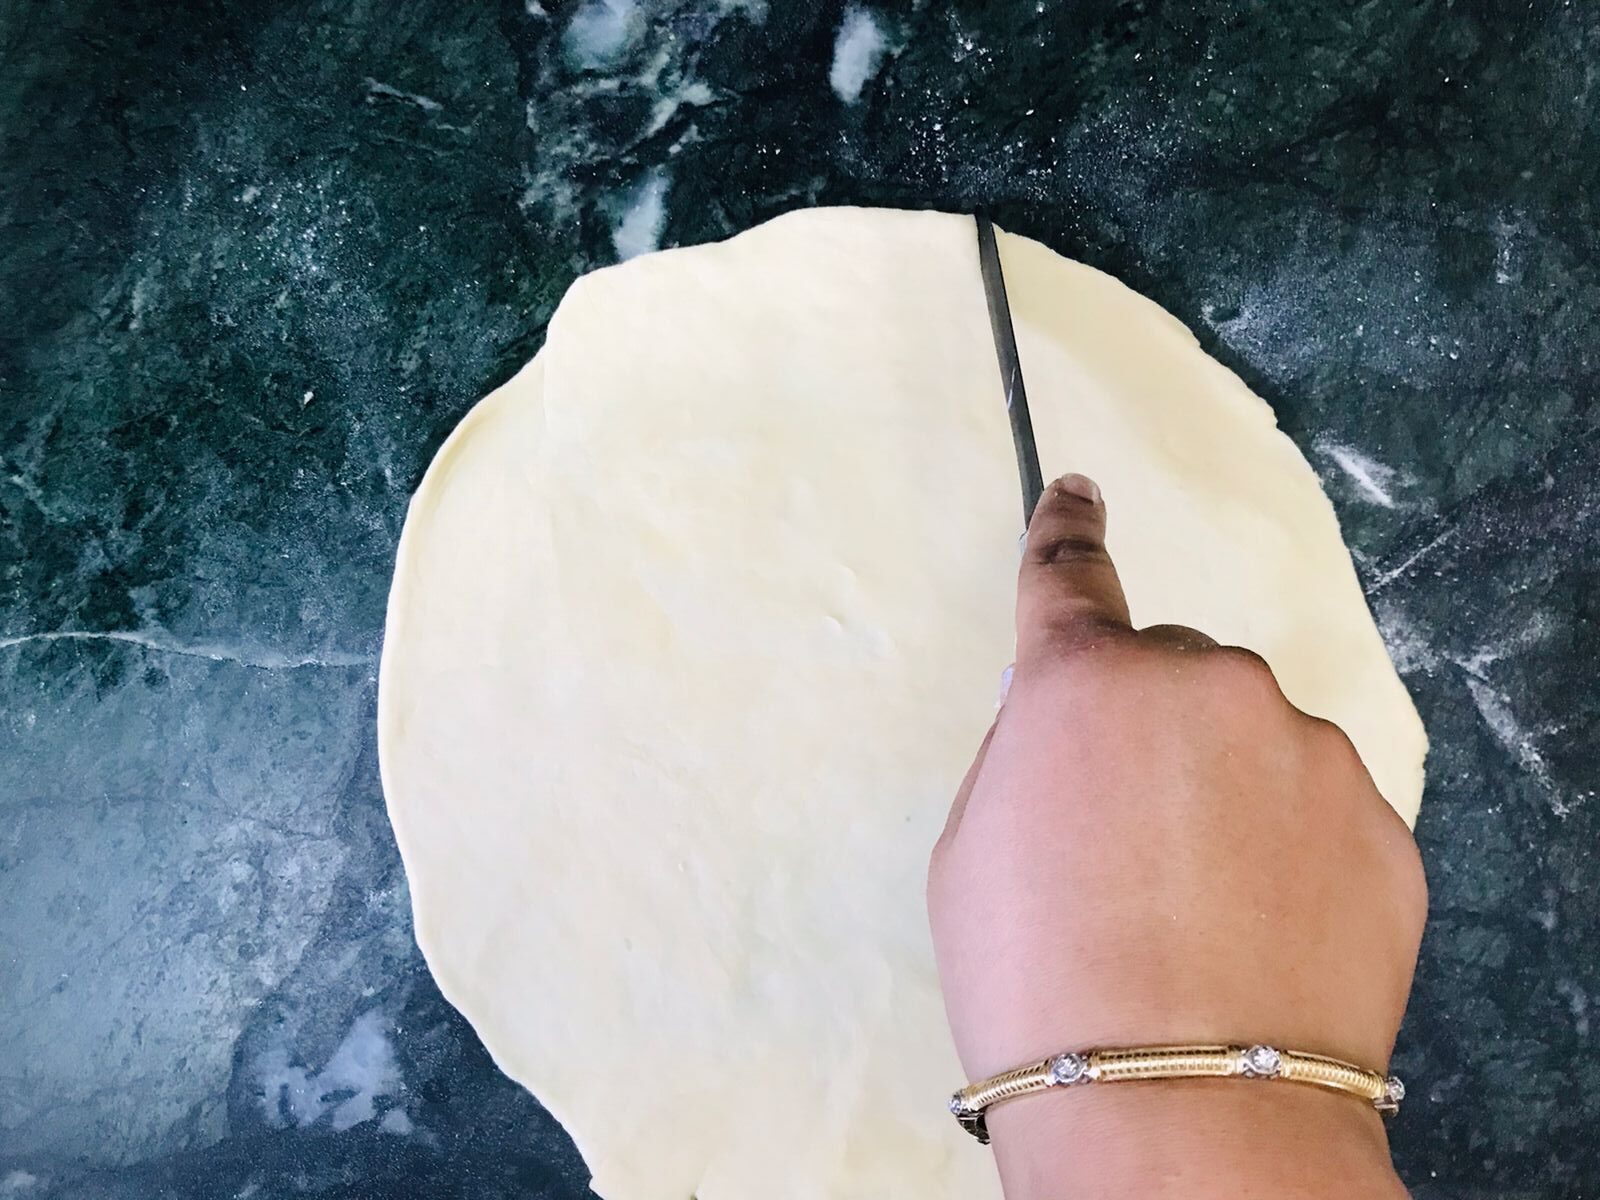
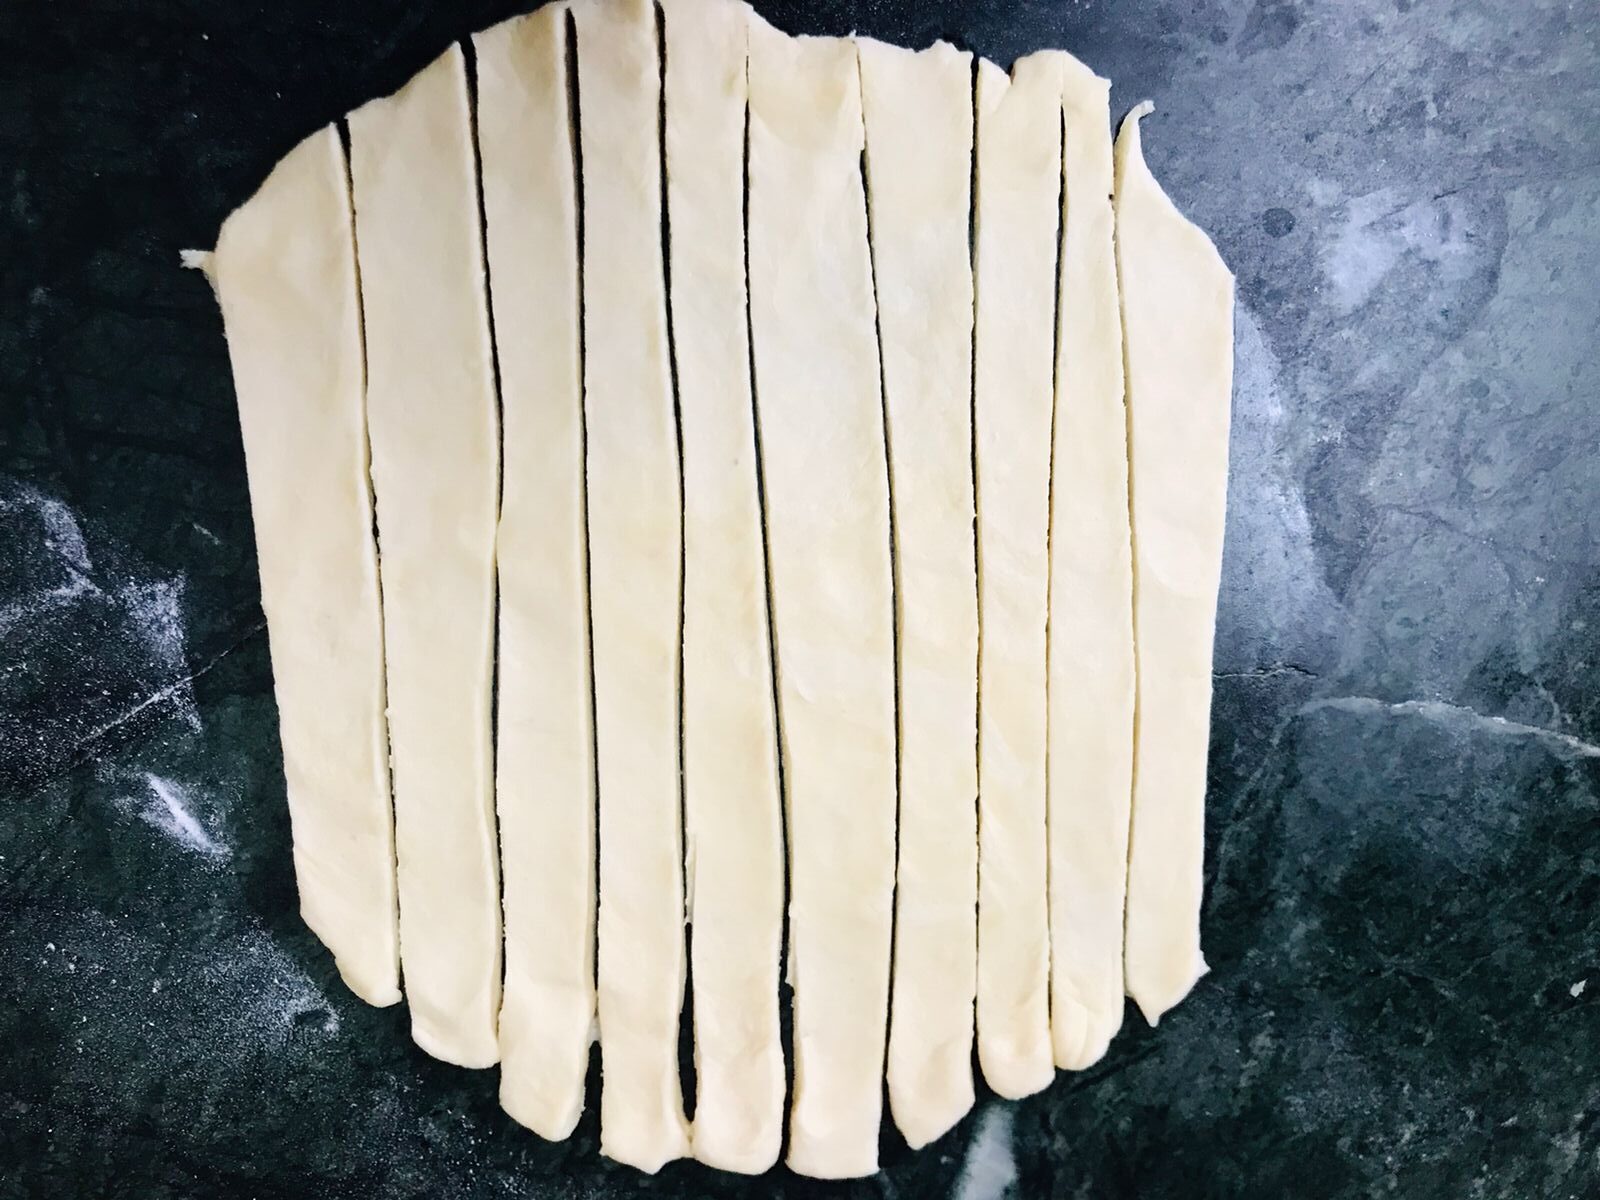
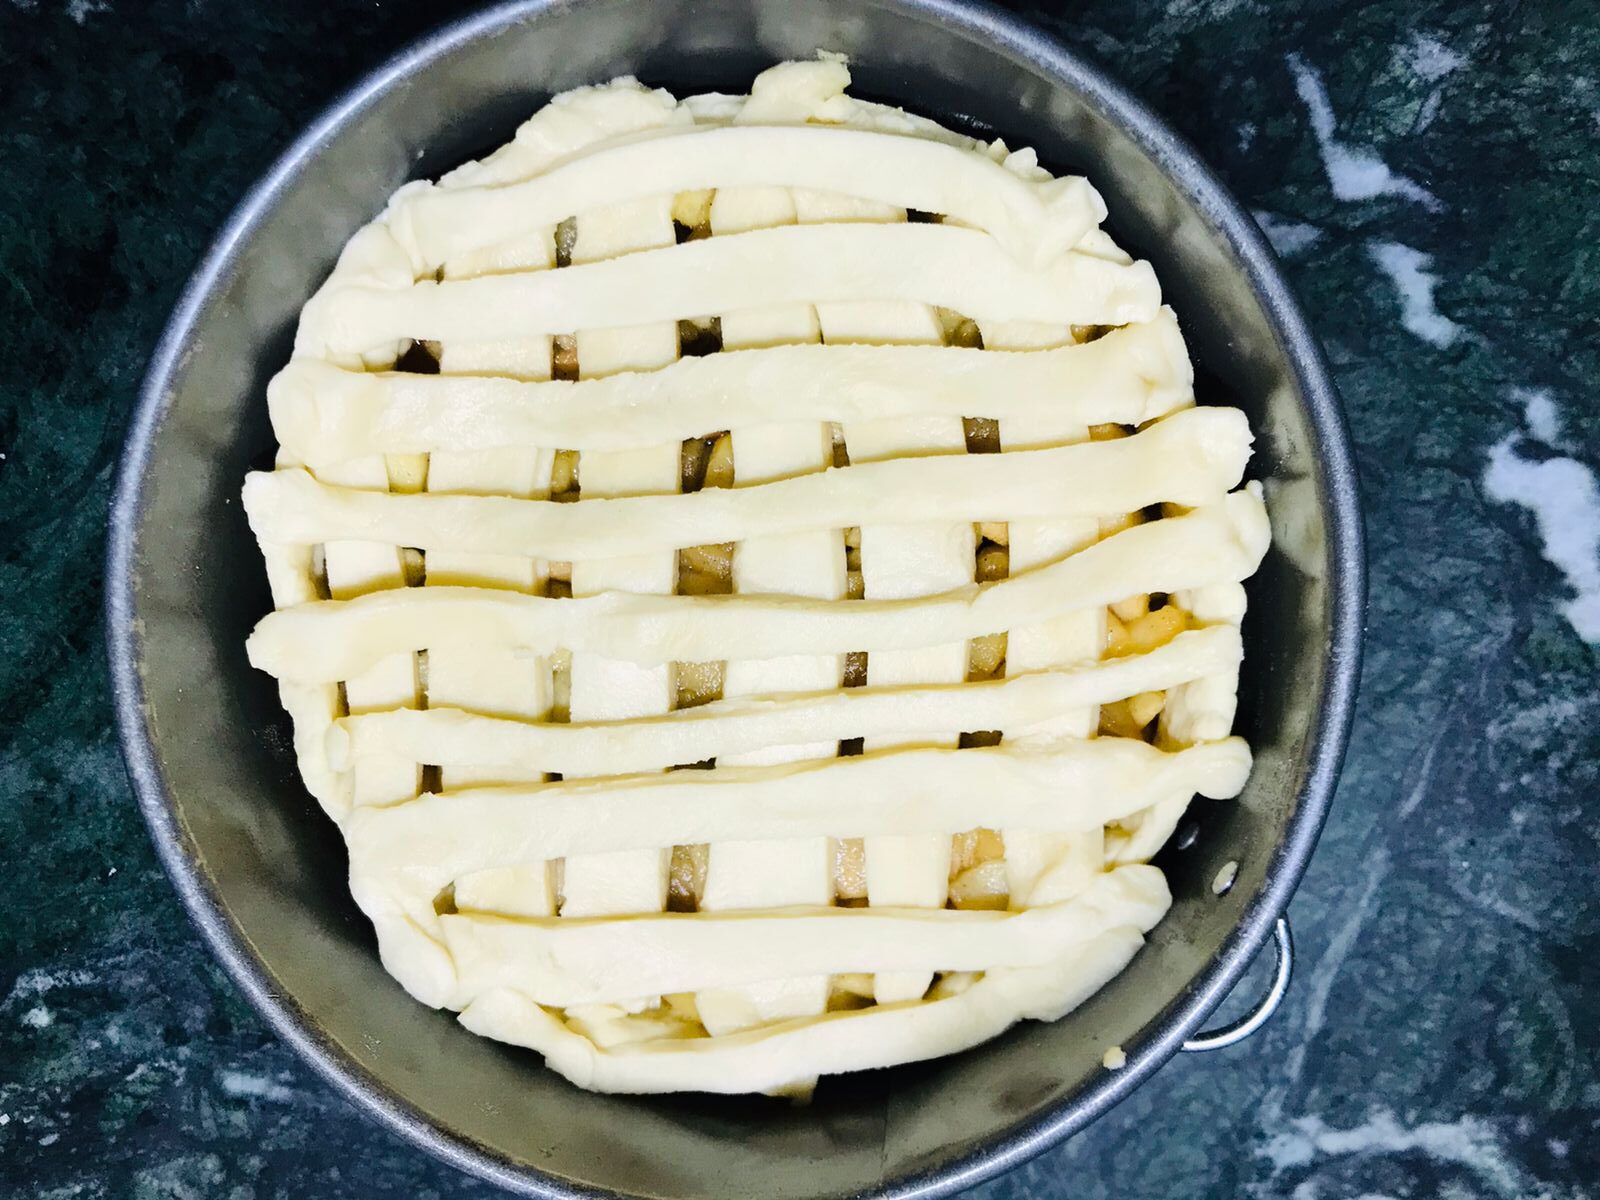
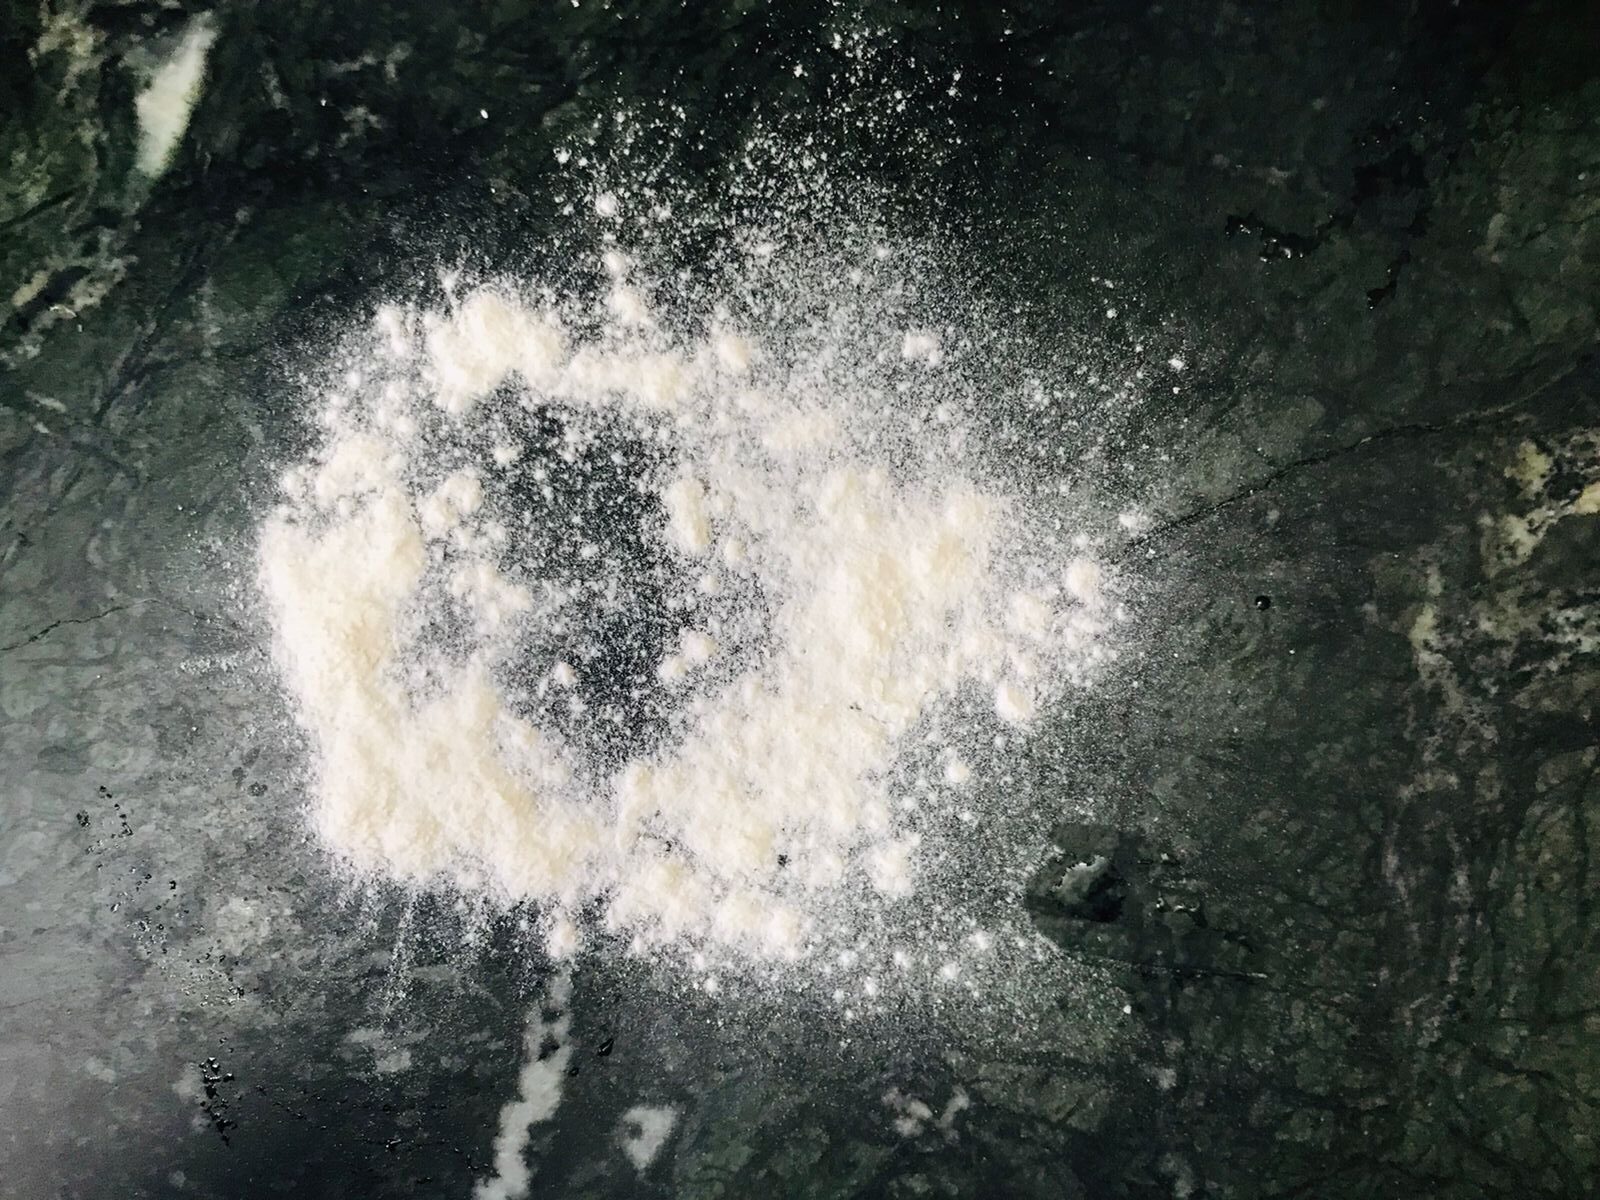
Dust some flour onto the worktop. Roll out a chilled pie dough with the rolling pin into 8-10 inches. Cut it into thin strips of 1 cm each.
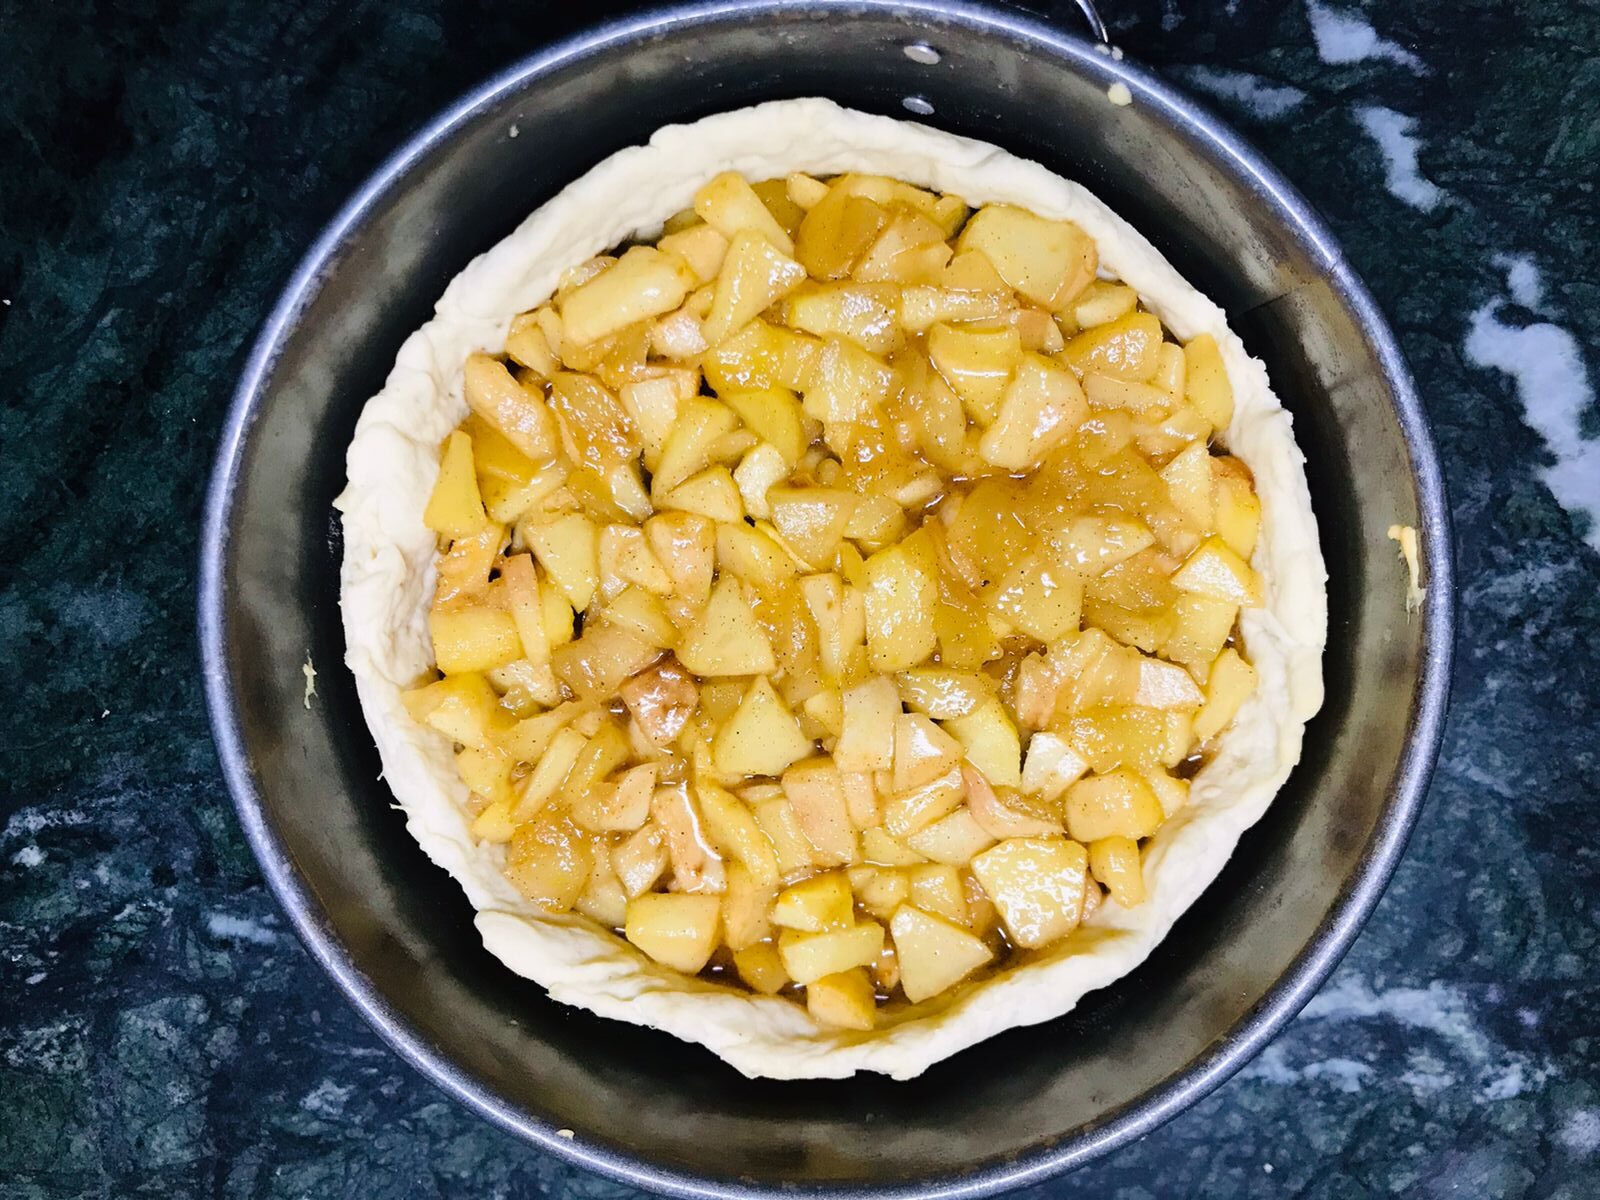
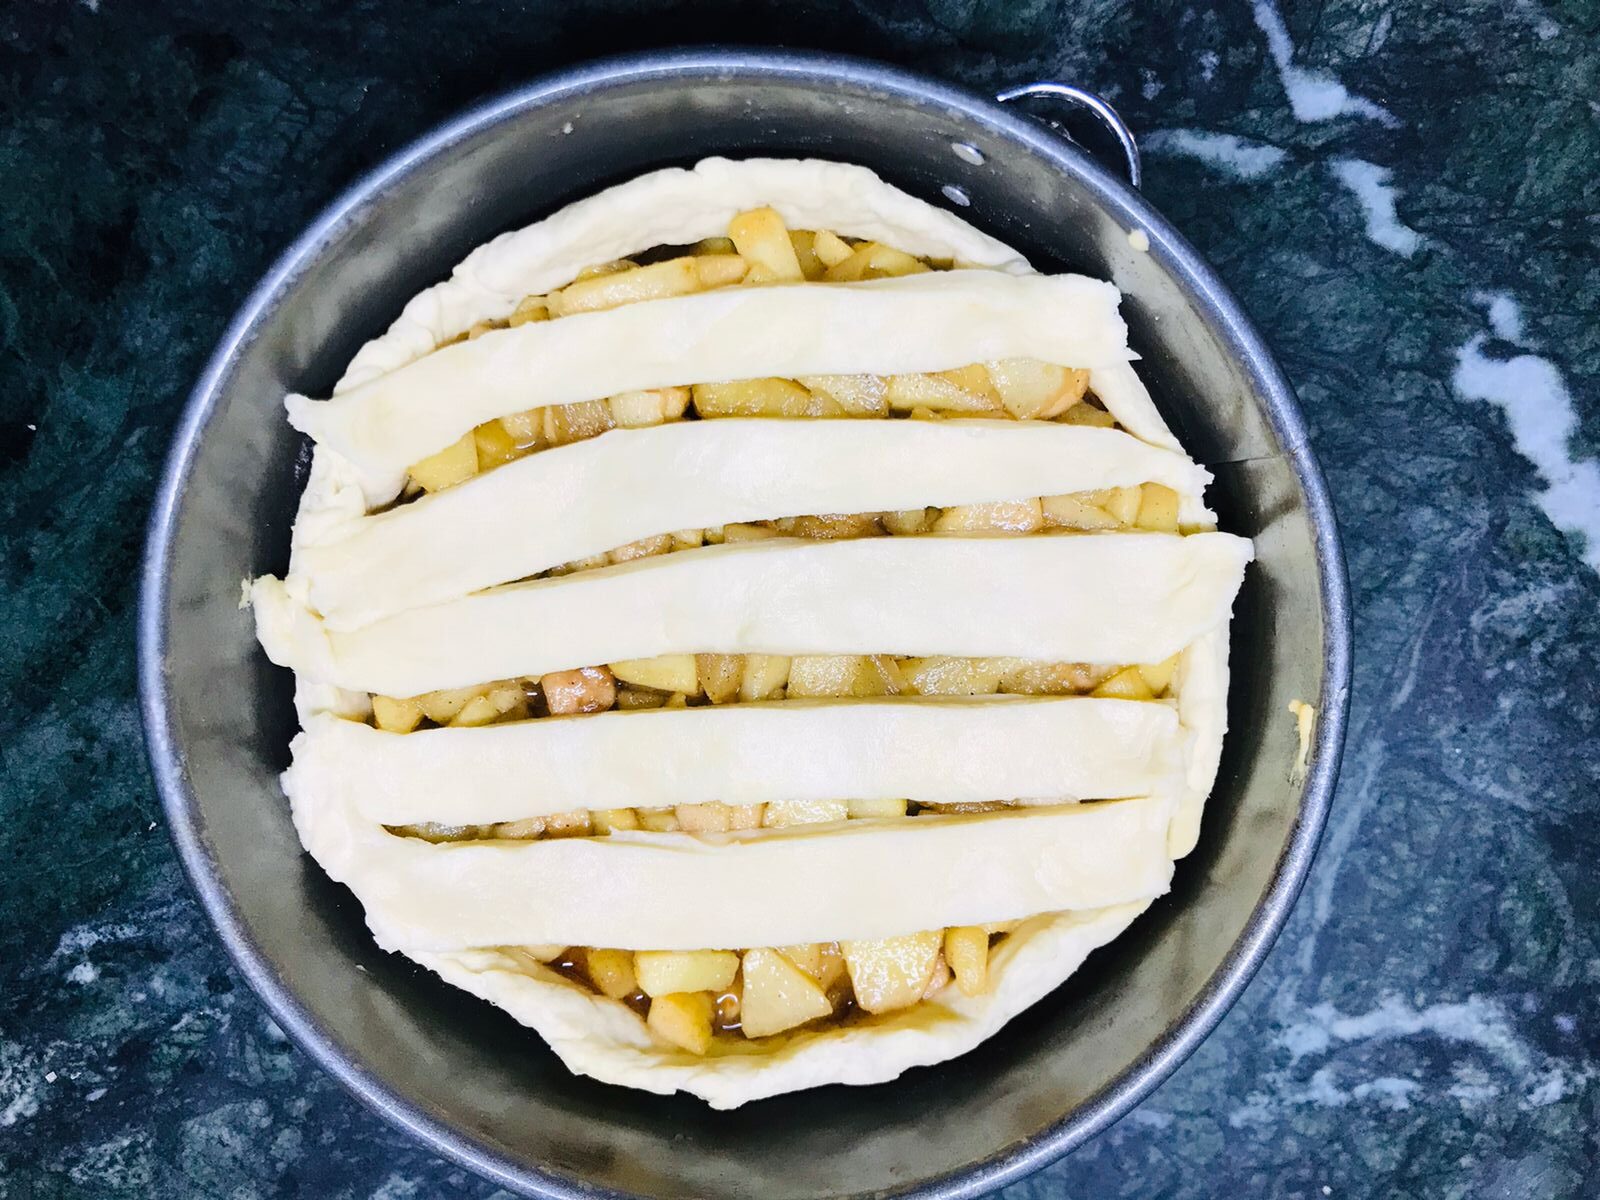
Transfer the apple filling into the prebaked pie tin. Cover the tin with the thin strips horizontally as well as vertically. Cut the excess dough from the sides with a sharp knife.
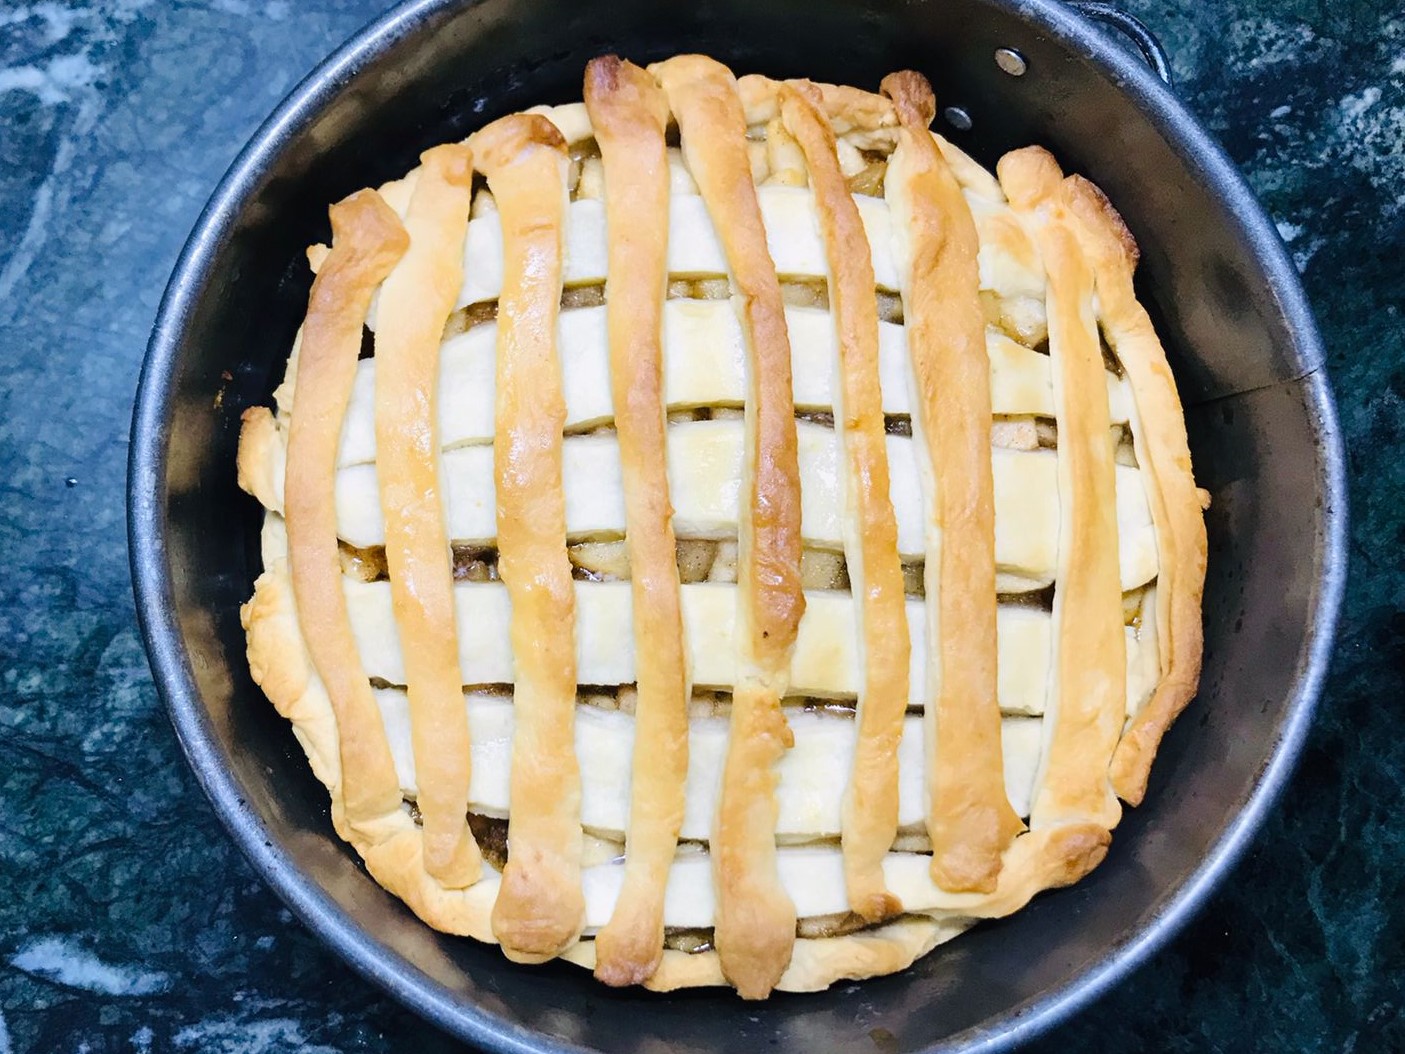
Bake the apple pie in a preheated oven at 200C/180C/Fan 6 for about 35-40 minutes or until the pie turns golden.
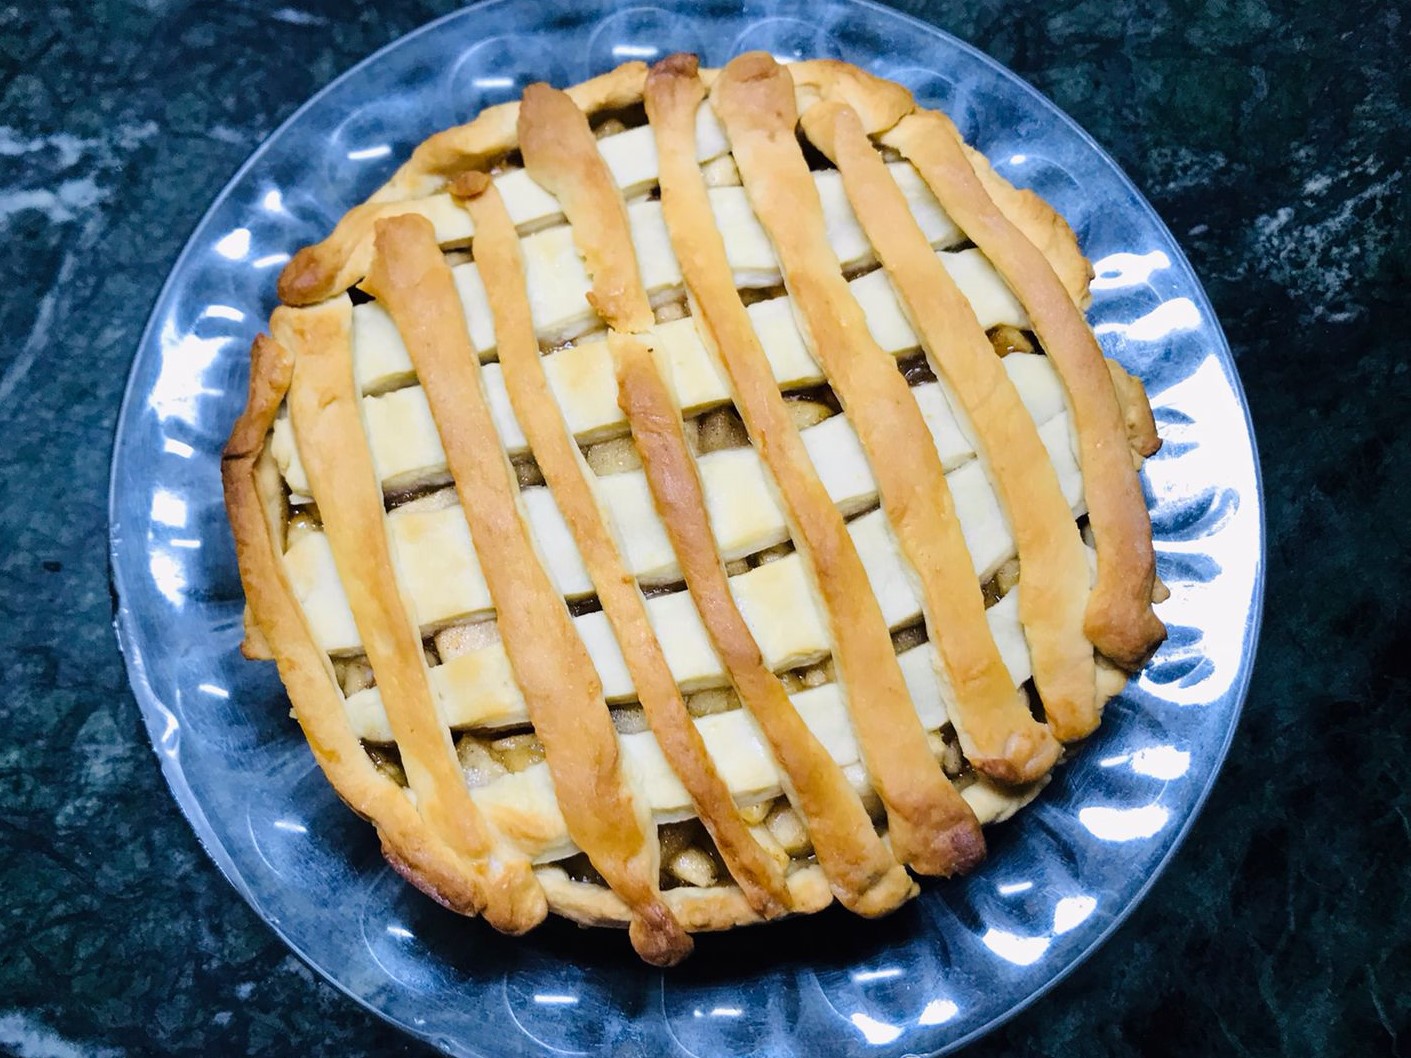
Serve hot on its own or with custard or even ice cream.